Best in class wheelstand and SIM frame

  • Thread starter Radracing
  • 83 comments
  • 96,389 views

Best in Class Wheel Stand for mass market

  • Fanatec Wheelstand

    Votes: 9 30.0%
  • Wheelstand Pro

    Votes: 21 70.0%

  • Total voters
    30
here is one of my homemade cockpits. the frame is made from 8020 and the seat is custom molded out of 2-part polyurethane foam.

Seat height, tilt and slide is adjustable. Wheel height, tilt, slide is adjustable. Pedal tilt and slide is adjustable. g25 shifter height, slide is adjustable. Monitor height is adjustable. Keyboard tray, mouse tray rotate and height is adjustable.

Hope you like it!

Are those Aluminium pieces from the Frex kit? If not where did you get them?
 

Thanks Nicka117, so where do you live now and what part of the island did you grow up in?

Here is another one to mention as a wood version of chilicokes cockpit.
with a few additions. Very well thought out. 👍👍👍

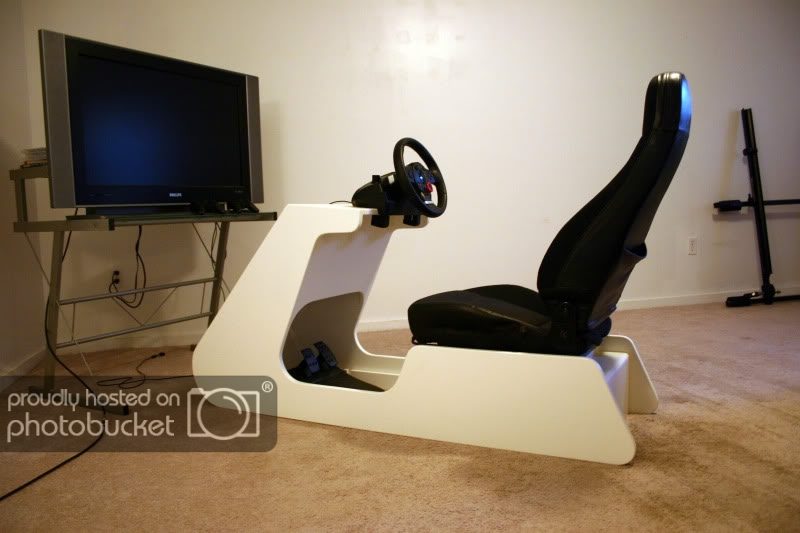
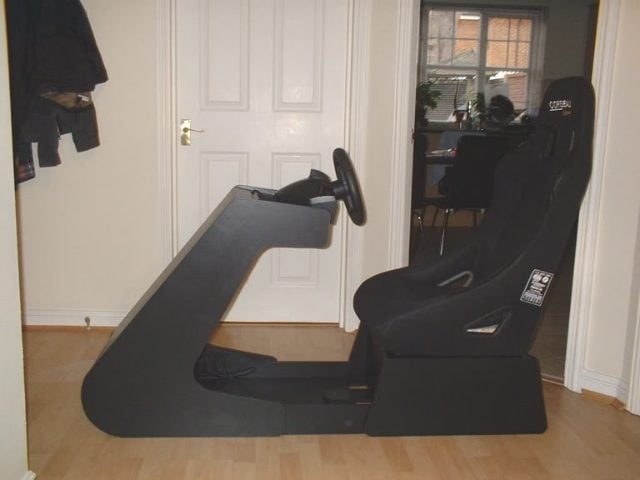
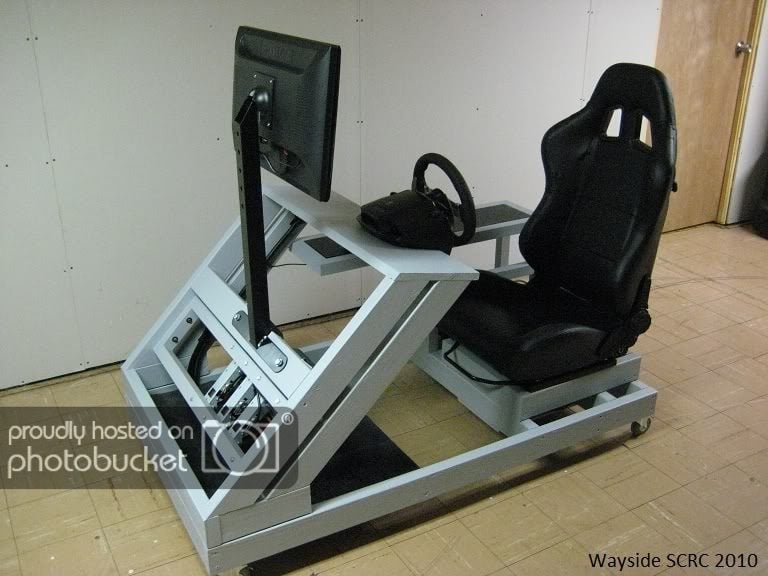
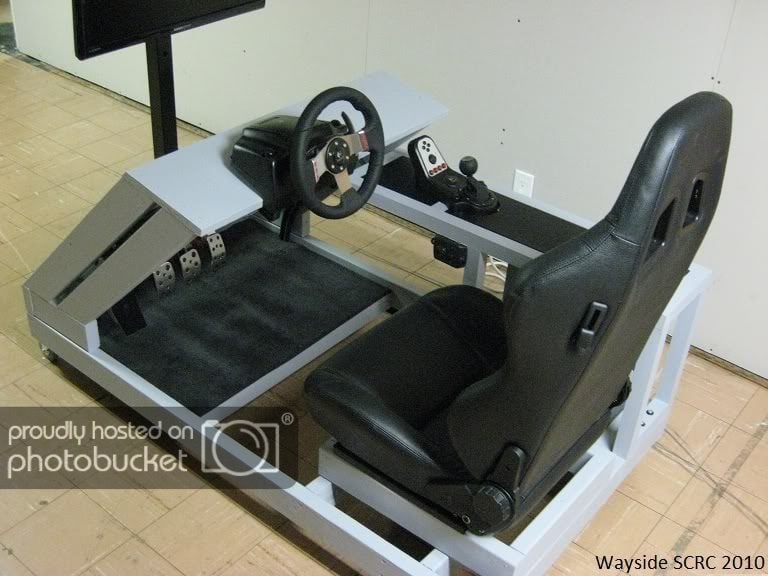
This is my interpretation of a Self Contained Racing Cockpit.

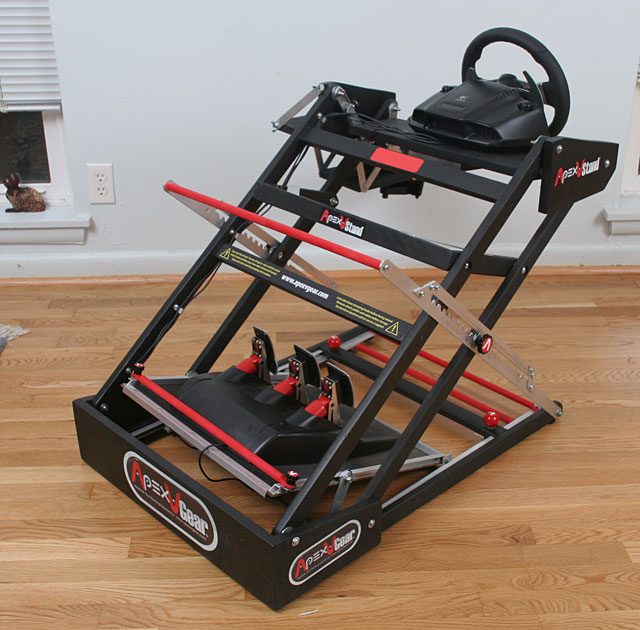
You will notice the design influences from Chilicoke's DIY cockpit. The simplicity of his design coupled with the real car feel that it appeared to provide is what made me say, “I must have one of those”.

That being said, I also wanted a self contained unit that was easy to move around. It had to be easy to get in and out of. The general construction costs had to be on the cheap and I wanted it to be something that anyone with a chop saw, skill saw, drill gun and some lumber could easily screw together.

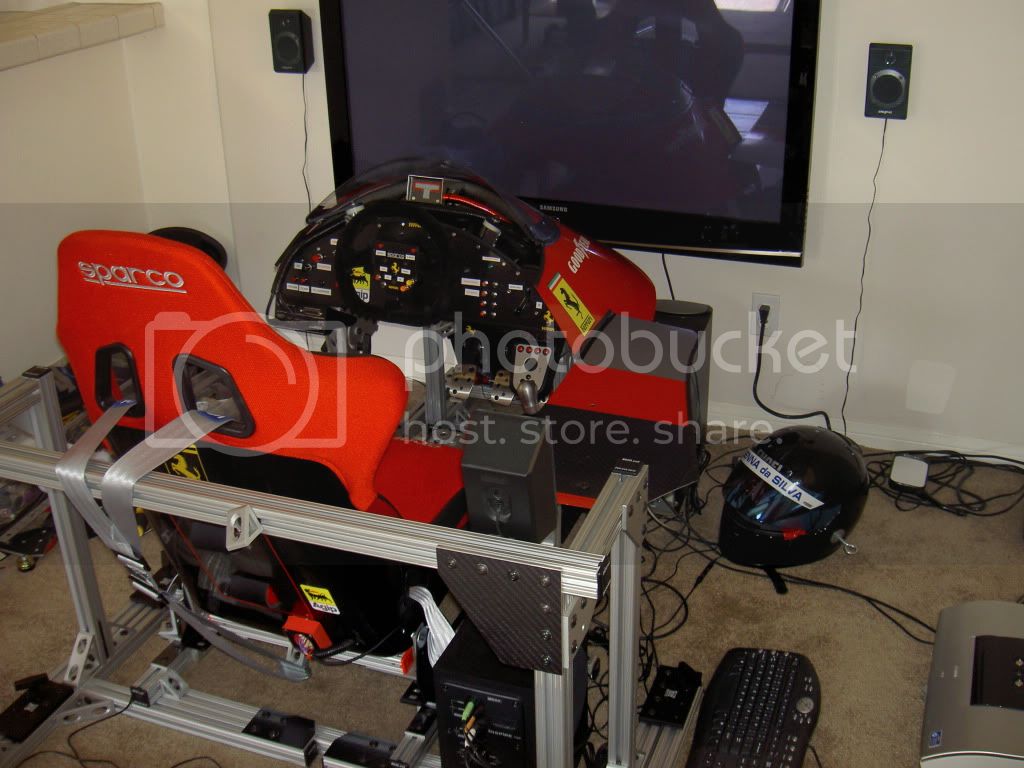
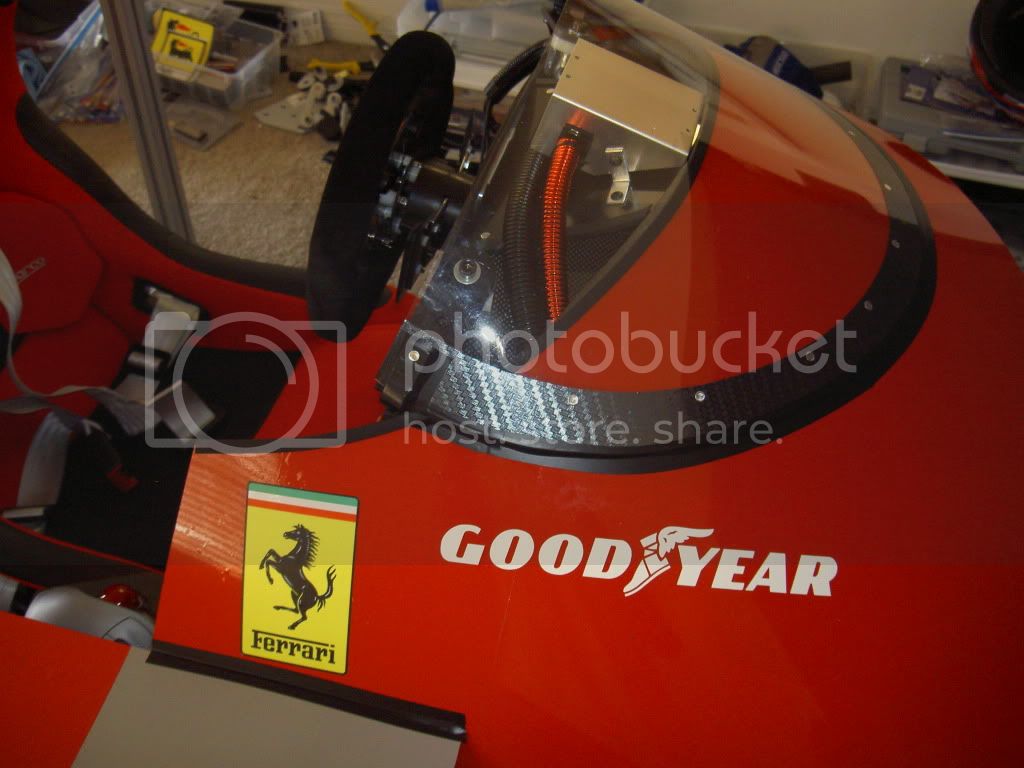
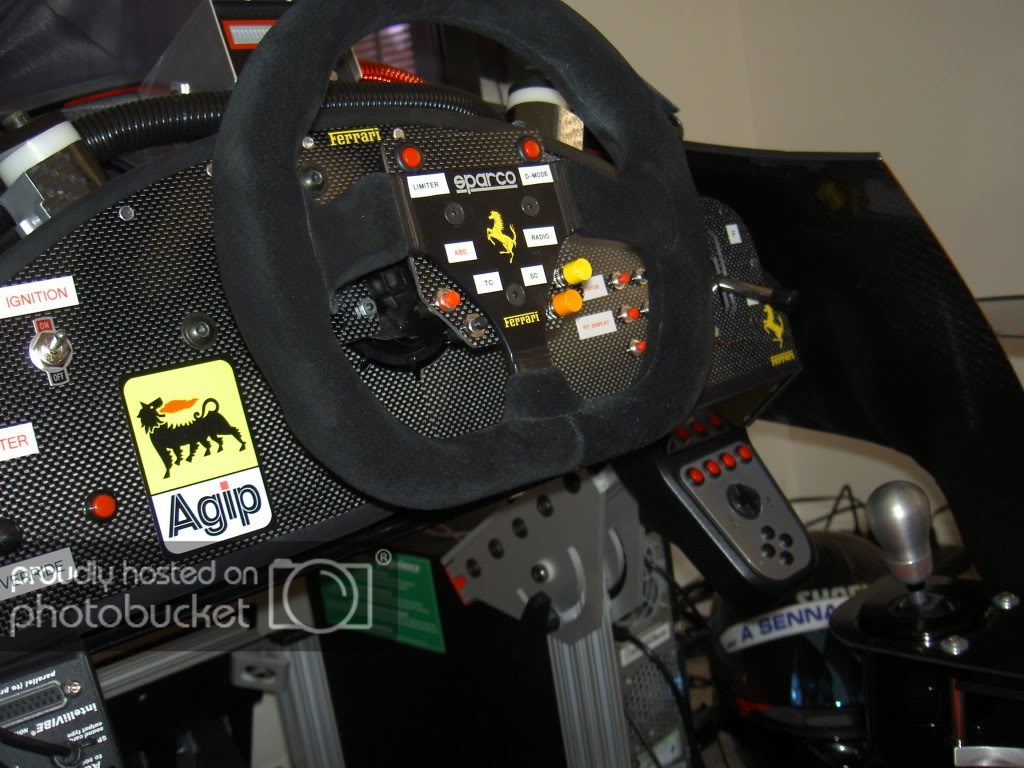
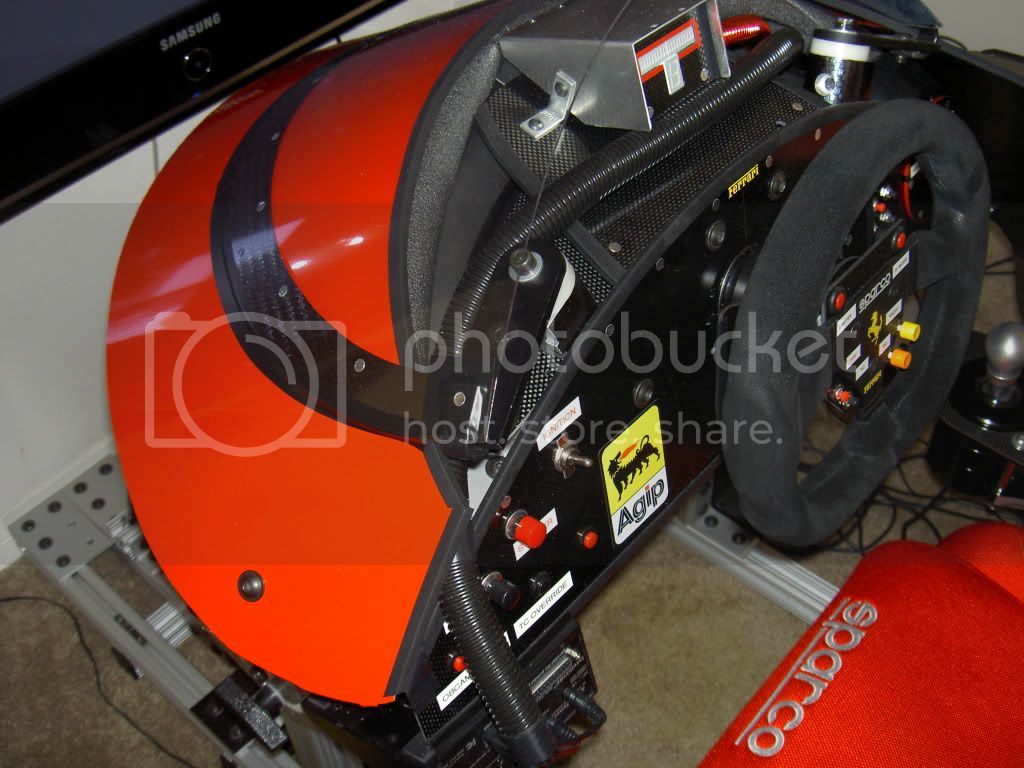
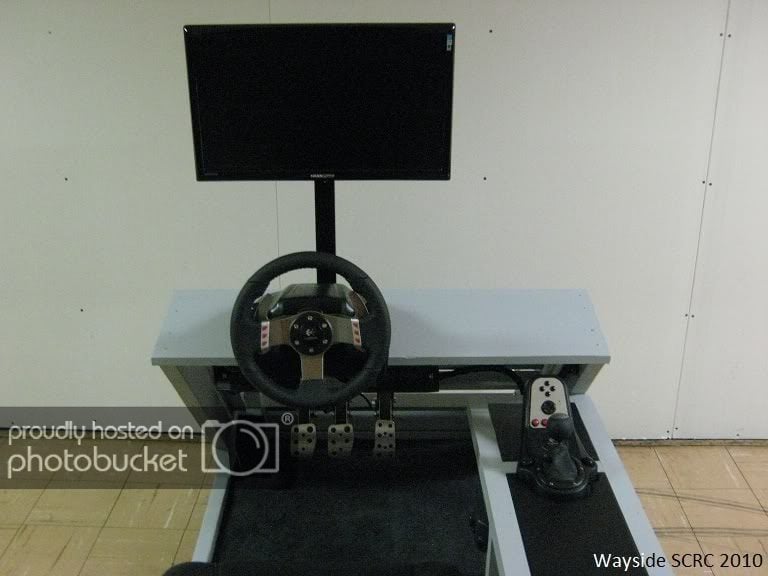
Here are some pictures of the finished product:

SCRC_1.jpg


SCRC_2.jpg


SCRC_3.jpg


SCRC_4.jpg


SCRC_5.jpg


SCRC_6.jpg


SCRC_7.jpg


SCRC_8.jpg


Equipment used in this project:

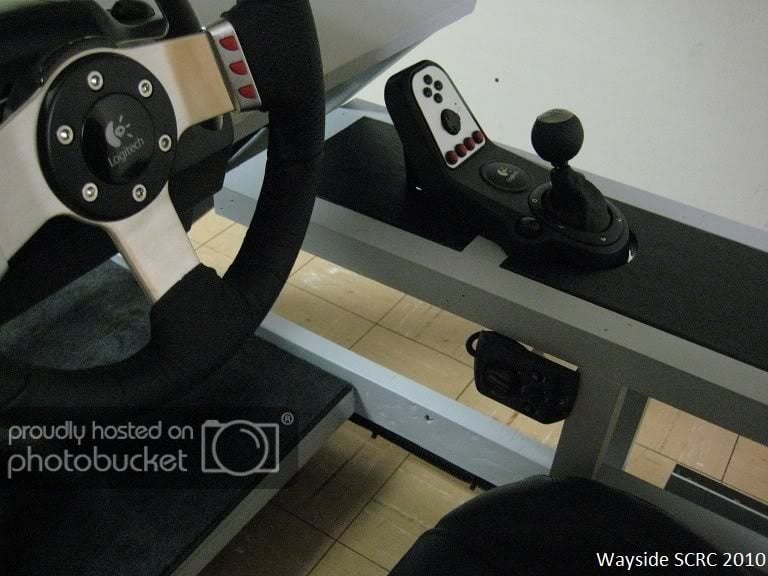
-Logitech G27 Racing Wheel
-Logitech X 540 multimedia speaker system
-Hannspree 23'' Widescreen LCD 1080p
-Summit Racing Sport Seat w/Levers

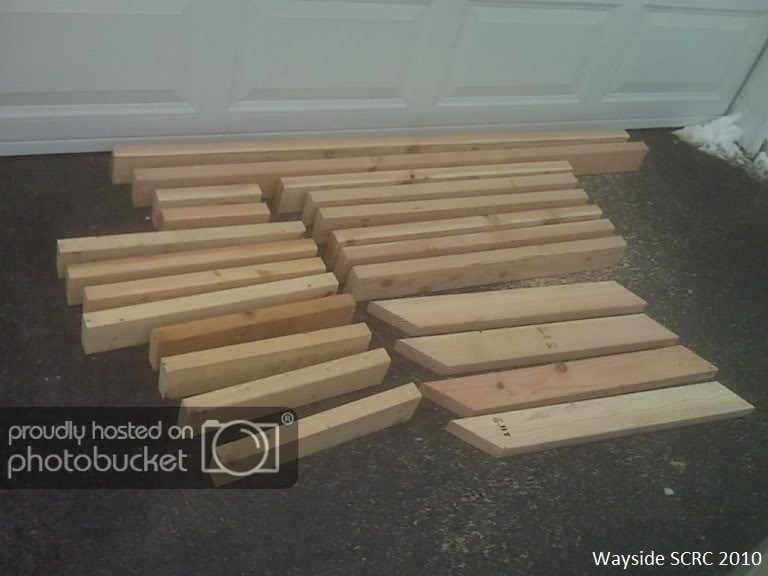
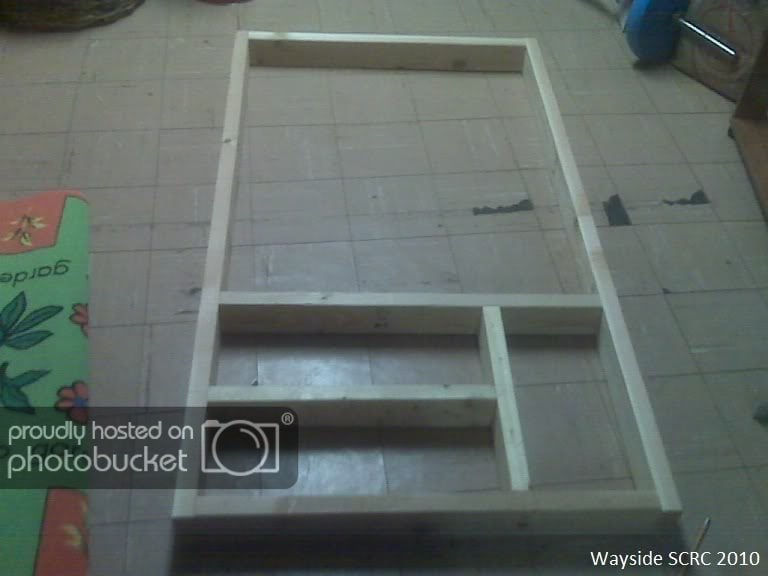
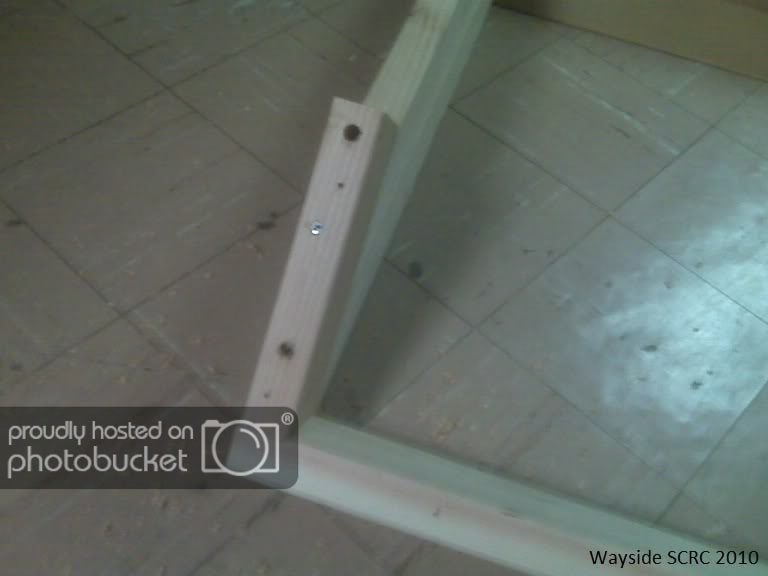
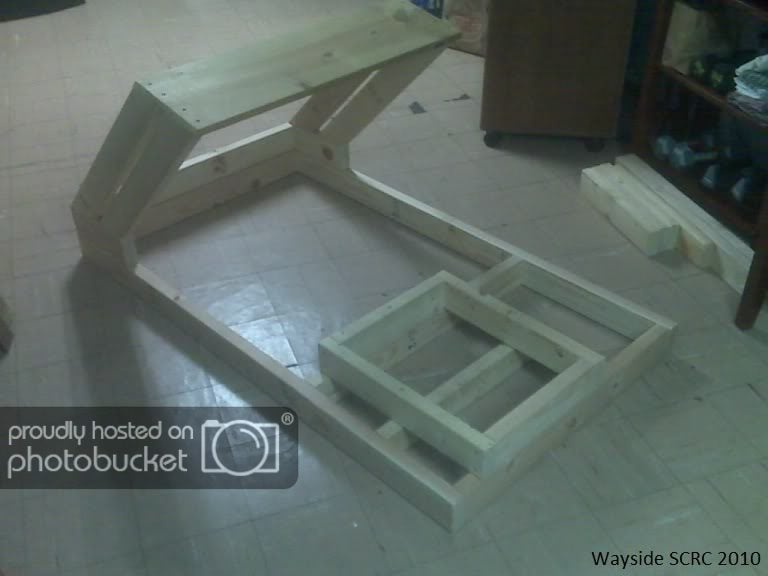
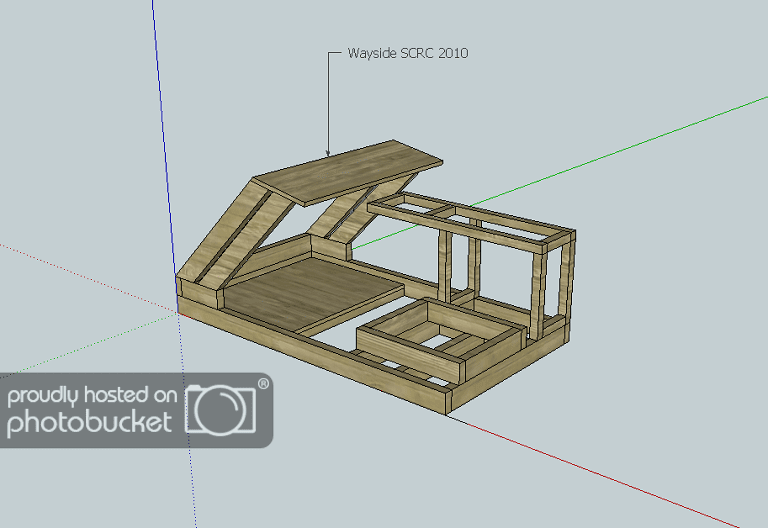
I used Google SketchUp to design the cockpit. Once I had it looking pretty good and the measurements made sense I went out to the garage and cut all the lumber for the basic frame in one shot. I assembled the basic frame and made sure the seat rails matched up and that the dash placement was good.

SCRC_C_1.jpg


SCRC_C_2.jpg


SCRC_C_3.jpg


SCRC_C_4.jpg


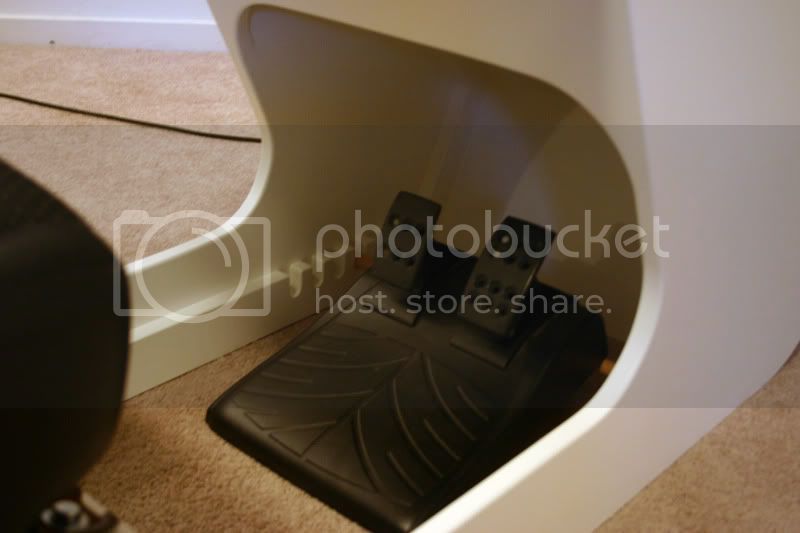
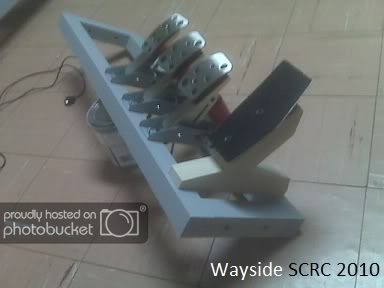
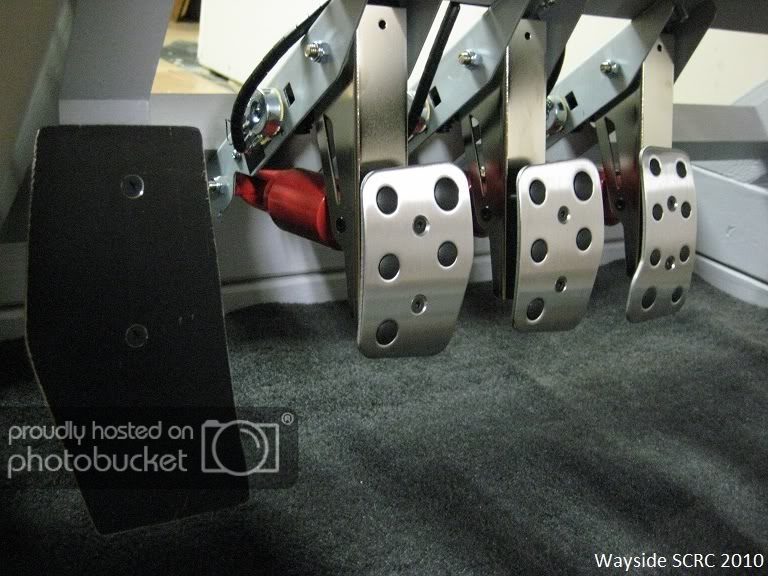
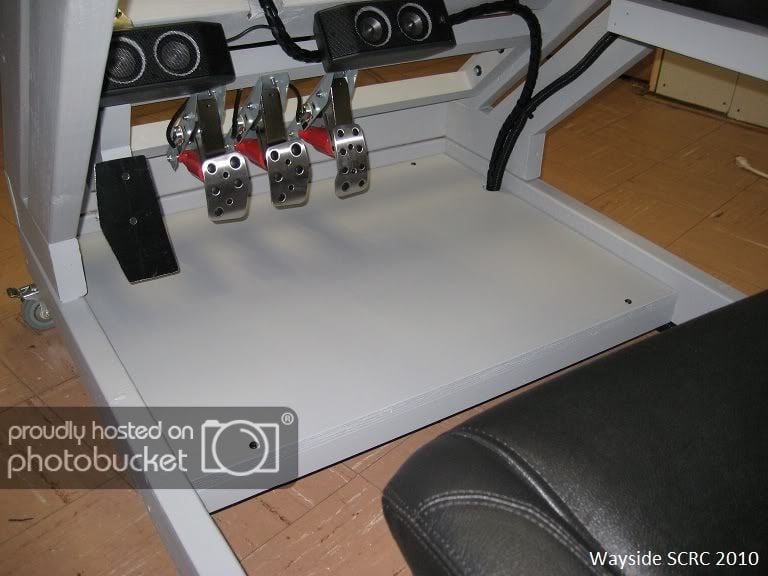
Next I was stuck waiting for the G27 to arrive. Once I received it I immediately pulled apart the pedals to built the pedal rack and double checked my measurements assuring the shifter would fit in the center console. The pedal rack is just a rectangle as wide as the front dash supports and tall enough to center the threaded ends of the pedals. Both items were built out of 1.5X1.5 square lumber and the inserts for the console were built from .75" plywood. The pedals were test fit using C clamps to make sure the position was perfect before they were bolted in place.

SCRC_M_1.jpg
SCRC_M_2.jpg


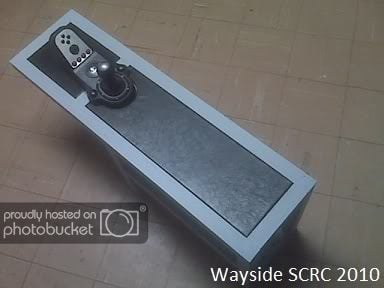
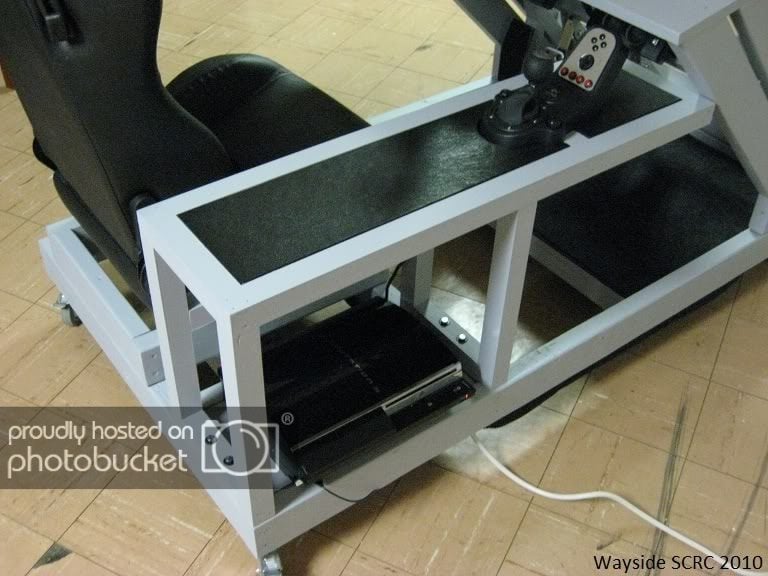
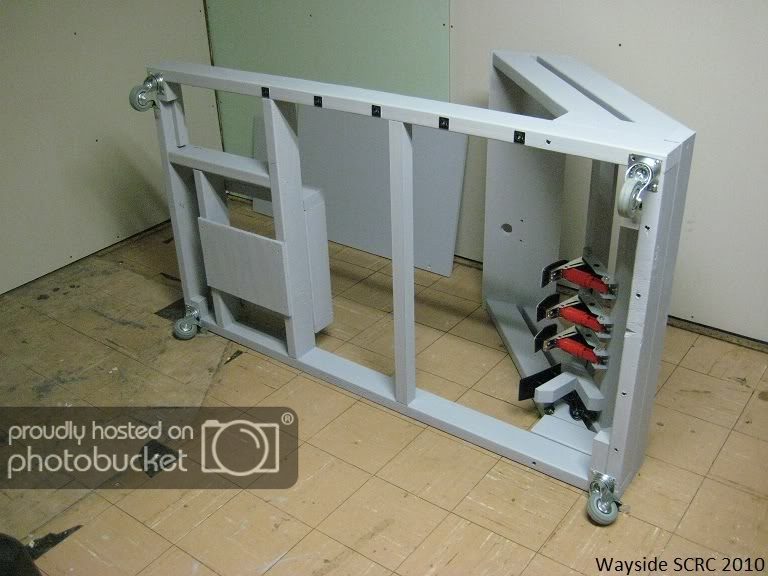
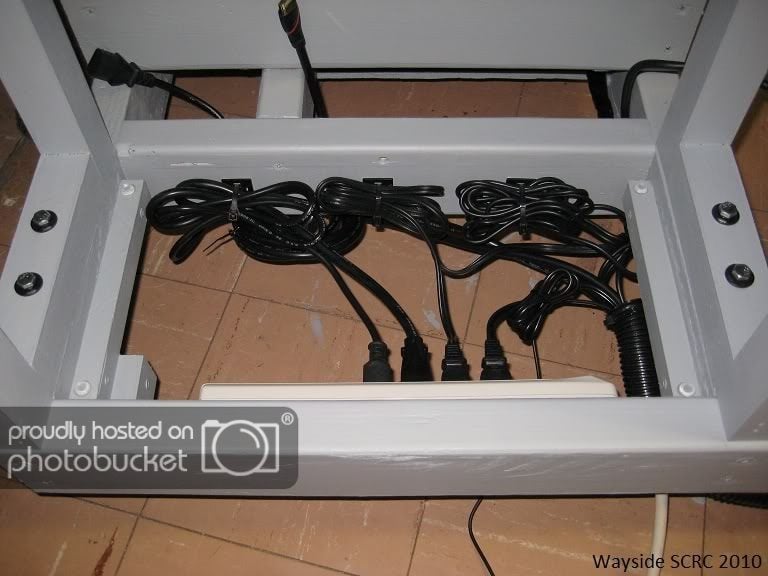
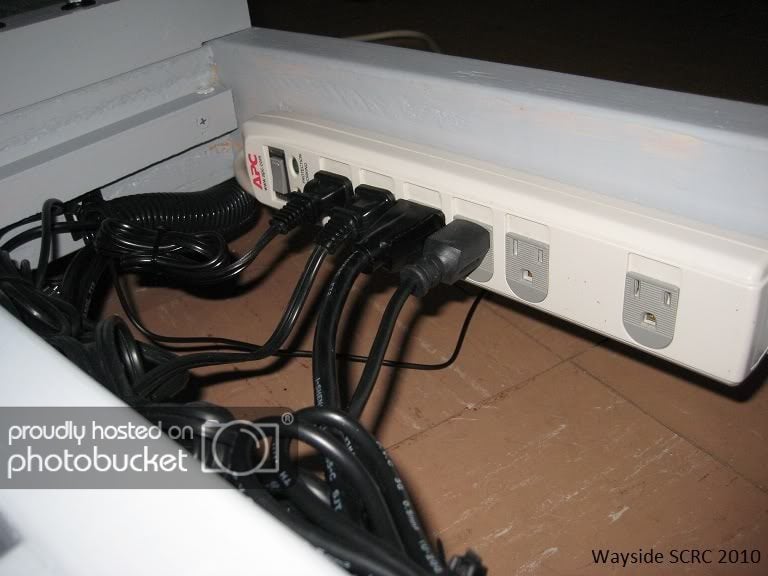
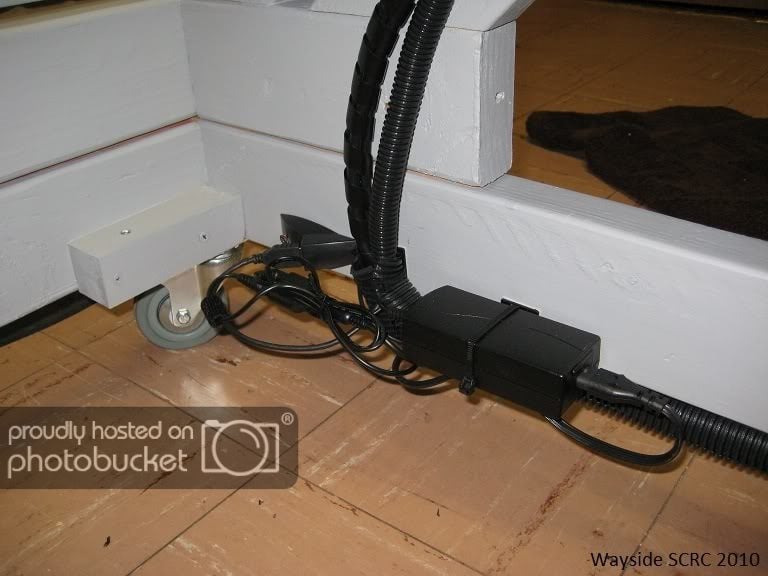
Getting the whole thing wired up was a little tough in the sense that I didn't want wires all over the place ruining the clean look of the cockpit. I was able to run all wires down the right side dash support and under the frame in a 1.5" wire loom. I created a space underneath the spot for the PS3 putting most of the mess 'under the hood'. Also (not pictured) the subwoofer that contains amplification for the rest of the speakers is mounted under the seat (you can see the shelf for the sub in one picture below).

SCRC_W_1.jpg


SCRC_W_2.jpg


SCRC_W_3.jpg


SCRC_W_4.jpg


SCRC_W_5.jpg


Few notes: The monitor mount was from my weight bench. It was the part that held the elbow rest and I never used it. It was hanging in my garage and I saw it out of the corner of my eye and thought, "No way that is 45 degrees". The dead pedal was cut out of some thin steel and mounted with 2 cylindrical plastic washers on some 1.5" wood cut to match the shape of the Logitech pedals. The wheels are 3-Inch 150-Pound Swivel Double Lock Rubber Plate Casters from Amazon.

So that’s my ride. Any questions, comments, things I could have done differently?

I know that DIY is not for everyone but if you are even thinking about giving it a try and have some basic wood working skills you can take a shot at this project for the cost of a few 2X4s.

SCRC_G_1.png


I'll also include my Google SketchUp plans. Install Google SketchUp if you don't already have it and you can measure every aspect of this project and even edit some stuff if you wish.

View attachment 72446

Later,

-wayside
 
Last edited:
hey Radracing, yeah Wayside's cockpit is sweet.

I grew up on Grand street, actually right on the corner of Grand and dayton. Went to Franklin Elementary school, where we tried to make a "double roof" in kickball and went to Wood middle school. Played Little League baseball in Rittler Park. Good memories. Dad was a Navy pilot stationed at NAS Alameda. I heard they drag race down on the runways since they closed the station.

We moved down here to San Diego when I was a teenager.

Hey thats a great part of Alameda in the Gold Coast. Was your coach, Jack Cooley?
 
Hey thats a great part of Alameda in the Gold Coast. Was your coach, Jack Cooley?


Nope, my coach was Coach Pucci. His business was Joe Pucci and Sons. His son Chris played on the team also and was a buddy of mine. Coach Santos was the assistant coach and his son Jeff Santos was the best athlete in the city. This would have been 1981-82 and I was 12 years old.
 
Here is another great wheel stand. I think this is way better than the Wheelstand Pro or Fanatech Wheelstand. What do you guys think?

http://www.apexvgear.com/index.htm

apexvstand_qtrfrntlft_G27.jpg

It looks interesting - and probably more stable (although I really have no complaints about my Wheel Stand pro's stability). The problem I see is it looks vastly bigger - much less wife approval factor. I also think you could lose a finger real quick folding that up wrong! :)
 
It looks interesting - and probably more stable (although I really have no complaints about my Wheel Stand pro's stability). The problem I see is it looks vastly bigger - much less wife approval factor. I also think you could lose a finger real quick folding that up wrong! :)

Good point! I guess they need some refinement in the bracket design. Maybe a little narrower too just to improve on compact size to make it wife approval proof also. :sly:

!BeygIJQ!Wk~$(KGrHqMH-C8ErfzEe+2ZBK-ttTBuTQ~~_12.JPG


Speaking of refinement. Well here is another two post wheel stand called "Apiga AP2" I think this one is a little more compact but maybe less ergonomic in terms of pedal distance adjustability.

http://www.apiga.com.hk/en/main.html
 
Last edited:
Looks like we are getting a lot of Chilicokes rig versions in this forum. Here is a right hand drive version of the famous Chilicoke rig by "White_haMster"

DSC_0455.jpg


Looking forward to Timppaq , Bugman and MrLatte's finished cockpits from the sounds of it, it will probably be a challenger to Chillicokes setup. Bring it on guys! Lets see some more ideas.
 
Last edited:
The colour choices for the "Big Dog Gamer" rig are amazing:

Grim Reaper Black
Blond al Natural
Boy Racer Blue
Big Bad Brown
Gripper Green
Massage-a-me Mahogany
Rip Roaring Red

It's got to be "Massage-a-me Mahogany" :lol:
 
The colour choices for the "Big Dog Gamer" rig are amazing:

Grim Reaper Black
Blond al Natural
Boy Racer Blue
Big Bad Brown
Gripper Green
Massage-a-me Mahogany
Rip Roaring Red

It's got to be "Massage-a-me Mahogany" :lol:

table_blonde_from_topsmall.jpg


I'll take two if she's giving the massage. :sly:
 
It looks interesting - and probably more stable (although I really have no complaints about my Wheel Stand pro's stability). The problem I see is it looks vastly bigger - much less wife approval factor. I also think you could lose a finger real quick folding that up wrong! :)
If you check out the video on the website, you have to undo the knobs first to fold it, so it's not easy to pinch your fingers. And it's not put a way so much in a "scissor" motion, as folding down first the front, then the back, so you have control over which parts are moving where.

Also, it folds down to 7" high, so it can fit in a closet, up against a wall, or under your couch. Most of these other cockpits cannot be stored in a compact way. It's a little wider than other stands because it supports several different steering wheel combos and, with the attachment, supports a gearshift on the left or right side.
 
Here is another excelent wooden built cockpit. It even comes with specs, Thanks for sharing "cschoei "

IMG_6260.jpg


IMG_6259.jpg


standdims.jpg
 
Here is a new wood design from Mars Attacks. Can't wait for a finish product. Sorry for the over sized pics.

attachment.php


attachment.php


attachment.php


attachment.php


attachment.php


attachment.php


attachment.php


attachment.php


attachment.php
 
Okay we have a new contender it's "nicka117" Ultimate cockpit.

sim7.jpg


sim1.jpg


sim2.jpg


sim3.jpg


sim5.jpg


sim6.jpg


Here is his latest version. Looks like he has decided to go with the minimalist look but a big kudos to the earlier Ferarri version.

attachment.php
 
Last edited:
Thanks mate, as promised here are some RL photos of the CAD models I had posted before of the 'FTT' and the 'Race Seat':

picture.php

picture.php

picture.php

picture.php

picture.php

Sweet seat! Can I ask how you rounded the edges of the wood? If you used a router, what size roundover bit did you use? Thanks!
 
picture.php


picture.php


We have a new best in class contender for Bugman and his own version of Chilicoke's Sim frame. Congrats!
 
That Ferrari cockpit is ridiculously awesome. I wonder if all the switches for ignition and everything actually do something.

I've got an Obutto oZone. Definitely loving it. I just got finished inverse mounting my pedals.
 
Back