You are using an out of date browser. It may not display this or other websites correctly.
You should upgrade or use an alternative browser.
You should upgrade or use an alternative browser.
G25 Handbrake, Video added
- Thread starter wrcsti
- 28 comments
- 24,098 views
- 151

- FREEDOM loving Florida! ~ Ex NY'er (Bronx)
- Oner
I've been itching to do this as well with integration into my Obutto Chassis. I have some ideas and knowledge of wiring/soldering so it can't be too big of a deal to complete except that I want to use a real e-brake. That is where the majority of it's construction will probably slow me down...maybe when you are done it will give me the last oomph I need to start/finish my plan. Post lots of pics of the internal G25 wiring areas (I'm just going to wire it to a face button "O" to make it easy)...Good Luck!
wrcsti
(Banned)
- 1,181
- elmataplata
Yeah i was going to wire it also to the O button. Search youtube for G25 tuned. You will find a guy that did a ton of mods to his G25, one of them is this. He has atutorial on his blog but I can't read the translated japaneese at all.
EDIT:
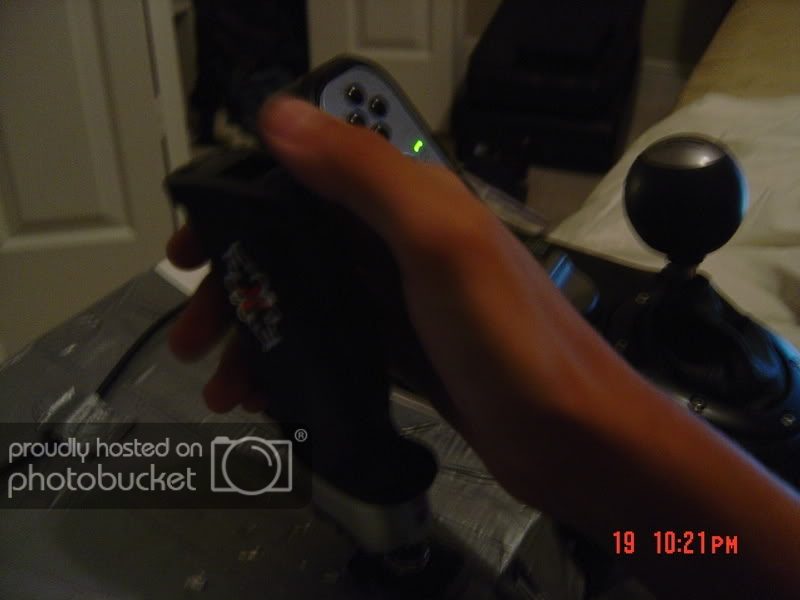
Found something that can work as a handle. A old Rc car remote that I hacked a piece off. currently trying to make it more rigid and longer so maybe by tomarrow I will start taking pics and building the thing.
EDIT:
Found something that can work as a handle. A old Rc car remote that I hacked a piece off. currently trying to make it more rigid and longer so maybe by tomarrow I will start taking pics and building the thing.
Last edited:
wrcsti
(Banned)
- 1,181
- elmataplata
http://blogs.yahoo.co.jp/sky_pilot33/11254850.html
Google that and get it translated.
Google that and get it translated.
- 151
- FREEDOM loving Florida! ~ Ex NY'er (Bronx)
- Oner
Got it, Thanx. Reading through I found a couple of things...
Pretty self explanatory
That meant there was another link somewhere that I found right here (has some really cool additional stuff like how to increase motor speed for the steering mechanism somehow?). And by using the pictures in the newer link I found it kind of makes it easier to understand how to work it out.
I have already changed my plans based on the videos to be more WRC/Drift like in it's setup (it actually takes a HELL of a lot of work off my original design!). The Japanese tutorial states to use a "horn switch" but I am quite positive it was meant as a momentary switch, here are some that I found ranging from cheap to expensive
$5.93
$10.95
$66.77
Now I found those in a bit of a hurry so to ANYONE interested in any one of them be sure to confirm if the one you like is a 2 position (standard main position) Off -> On (momentary).
Hey while on the topic of switches wrcsti what switch did you end up getting? I am going to keep doing some research on switches (possibly magnetic ones but a standard momentary one is 99% the one I'll use). If anyone has any suggestions or help please feel free to jump in, especially for handle suggestions etc.
The creation of the emergency brake.
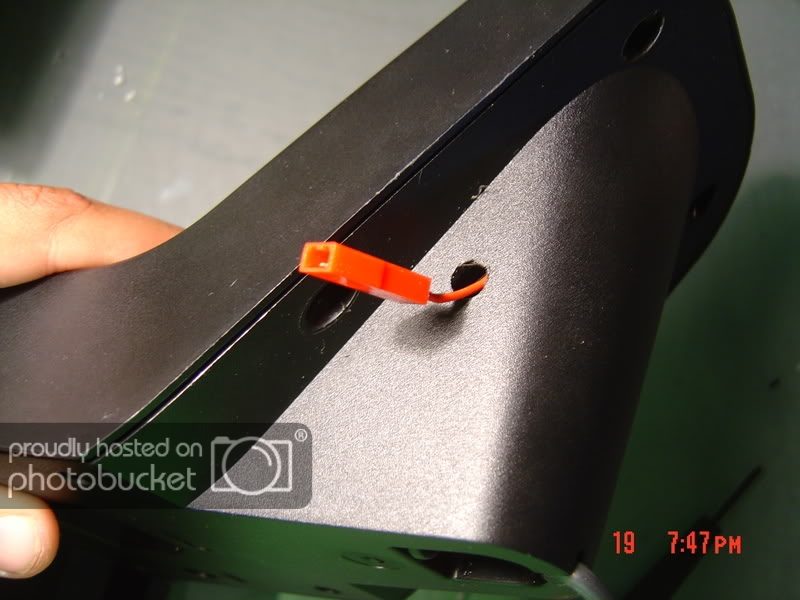
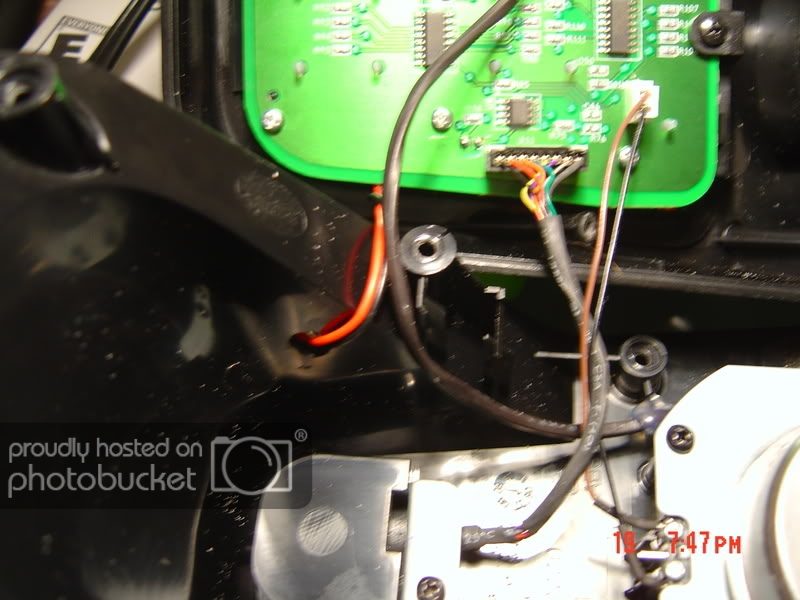
1: First of all, Unplug the cover.
2: ○ button wired to the base of the slot.
3: set up a horn switch
Pretty self explanatory
For more information on the homepage of HANKONMENYU images of the G25 will be up, so A blog is just the point.
That meant there was another link somewhere that I found right here (has some really cool additional stuff like how to increase motor speed for the steering mechanism somehow?). And by using the pictures in the newer link I found it kind of makes it easier to understand how to work it out.
I have already changed my plans based on the videos to be more WRC/Drift like in it's setup (it actually takes a HELL of a lot of work off my original design!). The Japanese tutorial states to use a "horn switch" but I am quite positive it was meant as a momentary switch, here are some that I found ranging from cheap to expensive
$5.93
$10.95
$66.77
Now I found those in a bit of a hurry so to ANYONE interested in any one of them be sure to confirm if the one you like is a 2 position (standard main position) Off -> On (momentary).
Hey while on the topic of switches wrcsti what switch did you end up getting? I am going to keep doing some research on switches (possibly magnetic ones but a standard momentary one is 99% the one I'll use). If anyone has any suggestions or help please feel free to jump in, especially for handle suggestions etc.
Last edited:
Hi all,
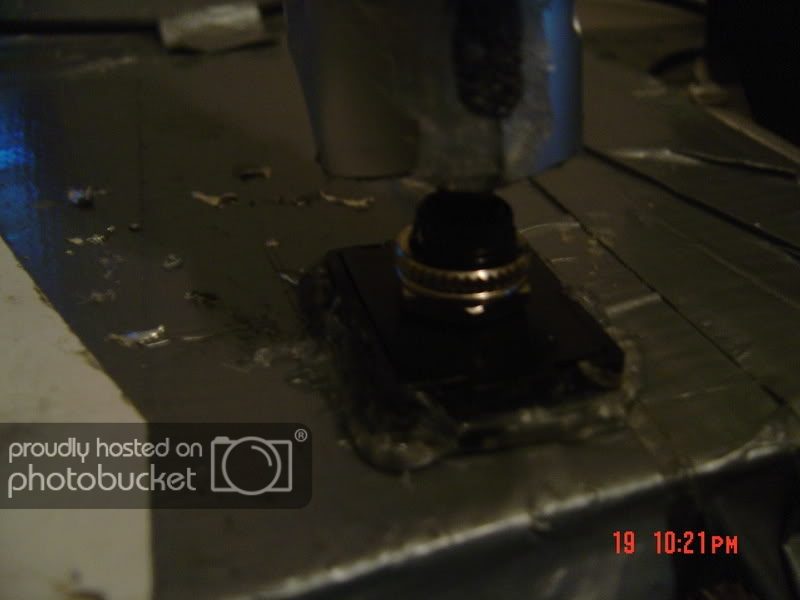
I thought I share my handbrake mod with you all. Nothing too fancy, just a simple car handbrake lever that I got from an auto wrecker...
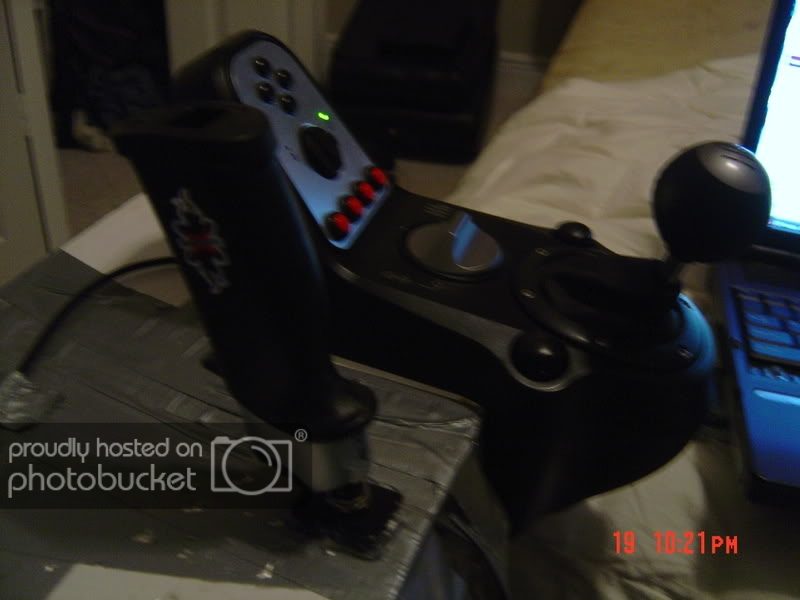
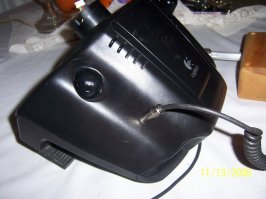
Here's my current racing cockpit setup with the handbrake.


Here's the shifter unit with the wires coming out from where the clamp goes into the unit. The contact of the wires are touching the points where the "O" button is. I didn't solder them onto the PCB. Just taped them on in case I need to remove them someday.

From the shifter to the handbrake, its basically a Cat5 UTP network cable of which I'm using a single pair of it.


I'm using the switch on the handbrake which is used to trigger the handbrake lights on the dash. It fits my purpose exactly

And finally, here're some videos of me drifting and using the handbrake.
Hope this post give you guys some ideas. Feel free to ask if you need more details on my setup.

I thought I share my handbrake mod with you all. Nothing too fancy, just a simple car handbrake lever that I got from an auto wrecker...
Here's my current racing cockpit setup with the handbrake.
Here's the shifter unit with the wires coming out from where the clamp goes into the unit. The contact of the wires are touching the points where the "O" button is. I didn't solder them onto the PCB. Just taped them on in case I need to remove them someday.
From the shifter to the handbrake, its basically a Cat5 UTP network cable of which I'm using a single pair of it.
I'm using the switch on the handbrake which is used to trigger the handbrake lights on the dash. It fits my purpose exactly
And finally, here're some videos of me drifting and using the handbrake.
Hope this post give you guys some ideas. Feel free to ask if you need more details on my setup.

wrcsti
(Banned)
- 1,181
- elmataplata
Huh... Never thought of that one, but there are no wrecking yards near me to get one from. 
EDIT:
Almost done with the wireing. Gotta let the soldering iron cool off though as it overheated and stopped working.
EDIT:
Finished it!!
Will post pics tomarrow.
EDIT:
Almost done with the wireing. Gotta let the soldering iron cool off though as it overheated and stopped working.
EDIT:
Finished it
!!Will post pics tomarrow.
Last edited:
wrcsti
(Banned)
- 1,181
- elmataplata
Last edited:
- 2,903

- Kyoto
- GTP_L_Hamilton
Sickness Wolfdude. Awesome set up and drifting. 👍
wrcsti
(Banned)
- 1,181
- elmataplata
nice , i like the use of the XMODS controller for the handle lol
does youre whole table have FFB? kinda looks like in a rally
It's not noticeble when you are driving it. I was actually surprised when I saw the video about that.
- 12
Nice mods guys. I'll be doing something similar as soon as I get my Obutto cockpit.

- 1
Anyone know where I can find a detailed walkthrough on how to set up an ebrake for the g25?
*EDIT
As in the wiring connections?
*EDIT
As in the wiring connections?
Last edited:
- 51
- RTSandel23
- Sandman23
any updates on how to wire this up? I am about to attempt it and was wondering if I can get some more advice
- 3
- WestonRacing
Hi mate any chace you could post a pic of where you taped the wires on to as i would like to do the same on mine any help would be great thanks
") check him out
check him out- 3
- WestonRacing
Hi when you taped the wires on did you scrach the bord 1st then put wires on or just taped them stright on thanks
Similar threads
- Replies
- 2
- Views
- 510
- Replies
- 0
- Views
- 7K