- 5,283

- South West
- KAYTEAM73

FIREBIRD
gemasolar

Last edited:
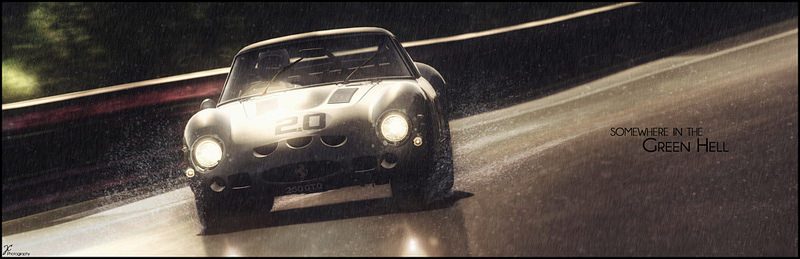
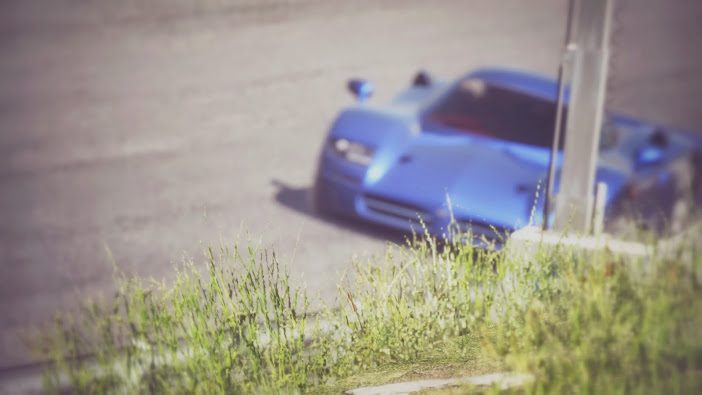
Actually, I think what you are referring too was added in Photoshop in the form of a lens flare. unfortunately, im still a bit of a Photoshop 'noob', and I'm pretty much self taught, so I am unsure of how I could make it any better at the moment.I think it looks like the aperture is set too high, so the light behind the trees gets over-exposed.
 perhaps you could enlighten me?
 ")
Actually, I think what you are referring too was added in Photoshop in the form of a lens flare. unfortunately, im still a bit of a Photoshop 'noob', and I'm pretty much self taught, so I am unsure of how I could make it any better at the moment.
thanks very, very much! i will try these tips out. the only thing i will say is that i have both a static and a moving version of the original picture somewhere, but i decided to go with the static one because, even at a shutter speed of 60, the moving one had too little motion blur... oh well. But yeah thanks!Hey don't knock yourself down, I am kind of a self-taught noob too, but thanks to the comments, criticisms and tutorials from this community (...and youtube tutorials) we all can get better. As far as your colors, they don't seem overly saturated. The greens and blues are not too green or blue. The use of contrast is an artistic choice that you might use to hide some details to enhance others. Since your use of contrast is not extreme, I see no problem there either. For the rest, here is what I would do:
FOCUS: Your scene's focal length is set high so the everything is focused, including the trees at the far end of the road. Your subject is your car, focus on that and blur the rest. That way you can also avoid focusing on the low resolution background. I generally start at a setting of f 2.8.
MOVEMENT: The way you set up your scene I expected a dynamic photo, but the car seems like it's parked. Play with the SHUTTER SPEED, show rotation in the wheels. How much?, you decide. It will show up on the wheels, road and background.
SHARPNESS: The sharpness looks a bit distracting. Sharpness settings on photo editing software are dangerous and could generate unwanted digital artifacts easily. A very simple and efficient way to do it in Photoshop is using the HIGH PASS filter. Originally intended to do another thing but works great for sharpening.
LENS FLARE: The effect needed two things. 1st, a soft glow that would bleed around the sun, brightening the trees and fading out. 2nd, the color was wrong. The light you see reflected on the road, trees and car is white, while the warmer light emanating from the sun is "amber". You could have kept all the sunlight's color white or use the PHOTO FILTER adjustment to set the overall photo's lighting to "amber" and match the warmer sunlight.

Thank you! Even yours is a beautiful shot!
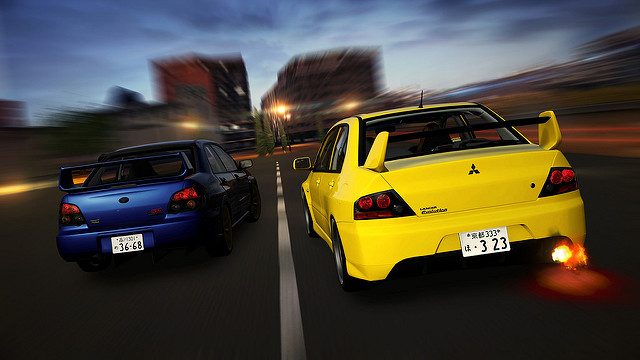
Incredible!


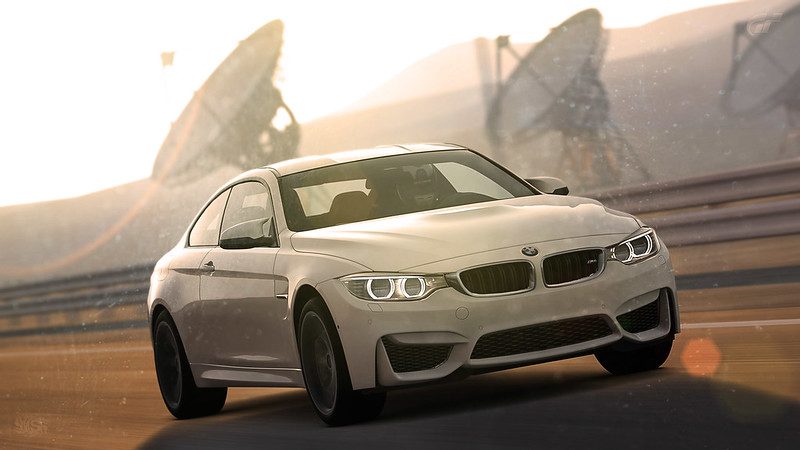 BMW M4 SSRX
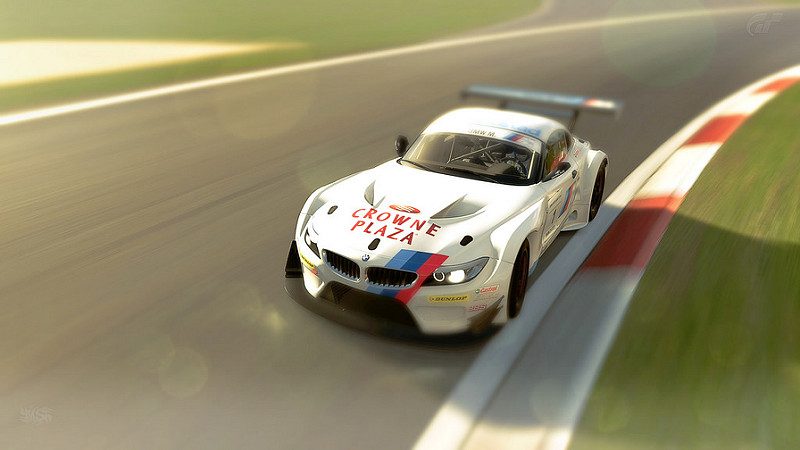 BMW Z4 GT3 Nürburgring