Hot Wheels and Matchbox Customizing Thread

  • Thread starter CodeRedR51
  • 9,226 comments
  • 1,186,248 views
mmmhh.. if you didn't remove the original finish, then the paint chips might present themselves sooner. Having to stick to a surface as smooth as a finished paintjob might make the paint even weaker. I'd be interested in knowing how the paint fares if shot over the original finish, let me know please (:
 
Cool work AOS 👍, i have to say though (imo) as individual cars painted almost completely flat black (stealth) with exception of some of the lights, it really doesn't do much for me.. but as a piece of art displayed together in your display case, it works really well indeed.. more-so with the silhouettes that are more easily identifiable ie: Impreza, slant-nose Porsche, BMW 2002, McLaren F1, Gallardo and Continental..
I feel the other silhouettes don't work as well (even though i can tell what they are.. just not as strong), so leaving the case open to swap and change is quite a good choice, not too keen on the additional layer of cars on the top though.. i feel the case should frame them.
 
I keep seeing a parking garage out of it so I might even add a thin metal rod barrier like a fence so it will look like the roof-level.
 
Came out pretty good, AOS-. I really like it. The M3 and Civic look great without the wing. Did you use anything to sand down the putty or just filled it in?

Definitely looks cool as a whole set. Nice job. I'll have to take another look when I get on a computer. Currently using the GTP app..
 
I did do a bit of sanding, but for others, the putty wasn't a good mix, because by some stupid idea, the manufacturers thought it was a good idea to put the putty and the hardener in the same tube, but they don't come out of the tip at equal proportions. Me not wanting to be wasteful used the hardener-heavy compound to fill in the Ford GT's wing slots, which also happened to have the deepest and widest slots too. What ended up happening is that there wasn't enough putty applied to at least make the surface flush, but adding more just made a huge mess.

Cleaning up was a PITA. Maybe I should just use my thumb to wipe excess off if I got it on spots I didn't want them, because using a latex glove to work on tiny things is really frustrating sometimes. I might try this again another time, just not with THIS many cars to do....

To solve this you should have used the trick I used with the top of the Alpine cop car, with a little aluminum can plate under the wing slots, then the putty, then the sanding.
 
Nice job with the cars AOS. 👍

They all look excellent. But the NSX, McLaren and the GT LM would look even cooler with the spoilers on them as well.

That M3 looks real nice, almost like a wild untamed beast only inside the engine bay, but has a normal look to it. A true sleeper indeed. 👍
 
Hey Guys, this is my first post. I really like the work I am seeing here. I've got a couple under my belt but plan on doing more and trying to get more detailed. Here are two of my cars...

Before:
11539_1184194819447_1665550884_30605884_5645734_n.jpg


After:
11539_1184194779446_1665550884_30605883_6412026_n.jpg


Before:
11539_1184201499614_1665550884_30605893_1978310_n.jpg


After:
11539_1184202219632_1665550884_30605900_2516775_n.jpg


Working on a Lamborghini Marzal right now. Almost done but I accidently melted the windows when I baked the filler work I had done. Rookie mistake. 👎
 
Call me picky, but I really don't like that gray on that Mustang. It reminds me of concrete walls in a basement parking lot. :(
 
I do like the work on the Mustang, even the color palette, but I would have gone with wider/bigger rear wheels, and even another wheel design. The blue Isuzu looks cool, though.
 
Yeah, the Mustang was kind of a throw together with whatever paint and wheels I had around. Got a bit more detailed with the Rodeo. Removing the rack on top left a hole in the roof which had to be filled in and I did a bit of trim work around the wheel wells.
 
I assume it didn't roll with the giant wheels on. Have you tried the new Matchbox off-road tires? They're not as big so they would look a lot more accurate to the picture than those gigantic ones you have there.
 
Nice work DCaster28. Thanks for bringing those pics over to this thread. I like the way you transformed the Mustang - though my choice of wheels would have been different. Still - a great improvement on the original! Please do bring in more of your work - looking forward to your projects.

Cano - the flames on the Caddy are gauche - no doubt about it - so yes, it is gone. As well - the shiney black bumpers turn me off - so considering a redo that will give more of a carbon-fiber look.


I'm involved in another project (out of a hundred) - I need to replicate myself.

100_8551.jpg


100_8554.jpg


100_8534.jpg
 
wtf are those, Photonrider? Jadas?

Also, last time I went to paint cars with my bud, one of the paint guns we used, the one for the final clear coat at that, was dirty, and the cars got black dots all over the paint jobs, so I'm right now stripping the off the paint yet again. Duh.
 
Yep, you're right Cano. Those are JadaToys scales. And they are easier to open up and close than a HW/MB car.

Now come to think of it, I'll look into some of these scales for some designs also. Since the 1:64s have small screws that you can actually take apart with a screwdriver.

I have to see how the Supra, Skyline and the rest of the cars come out.
 
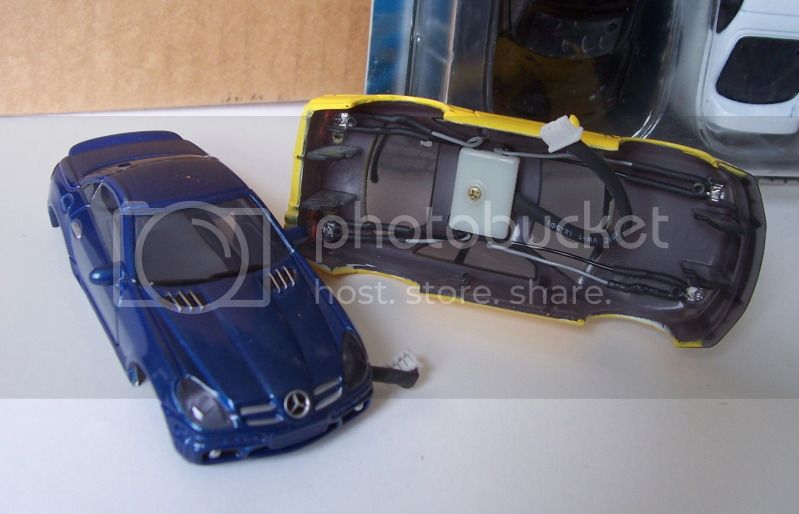
The windows are attached to the body...or am I missing something?

They are, you have to drill out the rivvets that hold them to the car if you want to take them out, too.

EDIT:

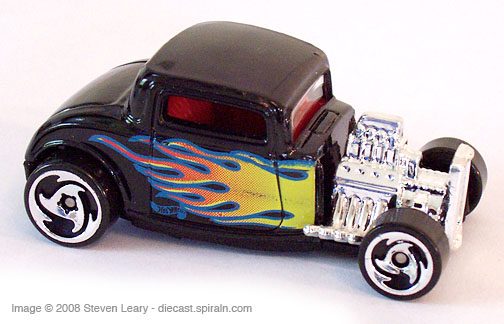
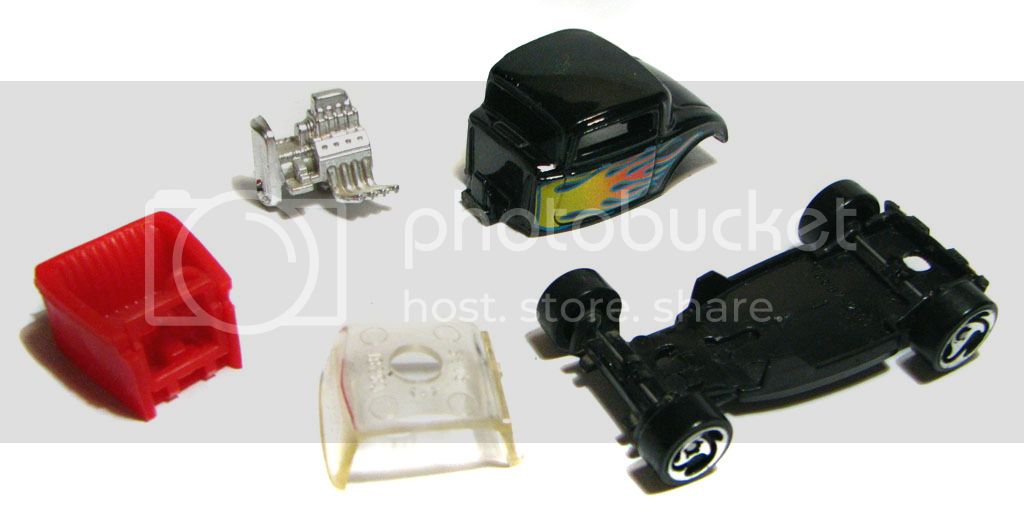
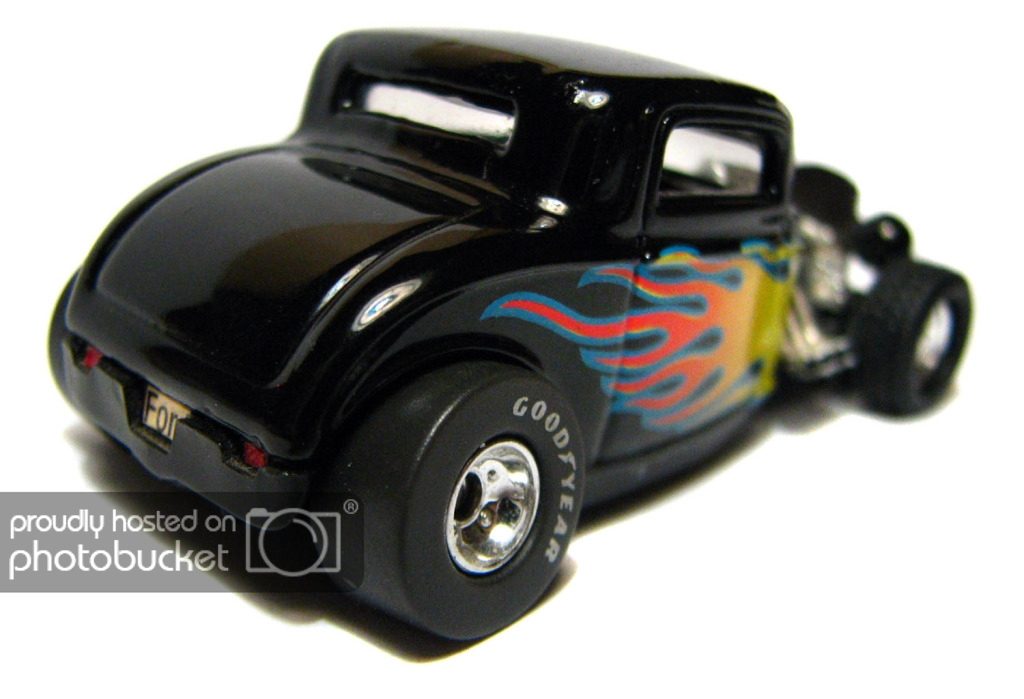
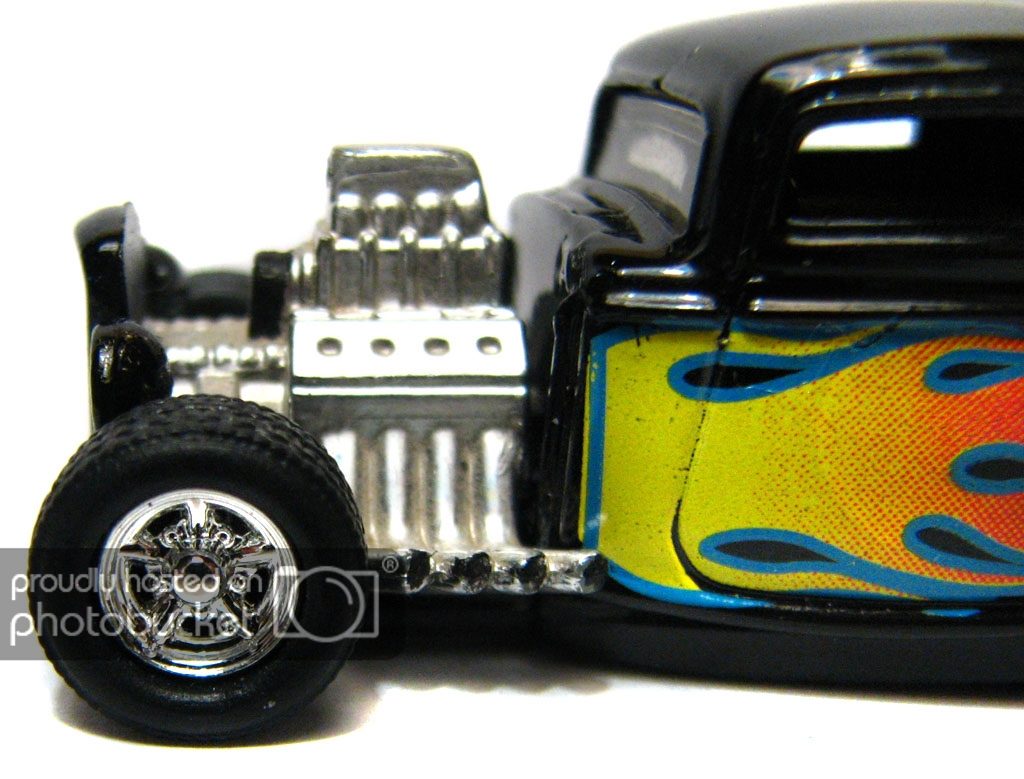
Ah, fresh page, so I'll kick it off by showing you a relatively light custom I did with the 1998 FE '32 Ford 3-Window. I've ALWAYS loved this car, the stance is right on, the chop is perfect, the proportions are pretty accurate, the engine is decent and the flame tampos are the absolutely perfect crowning touch. The wheels, though…

hw_32ford_1998a.jpg


There was also a later edition with the usual 5-spokes, but these wheels were in all the early editions of this car, and they frankly suck. So, a shoe swap was in order.
IMG_5489.jpg


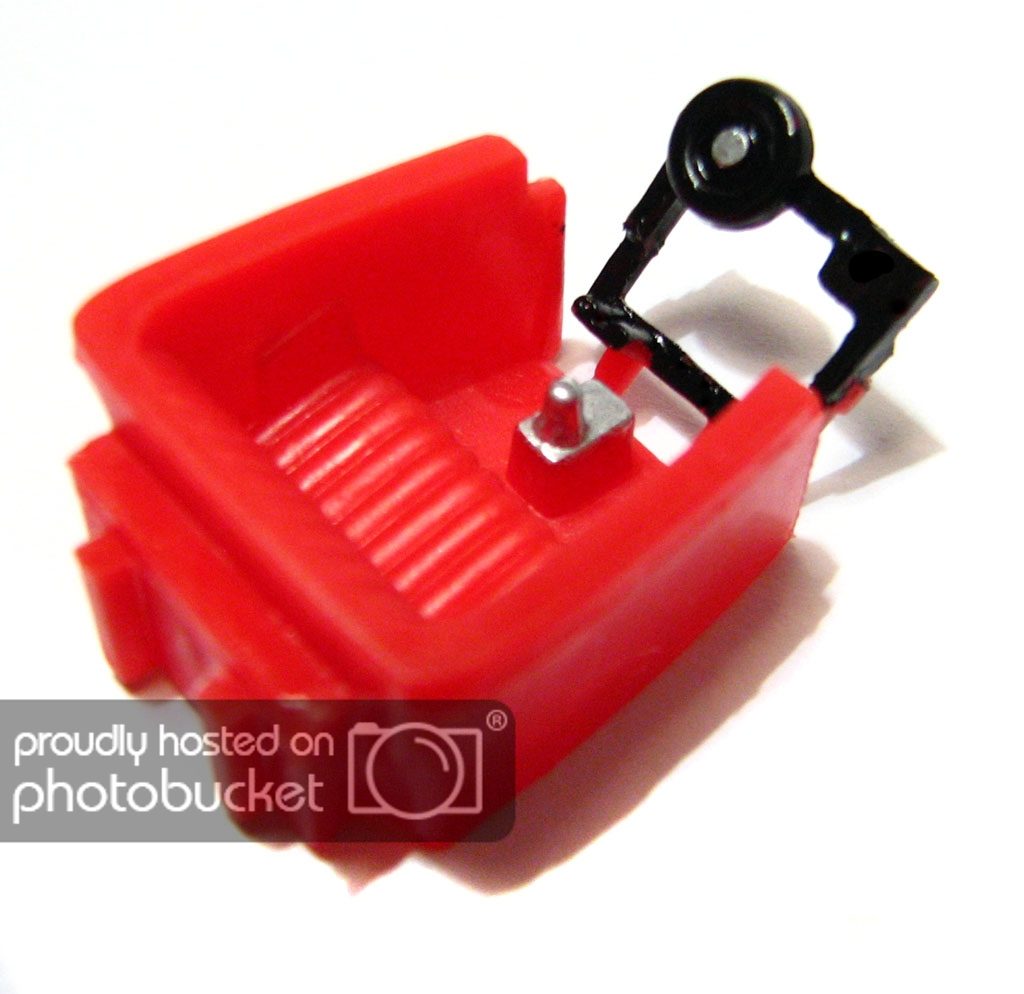
The interior was slightly detailed, as much as can be:
IMG_6239.jpg


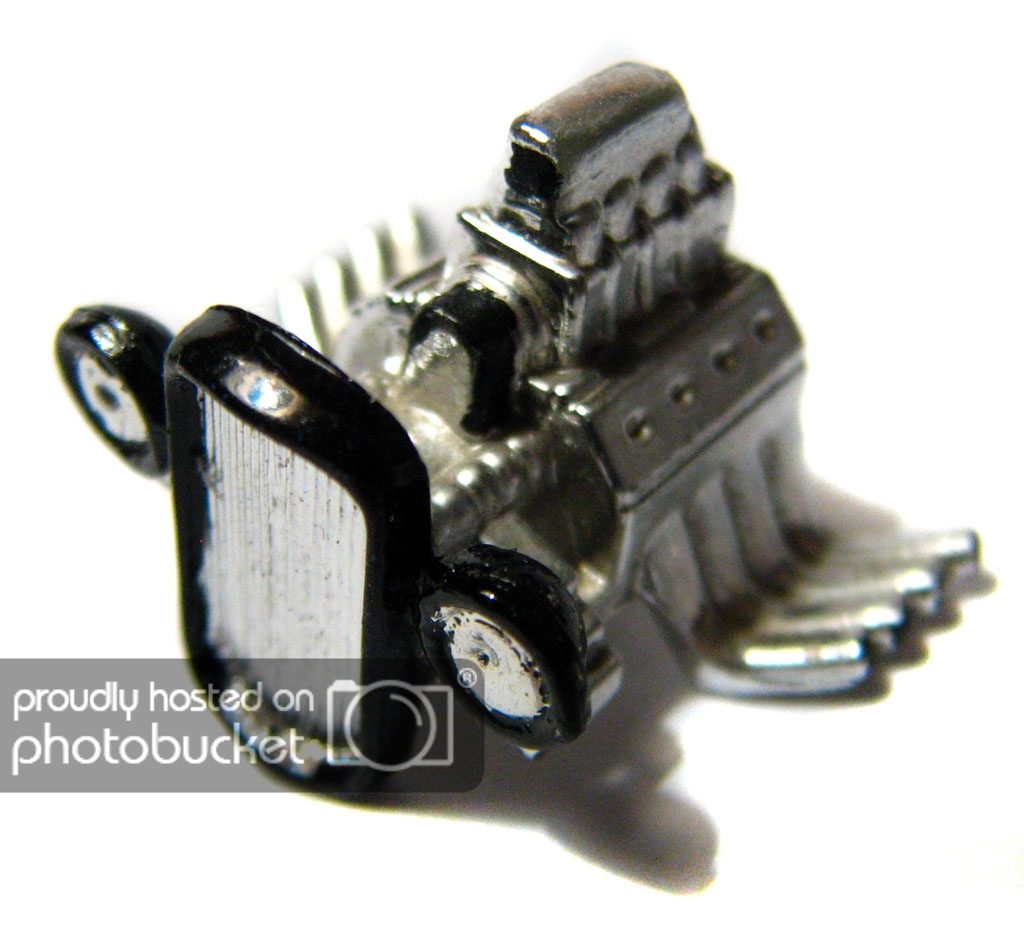
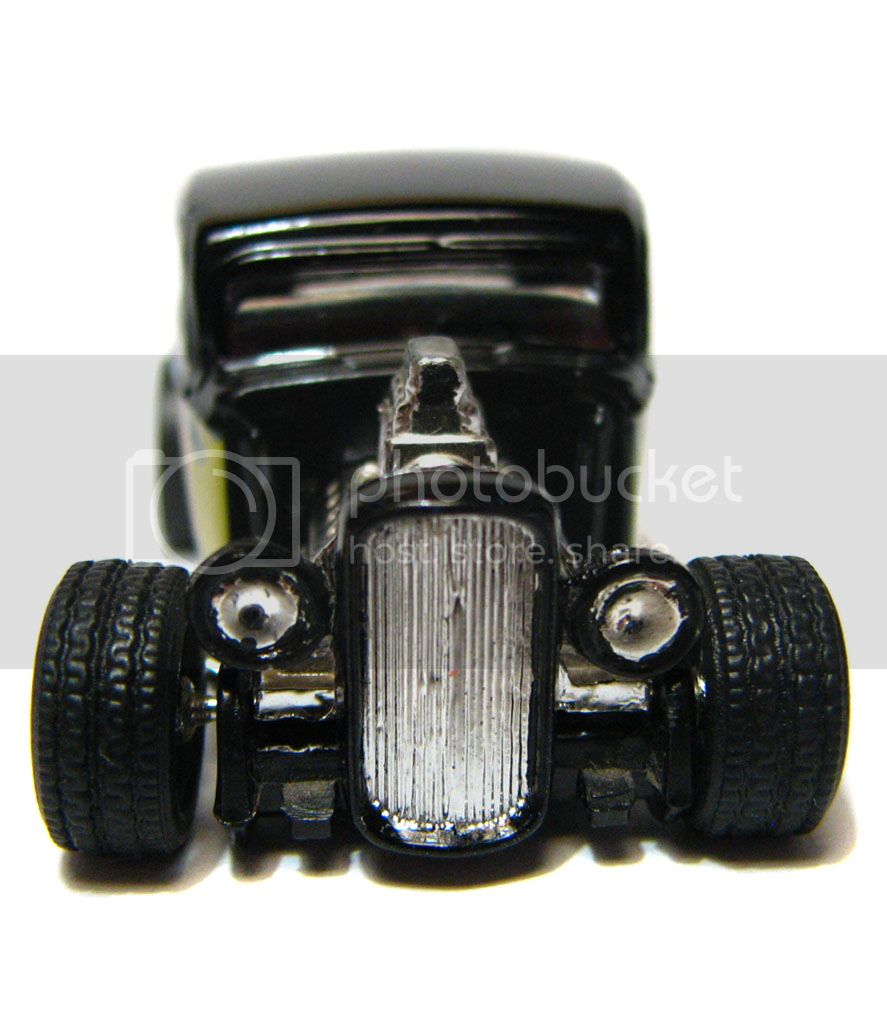
The engine piece was also tweaked a bit. The grille surround was painted black masking off the engine and grille shell. I always wondered how this car would look with headlamps, so a set was taken off a china-made old car and their buckets painted black:
IMG_6240.jpg


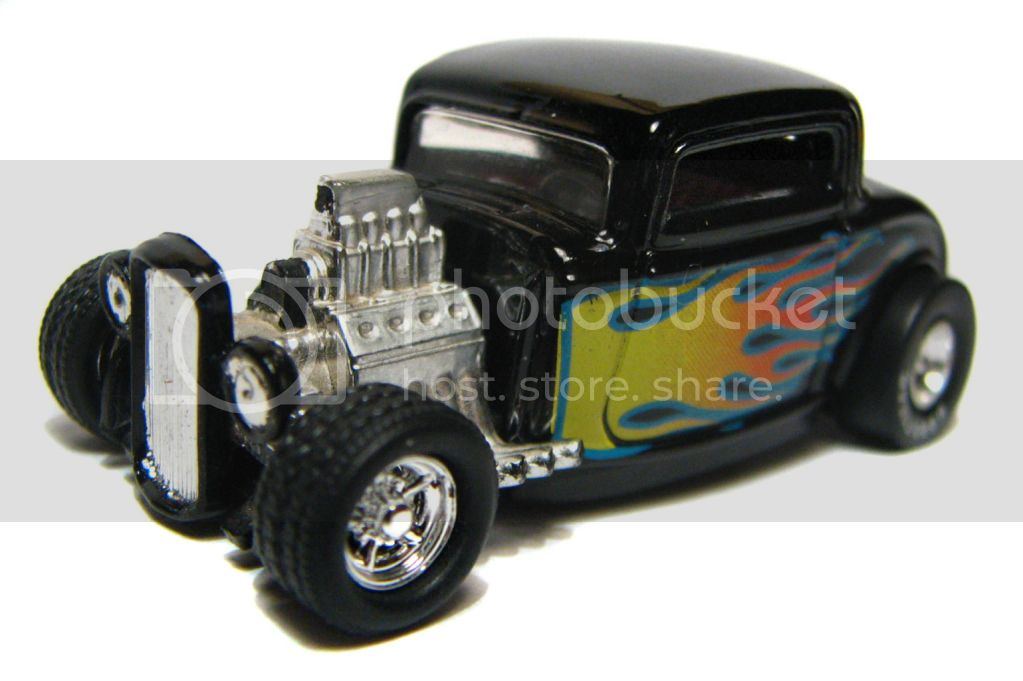
The final result looks like this:
IMG_6439.jpg


IMG_6440.jpg


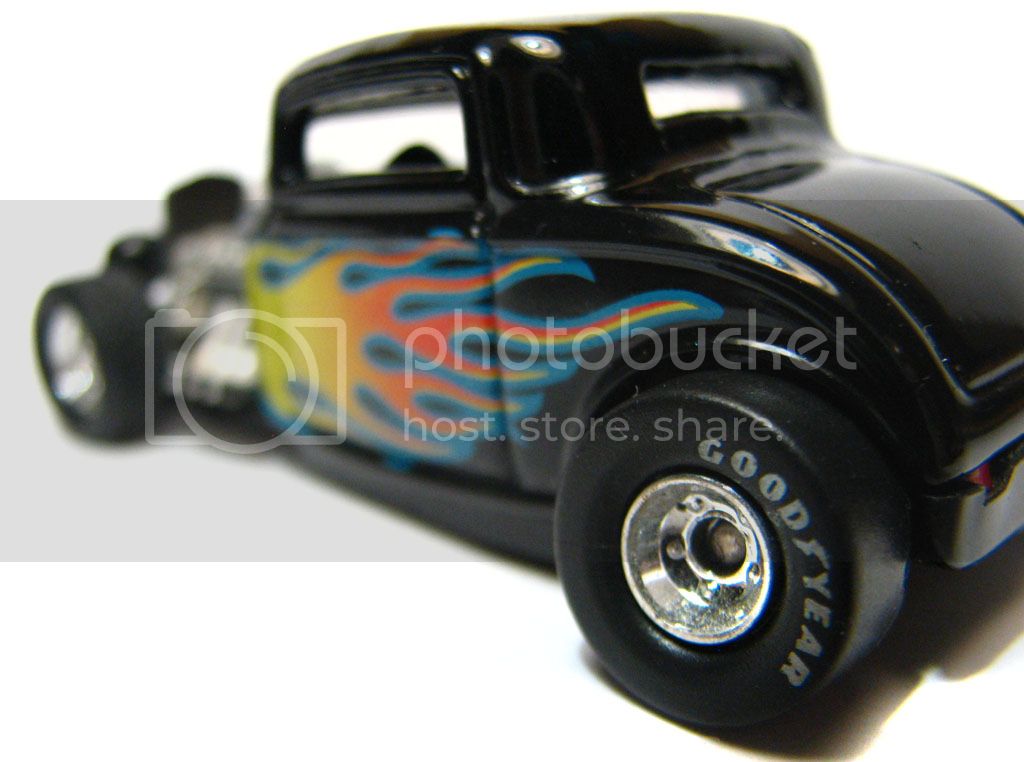
A coat of clear was sprayed onto the body to protect the flame tampo for life.
IMG_6442.jpg


The difference the headlamps make is dramatic, it now looks like a very hot street rod.
IMG_6441.jpg


For the wheel swap I used two single sets that came in the axle lots I bought off E-Bay a few months ago. The skinnies in front and Goodyear-lettered slicks in the rear were perfect to make the car look like a street car with it's drag-only tires bolted on for a night of fun.

IMG_6443.jpg

IMG_6444.jpg


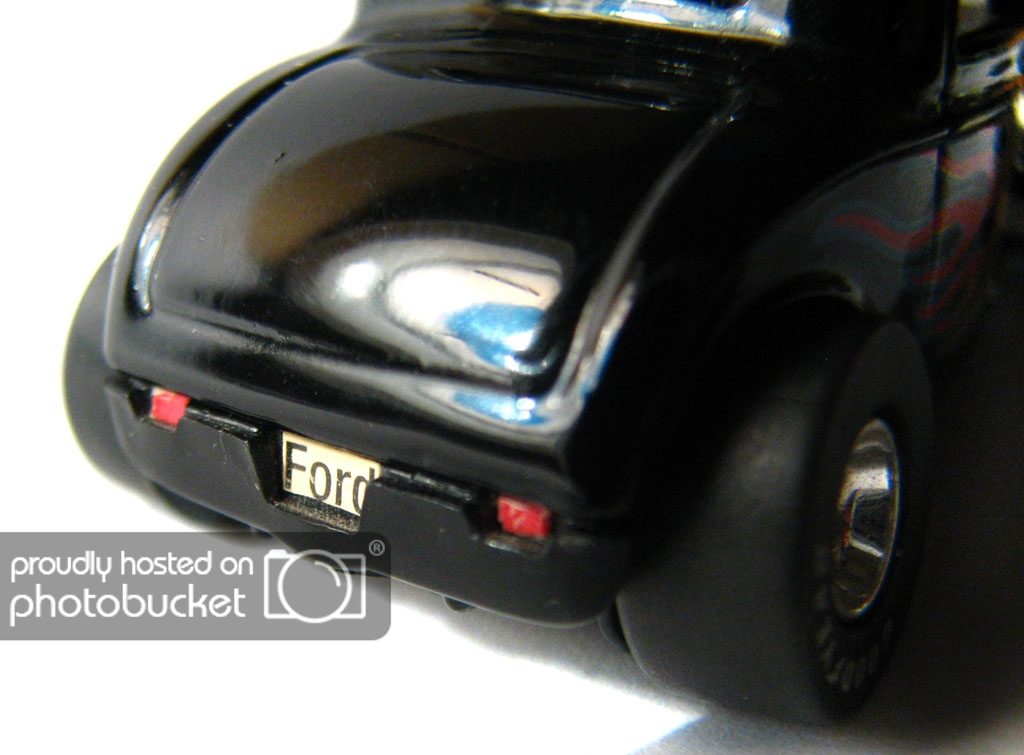
And finally, the car already had these little details, I put them there myself more than ten years ago, because this car was the original one I bought back in 1998 when it came out. Both the taillamps and the plate are stickers that have been there for close to 15 years.
IMG_6445.jpg


I have been collecting this version for a few years now, and I've got like 5 of these slated for this very same treatment. This won't be the last black, flamed 32 Ford you'll be seeing from me.
 
Last edited:
Hotwheels tampos are pretty durable, not sure they need protecting. :lol:

Anyway, I used to have every variation of that car before I sold away my first Hotwheels collection years ago. The 5-spoke versions are actually worth more and do look better.
 
Actually about the tampos it depends. Some seem to be really fragile, like on my Shelby Cobra where the stripe that goes across the whole car is basically missing. Paint is still in good shape, but the tampos got damaged really quickly. And that's just one example.

There is another reason to clear coat them though. Tampos often aren't as shiny as the paint and look like... well tampos. By clear coating them they look like they're part of the paintjob and nod just something that was printed on.

Great custom Cano. It's amazing how much you can do to change a car with a pair of headlights.
 
Hotwheels tampos are pretty durable, not sure they need protecting. :lol:

They're not. Well maybe in 1998 they still were, but today they are a freaking joke. I absolutely concur with what Apok said about getting it to shine as part of the paintjob too.
 
I don't sand either. I just strip the paint, clean with soap and water, clean out the hood/door lines with an exacto, clean with soap and water again, paint or prime/paint.
 
If you didn't see it in my other posts, I said I didn't take off the paint. I just painted over it.
 

Latest Posts

Back