The Before & After Thread

Don't own the game, so got this image from a Flickr GT6 group.

12048589354_80b5fa66b4_z.jpg


12049050016_e1be2ac892_z.jpg

Thanks for taking the time to edit my picture. It looks really nice.
 

Sunrise

So, i made another tutorial video, this one is longer and more in depth based on my speed edits. It's well worth a watch if you can bring yourself to sit and cope with me and my voice!

I'd like to think it's full of useful hints and tips but it's probably not!

I really hope you take the time to watch it because I took the time to make it!


Let me know what you think and if it's any help at all!

Anyway...Thanks for looking

👍
 
Last edited:
Downloaded the GIMP photo editing software to have a crack at editing. Apologies if this isn't that good.

Before:
13823427824_4f8e1b7da0_o.jpg


After:
13965075978_7c2d3323f6_o.jpg
 
14171033995_4b16e46a25_c.jpg


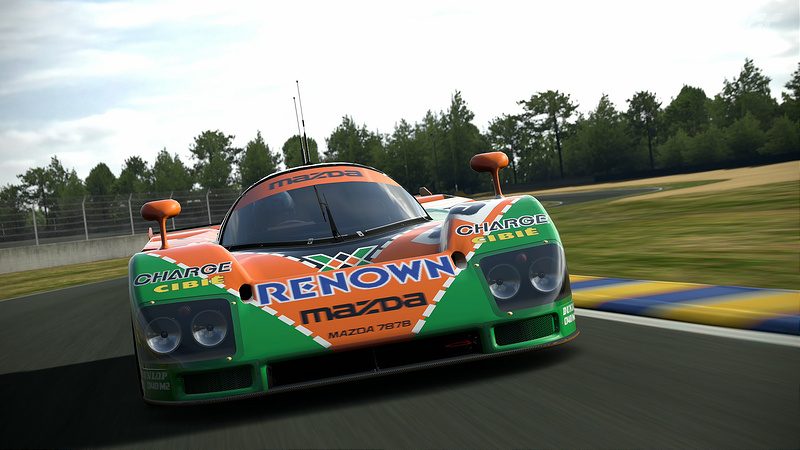
Mazda 787B 1991 24 Hours of Le Mans by Metalsun1, on Flickr

Winning an endurance race depends on three important factors, driver skill, automotive speed and reliability. In the 1991 24 Hours of Le Mans, the Porsches, Jaguars, Mercedes-Benz and Peugeots were clear favorites in the Group C category. So it was no surprise that Mazda, with its reliable reputation, was just another car on the list. Racing strategy is very dynamic but in essence, it’s a speed vs. reliability. Some teams went for speed, others, like Jaguar and Mazda went for reliability, slowing their cars on purpose. Eventually, the No. 55 Renown sponsored Mazda driven by Johnny Herbert, Volker Weidler, and Bertrand Gachot slowly crept through the field from a 19th place starting position to 1st after 22 hours. Jaguar 2nd and 3rd and the other 2 Mazdas finished 6th and 8th.
 
Last edited:
So here's an interesting one guys, could be my real struggle with editing. So first we have the original image:

City of Arts and Sciences - Night_8.jpg


Then I edited it and it looked like this:

BMW-VGTEdit1WIPFinal.jpg.jpg


Then I looked at it on my 5th gen iPhone screen which has better color, and I was really confused because it looked nothing like I thought it did. It was a lot more yellow-ish and not quite as grayish-ish blue. So tediously I kept tweaking and sending it to my iPhone to try and look like what it was on my laptop screen, and I eventually I got it pretty much right:

BMW-VGTEdit1WIPFinal4.jpg

^linked that last one to Flickr. Now I still didn't feel like it's quite right, it should feel a little more gray-ish silver, but I think that's about it. So yeah, I think that's kind of my struggle with editing, but this was the first time where I was like, "that's really not right at all." :D:tup:
 
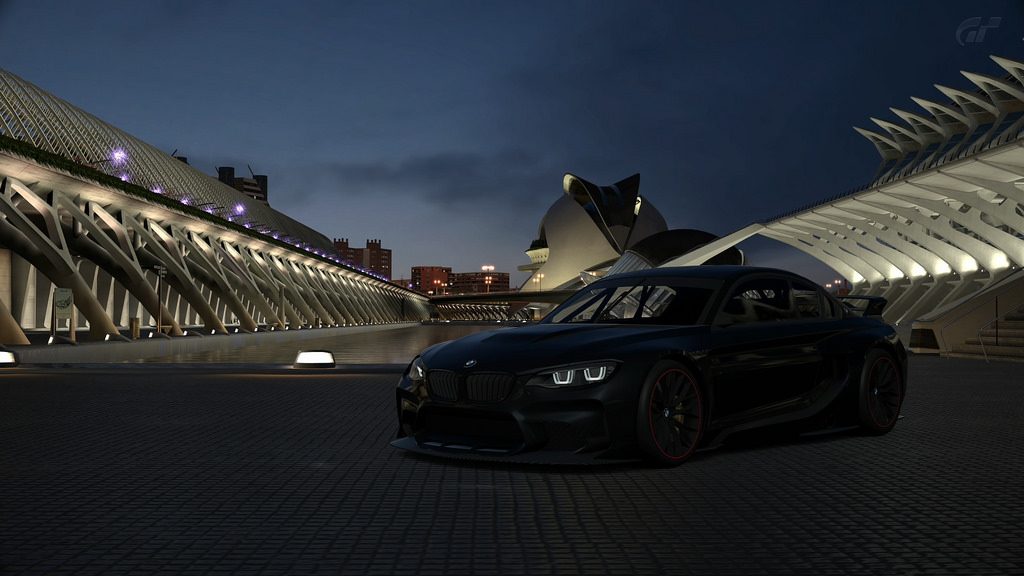
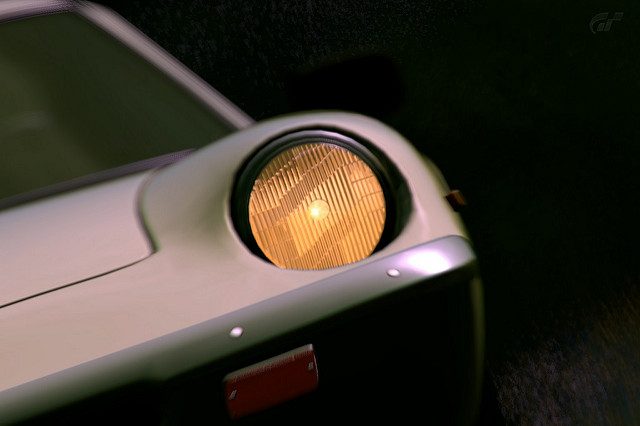
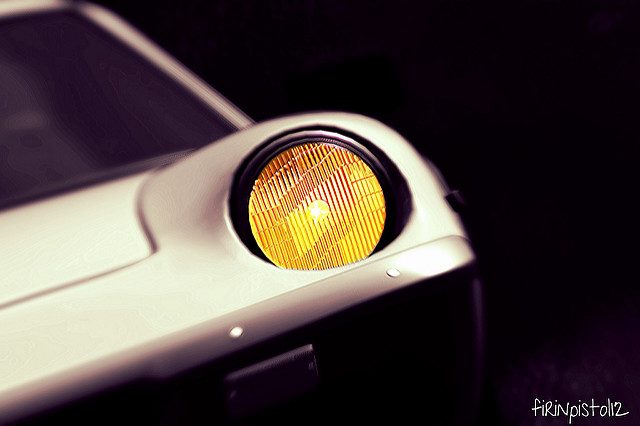
I've always wondered how you make lights "glow" Is it a preset option or do you make it from scratch?

I mostly do this:
-Make a selection of the light and copy it to a new layer
-Make another layer and fill that same selection with a red color
-Set these layers both to "screen" blending mode
-Gaussian Blur the red filled layer a bit
-Motion Blur the light copy layer a bit
-Play with the transparancy
 
Back