Yes, some companies charge a premium for fairly average engineering. I think a lot of guys who work on cars, especially those who race them have a good understanding of mechanical engineering which comes in handy for being able to spot the dodgy stuff.
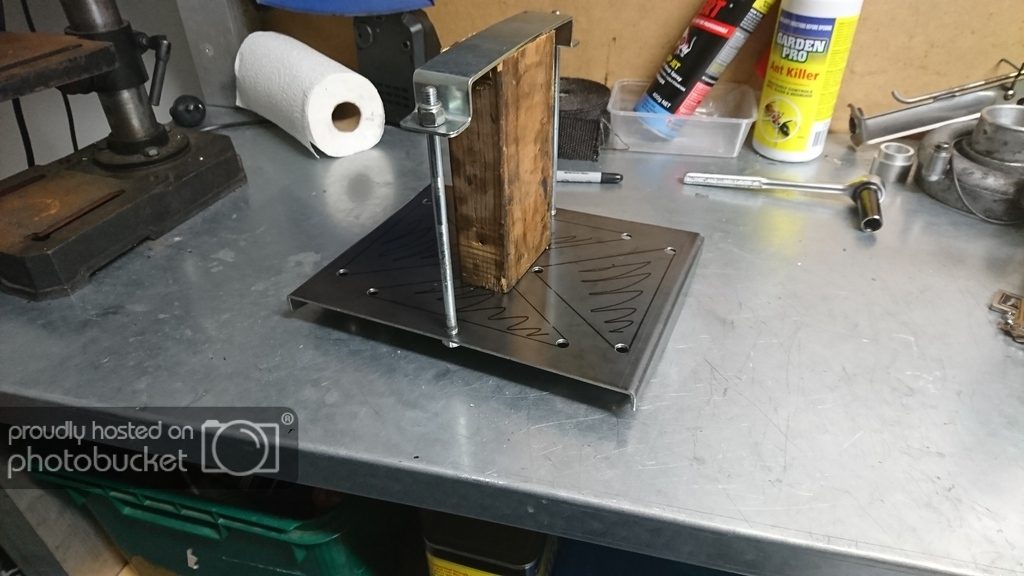
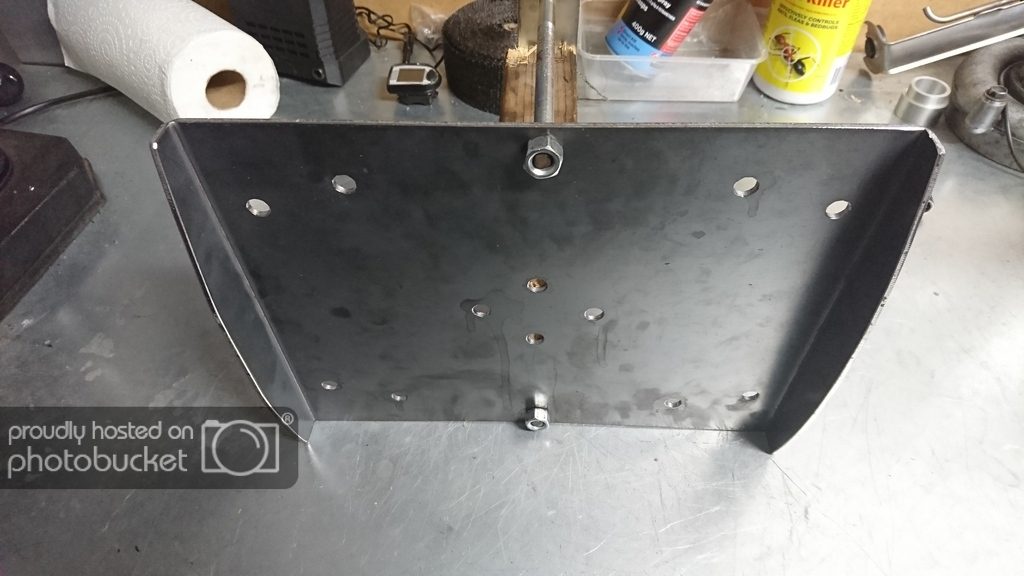
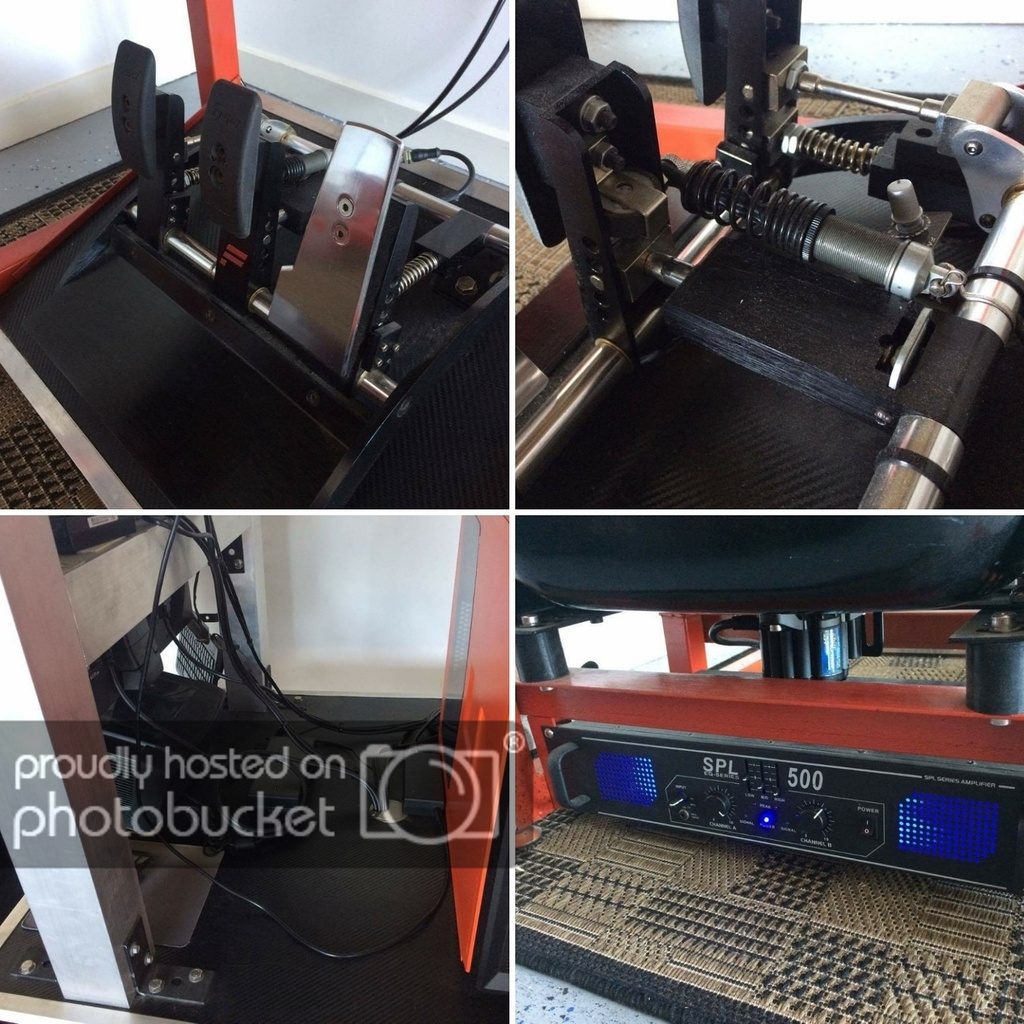
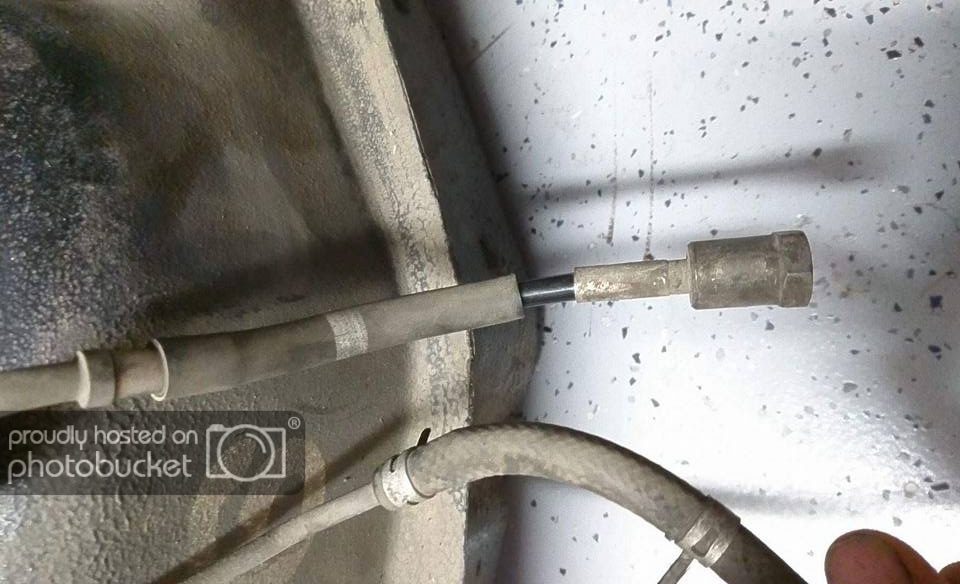
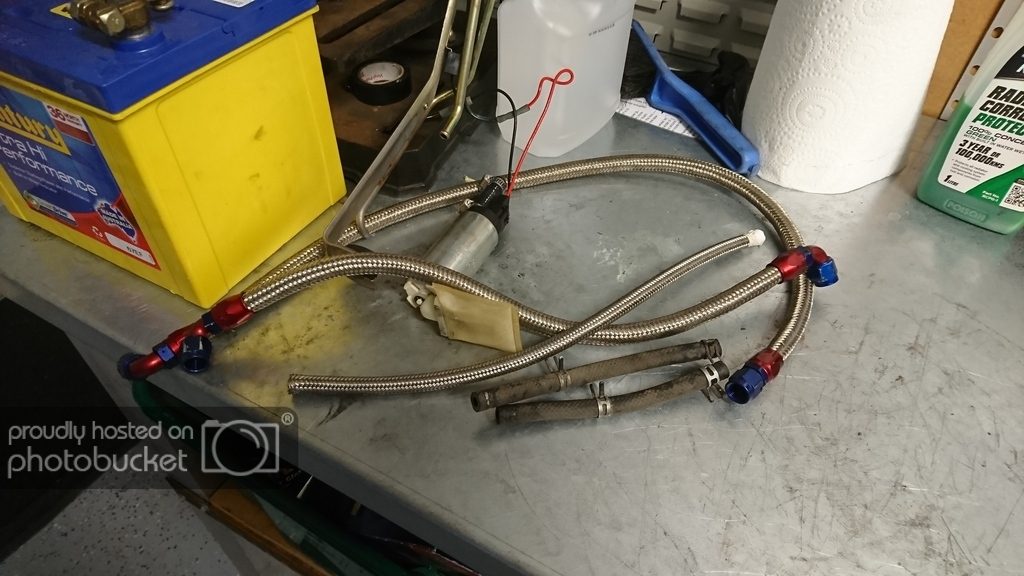
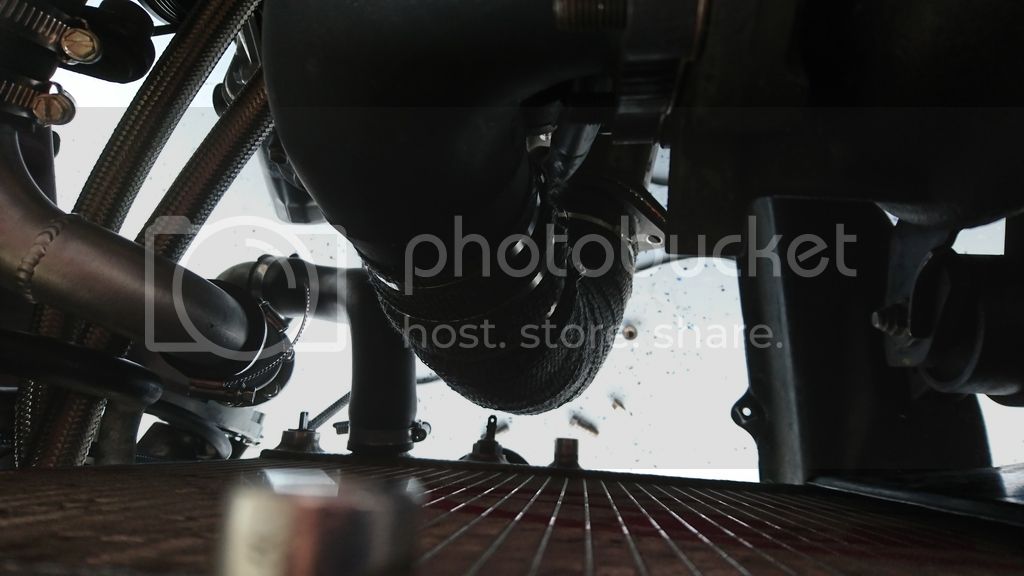
Anyway, back on topic, I'm bidding on a new Flex Fuel sensor someone bought for a project and didn't end up using. Might be able to save myself some money compared to buying one from Haltech. I just need to buy some new fuel line for the engine bay, I need to replace the rubber braided with teflon braided. Yay, I get to make more braided lines
")
(Seriously, I actually really enjoy doing it). The other thing I need to do is take off my fuel rail and get it sent in to get anodized. It's bare aluminium which isn't rated for E85, but hard anodizing improves the situation.

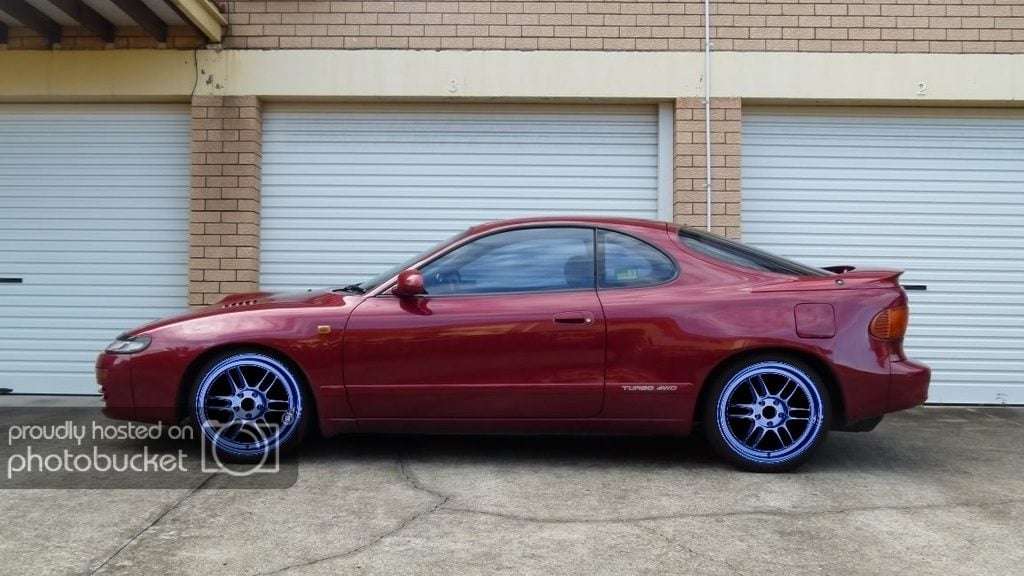

 . I agree that to pull it off properly you'd need a few racecar-y stickers and maybe a big GT wing
  .
.
 ) I spotted someone doing a GT4 rebuild. It's in pieces at the moment, on axle stands, missing numerous panels, etc. If we get the house around the corner from it I'll keep an eye on it and see if I can get some updates for you. It's white and blue...