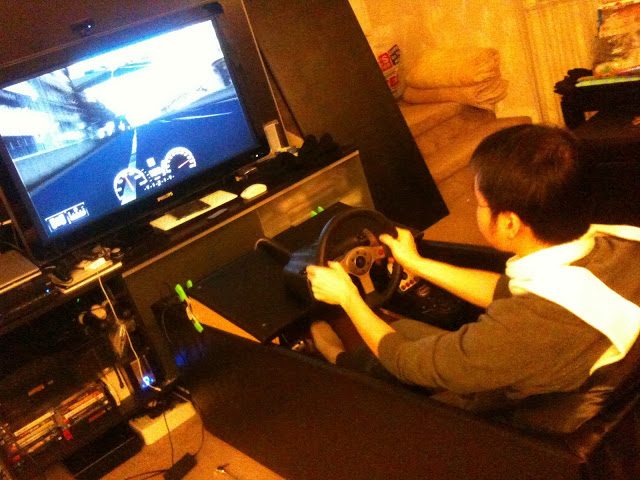
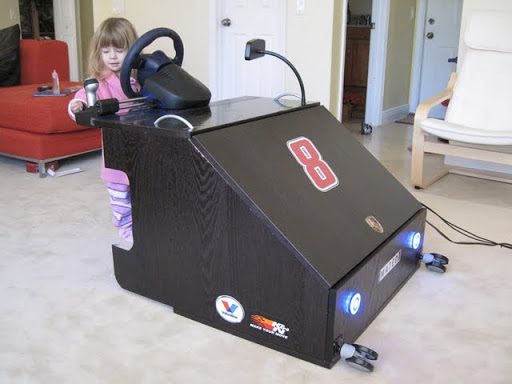
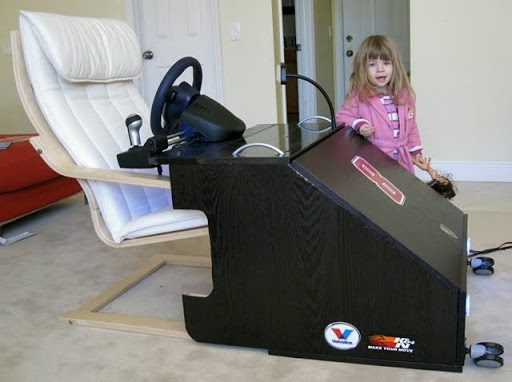
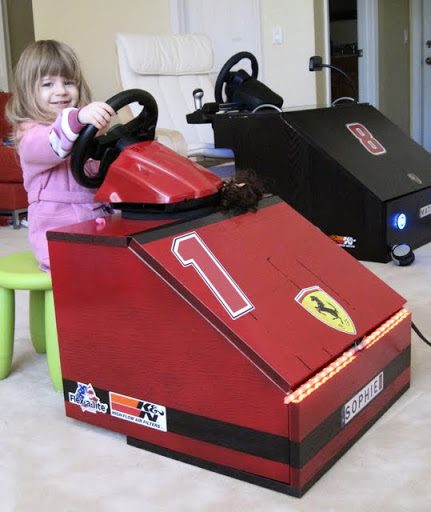
I had a sort of different problem for my cockpit needs. I needed a setup that was to be given to my six year old, it was the "condition" from the CFO to have it in our TV room. Myself I wanted a super cheap solution since I had never really done any video game racing and wanted to "test it" before investing in a more professional solution. On top of this I also wanted a second setup for an old $20 Logitech wheel I had purchased but never used.
A visit to Home Depot showed that it was going to be too expensive and too complicated (I never used any power tools and consider myself extremely novice in DIY projects).
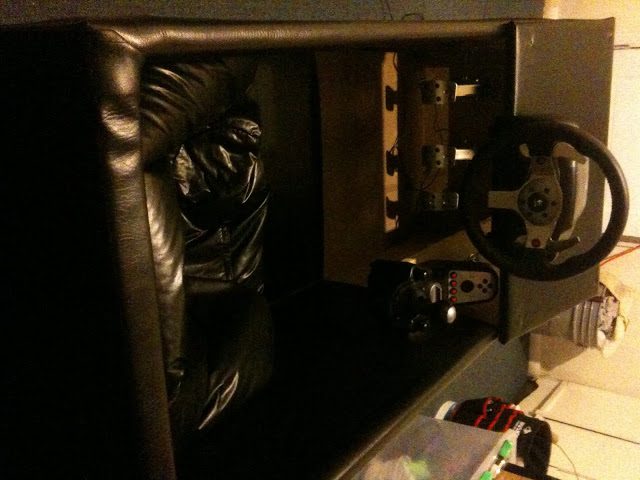
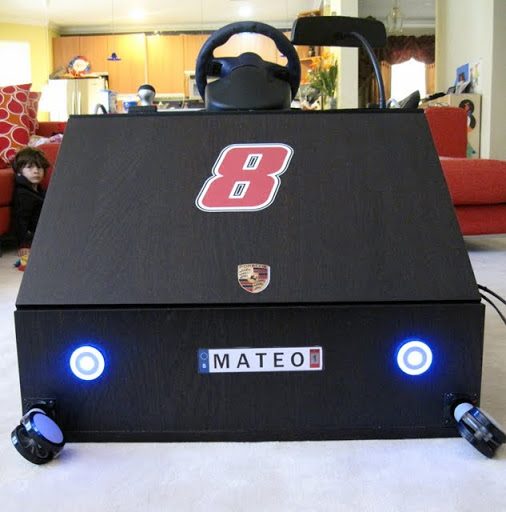
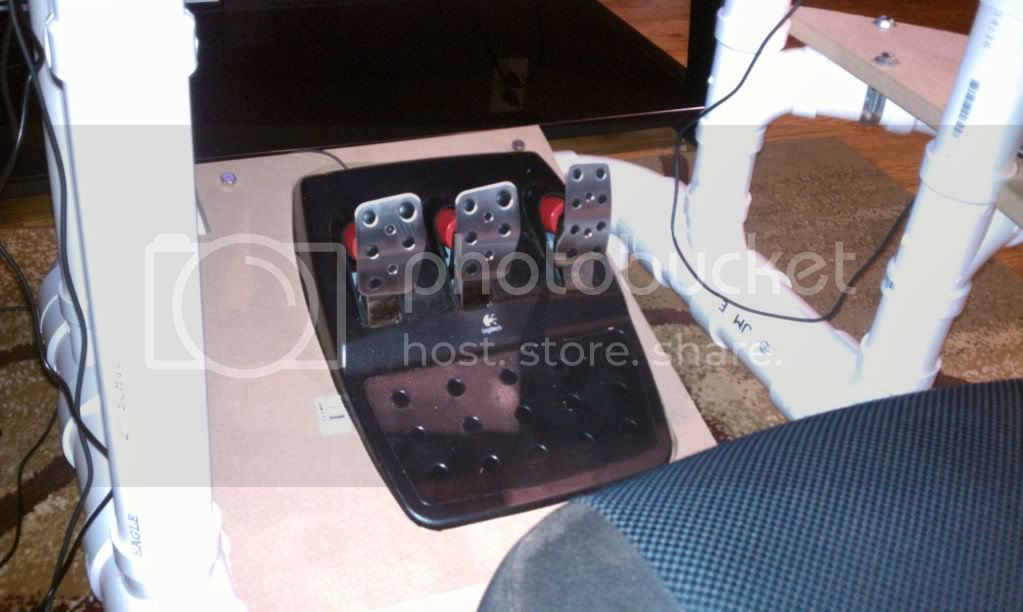
My solution was IKEA.I knew that they very often had discontinued boards/doors very cheap at their outlet corner. Sure enough they were discontinuing some black cabinet doors in tons of sizes. I bought a couple of doors at $3 each and togehter with my neighbours jigsaw I made the below solution. It is actually very sturdy (I used a ton of 90 degree angel metal brackets).
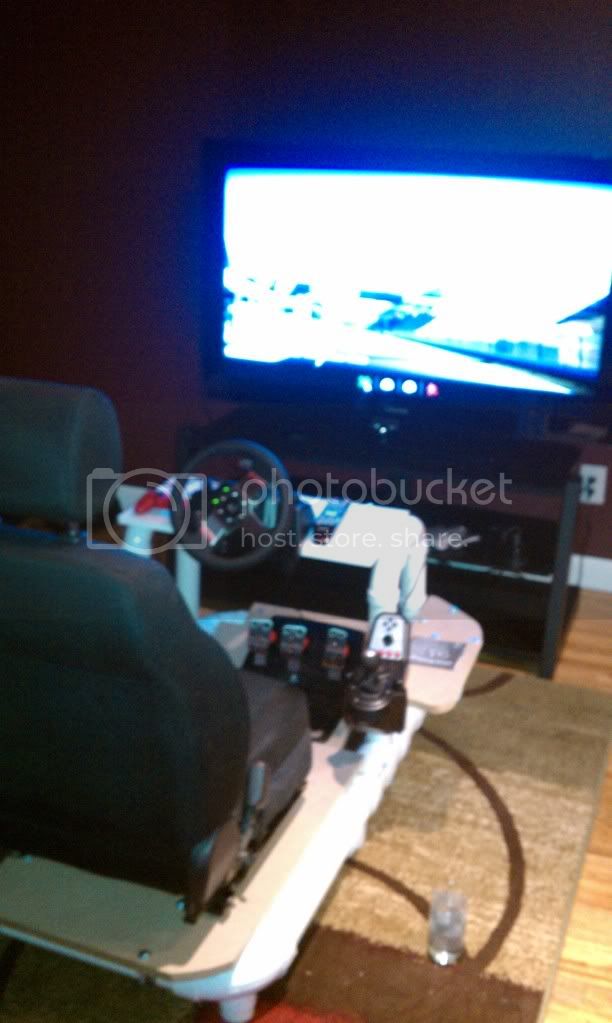
The measurements I made based on the height and width of my IKEA Poang chair.
Cost: $39
Cabinet doors $15 (5x$3) IKEA Outlet
Angle brackets $6.70 Home Depot
Screws $4 Home Depot
Caster wheels for easy removal to storage room $1 (2x$0.50) IKEA Outlet
Handles $0.50 IKEA Outlet
LED lights $5 IKEA outlet
Stickers $7 Internet
Rearview mirror (to attach my PS3 eye to later on) $0 (junk in my garage)
Extenion cable for power strip $0 (garage junk)
Car door mat $0 (garage junk)
Spray paint for accents $0 (garage junk)
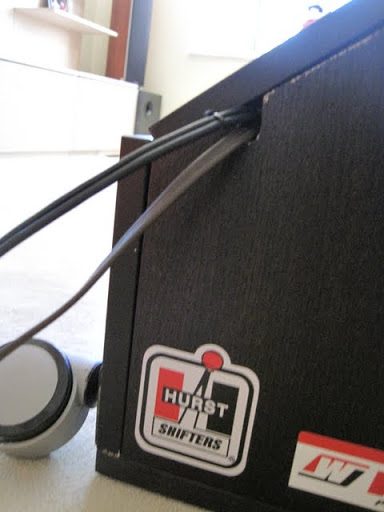
For USB and power cord cables:
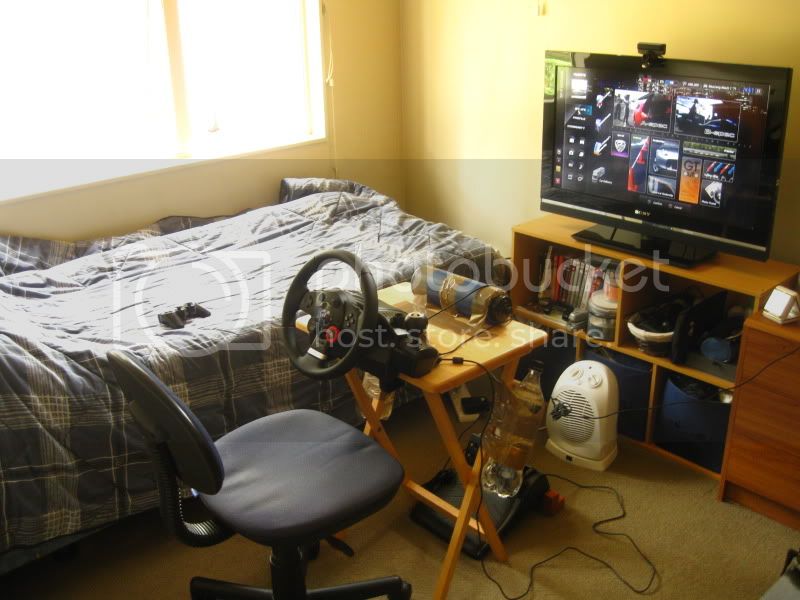
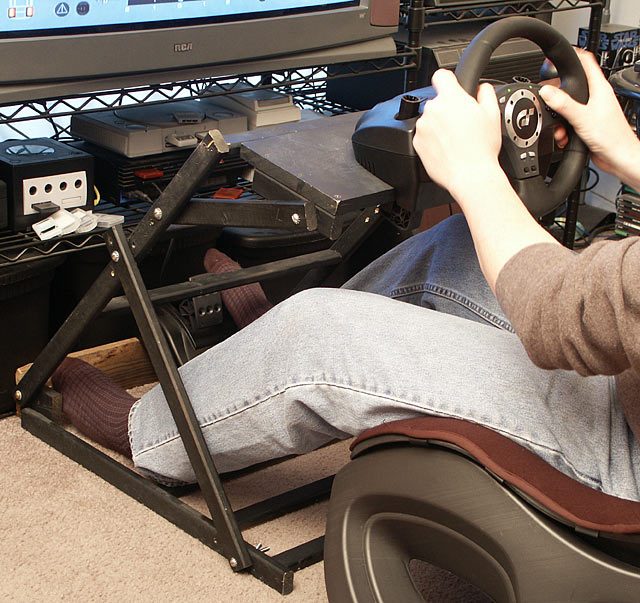
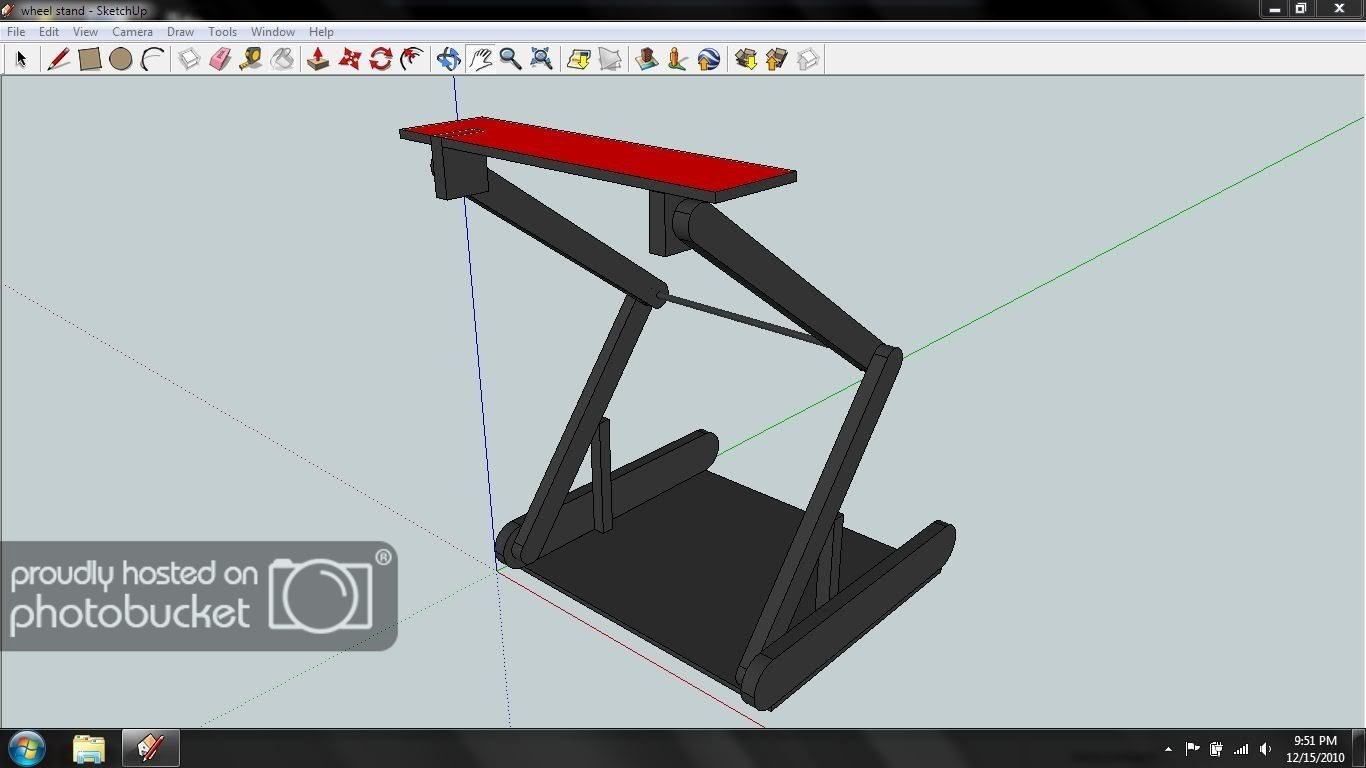
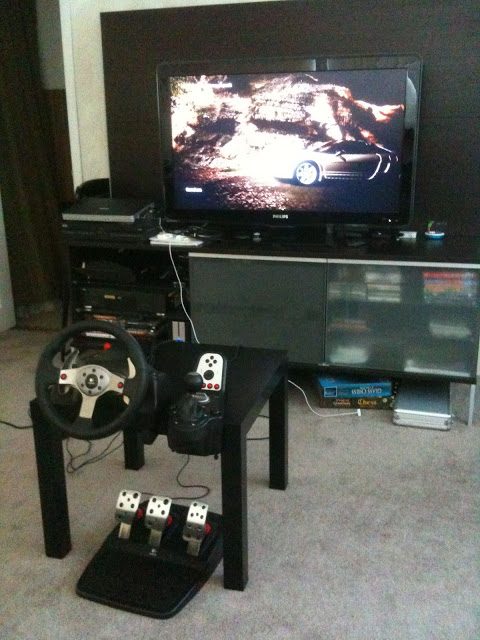
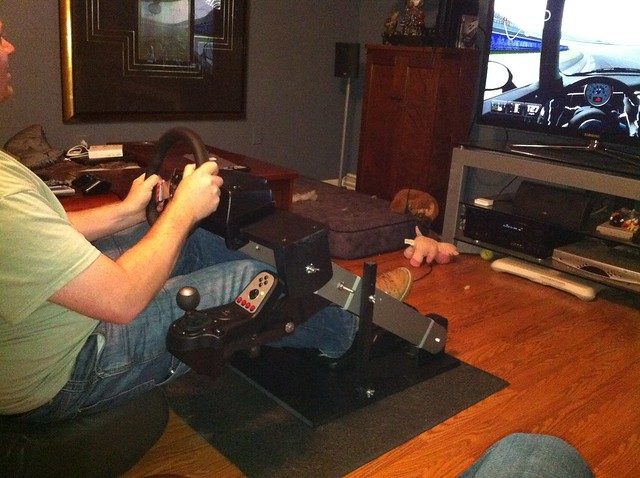
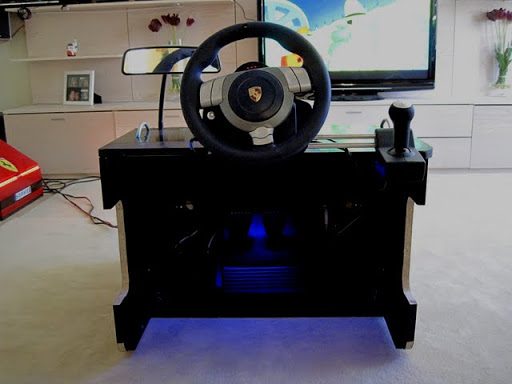
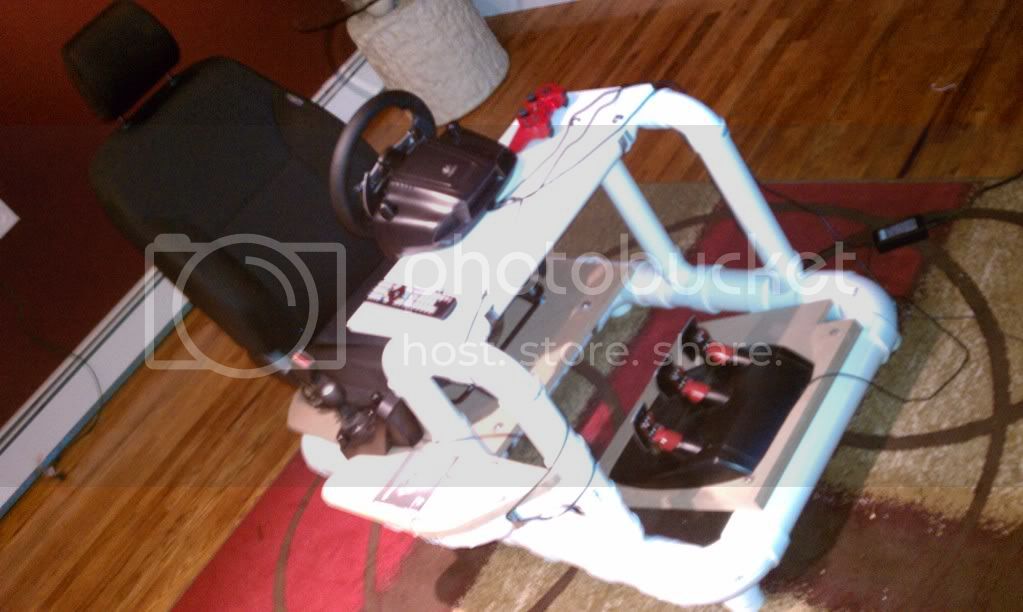
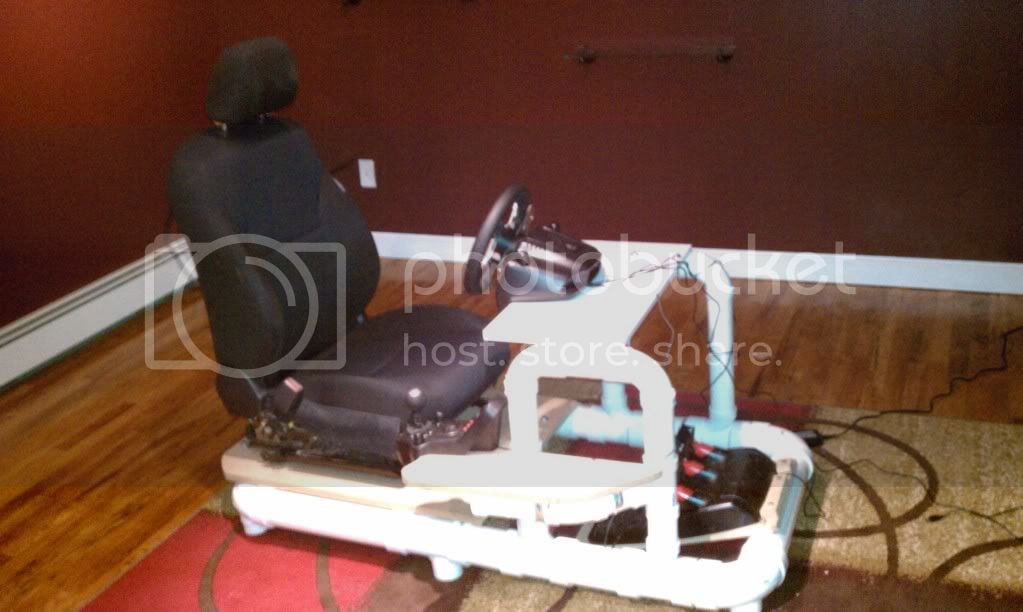
This small one I made for the old Logitech wheel I had
")
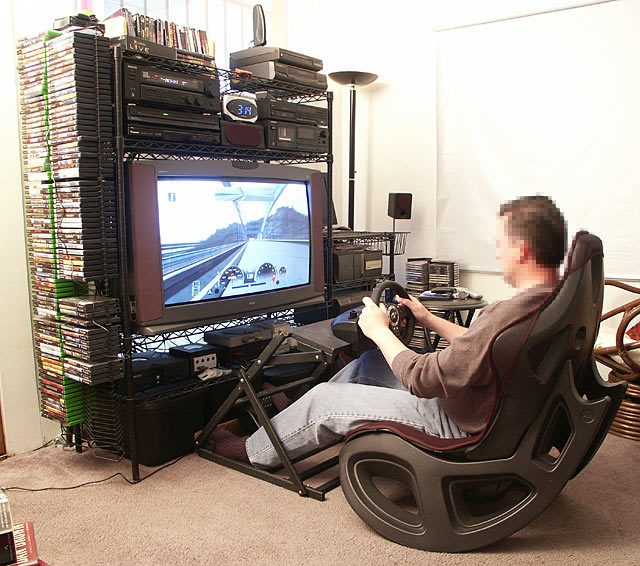
What a difference an AK Rocker makes.


")


 . I had to zoom in 5x to be able to see your photo.