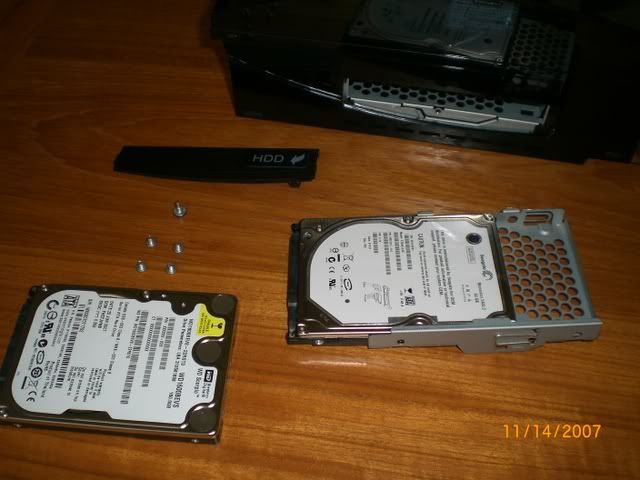
The new HDD drive has been working great, but I decided to test out swapping the drives such that I would be able to store games on both drives in the event the new 160GB driver ever got full, and sure enough it works great. The PS3 has no trouble despite the different drives having different copy-protected content. 👍
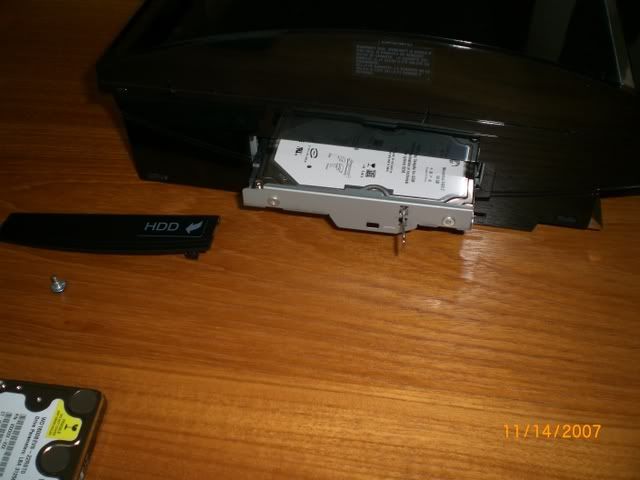
BTW: Although the process of swapping HDDs is very quick and easy, and the
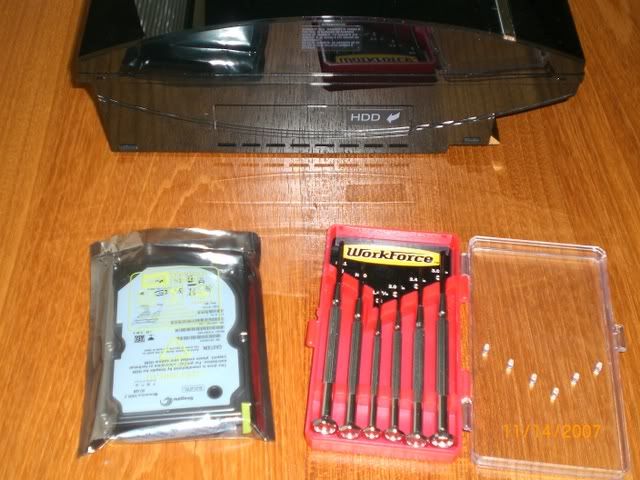
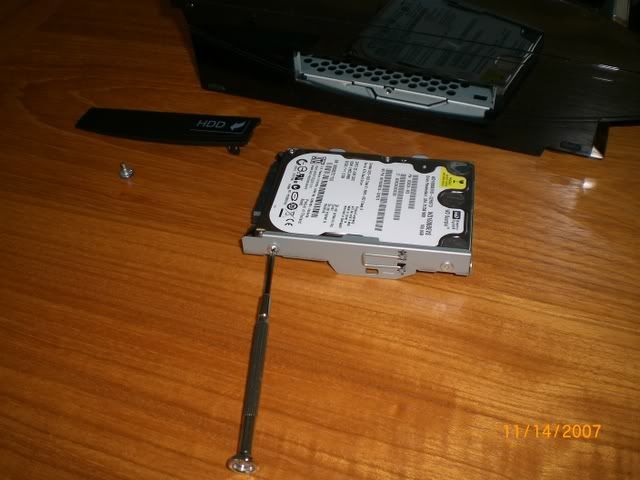
User Manual (page 16) does a very good job instructing exactly how to do this, I thought I'd document the process with pics
(click on any to enlarge):


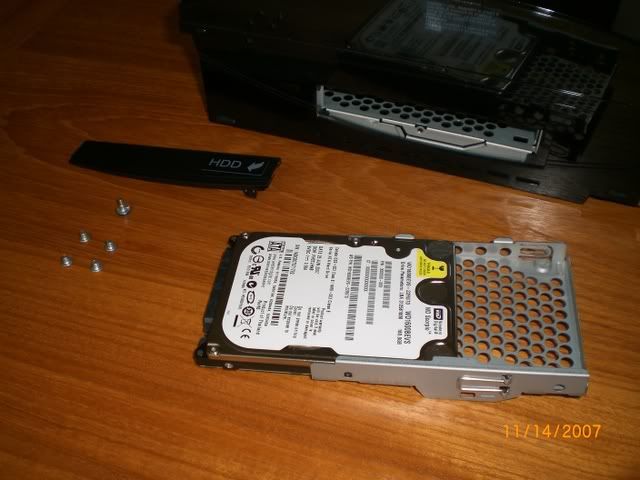
BTW: It may vary from one PS3 to another, but the five screws
(the blue one that locks the HDD case in place, and the four screws that lock the HDD to the HDD case), were tightened with a great deal of torque! Combined with having to use a very small Philips screwdriver
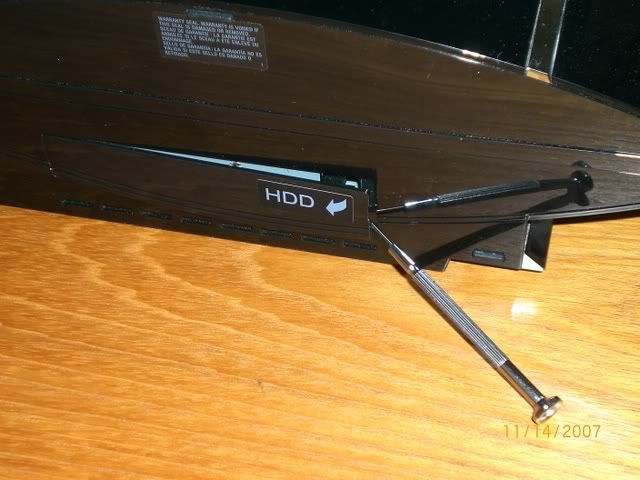
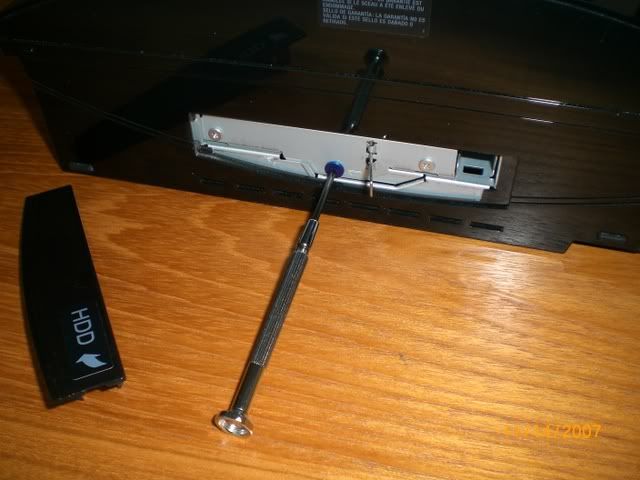
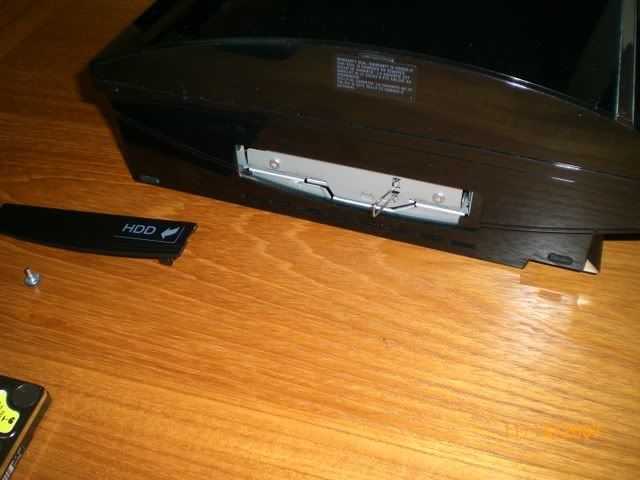
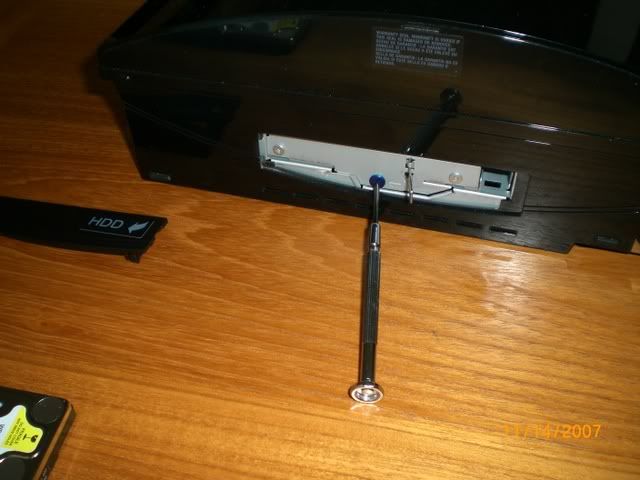
(as seen in the photo, I used the "No.0" screwdriver), it made it next to impossible to get enough grip on the screwdriver in order to break the initial pressure.
This can be a tricky situation, as it is easy to thread the drive, especially if you use too large of a screwdriver head. Just to be safe, I had my wife hold the HDD case upright, and then I used pliers attached to the hand of the No.0 Philips, and this gave me all the added leverage I needed, and was able to release the pressure on each of the five screws. Once they "popped", they all came out very easily.
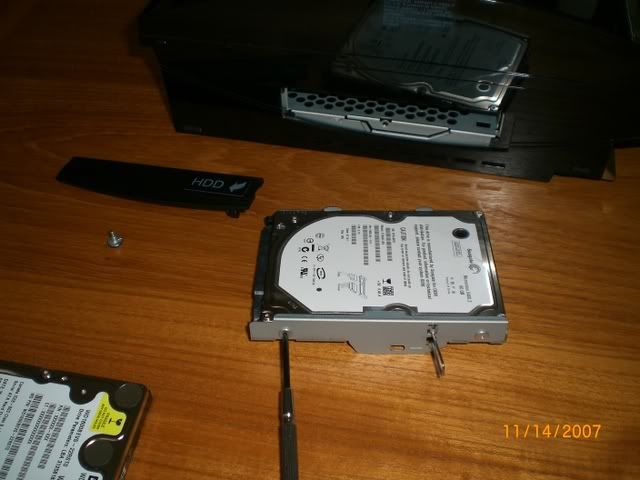
So that you don't have to ever deal with that again, just be sure to only lightly tighten them . In fact, I just lightly tighten them until right when they resist. These are not moving parts, so there is no need to have any of thse screws locked tightly.
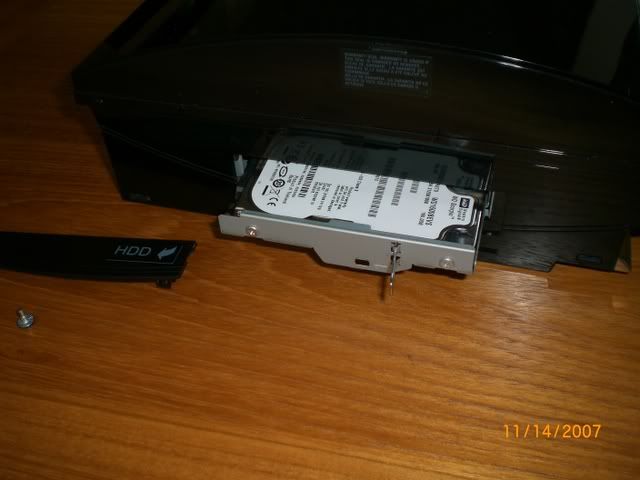
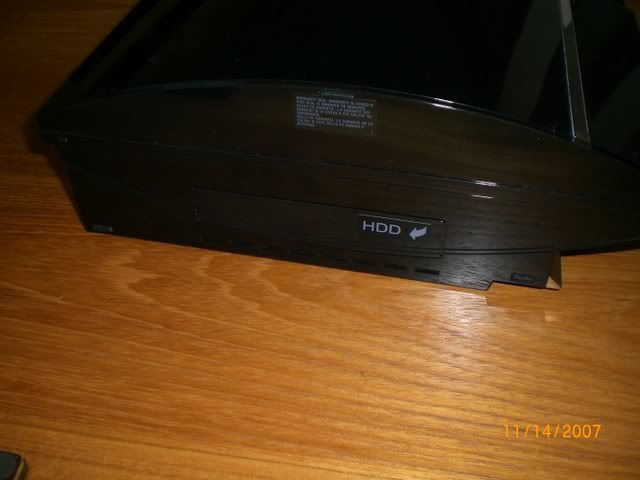
Any way, there you have it. Swapping HDD drives is extremely easy and fast. It takes me less than two minutes from start to finish.
Because you can swap out these drives, I now effectively have 220GB of HDD space and 660GB of external HD space. 👍
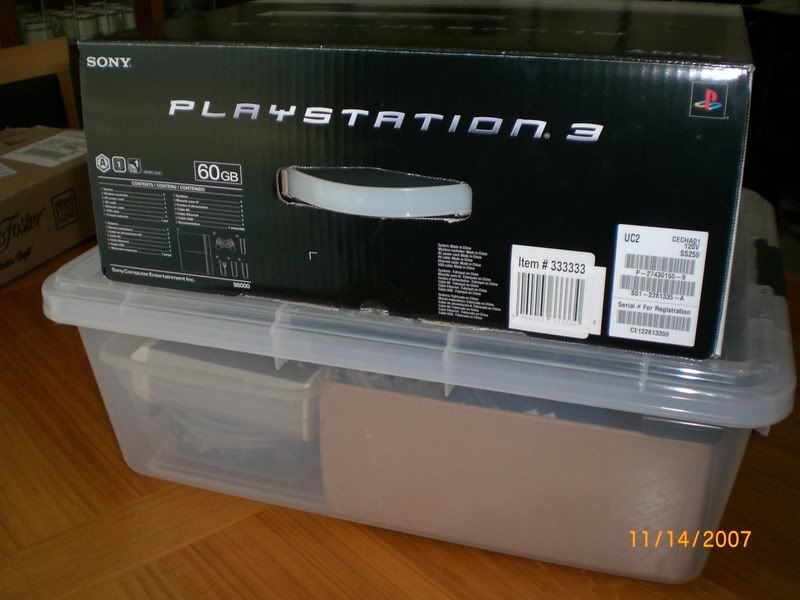
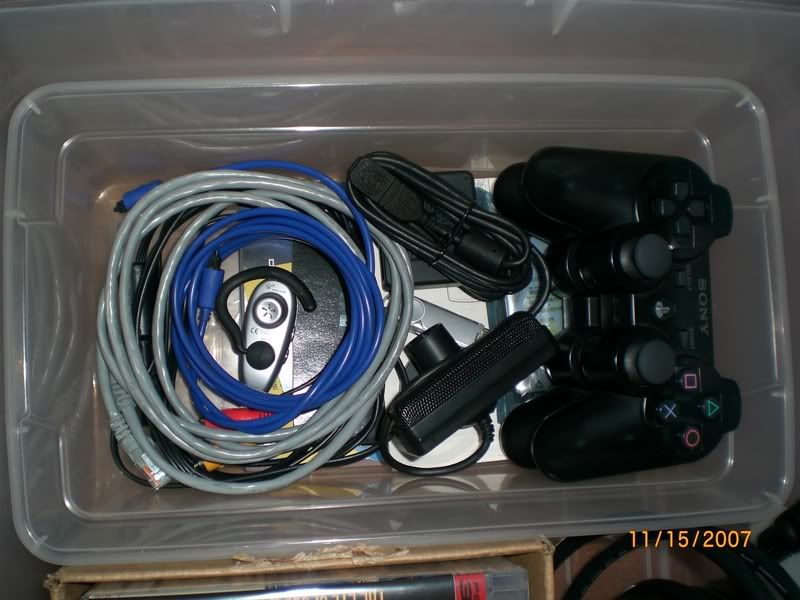
PS: For those that ever plan on taking their PS3 on the road, obviously the original box is ideal, but if you have a lot of accessories, HD's, games, cables, etc... I have found that a standard 8 gallon container
(16"x22"x8") is perfect.
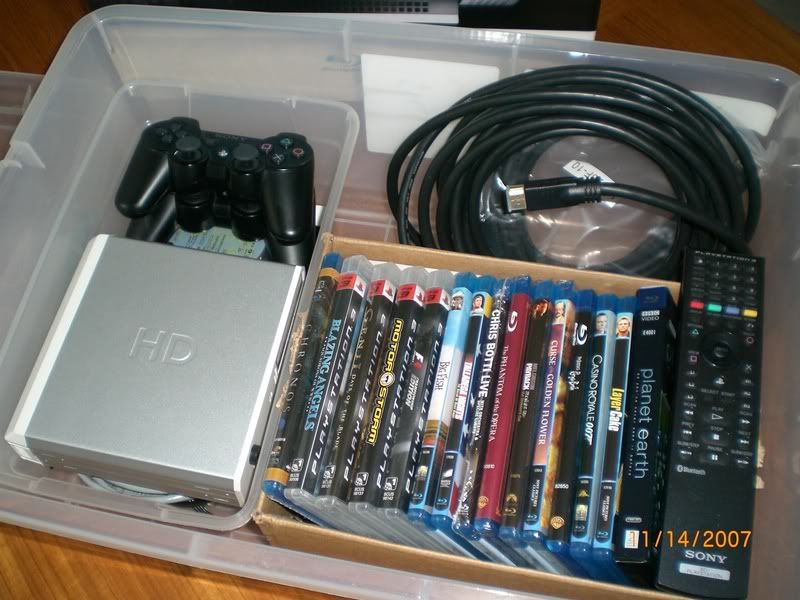
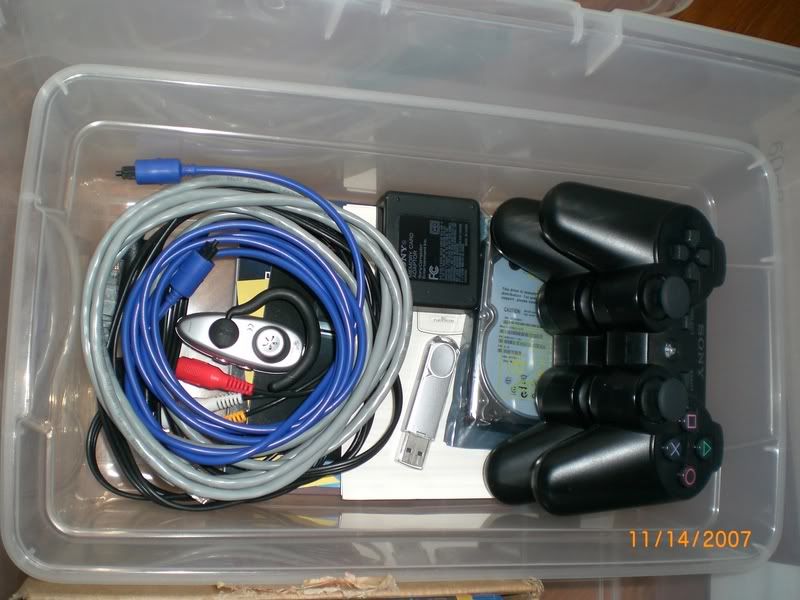
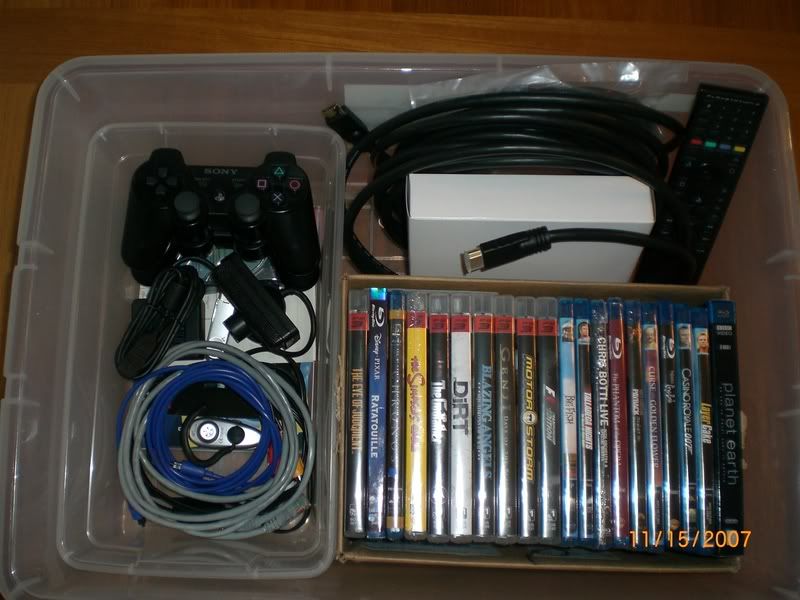
Here are a few shots of how I have it set-up for taking my PS3 on the road:


EDIT: Added the PS Eye


As you can see, the container has plenty of room for all but a wheel controller. In the example I gave I have:
- 20 Movies & Games
- 2 Controllers
- Remote Control
- PlayStation Eye
- External HD
- Extra HDD
- PS2 Memory Card Adapter
- USB 1GB Flash Memory Stick
- Bluetooth Headset
- 1x25' HDMI cable
- 1x10' HDMI cable
- Fiber Optic Cable
- Standard PS AV Cable
- USB Cable
- Ethernet Cable
- Manuals
In addition, the size of the container is slightly larger than the PS3 box, so the box sits nicely and safely on top, for easy transporting. 👍
Most of the stuff I keep in the box, so for the most part, all I have to do to take the PS3 to another room, or on the road is to turn it off and move it or put it in its box. 👍
This is a lot better than having to find and gather up everything each time I move it to another location.

 , despite the 500GB external drive, I finally decided to replace the 60GB HDD for a 160GB HDD from Western Digital, the Scorpio WD1600BEVS. I decided not to get the 250GB as I really don't need that much space, certainly not right now. This drive only cost me $90, and combined with the external drive should be plenty enough space for the foreseeable future.