Model Kit Assembling - F1 Ferrari 312 T4

  • Thread starter Thread starter Madbigdog
  • 51 comments
  • 8,460 views
Messages
165
Portugal
Lisbon
Messages
GTP_Madbigdog
Today I started the work on a Gilles Villeneuve's (:bowdown:) and Jody Scheckter's 1979 Ferrari 312 T4 (the one used by GV in his battle with Arnoux in Dijon) made by Tamiya in a 1:12 scale!
As I am still in High School, my summer holidays are huge (here in Portugal the school summer holidays are 3 months, from mid June to mid September,) and I have lots of time and almost nothing to do... My father had this car in it's original box, as he never got to assemble it, and he decided to give it to me, so I could assemble it...

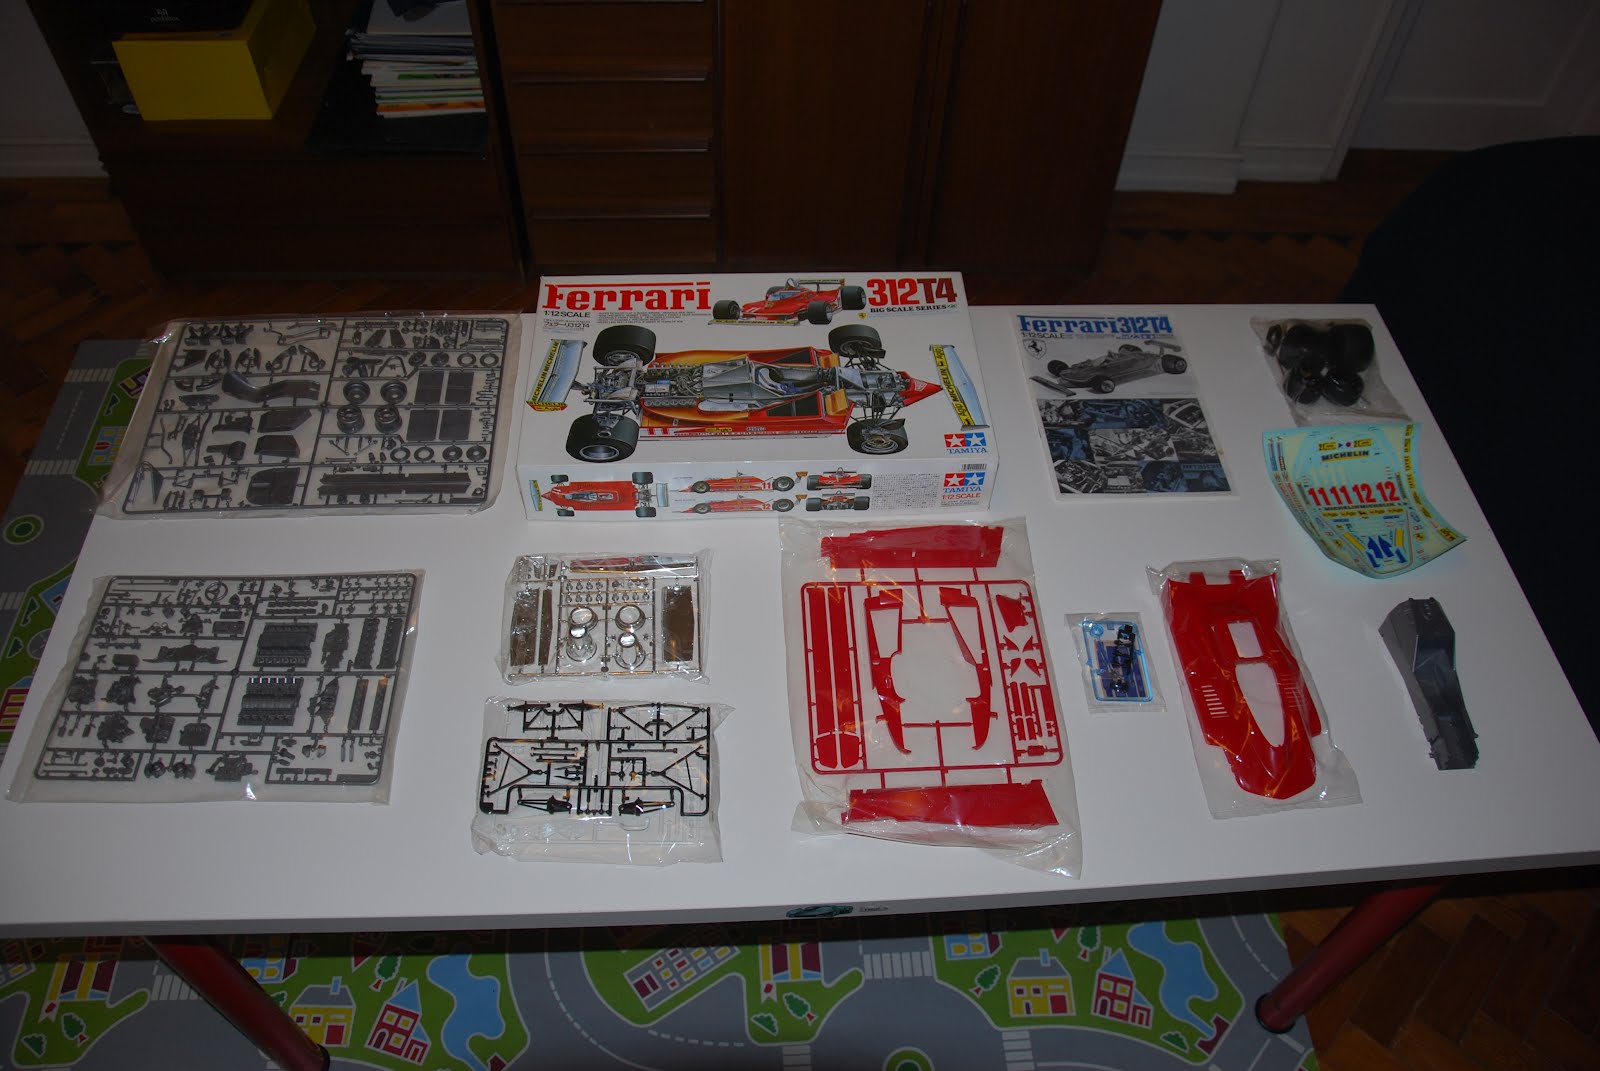
Here's a picture of the car in my room's desk still with the parts in the plastics!

DSC_0666%255B1%255D.JPG


I've already started to paint the car, and I'll be trying to post some pictures of the work! By the way, I'm no modeling pro or anything even close, so my painting might be a bit "unprofessional" or poorly accurate in some parts, but I'll do my very best :D
 
I'll be posting pictures, all the way through the process from start to finish, or at least I hope so!
 
Quite a while back I posted about my Tamiya F-1 kits. I also have in progress Mansell's FW14B, Graham Hill's Lotus 49B (with high wings,) the very same Ferrari you've posted, the Matra F-1 (with 12 individual tailpipes!) and a replacement for my damaged Tyrrell P34. In sports cars, I have the Lola T-70 and the Porsche 934, both unstarted. In 1/20th I have in progress the Lotus 25, and waiting their turns Coulthard's McLaren MP4/13, Schumacher's Ferrari F310, Andretti's Lotus 79, and the new Ferrari F10 kit. There are also 3 or 4 bikes ready to go.

These are going much more slowly than I'd hoped, for a couple of reasons. First, divorce. Getting stuff out of the house that no longer belongs to me but was left there for whatever reason is taking a lot longer (i.e. years) than it ought to. Secondly, vision. As I get older, my near vision is deteriorating, and I need more and more aids to seeing. I'm at the point that I cannot focus on anything I can actually touch, so reading glasses, magnifying viewers, and so on have to be dug out and set up to work.

Anyway, hope to see some good work on that Ferrari. Tamiya does indeed make very nicely turned out kits. Things fit, detail is high, and large parts somehow just don't warp and twist. I've just about given up on my Revell Ferrari 126C, which is actually the old Protar kit, as the plastic is softer, parts don't fit, some are warped, and it's generally a much less satisfying and enjoyable process.
 
Checked your thread, that's some great stuff you assembled, and that JPS Lotus is just awesome! And thanks, I hope to manage it, and for me, kits never were my day to day hobby, I have some experience on small Airfix, with a P-38 Lighting, a Supermarine Spitfire Mark IV (I guess), a British Training Jet, a Saab Viggen and a F-14A Tomcat (this one was big), but these were all assembled in (probably) summers with nothing to do. This is my first car kit I'll work on and really got excited on doing it! And I have to agree... Tamiya is just great doing model kits!
 
Ok, today's work on the Ferrari, started cementing the the parts and painted some necessary ones!

Lower section of the driver's "office":

391401_466697863340627_985460554_n.jpg


376227_466697996673947_1806613503_n.jpg


417631_466698420007238_1713734075_n.jpg


The upper section:

388997_466697720007308_325260946_n.jpg


Both sections cemented:

306739_466698126673934_464931099_n.jpg


396654_466698243340589_340261651_n.jpg


Tomorrow I'll be probably working on the driver's seat, driving wheel and other cockpit details!
Hope you enjoy!
 
Last edited:
Madbigdog
Ok, today's work on the Ferrari, started cementing the the parts and painted some necessary ones!

Lower section of the driver's "office":

The upper section:

Both sections cemented:

Looks good so far. Keep 'em coming :)
 
Is that tub still bare plastic? If so, you might consider spraying it with something to give it a "metal" or "aluminum" look, which will greatly enhance the appearance of the finished model. Even the body, while molded in red, will look better with a good paint job on it.

On the other hand, if you're not good with sprays, this isn't the type of kit to learn on. :scared:

Not criticizing, just suggesting. If you're going to spray, you won't be able to do so with too much stuff already attached, and brushing a metal-type finish is impossible to do without marks in the paint.

In my thread referenced earlier, the Lotus 78 was built 20-some years ago, almost 30, actually. The Lotus 72 (also black-and-gold) is the most recently finished kit. You can clearly see the difference in the "metal" parts of the model, what I'd learned to do, and the paints I'd used. The 78 tub was brushed with a flat "steel" color, while the 72 tub was sprayed with Testor's Metalizer Aluminum color. I don't know what's available where you are, though. (Modern cars are easier, being carbon fiber. Half-and-half mix of flat black and glossy black.)

Never painted kits with spray, and I won't be painting everything in the car, only the necessary parts, and yes it would look a lot better but I still have to improve my modeling skills in order to do those kind of things! (Yeah, I thought that JPS Lotus' wonderful).
 
Brave soul, learning to cut his teeth with a 1/12 Tamiya. I like dat.

I know how to assemble kits, I just never painted a big one like this, and I don't want to make some big paint jobs, as I don't want to ruin the car :crazy:
 
Nice choice,I done a 312 t2 a few months back in paper.

Really cool, was that the Lauda's Nurb accident car? And no offense, but I hope my kit comes out looking more realistic than yours in paper! :)
Great job by the way!!
 
Yamaha used to have a bunch of patterns for their bikes on their Japanese site. I found a few, d/l them but never did any.

I'd also seen years ago in a hobby shop a rack they sold books on, and the books were pages of patterns to cut out for paper models.
 
I know how to assemble kits, I just never painted a big one like this, and I don't want to make some big paint jobs, as I don't want to ruin the car :crazy:

Spraying's not that hard, but you want to spray lightly. Nearly everyone tends to think you have to coat the thing, and they end up with runs and bubbles.

Don't use this one to learn, though! Go buy a couple of cheaper 1/24 kits and some spray cans of the color you want for the Ferrari and practice, treating the 1/24s as throw-aways.

Or just proceed as you've planned and don't worry about it! :sly:
 
wfooshee
Yamaha used to have a bunch of patterns for their bikes on their Japanese site. I found a few, d/l them but never did any.

Yeah,I've looked at the Yamaha's but its around 40 A4 sheets just for the forks and front wheel,don't think I'd have the patients for that.

Biggest I've done so far is a 1/10 E-Type Jag over 19 pages and that took over a month doing a couple of nights a week on it.
 
@wfooshee, Went to the local hobby shop, and they said they were getting sprays at the end of the next month... And the traditional painting cans only (wich I'm lacking of) at the end of this week, and I won't be waiting that long eith the kit underway, but thanks for the advice! I'll try it on future kits!

Small update on the car, front suspension "arms", the gearbox cover, the vinyl tubes and other stuff...

561454_467141429962937_1433879526_n.jpg


382550_467141473296266_1422738210_n.jpg


580799_467141533296260_722432626_n.jpg


396667_467141626629584_825255899_n.jpg


575778_467141729962907_54415293_n.jpg


I'll post more tomorrow!
 
Last edited:
Never heard of this car before. But it looks cool. The models going to be very nice once finished! :D
 
Madbigdog
@wfooshee, Went to the local hobby shop, and they said they were getting sprays at the end of the next month... And the traditional painting cans only (wich I'm lacking of) at the end of this week, and I won't be waiting that long eith the kit underway, but thanks for the advice! I'll try it on future kits!

Small update on the car, front suspension "arms", the gearbox cover, the vinyl tubes and other stuff...

I'll post more tomorrow!

👍 Can't wait to see when you will start the body.
 
Just made the driving wheel, it's still unfinished (the whole part, and it still misses the button painting) but well, here you go:

382569_467364726607274_1519773300_n.jpg


Those decals are giving me hell...
I'll post more pics later!
 
Last edited:
Work finishes earlier today, but tomorrow probably I'll be making big improvements, as tomorrow I'll buy more ink cans (is this how you say?) and therefore, I'll complete many other car parts!

This is how it ended today:

394641_467390713271342_823307624_n.jpg


314015_467390736604673_676702669_n.jpg


599881_467390776604669_558502080_n.jpg


306591_467390829937997_1692344839_n.jpg


402785_467390906604656_1401969934_n.jpg
 
Last edited:
Needs more paint. Seriously.

If your struggling with the decals I recommend Microsol and Microset.
 
Back