- 47

- Western NC
- NitroKZ550
Day 1
I drove out to meet the owner, as you may know I worked on this bike roughly 2-3 years ago for the guy who sold it to me. We had already agreed on a price because I knew the bike and didn't need to go look at it, for $500 it wasn't bad, especially because it had $300 in brand new tires on it.
Got the bike home and put it on the charger first thing.

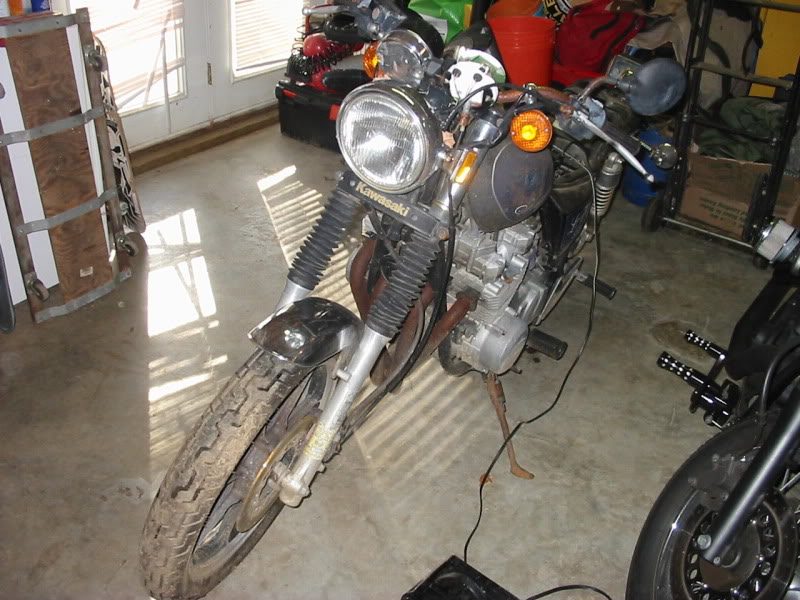


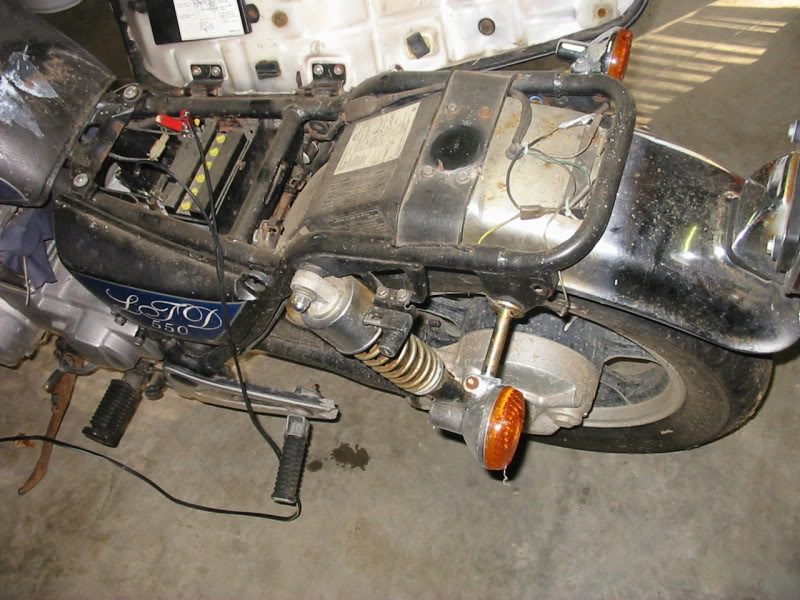
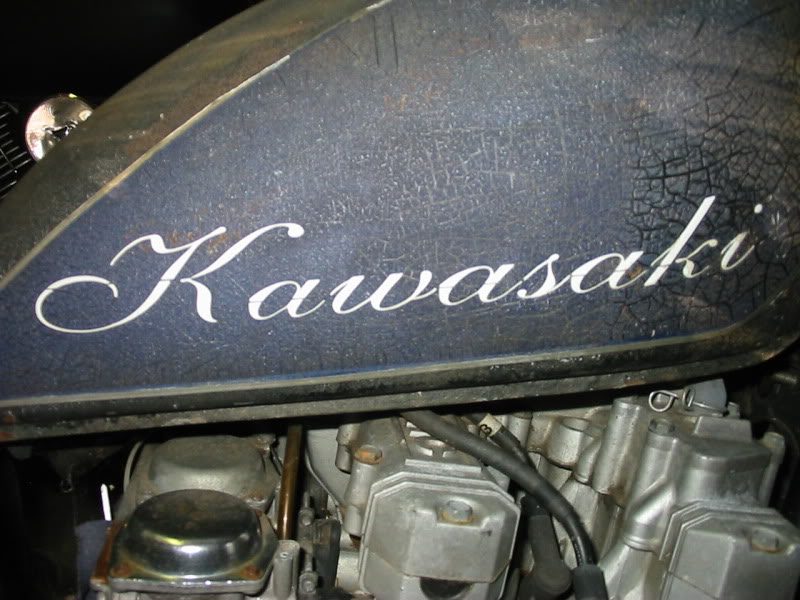
Anybody would have guessed it wouldn't be long before I did something to it, starting the customizing process. The first thing I did was remove the shocks and drop the rear about 3-4 inches.
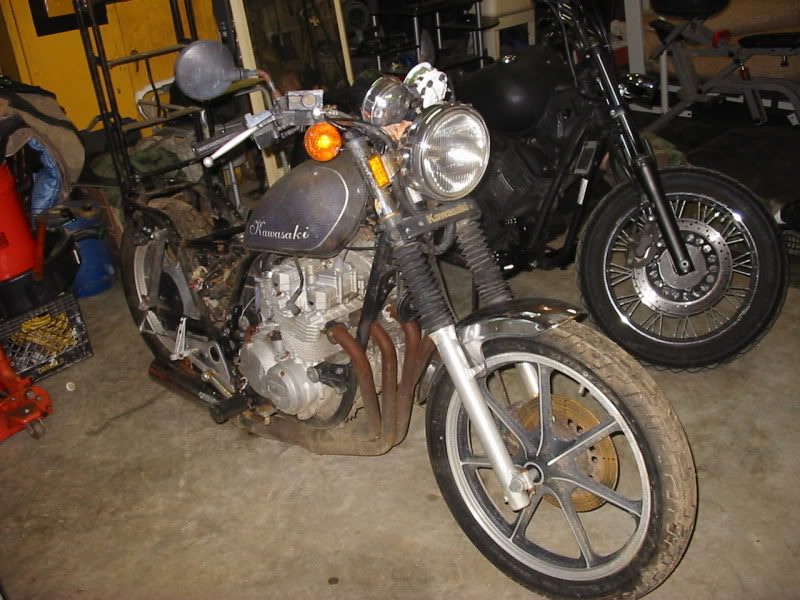
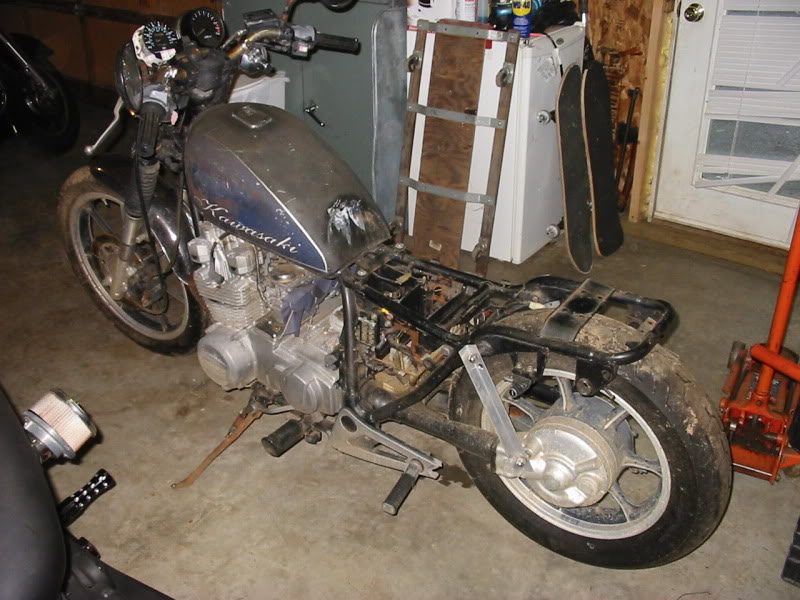
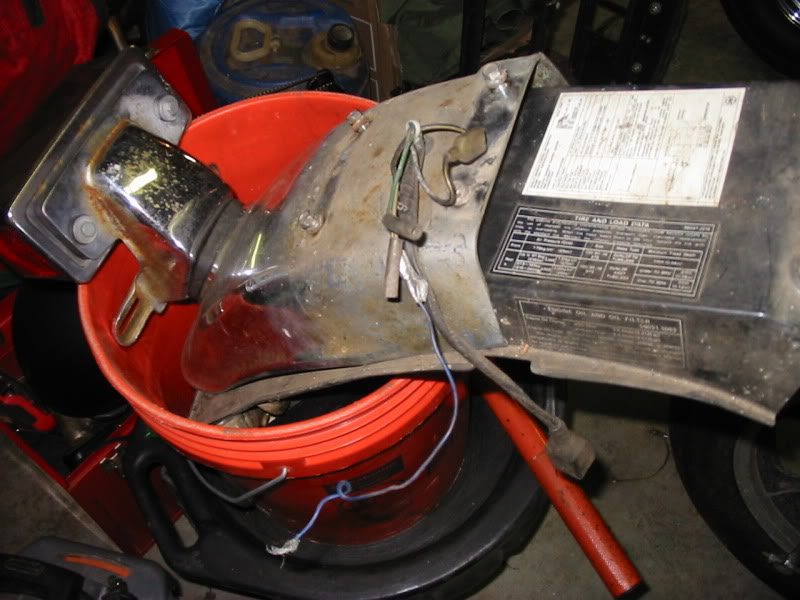
After a couple days I had begun to accumulate parts for an ebay box, or bucket in this case.
Here you can see that I drilled another hole in my temporary brackets to lower the bike a little more, which brought it down another inch or two.
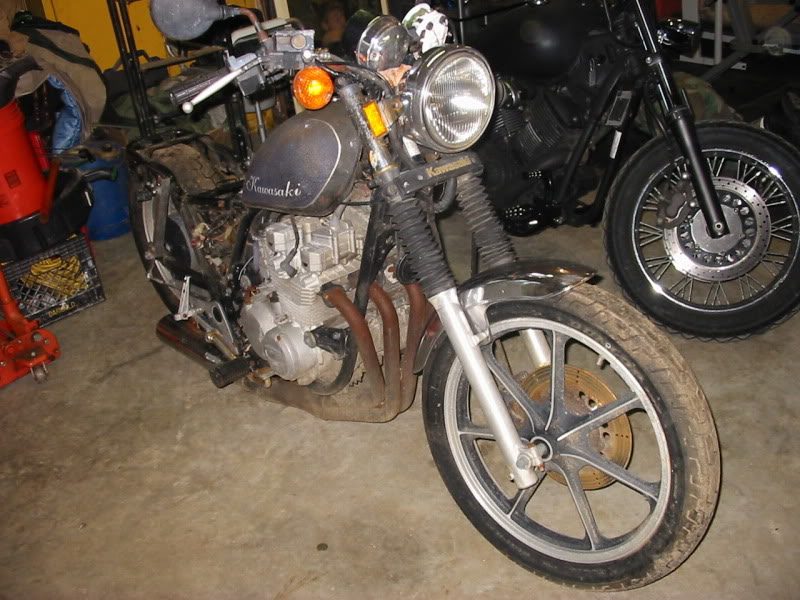
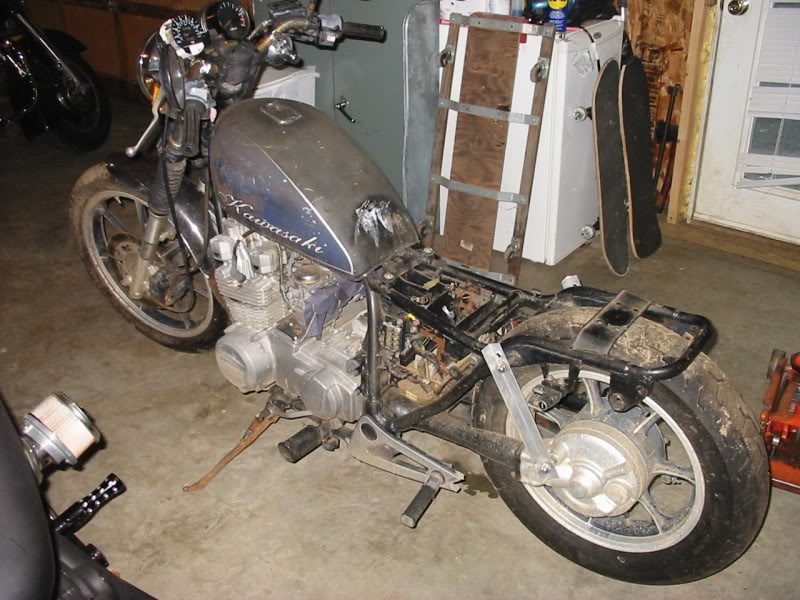
After about a week I finally decided to take it outside and give it a wash.


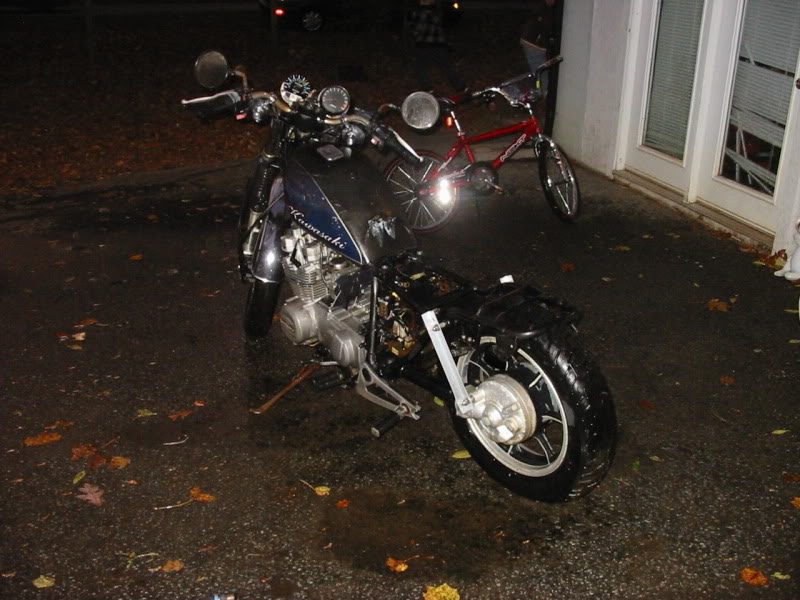
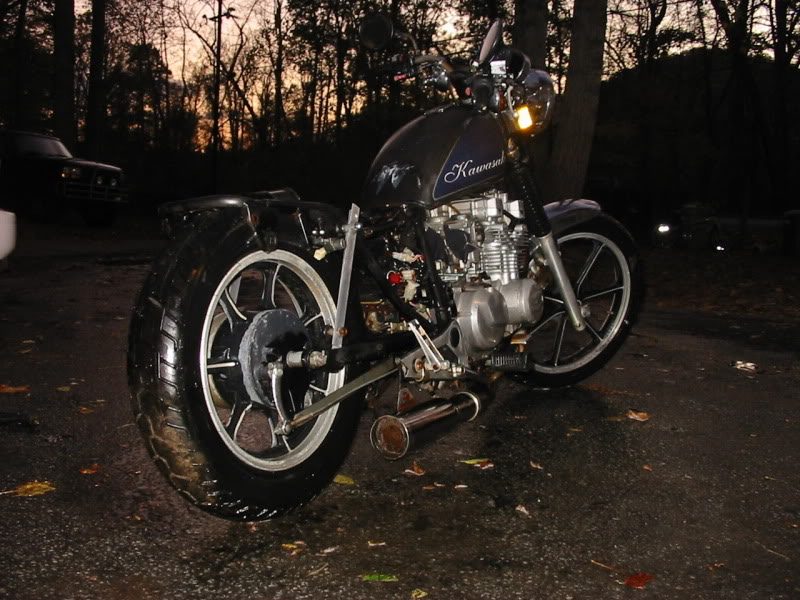
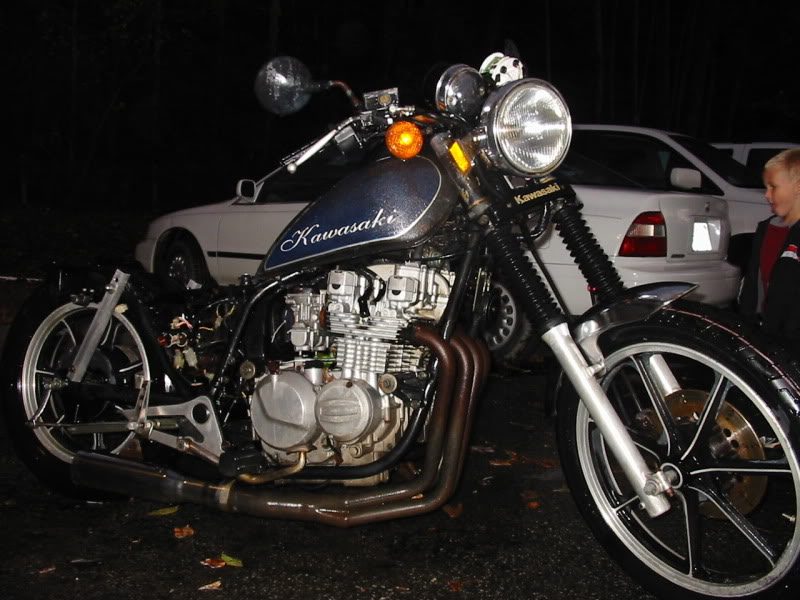
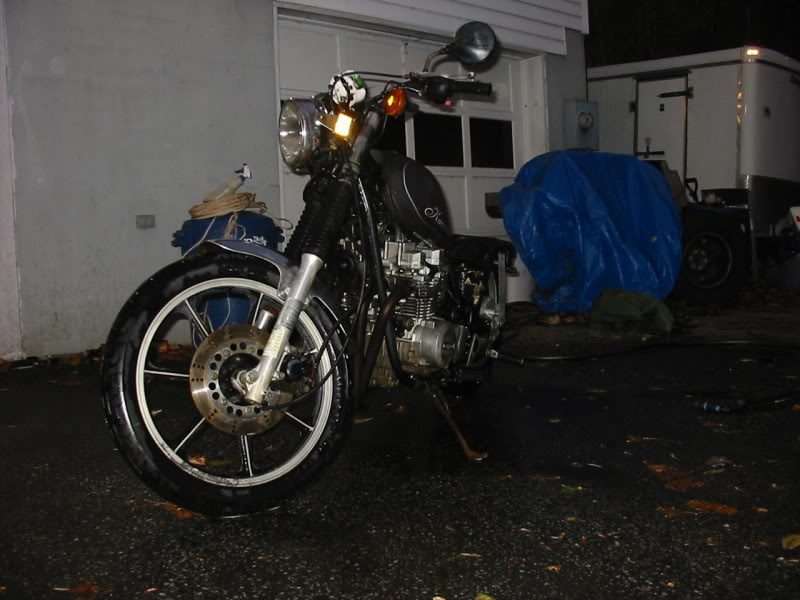
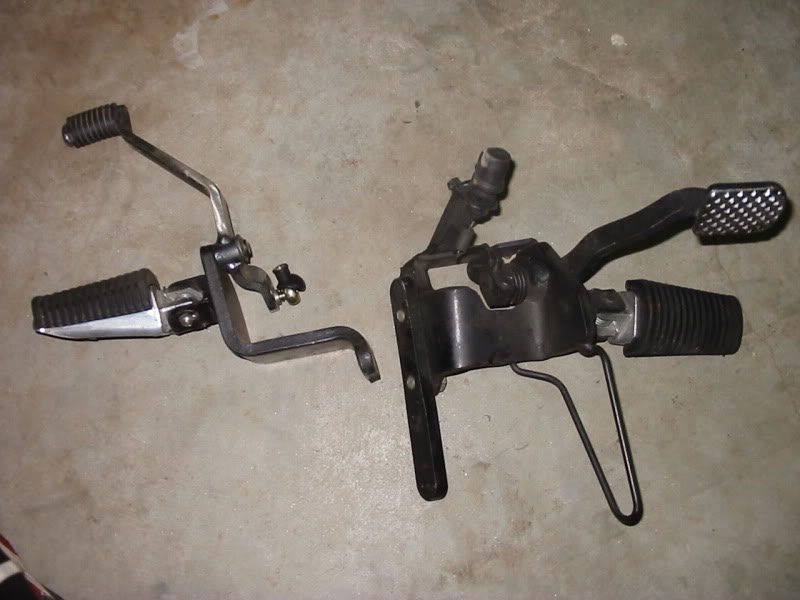
At this point in time I was beginning to get an idea of where exactly I wanted to go with the bike and I acquired some stock foot controls from a V-Star 1100. These were free from my friend who owns the bronco that we built.
The time to fire her off was getting closer and closer. Knowing the carbs were nasty from sitting for so long I let my girl take the reigns and guided her through the game of carburetors.
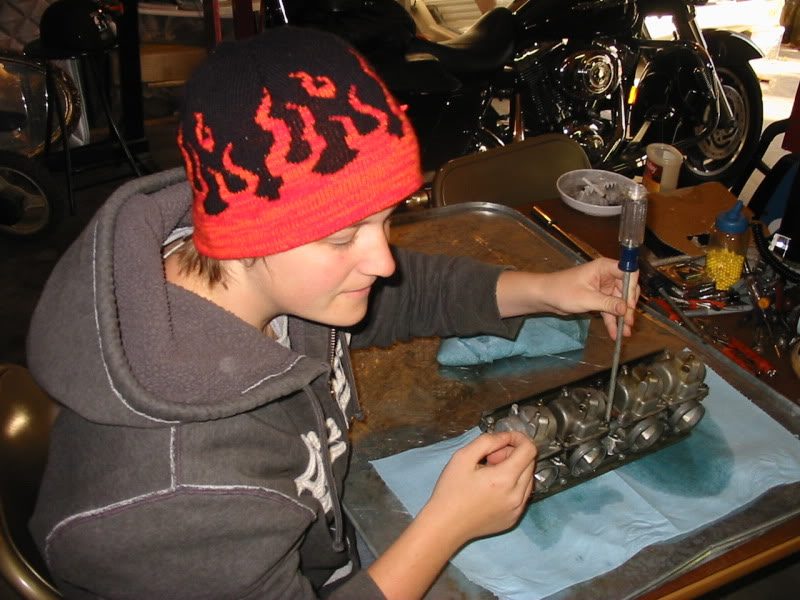
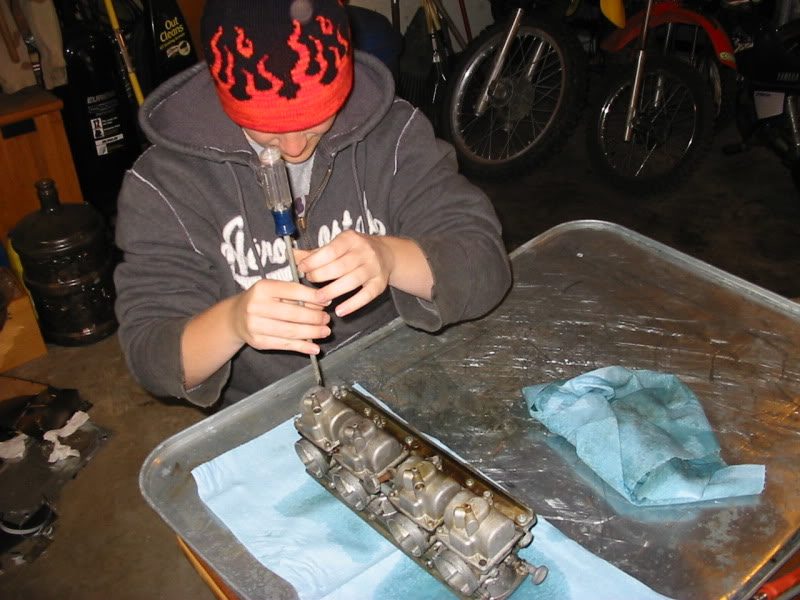
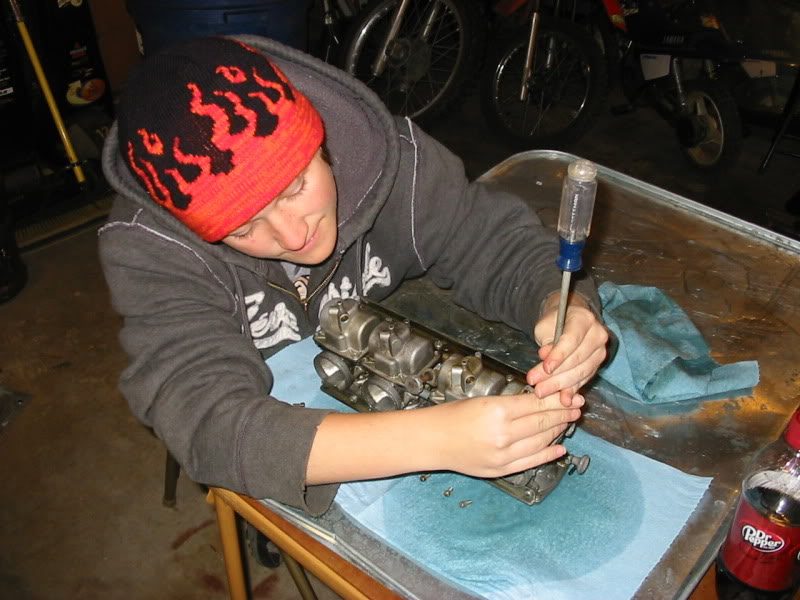
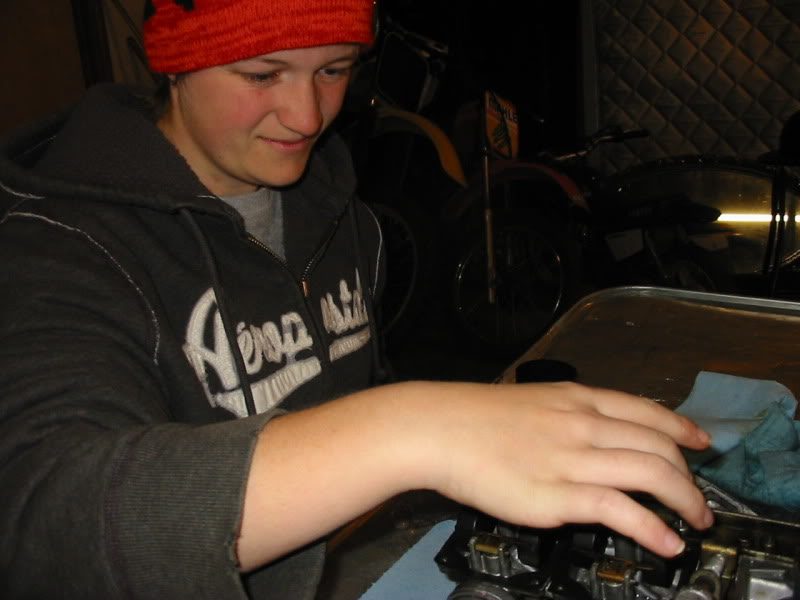
After sitting idle for a couple days I thought I should atleast take some pictures to keep myself entertained since money was tight and I was making little progress.


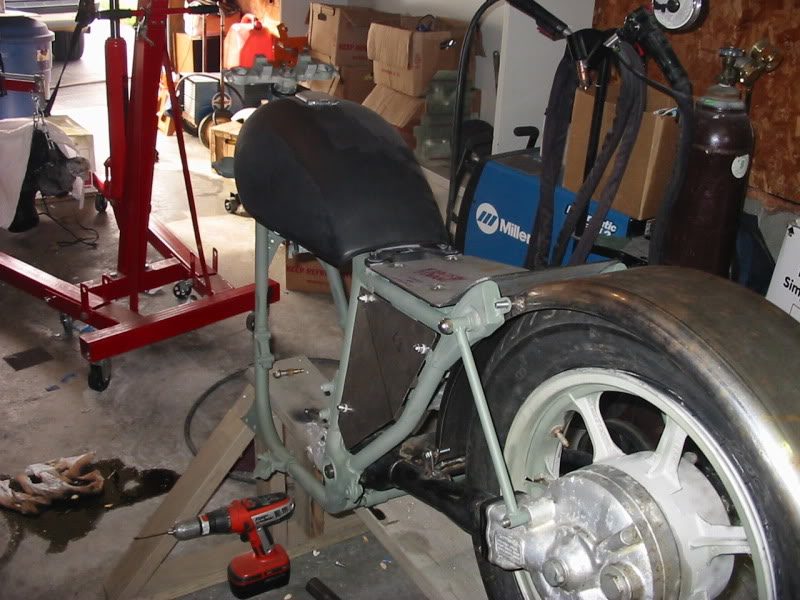
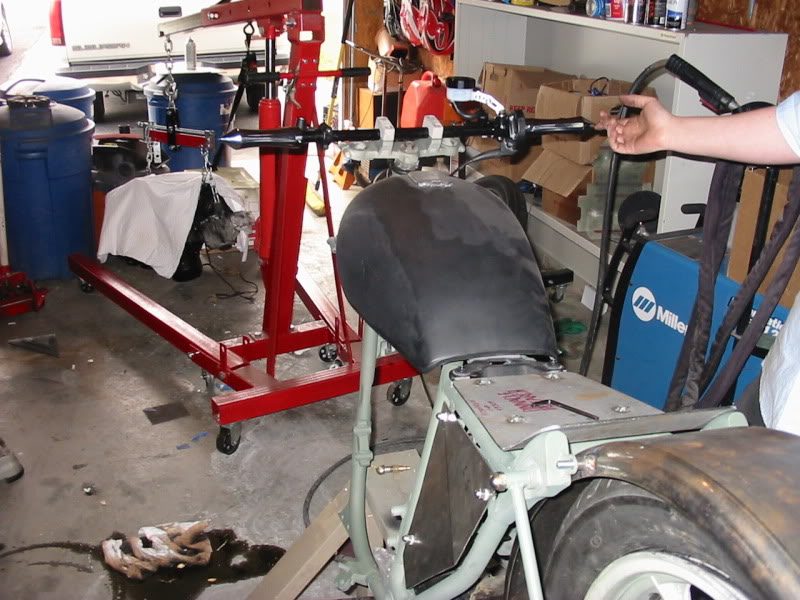
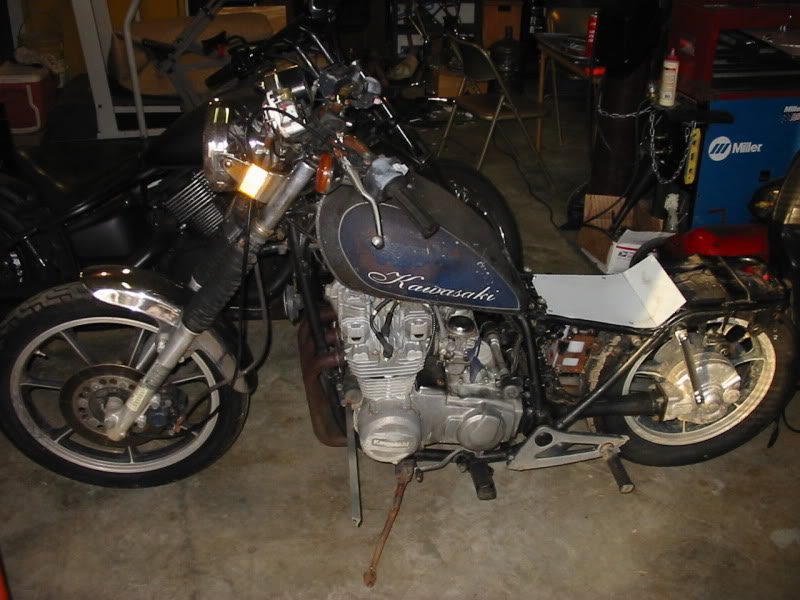
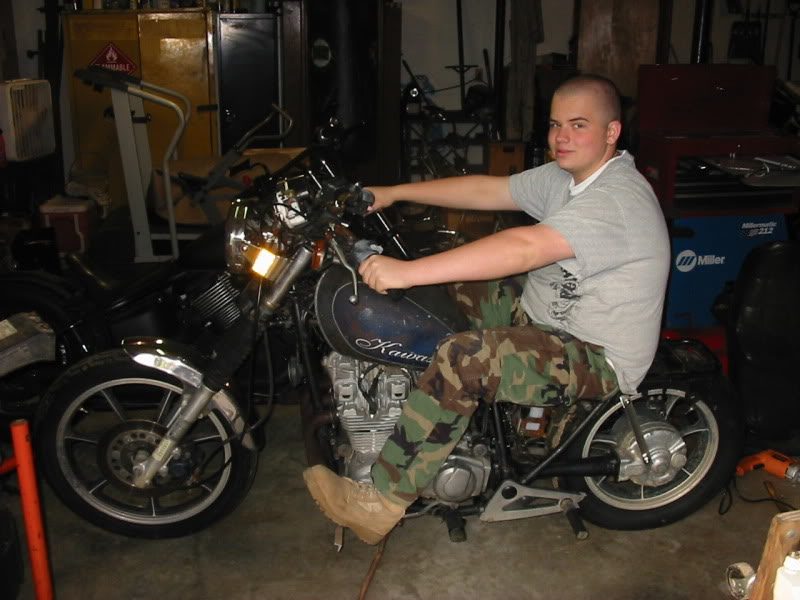
From our old microwave I fabricated a temporary seat pan and started to get some ideas about my forward controls. In the last picture you can see what little hair I had after giving myself a regulation haircut while my mom was away, she wouldn't ever cut it that short so I did it myself, dad was fine with it so I didn't care.
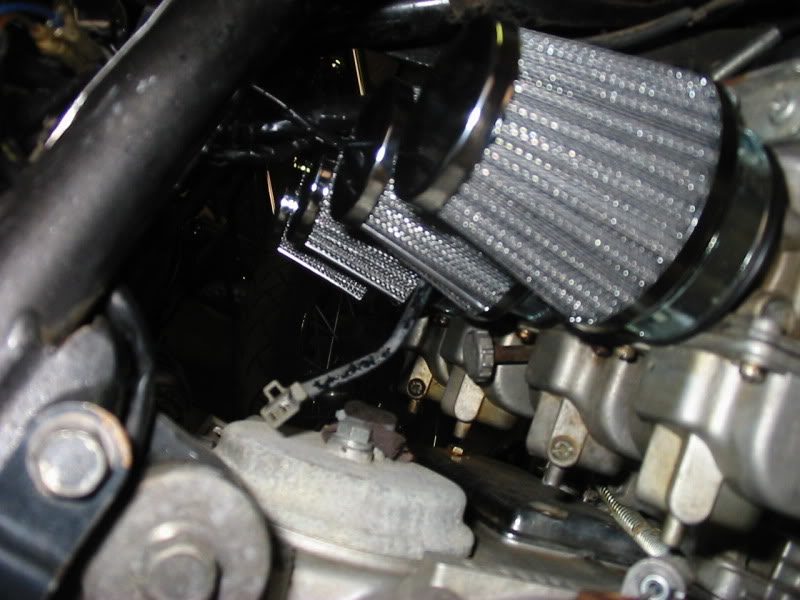
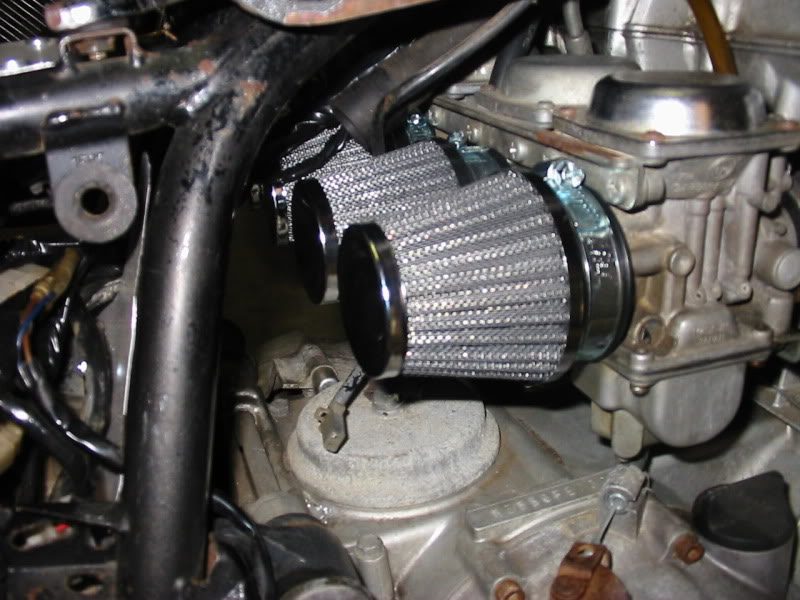
On ebay I found some pod filters from 'Sincitycycleparts' that fit my bike. These are one of the best American based parts ebayers I have found, highly recommended.
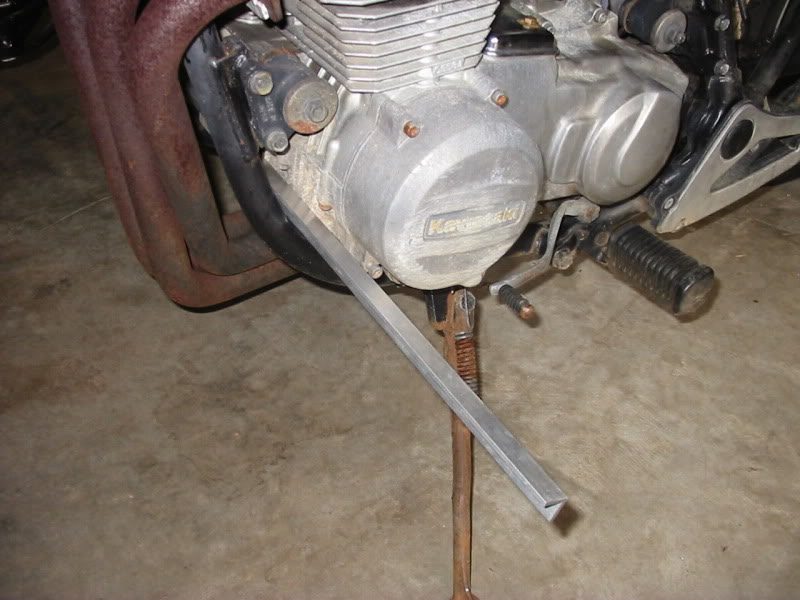
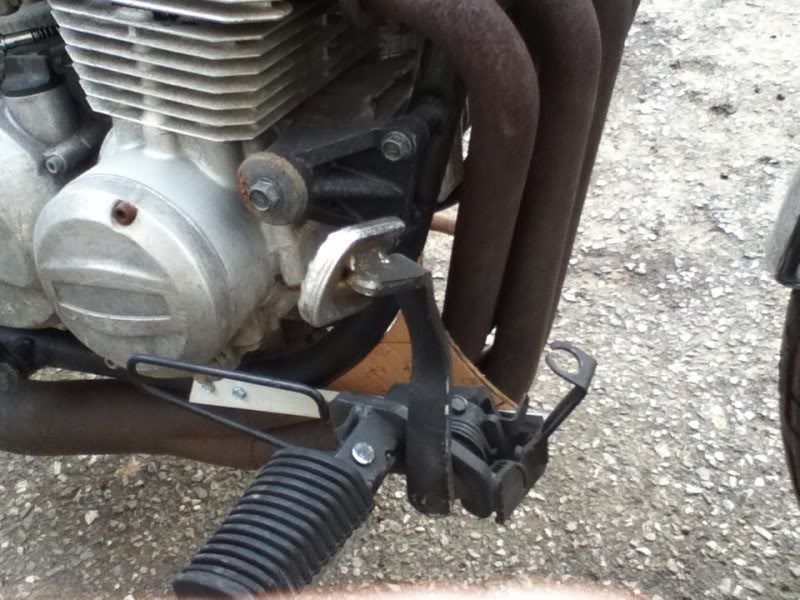
I hatched an idea about mounting my forward controls and drew it out on cardboard, envision the cardboard cut in 0.25" mild steel and welded to the frame, minus the aluminum angle stock. I also figured since I had done some body work on the tank, removing and replacing a lot of bondo and spraying it with some rustoleum primer, I should take some more pictures of the bike since it was outside.
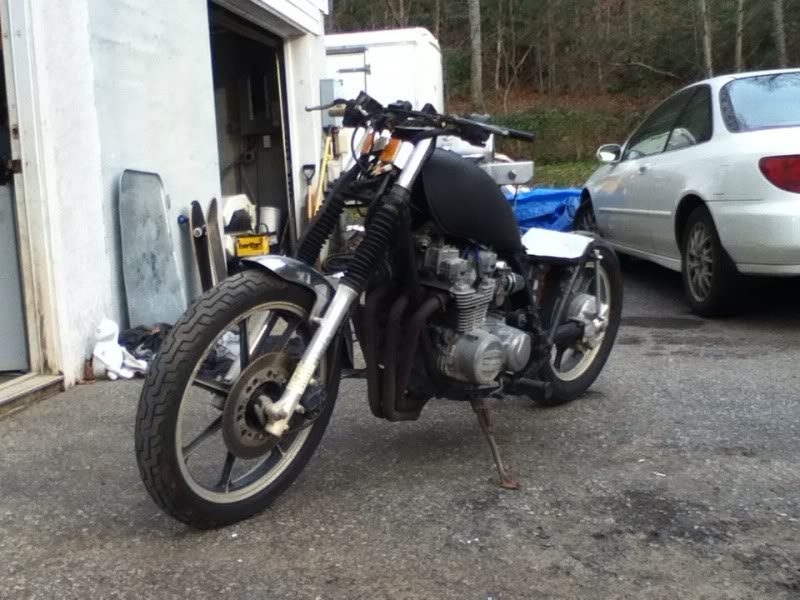
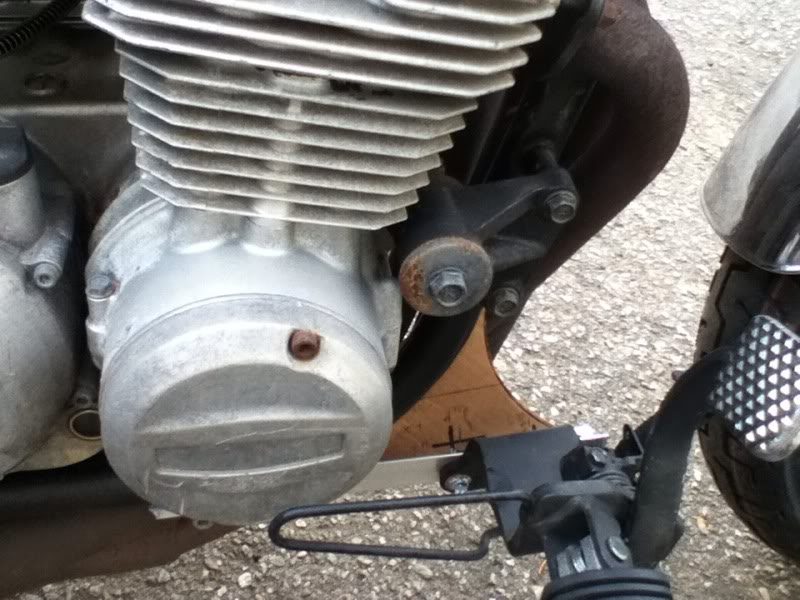
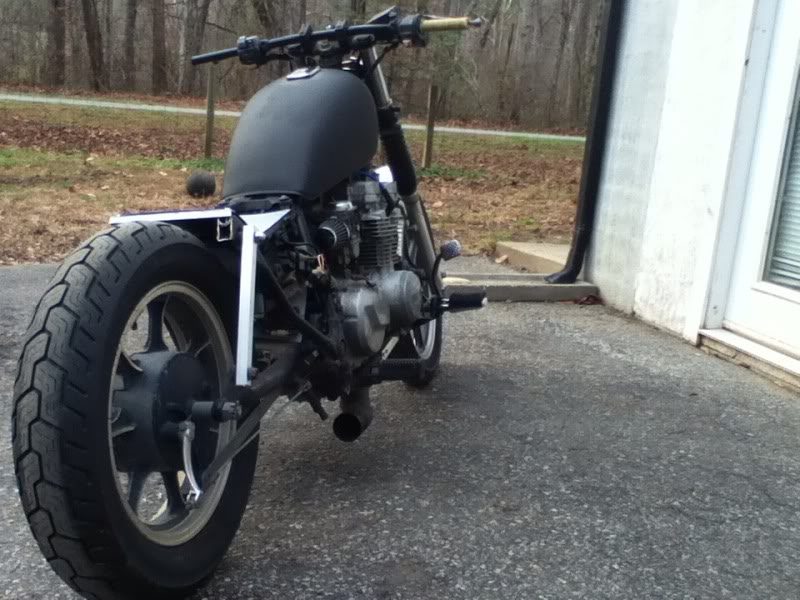
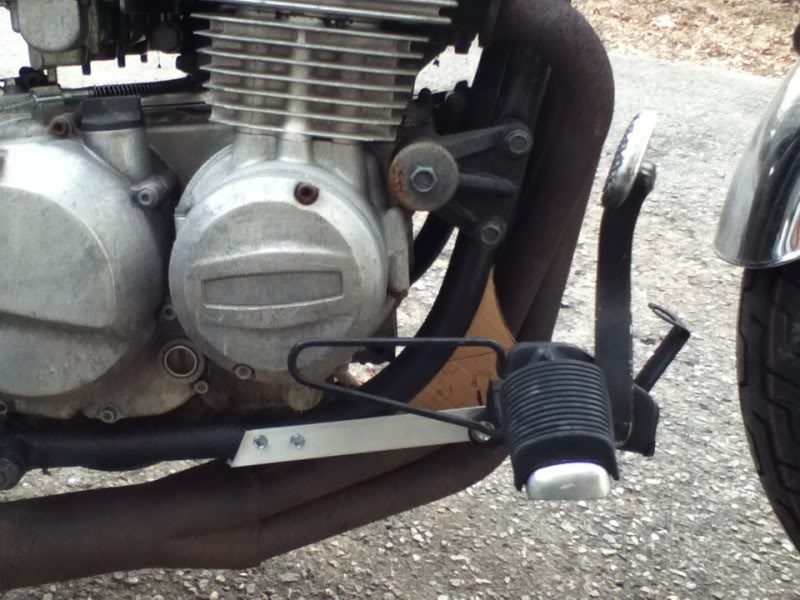
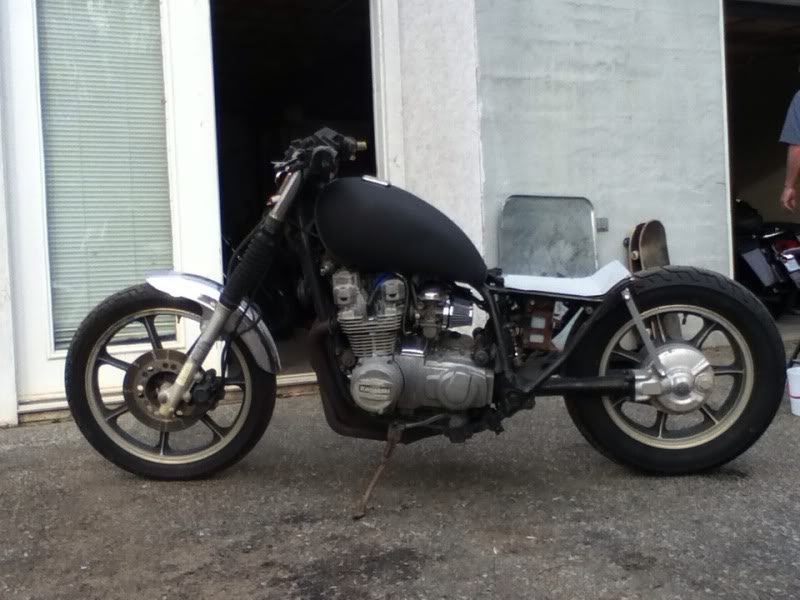

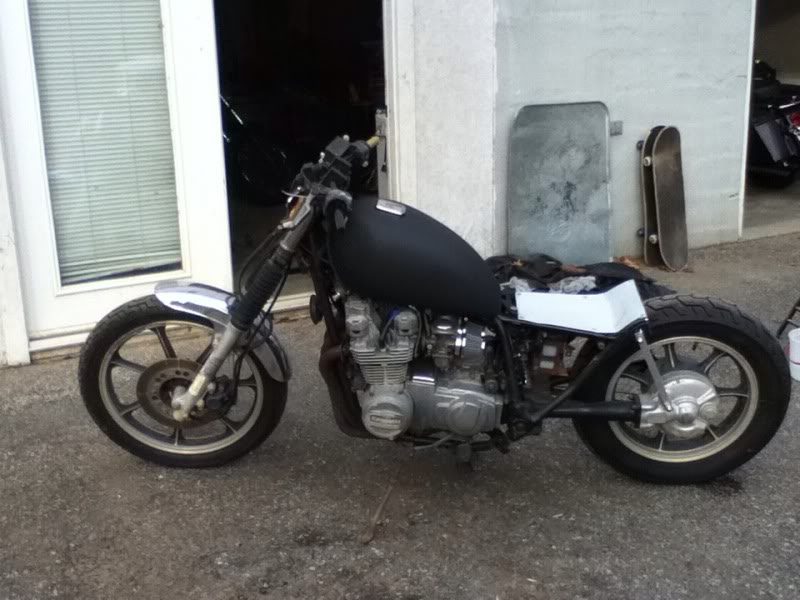
The bike sat around for about a month while we picked up and moved a couple miles down the road, it was hectic but I eventually got back around to working on my baby. I had done a few little things before I got to this point, but not much more than a major disassembly. Here you can see the motor coming out, which was a little harder than I thought but I managed through it, the shaft drive threw me off a little bit.
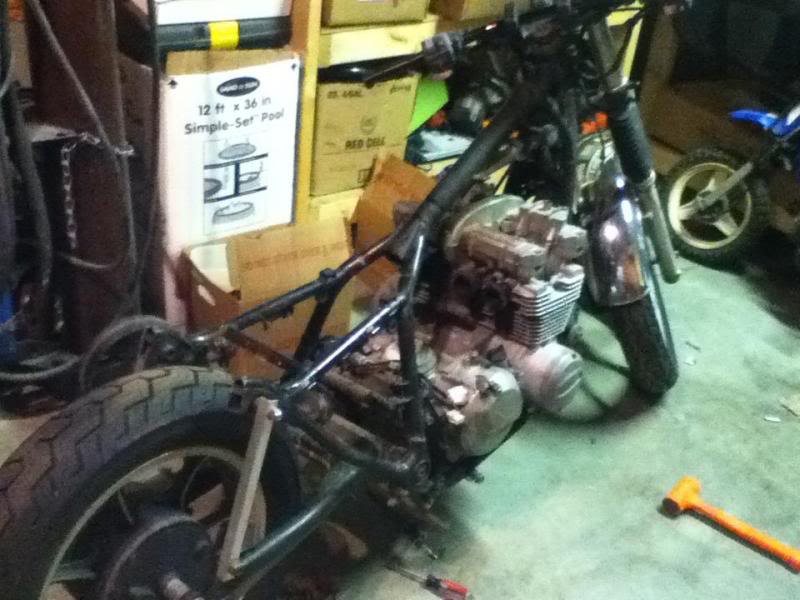
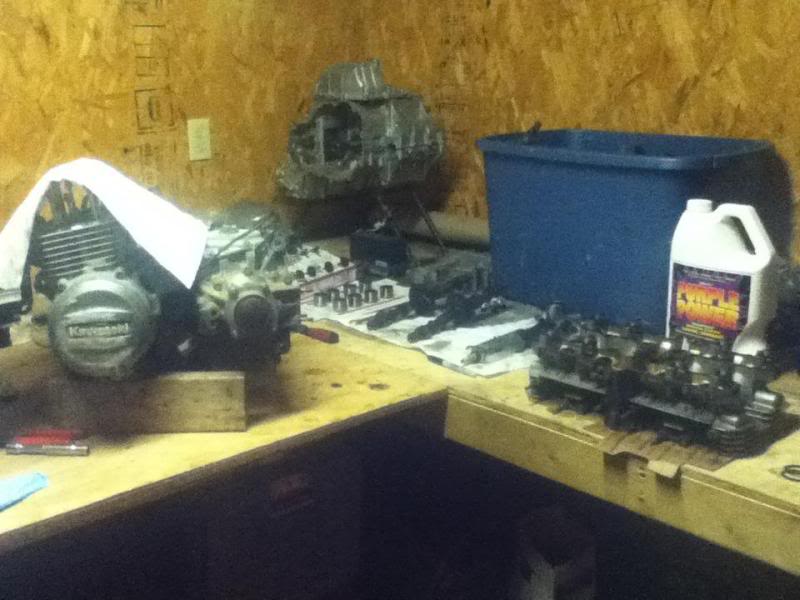
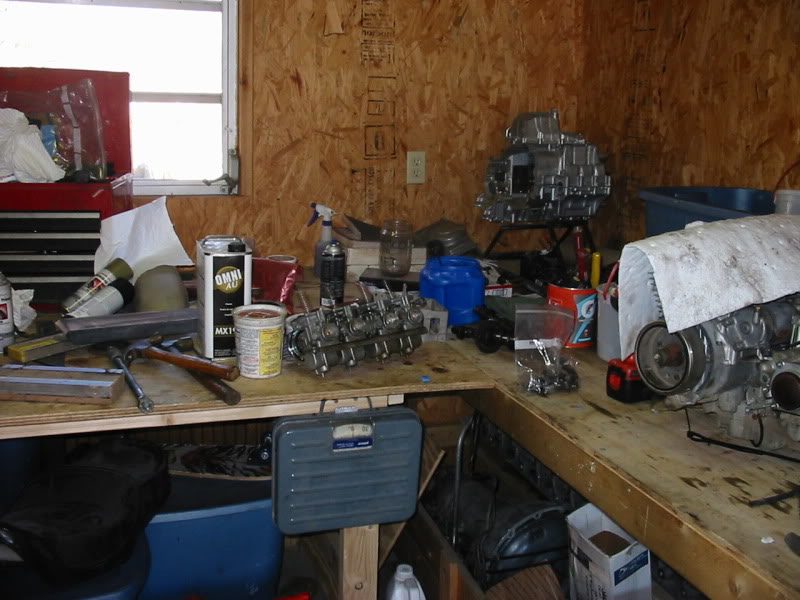
Got the motor out and on the bench.

After getting into the beast I noticed that for 30 years old, it was surprisingly clean, but then again, the bike does only have 17k.
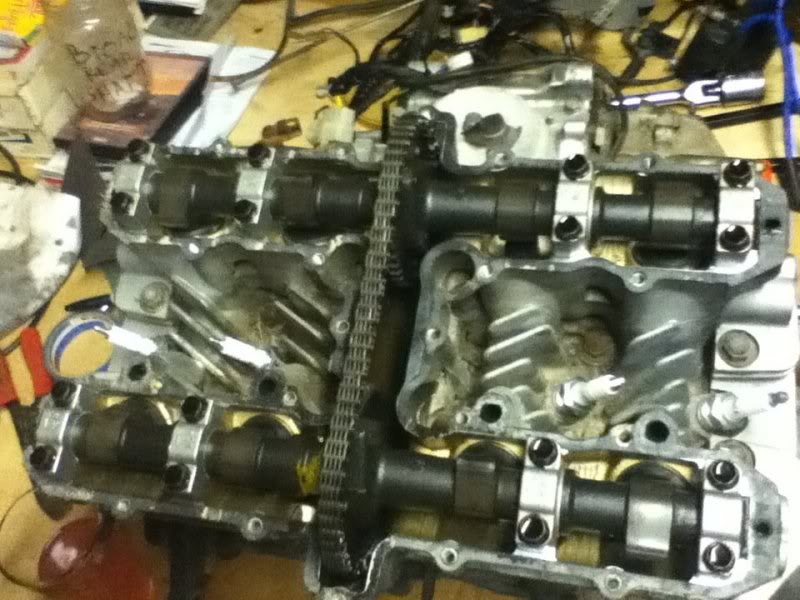
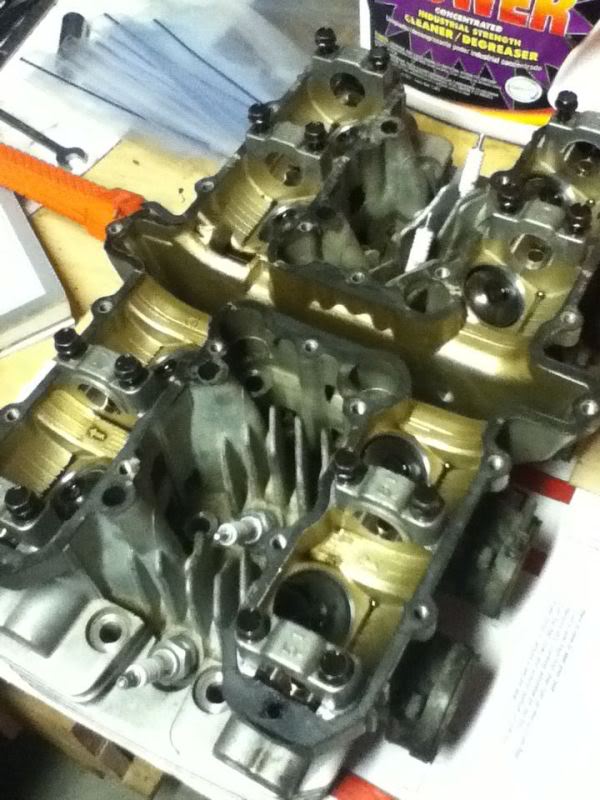
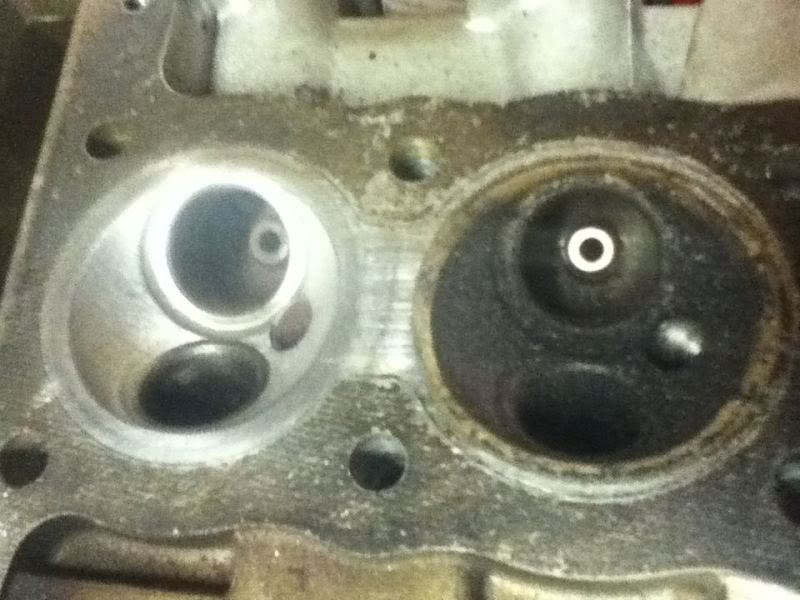
I then proceeded to clean up some carbon build up, the bike had been running pretty rich so no surprises here. After this I lapped in the valves.

Old, nasty carbon and a clean fresh valve.

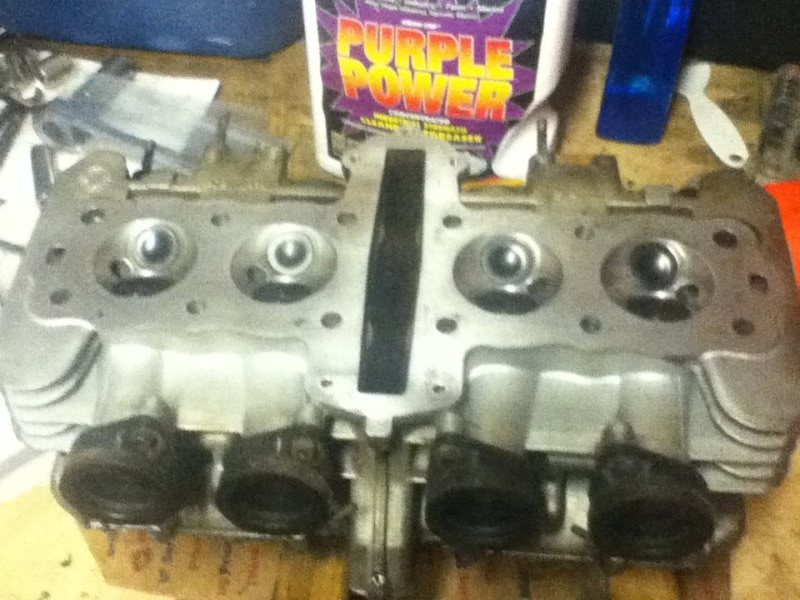
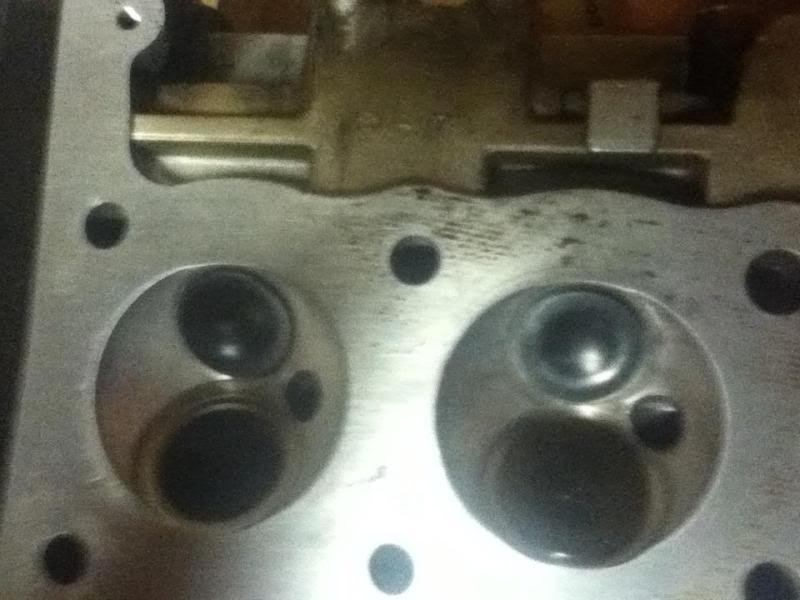
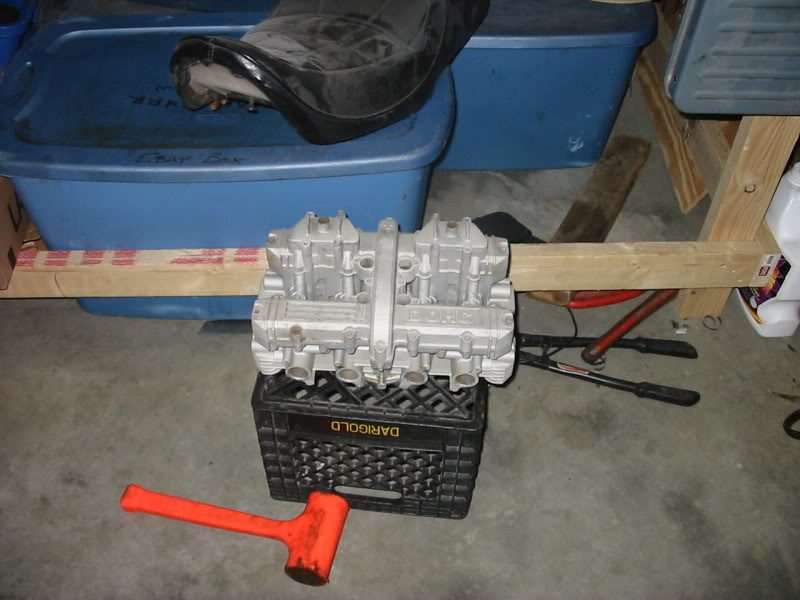
Head is done for about as much as I can do until I order a top end kit.
Remember the cardboard cutouts? Here they are in all their laser cut, mild steel glory. I had traced out my measurements and drawn them in AutoCAD. I then sent my drawings, which also included a seat pan to be cut in 0.125" mild, to a local machine shop, Brisco, where I was charged a mere $34.80 for all three of my pieces. This is one of the reasons I deal locally, this is the second or third job I've had with Brisco and they have never charged me a setup fee. They also provide the material which saves me even more money.


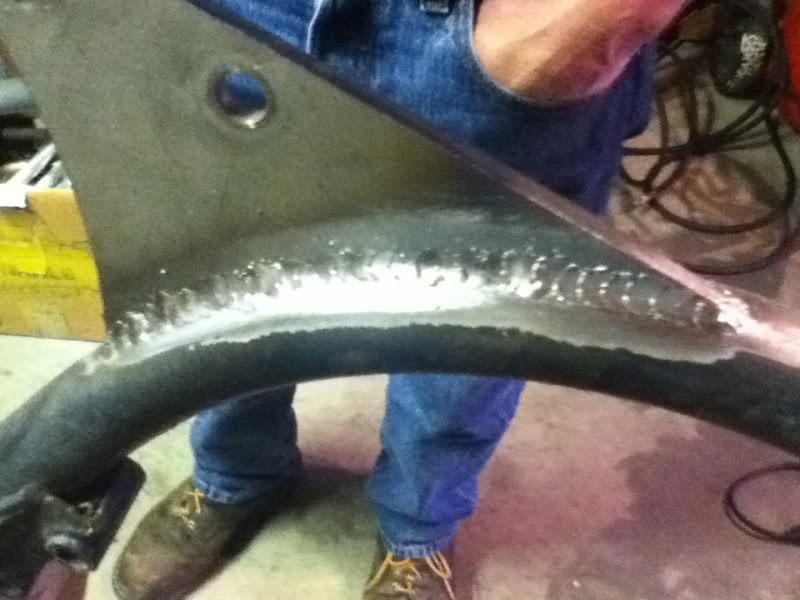
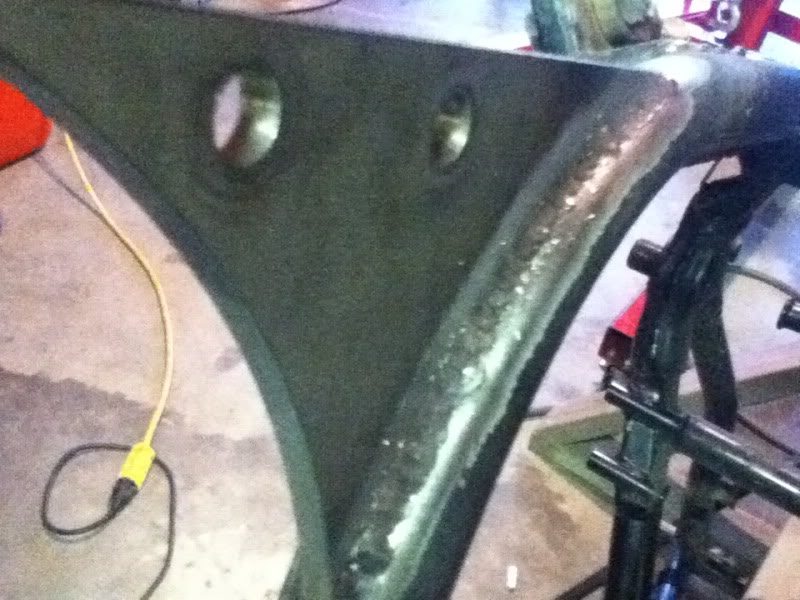
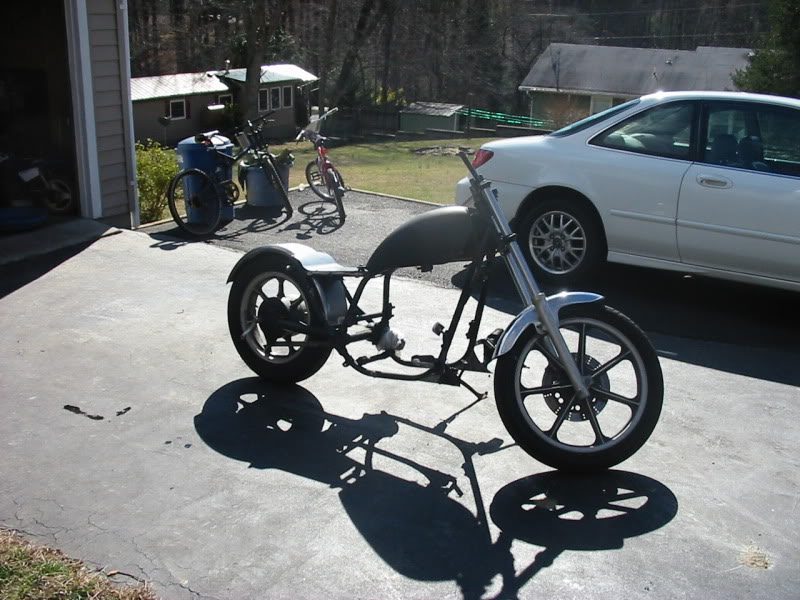
I threw the bike back together and dropped the tank on to see what it looked like and to ensure I had all of my clearances. I'm starting to see the light of the project and all my ideas are coming together.

Some parts that I had taken to my mentor where I sandblasted for the first time. The first piece I put in the cabinet was the headers and after I finished with it and pulled it out he mentioned that, especially with the conditions (blasted glass so that you can only see through one little corner into the cabinet) I had done very well on one of the toughest parts to work on, let alone start on. I obviously didn't know, but I believe it helped because everything after that was a piece of cake.

Painting the headers, I used DupliColors VHT (Very High Temperature) paint, I like how they came out.

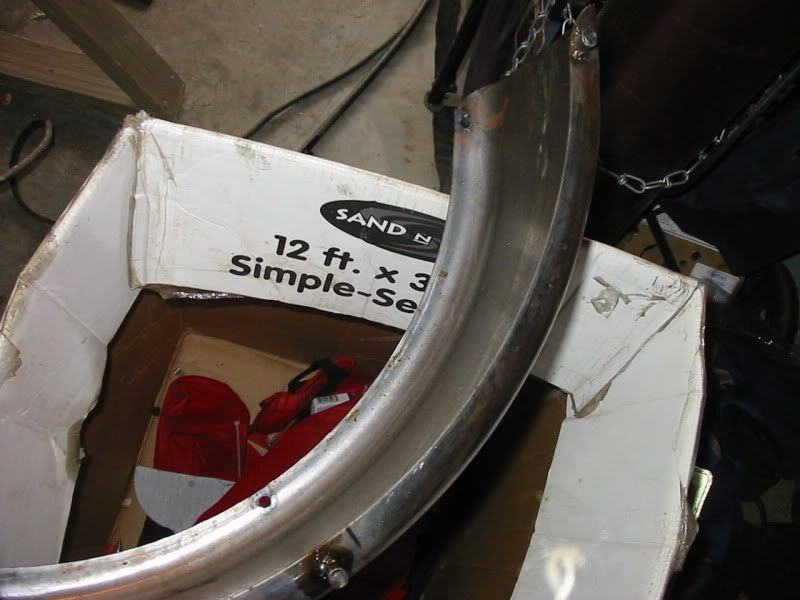
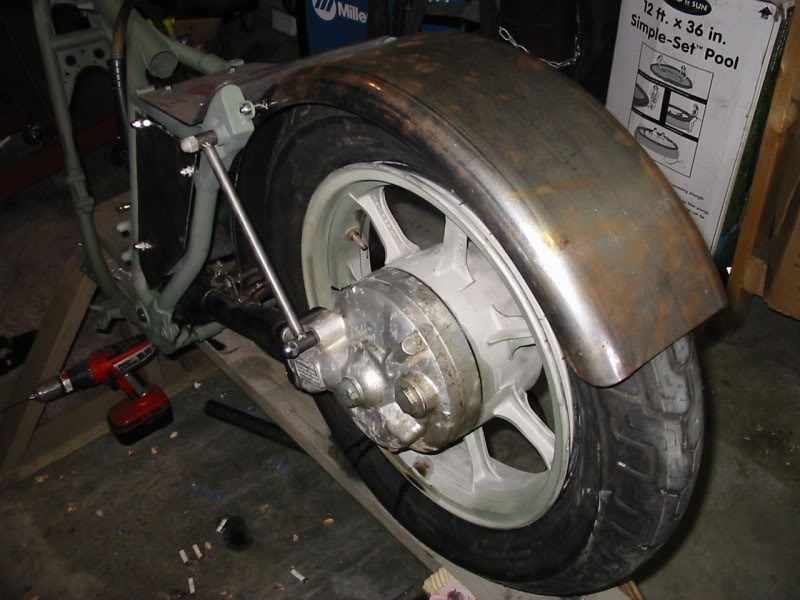
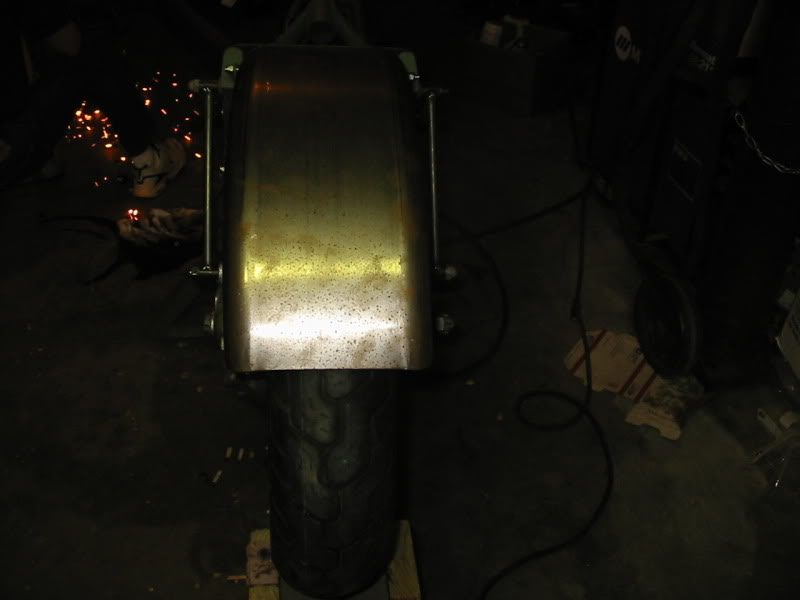
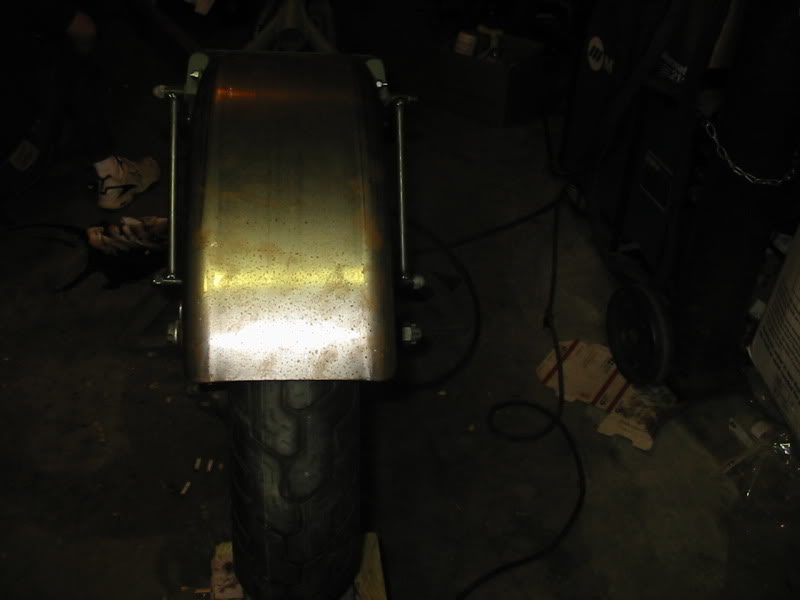
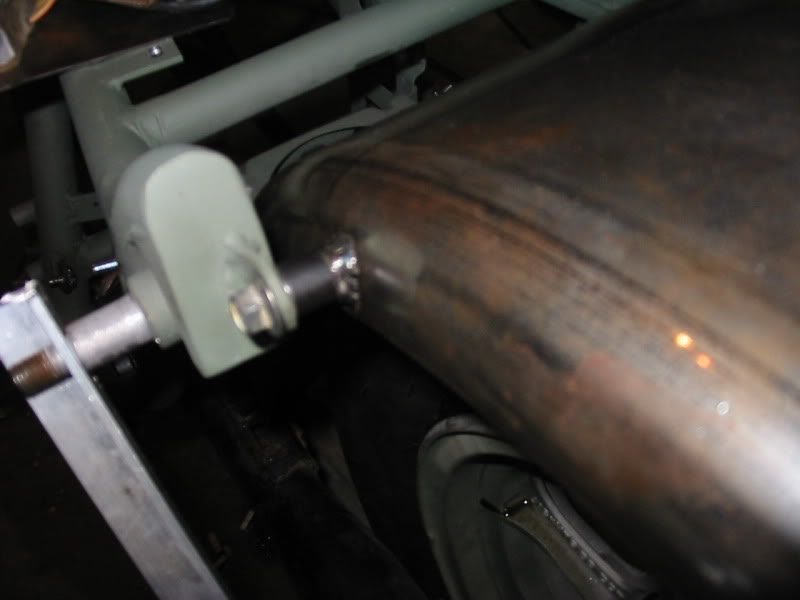
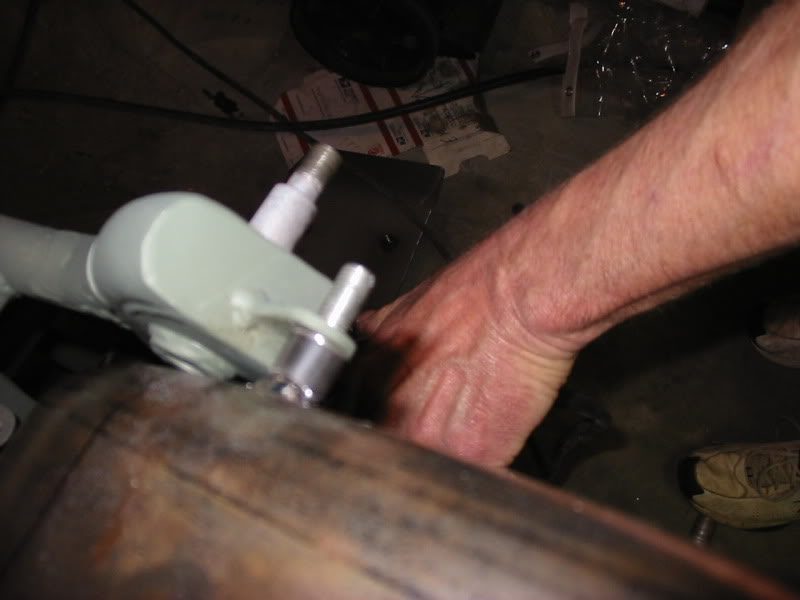
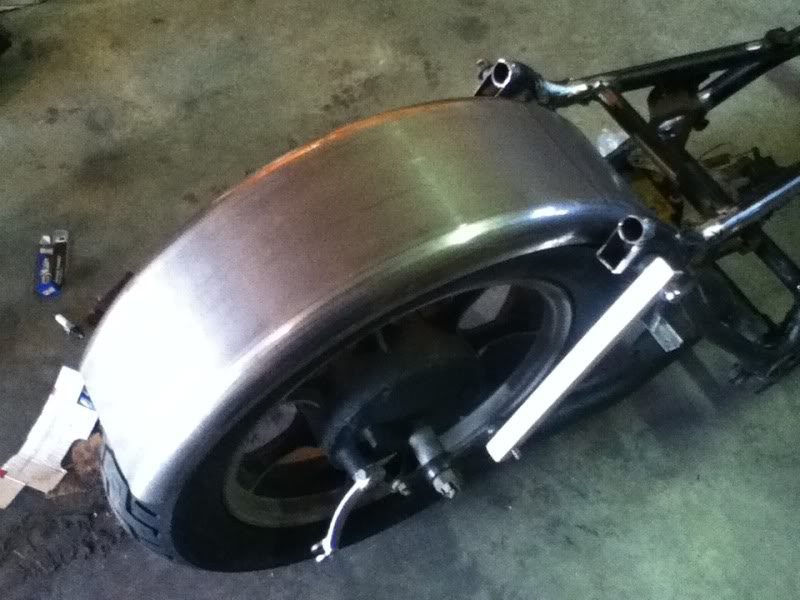
The next day the real money began, I purchased a motorcycle (TRAILER) fender at northern tool, works great for what I need.
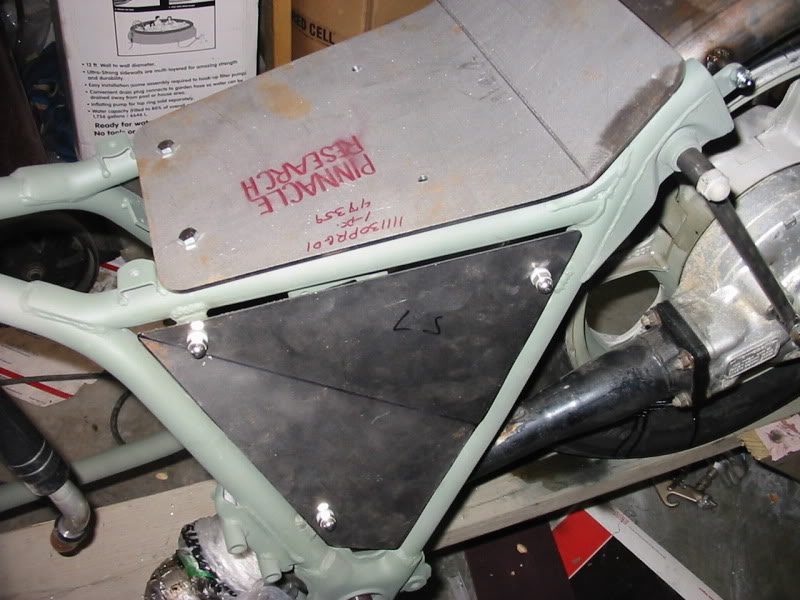
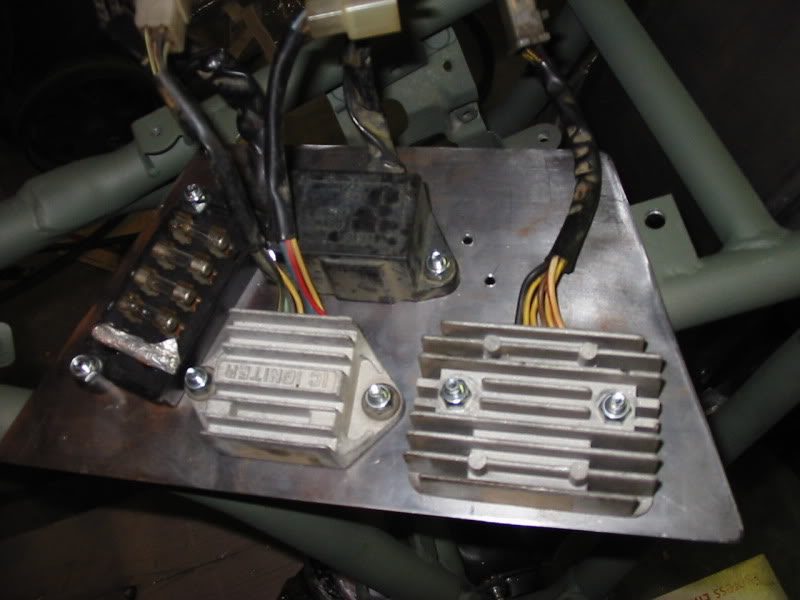
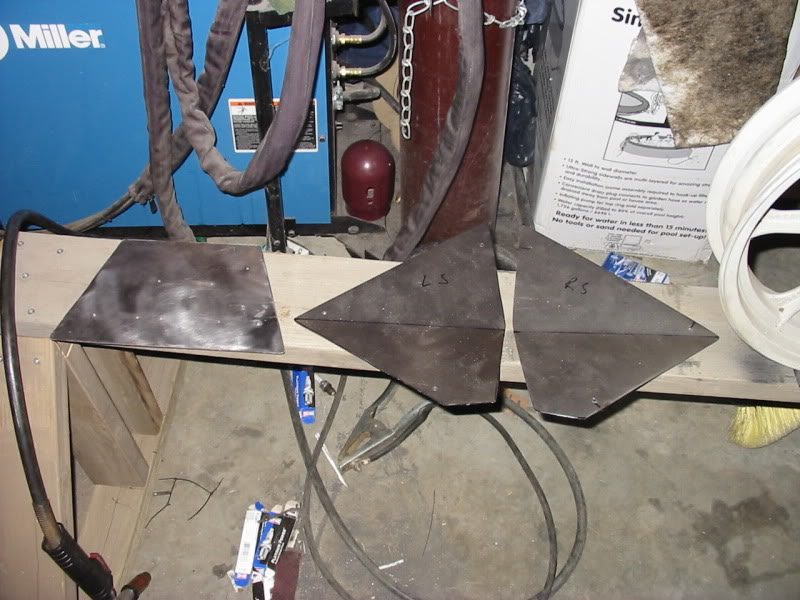
A short while later we bought a 1'x2' plate of 16G steel and 48" of .75"x.125" bar stock. This created our replacement side pods. Notice we have the stock ones (visible in the first pictures), I wanted to be different, so I built some. Also seen here is a plate for all of my electronics.
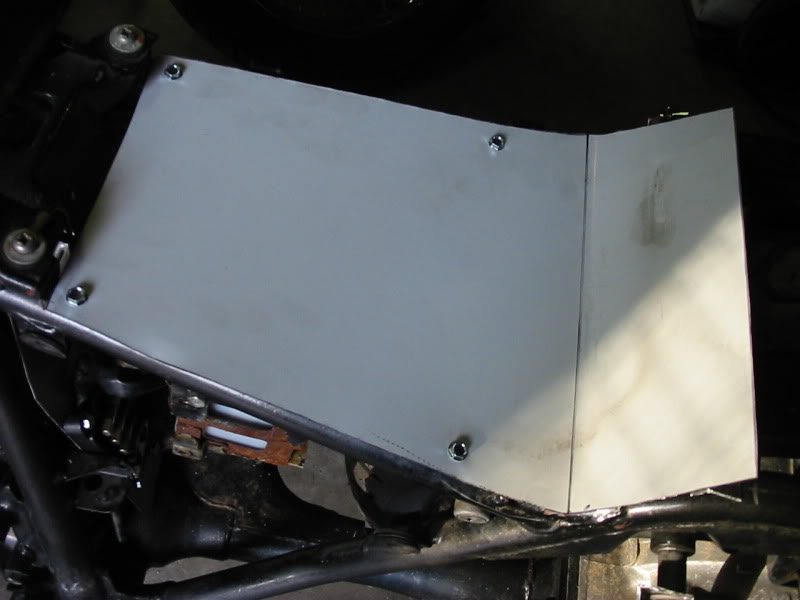
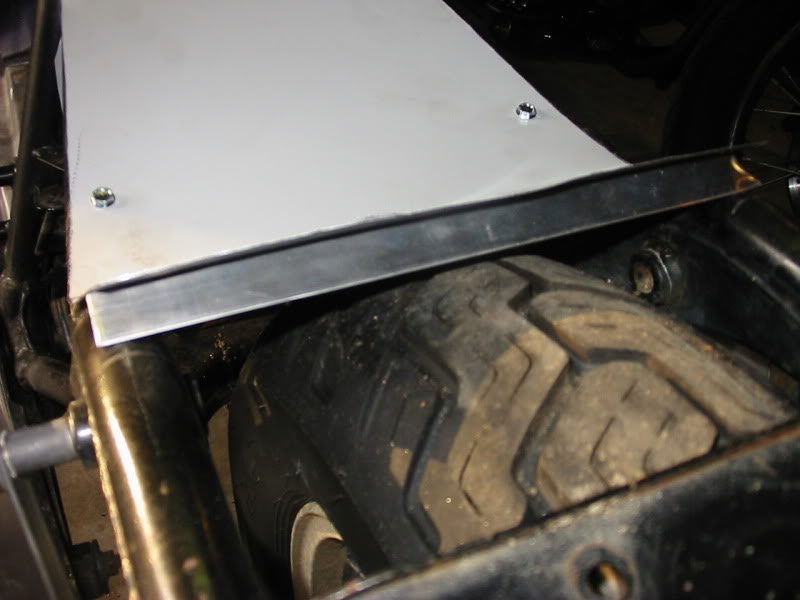
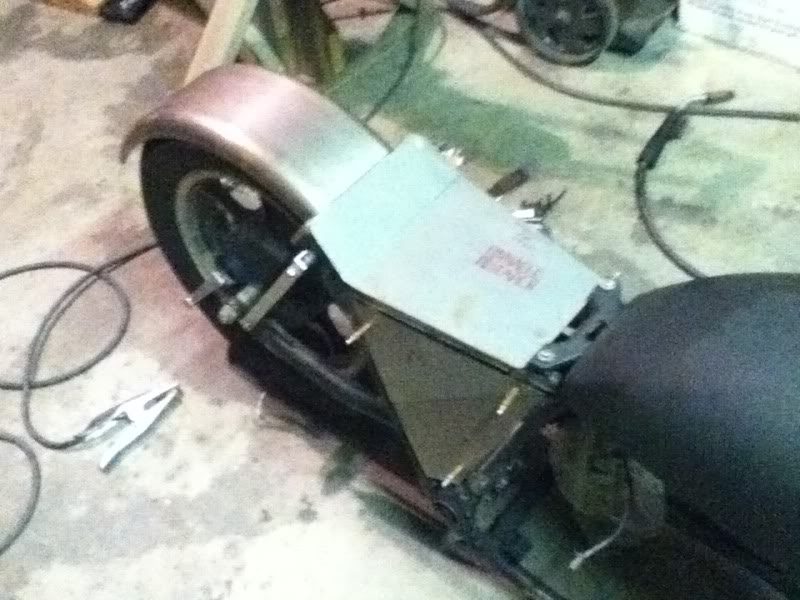
Mocking up with the seat pan that I had laser cut by Brisco, I guess we hadn't thought to have them brake it while they had it so we ended up clamping it down to our bench and my dad (160 lbs) and friend, Dylan (215 lbs), sat on top of the bench. I got my shoulder under the long end and pushed upwards, this thing was not going anywhere. We don't have a torch, oddly enough, so we did this without heat, after a little motivation and 20 minutes of pushing we ALMOST got it bent to the right angle, I just didn't have any more in me to push on that thing again. Before the bend initiated I was already lifting up the bench, with all my tools, dad and friend sitting on it. It was close enough for me.
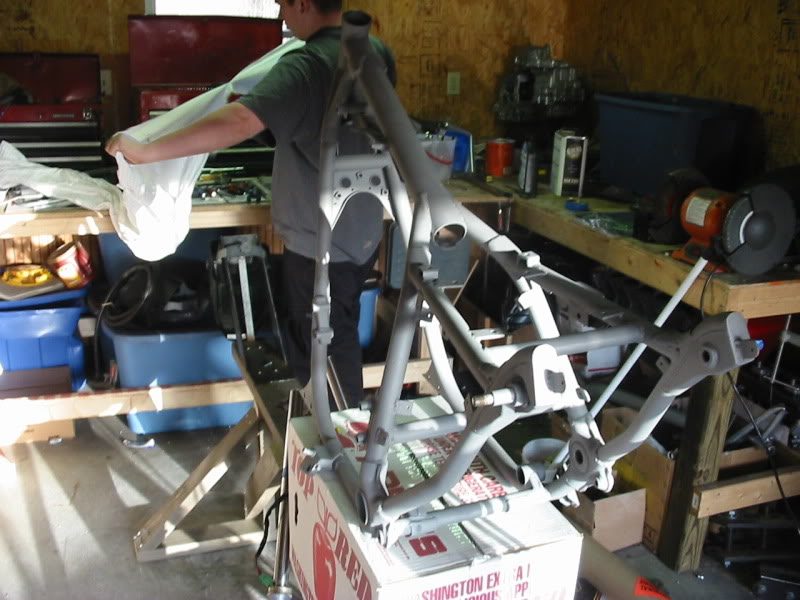
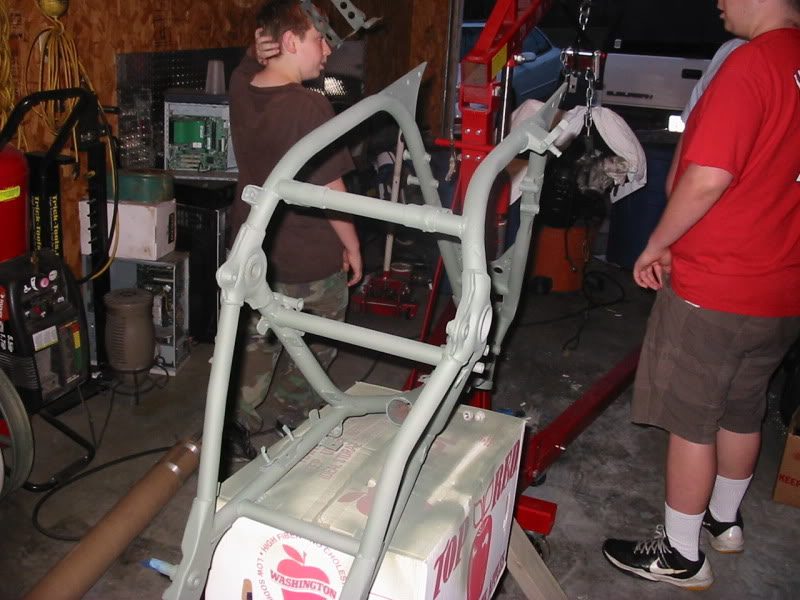
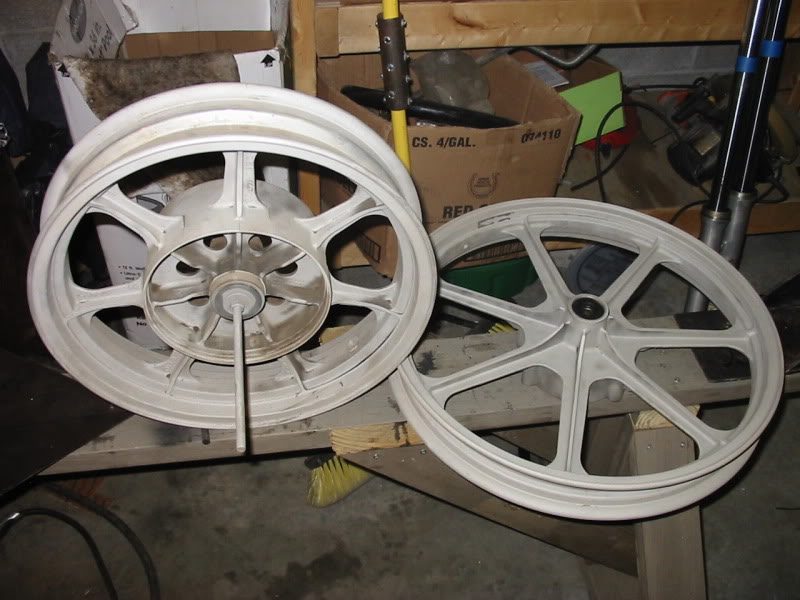
At this point I made a 5 hour saturday visit to my mentor, Albert, and we got some more sandblasting done as well as discussing some paint options. We've opted to do the frame in a metallic gun metal gray (same paint as was sprayed on the bumpers, wheels and top of the bronco) and the tins in black with a tinted clear coat. The clear coat will be tinted to a mauve rose red (I think that's the name) and should make the bike appear black until the light hits it at the right angle making it gleam in the beautiful deep red. Back on topic, here are the wheels that I'd sandblasted.
And the head.
And the front fender, previously chrome.
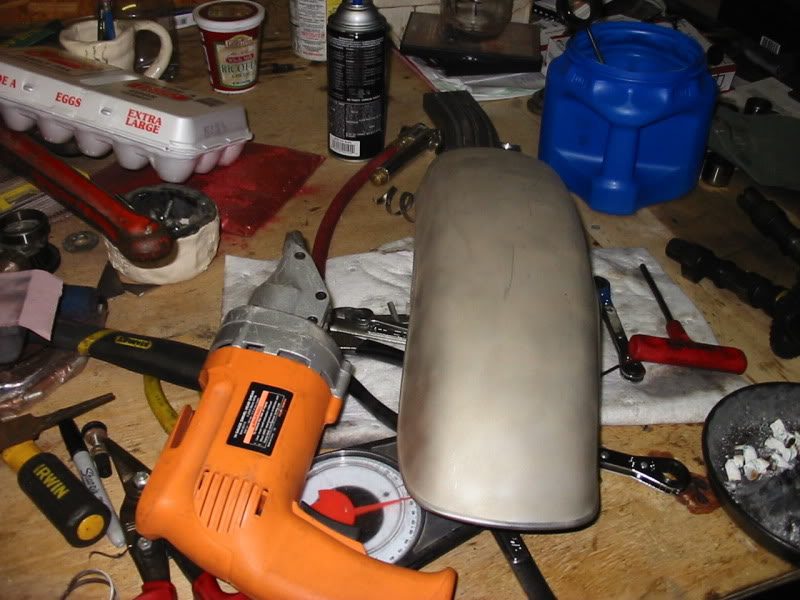
Front wheel in the DupliColor self-etching primer.

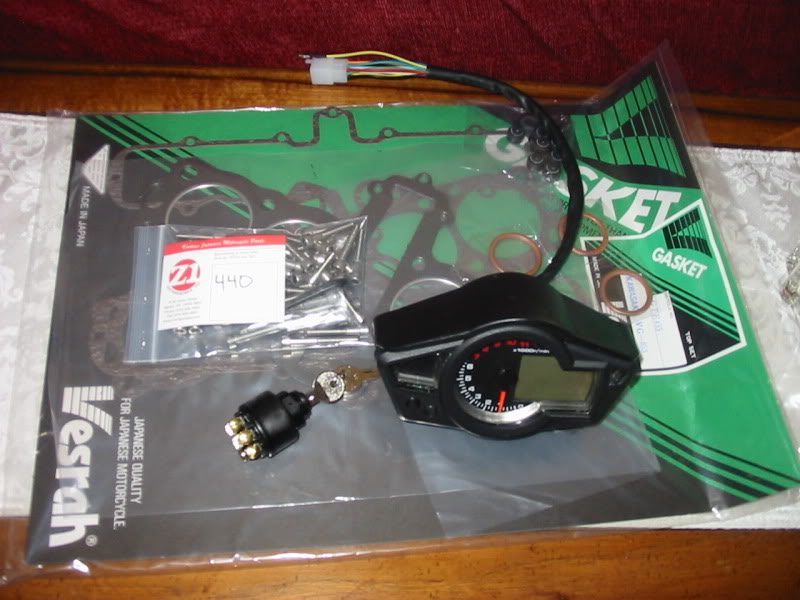
Delivery! I had accepted two packages on this day, my new tachometer/speedometer combo and my top end kit. A few days prior I also received my key switch and bolt set.
My tach, top end kit, key switch and bolt set (all allen head cap screws, in stainless).
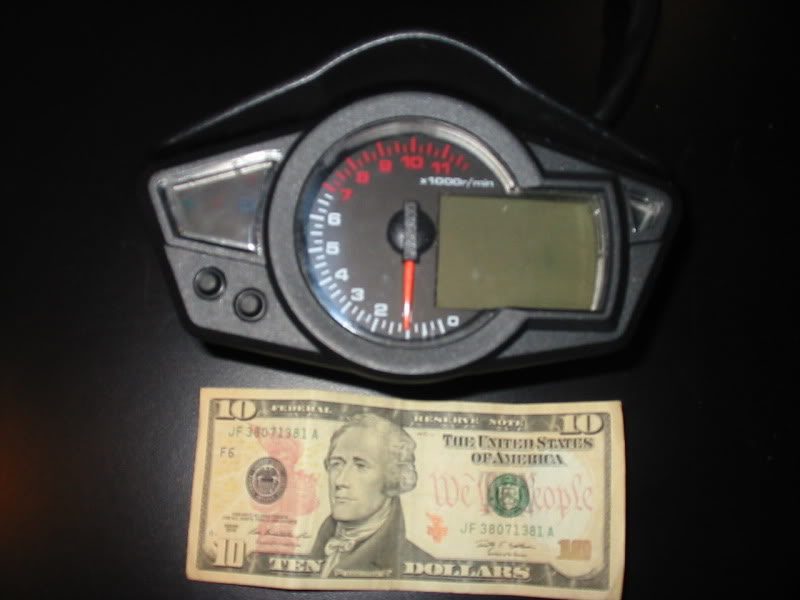
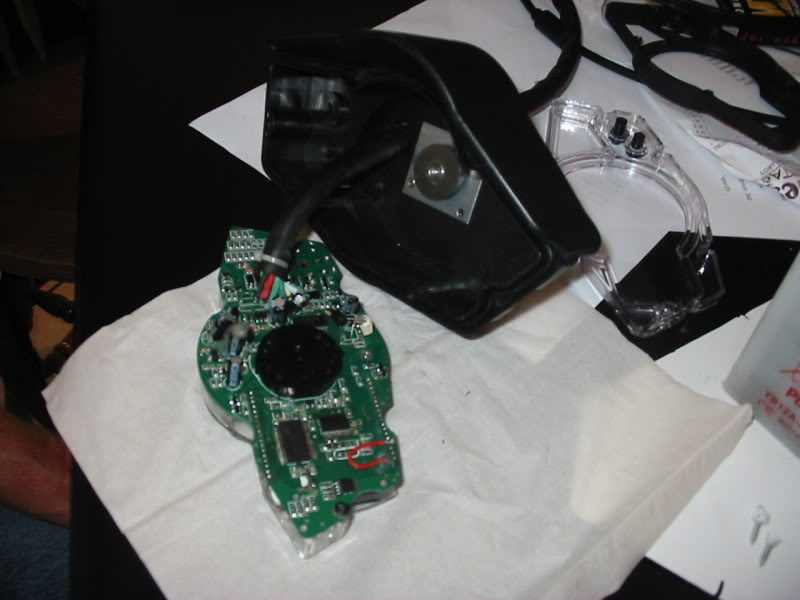
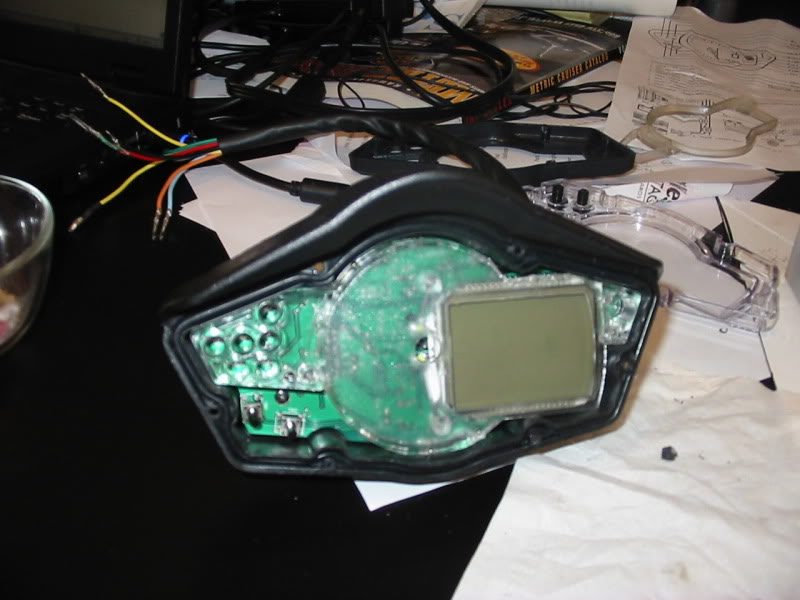
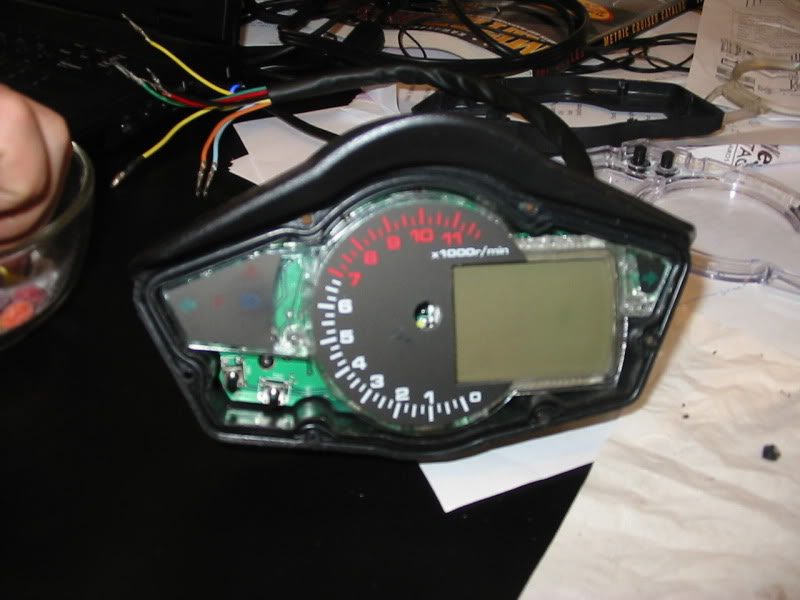
Of course, being a 'knock-off' we had to disassemble it, it was obvious that this was manufactured by Koso, whose equivalent sells for ~$300. The features available in the Koso models were visible in the LCD screen, but out of our reach due to hardware modifications. There was no productivity in disassembling the device, but it was entertaining nevertheless.
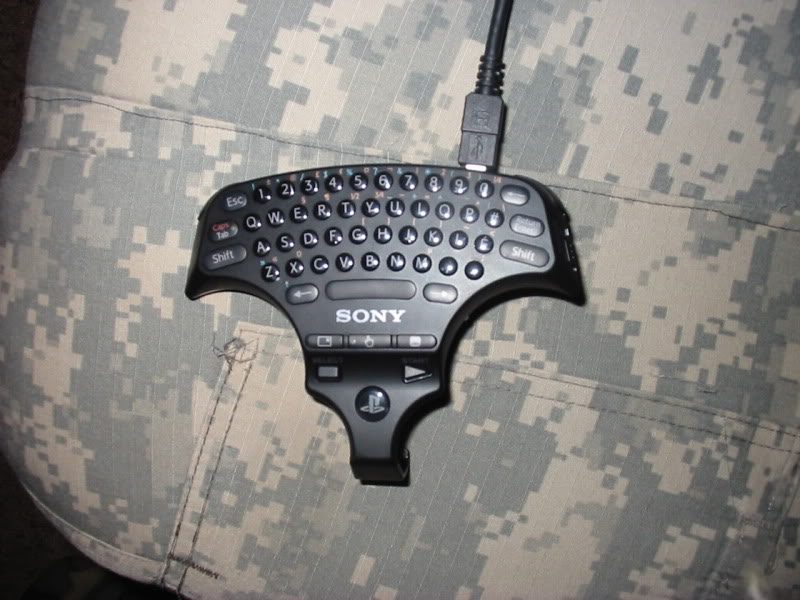
My brothers birthday gift from one of our sisters back in Washington. A nice feature for the PS3, much easier than navigating the on screen keyboard.
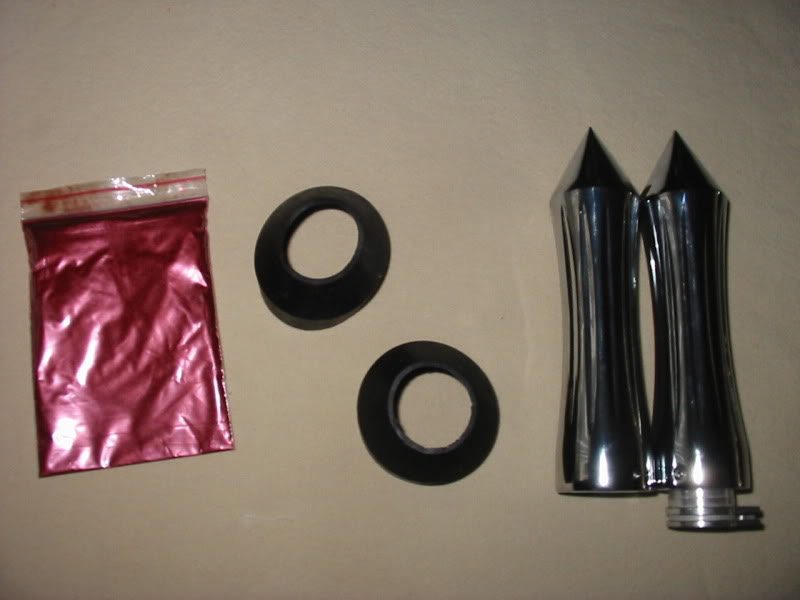
Another delivery!! I came home to 4 packages waiting for me outside. Needless to say, I was excited. Don't we all get that way when we get packages? I opened them up to find my clear coat tint, dust seals (to replace those nasty looking gaiters), chrome pointy grips and wait... another top end kit? Apparently we had made two orders, almost exactly 24 hours apart. No, it must have been their system, but it's ok, their part is going back and hopefully my money is coming back! (I recently found out that my card was also charged 3 times, thats two EXTRA times, on shipping for some steel featured later, I'm also being credited for that as well.)

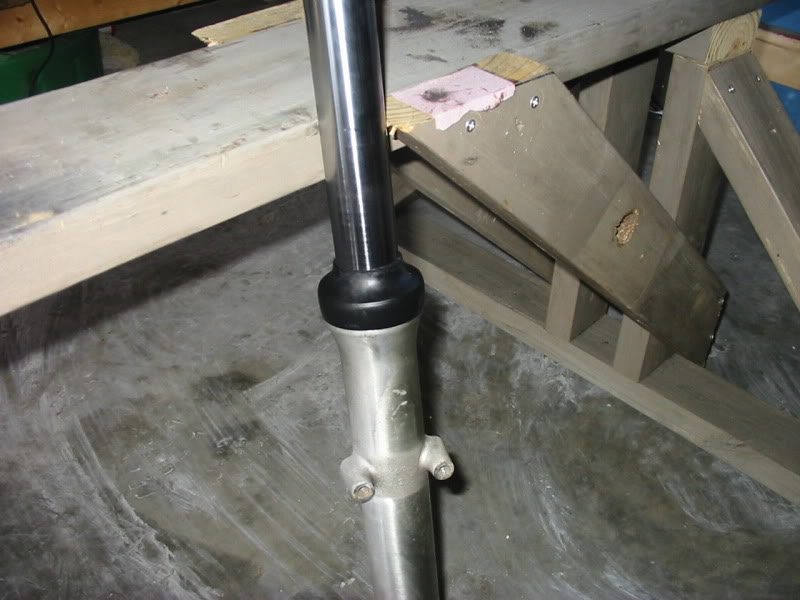
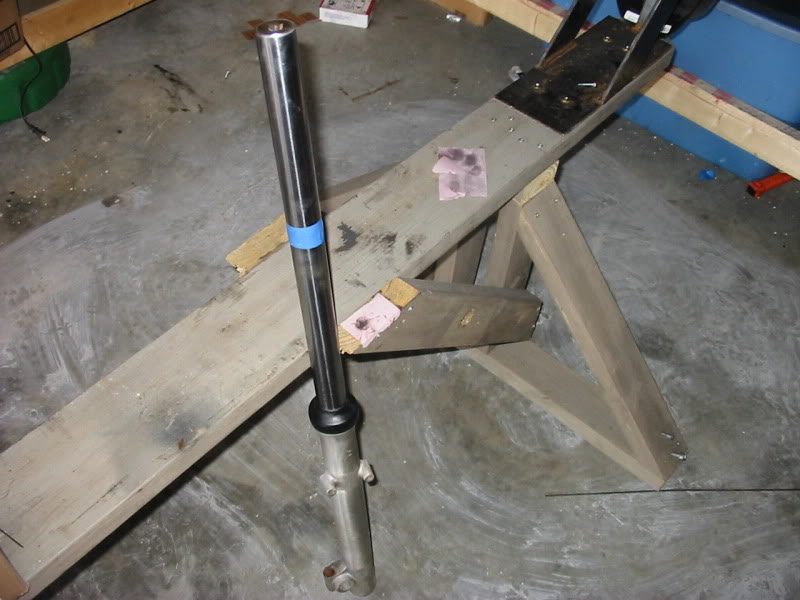
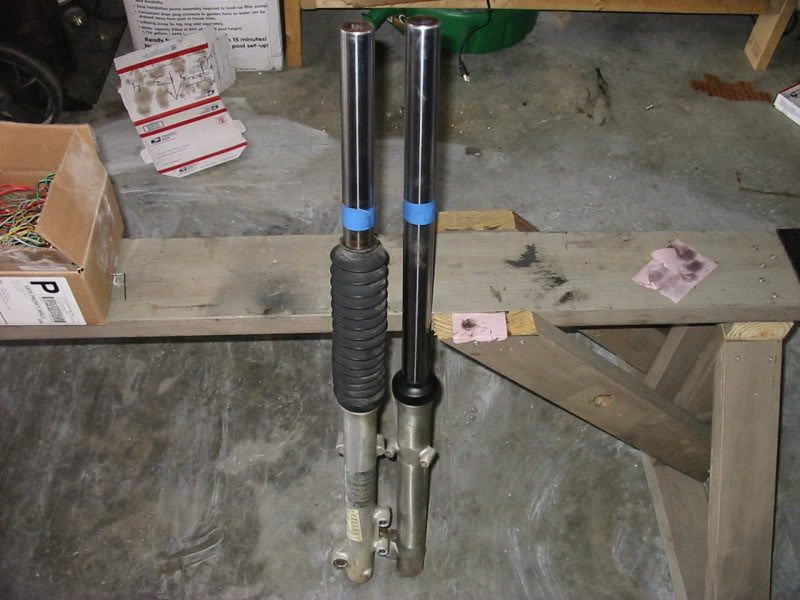
One dust seal on for mock up, also next to the other fork with a boot (gaiter) on it for comparison.
Assembly time! One of my favorite parts up unto this point in the build, I built this motor on my own with my hands, tools, knowledge and torque specs from the manual.


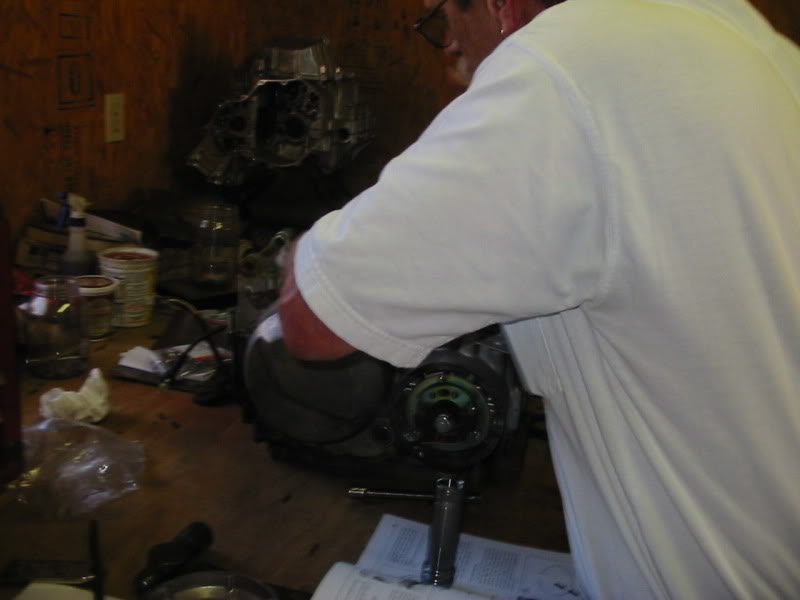
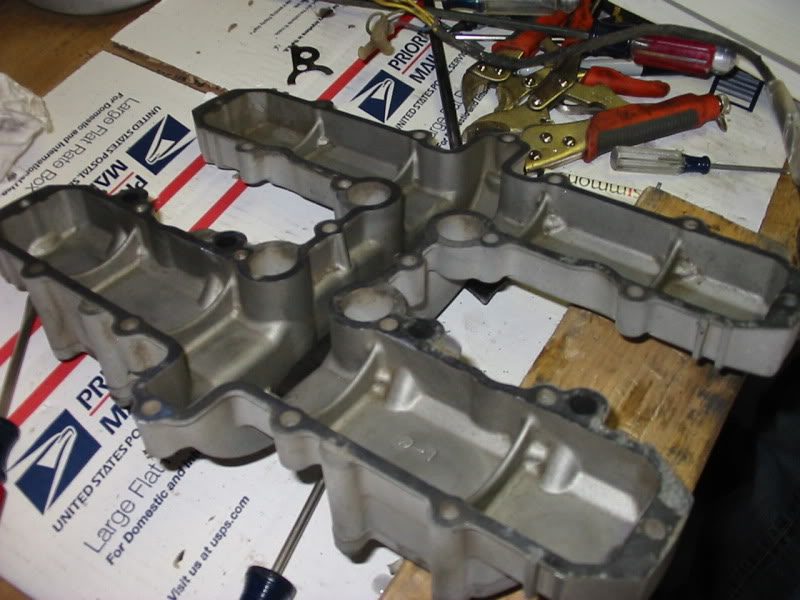
Well, I thought the motor was empty of oil at this point. The first steps I took away from the bench I heard the oil drop from the shaft output. With the motor weighing in at a bunch, I wasn't prepared to set it down more than once. I carried it all the way out, knowing that I would have to clean up, it was worth it to me though to save the energy of having to pick up the beast again.
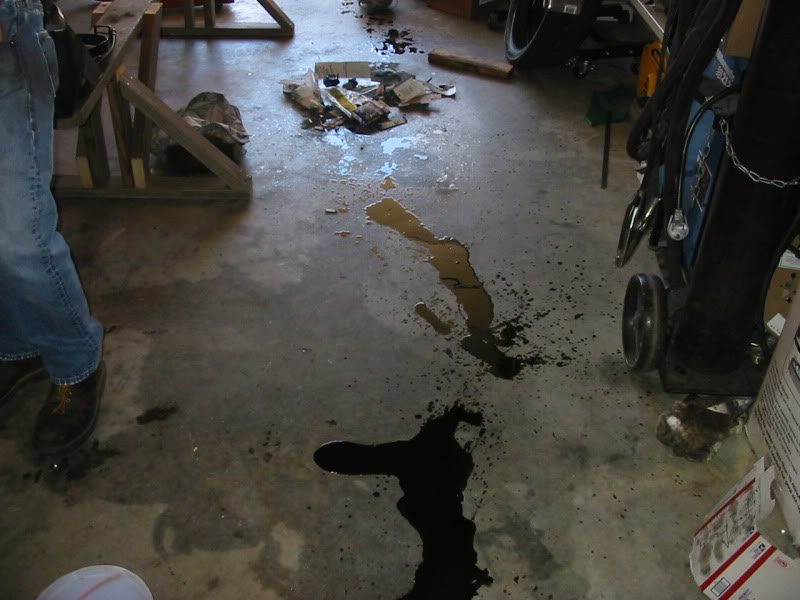
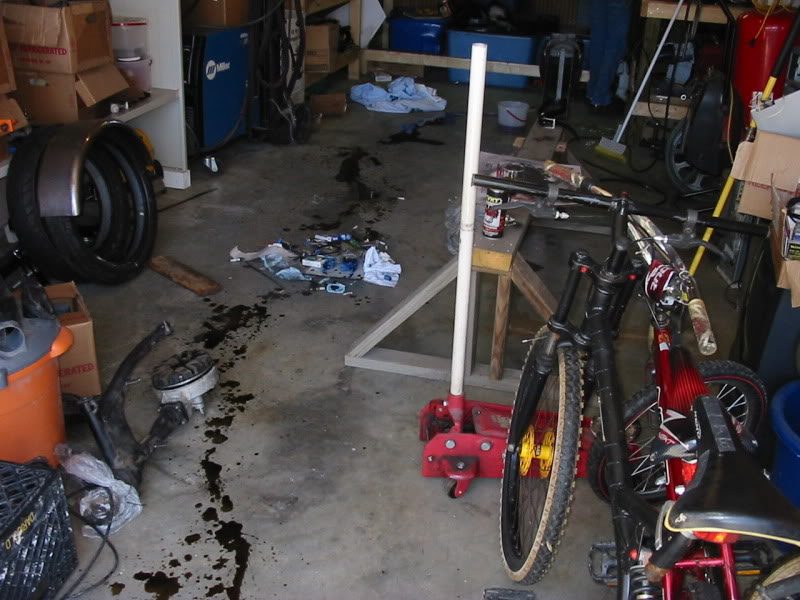
Cleaned up alright, not too much work.

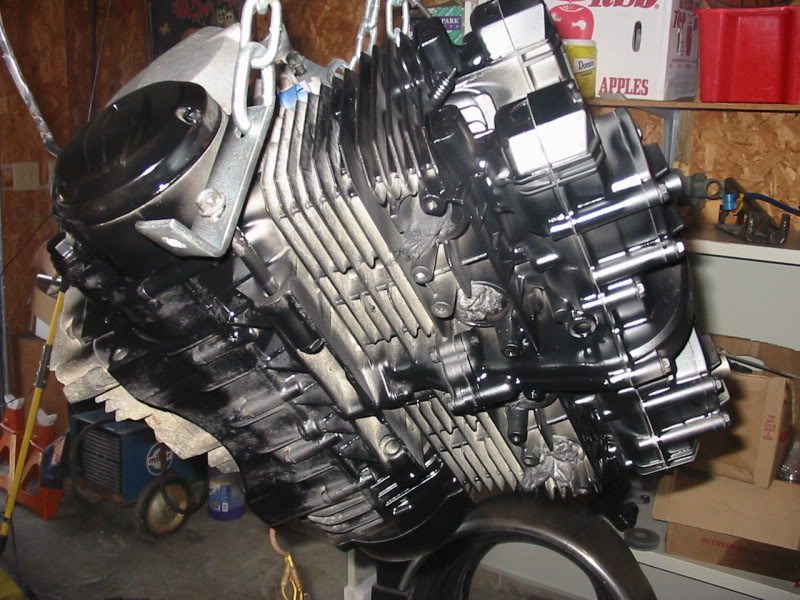
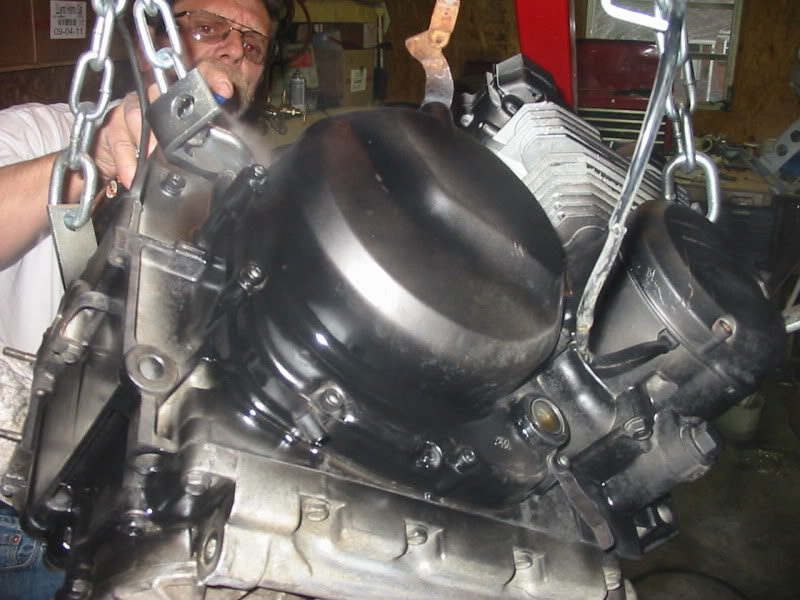
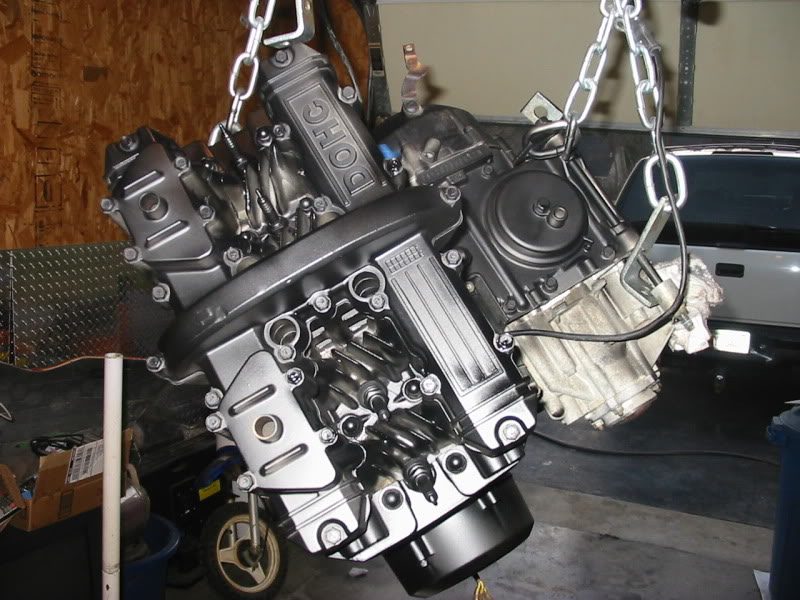
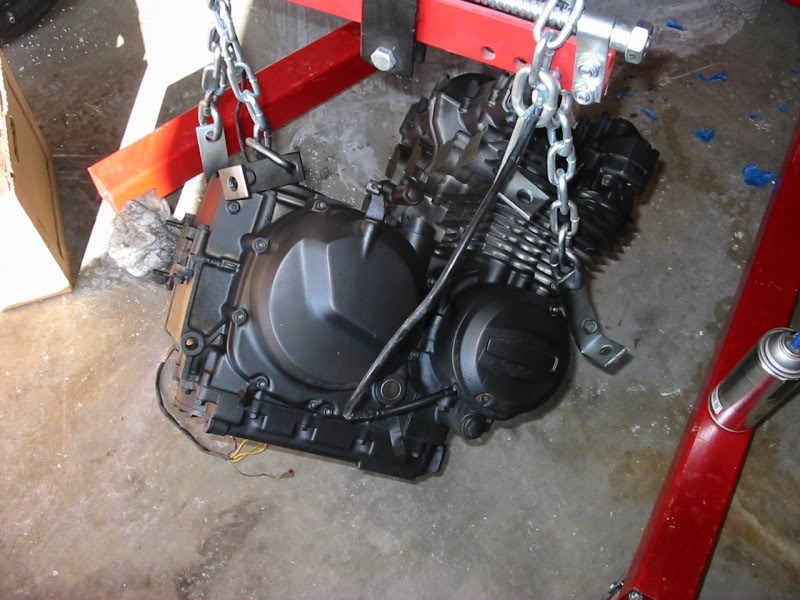
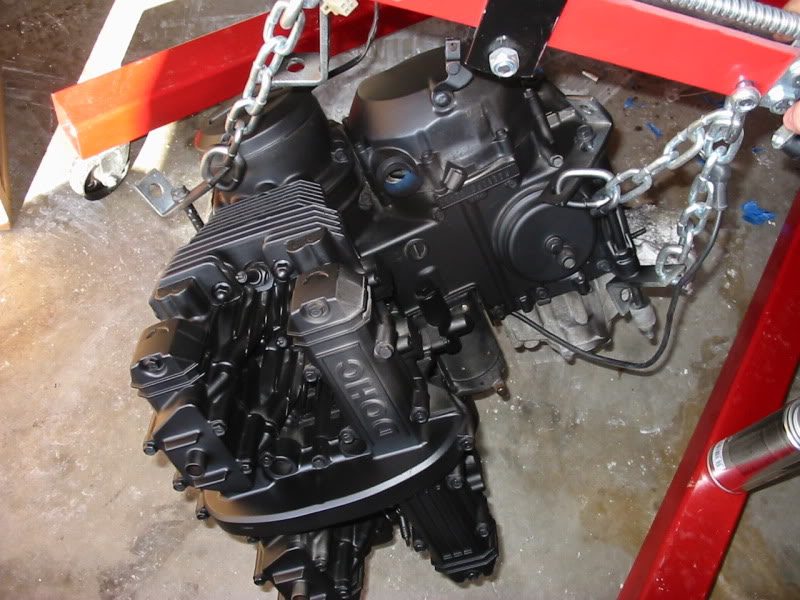
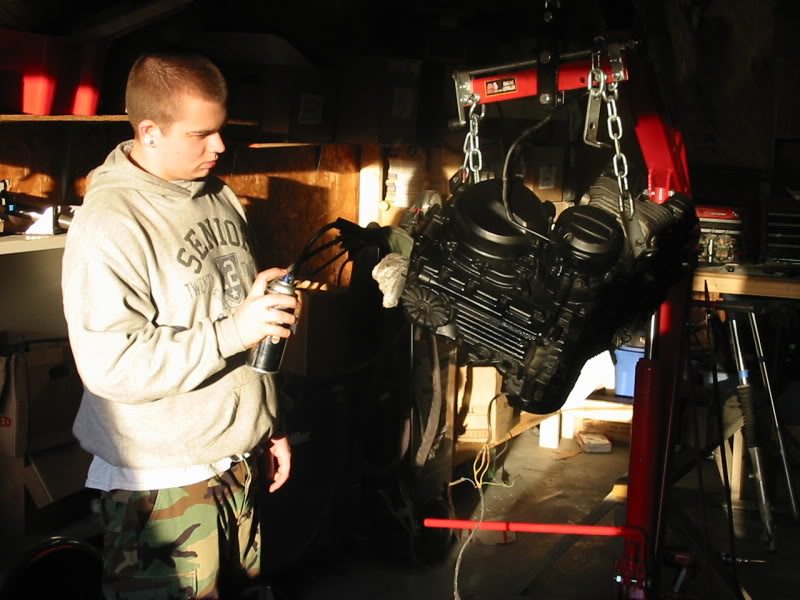
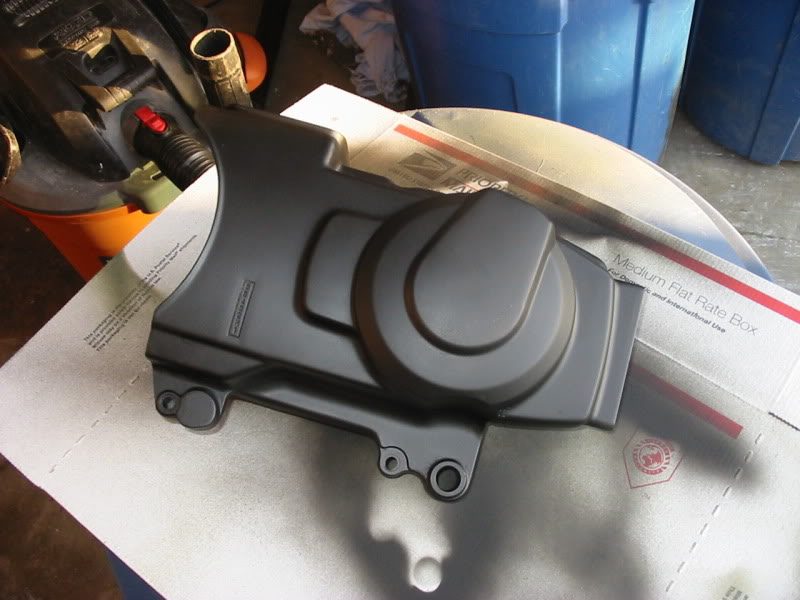
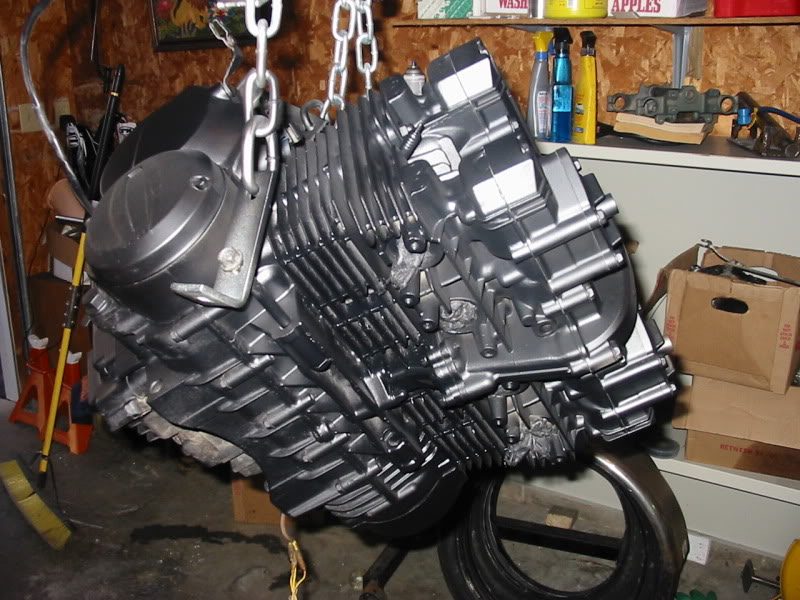
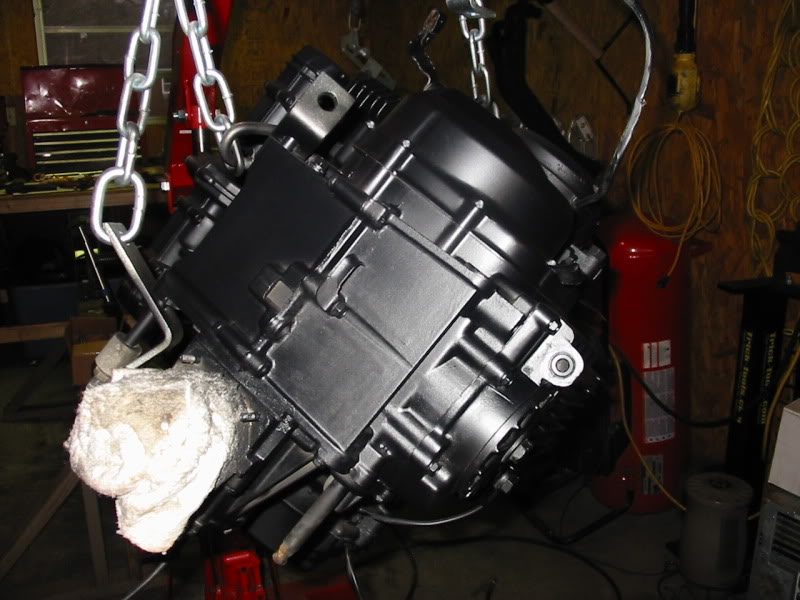
Hoisted the engine up after getting it cleaned up and started prepping for the spray can, this time a DupliColor engine enamel, in semi-gloss black.
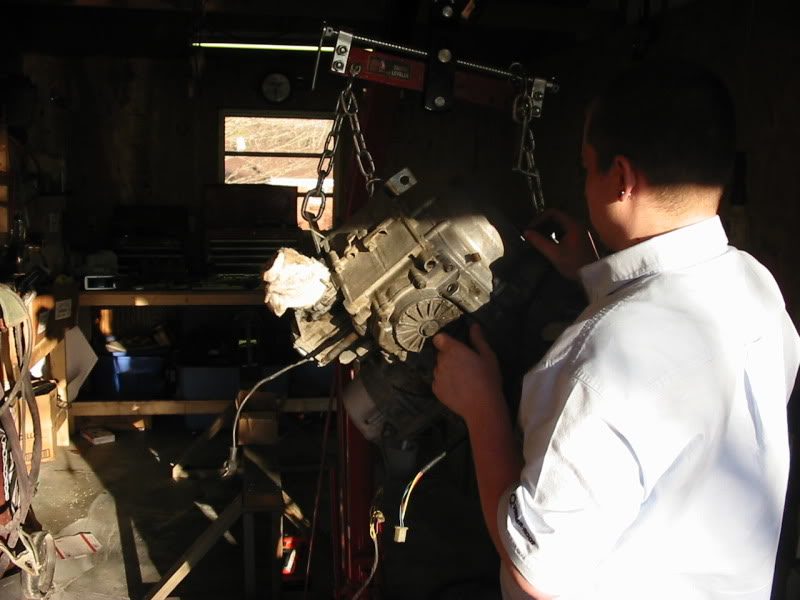

Let's do this.
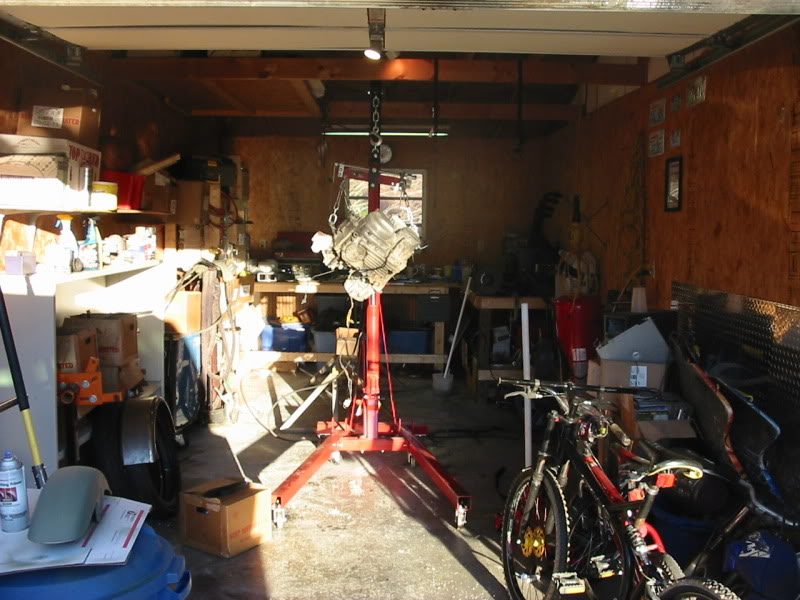

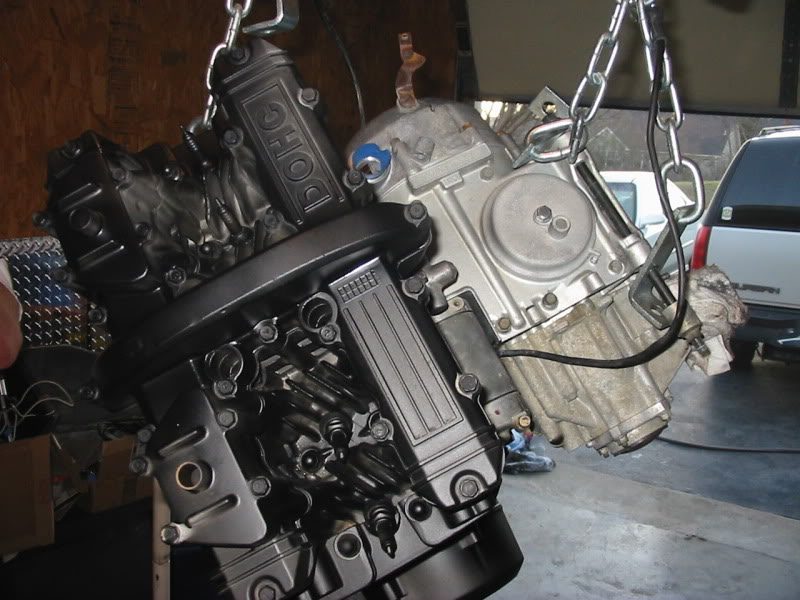
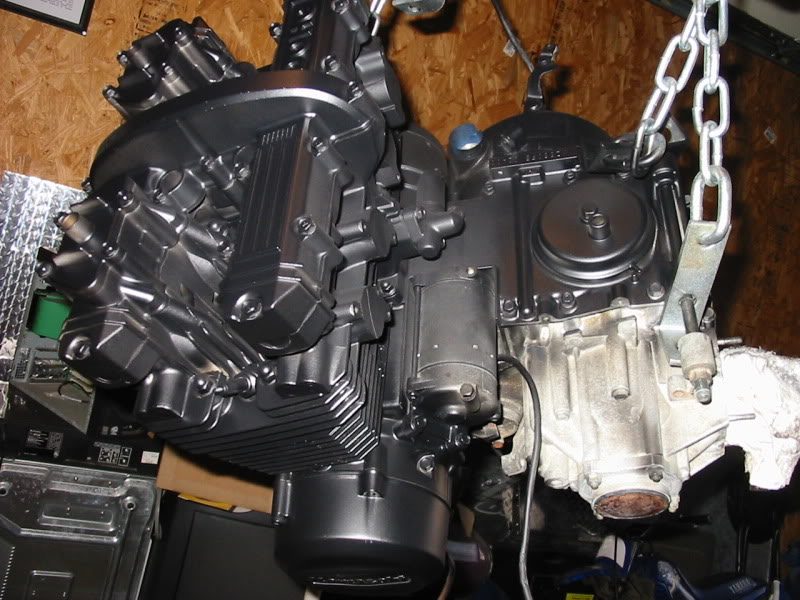
Stainless going in, I knew as soon as I saw this set on Z1 Enterprises I had to have it, I didn't even know which fasteners came in the set, but I knew it was a 50 piece set plus the key to put them in and it was $20 and all stainless so I added it to my list.
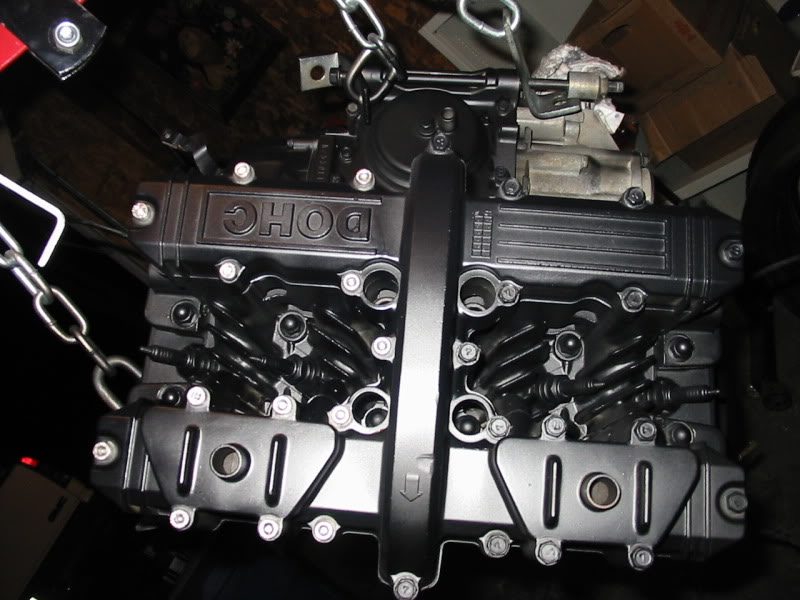
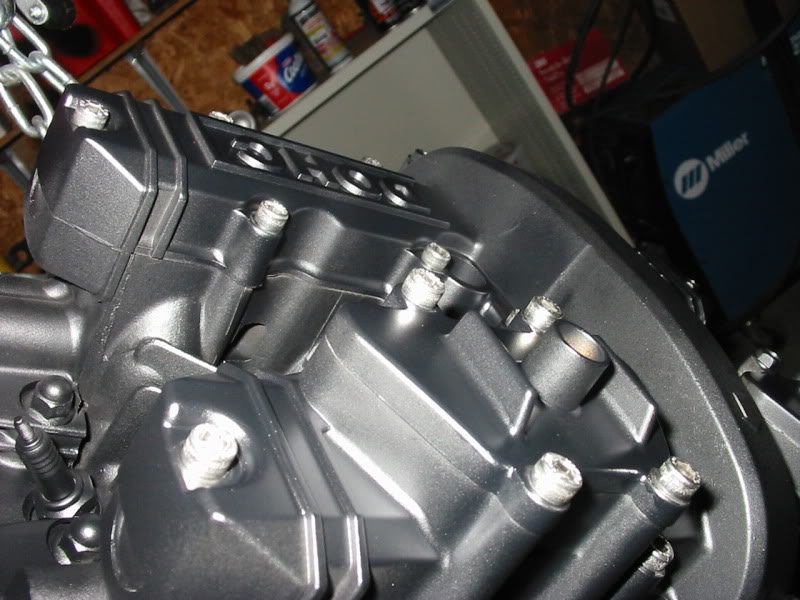
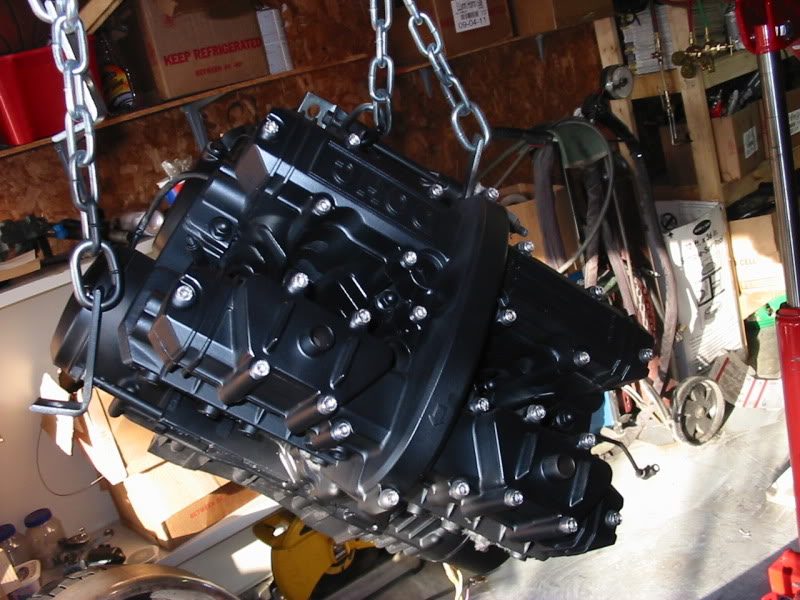
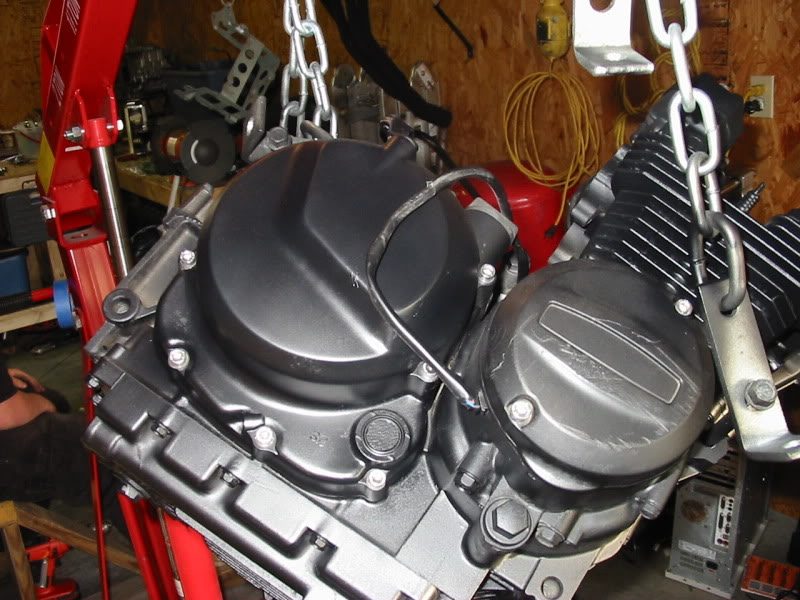
I personally believe that worked out VERY well.
I remembered the throttle I had bought for my RM project and decided I would give it a shot. After a few modifications it worked out very well and fits just right. Saved some cash on that one.
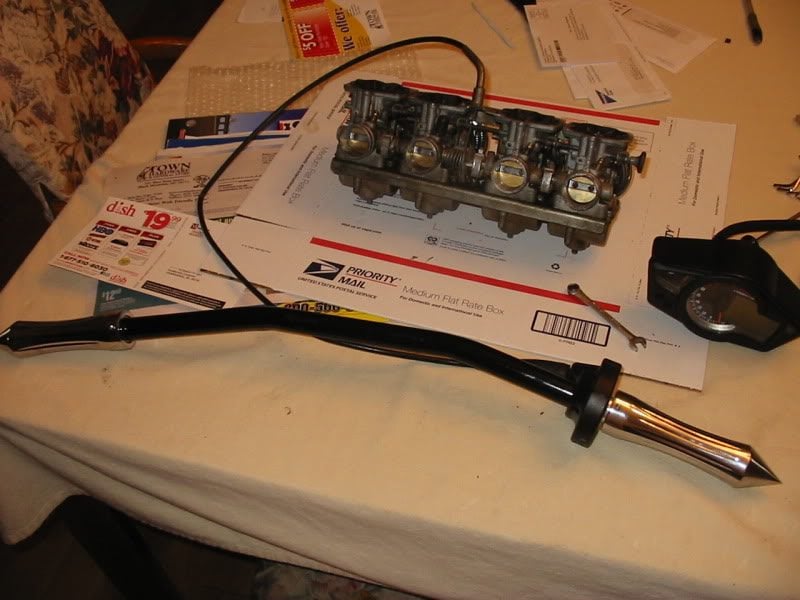
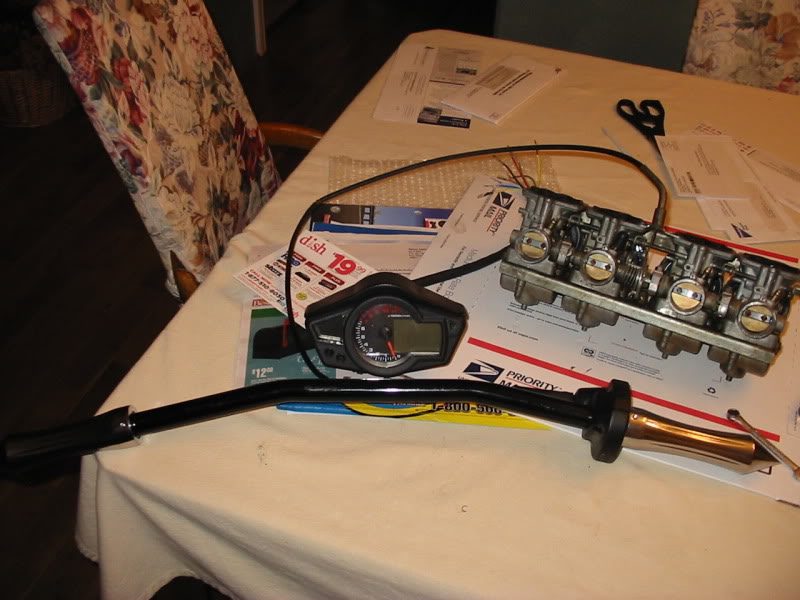
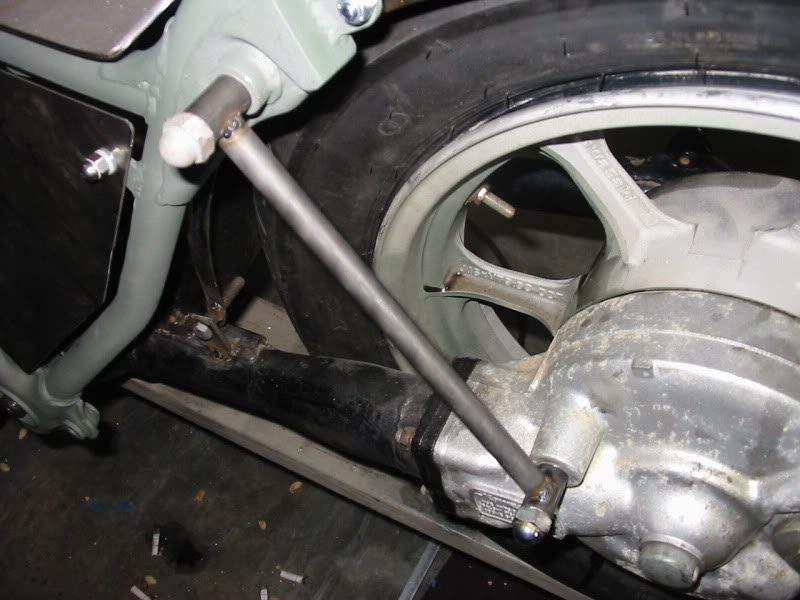
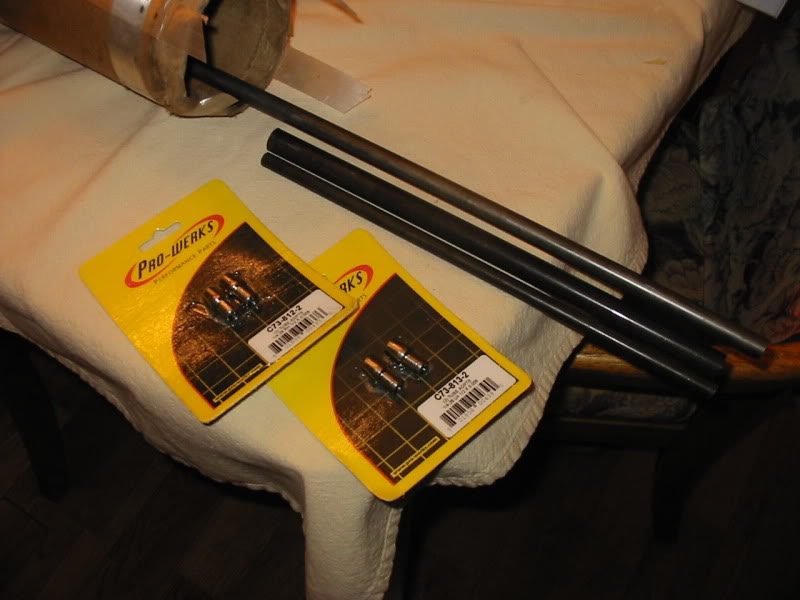
The UPS man brought me another present today, I was even more excited this time. Today he brought me 12" of 0.375" 0.058" wall, 12" of 0.625" 0.035" wall, 96" of 0.500" 0.058" wall, and 4 tube adapters to make linkages for my shifter and brake.
This covers everything from day one until right now, as I type this. I hope you've enjoyed the write up as much as I've enjoyed spending the last 2 1/2 hours organizing it.
Here's my list of expenditures so far, or atleast the major ones that I've tracked down.
20111102 Air Filters $26.95
20111112 Handlebars $31.50
20120126 Brisco $34.80
20120207 Rear Fender $28.04
20120208 Tachometer $91.00
20120209 Steel_01 $25.66
20120217 Keyswitch $30.94
20120218 Bolt Set $30.20
20120220 Paint_Primer $19.93
20120221 Clear Tint $13.94
20120221 Grips $23.00
20120221 Top End Kit $73.97
20120222 Fork Boots $17.98
20120222 Paint_Black $26.68
20120223 Levers $120.00
20120224 Steel_02 $87.75
20120224 Gskt/stds/cbl $57.55
20120226 Paint_Engine $6.61
20120227 Paint_Engine $6.61
Total $753.11
Plus Bike $1,253.11
Enjoy the pictures and have a good one, expect more updates very soon.
-Mike
I drove out to meet the owner, as you may know I worked on this bike roughly 2-3 years ago for the guy who sold it to me. We had already agreed on a price because I knew the bike and didn't need to go look at it, for $500 it wasn't bad, especially because it had $300 in brand new tires on it.
Got the bike home and put it on the charger first thing.


Anybody would have guessed it wouldn't be long before I did something to it, starting the customizing process. The first thing I did was remove the shocks and drop the rear about 3-4 inches.


After a couple days I had begun to accumulate parts for an ebay box, or bucket in this case.

Here you can see that I drilled another hole in my temporary brackets to lower the bike a little more, which brought it down another inch or two.


After about a week I finally decided to take it outside and give it a wash.


At this point in time I was beginning to get an idea of where exactly I wanted to go with the bike and I acquired some stock foot controls from a V-Star 1100. These were free from my friend who owns the bronco that we built.

The time to fire her off was getting closer and closer. Knowing the carbs were nasty from sitting for so long I let my girl take the reigns and guided her through the game of carburetors.


After sitting idle for a couple days I thought I should atleast take some pictures to keep myself entertained since money was tight and I was making little progress.


From our old microwave I fabricated a temporary seat pan and started to get some ideas about my forward controls. In the last picture you can see what little hair I had after giving myself a regulation haircut while my mom was away, she wouldn't ever cut it that short so I did it myself, dad was fine with it so I didn't care.


On ebay I found some pod filters from 'Sincitycycleparts' that fit my bike. These are one of the best American based parts ebayers I have found, highly recommended.


I hatched an idea about mounting my forward controls and drew it out on cardboard, envision the cardboard cut in 0.25" mild steel and welded to the frame, minus the aluminum angle stock. I also figured since I had done some body work on the tank, removing and replacing a lot of bondo and spraying it with some rustoleum primer, I should take some more pictures of the bike since it was outside.


The bike sat around for about a month while we picked up and moved a couple miles down the road, it was hectic but I eventually got back around to working on my baby. I had done a few little things before I got to this point, but not much more than a major disassembly. Here you can see the motor coming out, which was a little harder than I thought but I managed through it, the shaft drive threw me off a little bit.

Got the motor out and on the bench.

After getting into the beast I noticed that for 30 years old, it was surprisingly clean, but then again, the bike does only have 17k.


I then proceeded to clean up some carbon build up, the bike had been running pretty rich so no surprises here. After this I lapped in the valves.

Old, nasty carbon and a clean fresh valve.


Head is done for about as much as I can do until I order a top end kit.

Remember the cardboard cutouts? Here they are in all their laser cut, mild steel glory. I had traced out my measurements and drawn them in AutoCAD. I then sent my drawings, which also included a seat pan to be cut in 0.125" mild, to a local machine shop, Brisco, where I was charged a mere $34.80 for all three of my pieces. This is one of the reasons I deal locally, this is the second or third job I've had with Brisco and they have never charged me a setup fee. They also provide the material which saves me even more money.


I threw the bike back together and dropped the tank on to see what it looked like and to ensure I had all of my clearances. I'm starting to see the light of the project and all my ideas are coming together.


Some parts that I had taken to my mentor where I sandblasted for the first time. The first piece I put in the cabinet was the headers and after I finished with it and pulled it out he mentioned that, especially with the conditions (blasted glass so that you can only see through one little corner into the cabinet) I had done very well on one of the toughest parts to work on, let alone start on. I obviously didn't know, but I believe it helped because everything after that was a piece of cake.

Painting the headers, I used DupliColors VHT (Very High Temperature) paint, I like how they came out.

The next day the real money began, I purchased a motorcycle (TRAILER) fender at northern tool, works great for what I need.

A short while later we bought a 1'x2' plate of 16G steel and 48" of .75"x.125" bar stock. This created our replacement side pods. Notice we have the stock ones (visible in the first pictures), I wanted to be different, so I built some. Also seen here is a plate for all of my electronics.

Mocking up with the seat pan that I had laser cut by Brisco, I guess we hadn't thought to have them brake it while they had it so we ended up clamping it down to our bench and my dad (160 lbs) and friend, Dylan (215 lbs), sat on top of the bench. I got my shoulder under the long end and pushed upwards, this thing was not going anywhere. We don't have a torch, oddly enough, so we did this without heat, after a little motivation and 20 minutes of pushing we ALMOST got it bent to the right angle, I just didn't have any more in me to push on that thing again. Before the bend initiated I was already lifting up the bench, with all my tools, dad and friend sitting on it. It was close enough for me.

At this point I made a 5 hour saturday visit to my mentor, Albert, and we got some more sandblasting done as well as discussing some paint options. We've opted to do the frame in a metallic gun metal gray (same paint as was sprayed on the bumpers, wheels and top of the bronco) and the tins in black with a tinted clear coat. The clear coat will be tinted to a mauve rose red (I think that's the name) and should make the bike appear black until the light hits it at the right angle making it gleam in the beautiful deep red. Back on topic, here are the wheels that I'd sandblasted.

And the head.

And the front fender, previously chrome.

Front wheel in the DupliColor self-etching primer.

Delivery! I had accepted two packages on this day, my new tachometer/speedometer combo and my top end kit. A few days prior I also received my key switch and bolt set.

My tach, top end kit, key switch and bolt set (all allen head cap screws, in stainless).

Of course, being a 'knock-off' we had to disassemble it, it was obvious that this was manufactured by Koso, whose equivalent sells for ~$300. The features available in the Koso models were visible in the LCD screen, but out of our reach due to hardware modifications. There was no productivity in disassembling the device, but it was entertaining nevertheless.


My brothers birthday gift from one of our sisters back in Washington. A nice feature for the PS3, much easier than navigating the on screen keyboard.

Another delivery!! I came home to 4 packages waiting for me outside. Needless to say, I was excited. Don't we all get that way when we get packages? I opened them up to find my clear coat tint, dust seals (to replace those nasty looking gaiters), chrome pointy grips and wait... another top end kit? Apparently we had made two orders, almost exactly 24 hours apart. No, it must have been their system, but it's ok, their part is going back and hopefully my money is coming back! (I recently found out that my card was also charged 3 times, thats two EXTRA times, on shipping for some steel featured later, I'm also being credited for that as well.)


One dust seal on for mock up, also next to the other fork with a boot (gaiter) on it for comparison.


Assembly time! One of my favorite parts up unto this point in the build, I built this motor on my own with my hands, tools, knowledge and torque specs from the manual.


Well, I thought the motor was empty of oil at this point. The first steps I took away from the bench I heard the oil drop from the shaft output. With the motor weighing in at a bunch, I wasn't prepared to set it down more than once. I carried it all the way out, knowing that I would have to clean up, it was worth it to me though to save the energy of having to pick up the beast again.


Cleaned up alright, not too much work.

Hoisted the engine up after getting it cleaned up and started prepping for the spray can, this time a DupliColor engine enamel, in semi-gloss black.


Let's do this.


Stainless going in, I knew as soon as I saw this set on Z1 Enterprises I had to have it, I didn't even know which fasteners came in the set, but I knew it was a 50 piece set plus the key to put them in and it was $20 and all stainless so I added it to my list.


I personally believe that worked out VERY well.
I remembered the throttle I had bought for my RM project and decided I would give it a shot. After a few modifications it worked out very well and fits just right. Saved some cash on that one.


The UPS man brought me another present today, I was even more excited this time. Today he brought me 12" of 0.375" 0.058" wall, 12" of 0.625" 0.035" wall, 96" of 0.500" 0.058" wall, and 4 tube adapters to make linkages for my shifter and brake.

This covers everything from day one until right now, as I type this. I hope you've enjoyed the write up as much as I've enjoyed spending the last 2 1/2 hours organizing it.
Here's my list of expenditures so far, or atleast the major ones that I've tracked down.
20111102 Air Filters $26.95
20111112 Handlebars $31.50
20120126 Brisco $34.80
20120207 Rear Fender $28.04
20120208 Tachometer $91.00
20120209 Steel_01 $25.66
20120217 Keyswitch $30.94
20120218 Bolt Set $30.20
20120220 Paint_Primer $19.93
20120221 Clear Tint $13.94
20120221 Grips $23.00
20120221 Top End Kit $73.97
20120222 Fork Boots $17.98
20120222 Paint_Black $26.68
20120223 Levers $120.00
20120224 Steel_02 $87.75
20120224 Gskt/stds/cbl $57.55
20120226 Paint_Engine $6.61
20120227 Paint_Engine $6.61
Total $753.11
Plus Bike $1,253.11
Enjoy the pictures and have a good one, expect more updates very soon.
-Mike


 That is awesome!
 Lift one of the cams and out it comes if need be. Easy to change when the time comes that it's worn enough that it "stretches" to far to fit well.
