- 5,143

- Panama City, FL
Is anyone else here as fascinated with clocks as I am? The concept of a machine that runs its gears at an exact rate is just fascinating to me, as are the mechanisms contrived to accomplish the task. Then you have clocks that count things besides seconds, minutes, and hours, like moon phases, months, days, and years, and even orreries, which while not exactly clocks, are mechanical geartrains to model planetary motions, so they do keep relative time of the subjects they portray.
It may be clear by now, but just in case, I'm talking about mechanical clocks, not electronic, or even quart-regulated mechanical clocks or watches. Gears, hands, and some mechanical regulation of the pace of the geartrain, powered by weights or springs. Nothing makes me roll my eyes faster than those battery-powered quartz "anniversary" clocks, styled to look like a real mechanical 400-day movement. Makes me wanna throw up!
For me it started with cuckoo clocks. I had three when i was in college. They no longer exist, apparently. I went into the boxes the other day where I thought they'd been packed, and nothing but tons of old pictures and negatives. Anyway, the clocks were both items i picked up at yard sales. they were complete but not running, or no cuckoo sound, or just inaccurate. I got them both running fairly well with some cleaning, although one was missing a pendulum, so I rigged up a kazoo hanging from a string! I could make it longer or shorter by wrapping the string differently, it was easy to adjust! Both clock also needed new bellows, a the whistles didn't work at all. I actually made them out of paper, folded according to a pattern I got by examining the remains of the originals, and then scoring the folds heavily so they flexed properly. I still had to weight the moving piece on the top of the bellows to make them fall properly and blow air through the whistles, but they worked!!!
When my mom passed back in 2004 I grabbed a couple of clocks from the house before any of my siblings had anything to say about it. OK, truthfully, it was discussed. Afterwards. Everybody agreed I could keep them. They eventually agreed. Possession and all that....
One of them was a genuine 400-day clock that mom had all but destroyed. Apparently she packed it for a move without securing the pendulum weights, so the spring suspension wire was broken. There's also no winding key. I have the clock and it's one of those "someday" projects.
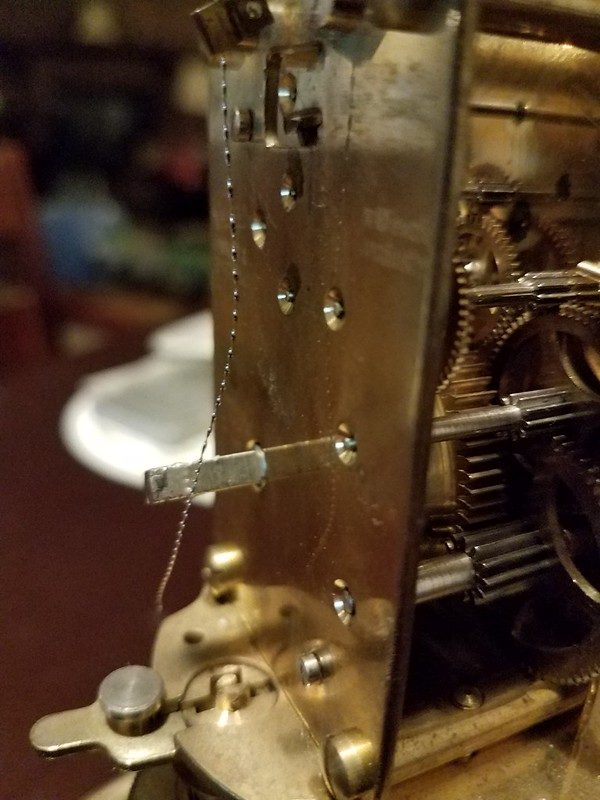
The broken suspension wire
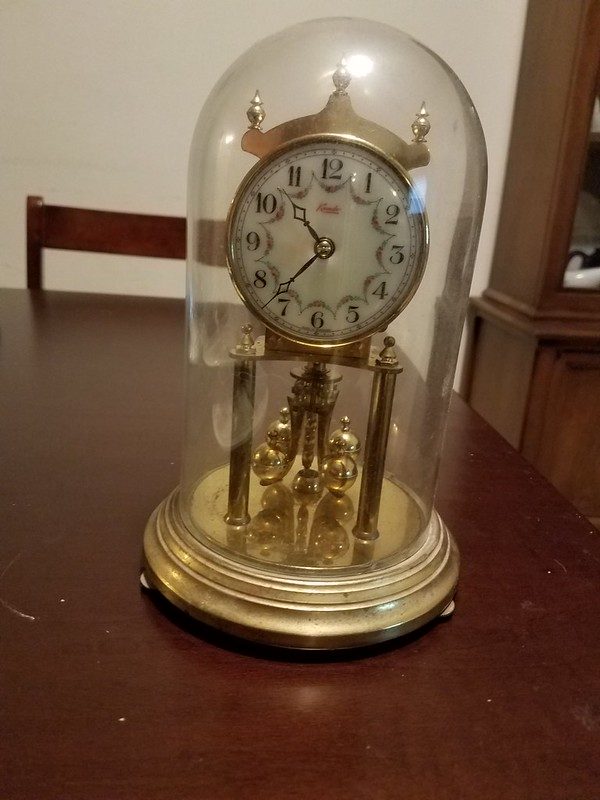
400-day clocks are sometimes called anniversary clocks, because they run an entire year on a single wind. Instead of a swinging pendulum, they have the weights hanging from a wire, and the weights spin back and forth, a torsional pendulum. As they spin, an arm attached to the wire rocks the escapement anchor, and the escapement wheel advances one tooth. That happens anywhere from every 6 to 10 seconds or so, which means the escapement wheel of these clocks advances at about 1/50th the rate of a regular mantle clock. Anniversary clocks are not really good timekeepers, as the suspension wire has no correction for temperature, and the spring may not deliver constant torque through the entire run-down. I'm told it's best to run them for a month or so between windings. When I get mine running, we'll see.
The other clock I got (or maybe, took,) is a marble mantle clock. My parents got it when I was in kindergarten, and it was ALWAYS one of my favorite things in the house. I loved to hear it count the hour and chime the half-hour, and I could sit and listen to the tick-tock-tick-tock for quite a while. It's escapement wheel is visible on the face of the clock, so it's fun to watch, too.
That clock has been running as long as I've had it, until disaster struck one afternoon. I was cleaning, and I lifted the clock to move it and dropped it about 4 inches back onto the mantle. I hate to think about it falling to the floor instead of just the three or four inches, as I'm sure it would have been completely destroyed. (As would my feet, probably...) As it was, the marble case snapped cleanly on both the front base and rear base, and several other pieces of the case came loose. That was four or five years ago, and I just got it into my head a couple of months ago to repair it.
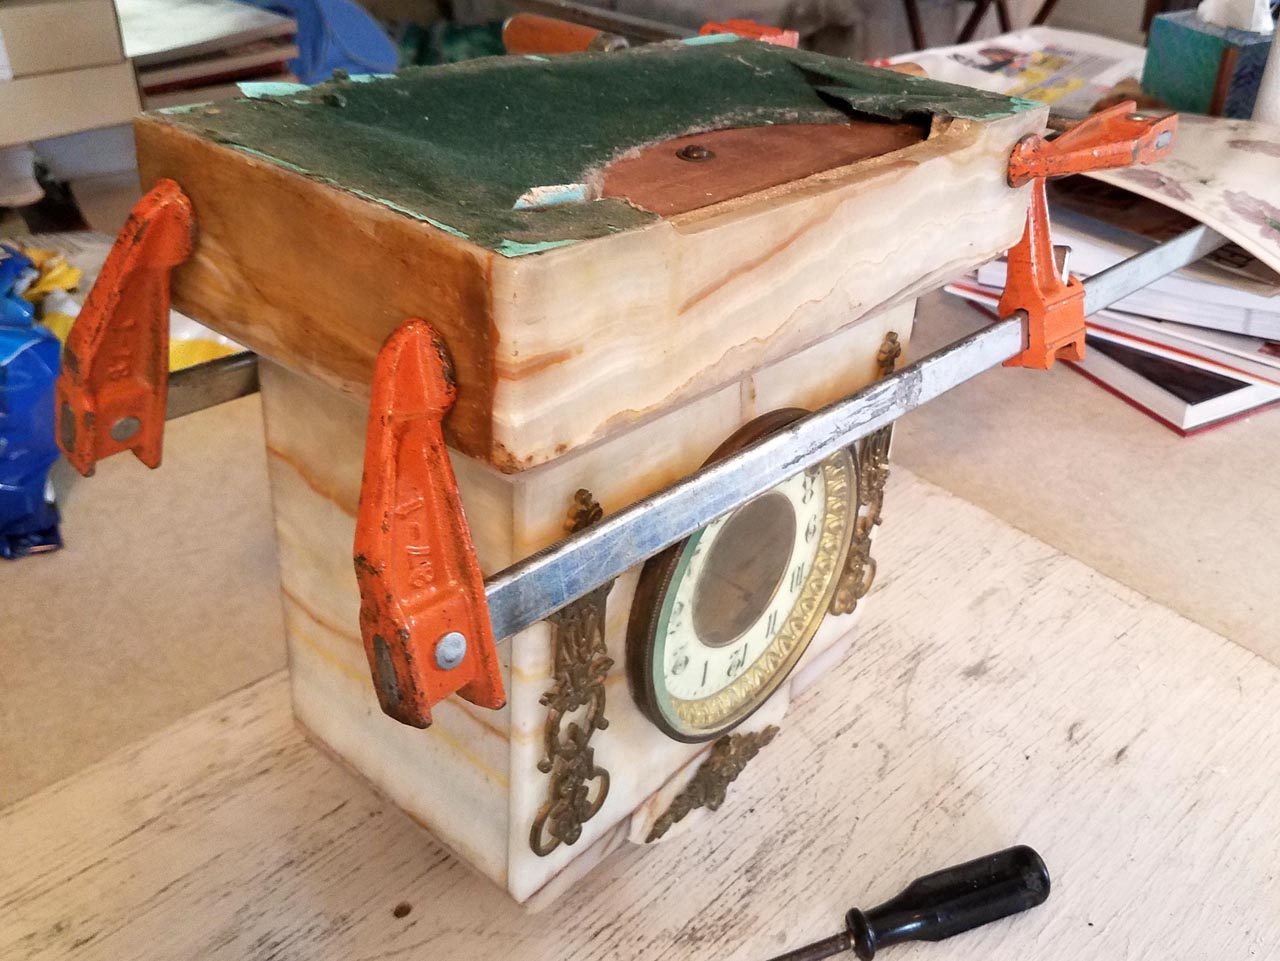
The repair ended up being more involved than I'd anticipated. The first thing I did was remove the movement from the case so I could repair the case. The marble broke cleanly where it broke, just snapped, no grit, no dust, no tiny little pieces; just that piece and that one. To repair the case I just had to assemble the loose pieces, epoxy the broken ones, and clamp it for a day or so. Easy-peasey.
This is the break in the center of the front of the base
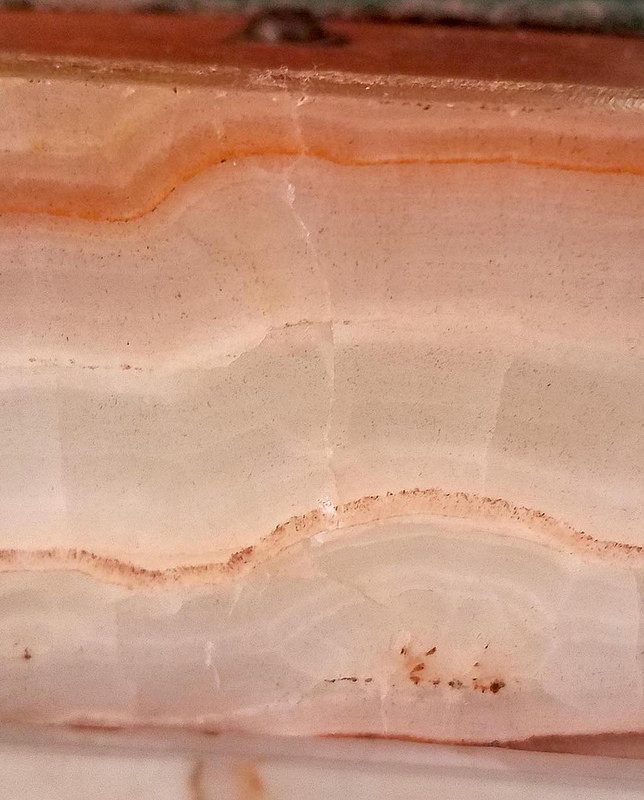
The other break, near one end of the back of the base

When I took the movement out, one of the springs popped to full relax, as far as it could while still in the movement, and I discovered that the pawl in the winding ratchet was broken. In the clock world, that's called a click; they don't know what a pawl is.... Anyway, I now had a mechanical repair needed as well as the case repair.
I circled the spring with a couple of large zip-ties, and used the winding key to turn the spring back down, tightening the zip-ties as I did so. Eventually I had the spring safely contained. I repeated the process for the other spring, because it had to be contained to disassemble the clock. More zip-ties. I removed the escapement anchor and let the clock run free until the spring tightened against the zip-ties, which relaxed it from the movement. Then it's just a matter of taking it apart. I'd already removed the escapement wheel from the front, and next I took out the anchor (the part that rocks back and forth on the escapement and makes the tick tock sound.) On the back, I removed the pendulum suspension, and then I was ready to take the back plate off of the movement.
With the movement open, I took out the mechanical arms of the striking system, then the chime geartrain, and then the time geartrain. In the clock world, that would be the striking chain and the going train, their terms for those geartrains. Now I was up against a certain kind of issue. The movement was completely unmarked. There were no maker marks, no model number, not even any "Made in" statement. I deduced that it was an american-made movement because the nuts that held the back plate on were 9/32". The front plate had no bushings, just holes in the brass, but the back plate did have bushings for the gear pins. So American, and cheap. No wonder they didn't put a name on it.... But that's going to make getting that part difficult.
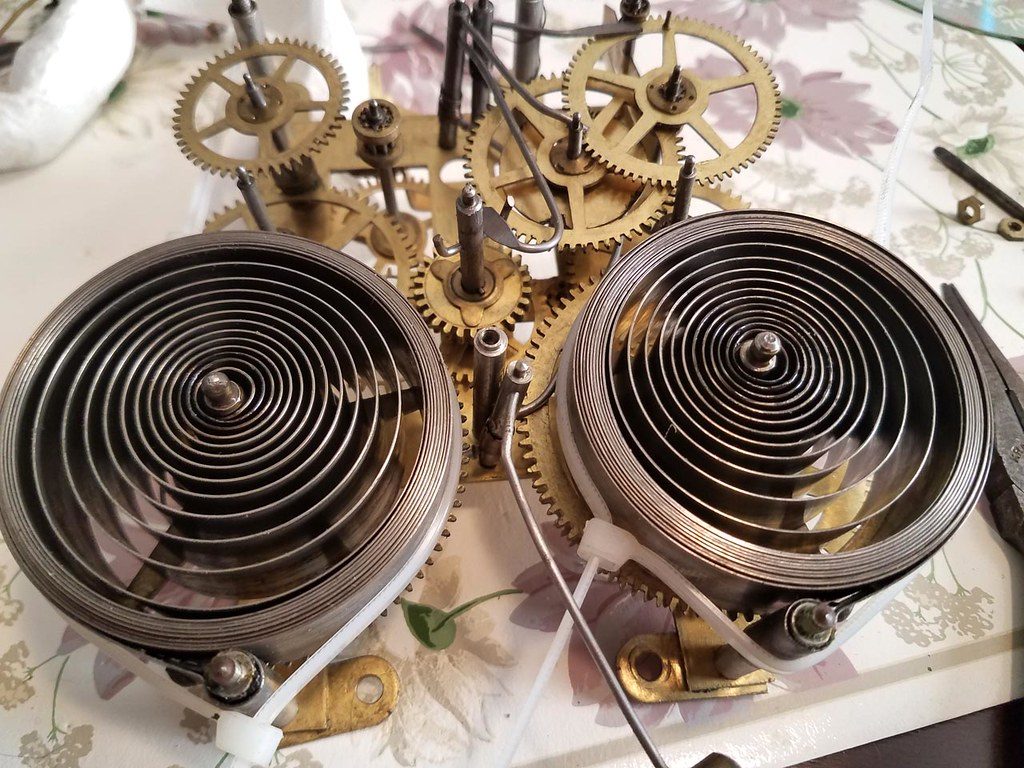
Here's the movement after removing the back plate
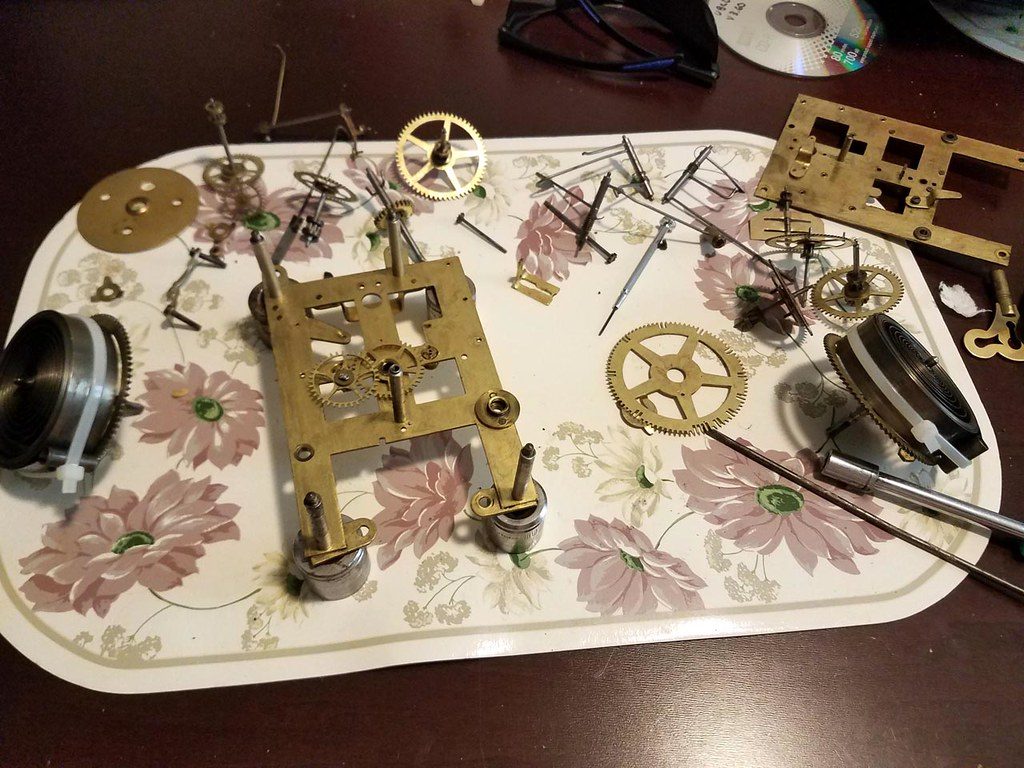
And here it is almost completely disassembled. I wasn't worried about that last gear on the front; it was pinned and I wasn't sure I could remove the pin without breaking it, and I didn't have a replacement handy. It wasn't that important to get every last piece out, I just needed that great wheel with the broken click, and I wanted to clean the remainder. We had the clock almost 55 years at this point, I have no idea how old it was when we got it, and the oil on the pins was a thick black sludge.
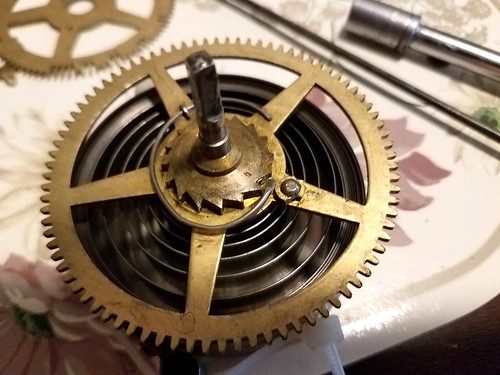
The broken part, and the other great wheel for comparison.

I took the wheel with the broken click to a local clock shop, and they were unwilling to try to replace the click, which surprised me. They did try to find me a complete replacement wheel, and came pretty close, but I was unable to use it. I ended up ordering a couple of assortments of clicks from online clock shops, and got one that was close enough it just took a little filing for clearance to get it in.
The clicks are fastened to the gear wheel by a rivet, basically pin that is hammered down on the back side so it mushrooms out and retains the click safely. Getting the old one out means drilling it out, then hammering it through with a punch. Installing the new is just get the pin through the gear wheel and hammer the back of it down, keeping something thin between the gearwheel and the click so it doesn't get pinned hard and remains free to move. After that, just put it back together.
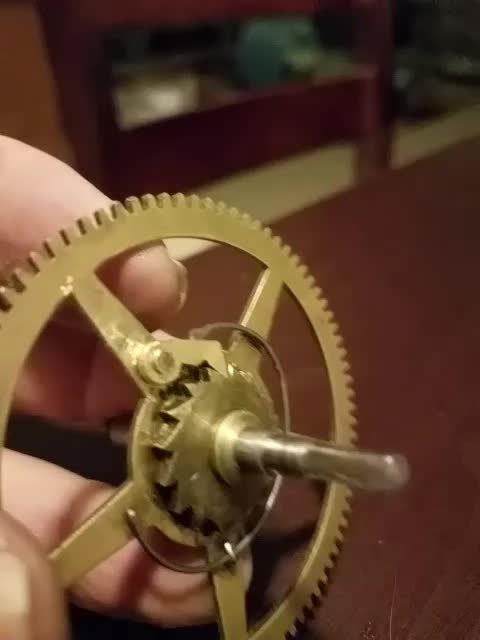
The new click installed!
I learned something about striking chains as i put it back together.... They're timed. Just like a camshaft in a car engine, the different gears have to be in the right position relative to each other. In my first test assembly, before I put the spring back in, i was running the gears by hand pressure, and I saw all the levers move, but the train never stopped. It struck the hours, then the half hour, then the next hour, then the half hour, and never stopped. Had the spring been in it would have run striking until it ran down. So I watch it for a while, and saw the movement in the levers that should have stopped it, and found the pins on the gears that were nowhere near in phase, and made the corrections. Eventually. Now that I know that this notch has to be there, and that pin has to be there, it became pretty straightforward to get it right.
The clock is now running and striking, and I'm watching it for accuracy. Tomorrow sometime I'll compare its time to actual and start adjusting the pendulum length. The clock actually has a mechanical adjustment from the front of the clock, a 90-degree gearset with a shaft through the face and one that raises or lowers a bracket on the pendulum suspension, changing its effective swing point. That 90-degree gearset has a broken tooth,m though, so I'm relegated to the old-fashioned way of turning the adjustment nut that the pendulum bob rests on. Right now it looks about 3 or 4 minutes a day slow. It's running in beat, though, which means the pendulum is not favoring one side or the other, the tick-tock sound is evenly timed left to right.
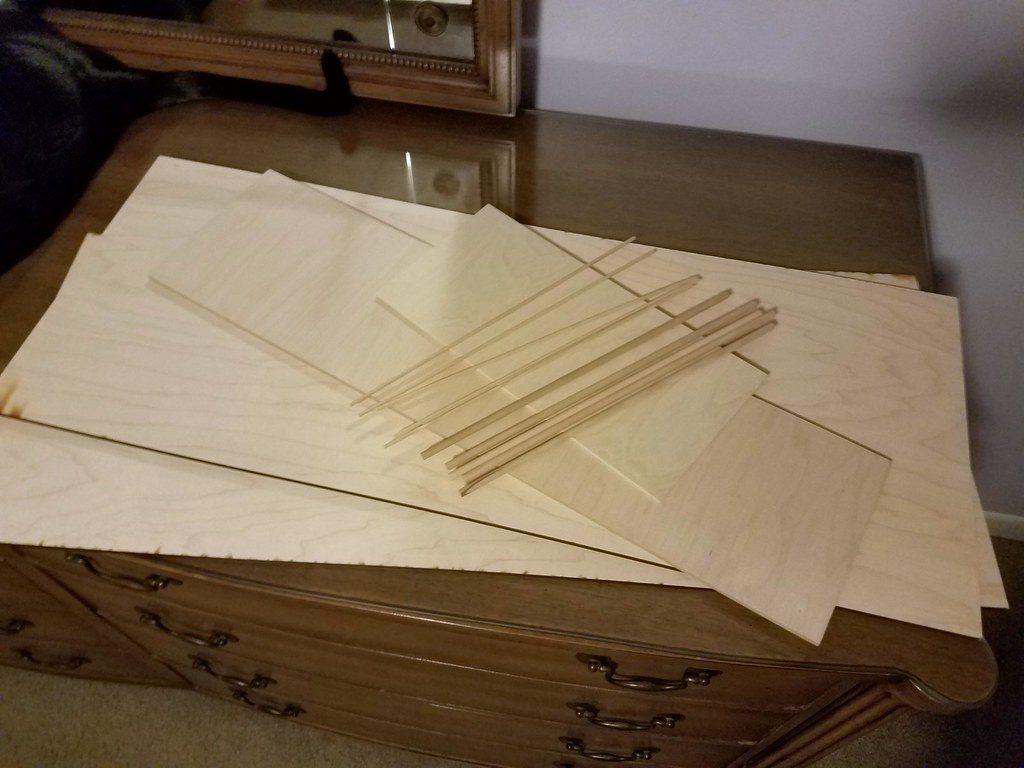
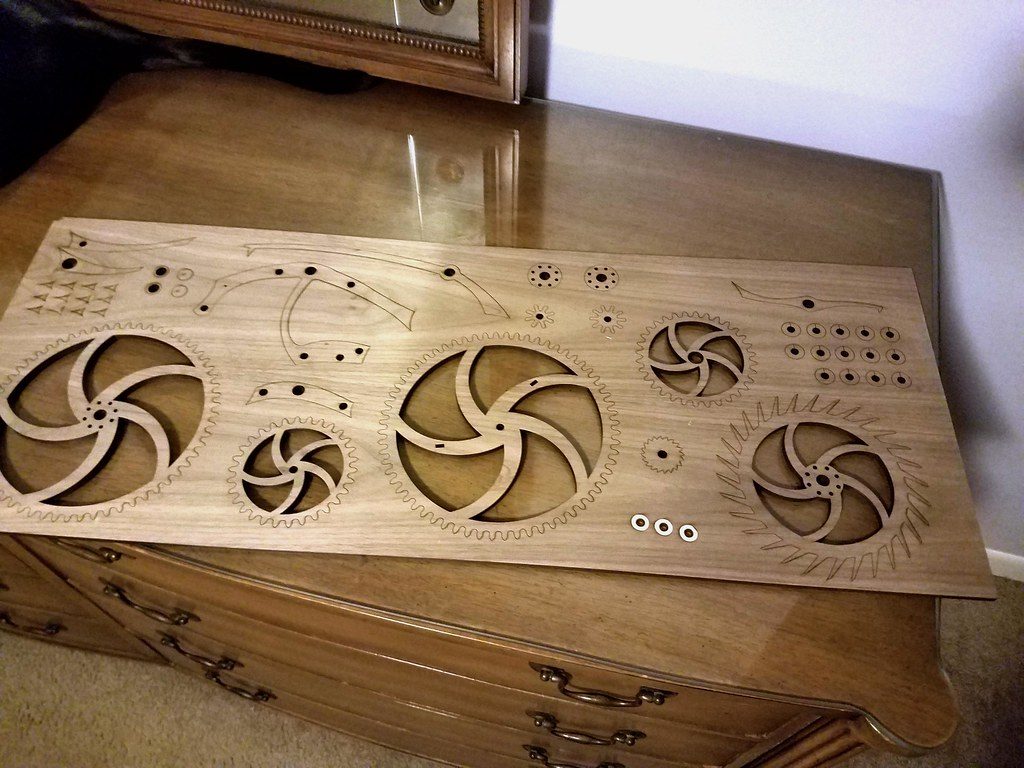
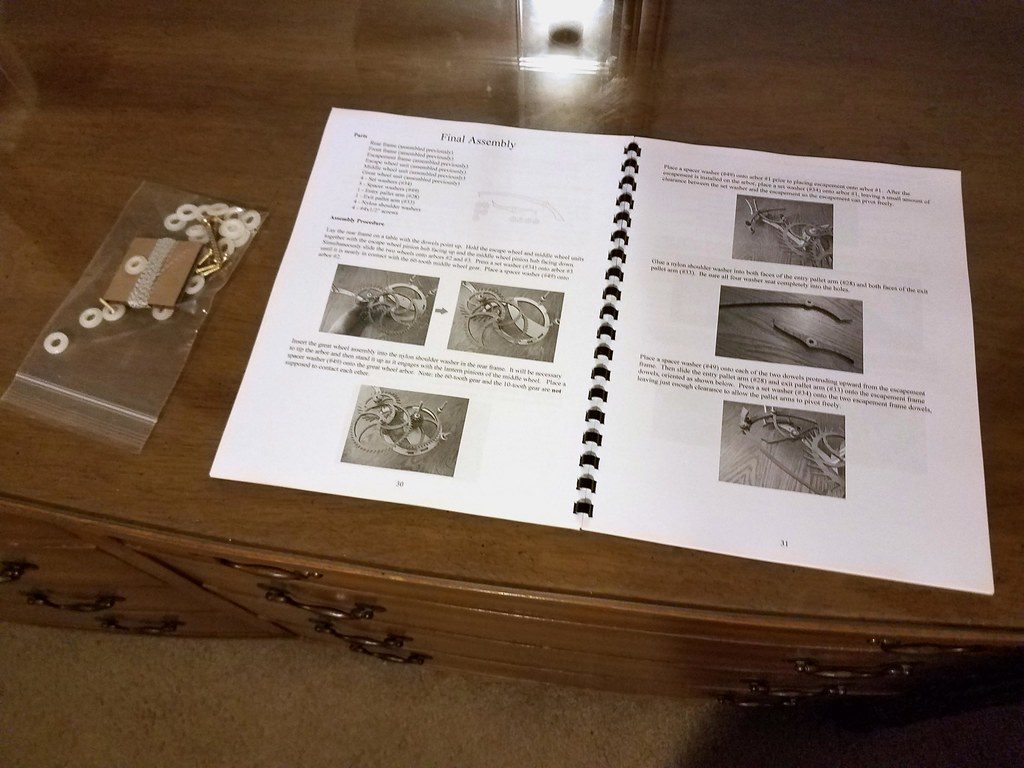
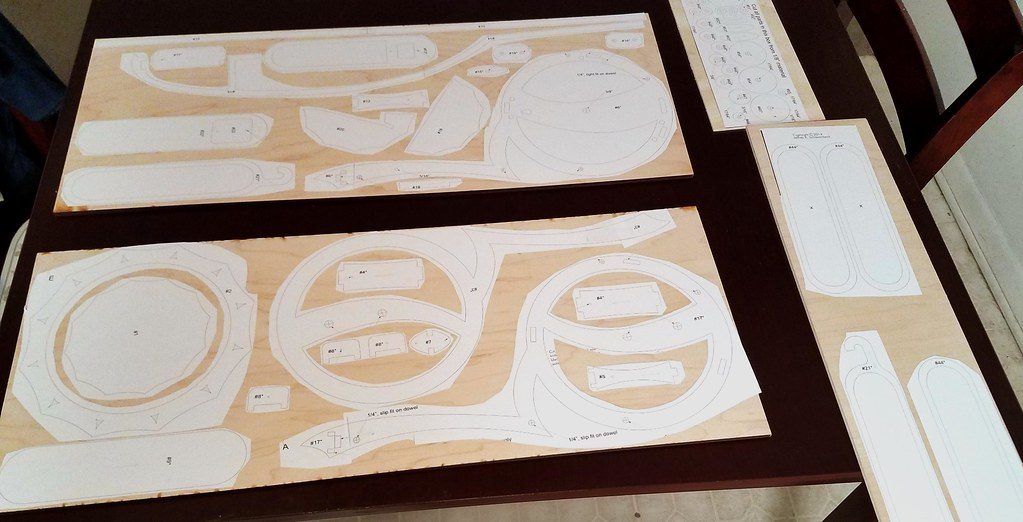
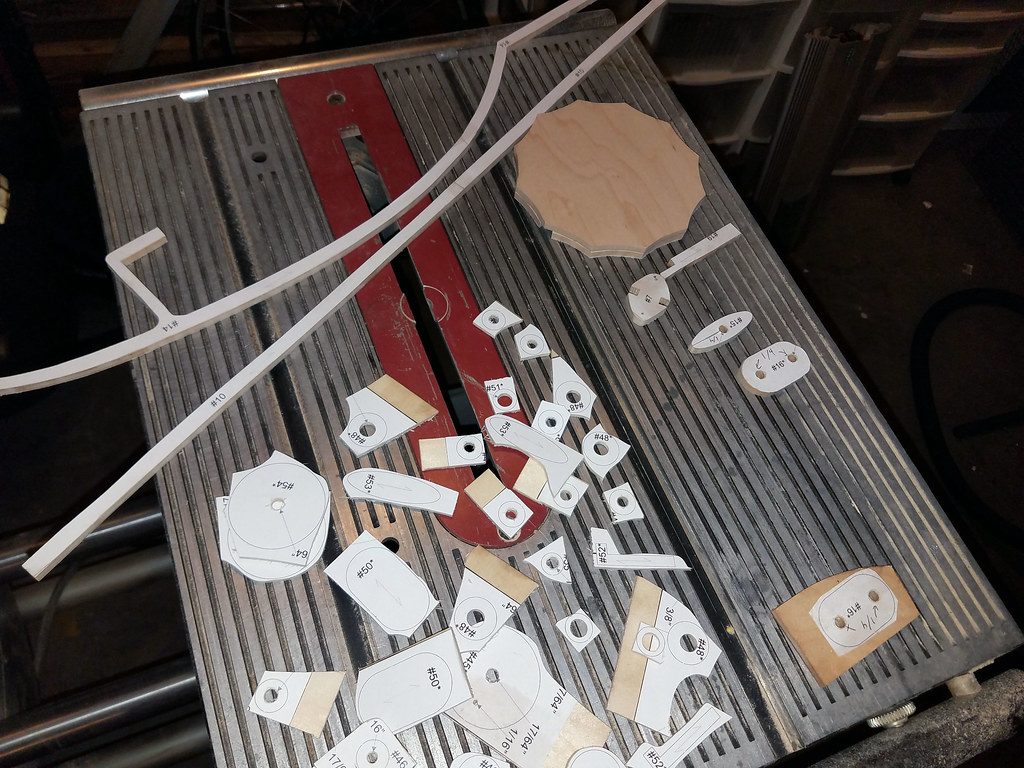
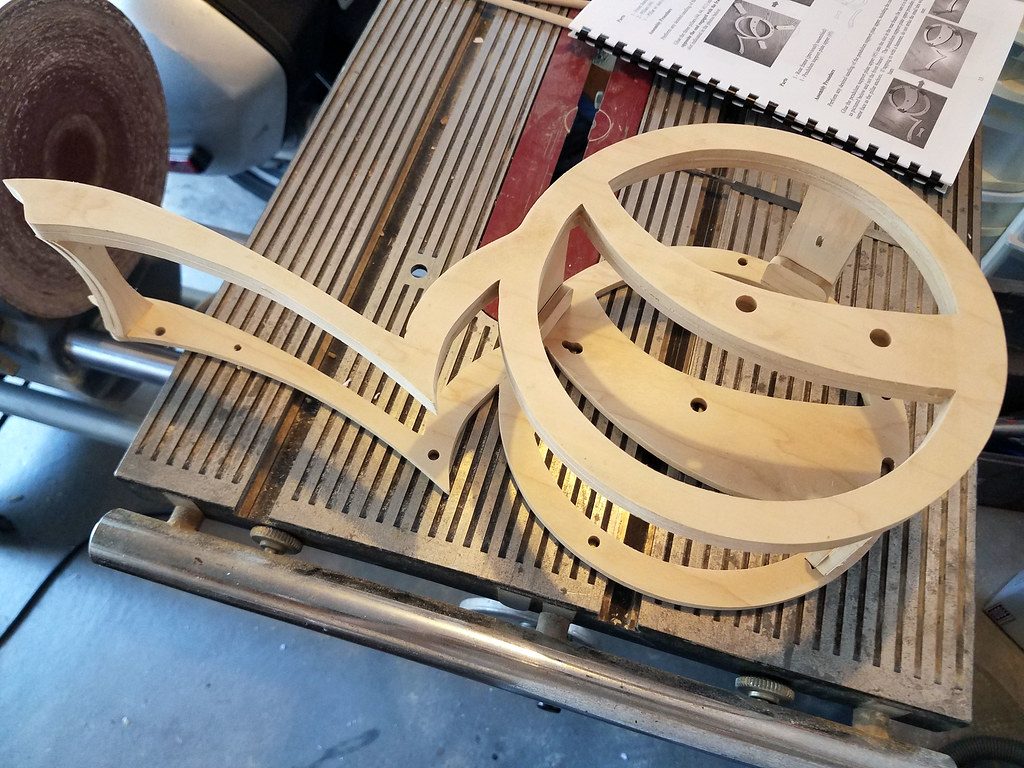
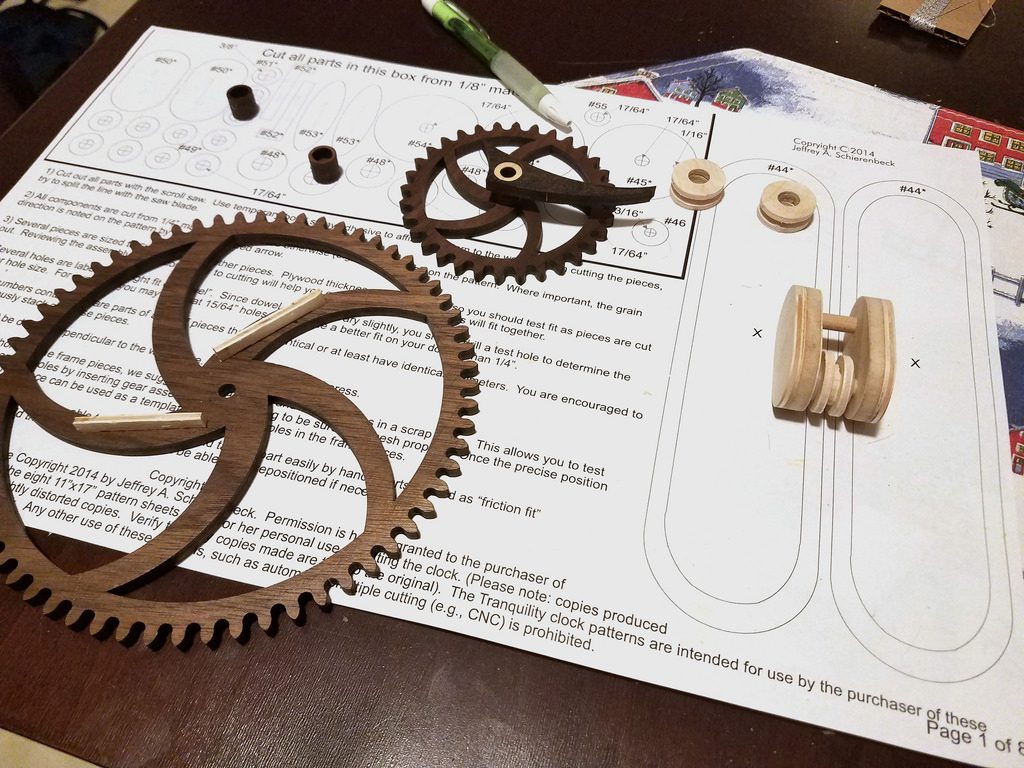
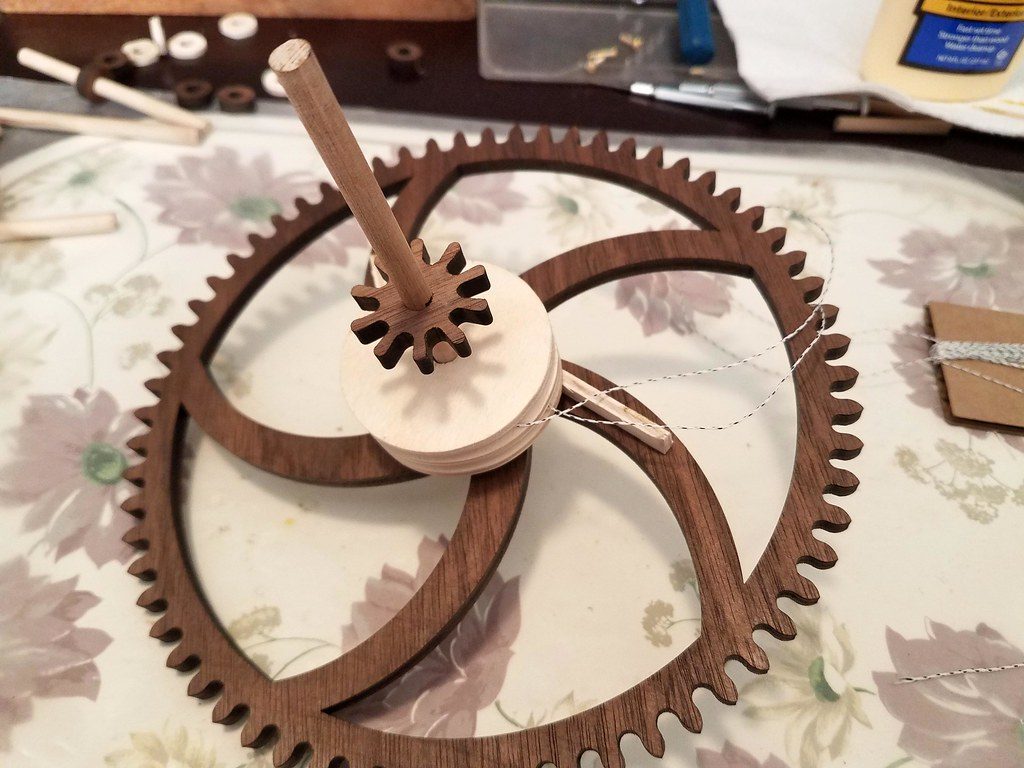
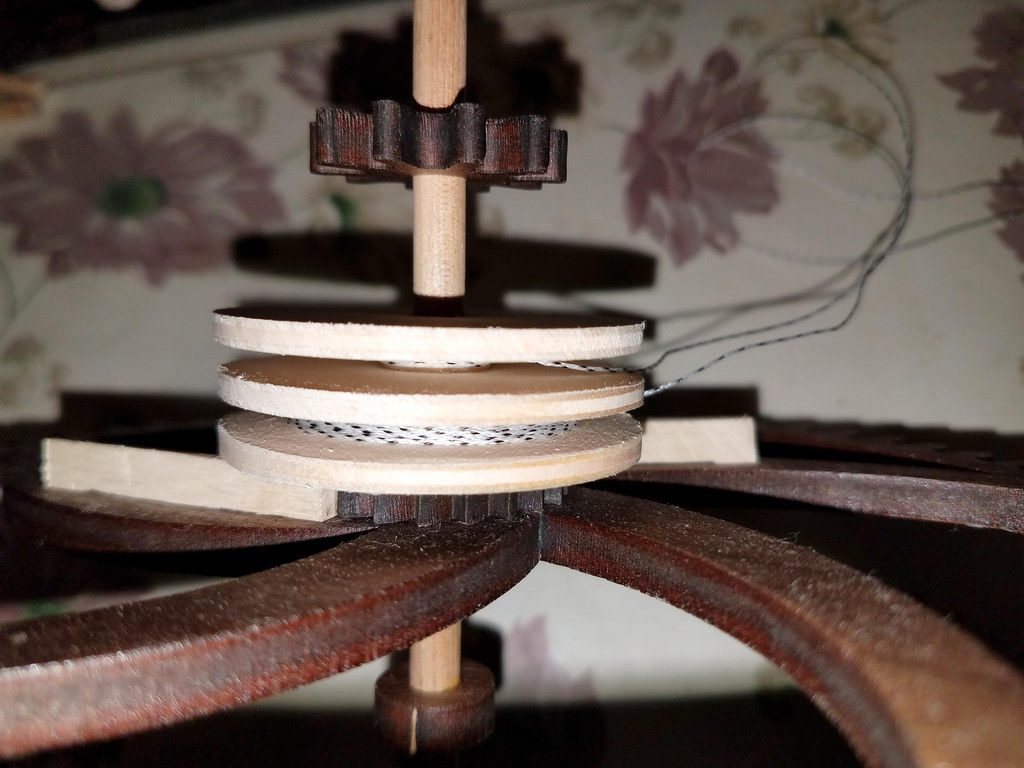
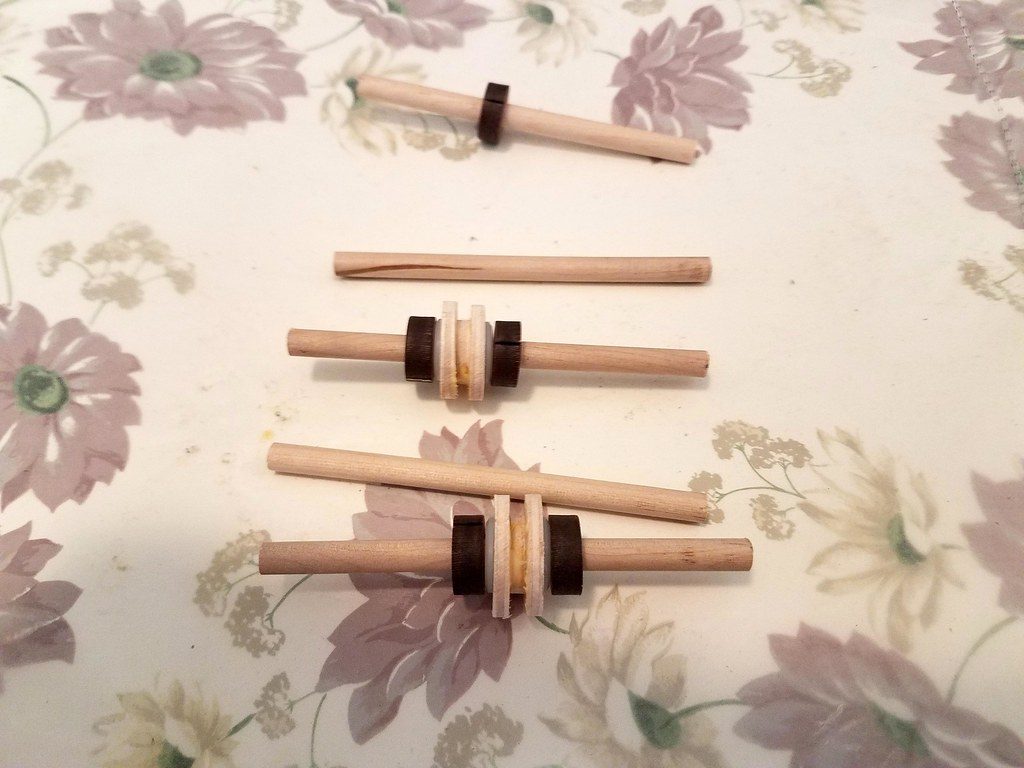
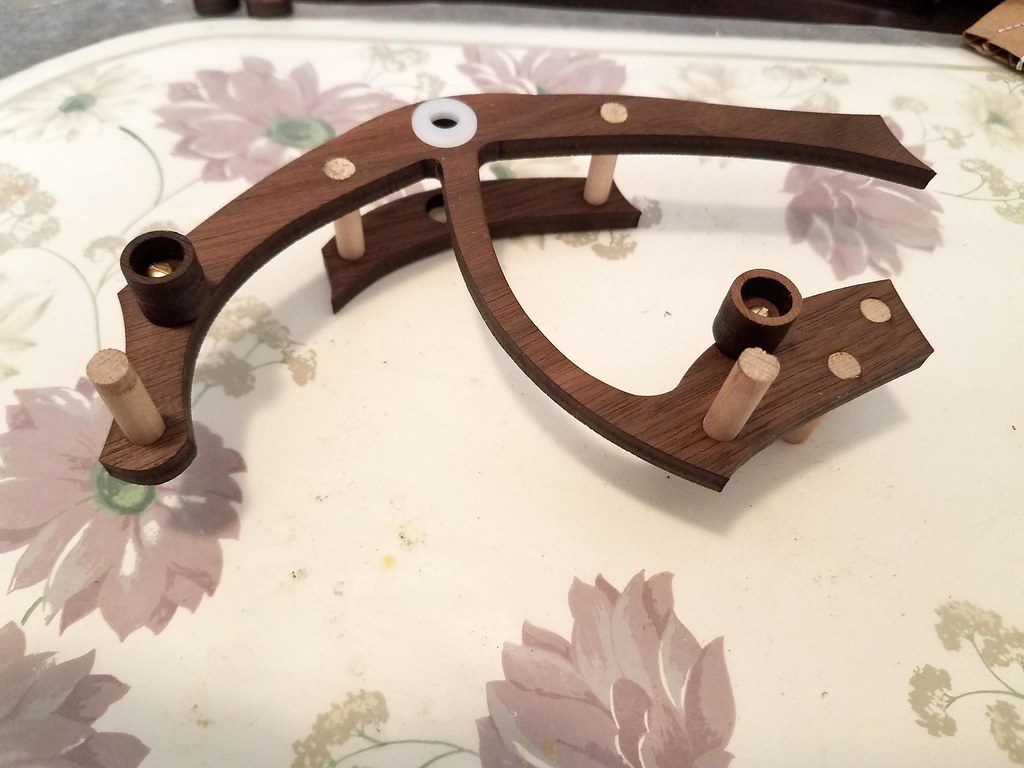
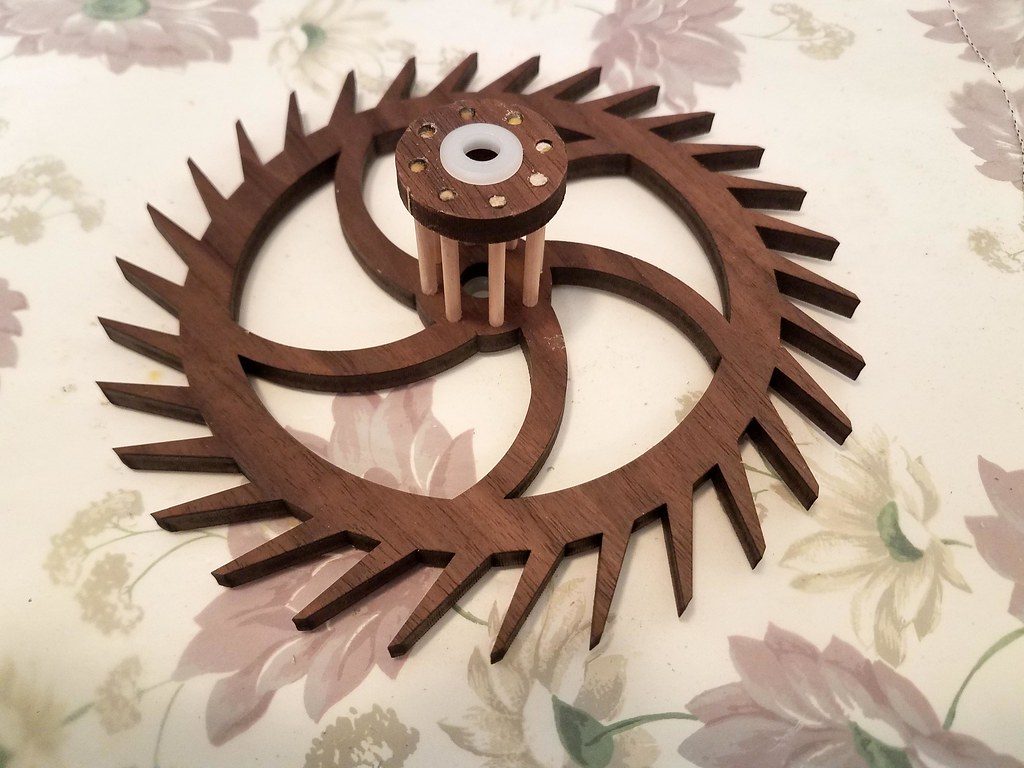
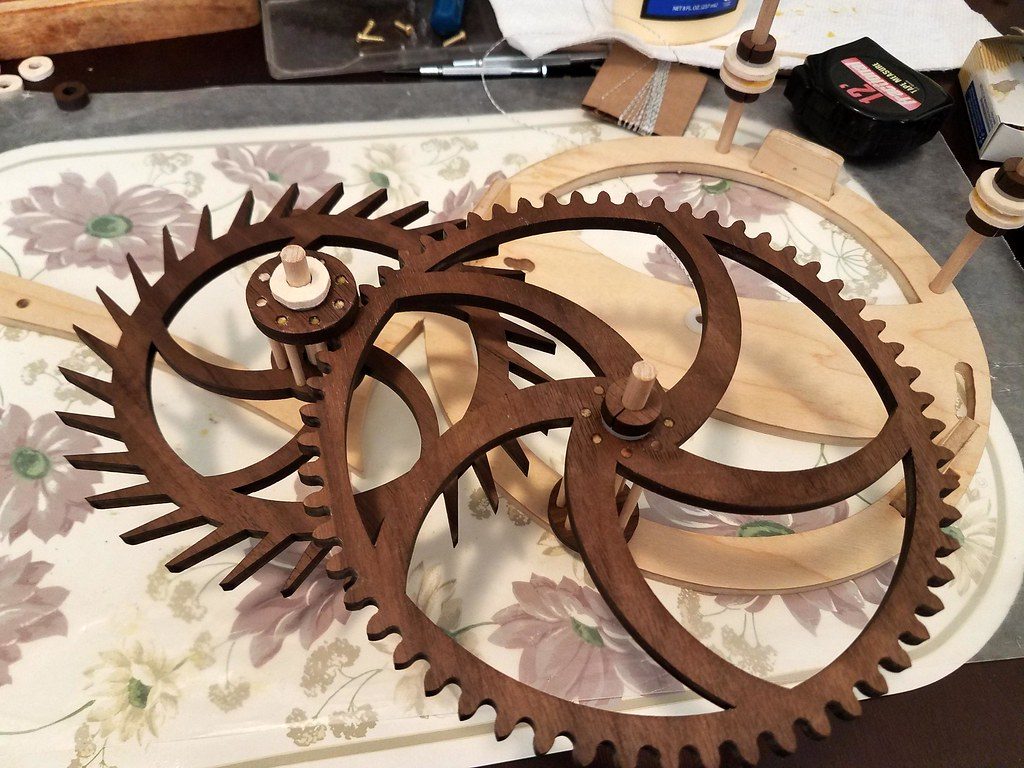
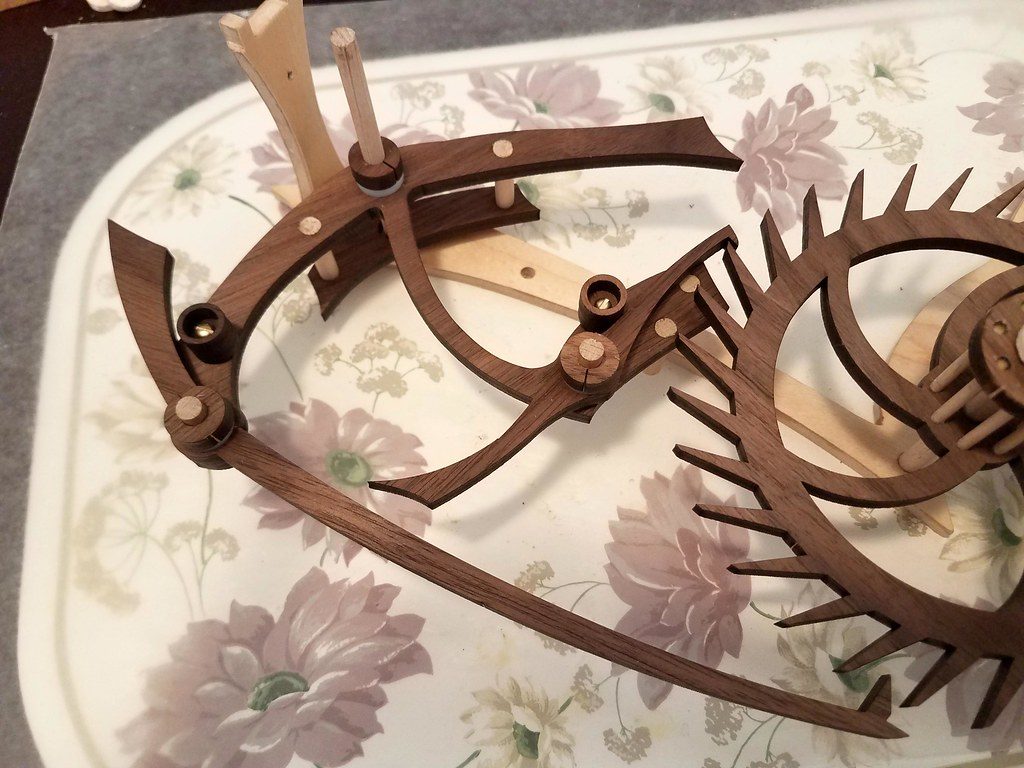
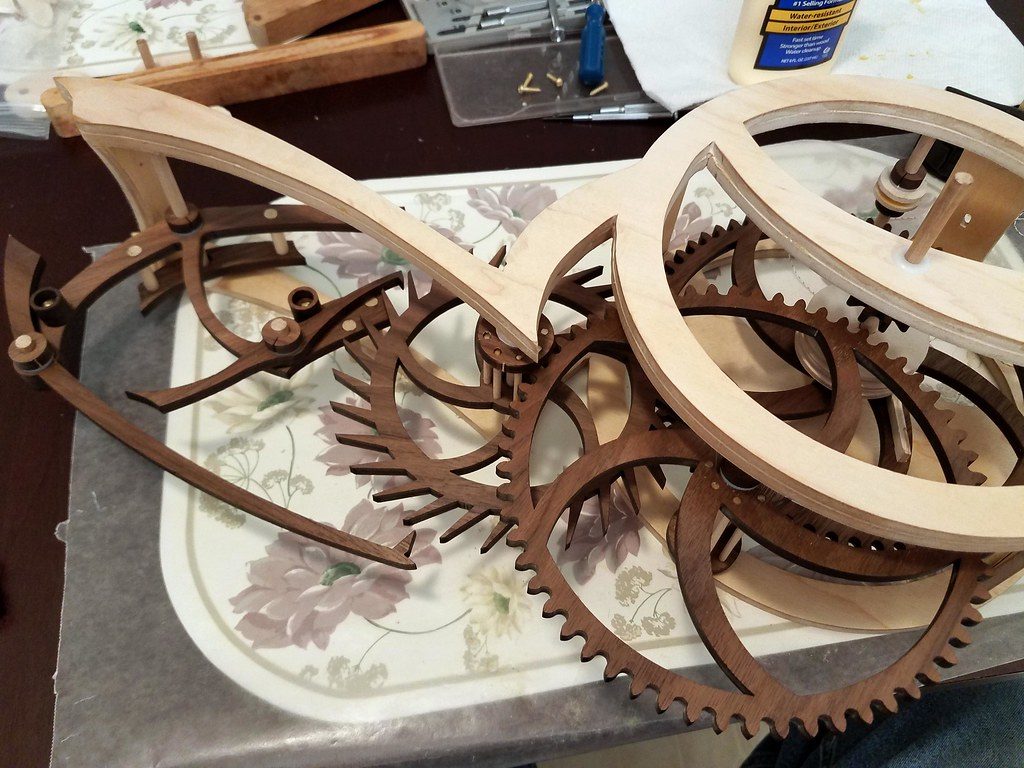
My next project: a wooden-gear clock. I've been doing things from wood for quite a while, inherited my dad's Shopsmith system and already had some of my own tools, but building a clock from wood just seems like the most satisfying thing you could do as far as woodworking: build a fairly complex machine! There are numerous sites to get plans or kits, and some of them incorporate very advanced features. Plans are available as paper plans for your own scrollsaw work, or dxf files if you have (or have access to) a CNC router or laser cutter. Some places are plans only, some are complete kits with laser-cut gears, and some offer several steps in between, such as cut gears, but you still have to cut and build the framing and dials. nearly all wooden-gear clock are weight-driven, as springs are too string for most of those applications. The ones that are spring-driven usually only run for a few hours, at most. It's interesting to see the designers of these clocks work with different types of mechanism. You can find ancient-style verge-and-folio, standard pendulum escapements, to grasshopper and gravity escapements. I've seen one that the escapement isn't even connected directly to the clock train, it's simply a counter that advanced a lever to release a mechanism that move the minute hand forward one minute, like one clock that drives another.
It may be clear by now, but just in case, I'm talking about mechanical clocks, not electronic, or even quart-regulated mechanical clocks or watches. Gears, hands, and some mechanical regulation of the pace of the geartrain, powered by weights or springs. Nothing makes me roll my eyes faster than those battery-powered quartz "anniversary" clocks, styled to look like a real mechanical 400-day movement. Makes me wanna throw up!
For me it started with cuckoo clocks. I had three when i was in college. They no longer exist, apparently. I went into the boxes the other day where I thought they'd been packed, and nothing but tons of old pictures and negatives. Anyway, the clocks were both items i picked up at yard sales. they were complete but not running, or no cuckoo sound, or just inaccurate. I got them both running fairly well with some cleaning, although one was missing a pendulum, so I rigged up a kazoo hanging from a string! I could make it longer or shorter by wrapping the string differently, it was easy to adjust! Both clock also needed new bellows, a the whistles didn't work at all. I actually made them out of paper, folded according to a pattern I got by examining the remains of the originals, and then scoring the folds heavily so they flexed properly. I still had to weight the moving piece on the top of the bellows to make them fall properly and blow air through the whistles, but they worked!!!
When my mom passed back in 2004 I grabbed a couple of clocks from the house before any of my siblings had anything to say about it. OK, truthfully, it was discussed. Afterwards. Everybody agreed I could keep them. They eventually agreed. Possession and all that....
One of them was a genuine 400-day clock that mom had all but destroyed. Apparently she packed it for a move without securing the pendulum weights, so the spring suspension wire was broken. There's also no winding key. I have the clock and it's one of those "someday" projects.
The broken suspension wire
400-day clocks are sometimes called anniversary clocks, because they run an entire year on a single wind. Instead of a swinging pendulum, they have the weights hanging from a wire, and the weights spin back and forth, a torsional pendulum. As they spin, an arm attached to the wire rocks the escapement anchor, and the escapement wheel advances one tooth. That happens anywhere from every 6 to 10 seconds or so, which means the escapement wheel of these clocks advances at about 1/50th the rate of a regular mantle clock. Anniversary clocks are not really good timekeepers, as the suspension wire has no correction for temperature, and the spring may not deliver constant torque through the entire run-down. I'm told it's best to run them for a month or so between windings. When I get mine running, we'll see.
The other clock I got (or maybe, took,) is a marble mantle clock. My parents got it when I was in kindergarten, and it was ALWAYS one of my favorite things in the house. I loved to hear it count the hour and chime the half-hour, and I could sit and listen to the tick-tock-tick-tock for quite a while. It's escapement wheel is visible on the face of the clock, so it's fun to watch, too.
That clock has been running as long as I've had it, until disaster struck one afternoon. I was cleaning, and I lifted the clock to move it and dropped it about 4 inches back onto the mantle. I hate to think about it falling to the floor instead of just the three or four inches, as I'm sure it would have been completely destroyed. (As would my feet, probably...) As it was, the marble case snapped cleanly on both the front base and rear base, and several other pieces of the case came loose. That was four or five years ago, and I just got it into my head a couple of months ago to repair it.
The repair ended up being more involved than I'd anticipated. The first thing I did was remove the movement from the case so I could repair the case. The marble broke cleanly where it broke, just snapped, no grit, no dust, no tiny little pieces; just that piece and that one. To repair the case I just had to assemble the loose pieces, epoxy the broken ones, and clamp it for a day or so. Easy-peasey.
This is the break in the center of the front of the base
The other break, near one end of the back of the base
When I took the movement out, one of the springs popped to full relax, as far as it could while still in the movement, and I discovered that the pawl in the winding ratchet was broken. In the clock world, that's called a click; they don't know what a pawl is.... Anyway, I now had a mechanical repair needed as well as the case repair.
I circled the spring with a couple of large zip-ties, and used the winding key to turn the spring back down, tightening the zip-ties as I did so. Eventually I had the spring safely contained. I repeated the process for the other spring, because it had to be contained to disassemble the clock. More zip-ties. I removed the escapement anchor and let the clock run free until the spring tightened against the zip-ties, which relaxed it from the movement. Then it's just a matter of taking it apart. I'd already removed the escapement wheel from the front, and next I took out the anchor (the part that rocks back and forth on the escapement and makes the tick tock sound.) On the back, I removed the pendulum suspension, and then I was ready to take the back plate off of the movement.
With the movement open, I took out the mechanical arms of the striking system, then the chime geartrain, and then the time geartrain. In the clock world, that would be the striking chain and the going train, their terms for those geartrains. Now I was up against a certain kind of issue. The movement was completely unmarked. There were no maker marks, no model number, not even any "Made in" statement. I deduced that it was an american-made movement because the nuts that held the back plate on were 9/32". The front plate had no bushings, just holes in the brass, but the back plate did have bushings for the gear pins. So American, and cheap. No wonder they didn't put a name on it.... But that's going to make getting that part difficult.
Here's the movement after removing the back plate
And here it is almost completely disassembled. I wasn't worried about that last gear on the front; it was pinned and I wasn't sure I could remove the pin without breaking it, and I didn't have a replacement handy. It wasn't that important to get every last piece out, I just needed that great wheel with the broken click, and I wanted to clean the remainder. We had the clock almost 55 years at this point, I have no idea how old it was when we got it, and the oil on the pins was a thick black sludge.
The broken part, and the other great wheel for comparison.
I took the wheel with the broken click to a local clock shop, and they were unwilling to try to replace the click, which surprised me. They did try to find me a complete replacement wheel, and came pretty close, but I was unable to use it. I ended up ordering a couple of assortments of clicks from online clock shops, and got one that was close enough it just took a little filing for clearance to get it in.
The clicks are fastened to the gear wheel by a rivet, basically pin that is hammered down on the back side so it mushrooms out and retains the click safely. Getting the old one out means drilling it out, then hammering it through with a punch. Installing the new is just get the pin through the gear wheel and hammer the back of it down, keeping something thin between the gearwheel and the click so it doesn't get pinned hard and remains free to move. After that, just put it back together.
The new click installed!
I learned something about striking chains as i put it back together.... They're timed. Just like a camshaft in a car engine, the different gears have to be in the right position relative to each other. In my first test assembly, before I put the spring back in, i was running the gears by hand pressure, and I saw all the levers move, but the train never stopped. It struck the hours, then the half hour, then the next hour, then the half hour, and never stopped. Had the spring been in it would have run striking until it ran down. So I watch it for a while, and saw the movement in the levers that should have stopped it, and found the pins on the gears that were nowhere near in phase, and made the corrections. Eventually. Now that I know that this notch has to be there, and that pin has to be there, it became pretty straightforward to get it right.
The clock is now running and striking, and I'm watching it for accuracy. Tomorrow sometime I'll compare its time to actual and start adjusting the pendulum length. The clock actually has a mechanical adjustment from the front of the clock, a 90-degree gearset with a shaft through the face and one that raises or lowers a bracket on the pendulum suspension, changing its effective swing point. That 90-degree gearset has a broken tooth,m though, so I'm relegated to the old-fashioned way of turning the adjustment nut that the pendulum bob rests on. Right now it looks about 3 or 4 minutes a day slow. It's running in beat, though, which means the pendulum is not favoring one side or the other, the tick-tock sound is evenly timed left to right.
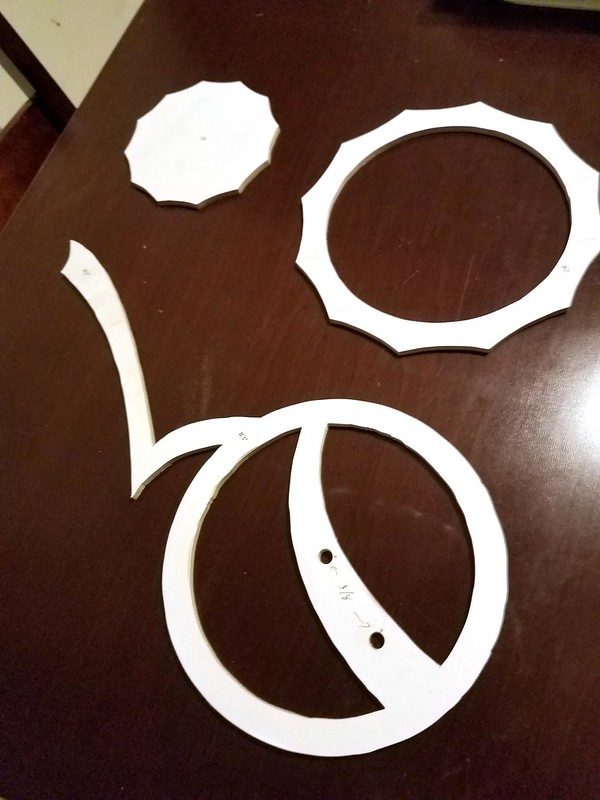
My next project: a wooden-gear clock. I've been doing things from wood for quite a while, inherited my dad's Shopsmith system and already had some of my own tools, but building a clock from wood just seems like the most satisfying thing you could do as far as woodworking: build a fairly complex machine! There are numerous sites to get plans or kits, and some of them incorporate very advanced features. Plans are available as paper plans for your own scrollsaw work, or dxf files if you have (or have access to) a CNC router or laser cutter. Some places are plans only, some are complete kits with laser-cut gears, and some offer several steps in between, such as cut gears, but you still have to cut and build the framing and dials. nearly all wooden-gear clock are weight-driven, as springs are too string for most of those applications. The ones that are spring-driven usually only run for a few hours, at most. It's interesting to see the designers of these clocks work with different types of mechanism. You can find ancient-style verge-and-folio, standard pendulum escapements, to grasshopper and gravity escapements. I've seen one that the escapement isn't even connected directly to the clock train, it's simply a counter that advanced a lever to release a mechanism that move the minute hand forward one minute, like one clock that drives another.
")