Another 6 months has gone by, and I haven't made a huge amount of progress. Big news is we bought a new house, so we'll be moving in a few months (I finally get a nice large shed with a hoist!!). Anyway, because of that I needed to hurry up and get the car into a state where it would be easier to move - obviously a car with no suspension or wheels is not ideal!
So focus shifted onto getting the suspension for the car and then adapting it for the new front uprights. The coilovers I chose for this are the BC Racing RM coilovers, albiet with different spring rates than they normally supply with this kit. These utilise an inverted monotube shock. The uprights are from a Toyota Prius. I've gone with these uprights for a few reasons.
- ST185 has an undersized, press in bearing. So not only is it prone to failure from the added heat and stresses of racing, but when it does fail it's a pain to replace.
- This undersized bearing also means it flexes more, increasing pad knock back.
- The new uprights utilise a larger, stronger bearing, which bolts in. This means not only should they last longer, but a replacement bearing can be done easily at the track without a press.
- The larger bearing is stiffer, hopefully reducing pad knock back.
- The uprights are aluminium, so less unsprung weight.
Before I could fit these, I had to come up with a way to mount the new uprights to the lower control arms. I ended up making complete new lower ball joints which have roll centre adjustment. These plates are offset towards the front of the car, giving me a massive increase in positive caster.

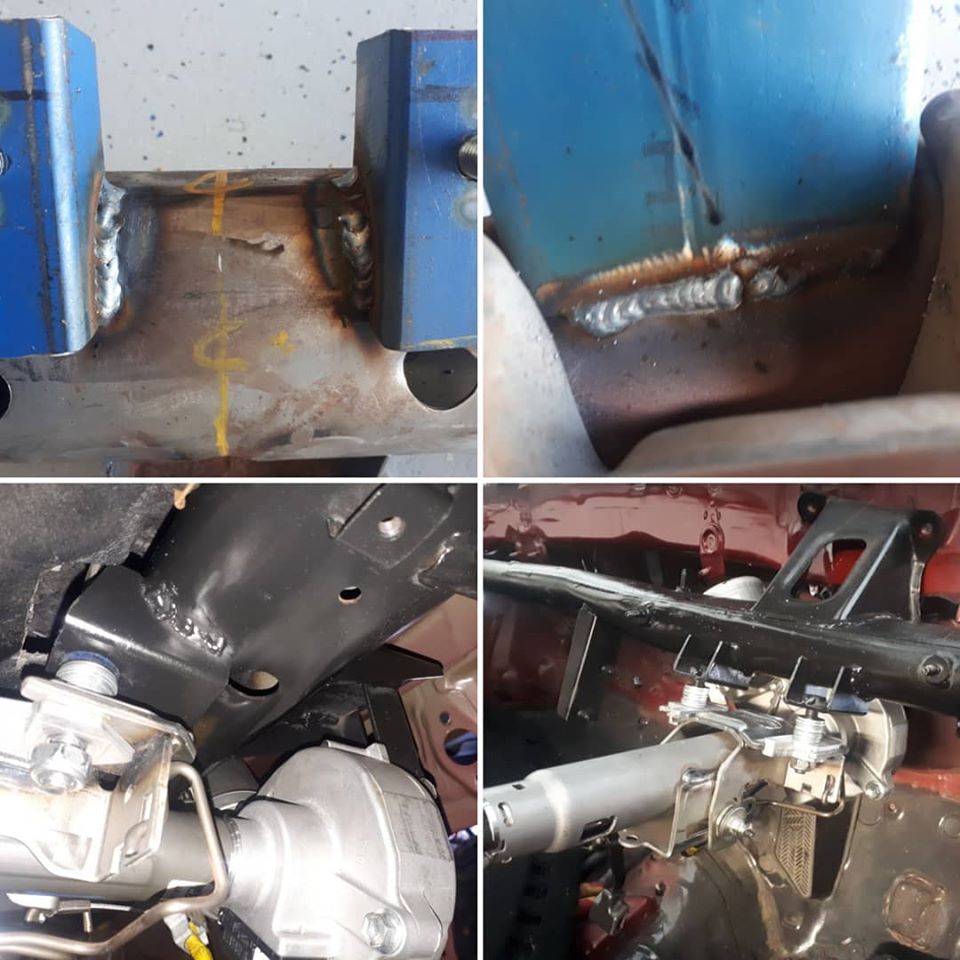
The rear coilovers were a straight forward fit, however for the fronts these were not straight forward at all. The new uprights have a different shock mount than the ST185 uprights, not to mention the track width is different. I took the standard lower mounts that came with the kit and cut the standard mounting tabs off. Then, after a heap of measuring, prototyping, dummy fitting etc, I designed a jig and new plates and had them made and welded on to the lower mounts.
I wanted to ensure that I had good camber adjustment range with the strut top, so the angle of the lower mounts was critical. I am really happy with the result, and early measurements with the caster camber guage look really promising.
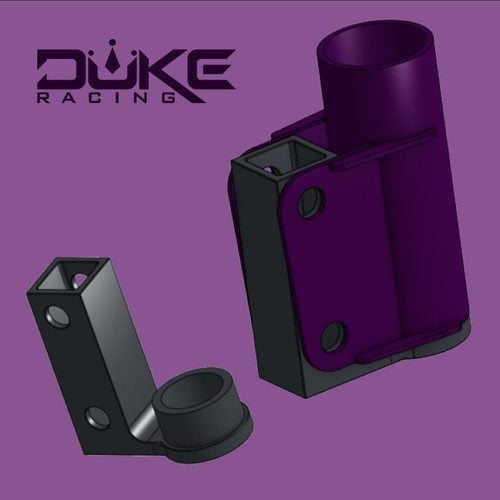
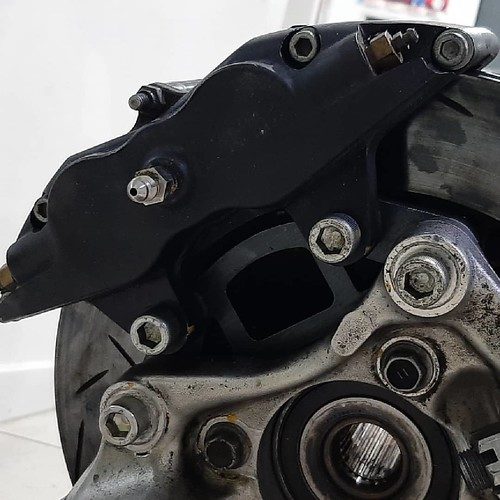
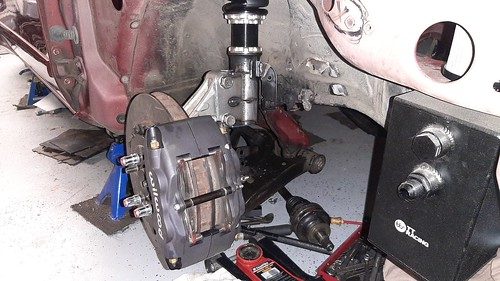
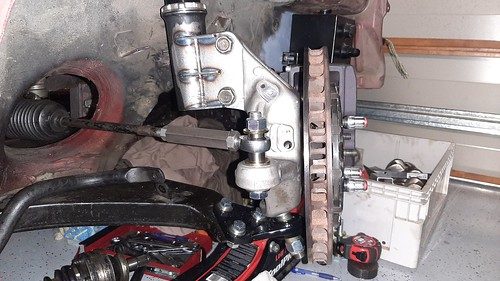
These new uprights also meant the adapters that I had for my old uprights for fitting the Wilwood calipers wouldn't fit. So I designed and made my own. I made them in such a was as to enable me to run a brake duct.
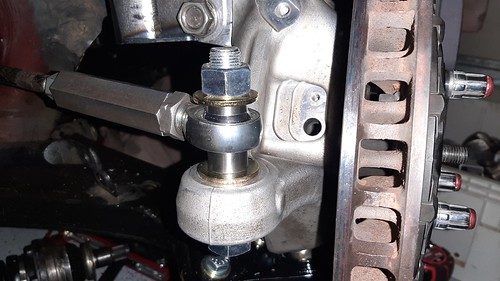
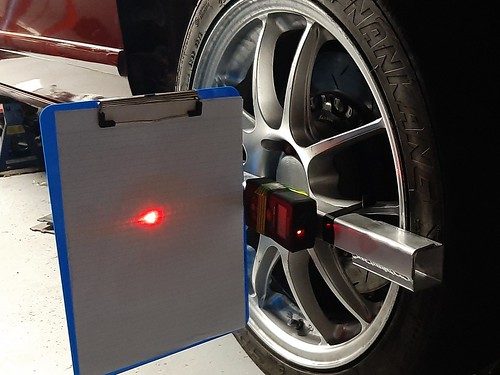
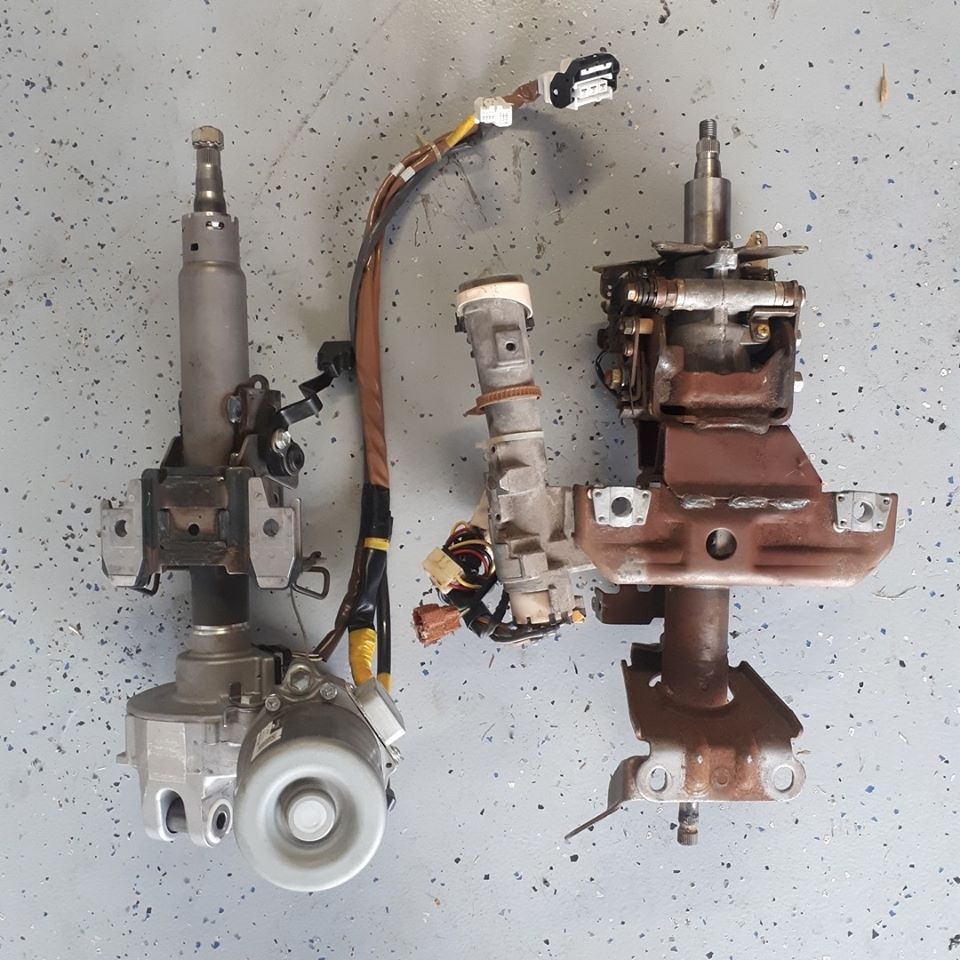
All I had to do then was make new steering couplers - these I just turned up on the lathe with an internal thread one side to suit the OEM steering arm, and a LH internal thread on the other side to suit a heim joint. I also had some spacers of varying widths made so I could easily adjust the height of the heim joint when measuring and adjusting bump steer.
Process for measuring bump steer.
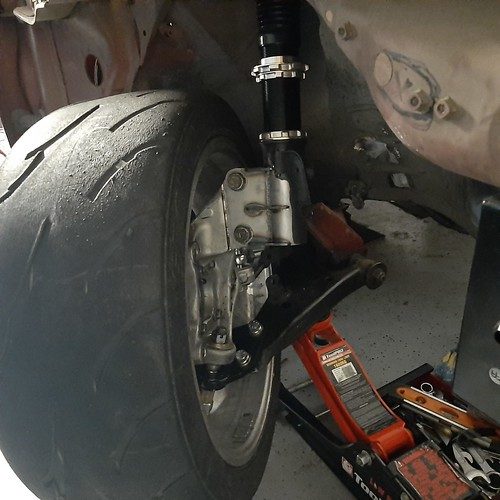
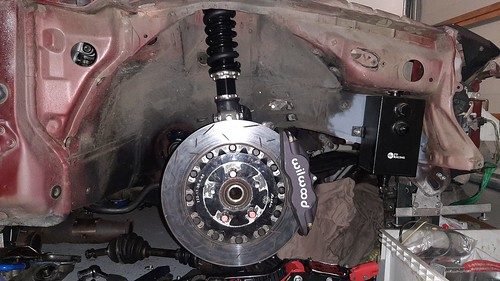
Finished upright assembly looked like this - you can see how much caster there is on this setup.
Here's how it looks on the ground. As you can see there is now a lot of room for a wider tire. I'll be going out to a 255 tire all round when the car heads back out on track.

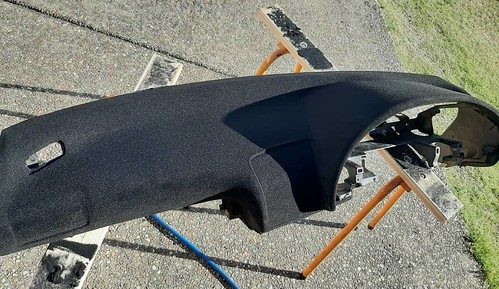
Other small things - I smoothed and flocked the dash.
And made a heel plate for the pedals.
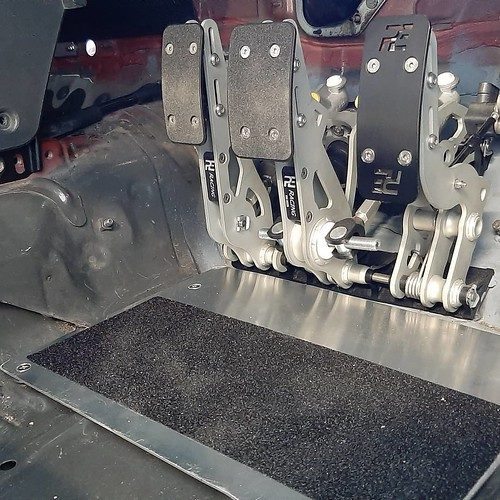
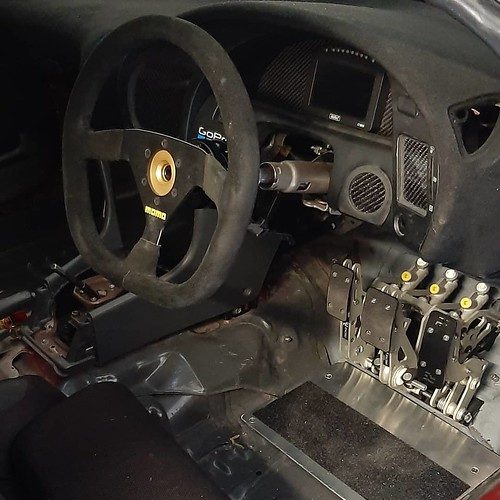
All combines to look pretty neat. Note I filled in any little holes etc with bits of carbon so it looks tidier.
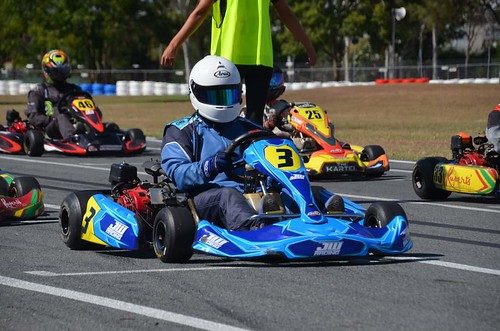
That's about it for now. Like I said, moving soon and building a new shed on the property with a hoist so I'm currently saving my money for that little venture. Still enjoying my racing though - my second year competing in Endurance Karting with a friend of mine. We are currently leading the Sportsman class with 2 class victories in a row, so really happy with how that's going.

 20200617_130351 by Nick Winsor, on Flickr
 20200617_125741 by Nick Winsor, on Flickr
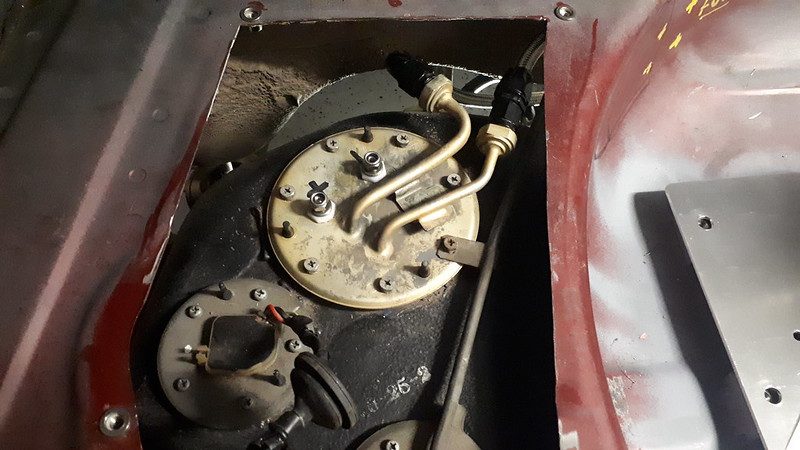 20200616_110226 by Nick Winsor, on Flickr
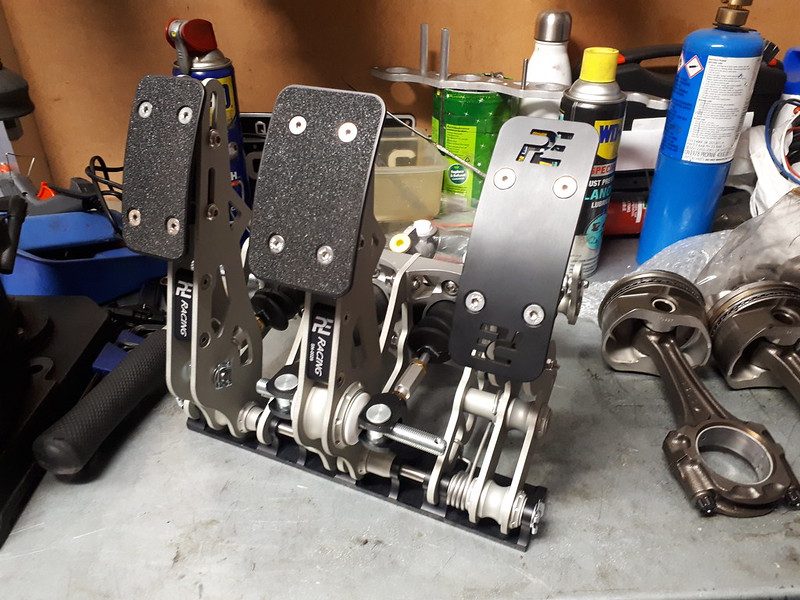 20200921_230911 by Nick Winsor, on Flickr
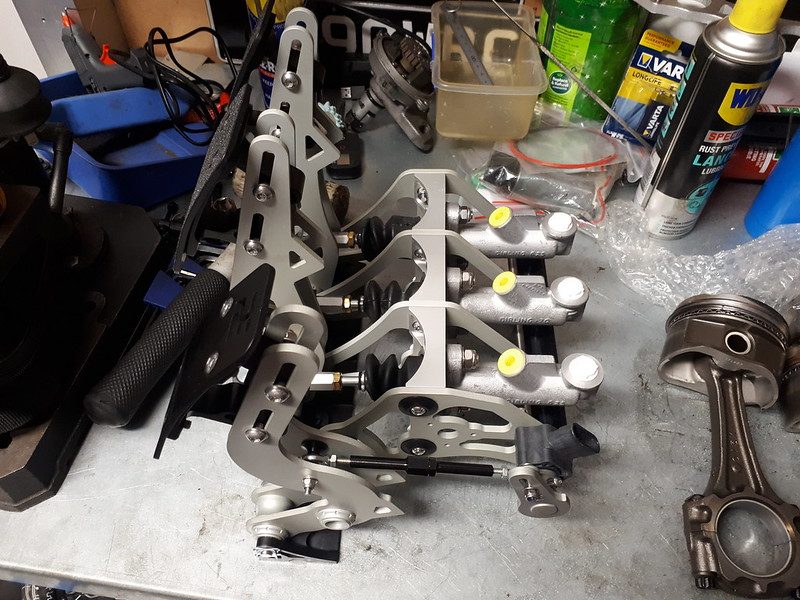 20200921_230902 by Nick Winsor, on Flickr
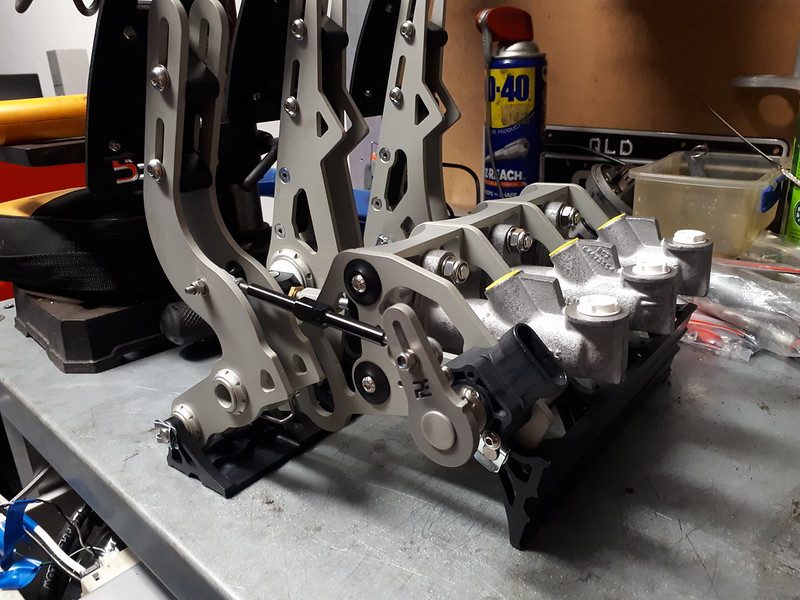 20200921_230848 by Nick Winsor, on Flickr
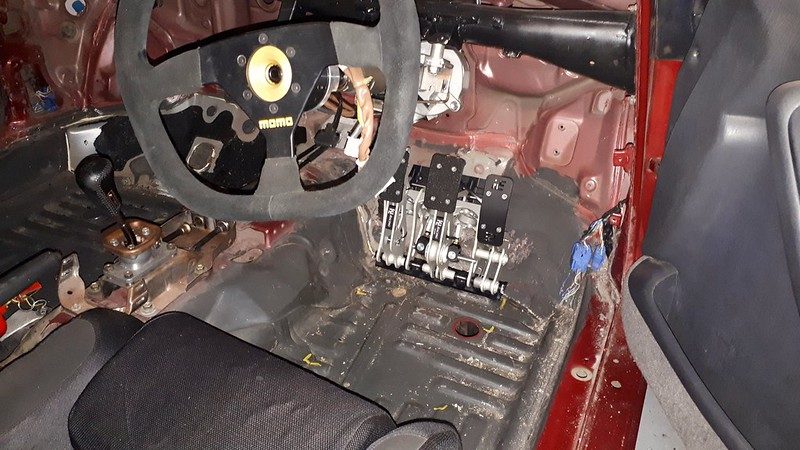 2020-09-22_12-57-07 by Nick Winsor, on Flickr
")
