- 3,210

- Brisbane
- Punknoodle_Nick
Hi all, Nick here. You may remember me from such builds as the Duke Racing Celica GT-Four Time Attack Car. That build is not yet finished, and it's probably going to be delayed a little more, because my friend and I have decided to build another racecar...
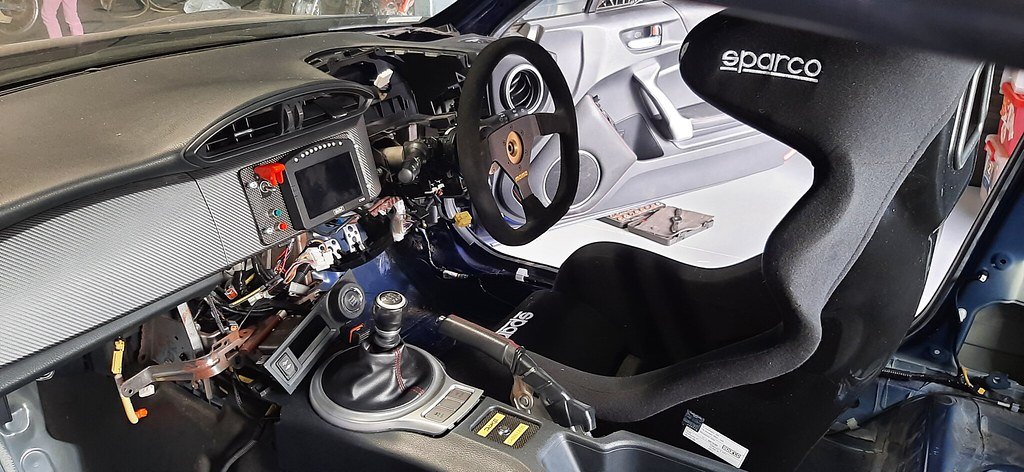
I picked up this 2015 Subaru BRZ from the salvage auctions for dirt cheap. The engine had been hydrolocked, but otherwise the chassis, bodywork and interior is pretty damn good. Mechanically I believe everything except the engine is also good - the car only has 60,000kms on it.


We've begun the process of getting it ready for racing. Gutted the interior, air bags etc. I've removed the dash in order to flock it. We've removed the engine to get it rebuilt.


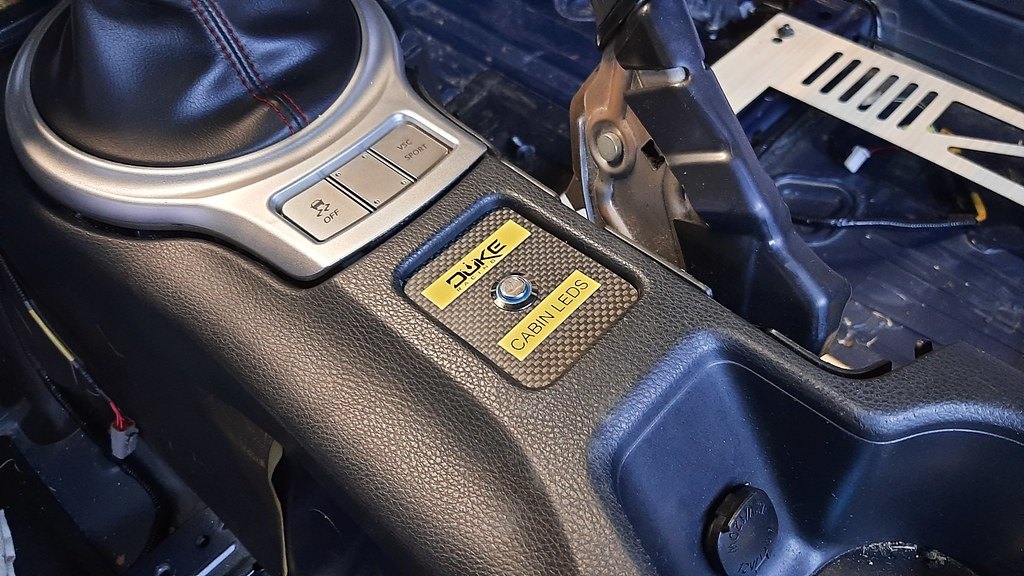
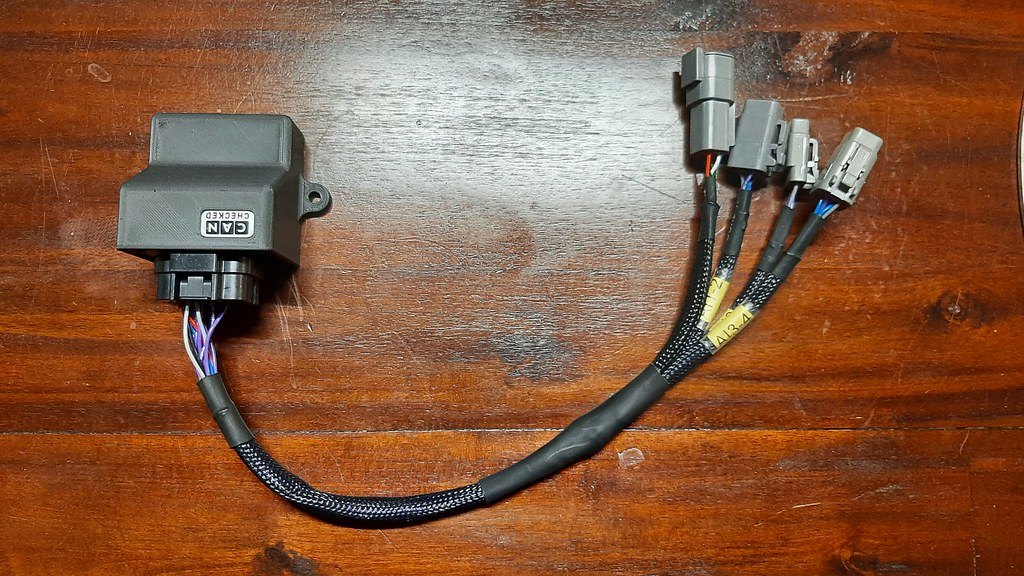
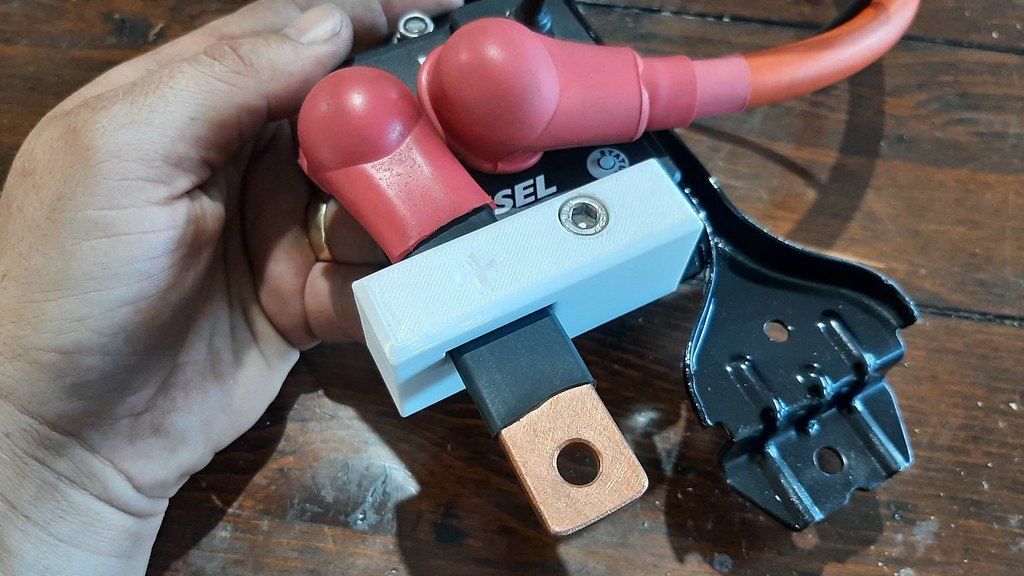
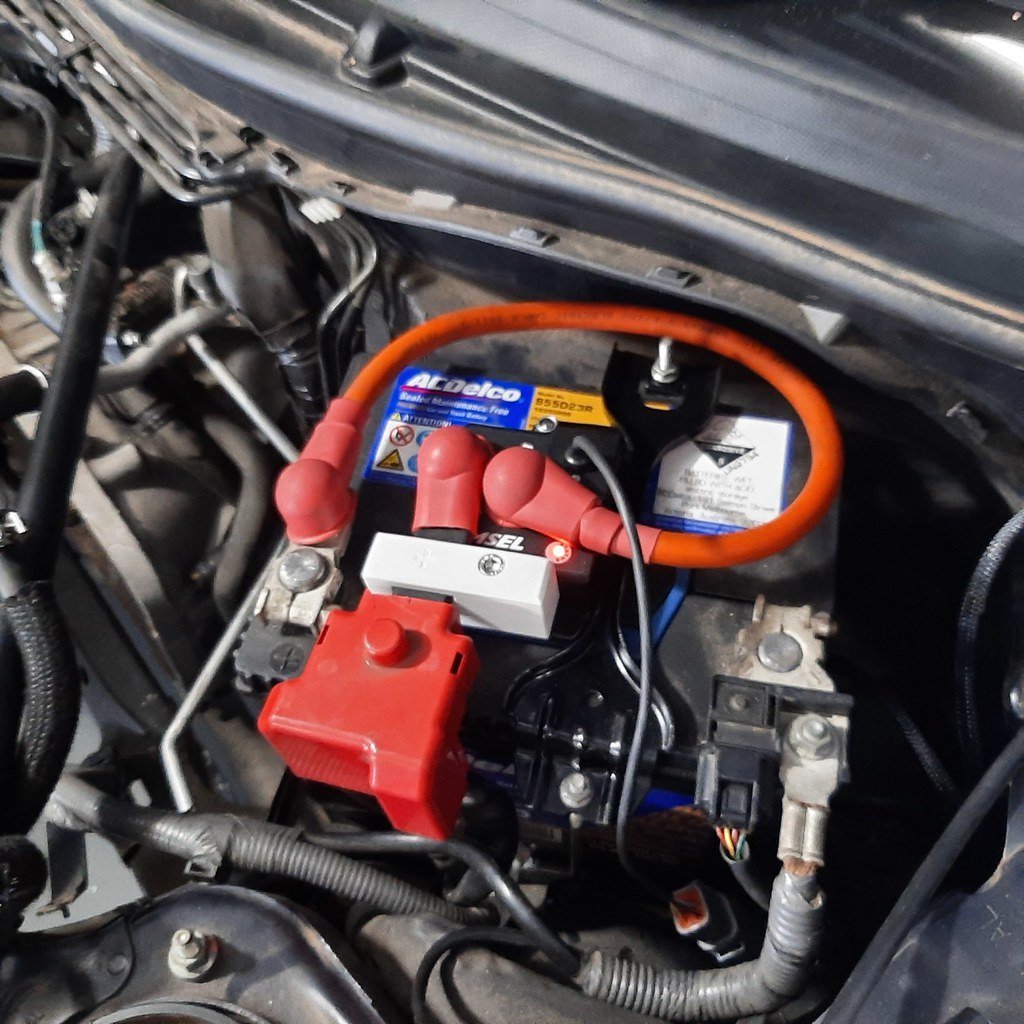
I've also started the wiring for the accessories sub loom for the car. This is just a simple harness to connect the Motec logger dash, battery isolation system and other accessories like camera and radio power plus some LED lighting for night driver changes. Also designed the panel which mounts where the radio was, to house the Motec dash etc. The rules of the catergory dictate we must keep the OEM instrument cluster.


That's about it for now, for more, follow our instagram - @jwracingteam
I picked up this 2015 Subaru BRZ from the salvage auctions for dirt cheap. The engine had been hydrolocked, but otherwise the chassis, bodywork and interior is pretty damn good. Mechanically I believe everything except the engine is also good - the car only has 60,000kms on it.
We've begun the process of getting it ready for racing. Gutted the interior, air bags etc. I've removed the dash in order to flock it. We've removed the engine to get it rebuilt.
I've also started the wiring for the accessories sub loom for the car. This is just a simple harness to connect the Motec logger dash, battery isolation system and other accessories like camera and radio power plus some LED lighting for night driver changes. Also designed the panel which mounts where the radio was, to house the Motec dash etc. The rules of the catergory dictate we must keep the OEM instrument cluster.
That's about it for now, for more, follow our instagram - @jwracingteam
Last edited: