- 36

- Sussex
Hey guys. Long time forum lurker and self confessed sim racing noob here.
Im still on the console and my first and only wheel so far is the original MS wheel. It has the well known bearing mod plus a little DIY electronic filter on the steering potentiometer to smooth and filter the signal.
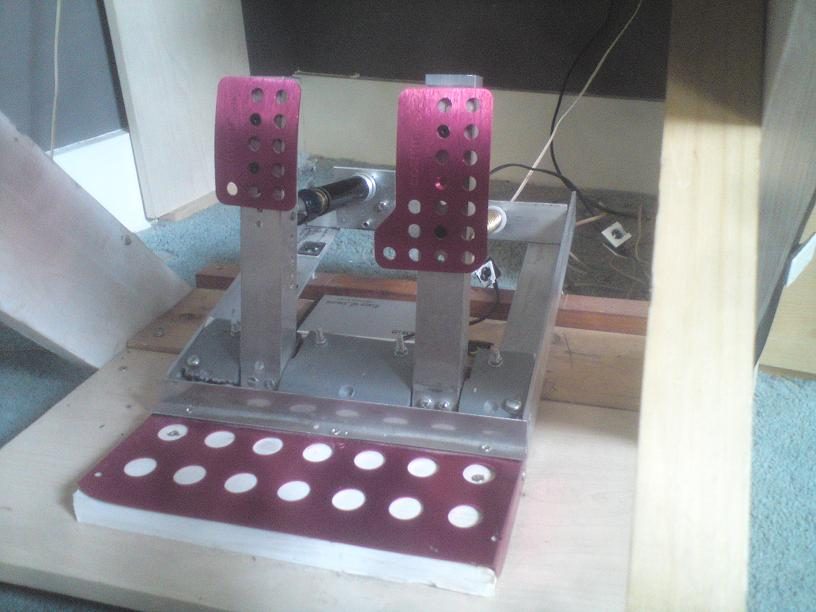
The pedals have been more or less rebuilt and also include a basherboards type filter. They use a oil damper from some old bike suspension forks and skate bushings on the brake.
I have just finished a custom wheel rim with a CF button plate and paddle shifters. Its a 310mm leather wheel I got off eBay for £25. Bargain!
I really like DIY and modding and I have been inspired by the many excellent diy projects I have seen on the forums. Hope you guys like my effort")


Im still on the console and my first and only wheel so far is the original MS wheel. It has the well known bearing mod plus a little DIY electronic filter on the steering potentiometer to smooth and filter the signal.
The pedals have been more or less rebuilt and also include a basherboards type filter. They use a oil damper from some old bike suspension forks and skate bushings on the brake.
I have just finished a custom wheel rim with a CF button plate and paddle shifters. Its a 310mm leather wheel I got off eBay for £25. Bargain!
I really like DIY and modding and I have been inspired by the many excellent diy projects I have seen on the forums. Hope you guys like my effort
Last edited:

")
