My (slow) Ricmotech RS500 cockpit build

  • Thread starter barryf1fan
  • 14 comments
  • 16,140 views
2,360
United States
St. Cloud, Florida
aracefan
Purchased the DIY plans from Ricmotech for the RS500 almost 2 1/2 years ago, and about 2 months ago picked up a gently used Thrustmaster T300 Alcantara edition wheel w/ the T3PA pedals. Well, my oldest tells me last week that he has an apartment picked out and will be venturing out on his own on June 23rd - meaning I will now have a place to put a sim-rig.

I decided to start the build of the Ricmotech RS500 this Saturday and figured I would share the progress made, hopefully it people see that I can do it, anyone can! :D

Only a few shots so far - but will try and work on it little by little over the next couple of weeks (it's already in the mid 90's here with the heat indices in the low 100's) as my work schedule allows.
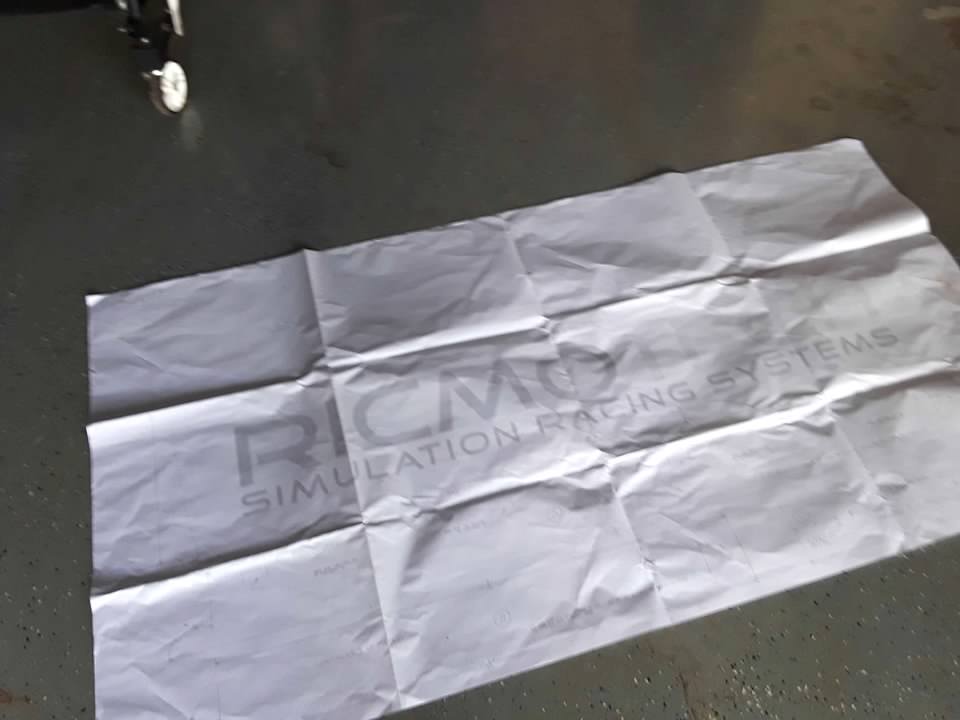
The Plans

enhance


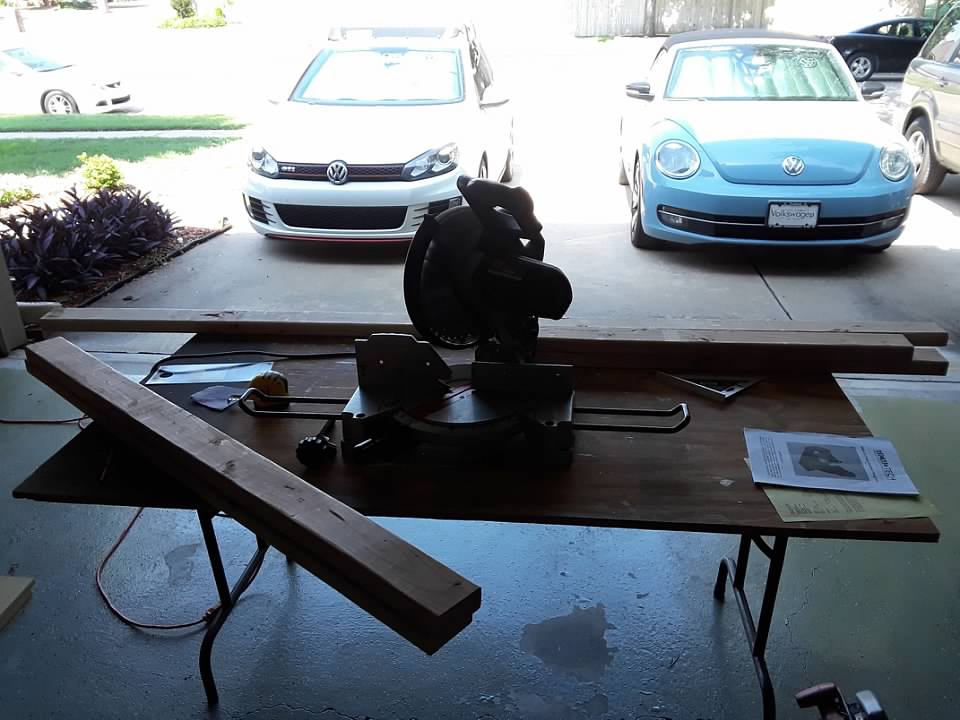
getting the 2x4's cut on the miter saw.

enhance


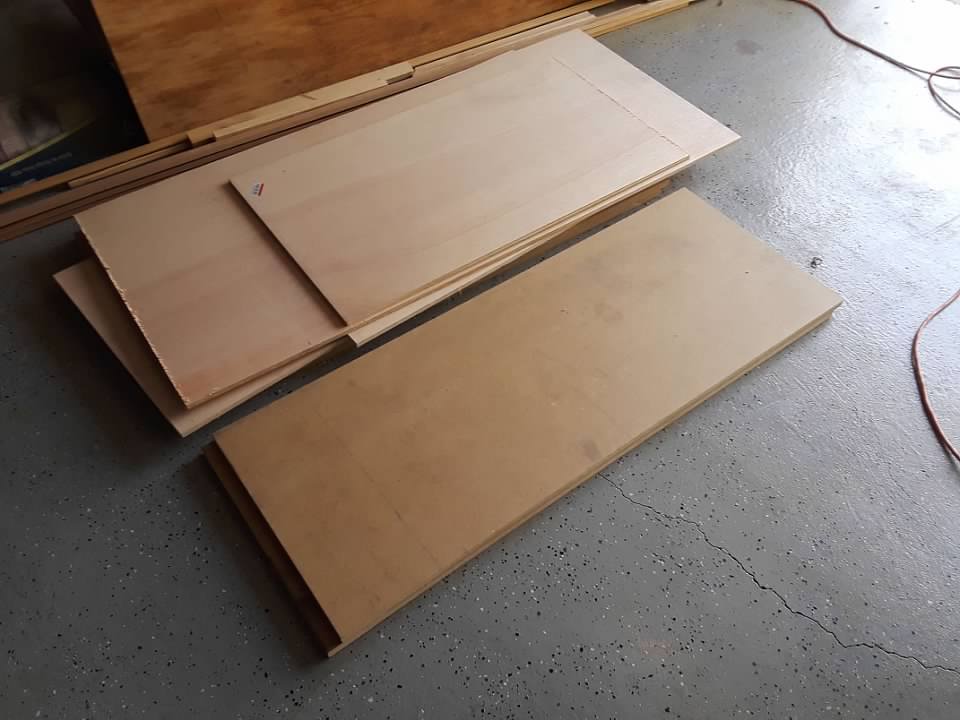
MDF and Plywood cut to length. . .

enhance


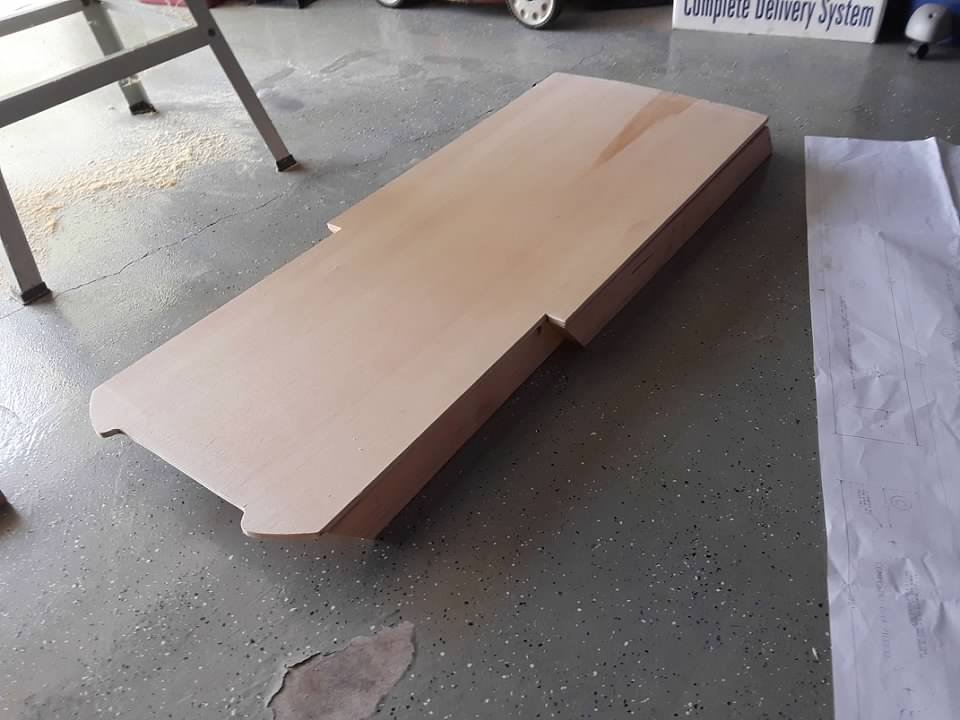
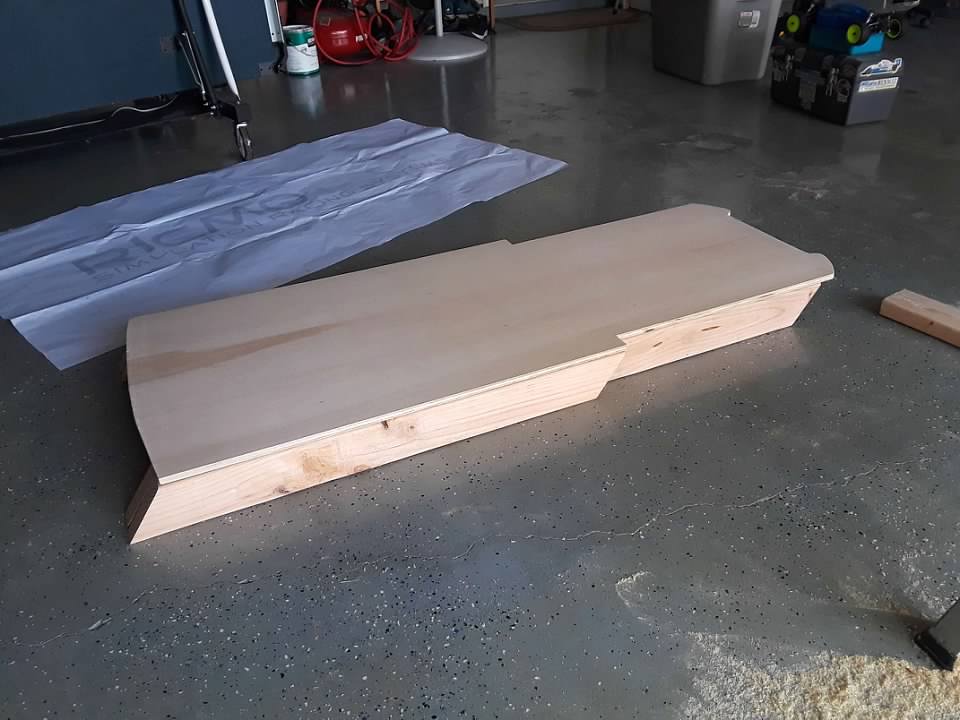
Base and platform done and mocked up. Next are the sides and wheel/shift bases.

enhance


enhance


Thanks for looking - and hope to have a bit more done tomorrow.
 
Finished getting the bits cut out and sanded a little. But man, is it fookin' hot in the garage!! Supposed to be in the mid-upper 90's the rest of the week. Gonna have to wait til Saturday so I can get up a little early and work on it. Hopefully will have assembled pics next week and will be able to fit the seat.

enhance


enhance


enhance


Hopefully will be patient enough to finish it right! :lol:
 
So, a little more work has been done (actually, quite a bit - but some of it was do-over). I decided to use Premium lumber on the 2x4's, mostly because it hasn't been treated and is kiln dried (and generally they are straighter than treated pine 2-by's). However, it didn't dawn on me, until I had cut "EVERYTHING" out to the template size, that untreated premium 2-by's are much closer dimension wise to actual 2" x 4" than the treated stuff. UGHHHhhh, this meant now that even though I had cut everything out per the template/plans dimensions - my rig wings were now ~19 3/4" wide instead of 19" wide. :embarrassed: :rolleyes:

Anyway, I have everything re-cut (after buying another sheet of MDF) and just have the pedal bridge left to put in before I can figure out how I am going to mount my seat (out of an old Honda Civic we donated-I kept the seats :lol: ) and start the finishing process. Not planning on mounting the shifter as I don't have one yet, and the TH8A shifter is sort of expensive and hard to find - I'll get one eventually, just no rush.

Going to try and work on it all this week, except Tuesday <-- that's race night. :cheers:

enhance


Yep, screwed up some holes there - but hey, that's what wood filler is for, you'll never know they were there.

enhance


enhance


Anyway, thanks for looking. And if you decide to build this... I would build your base and "wings" before cutting out the MDF for your cross-pieces. Especially if you are having the store you bought it at cut it to the correct width (as the plan instructions tell you to do), if you don't have access to a table saw than just buy your MDF after you have assembled (!! with the 4 bolts in the base !!) the base and sides so you can get a "good" measurement, not have pieces cut, width wise, to what it "is supposed to measure".

If you have a table saw, as I do, just bring home your MDF as a complete 4'x8' sheets, which is what I should've done - wouldn't have had to buy it twice... Oh well, c'est la vie.


NINJA Edit:: actually, you need MDF for the wings... have the store, or if you're cutting it, rip the MDF a little wider than the plans say, giving you the cushion for the type of lumber you buy.
 
Last edited:
Little more work done on the rig (as I said, this is a slow build :lol: ).

Got the seat test fit, seat pieces cut (not pictured), pedal bridge mounted, and started the finishing process.

enhance


enhance


Don't have any pics of me sanding, and sanding, and sanding, and sanding, and, well, you get the idea. . .

enhance


enhance


enhance


And here is the carpet that is going to be used on the base...

enhance


Just need to get my sponsorship decal cut and applied and glue down the carpet, and she'll be ready for gear installation. 👍
 
Just about done with it now. Need to make a mount for the T3PA pedals (saving up for the Pro version now...) and order the shifter, have the pieces for the shifter cut it's just not mounted yet. Will hopefully get those in a month or so - but want to enjoy it in the meantime.

Here's a few shots of it though - screwed up on the bull, but I'll live with it. :D

enhance


enhance


enhance


enhance


enhance


Thanks for looking - getting pretty excited to get some F1 2017 and Project Cars 2 on.
 
Last edited:
Finished getting the "rig" together and setup last night. Had to finish up with painting my son's old room and get it all put back together, but was able to do a little PC2 last night before it got too late. I have to admit, gonna have to re-mount my seat as I did it bass-ackwards. The instructions tell you to mount all the gear, THEN mount your seat (if you're not using the Ricmotech seat and seat rails), and I found out why. Well, I mounted everything as you see it in the pic in the post above - up on the table. I highly suggest you take the rig and sit in it to mount your seat AFTER you have the wheel, etc., mounted. Anyway, it's not a big deal, will just have to re-do two 2x2" rails to get the seat fixed, it's not bad it's just not perfect. The rig was fine and I didn't notice the seat was "off" once I was playing, didn't notice it at all, but just knowing that it will bug me - mostly when I'm not racing. :lol:

And for anyone wondering, this rig is solid - I'm REALLY glad I put the wheels on the front of it to roll around, makes it super easy to move. I was worried about the TV maybe moving around as it is a 32" Sony Bravia and is really light, but this rig is so solid it didn't move once and that is with the wheel FF set to 3 (kind of a medium setting, it may move the rig on a higher setting but I doubt it).

Anyhoo, here's a couple of pics (the walls are bare as I literally just finished painting the room). . .

enhance


enhance

enhance


Looking forward to getting a TH8A shifter and thinking about ordering the F1 wheel rim as well...
Thanks for following as I stumbled through this build (wasn't that bad at all, it's just been so hot here) and if you are planning on building one of these, I don't think you could go wrong. I have right at ~ $140-$145, (I had the seat and an extra TV, also picked up a T300 Alcantara edition wheel for a really good price) in the materials for the rig, including the paint and carpet. The only tool I bought was a counter-sink bit (as I didn't have one and always used a larger drill bit to counter-sink holes) as MDF just pulls a larger bit in and just makes a larger hole, in other words, it doesn't counter-sink. :rolleyes: I also bought premium 2x4's and screwed up the first sheet of MDF so you would save about $28-$30 just have to buy it once.

Overall, not bad to enjoy some racing with a wheel, and a cheap alternative to get into a sim racing rig. At some point I may get that RSeat RS1 I dream about - but honestly, as far as I can tell after about 2 hours or racing, this little rig does everything right.

THANKS Ricmotech!!
 
How did it turn out for size, I'm 6'2 and was wondering about knees touching clamping hardware of steering wheel.? Thanks.
Dang, bringing this back from the dead... LOL!!

It turned out great and I used it for a couple of years but have since moved to an RSeat RS1 (thinking about an aluminum profile rig...).

I'm 5'11 and it fit just fine, although I think you would need to adjust the base plate up an inch to an inch and a half. This could be easily achieved by making the side pods (or uprights) a little longer... and that' the nice thing about it being custom - you can make them longer, mock it up and test it, and then cut them down a bit if they're too tall.

Main thing I would say to is that you have your seat and mounting situation figured out before doing the part that hold the wheel base. You do build the base first, so you can mock up the seating position and then take some measurements for the side pods, and go from there.
 
Thank you for replying. Thanks for the extra spacing on side panels thought. am also going to extend the base by 6 inches just so you can more slide on the seat for people to get in and out. Can ask how long your rig is in total. Planning to slide it up to wall with 55 tv on the wall with extendable bracket so I can tune it in.

Thanks again, Mike

Got Moza R9 base , CS V2P wheel, and SR-P pedals.
 
Man, I'm not sure how long the overall dimension was - and it's in Oklahoma and I'm now in Florida.

I will say that the base length was basically what the Ricmotech plans called for, as far as overall length.
 
Back