- 4,778

- Færder
- syntex123
- Syntex260Z

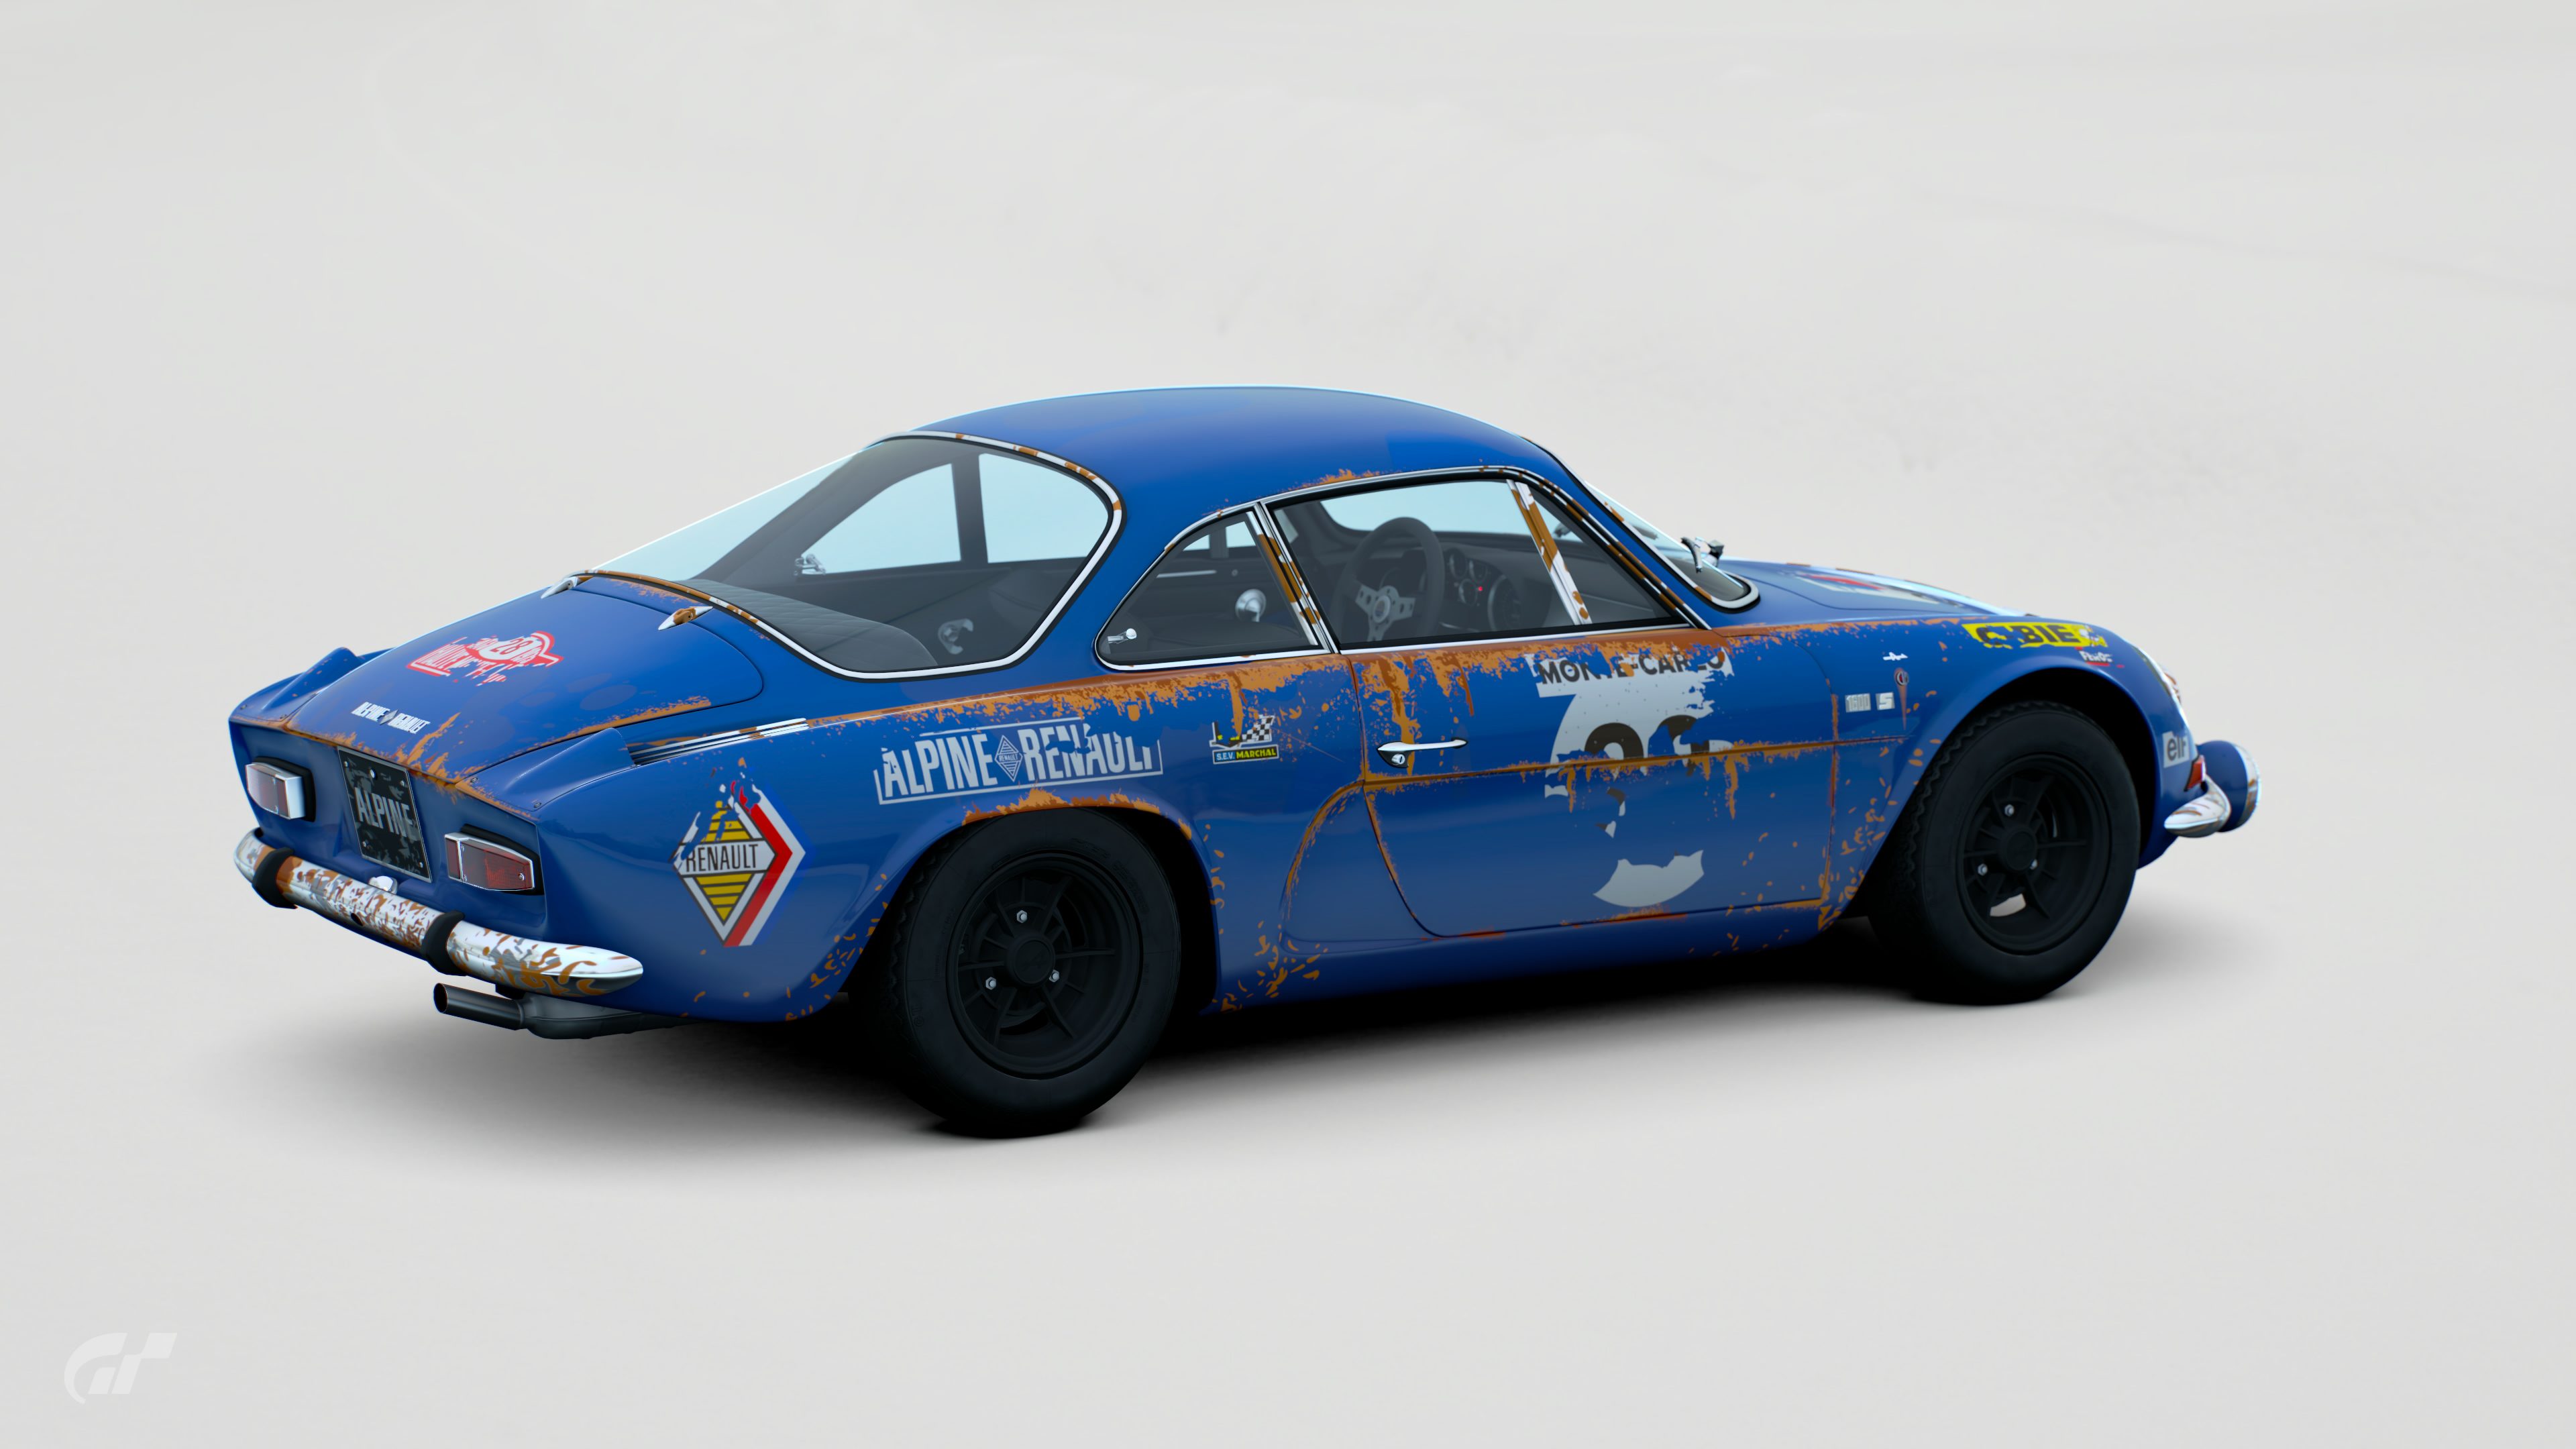
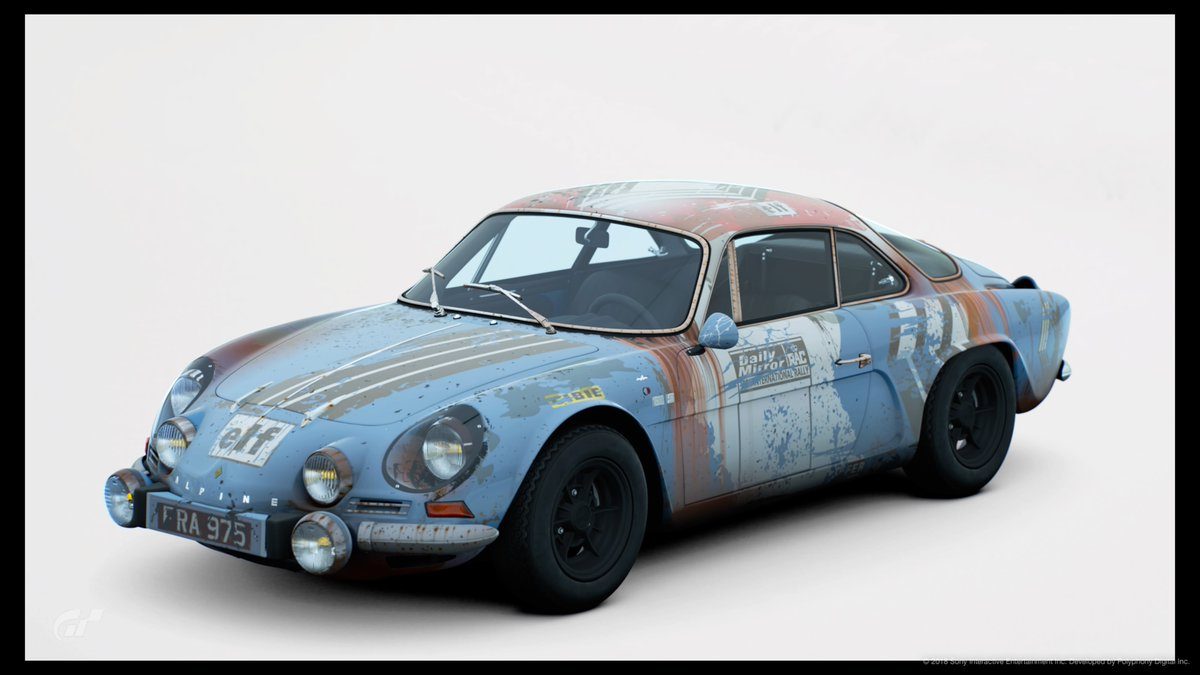
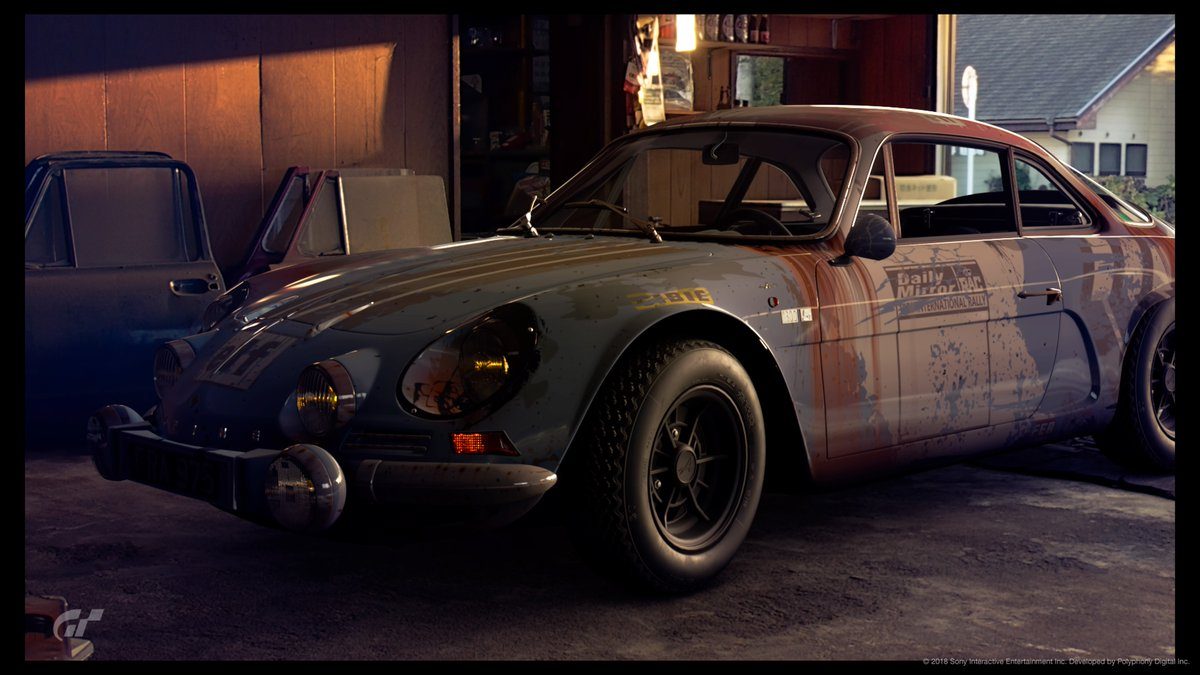
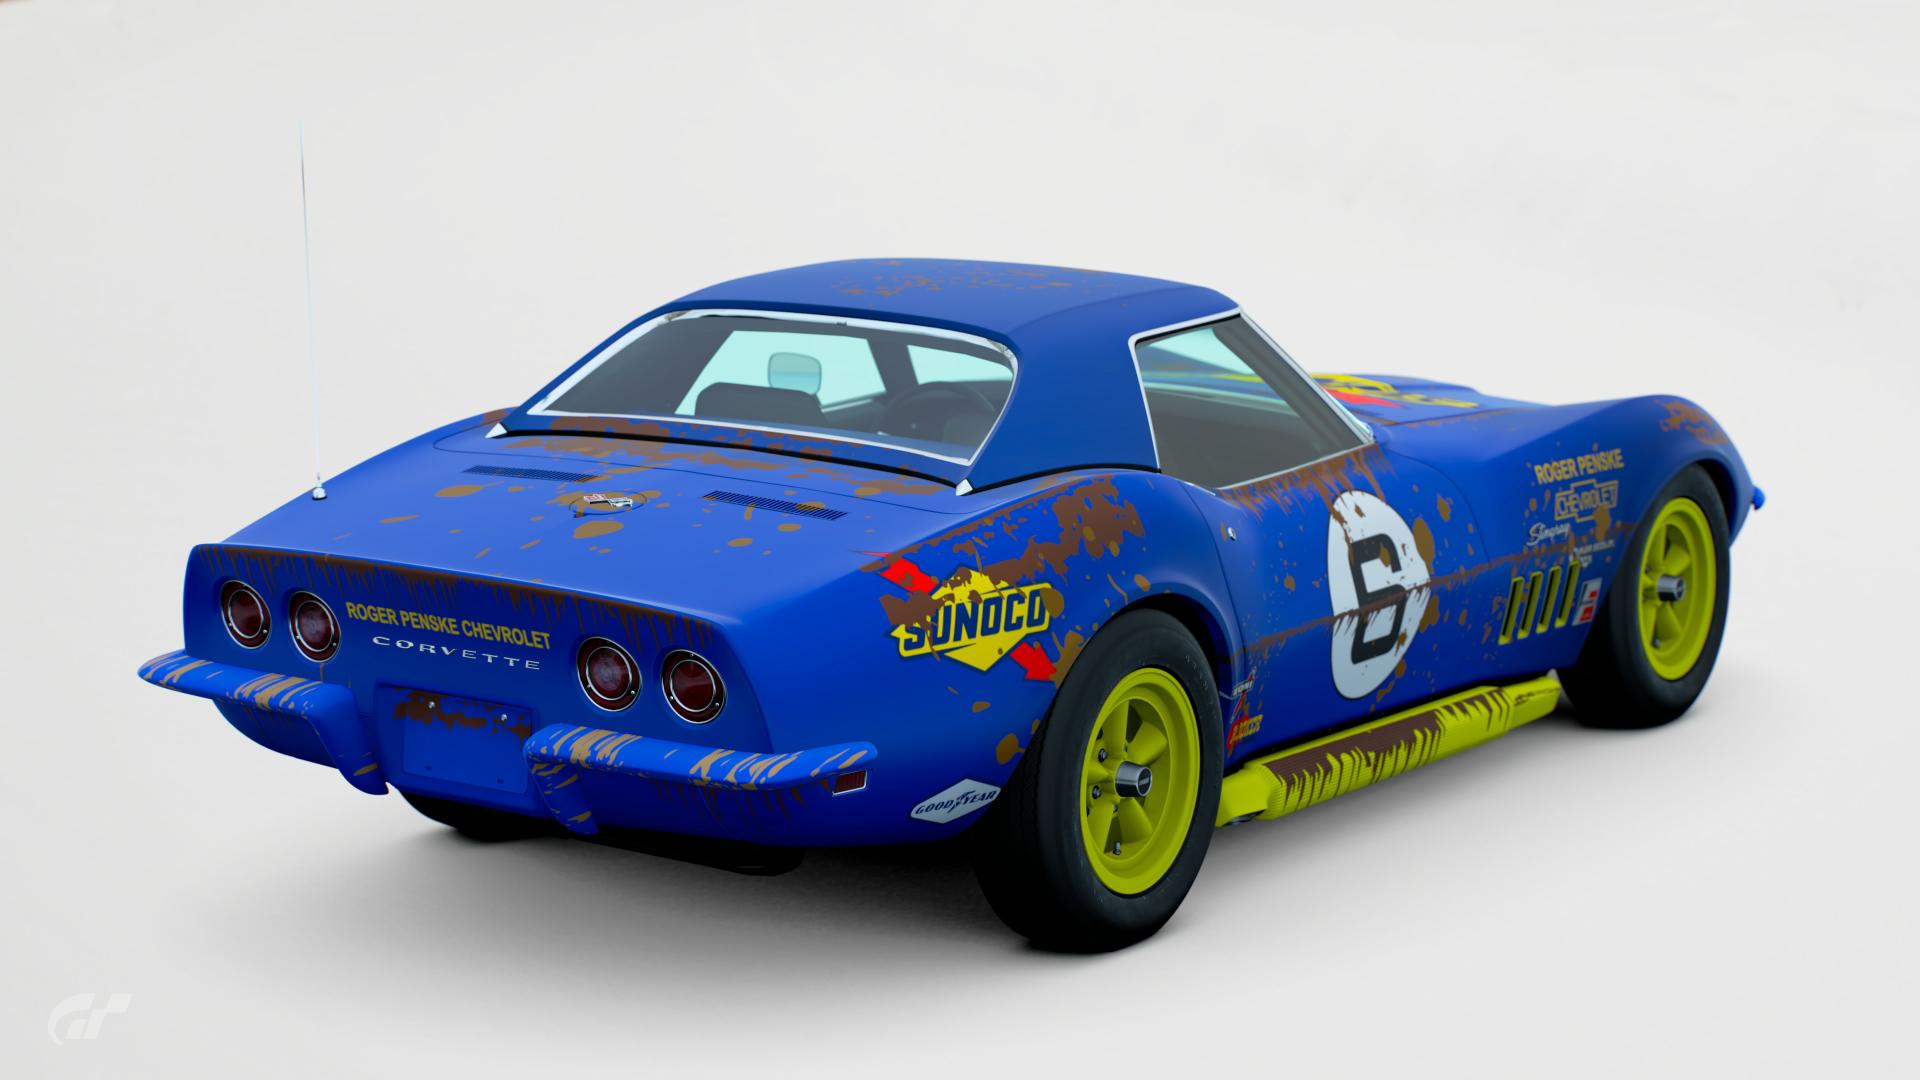
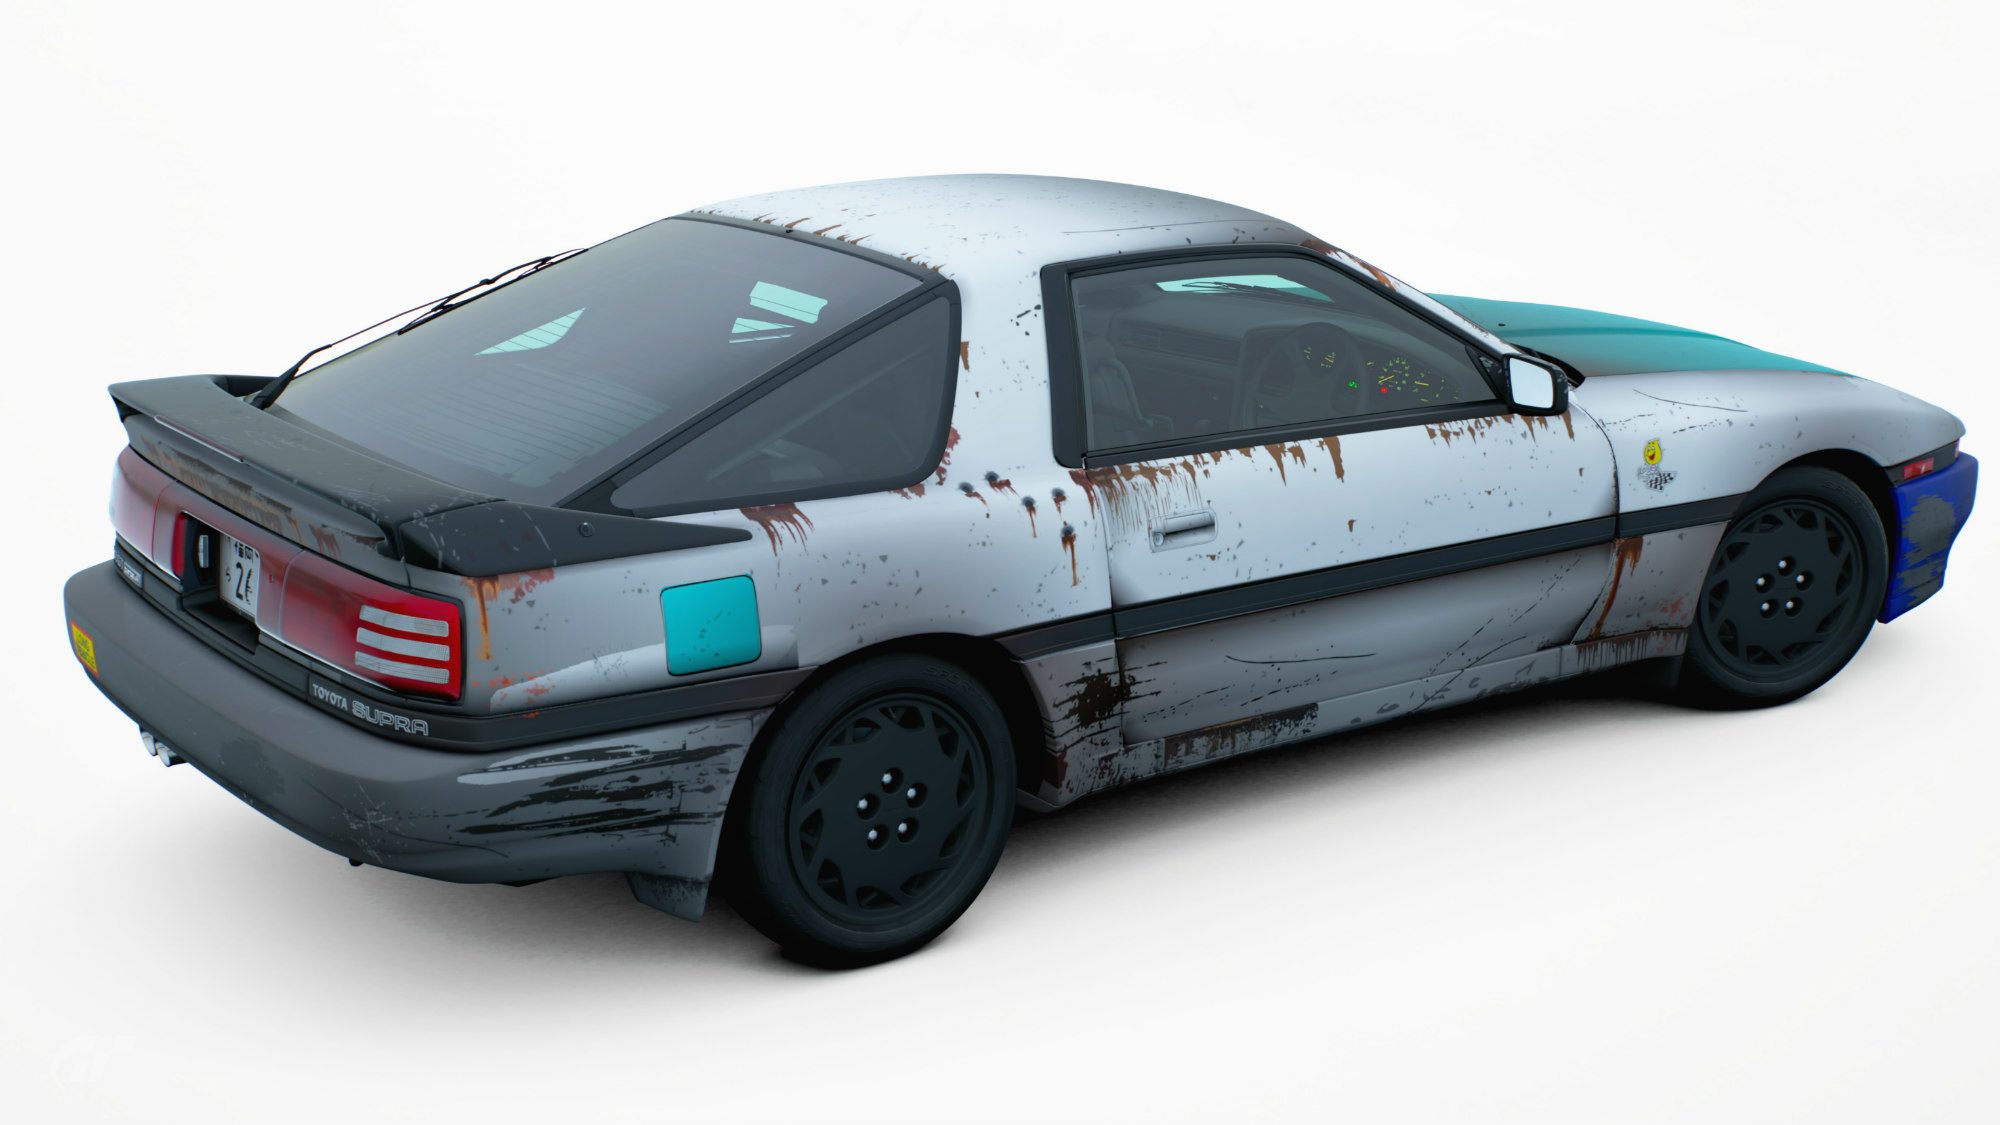
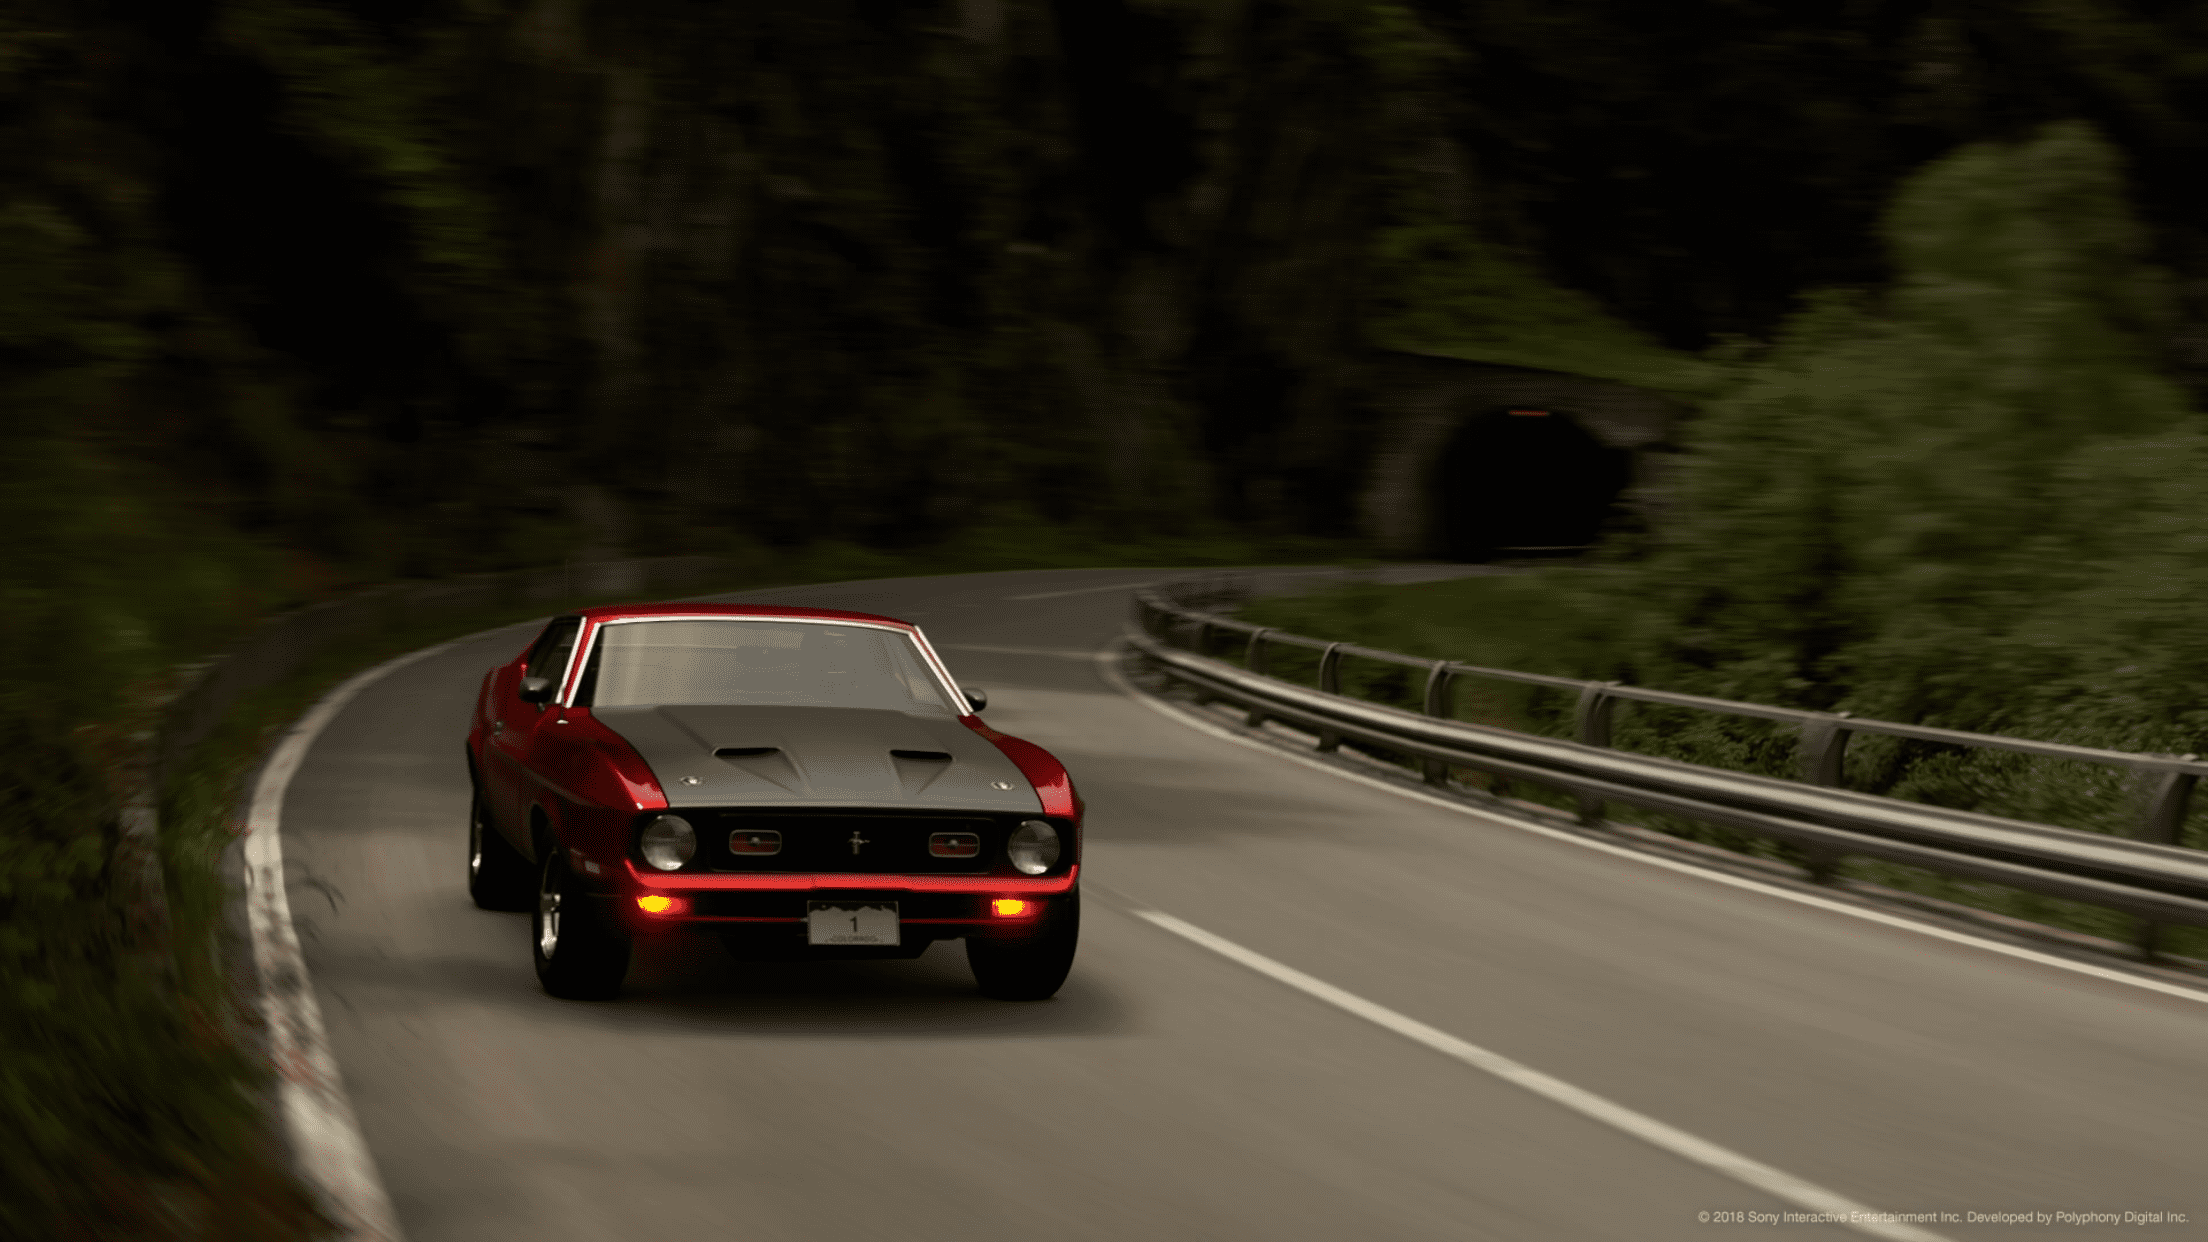
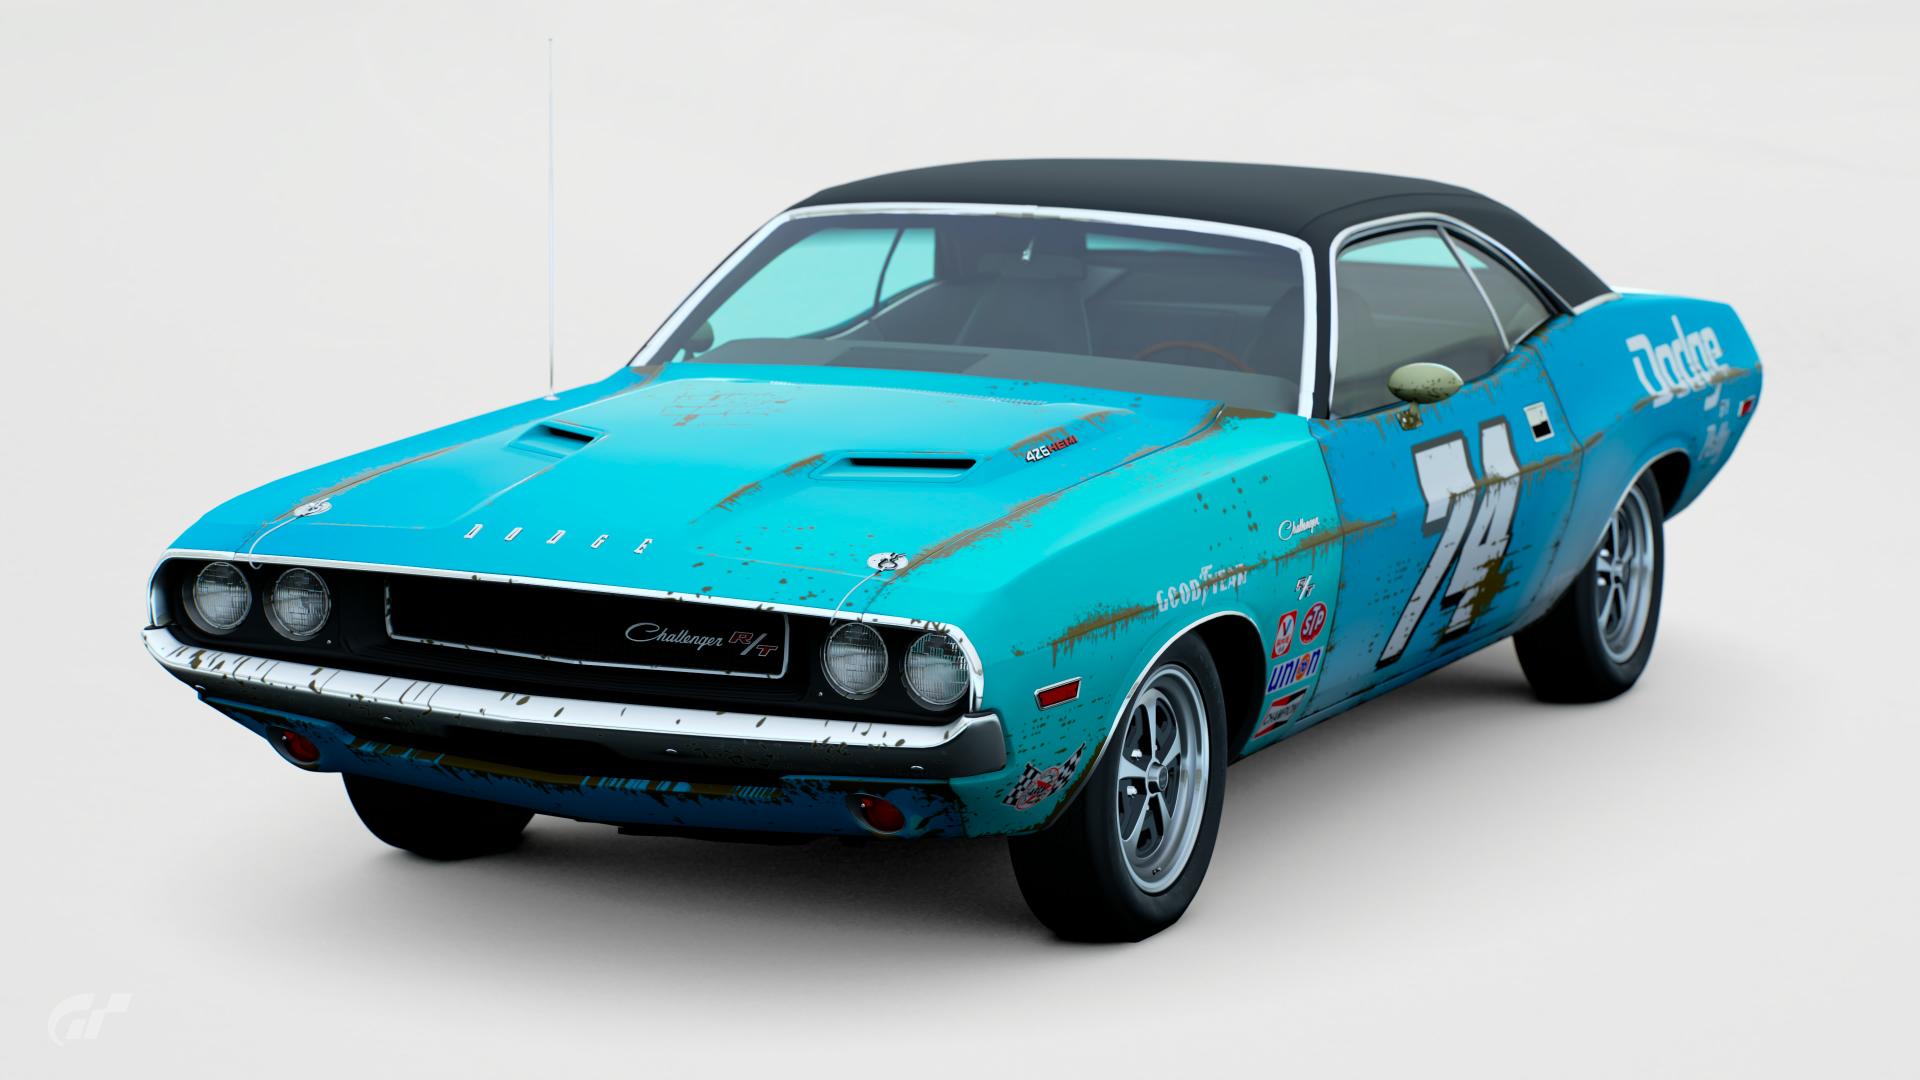
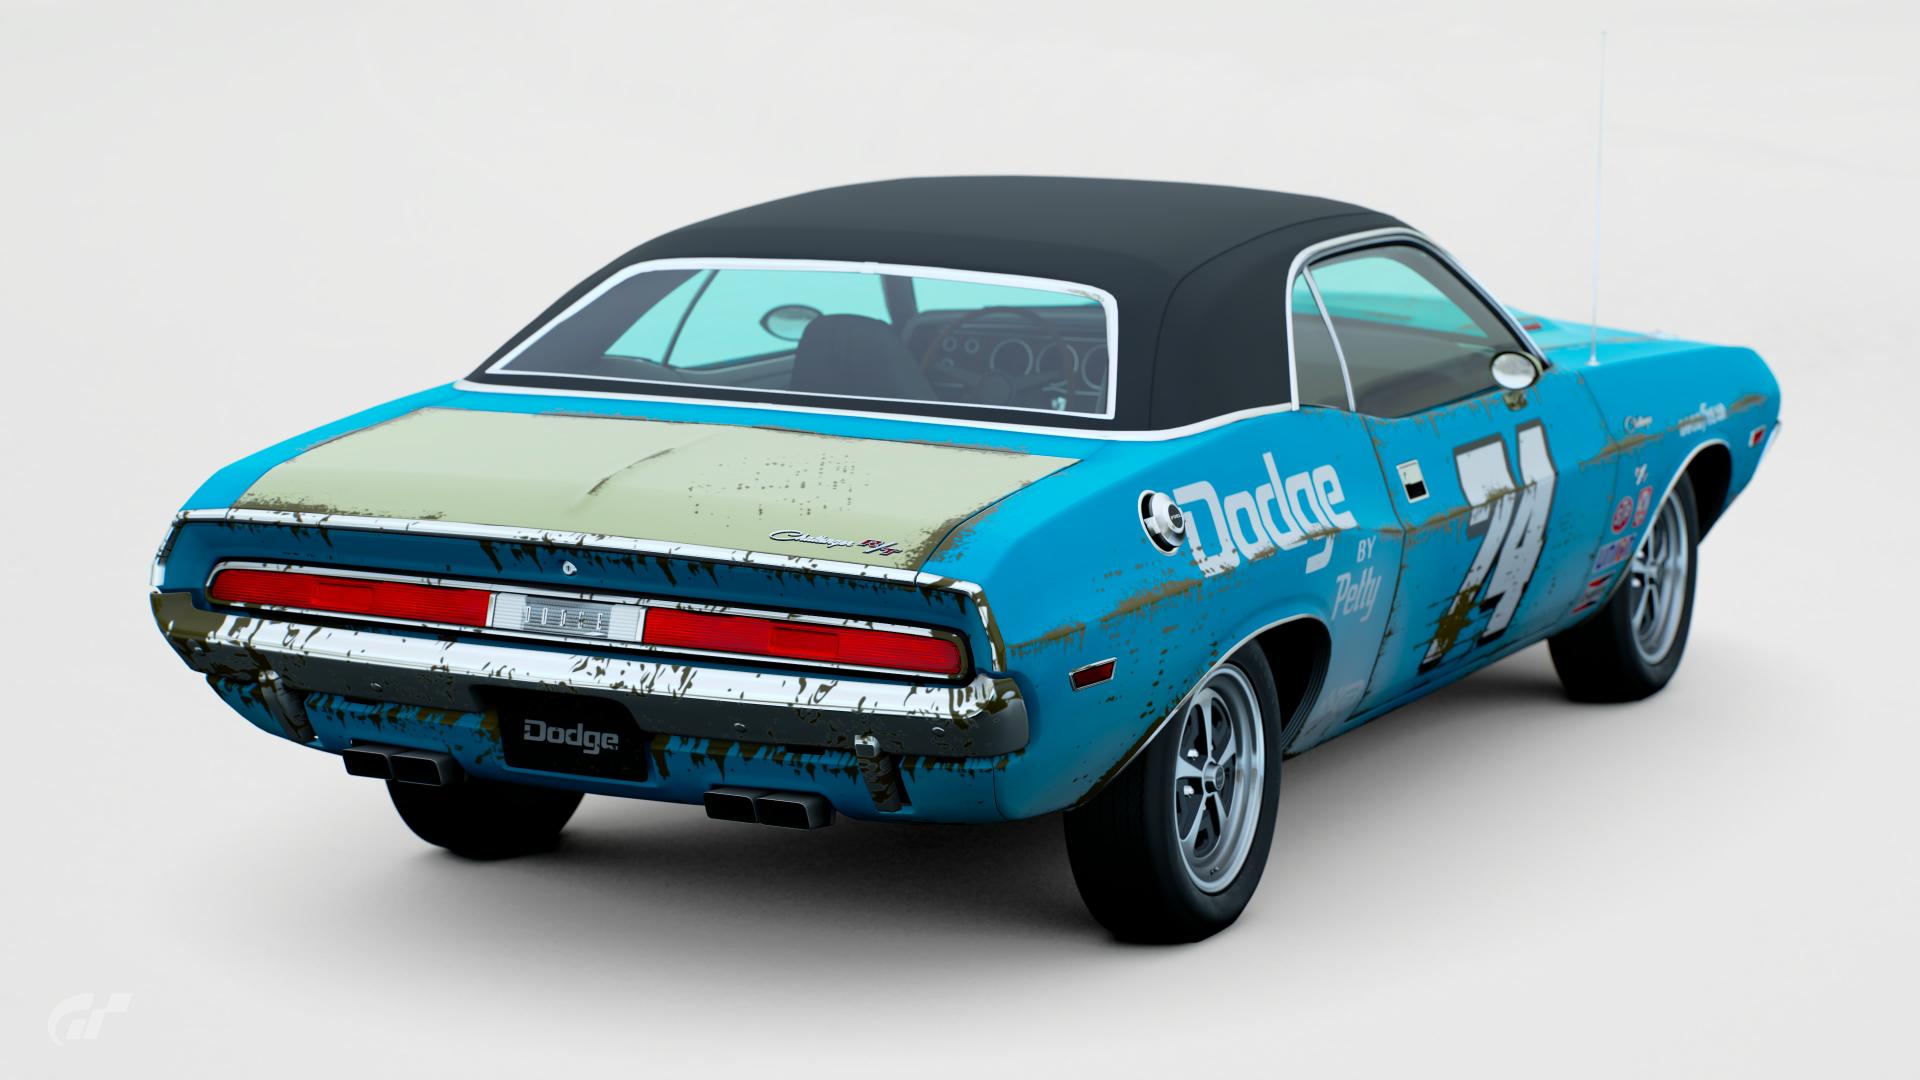
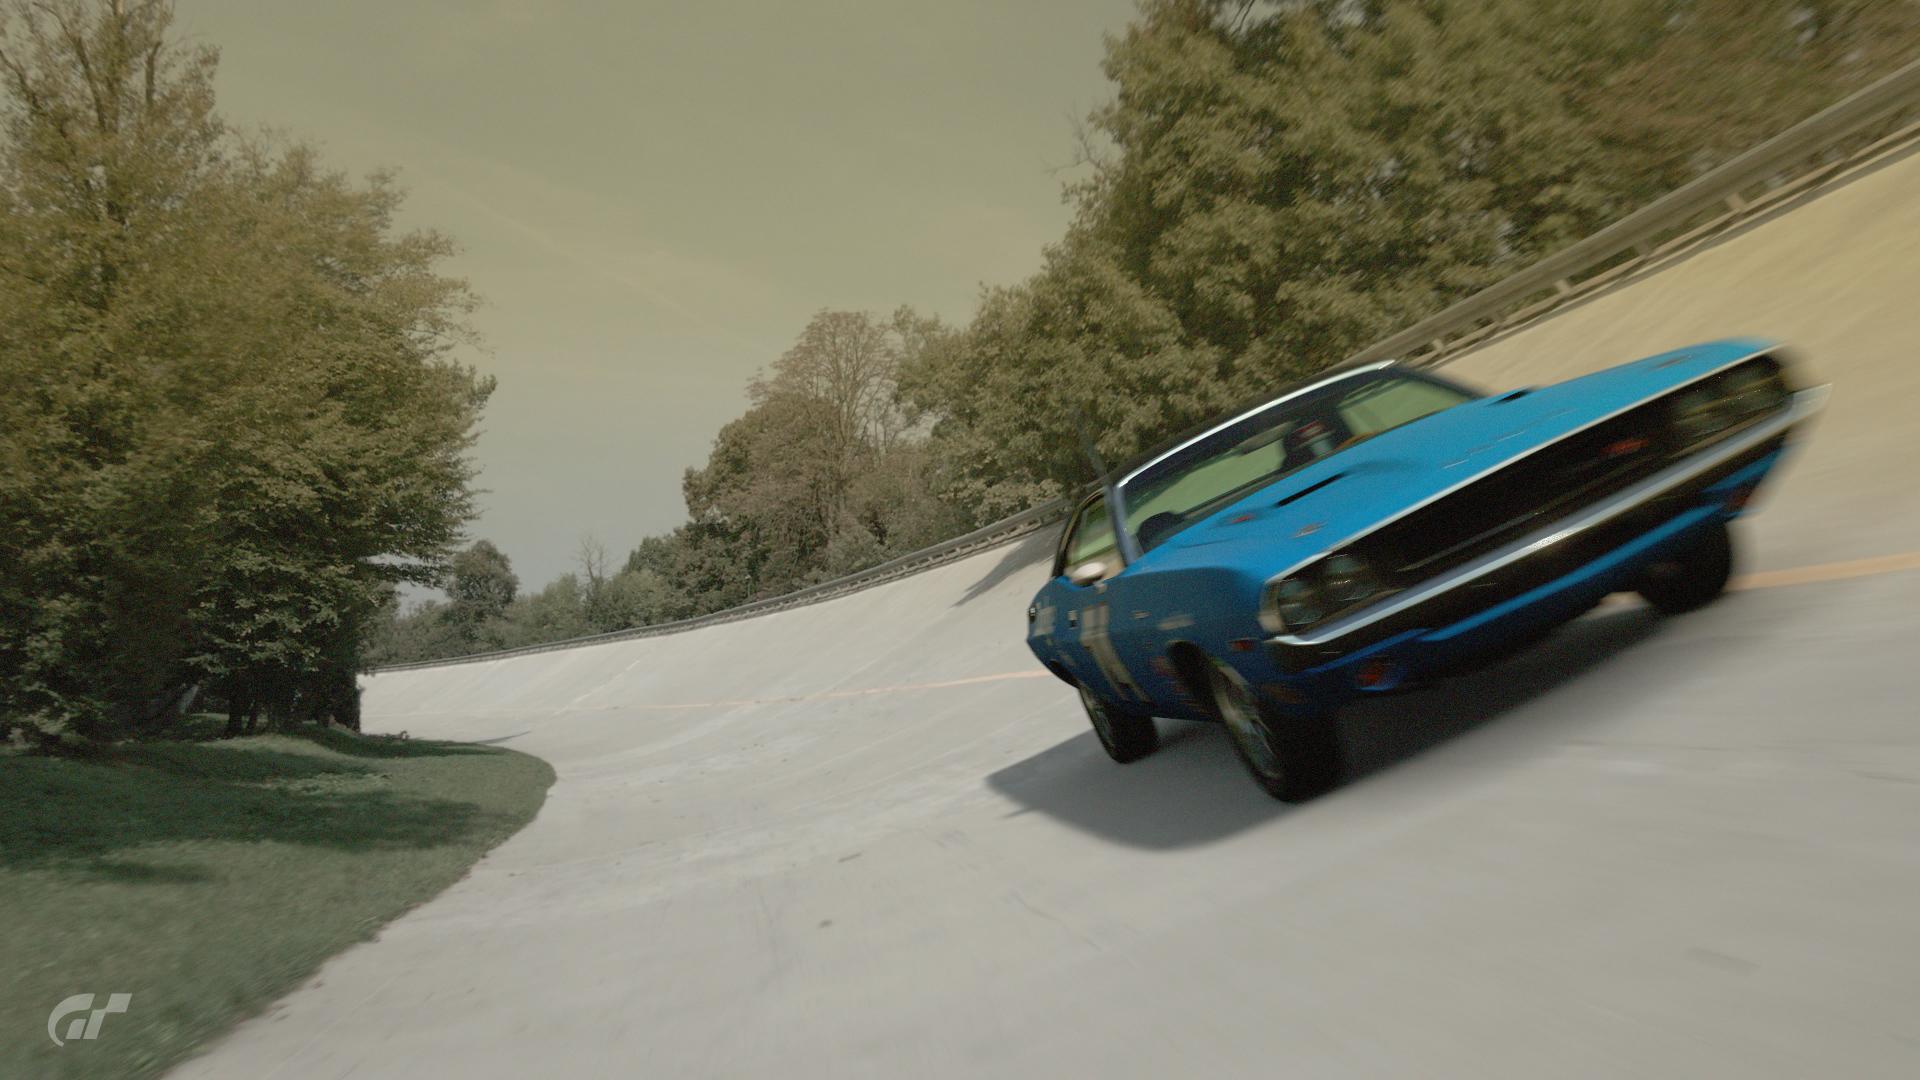
Barn finds! Have you ever looked inside an abandoned garage or barn to find a rare and classic car? If not, make one! Livery and image by @syntex123 - (click for full-size)
This Fortnight's Theme
I must have seen a lot of restoration shows on Discovery Channel because this time I want to capture the essence of finding something rare where you wouldn't think anything else but junk would reside. We're talking rare barn finds. - But this time, let it rust! Let's hear what @syntex123 has to say:
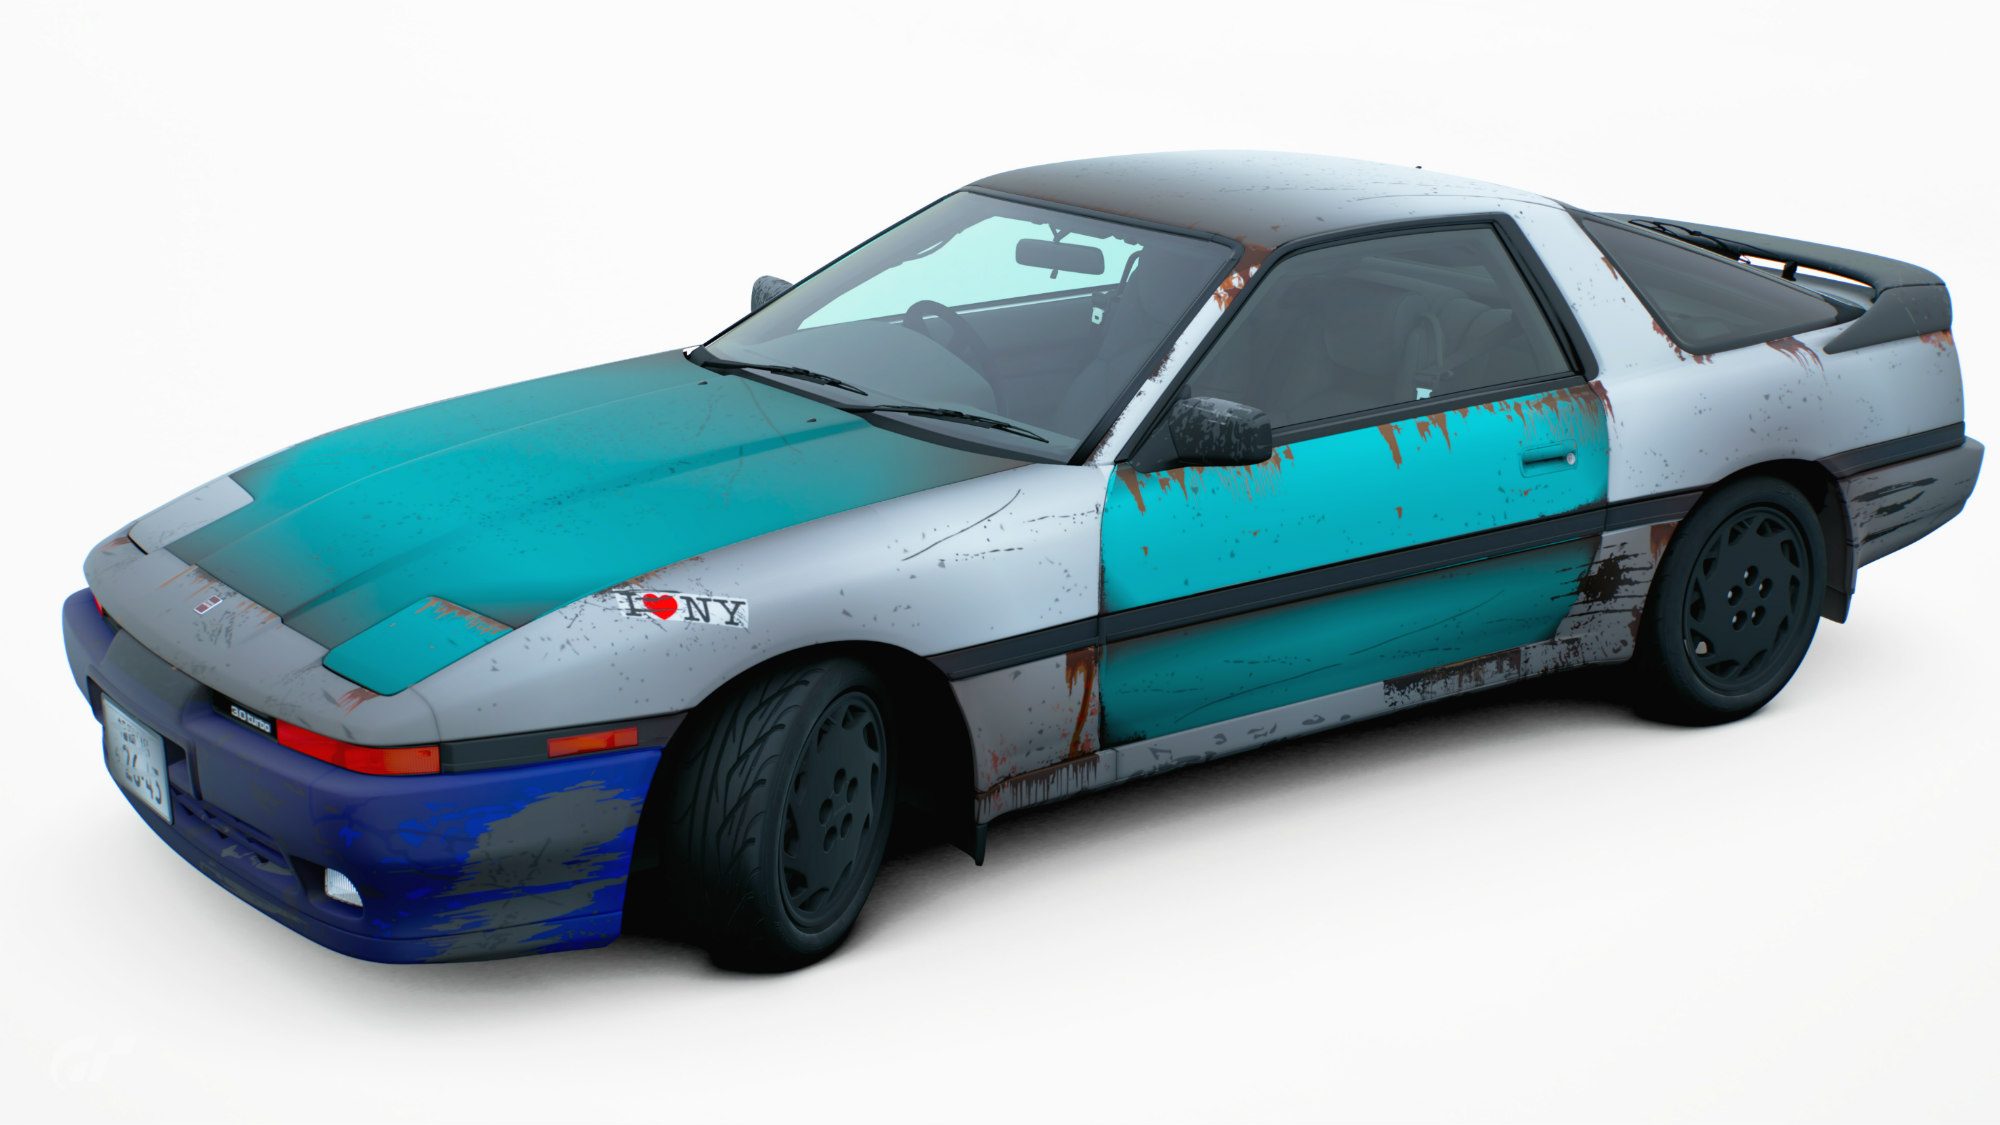
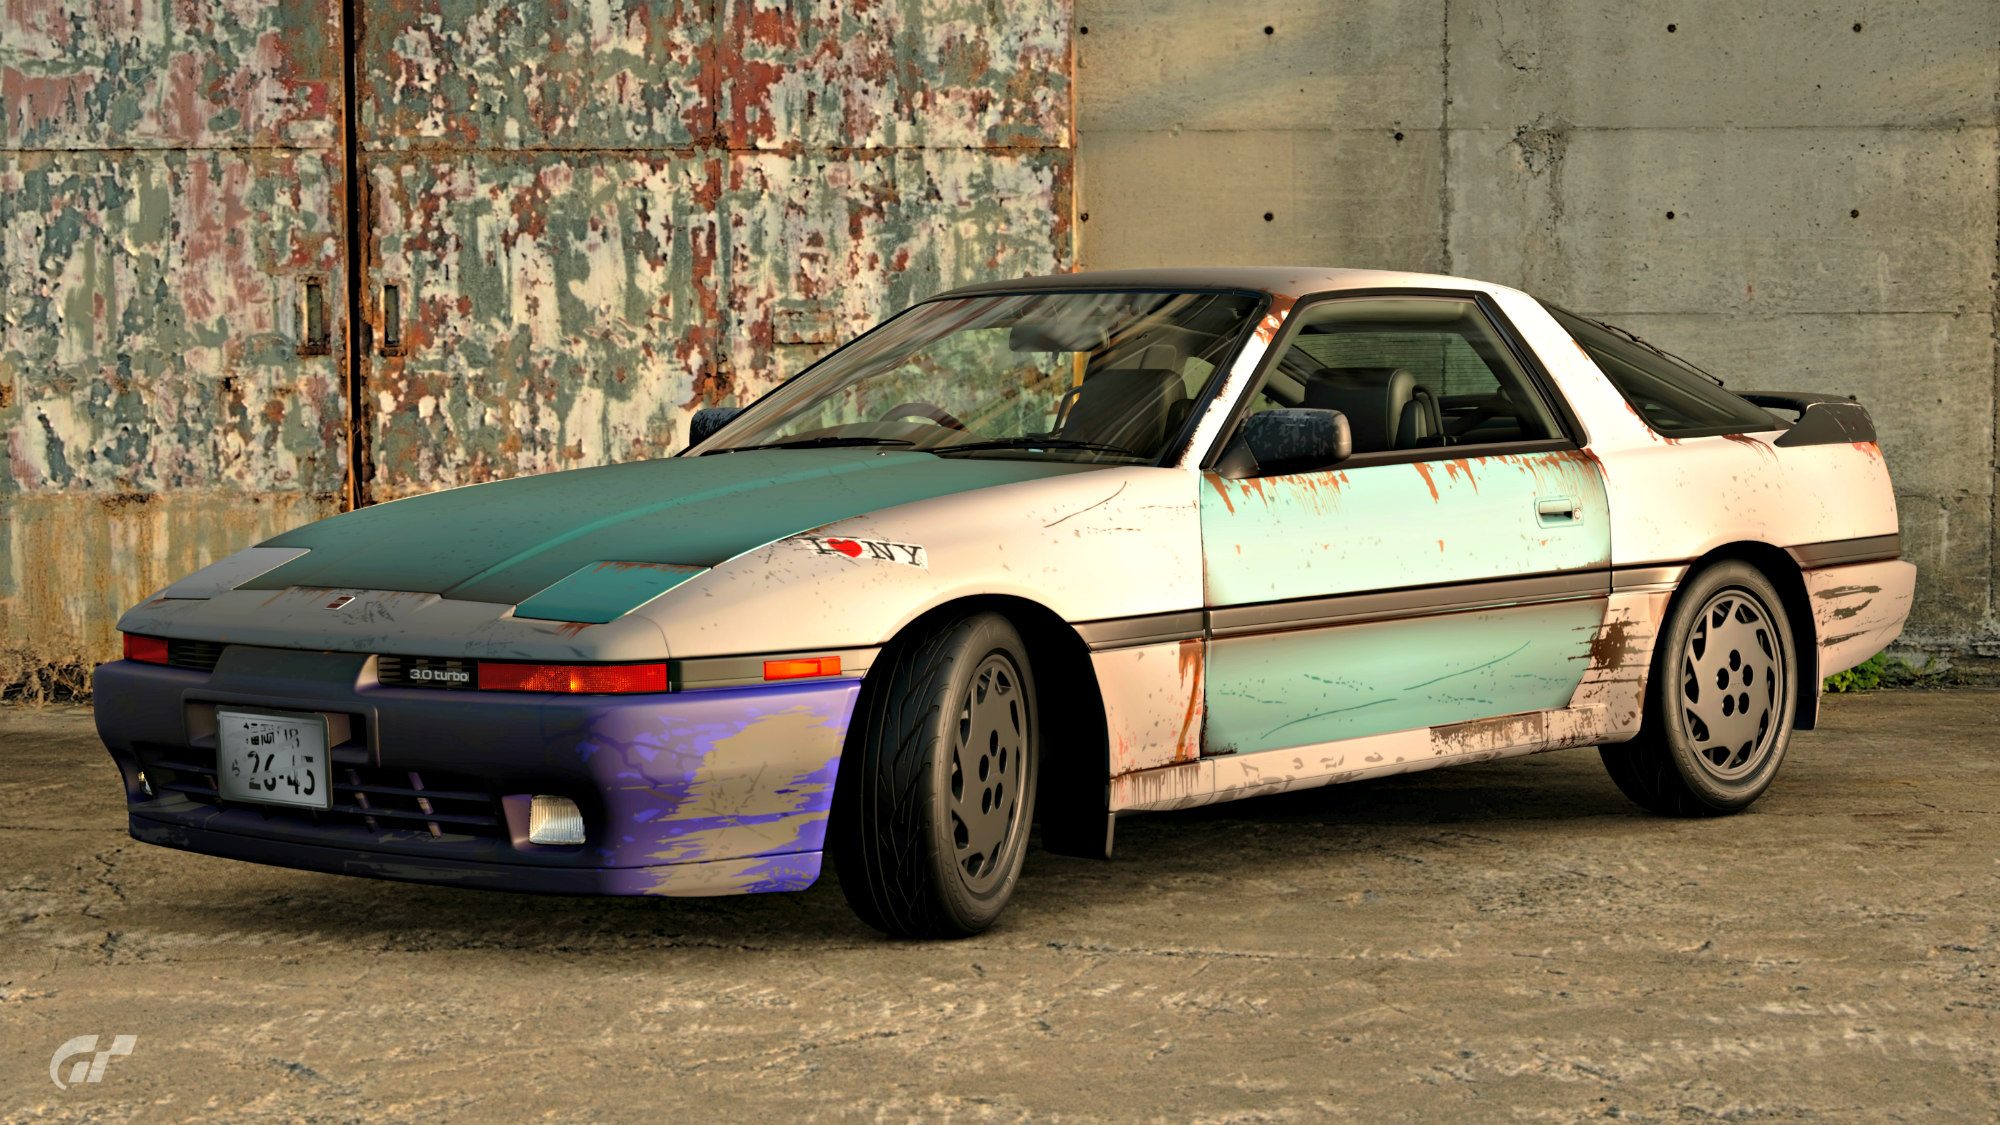
I love classic cars, there's something about seeing 40-year-old steel, the look, the sound, the smell.. But what if you saw a neglected one sitting in a garage full of junk? The car might be dusty, it might have some scratches, maybe some rust? There's no limit here. Make the car look old and forgotten.
CARS: N class cars before 1989 only
LIVERIES: Yes and no; if you want to do a classic race car, go for it. If you want a street car, go for it. As long as it looks forgotten.
USER MADE DECALS: Allowed
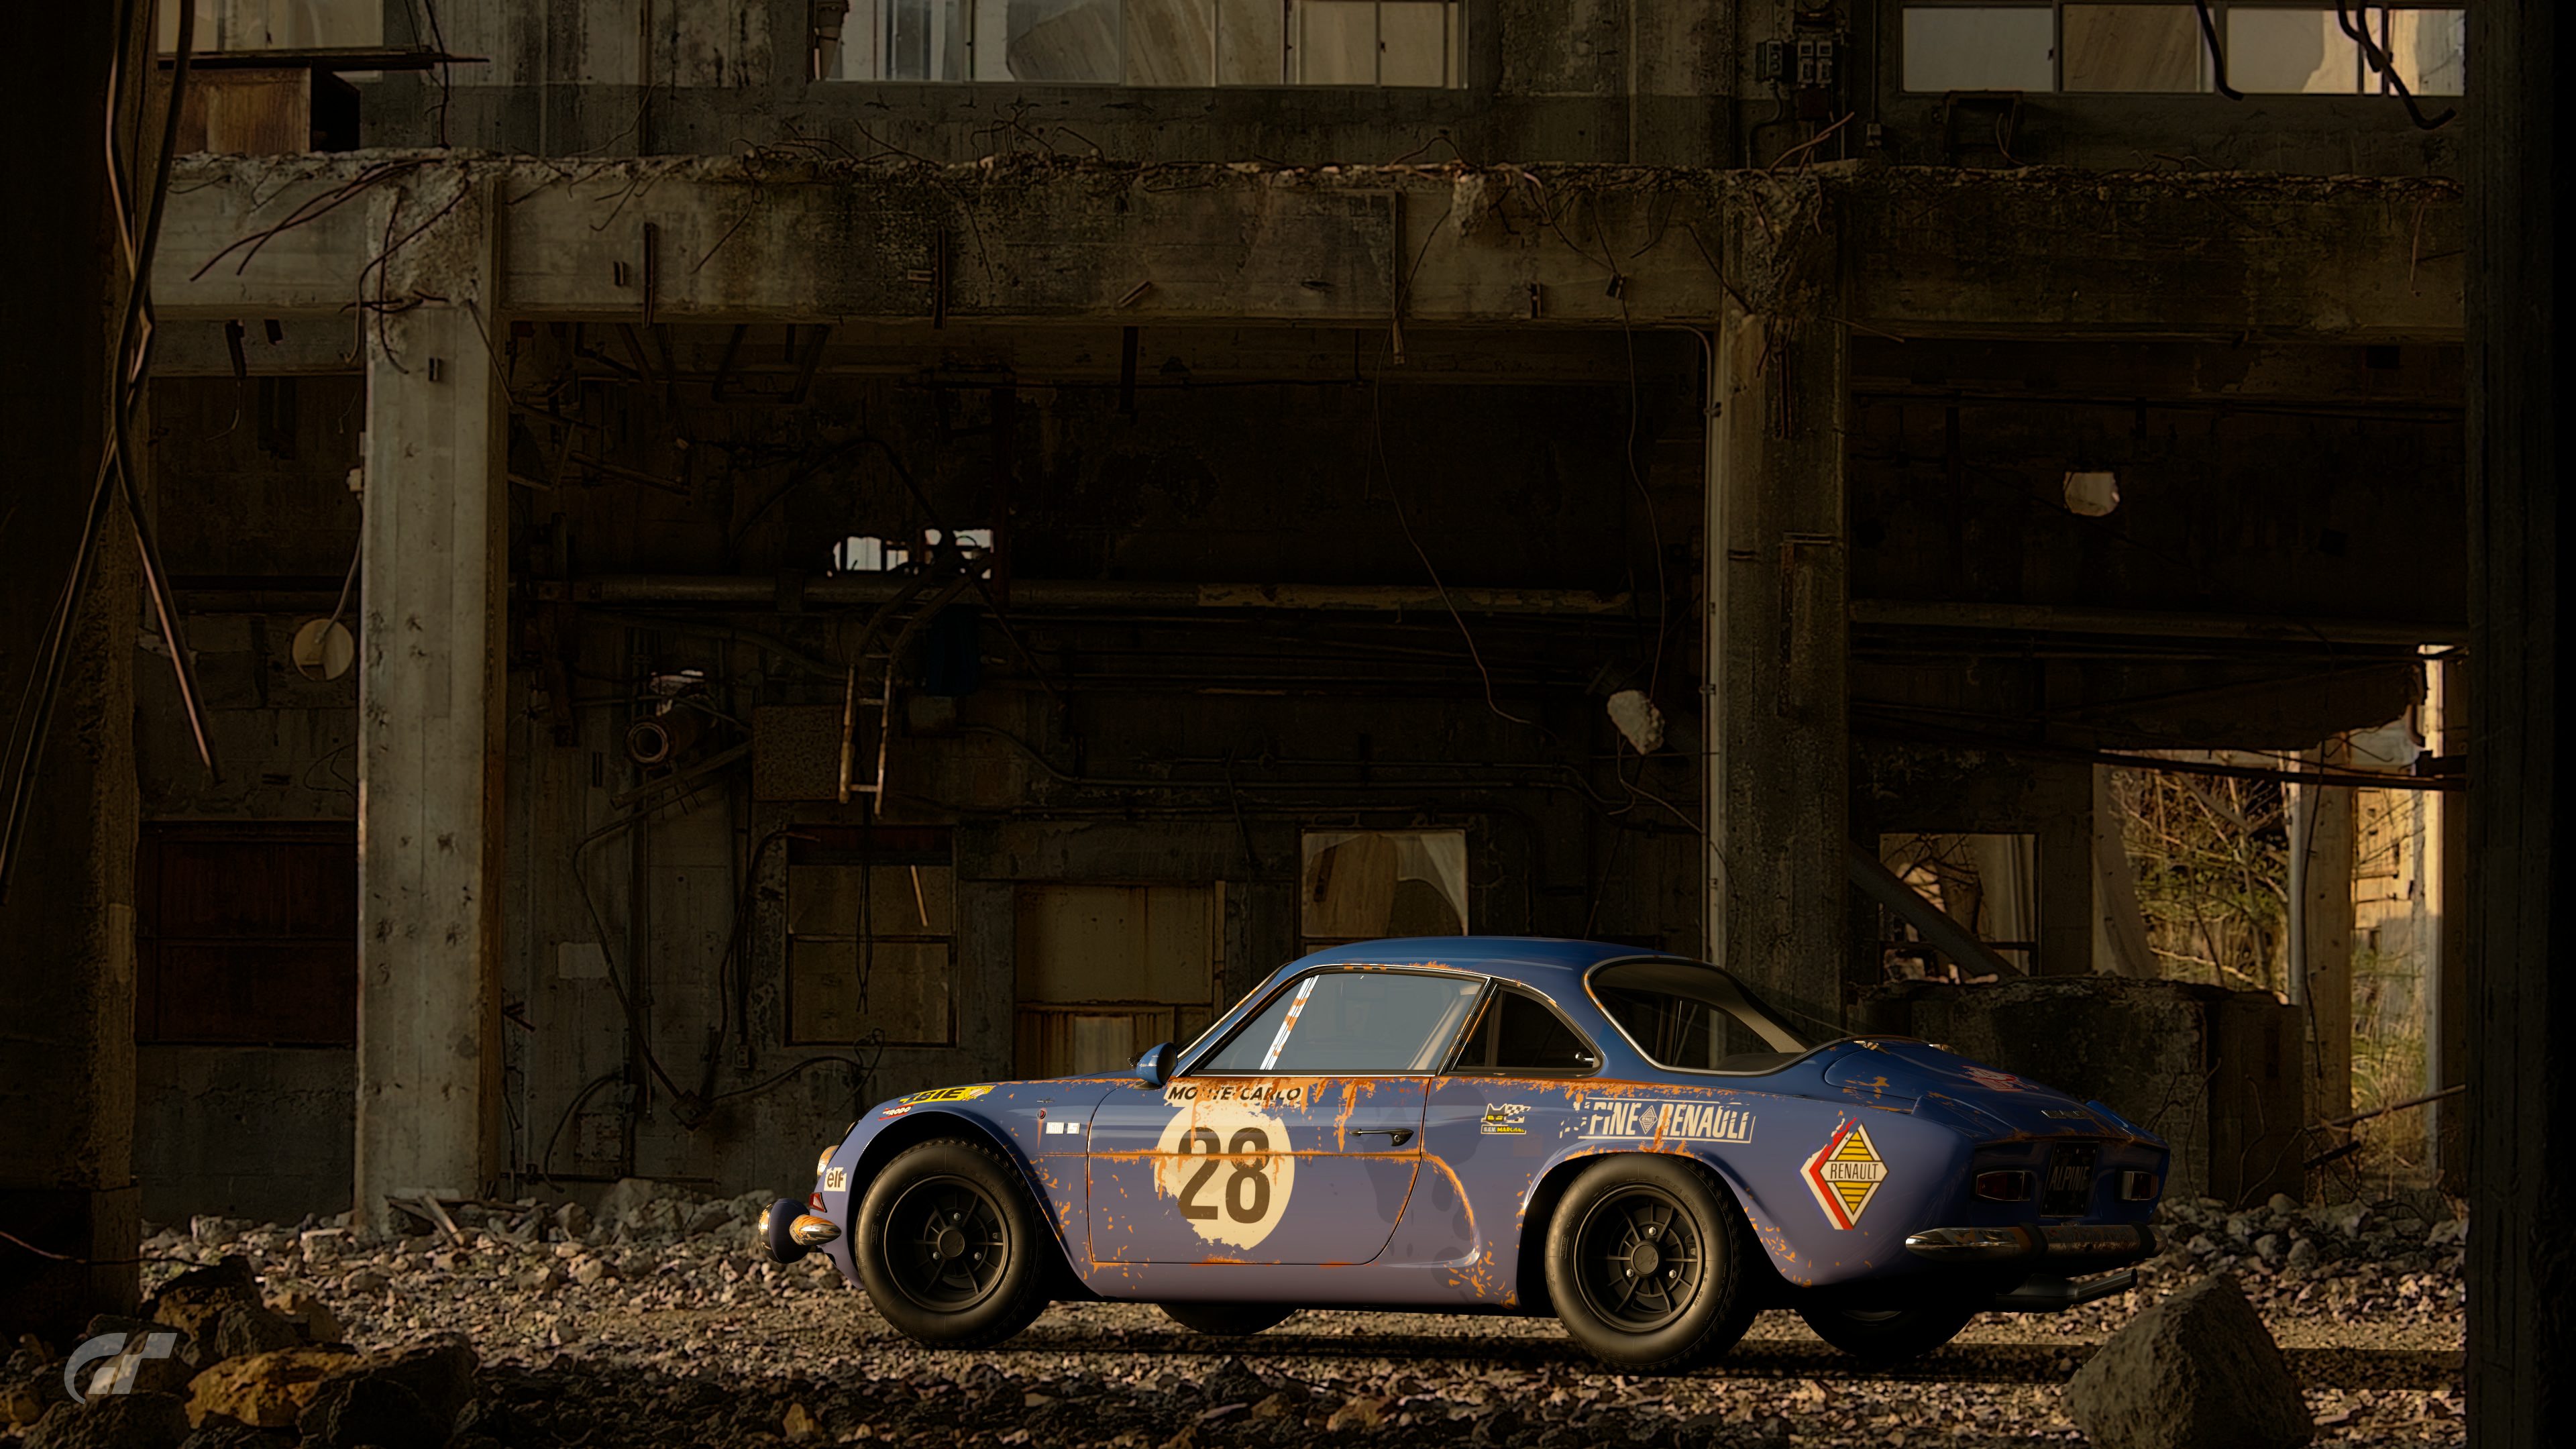
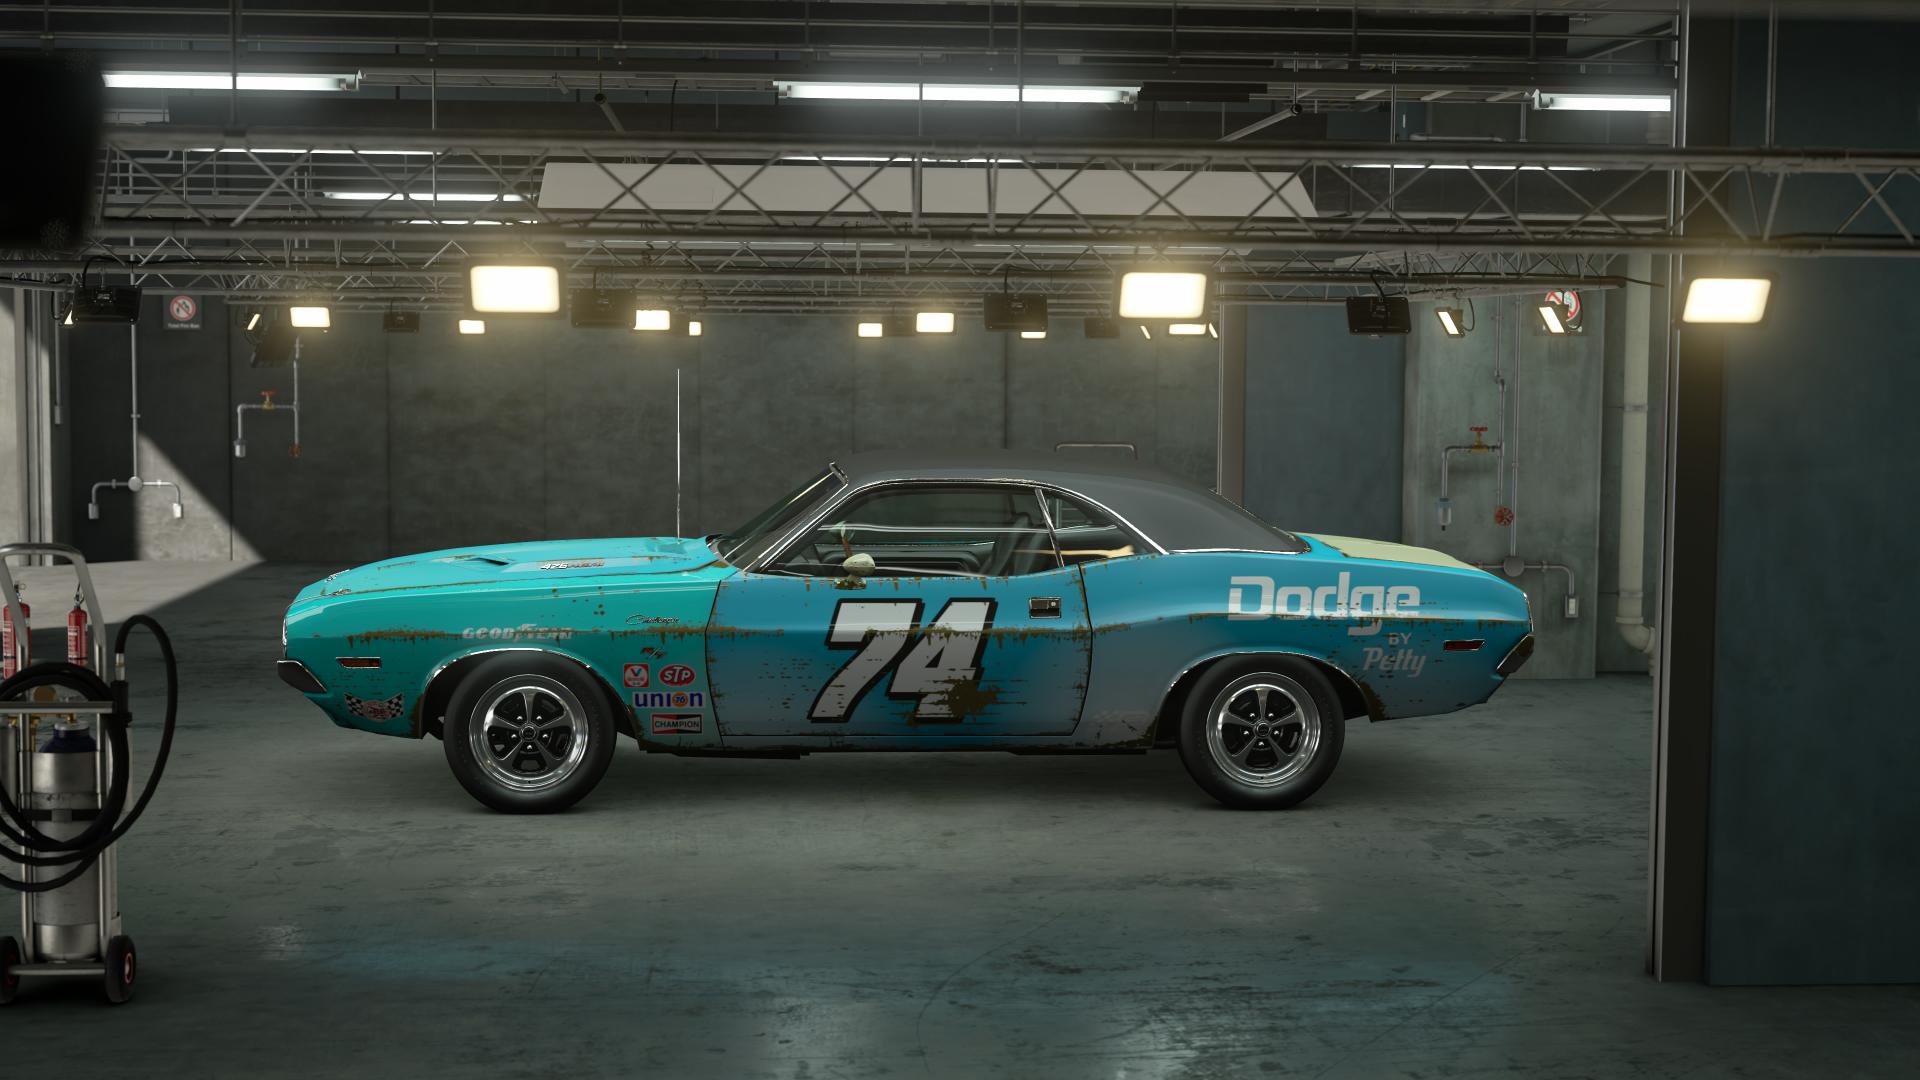
LOCATIONS: Shiretoko for the main pics, garage photo for the 1st bonus shot.
UNIQUE RESTRICTIONS: Make use of decals that look like dust, rust, dirt or other decals. You can use as little or much as you want, but it should look like it's been standing on the same spot for years.
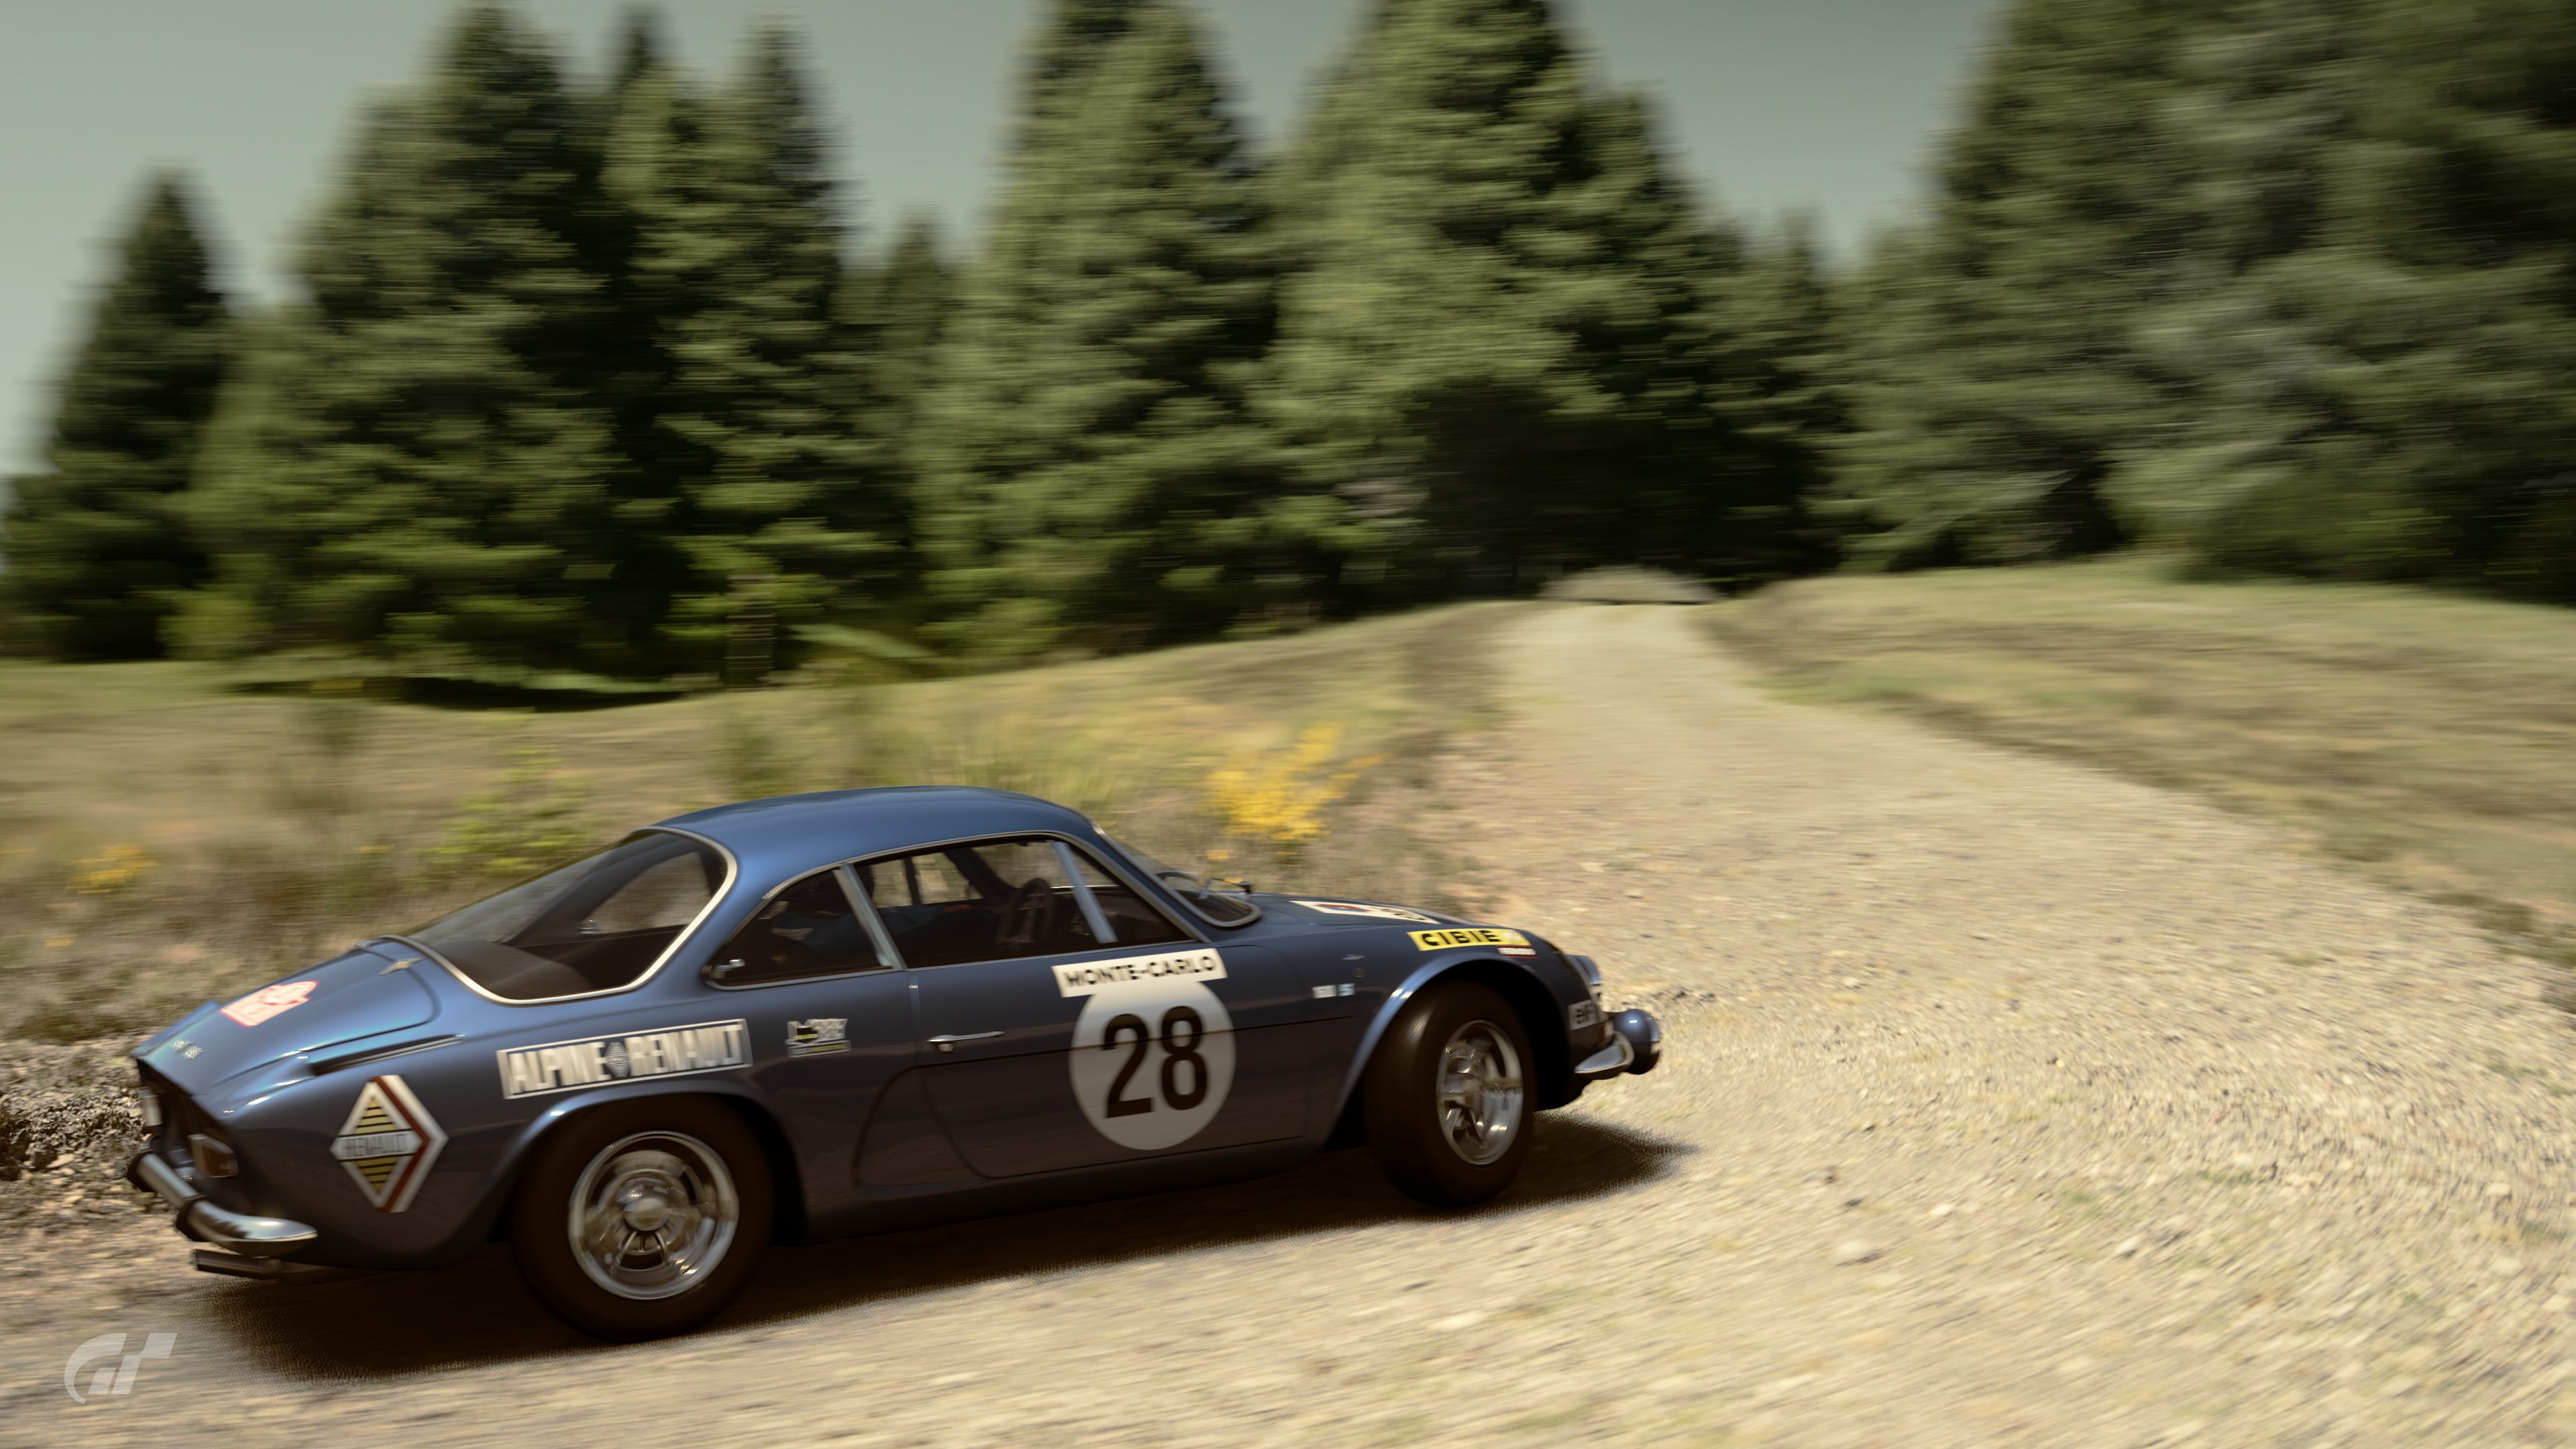
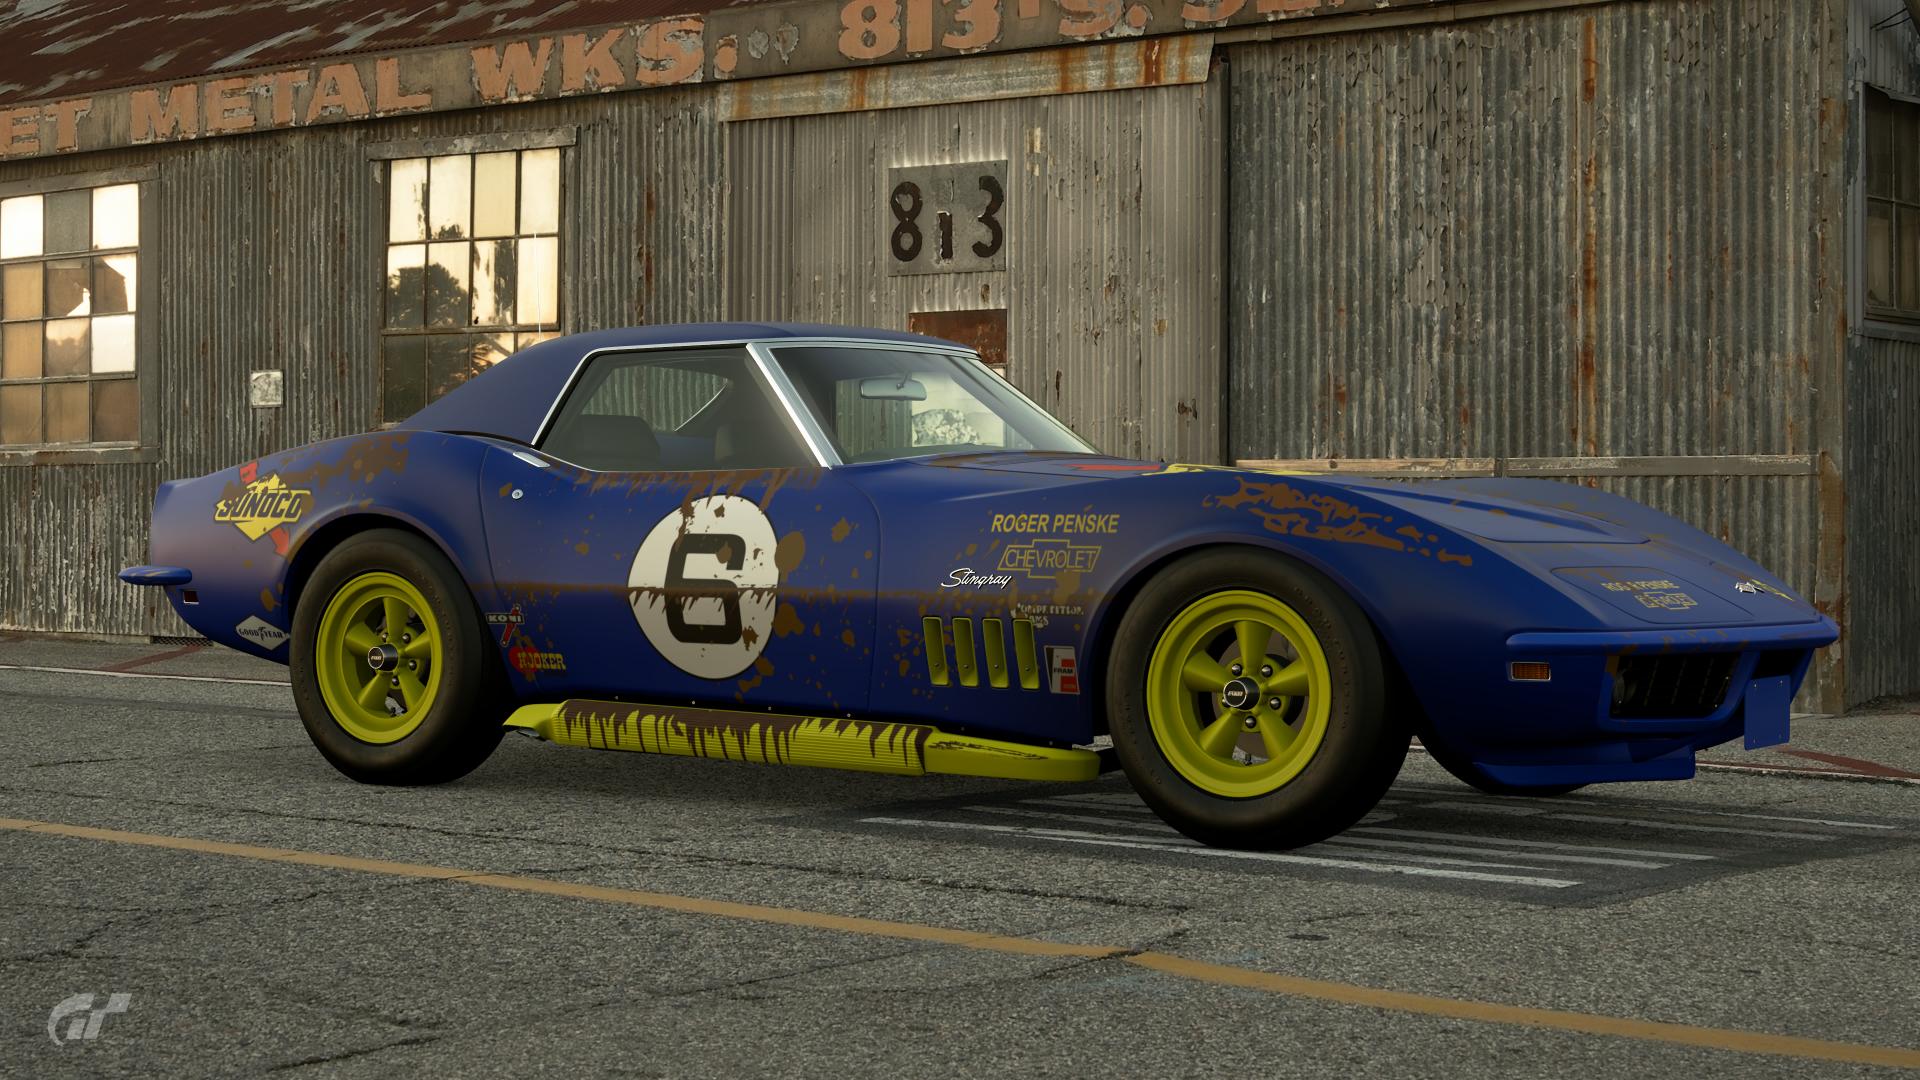
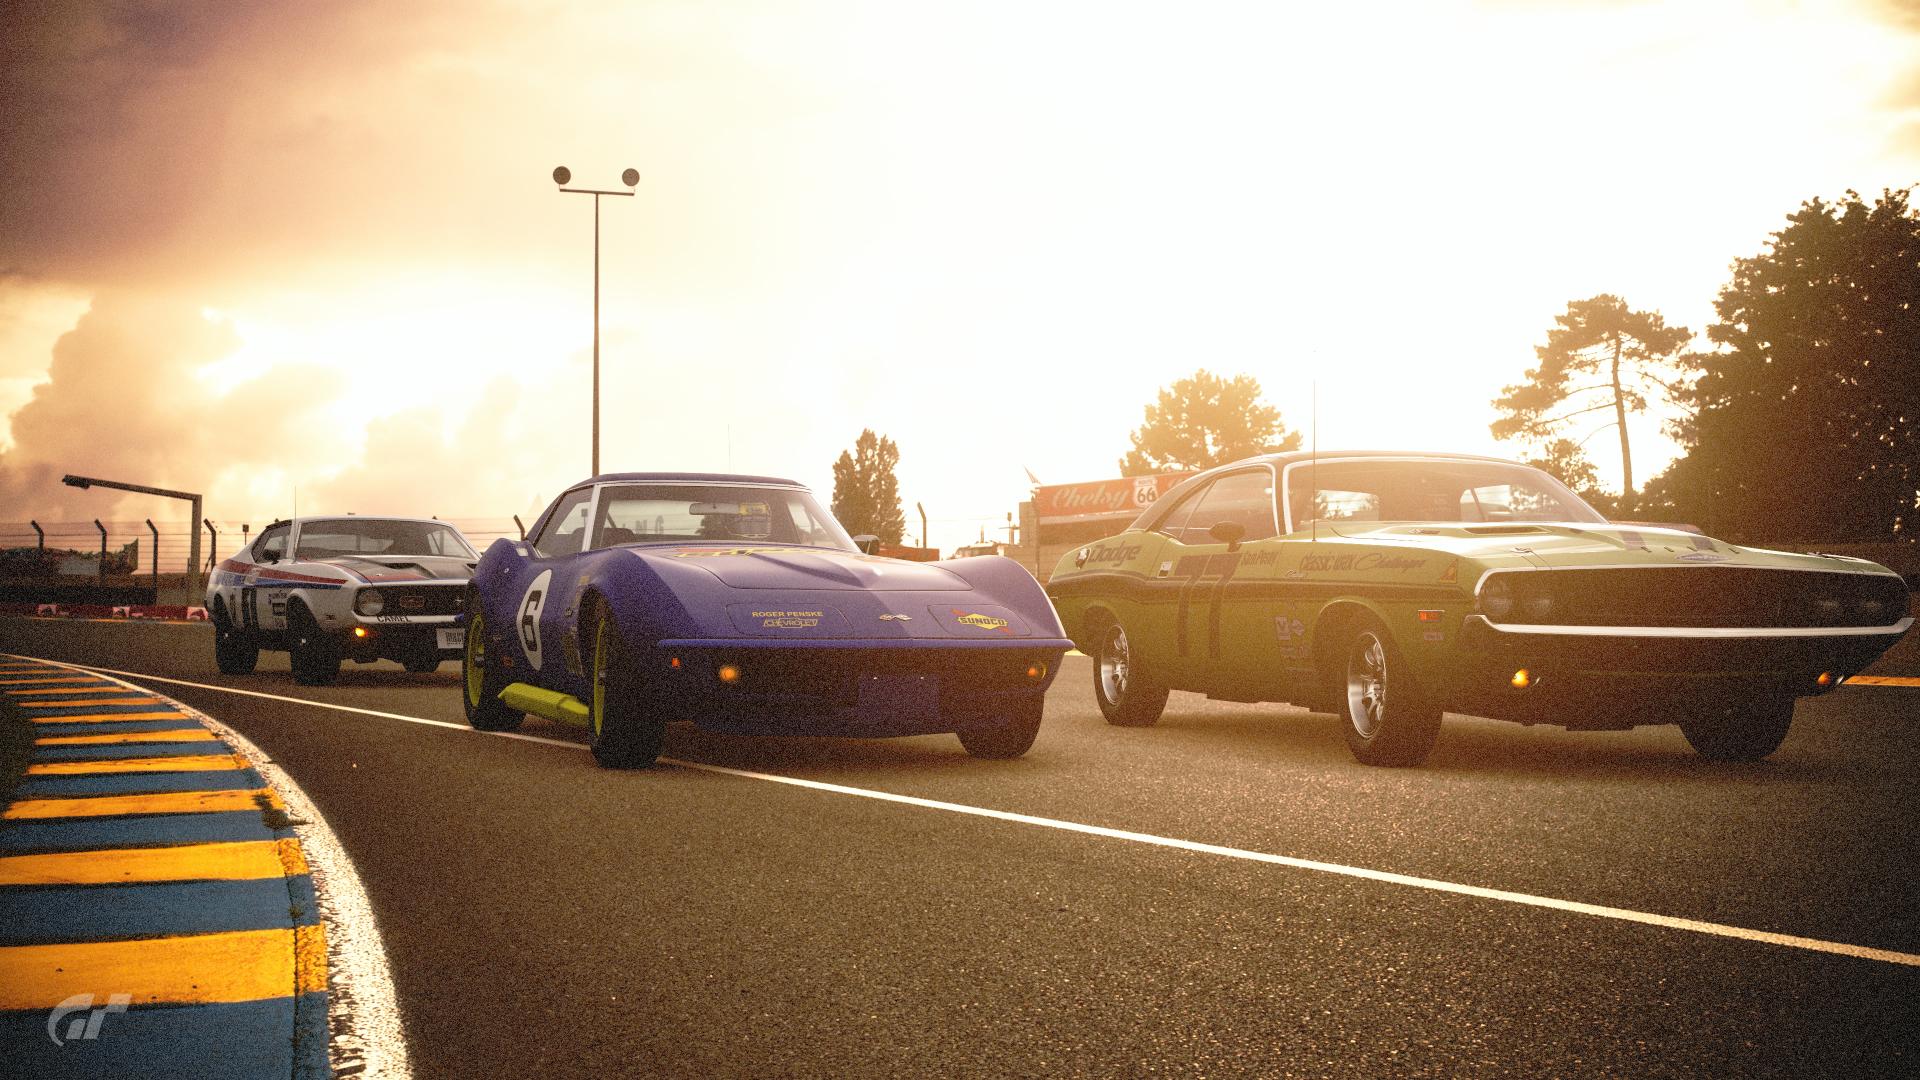
You can also take two bonus images. One garage shot (where the car sits now), and one old image (with an appropriate "old" filter) showing it's last known location, with less dirt and wear on it than the livery you must enter.
1) Choose the Shiretoko scape (found by searching all locations and refining by 'Japan'and 'Snow'):
View attachment 729370
2) Apply the following settings:
Camera
Camera Settings
Aperture: F 2.8
Shutter Speed: 1/60 (as it's not a panning shot I don't know that this is important)
Focus: Single AF
Environment Settings
Aspect: 16:9
Orientation: Landscape
Resolution: High
Effects
White Balance
Temperature: 9800 K
Colour Cast Correction: -0.060
Exposure correction: EV +2.0
Special Effects
Chromatic Aberration: 5
Screen Effect 1
Mask: Background
Filter: None
Individual Colour Tone Correction:
Saturation: 0
Brightness: 50
Contrast: 250
Highlight: 100
Midpoint Correction: 100
Blackpoint Correction: -5
Car Effects
Filter: None
Individual Colour Tone Correction:
Saturation: 150
Brightness: 75
Contrast: 120
Highlight: 500
Midpoint Correction: 500
Blackpoint Correction: 0
3) Place your car in the middle of the scape at a suitable angle:
View attachment 729371
4) Zoom in to 102mm (certain cars may require more or less to fit in the viewfinder) and move the camera until you're happy that the car is centred in the shot:
View attachment 729372
5) Move the focus to the nearest corner of the car (I normally centre on the headlamp closest to the centre of the image) and take your shot.
6) For a shot of the rear, go back to the Car tab and hit R2, switch to Camera and refocus (again I use the tail lamp nearest the centre) and take the shot. If the car has moved off-centre then move the viewfinder and adjust the zoom as you see fit.
For new cars/liveries simply find the scape in your library and reopen and change the car, then rinse and repeat as above.
Images, entry format and tutorial made by @BLiTZ
Competition Rules
Please, ensure you read and understand all requirements for this poll. Failure to follow the rules may result in disqualification. If you have questions, start a convo with me.
- The only way you can take part is to be a member of the GTPlanet forums. If you haven't created your account yet, click here.
- Do not vote for your own entry.
- You have one vote to spend - use it wisely!
- Do not try to sway the poll.
- Please, view each image in its full size before voting.
- In the event of a tie, a 24H tiebreaker poll will be posted. All contestants in the tiebreaker are asked to vote; if one person doesn't, all other contestants votes won't count.
Poll Option #1


Poll Option #2


Poll Option #3
Poll Option #4
Poll Option #5


Poll Option #6


Poll Option #7
Poll Option #8
Poll Option #9
Poll Option #10
Poll Option #11
View media item 42111View media item 42109
Poll Option #12
Poll Option #13


Poll Option #14


Poll Option #15


Deadline
Poll Option #8
Poll Option #9
Poll Option #10

Poll Option #11
View media item 42111View media item 42109
Poll Option #12
Poll Option #13
Poll Option #14
Poll Option #15
July 23, 2018 (14:30, CEST/GMT+2)
Last edited:
")


") What can I say: When something is perfect you won’t see the work behind. Well done, brilliant job. My personal number 1.
What can I say: When something is perfect you won’t see the work behind. Well done, brilliant job. My personal number 1.
 looking forward for next theme!