- 587

- Italy
- alex_y_diegooo
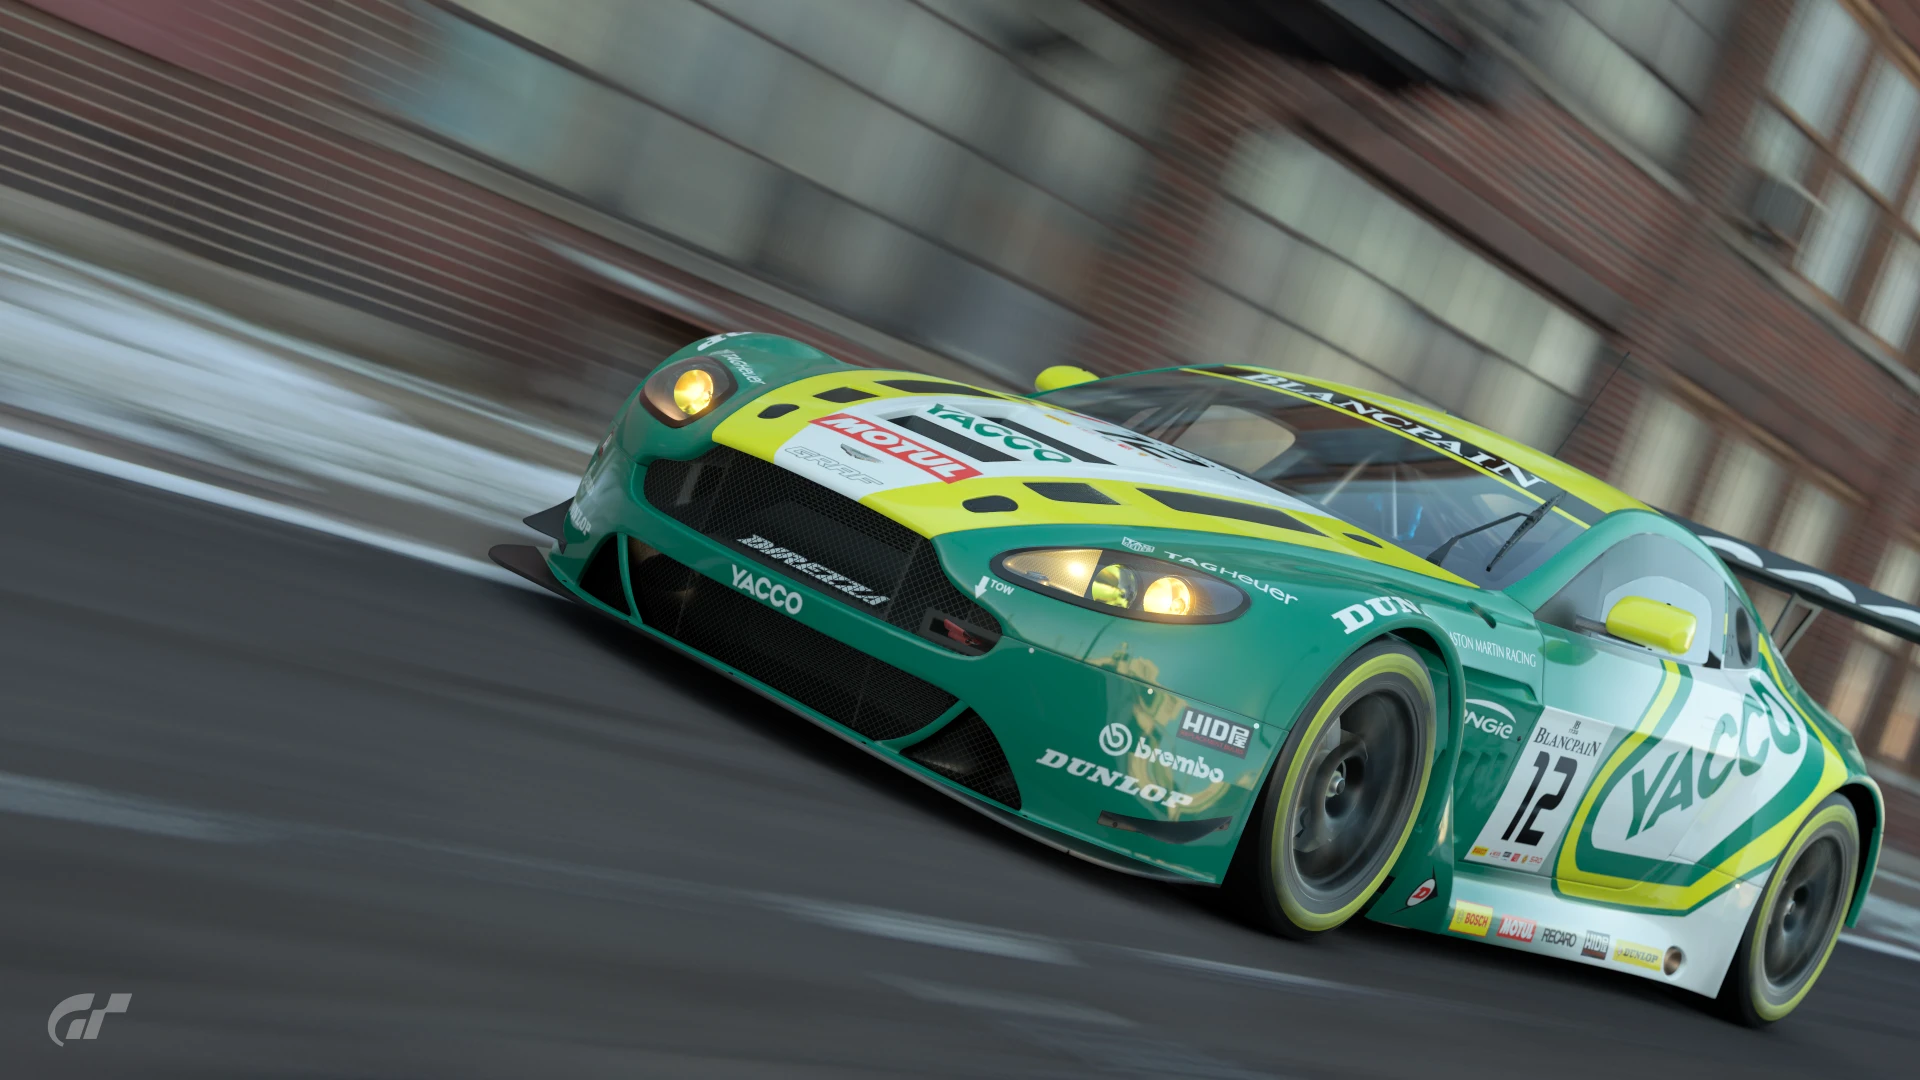
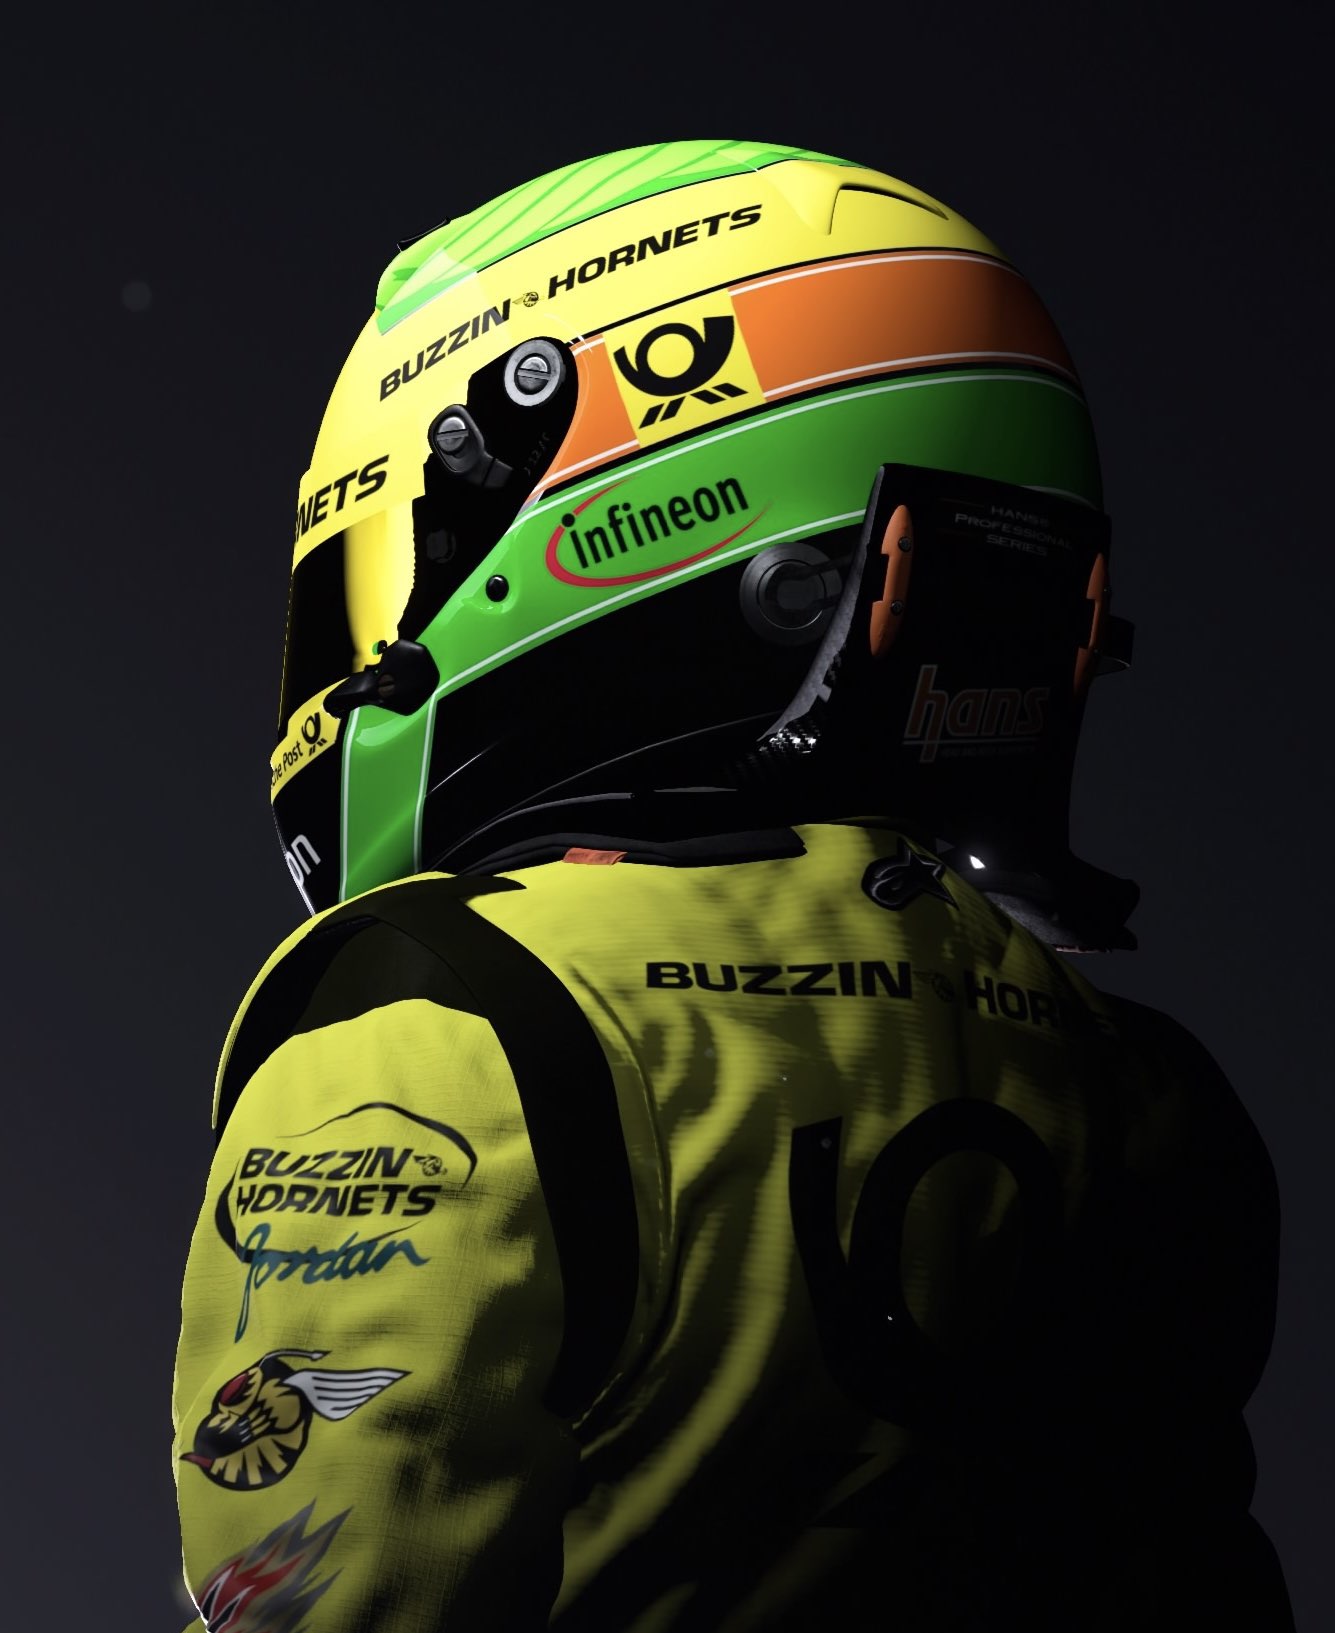
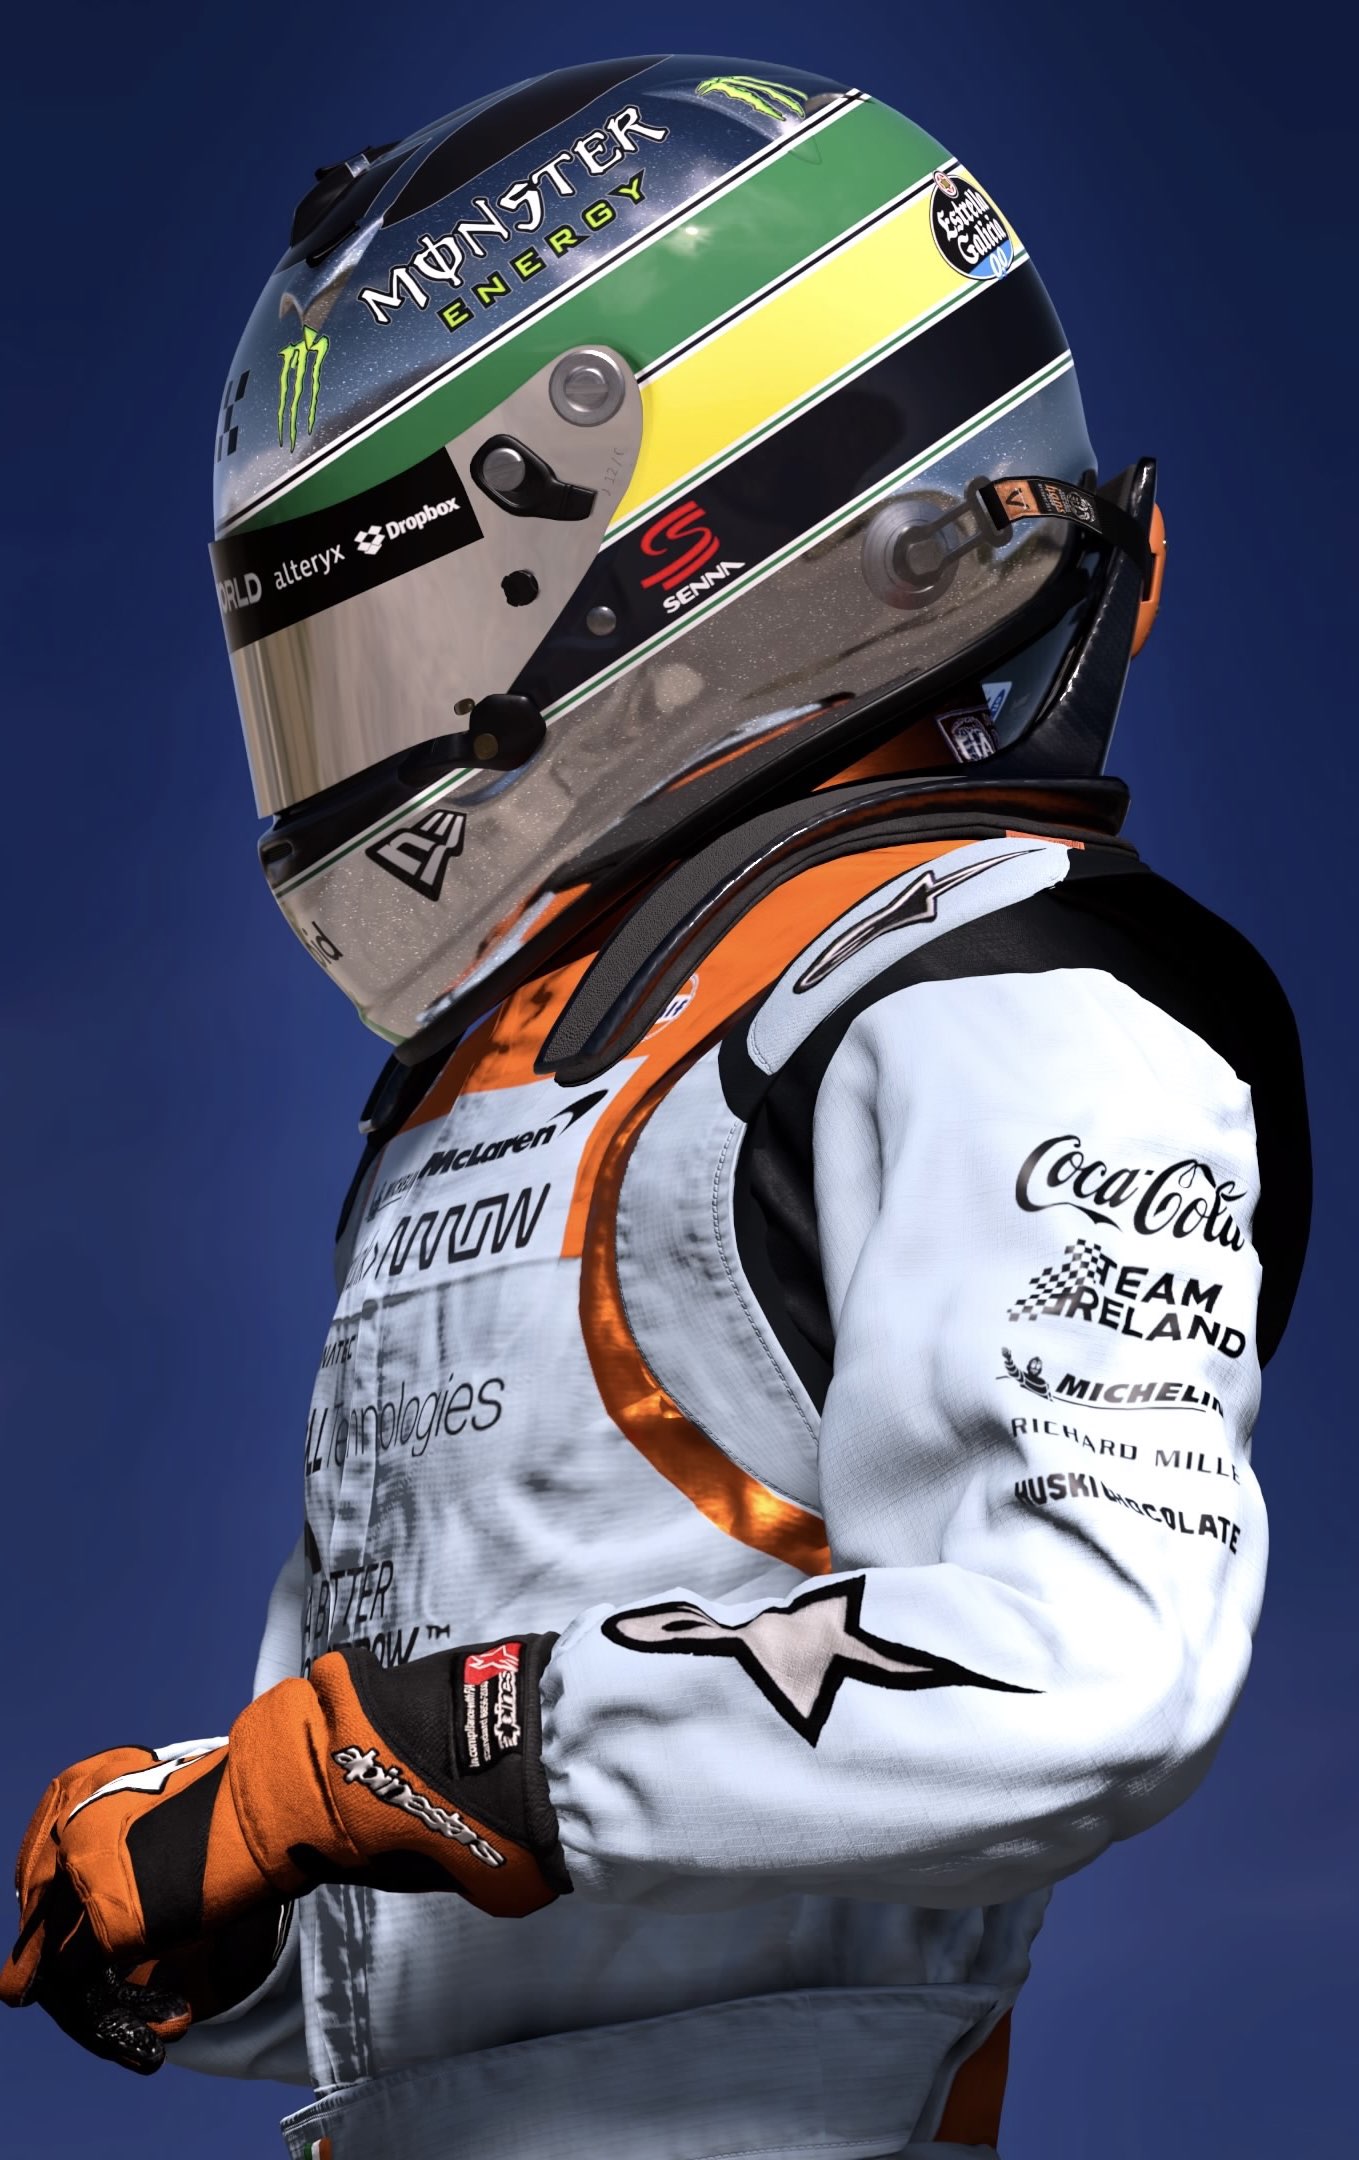
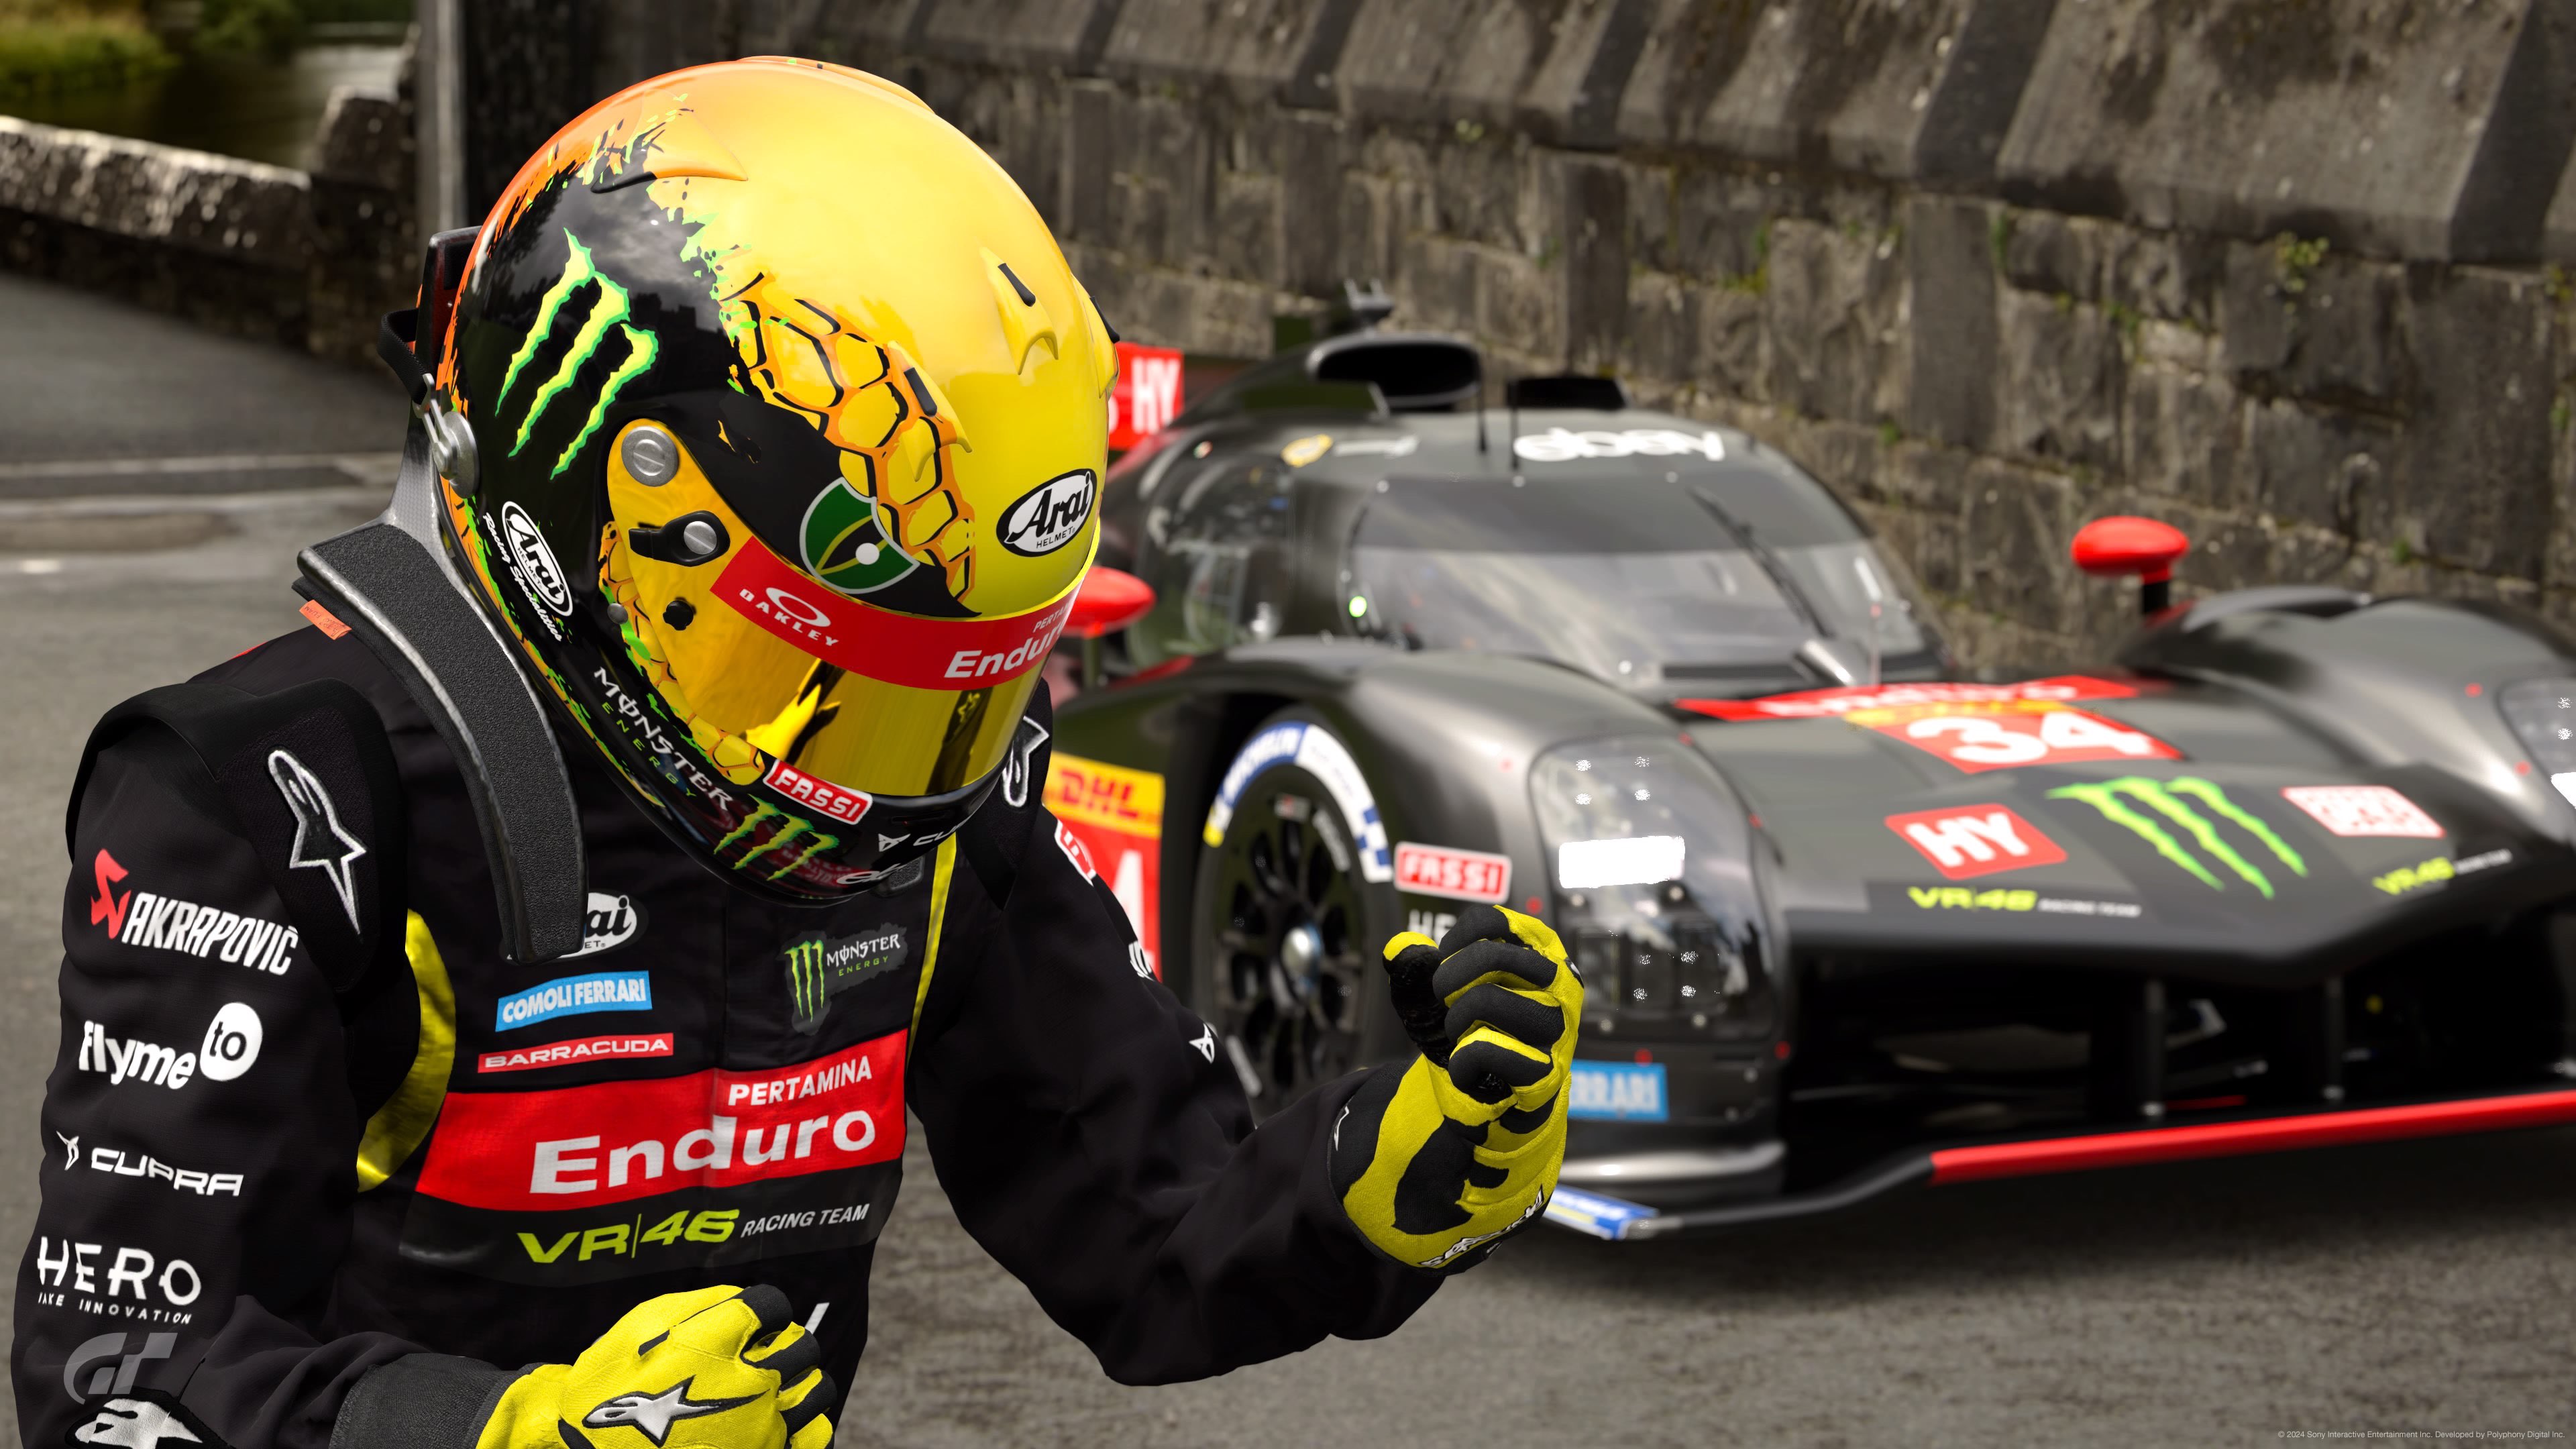
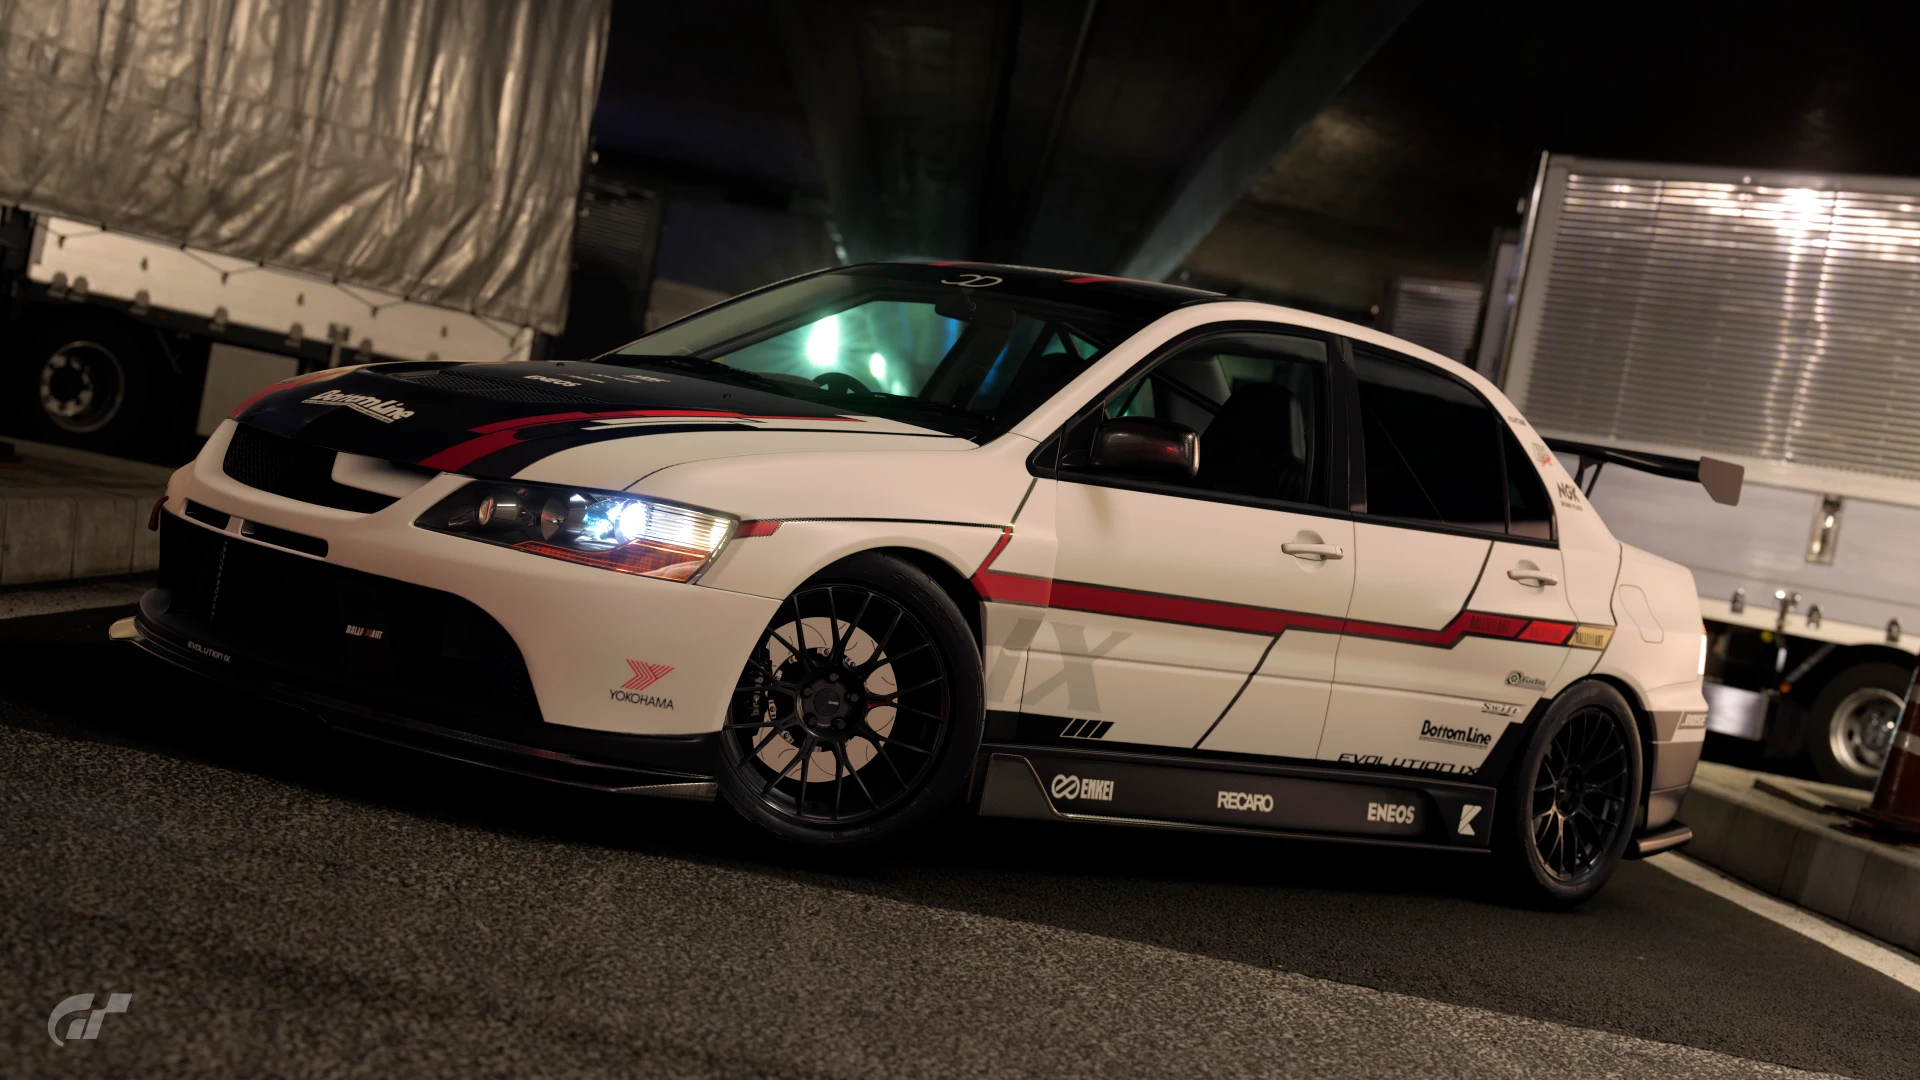
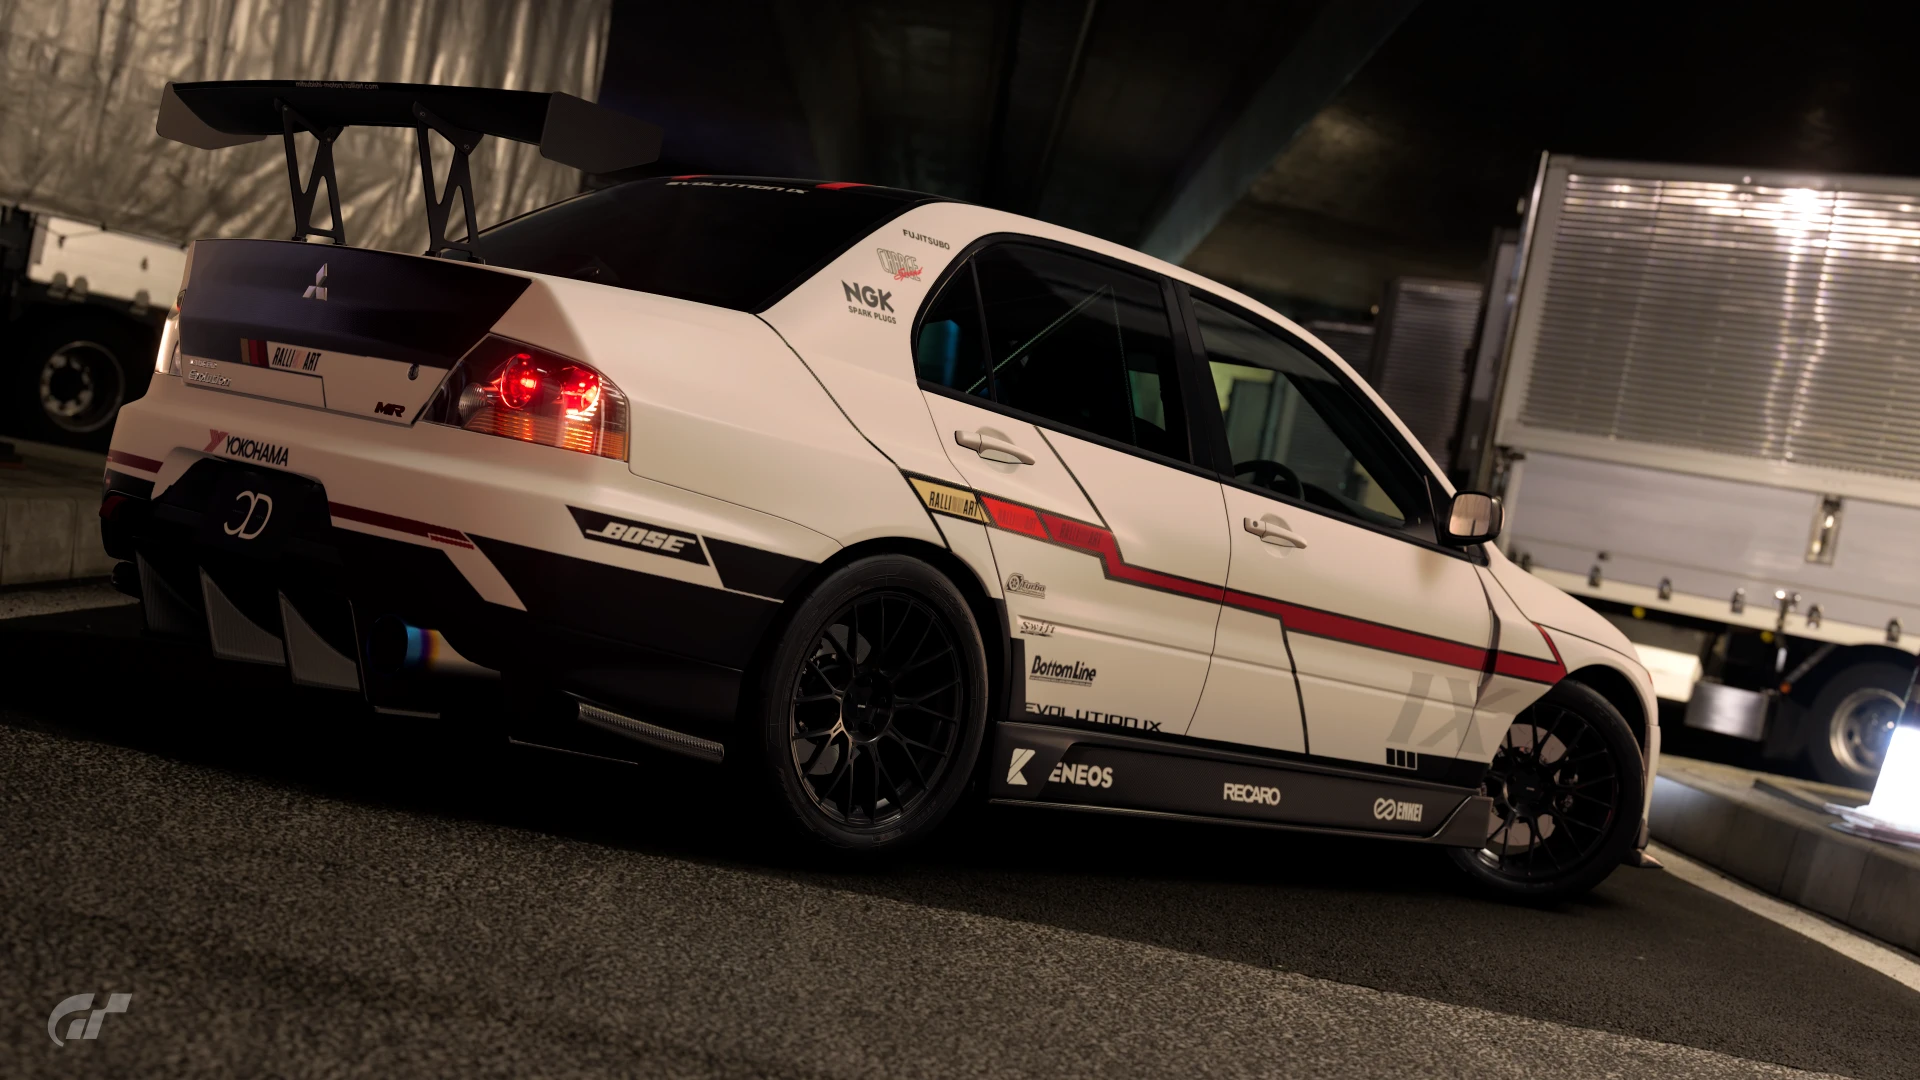
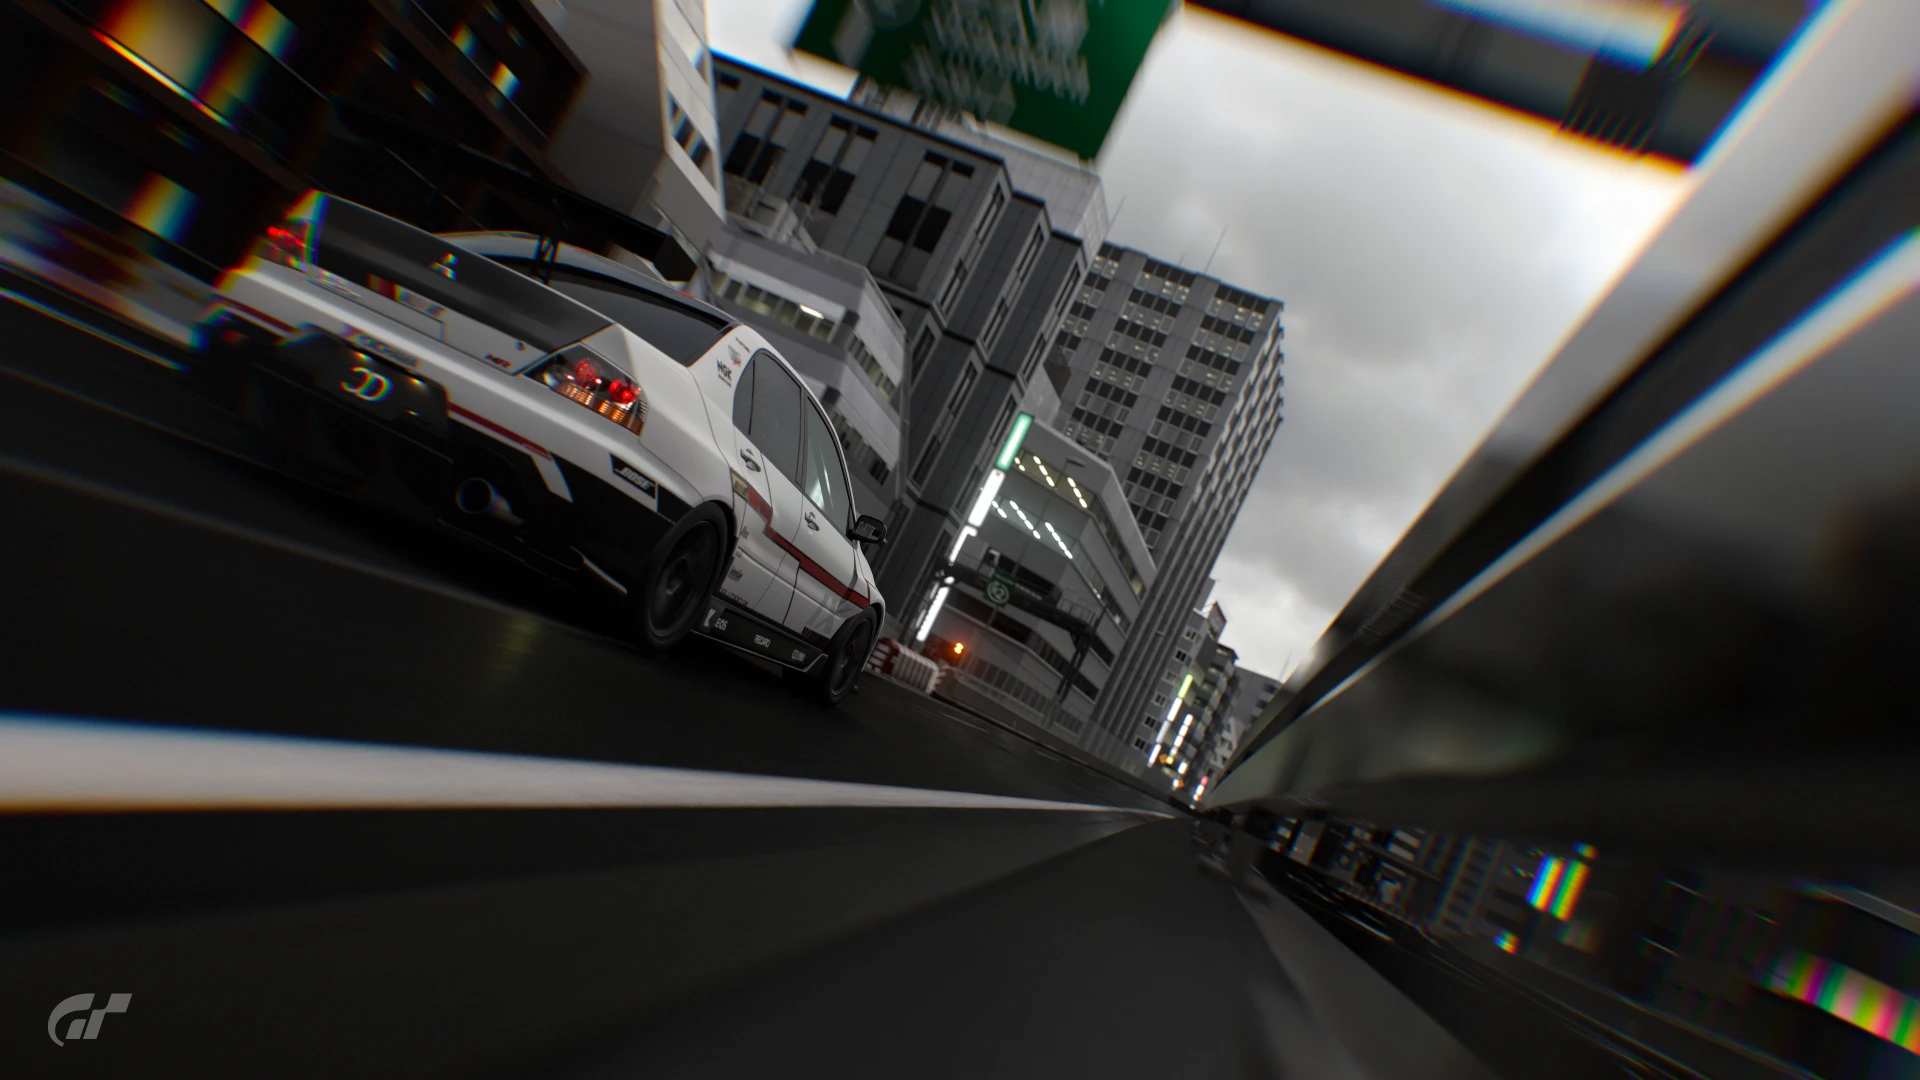
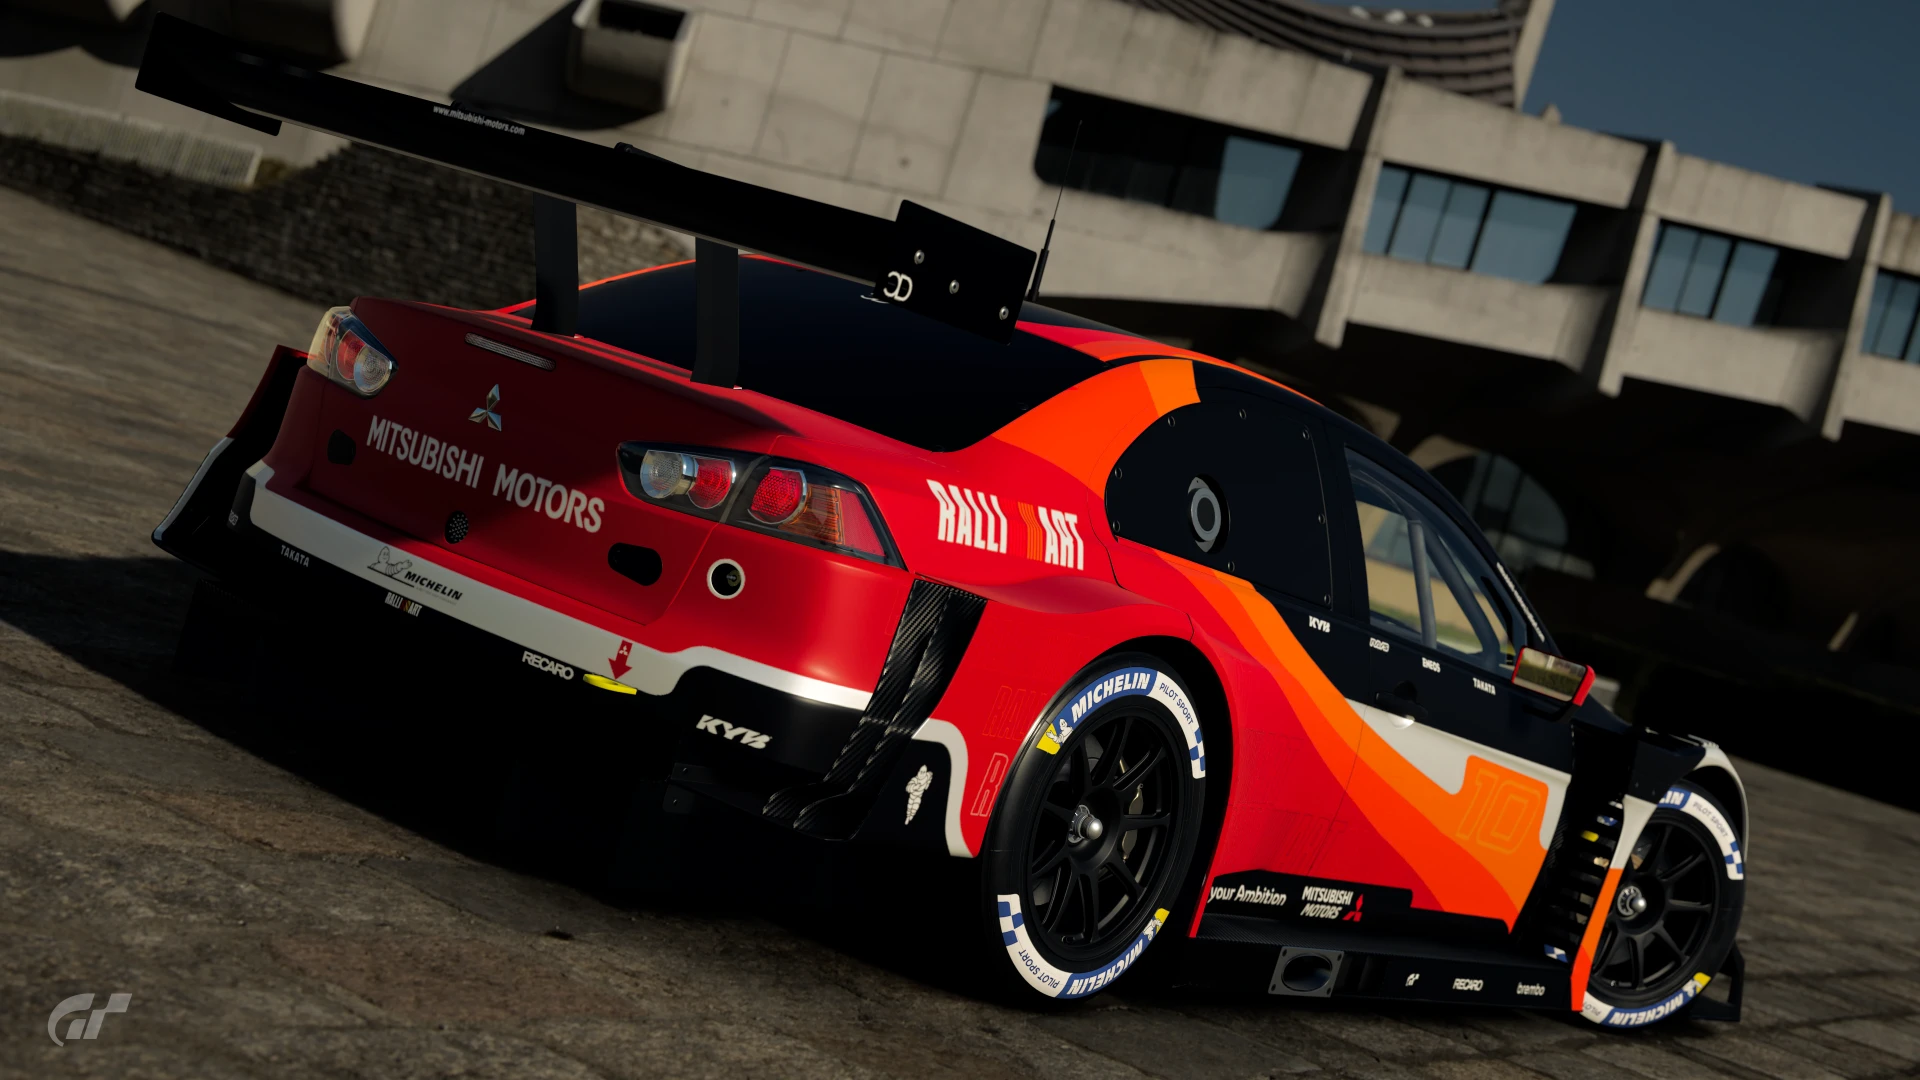
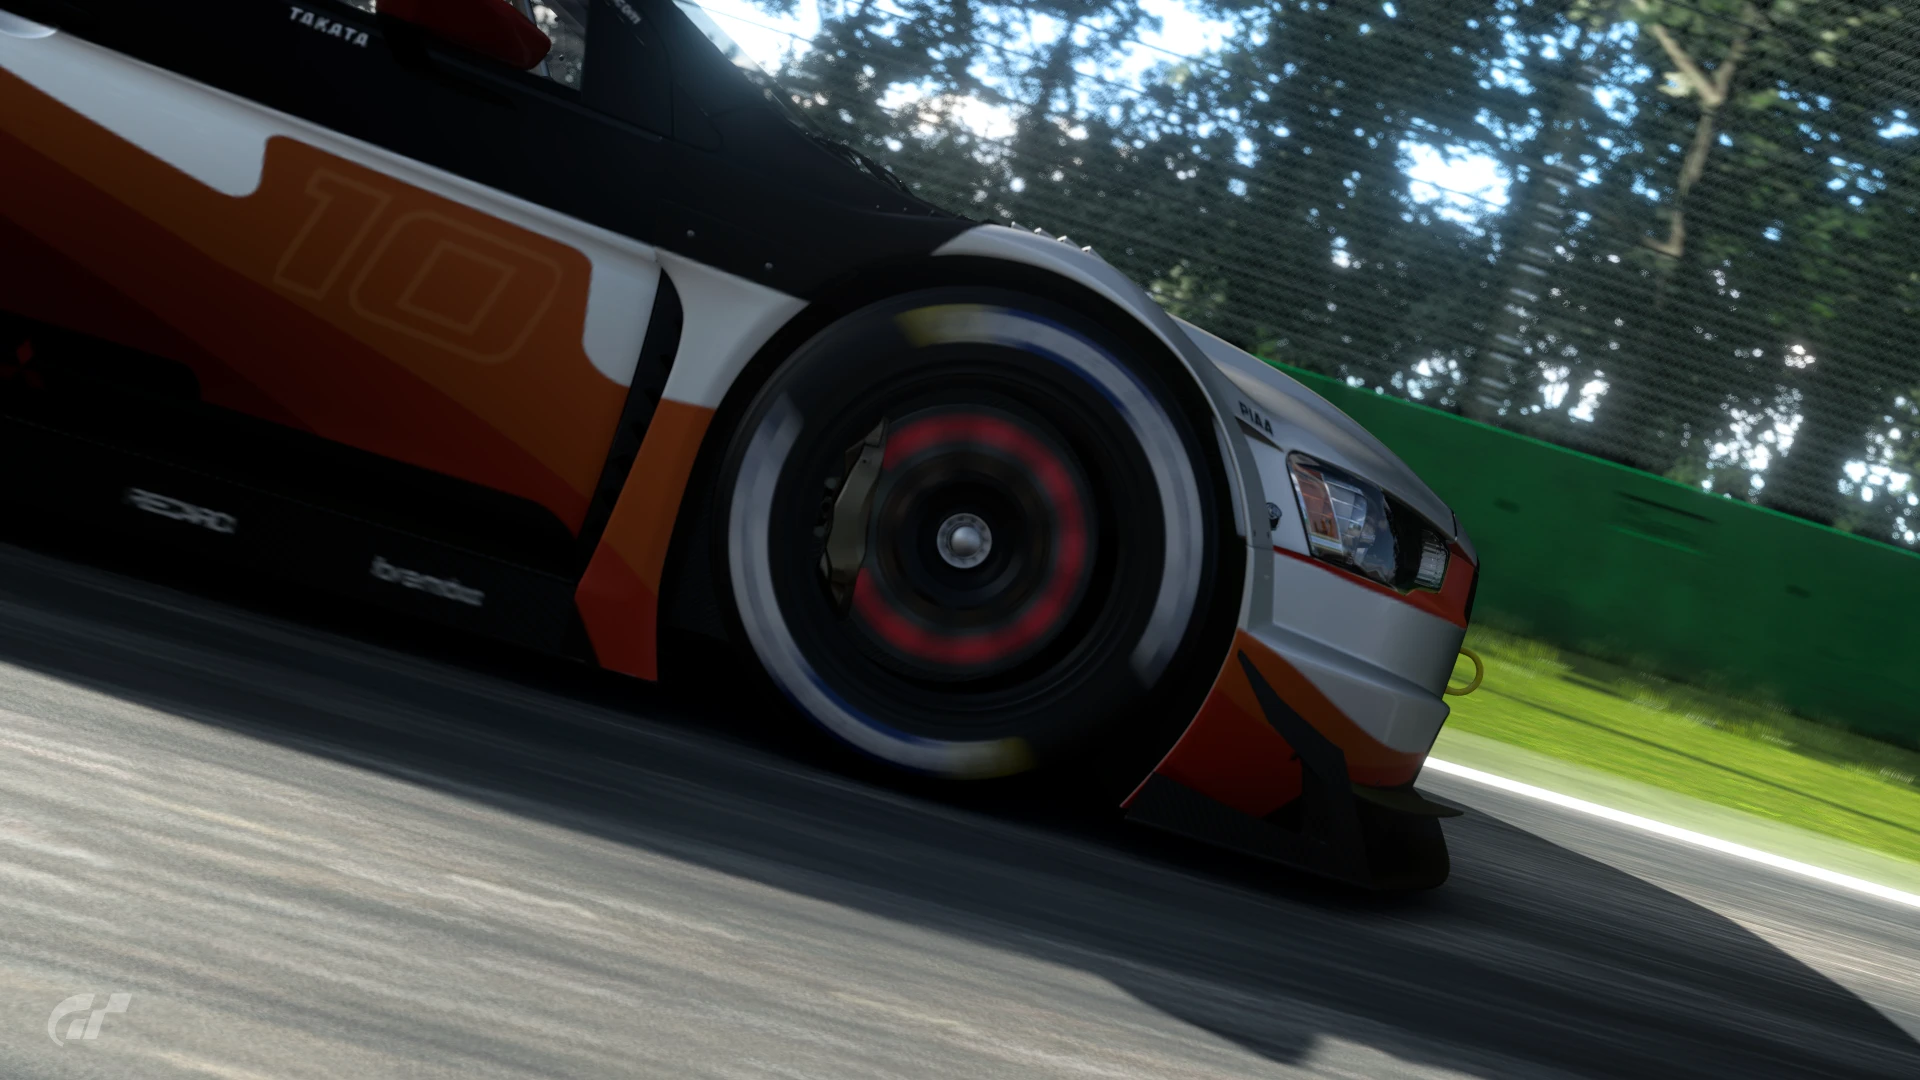
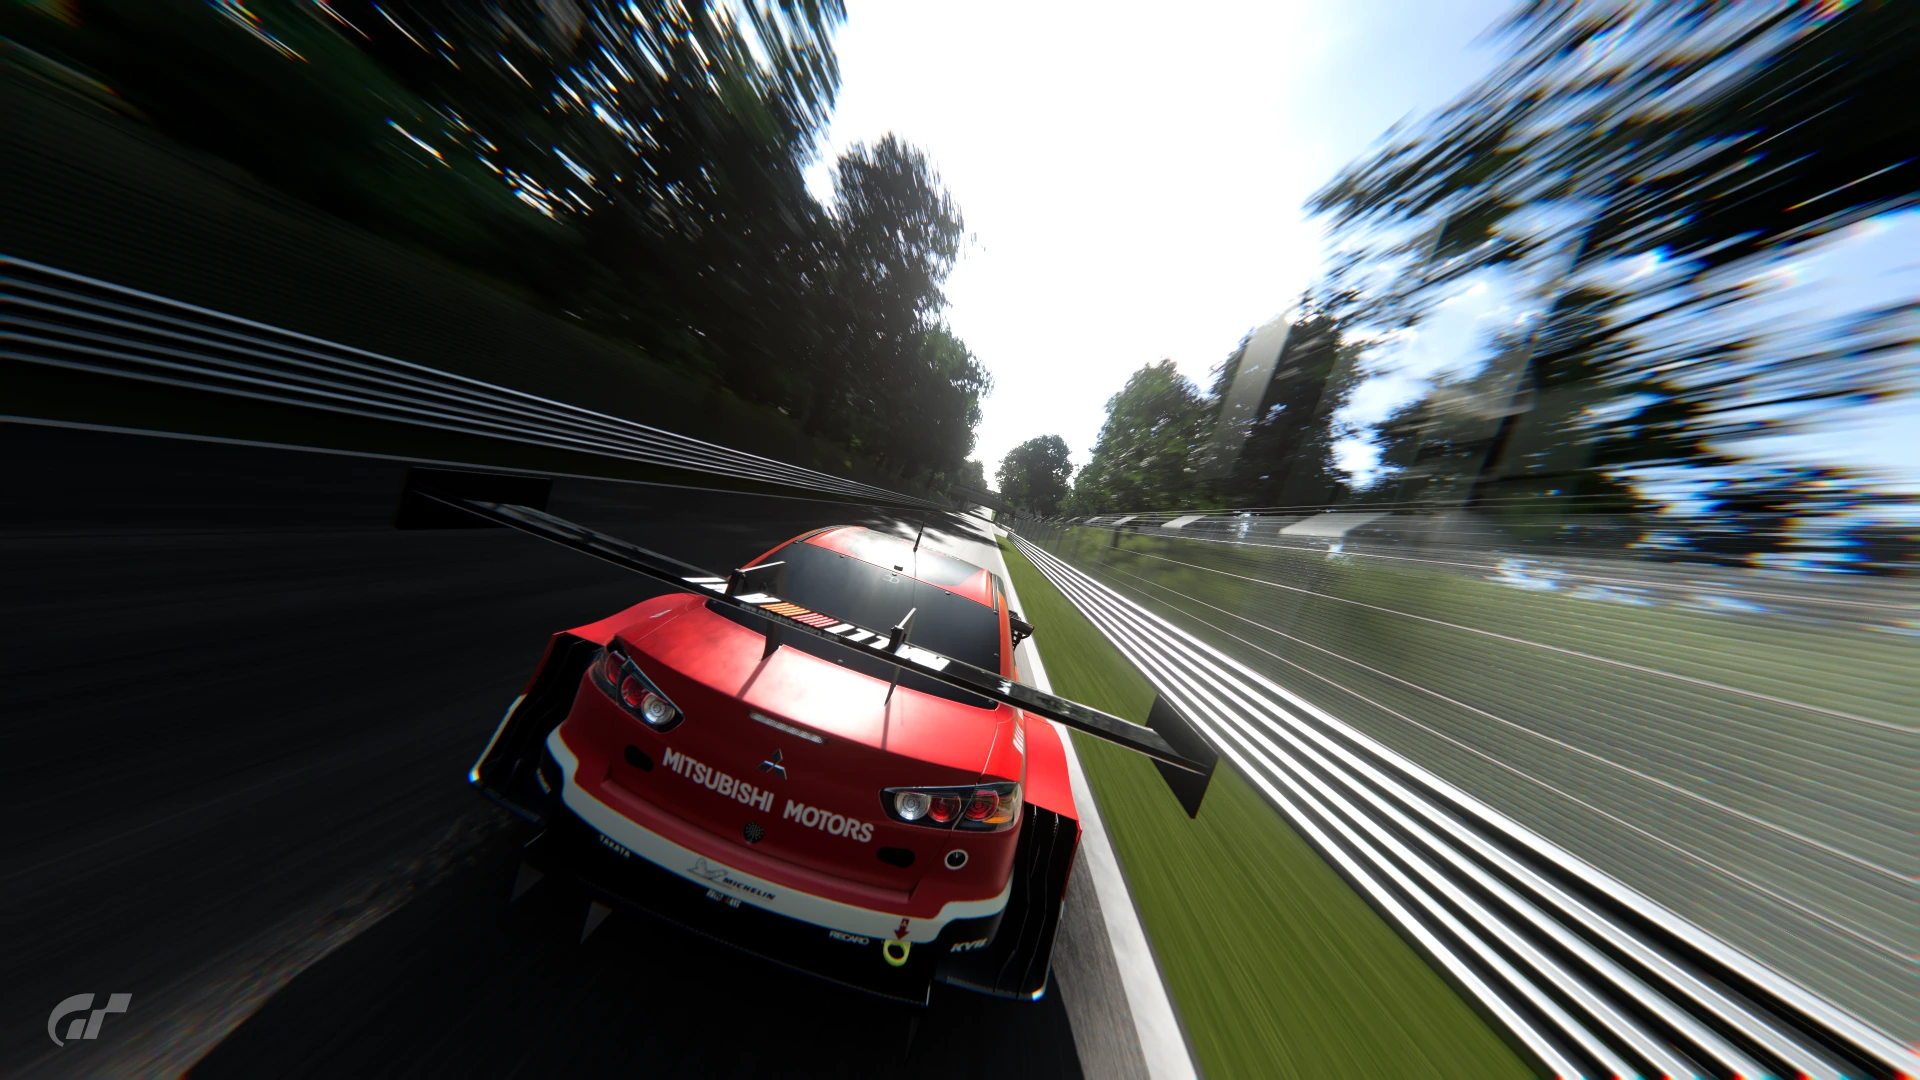
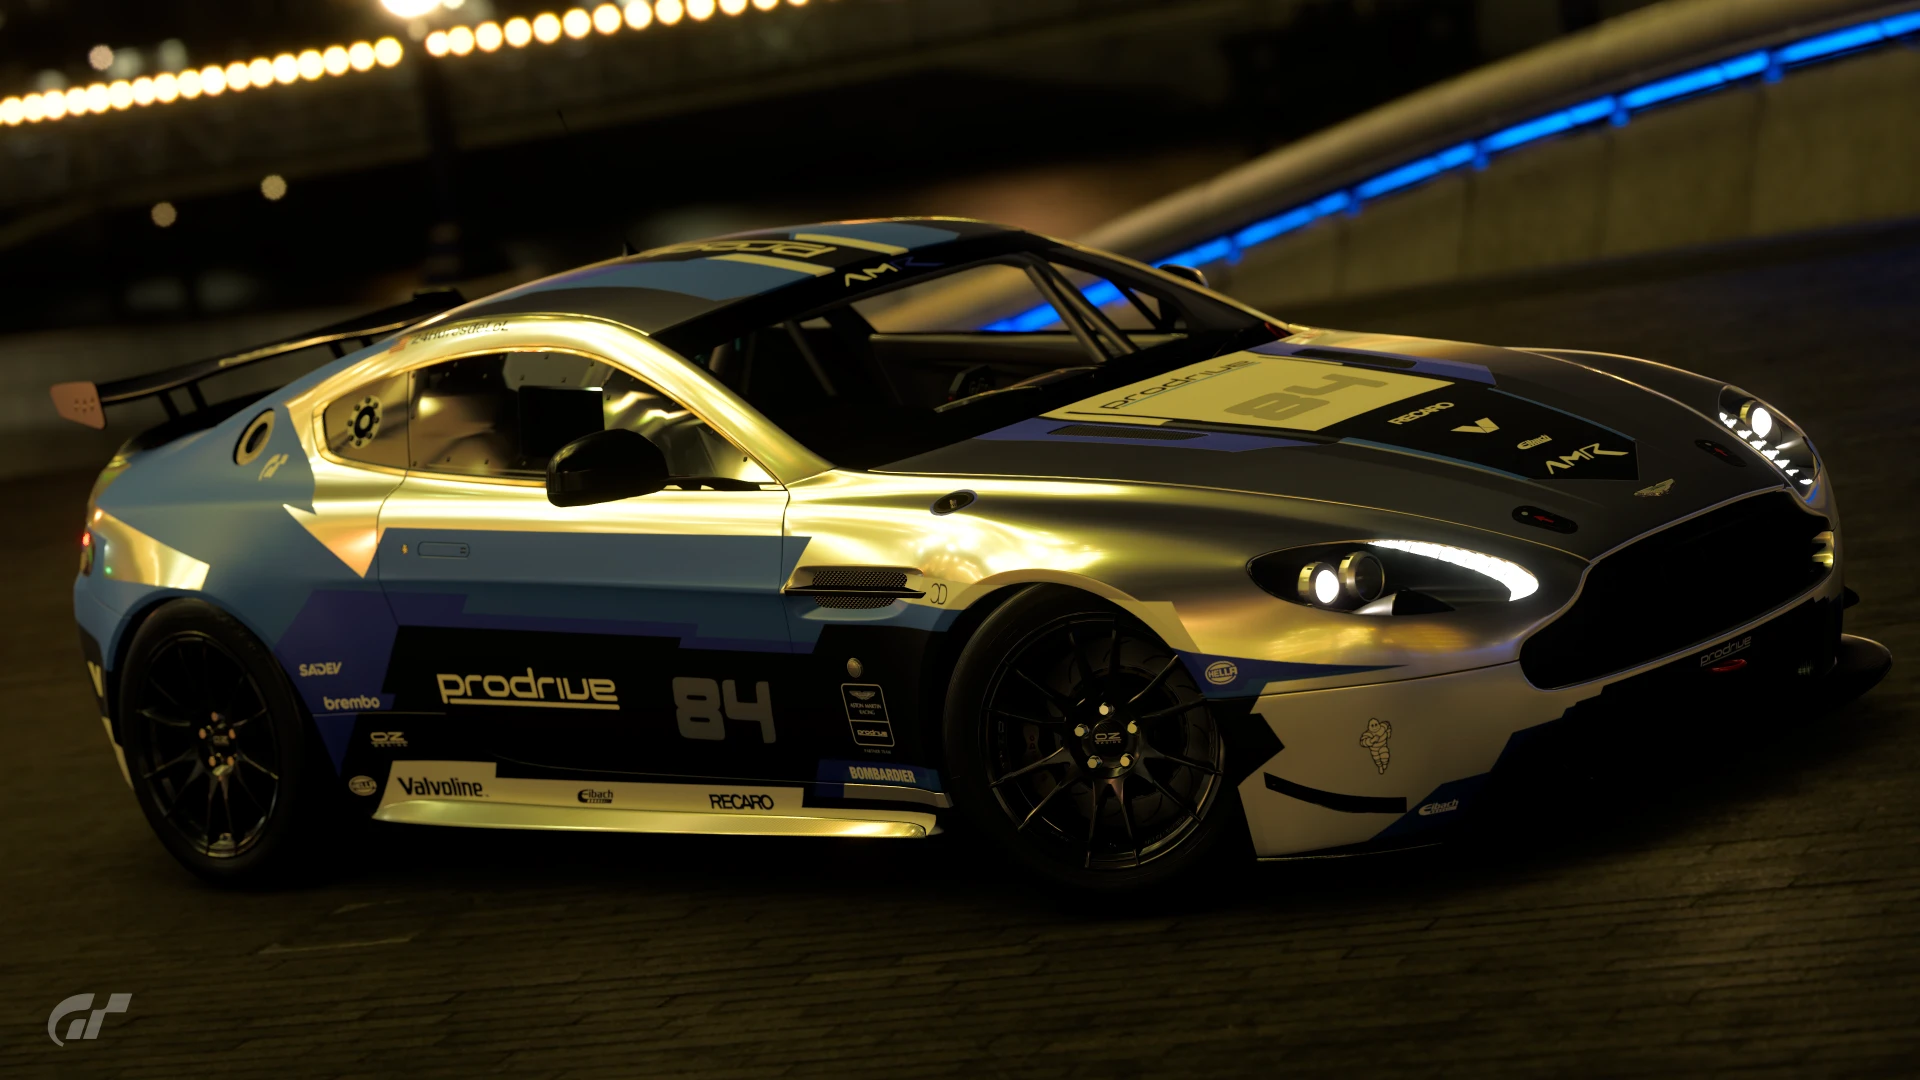
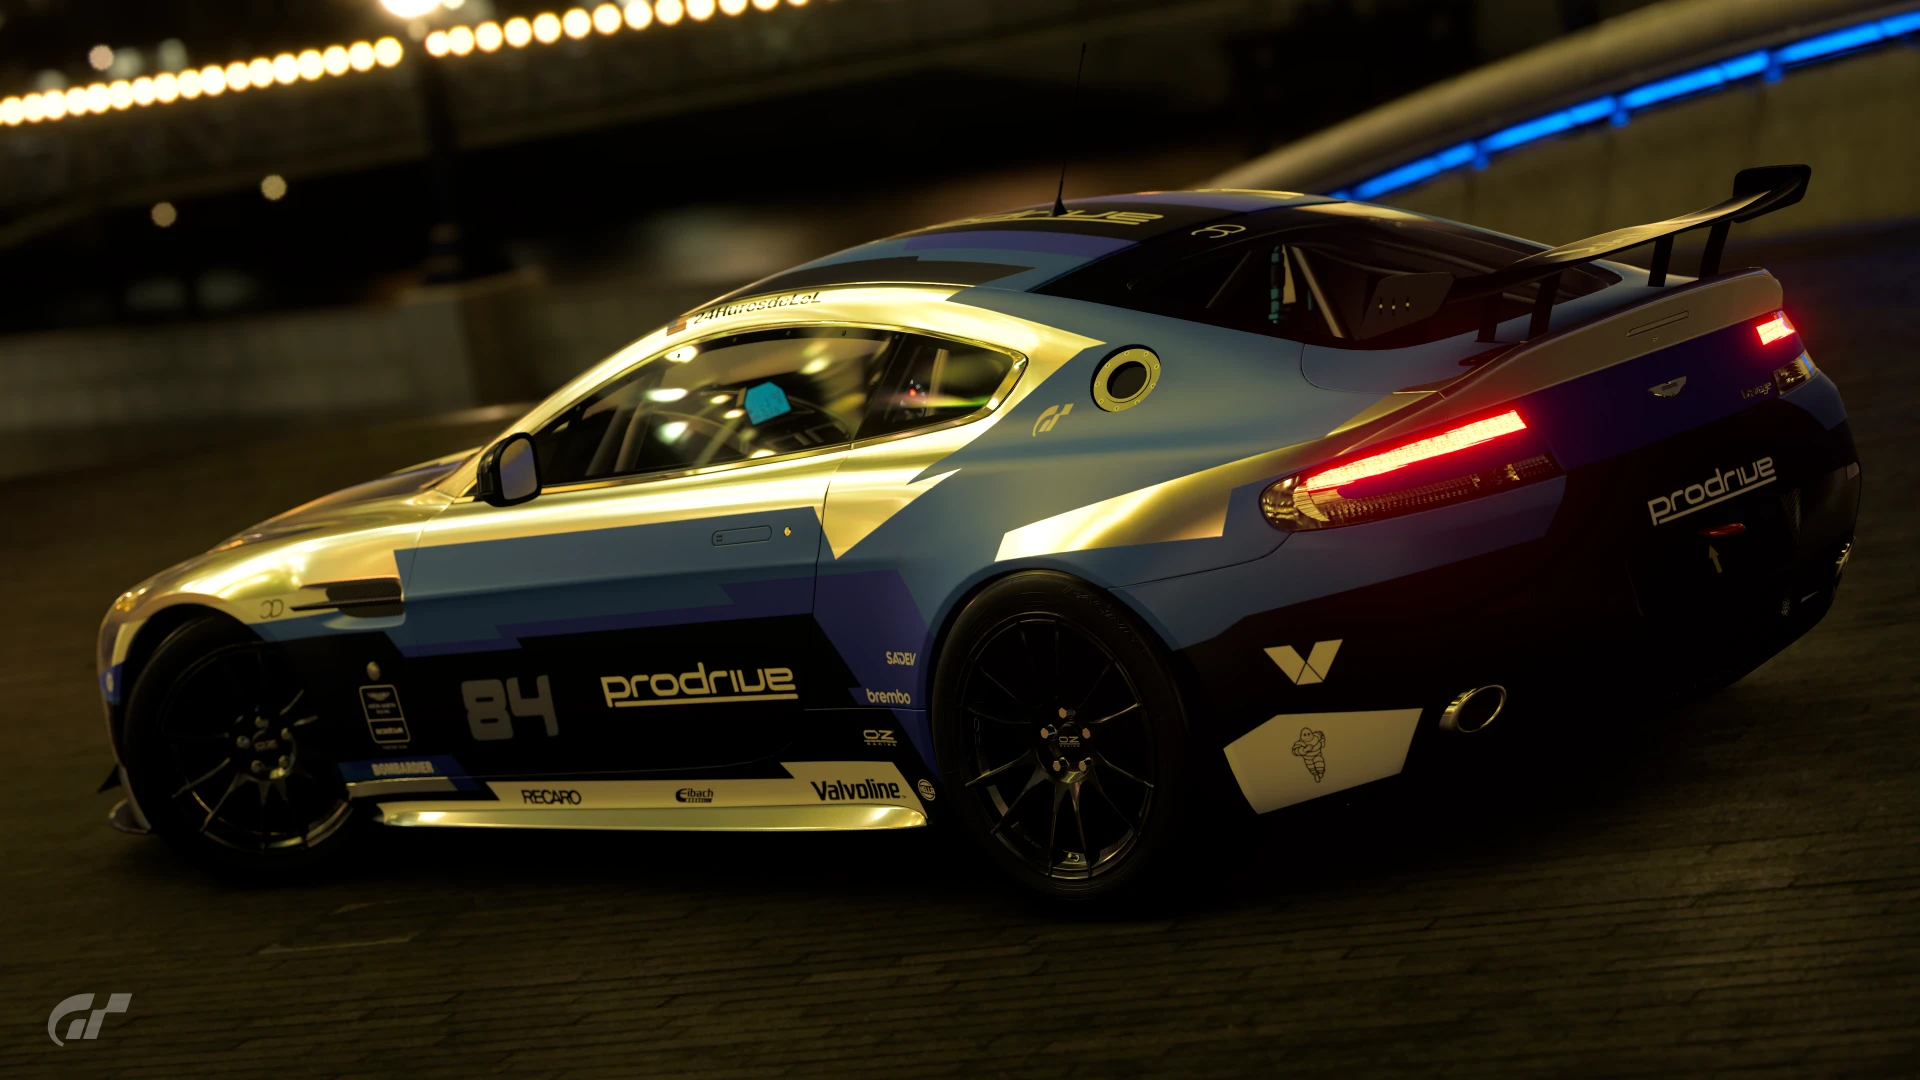
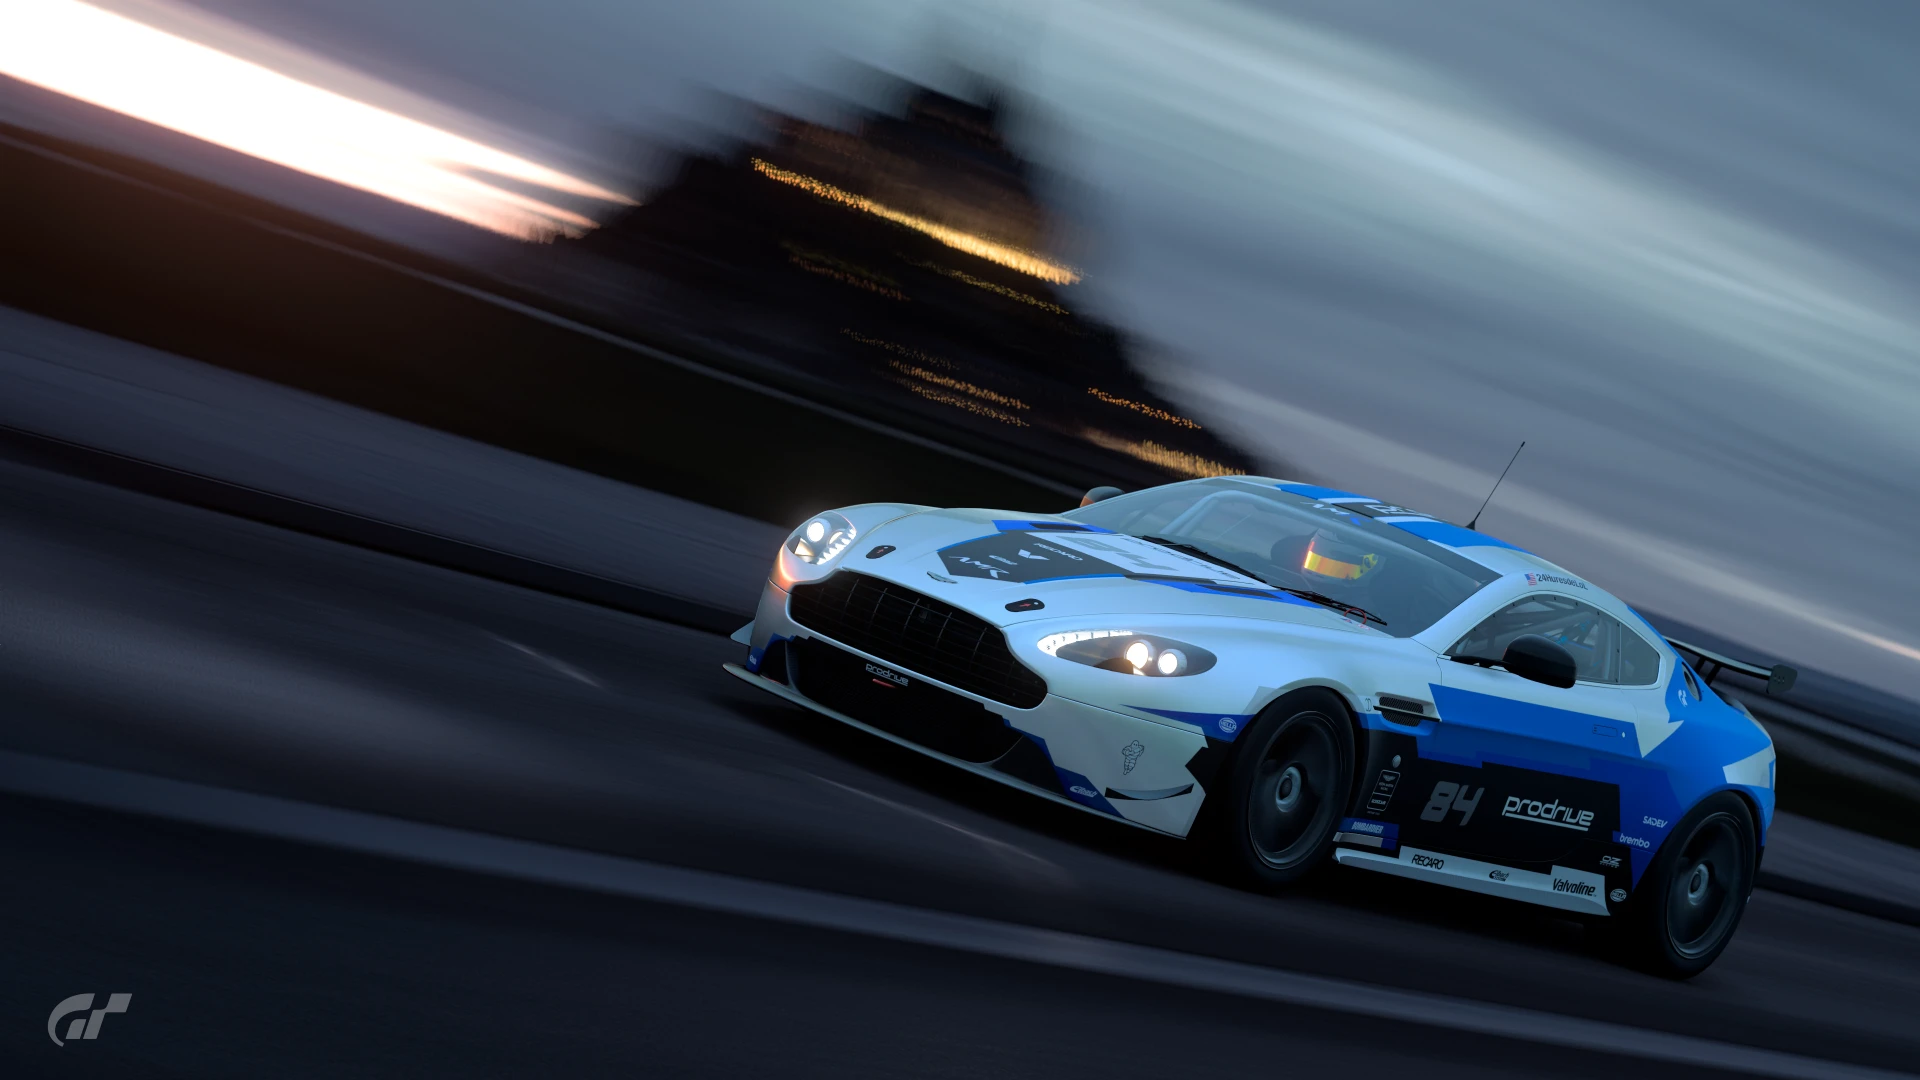
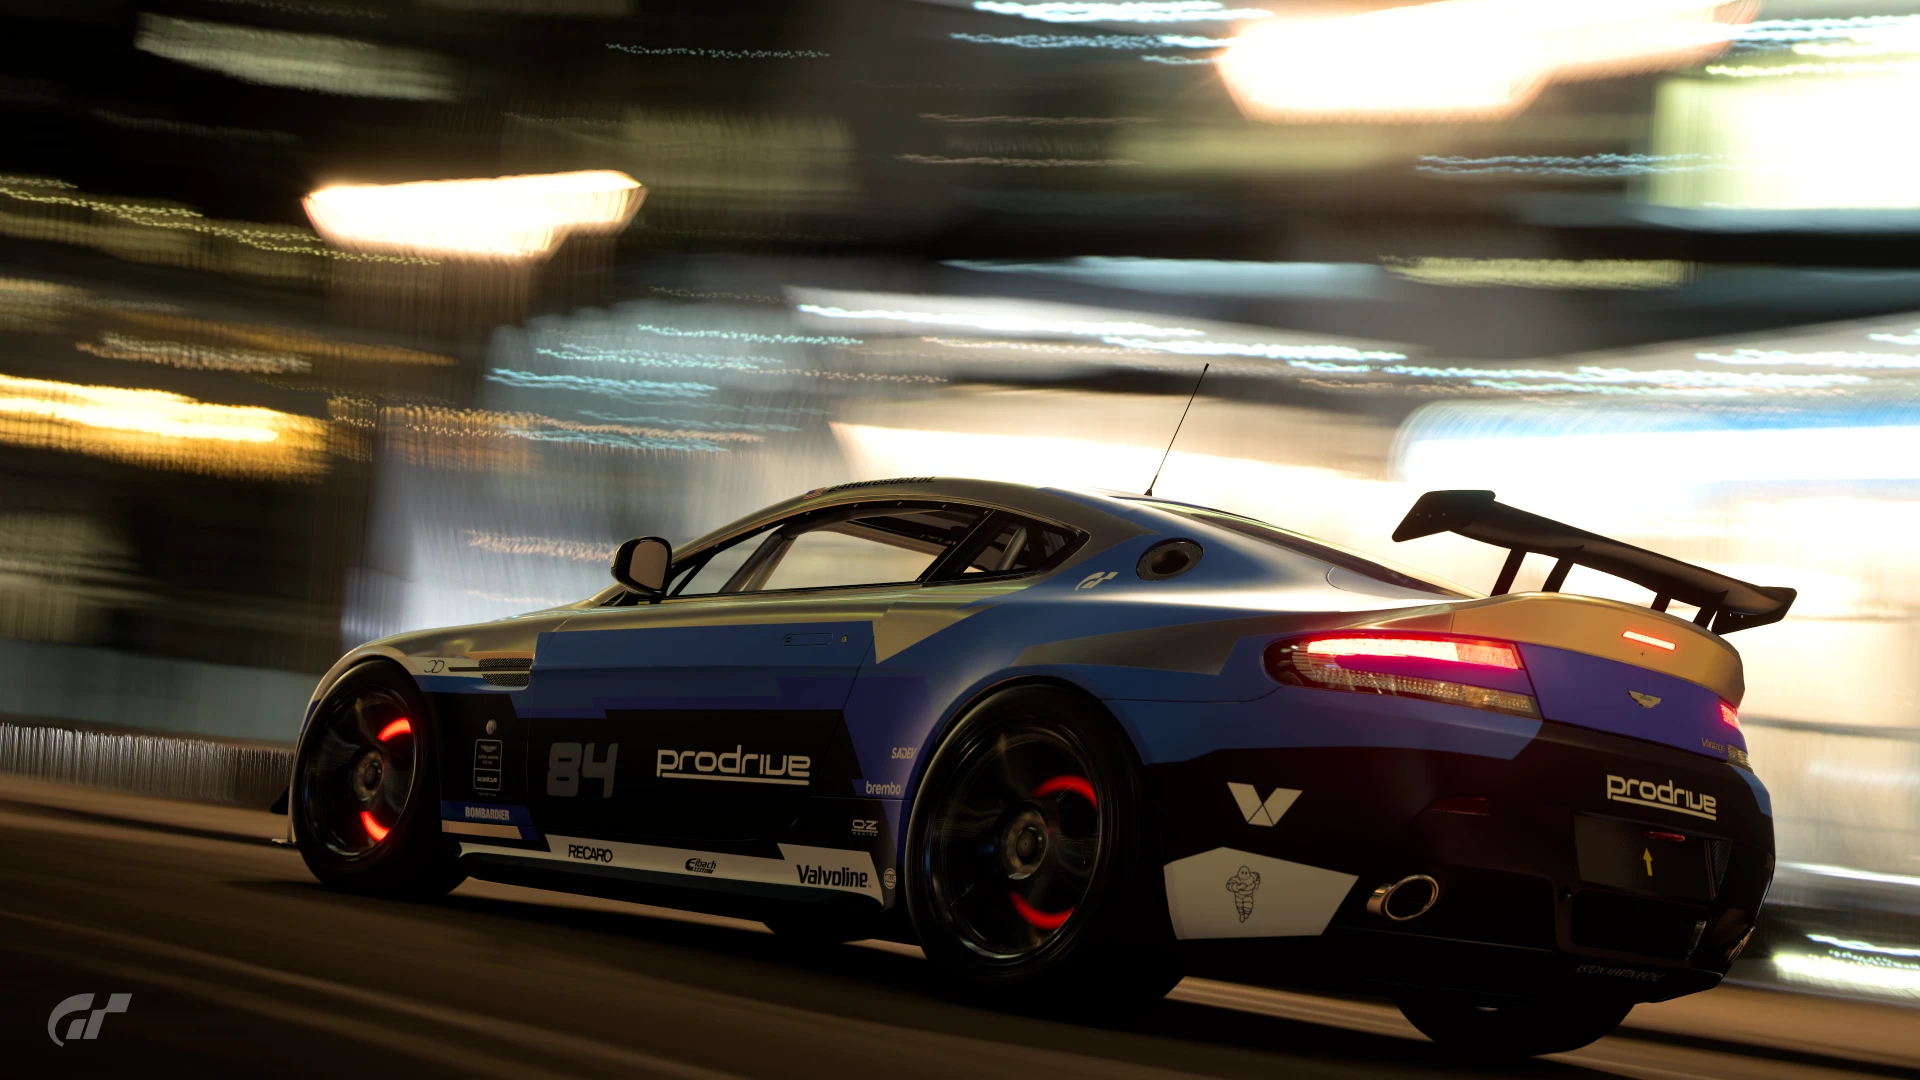
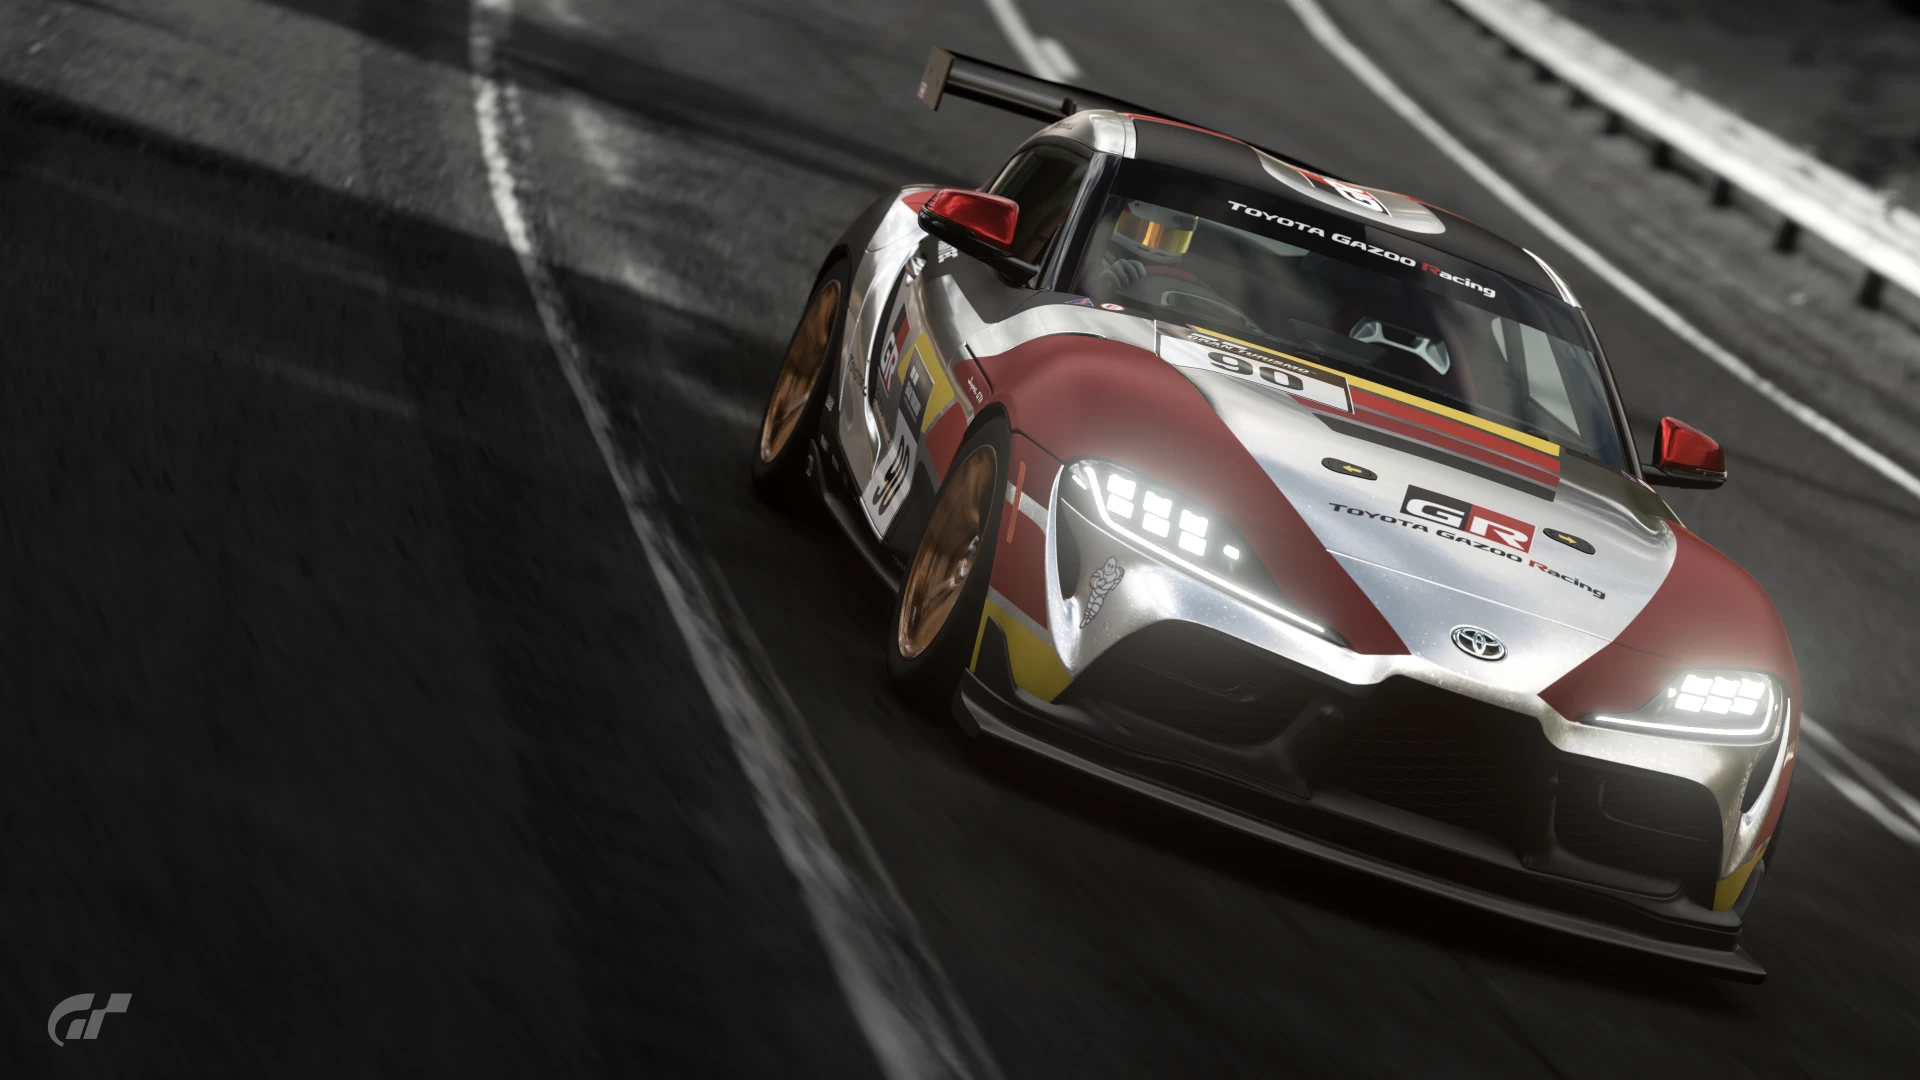
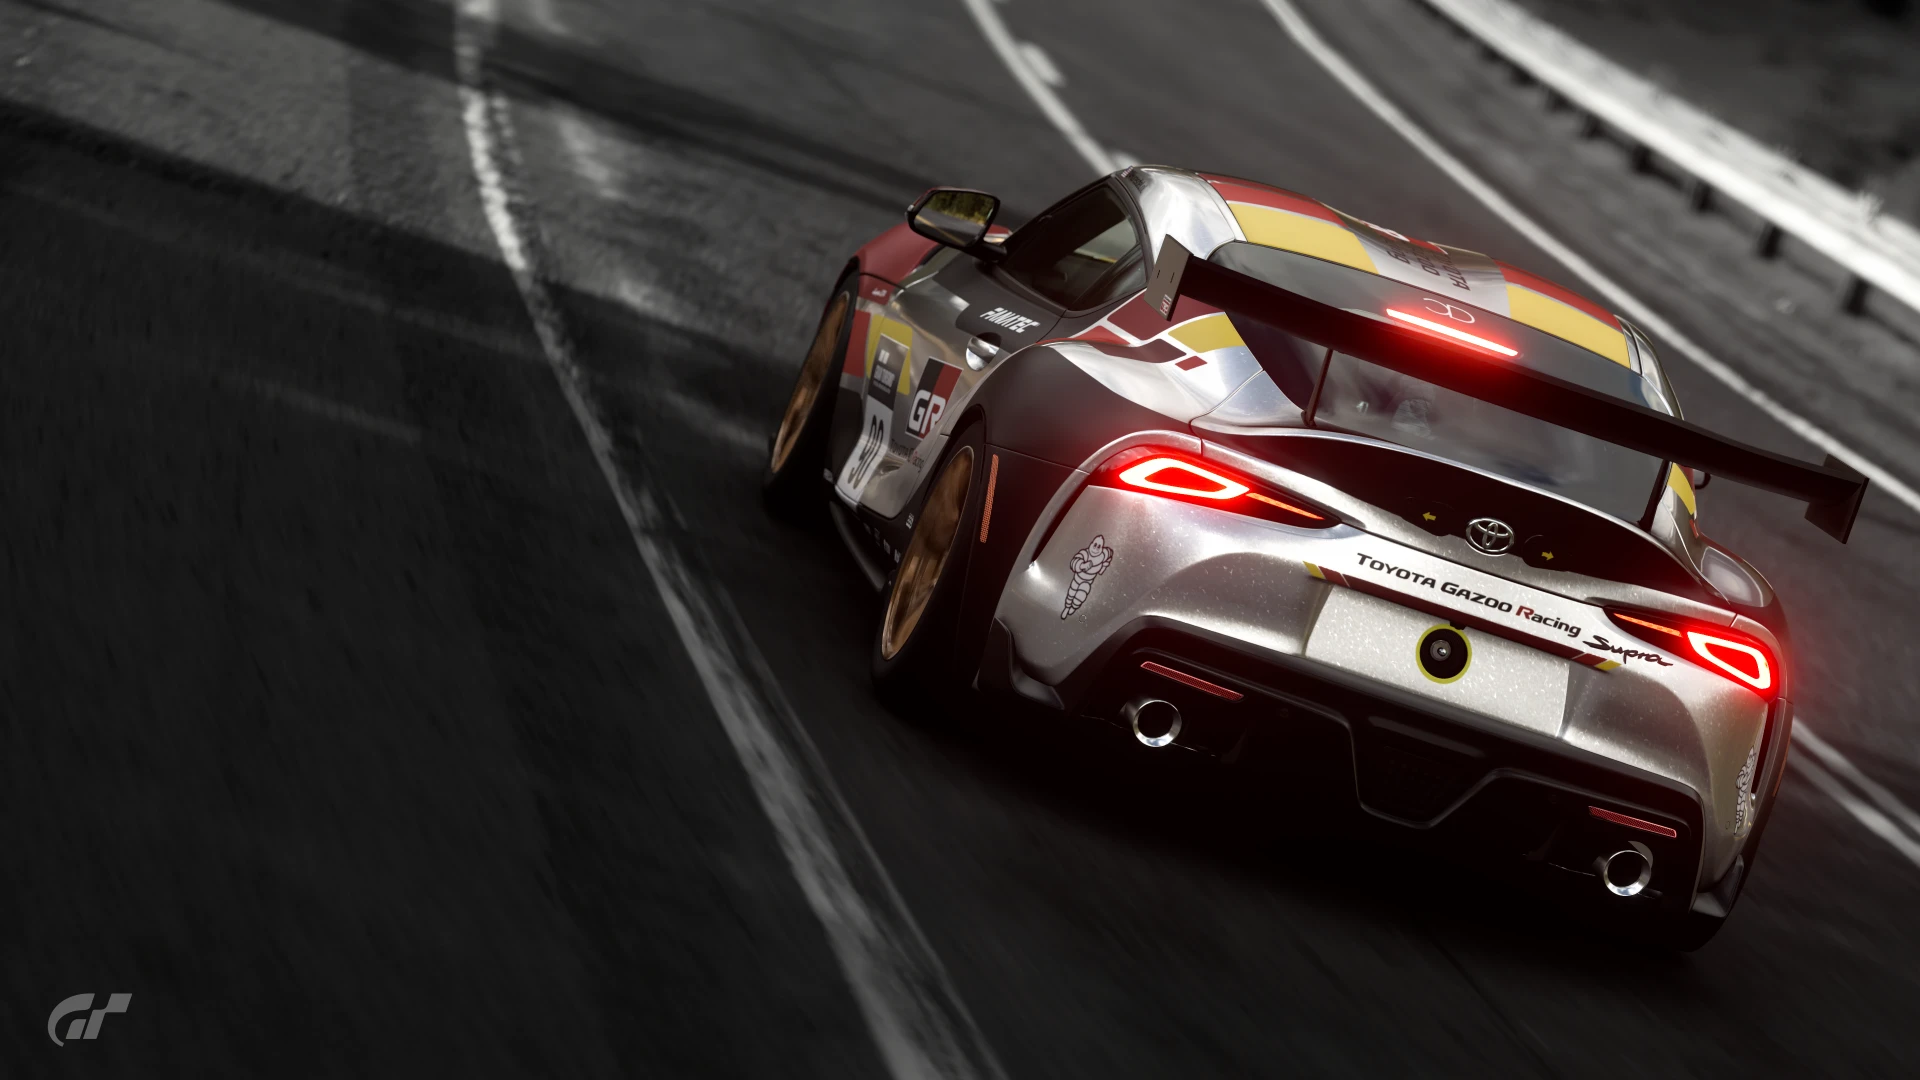
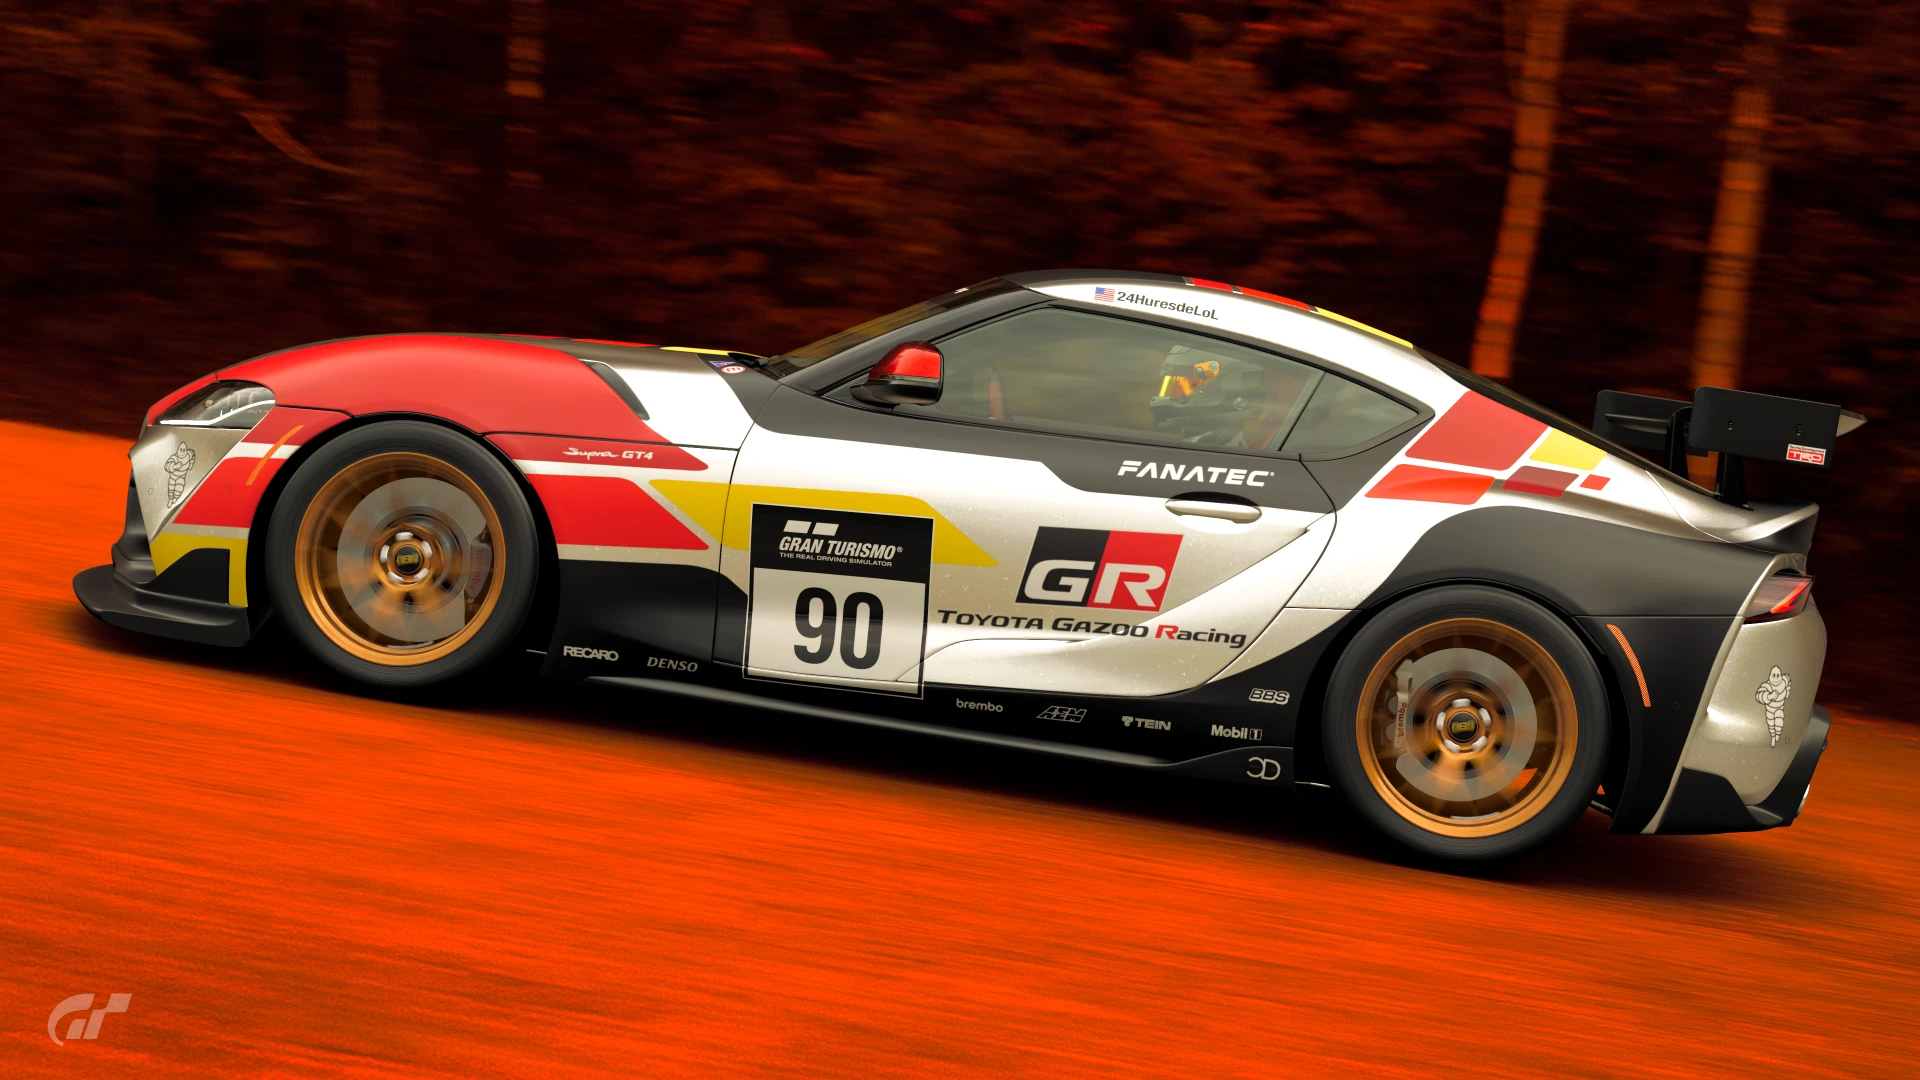
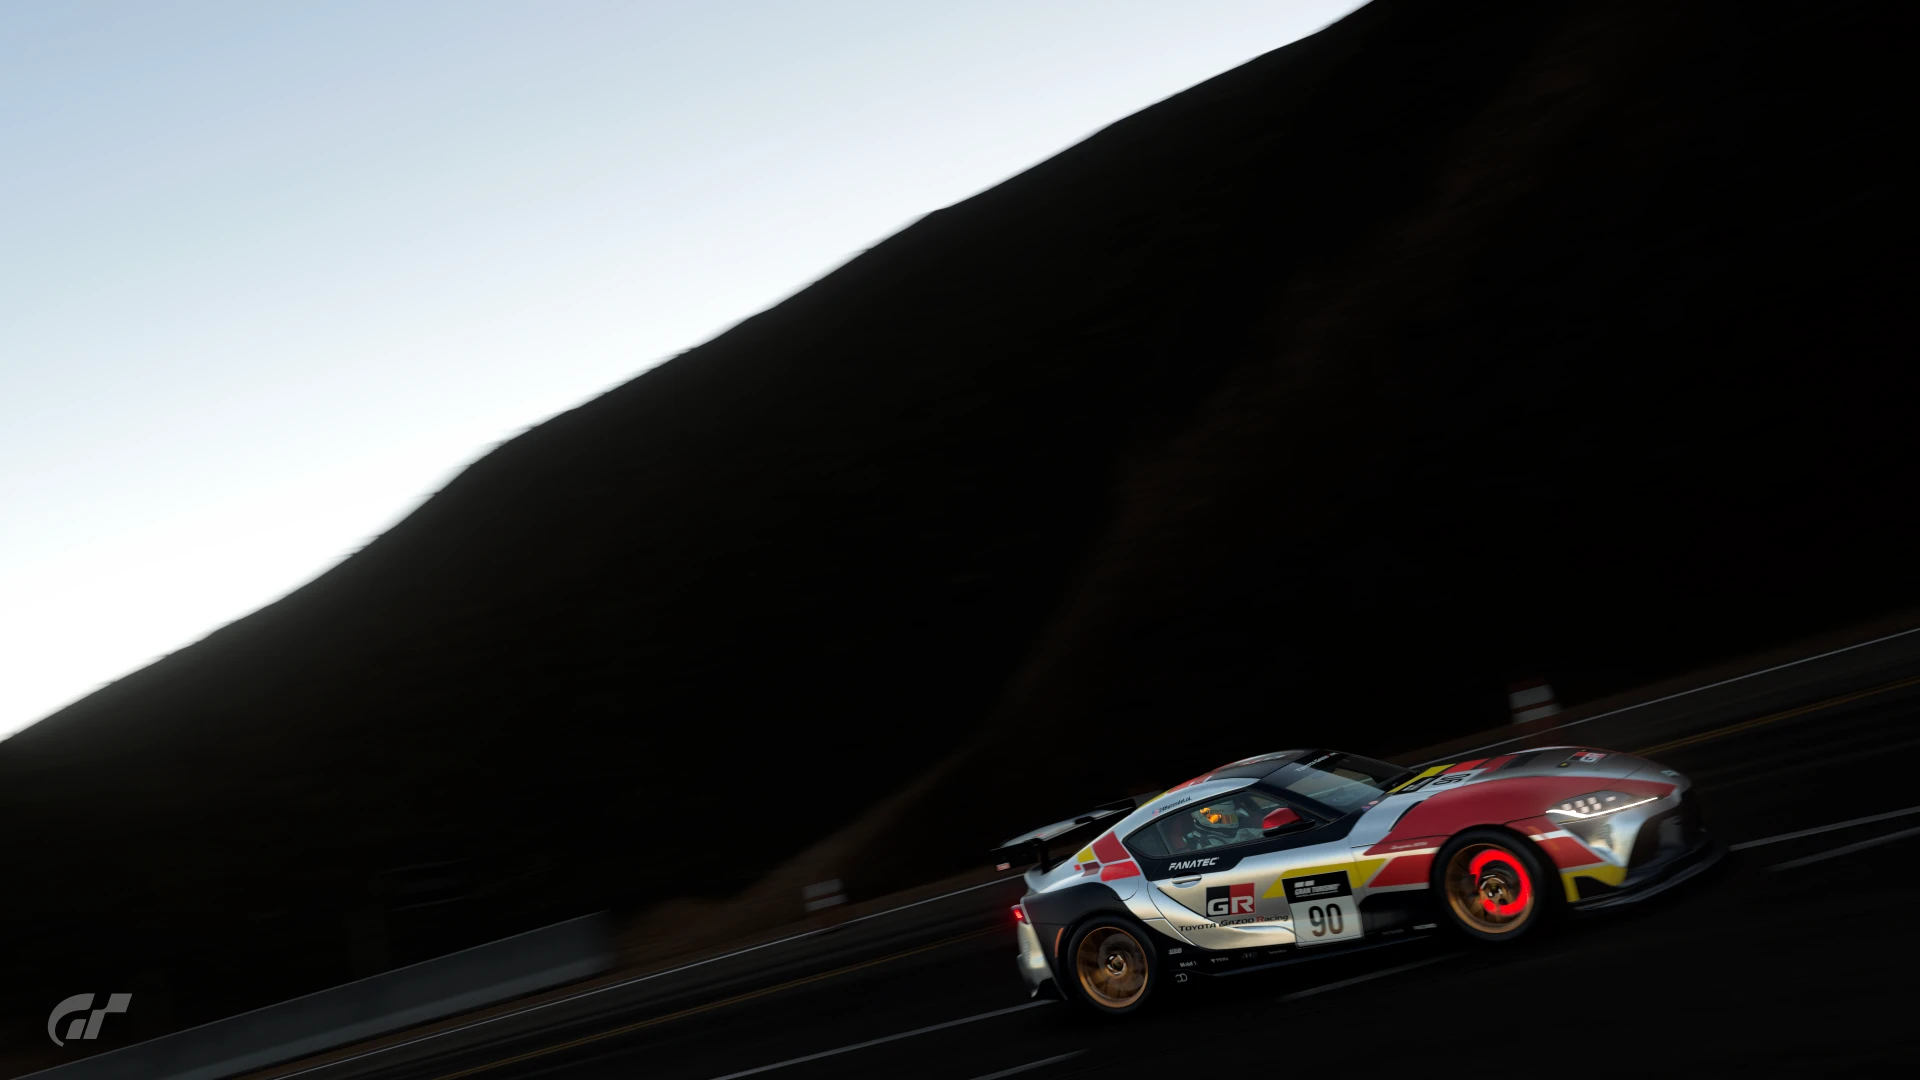
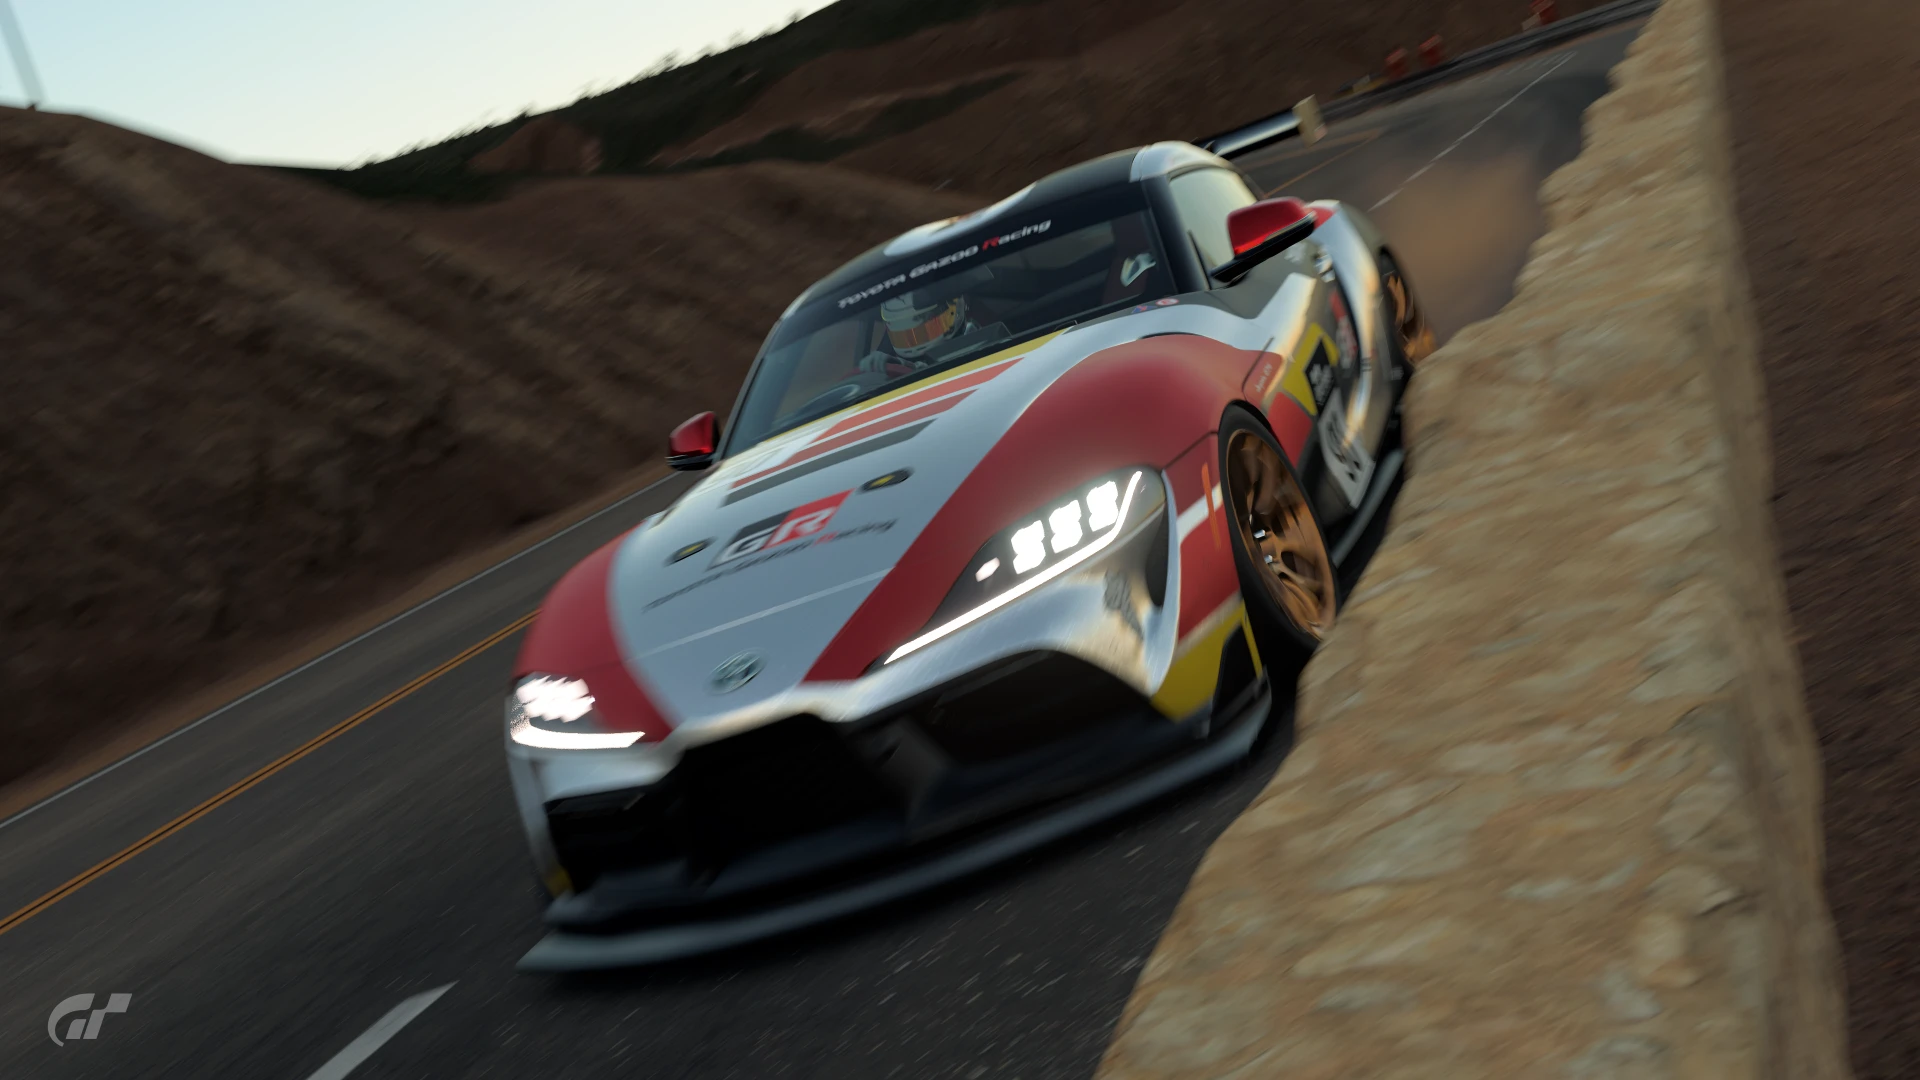
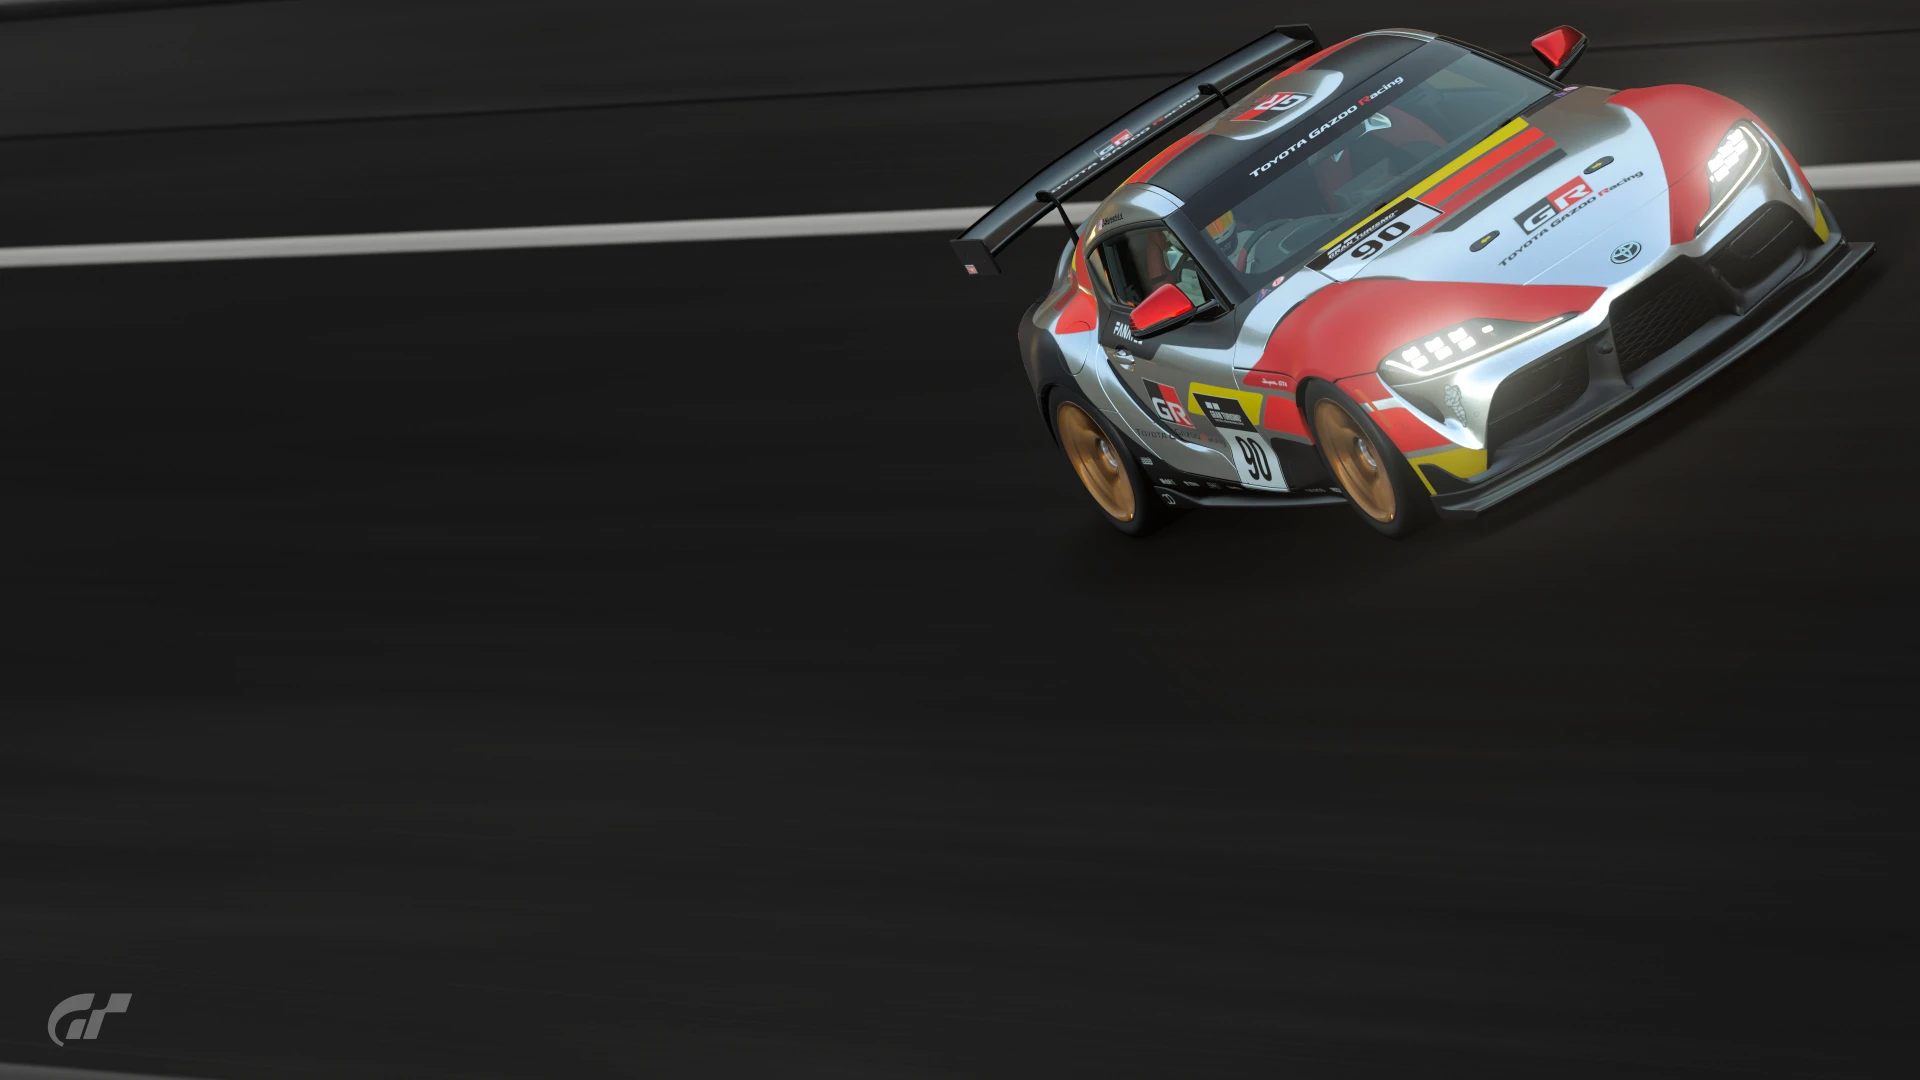
I decided to continue the 2019 dtm liveries, for sure one of my favourites i hope you like it, if you do a like and a repost would be greatly appreciated since this is a pretty common livery, so it needs to be pushed a bit...


")
")