Cyborg's Hondas

  • Thread starter CyborgGT
  • 80 comments
  • 15,217 views
Yowza! Took just two days for these to get to my doorstep from the seller in Malaysia. Meanwhile, USPS lost some gloves I ordered in Kentucky a month ago...


Factory fog lights. The Japanese-market lights are different from the American in that the face of the lens is curved vertically to flow with the bumper, whereas the American's is flat-faced and only curves horizontally inward to match the turn signal above it. I won't be installing these for a while; it's likely that the brackets they came with are for a sedan bumper, which I'm wanting to convert to anyway because it doesn't stick out as far forward. This is what they look like, on someone else's car (this guy's got so much ingenuity going on with his car, btw; worth checking out if you're into detailed resto-modding):

 
Last edited:
About to wrap up the manual transmission conversion...

Since it's more work than it's worth to remove a clutch hard line from a manual car, I got this braided steel alternative that was created for just such a conversion. The catch is that it goes straight from the master cylinder to the slave, skipping the factory clutch damper. It's definitely not unheard of for people to ditch the damper anyway, but I hope this doesn't make it annoying to drive. After all, it's also definitely not unheard of for people to put way too strong a clutch and way too light a flywheel on their street car even at my modest power level, so "people" really aren't anything to go by...


But it meant I could remove the damper and short hard line from the top of the transmission, cleaning that area up a bit, which I do appreciate. In the center of the image is the reverse switch that triggers the lights on the tailgate; I still need to wire that up. Also needing addressing is at the top-right, where you'll notice that I broke a few of the very brittle wires for the cooling system.


Starter and some other small miscellaneous items connected:


Passenger side suspension reconnected. The front subframe had to come down to allow me to raise the transmission, so I figured I may as well replace it with the traction bar now. It not only replaces the huge rubber radius rod bushings with spherical bearings, but its slim design also allows clearance for more serious aftermarket header options.


And today I installed the shift linkage (shifter feels tight with the spring upgrades I did earlier) and half shaft (the automatics in these cars just had a really long axle on one side), and reassembled the driver side suspension.


It's pretty much just fluids and the electrical issues that need addressing, and then it should be good for a test drive.
 
Last edited:
Protected the fog lights with 3M clear film...


and found some yellow bulbs for them:


Went out to the car today and filled the trans with oil. The wiring from the old auto shifter had to be modified a bit. Two wires had to be shorted to trick the car into thinking it's in Park, and for now the neutral safety switch is shorted as well. I'll take the time to neatly wire that into the clutch pedal when it's not so cold outside. All soldered and wrapped in both plumber's tape and heat shrink. The transmission control unit (separate from the ECU in these cars) was removed as well; I guess the car doesn't need a manual-specific ECU to function as a manual.


Cleaned up the grimy ABS pump brackets before installing them on my nice traction bar, only to find out that the traction bar's design isn't quite perfect. I'm going to have to elongate the holes a bit on one of the factory plates to allow the pump to sit away from the frame rail.


And finally for today, the center console was all buttoned up again. I was a bit nervous about the shift knob extender feeling weird, but I'm actually really liking it.


The temperature dropped and the forecast suddenly changed since yesterday, so I went home and put the snow tires on the RSX...
 
Last edited:
I took the back half of the center console home for deep cleaning. There was some pretty nasty gunk coating the bottom of those pockets. And would you just look at all those switch blanks. Not one of them was utilized in the American market, but Japan got all sorts of cool options with these cars.


A nicer interior shot. Note the condition of the carpet that came with this car.


A wagon showed up at the junkyard with a nearly mint blue interior. The carpet looked like it would clean up nicely, so I grabbed it. It may be blue, but I think it's dark enough that it won't be too noticeable once installed. I've got some black floor mats on the way that should help. For now this is only intended to be a temporary placeholder until I really dig into overhauling this car's interior, but I may decide to keep it and just dye it black later on instead of buying a new aftermarket carpet that might not fit as well. The end goal is hoping that a black and burgundy two-tone can be pulled off tastefully.


I also addressed the broken wires. The plastic is so dried out and hardened and that just trying to work with it created more breaks and exposed wire. What a fire hazard. I just covered the breaks with heat shrink and soldered the new connectors on; this harness doesn't need to last longer than making sure the manual trans swap is functioning correctly.


If the carpet condition is OK other than stains, i.e. no holes worn in it, just needs a good cleaning, then take it down to one of those self-serve car washes and spray it!

I did that with my Miata after it was flooded and saved the carpet!
50800007367_24922c39a9_z.jpg


50800005307_fb1ab5ddc6_z.jpg


50799891866_08a1c46b37_z.jpg


50581443527_a4f13bd4fb_z.jpg
 
^ Wow! :lol: Nice save, though! I complain about having to work in the cold here in Colorado, but I do not envy Florida's moisture problems - both the humidity and the floods/hurricanes.

But it was nice out today, so I vacuumed and cleaned mine in a friend's garage in case another day like this doesn't come around for a while. Came out looking really nice. Here it is just after a really thorough vacuum. I was able to lift a bit more dirt out with his carpet cleaner. The stains that are left, you'd probably have to look for to notice once it's installed. Can't wait to put it in.


More work finishing up the manual conversion...

Stretched some holes in the ABS bracket so it mounts to the aftermarket crossmember/traction bar better:


Distributor, intake, and battery tray are back in. I also replaced a small coolant line coming off the throttle body, which I accidentally tore while removing the automatic transmission:


The car's got a parasitic drain even when the car's off that's already claimed one new battery. I'm hoping it's just the old alternator, so I'm borrowing the known good one from the H22 for now:


It was at this point that my toes were once again defeated by the cold, so until next weekend...
 
Last edited:
Well, I was actually referring to saving the original carpet! :lol:

The blue did clean up well, but if the original isn't actually damaged, just needs cleaning, my suggestion for that still stands.
 
Nah. The original is the same burgundy as every other piece of the interior, and I hate the monotony. Maybe it could have been saved, but I badly want something dark to break up the color in there.
 
Loving this! Eventually I want to use black to two-tone with the burgundy, but for now the contrast this carpet introduces has made a massive difference in how the car feels to sit in.


Last edited:
*ED. - Are half the photos in this post not showing up for anyone else? They appear fine for me in the Edit>Preview, but not in the final post. I've tried two different browsers on my laptop, and on my phone. The code is fine, so I have no idea what's going on.


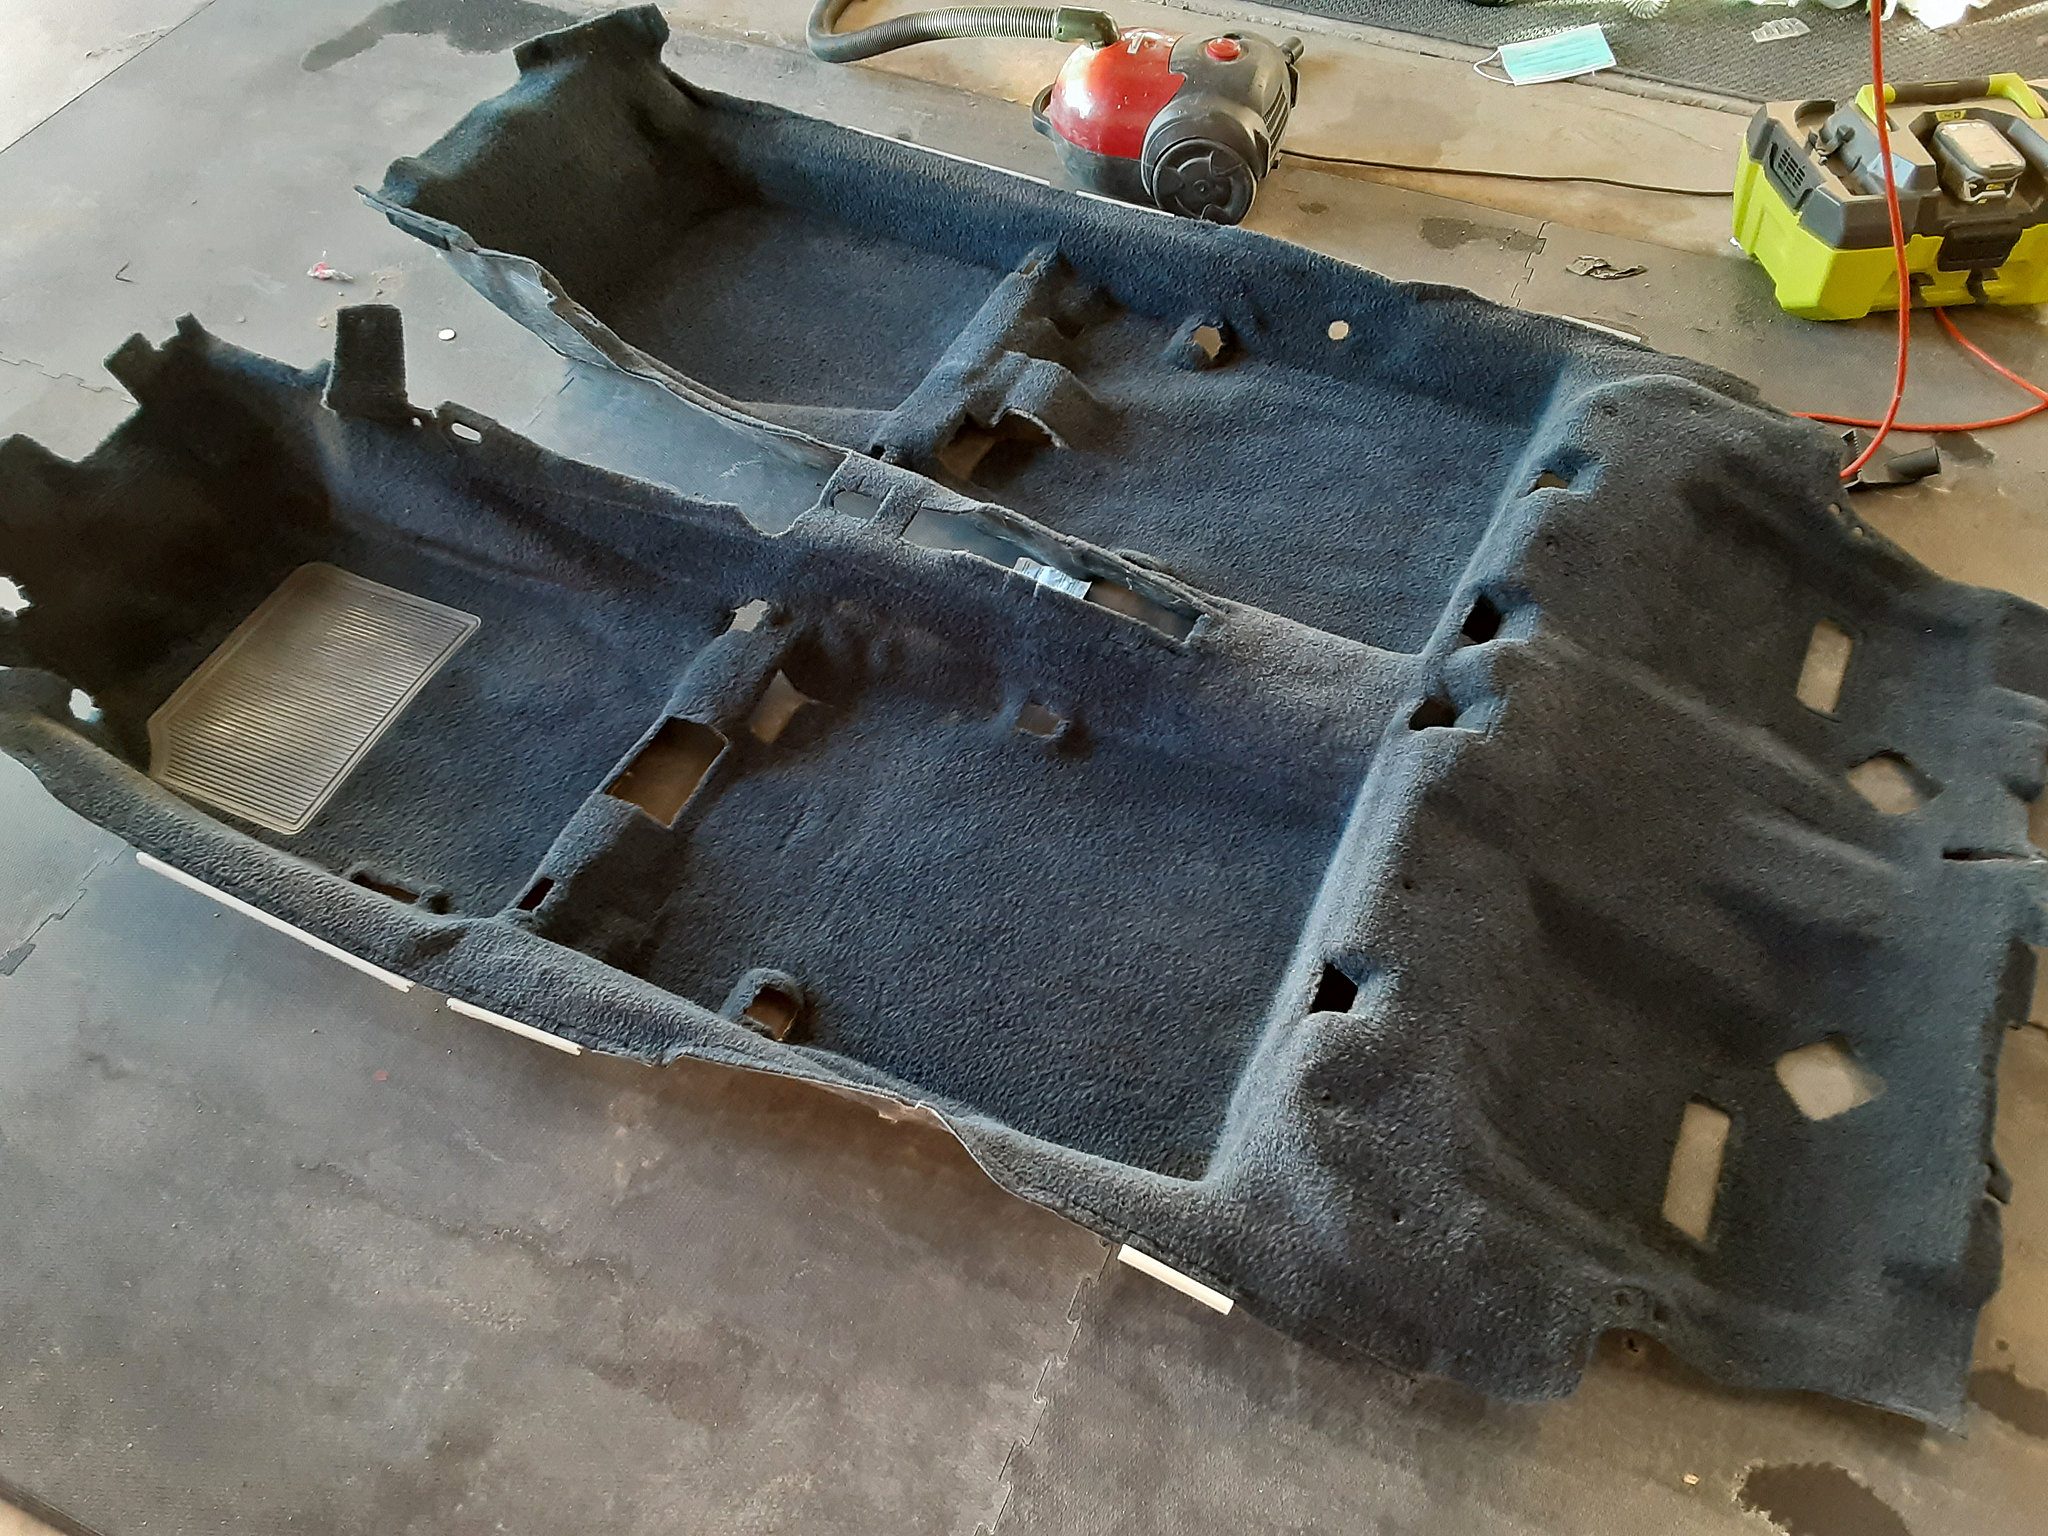
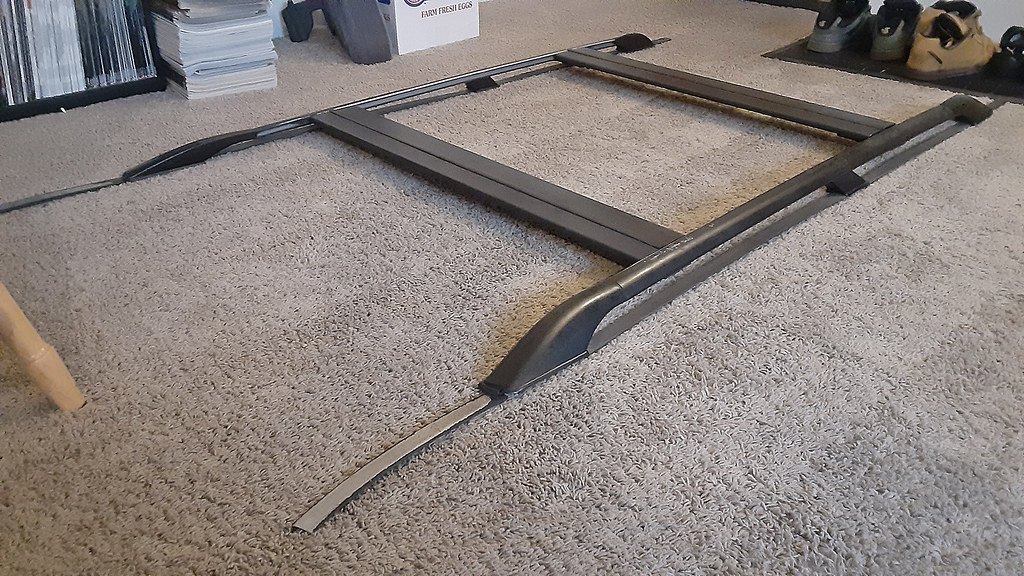
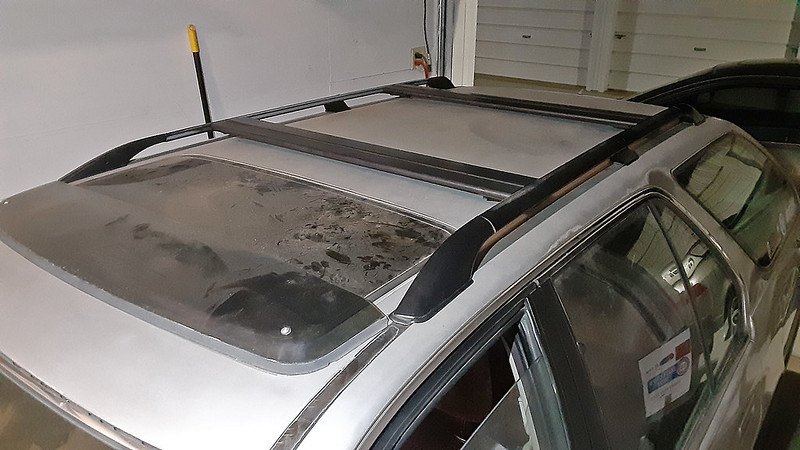
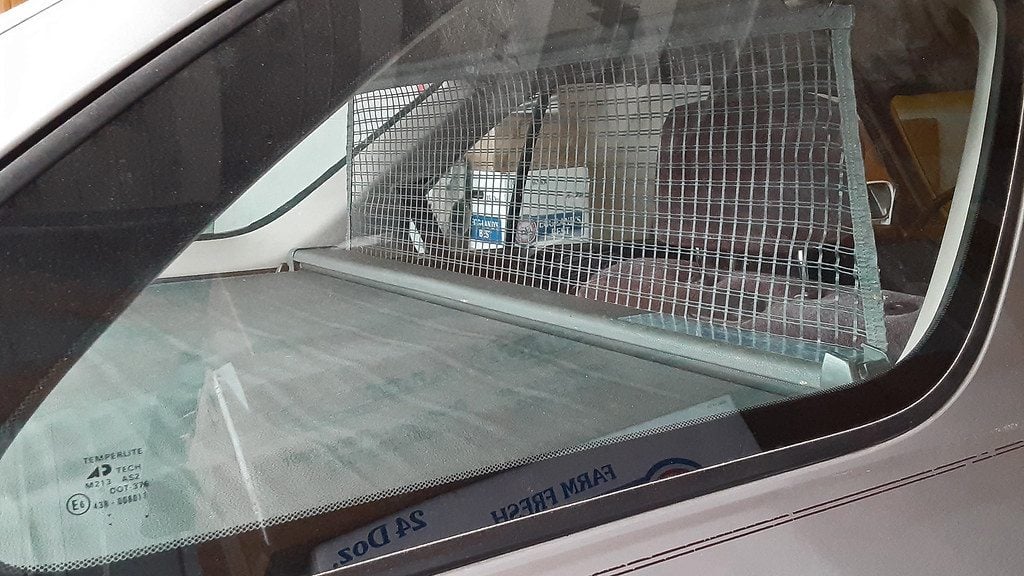
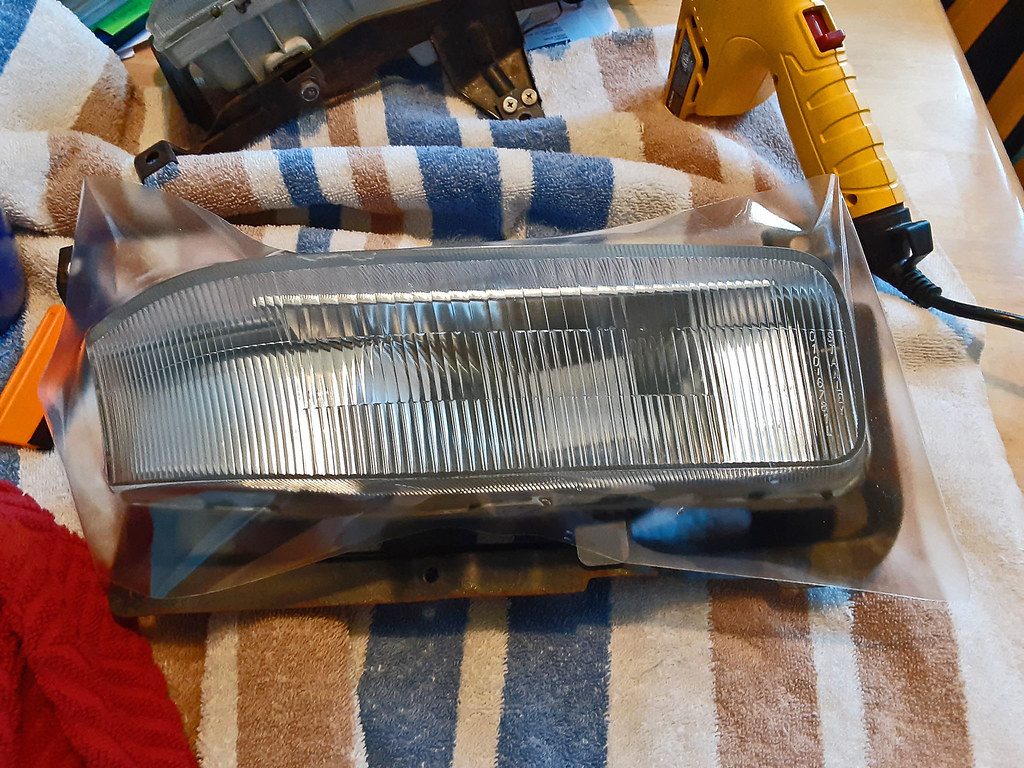
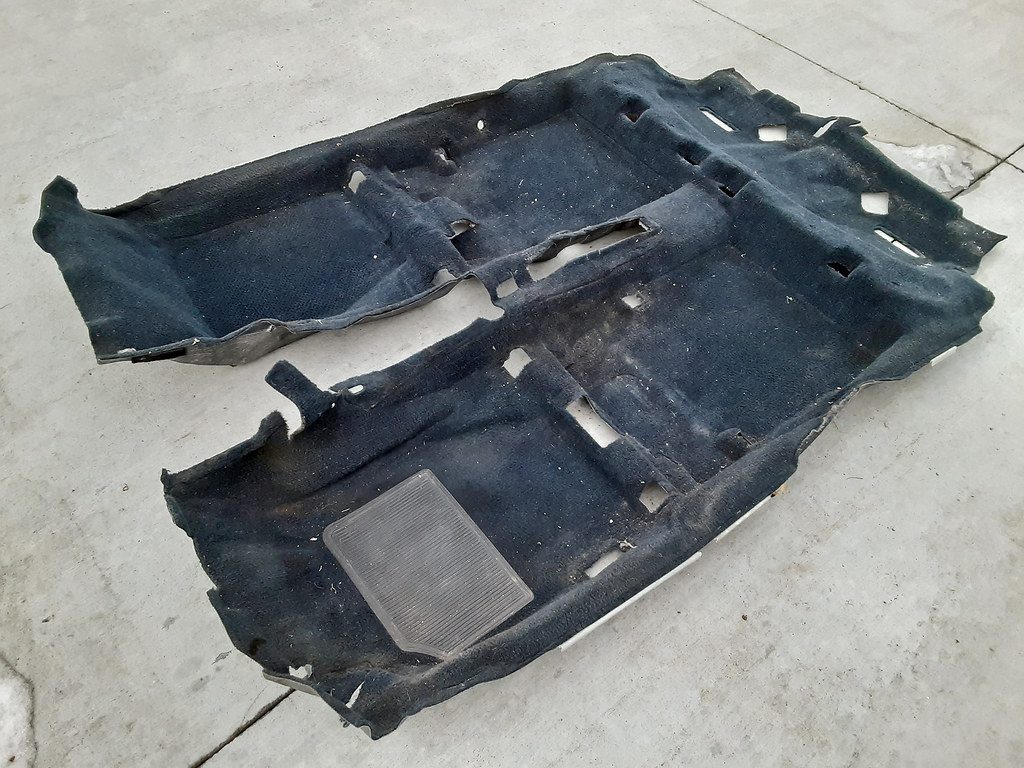
The main focus is of course the engine and just getting the car back on the road so I can register it, but of course I can't help myself when it comes to grabbing harder-to-find parts when they pop up for sale, like this cargo cover:


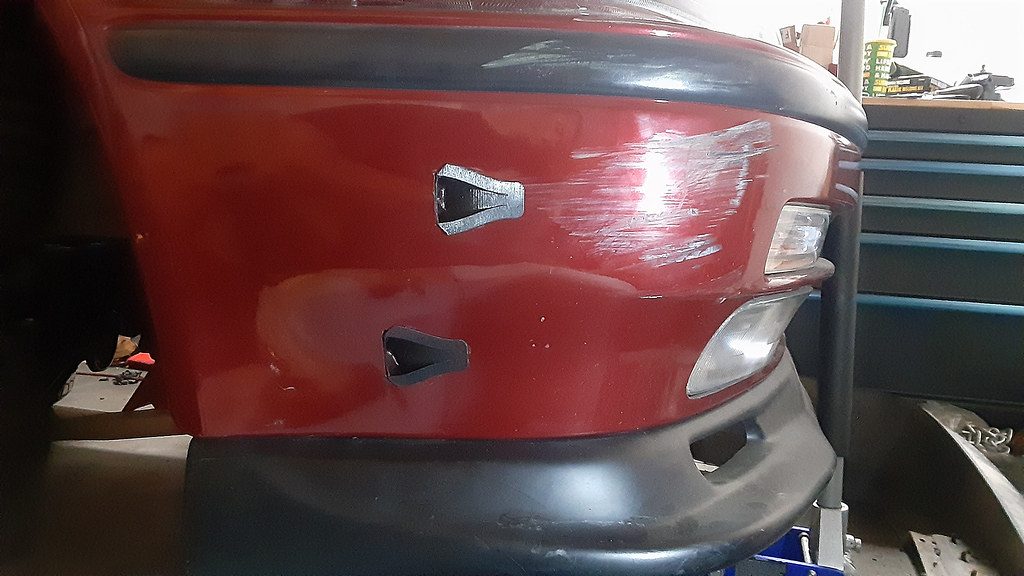
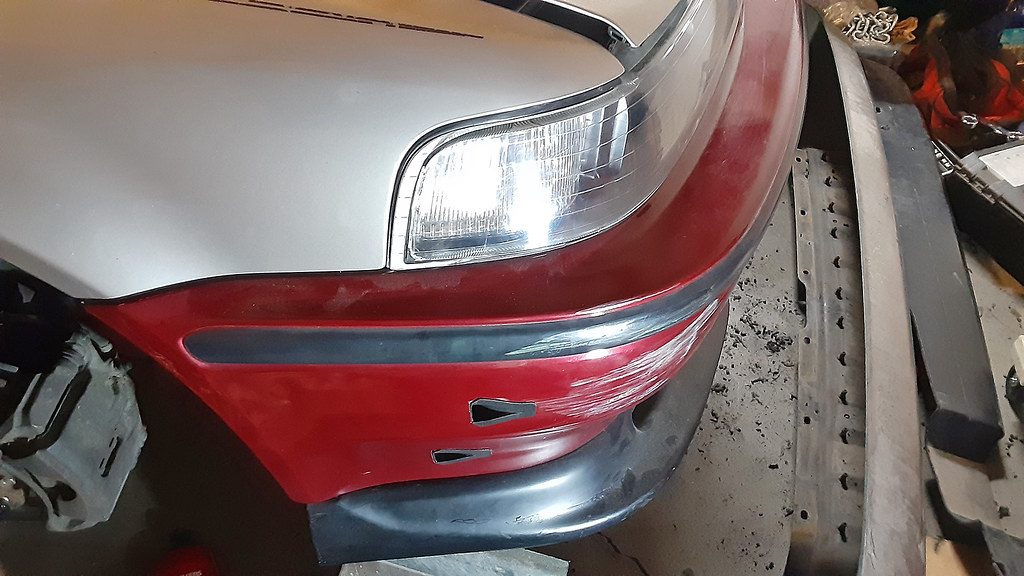
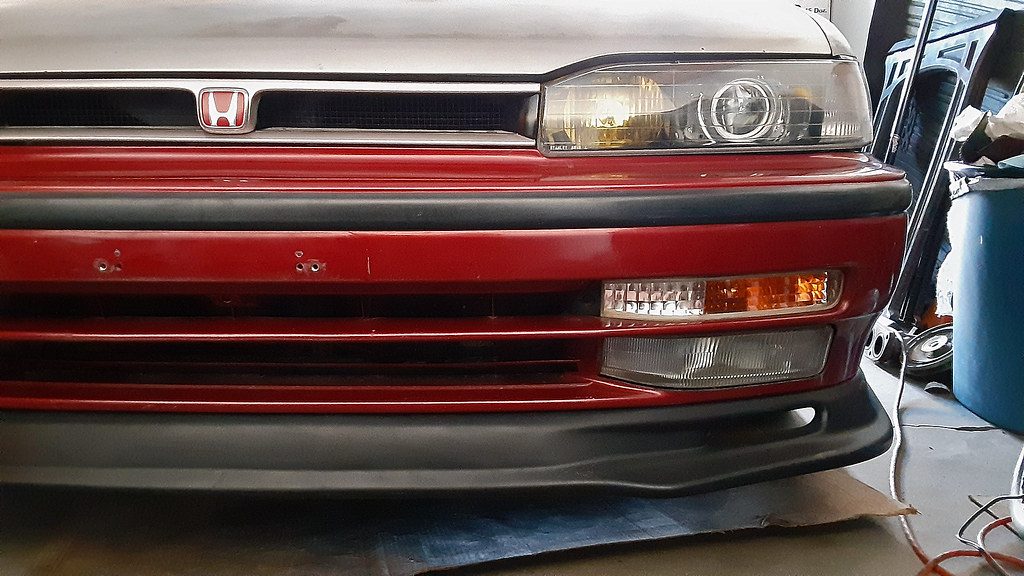
Picked up a coupe/sedan bumper to lose about an inch in overall car length and a noticeable amount of weight in hand, then set about cutting the holes in it to mount the fogs:


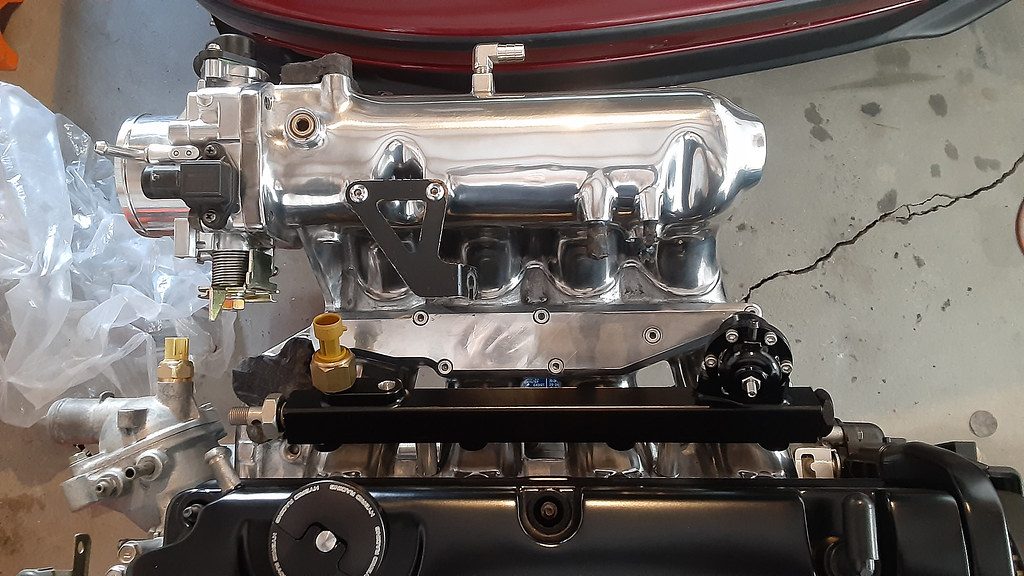
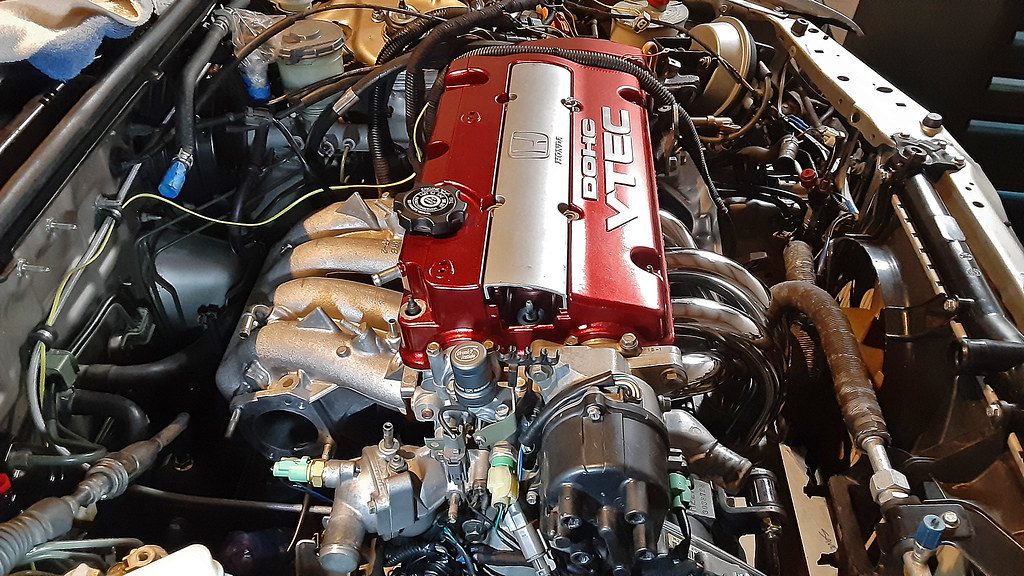
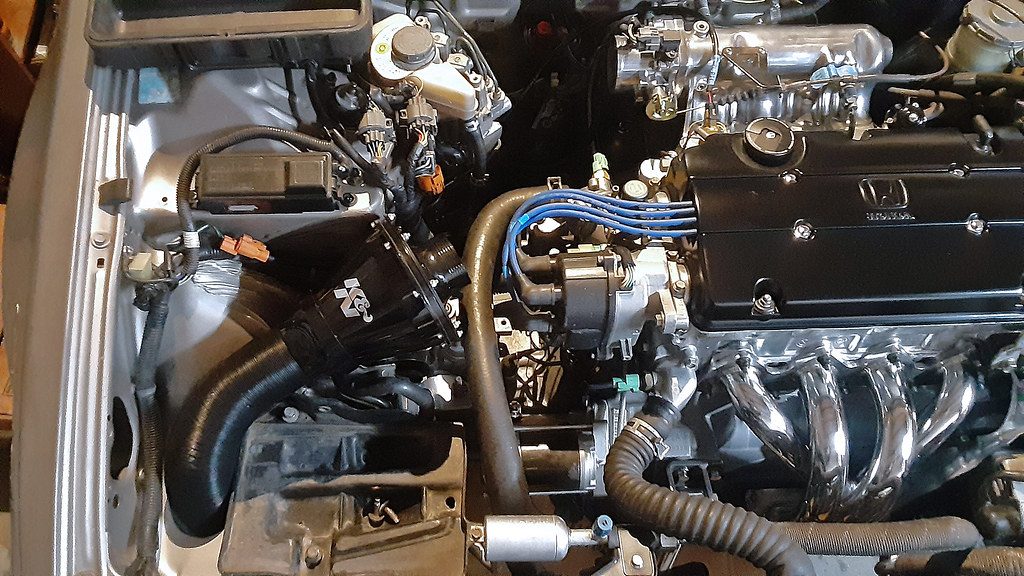
Finally finished my years-long on-and-off project of polishing the Accord Type R/Euro R intake manifold:


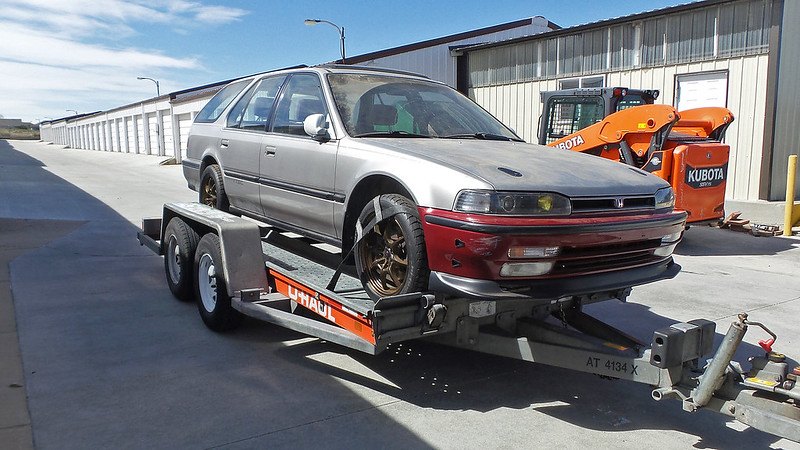
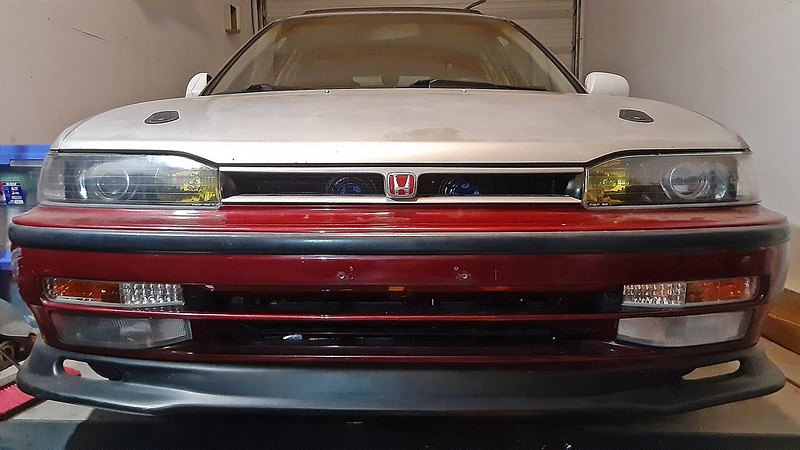
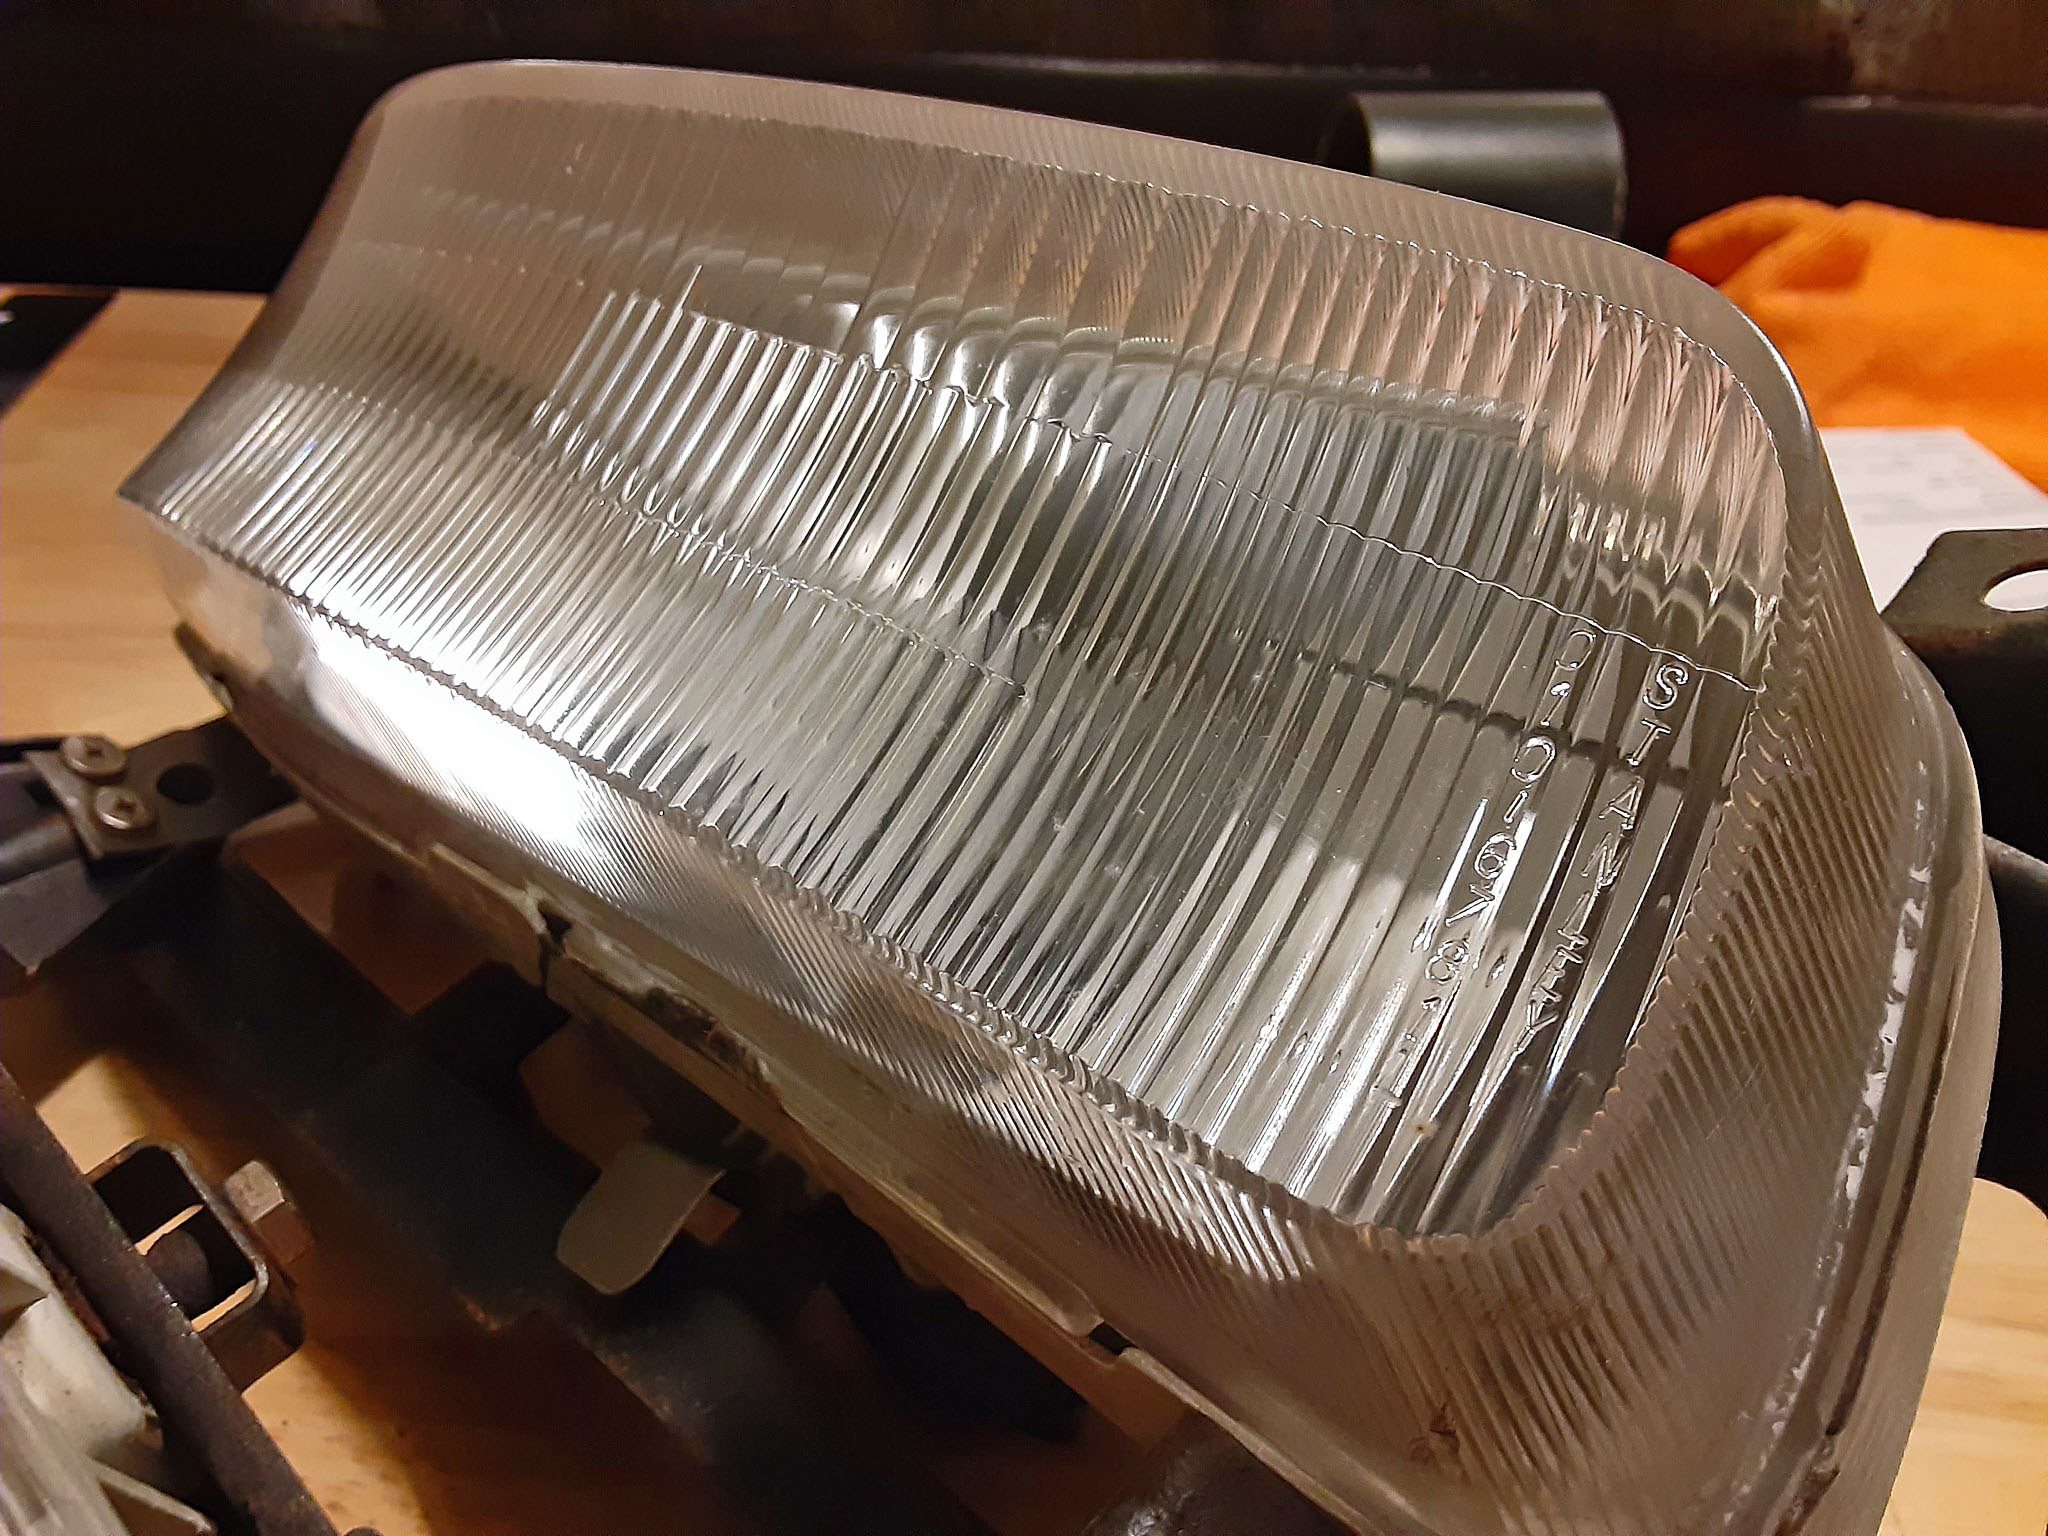
I just really like this photo:


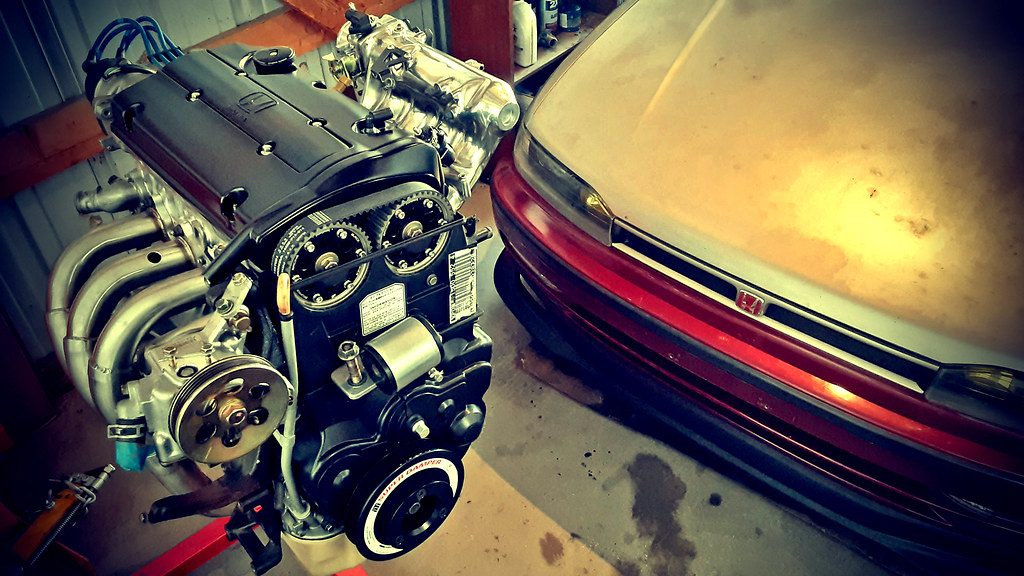
Say goodbye to the single overhead cam F22A. If I was interested in turbocharging, I would have stuck with this engine because this head actually flows incredibly well. It's now strapped to a dolly for storage; maybe I'll do something with it one day.


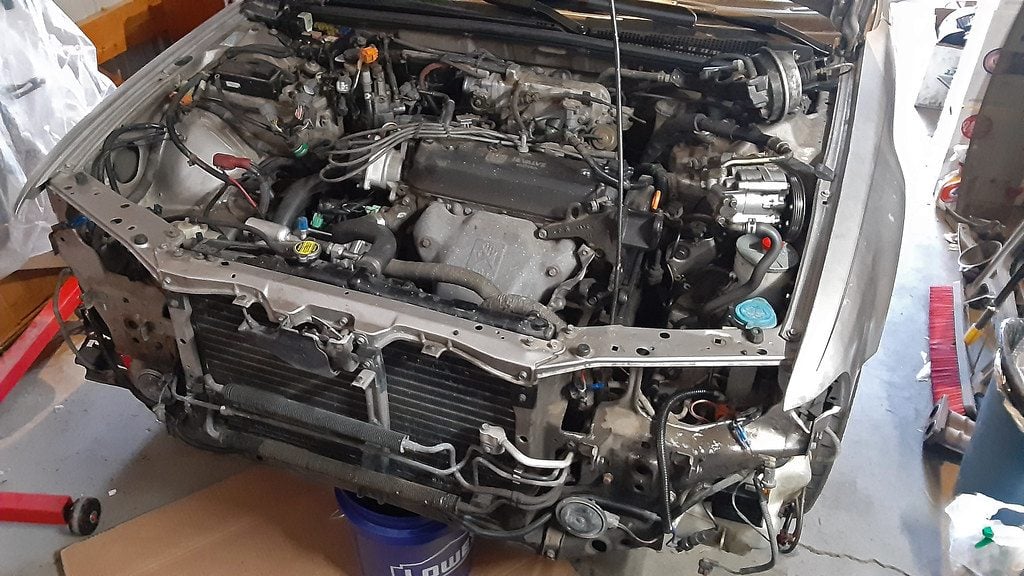
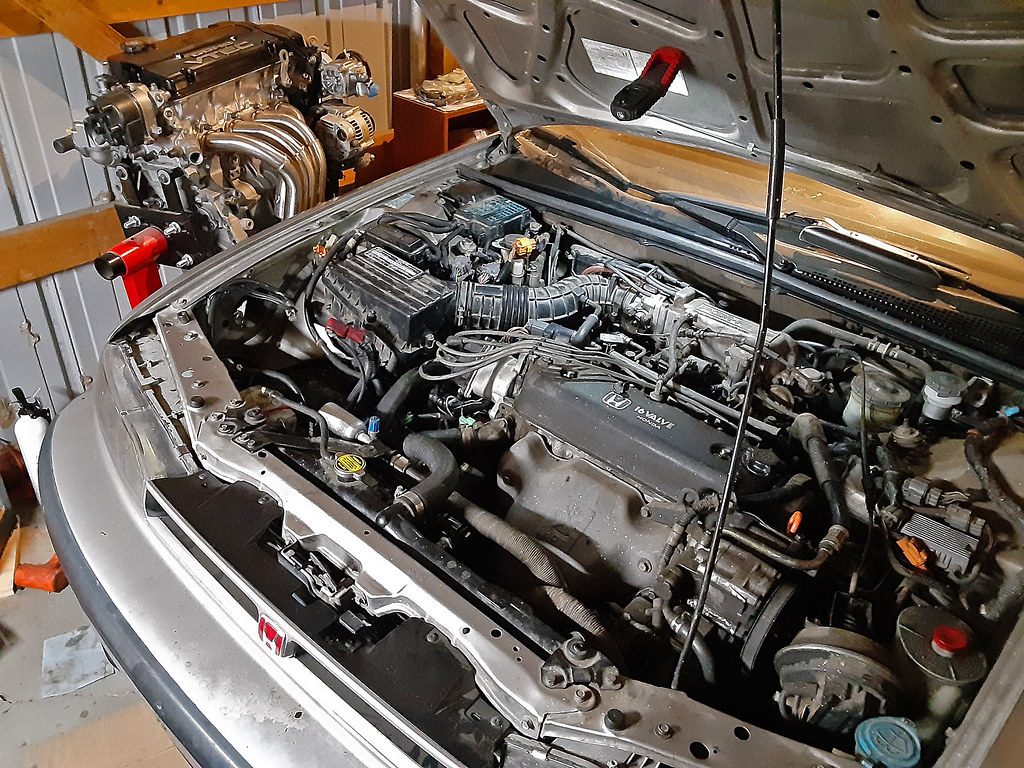
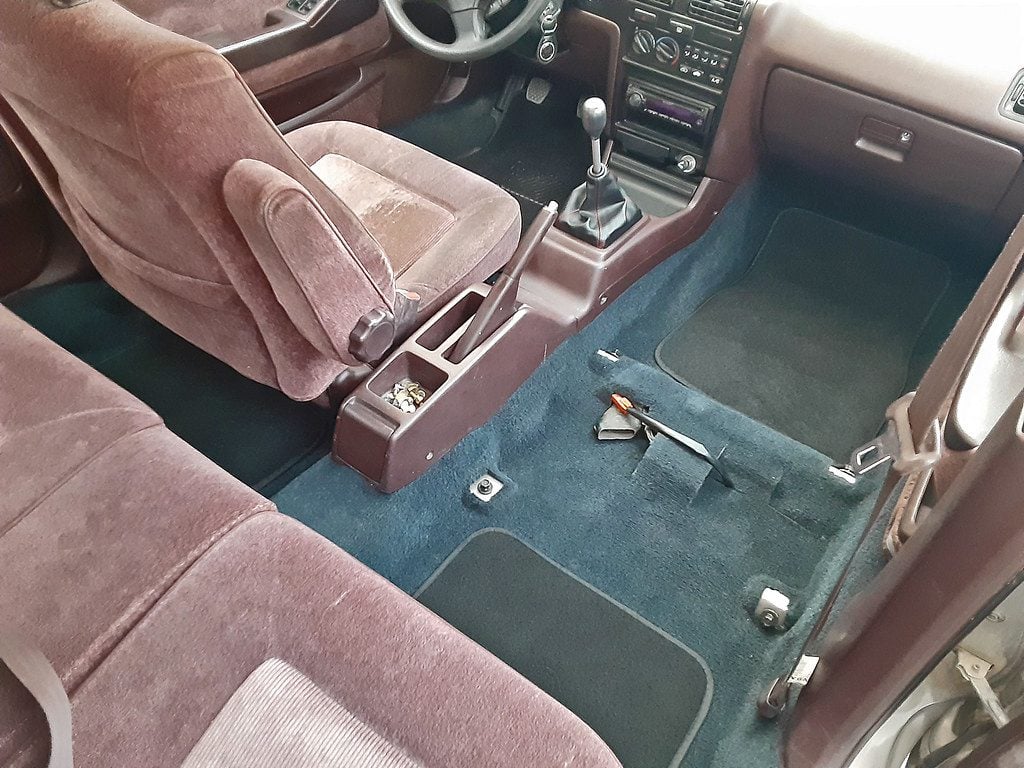
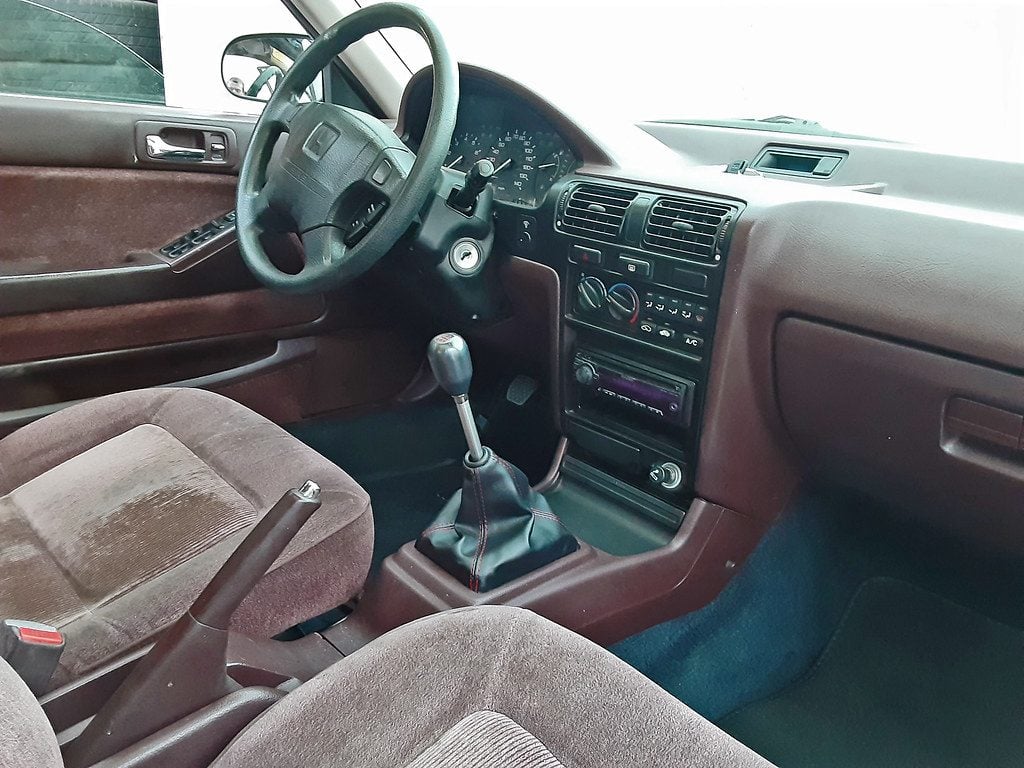
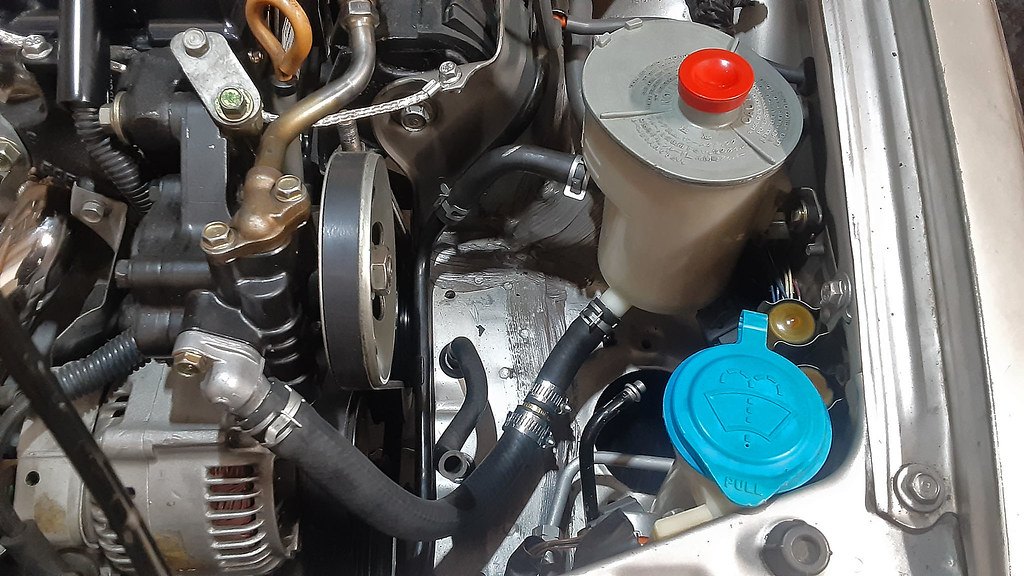
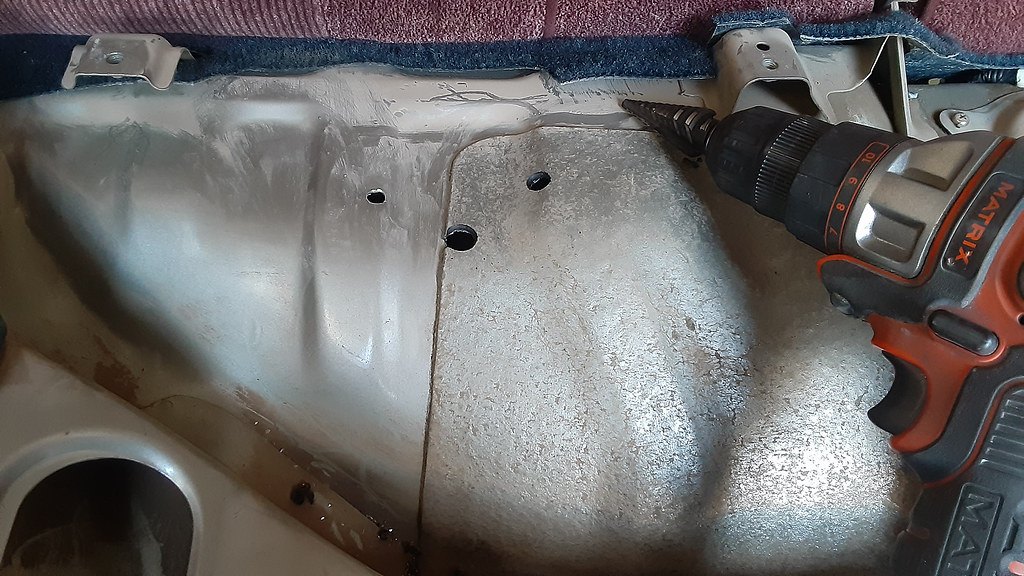
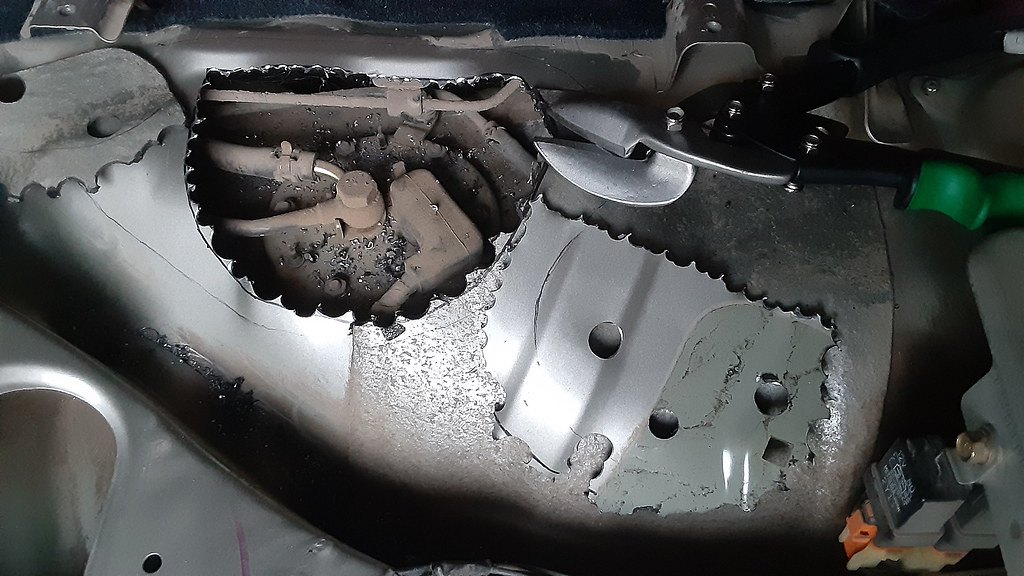
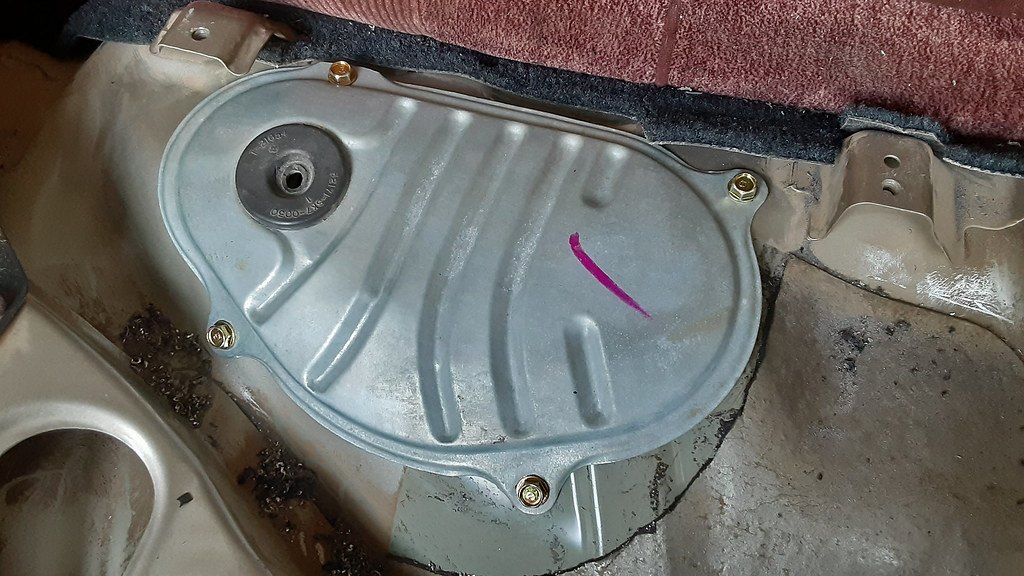
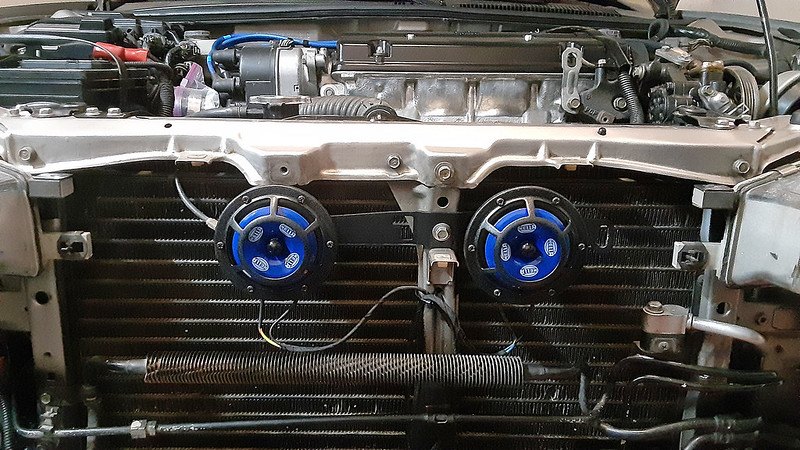
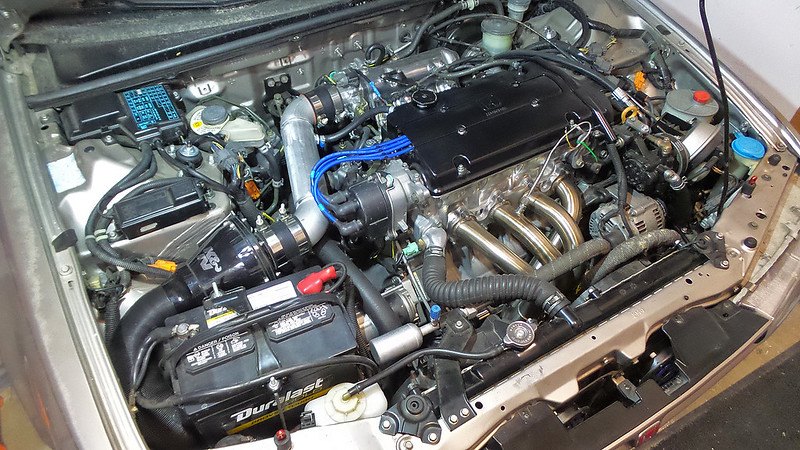
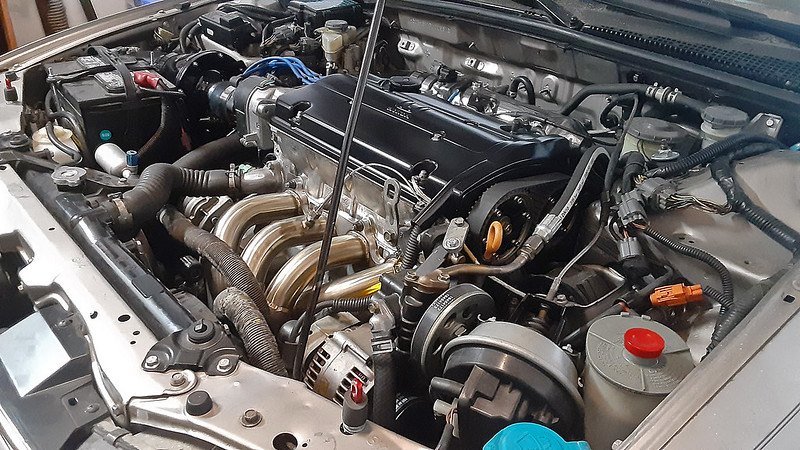
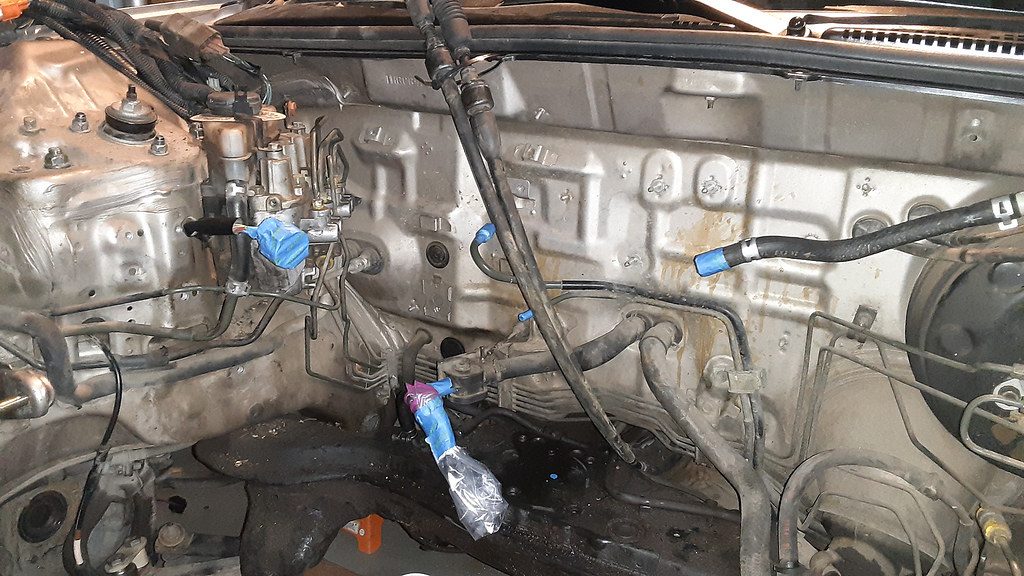
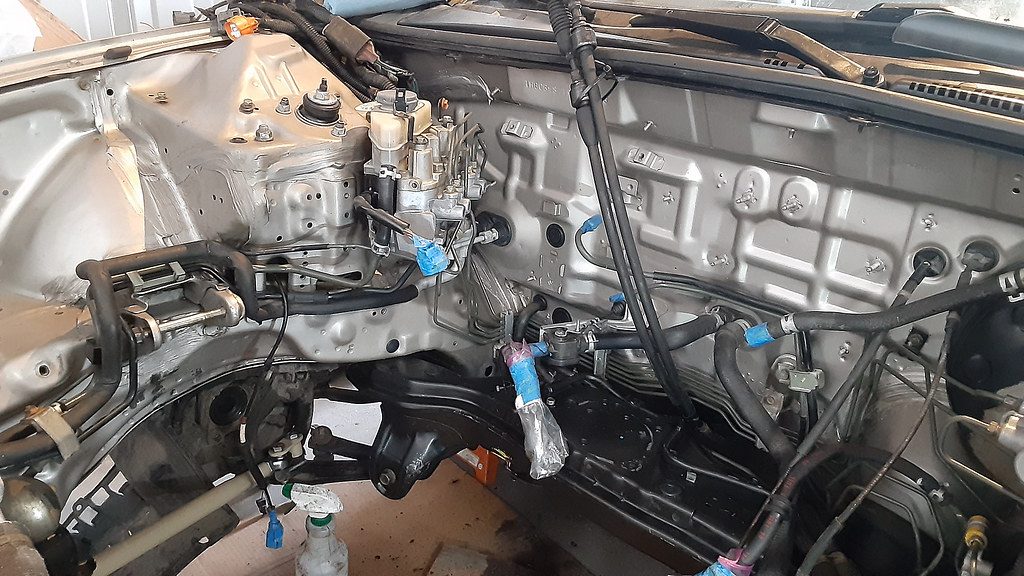
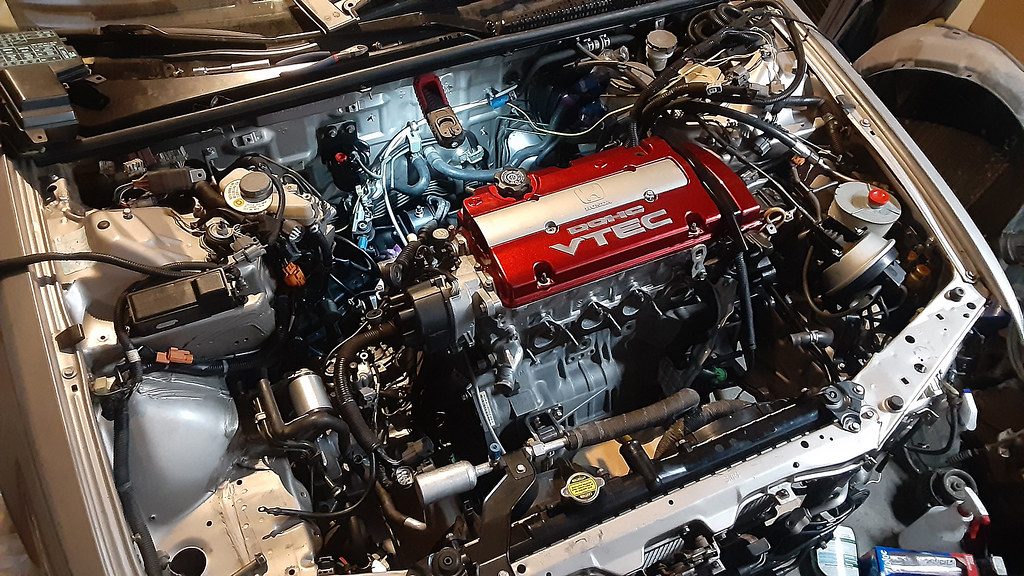
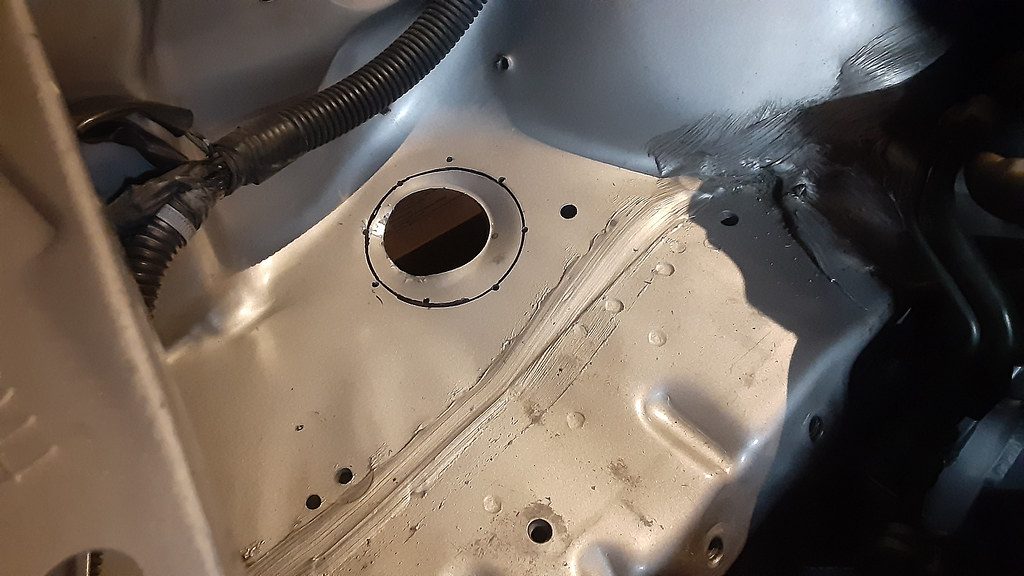
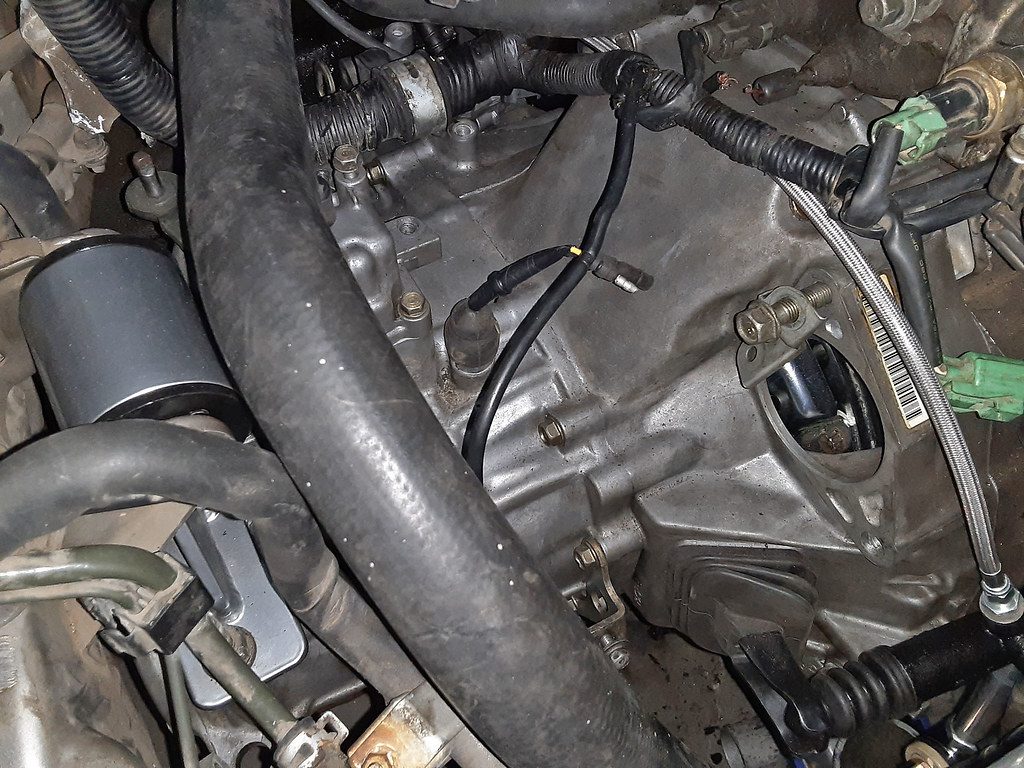
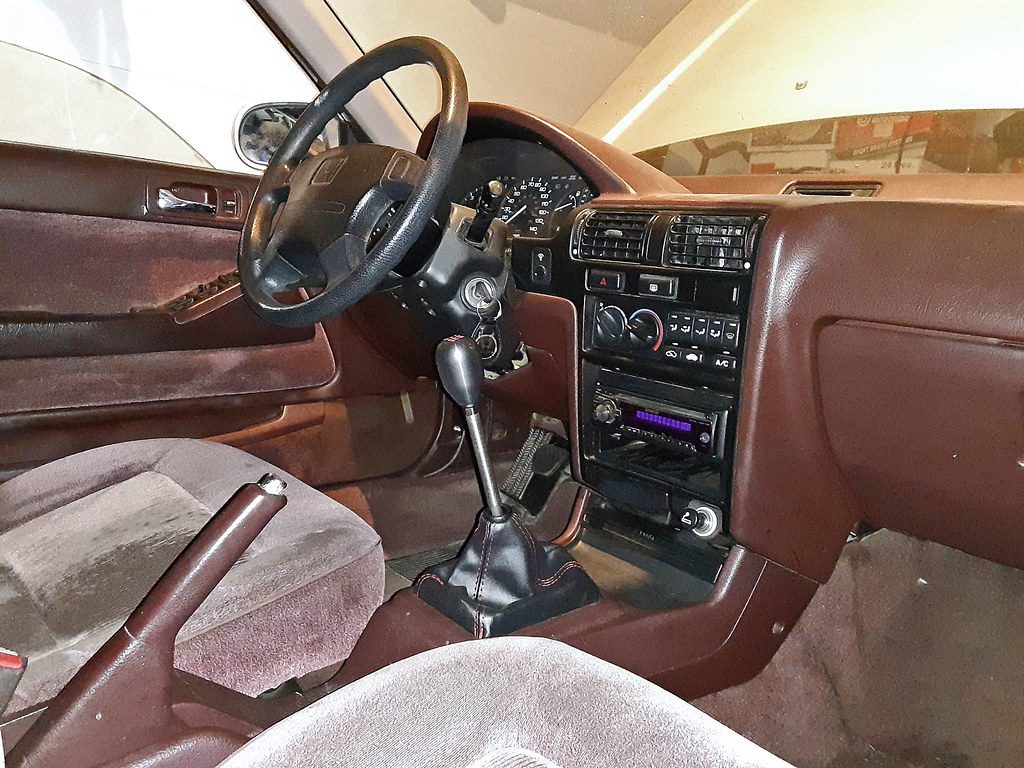
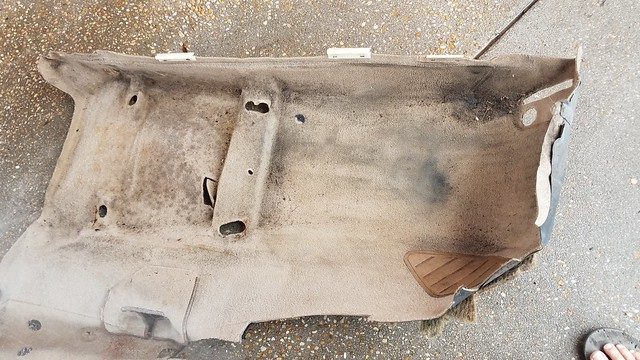
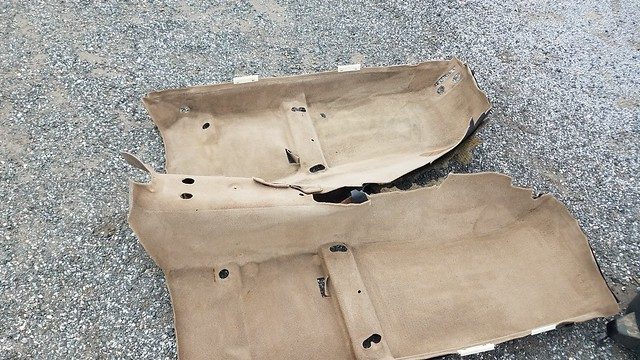
The nearly 300,000 mile engine bay was disgusting, so I took it completely apart and gave it a good detail.


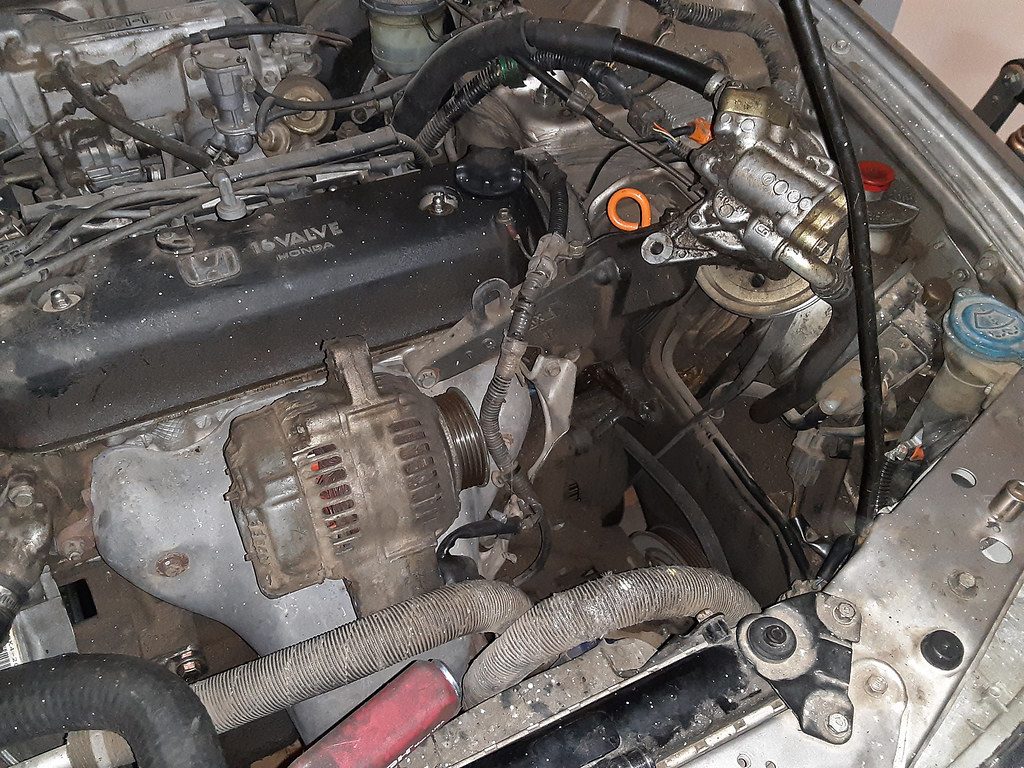
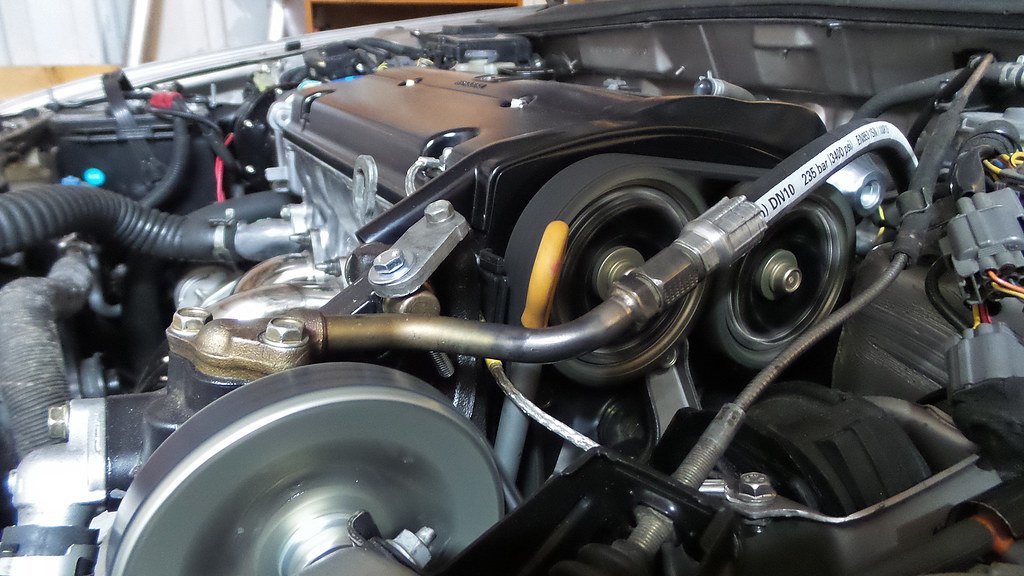
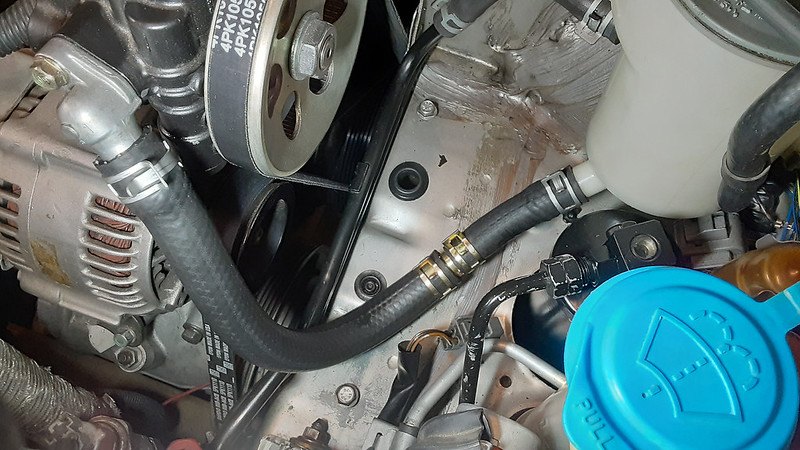
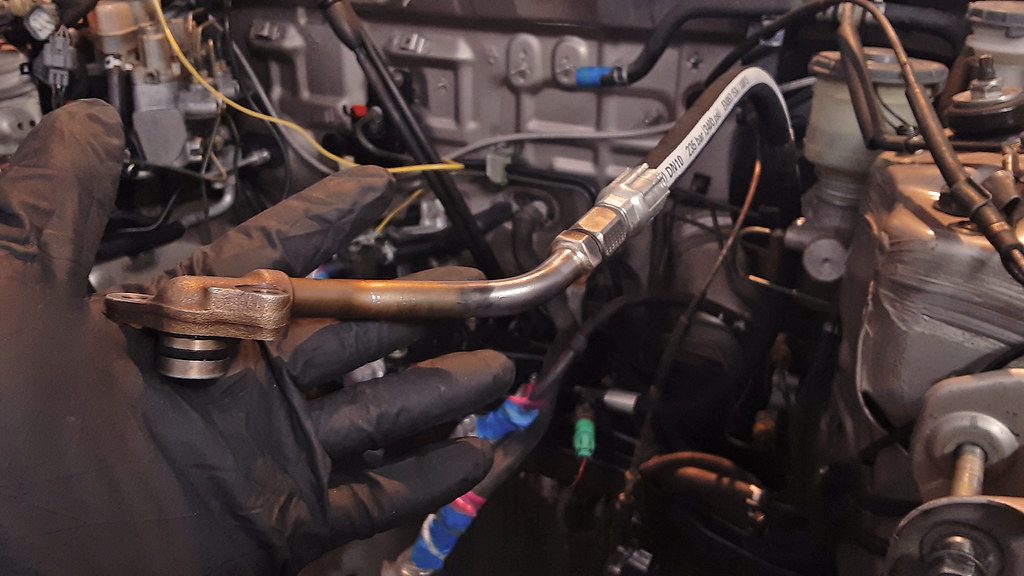
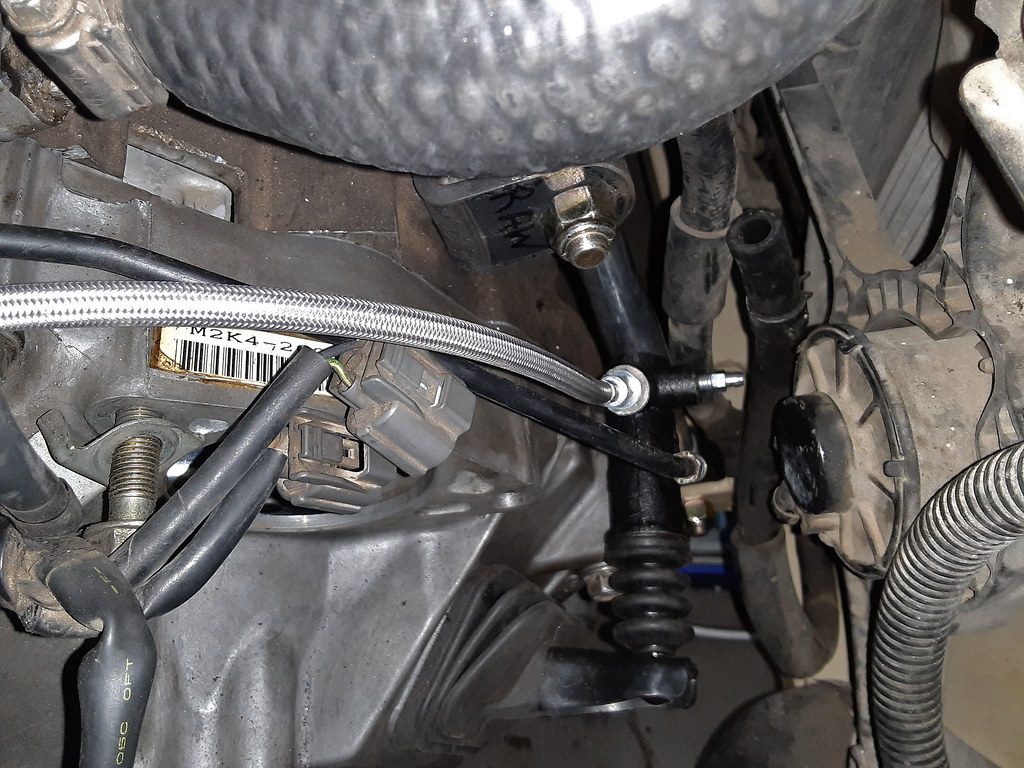
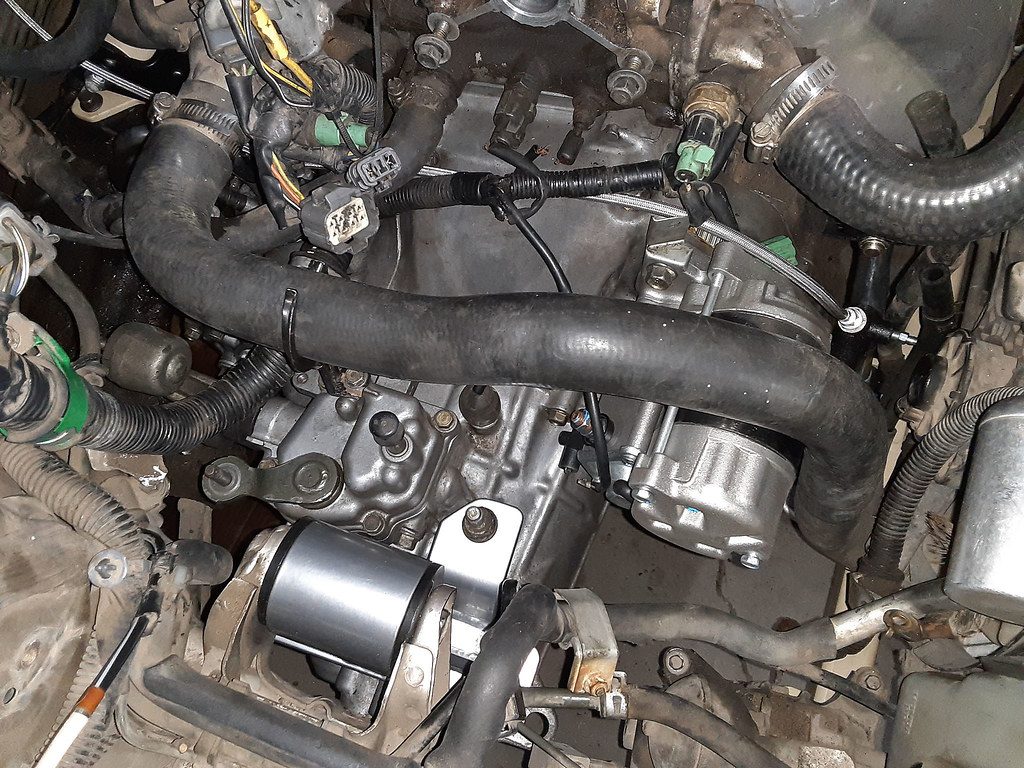
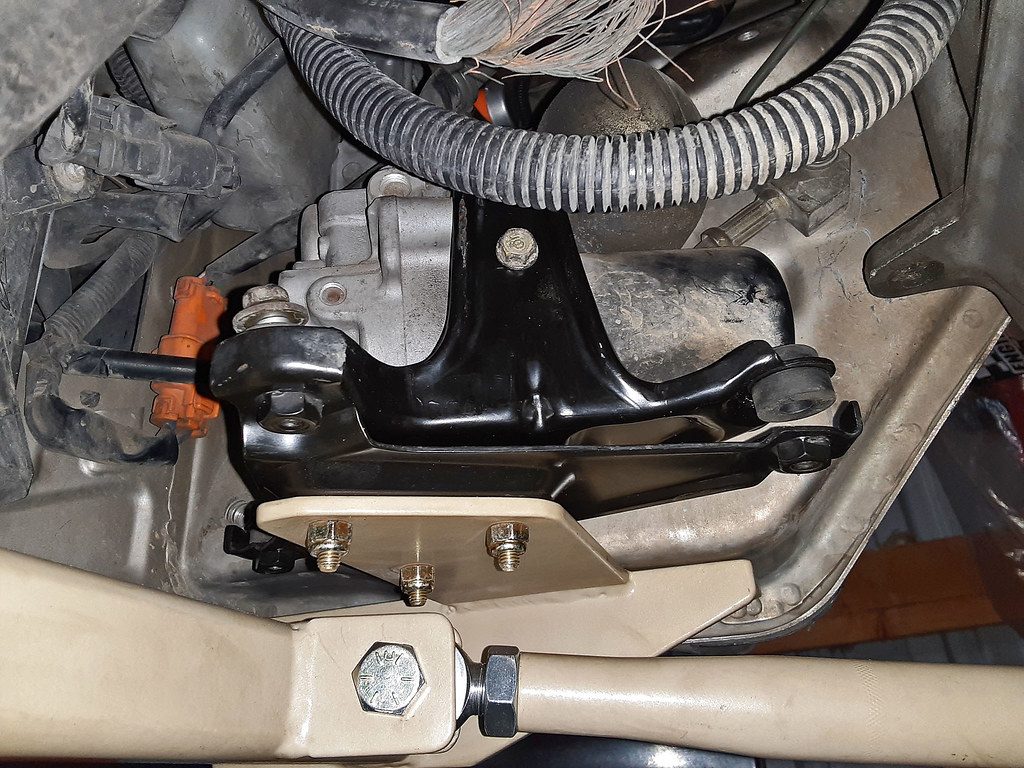
A hydraulics shop made this power steering line for me, so I can run a cleaner-looking 5th gen Prelude power steering pump:


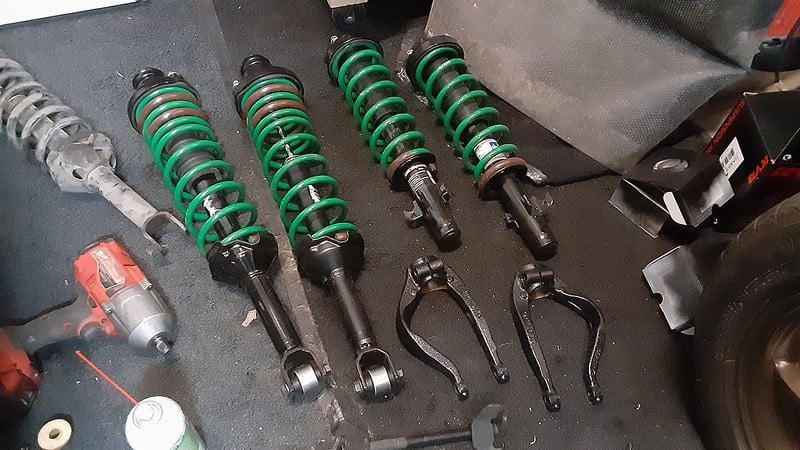
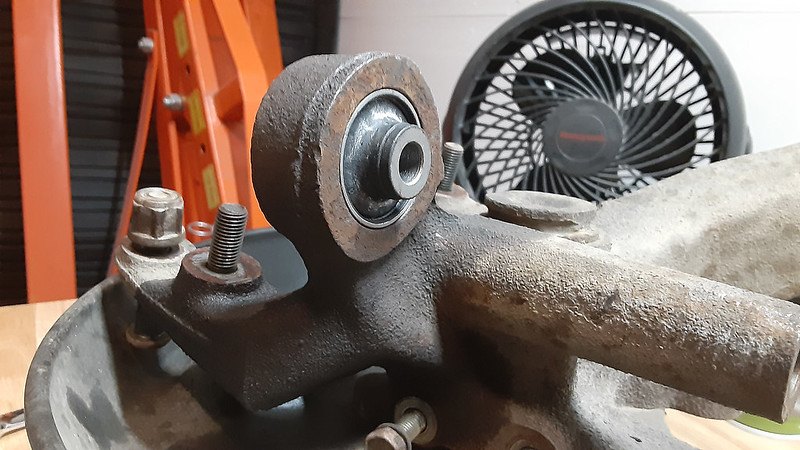
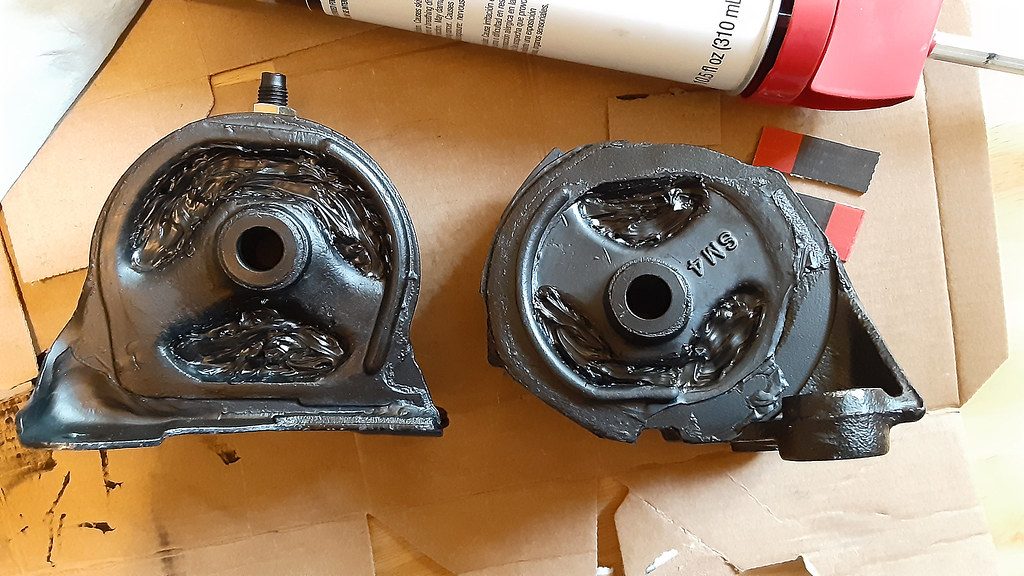
I'd previously run aftermarket engine mounts with 70A polyurethane bushings and they were awful when the engine was spinning anywhere near idle, so this time around I want a more comfortable driving experience. OEM mounts are discontinued, and aftermarket rubber mounts never last long, so I filled some aftermarkets with this 3M 50-55A windshield urethane. Vibrations should be minimal, and this has surely added some longevity to the rubber.


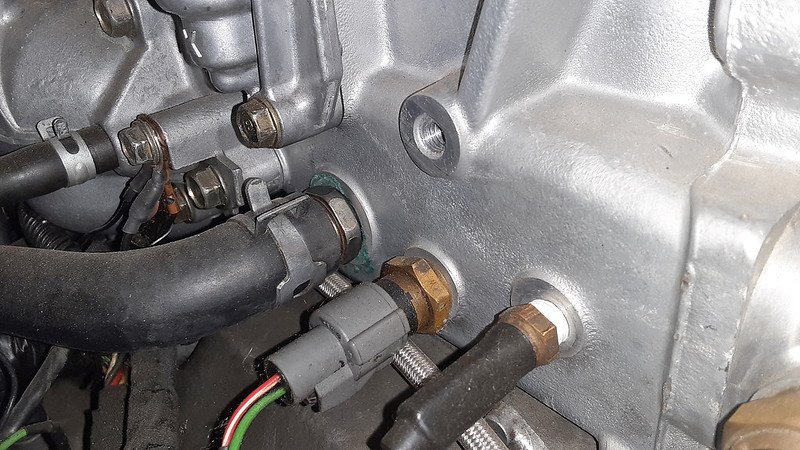
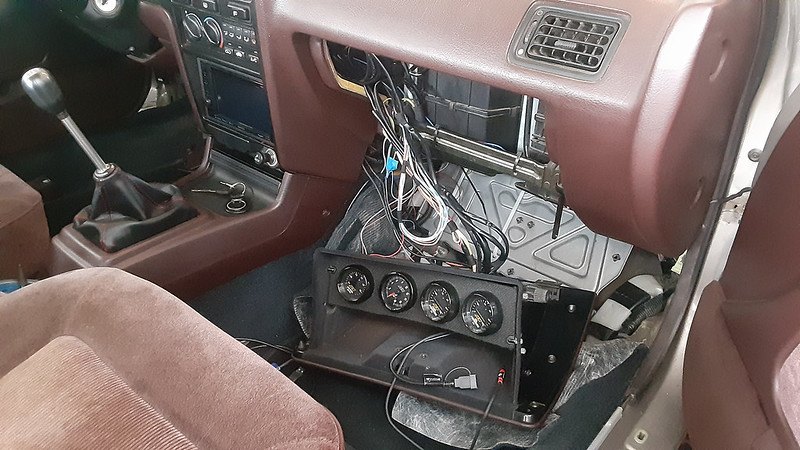
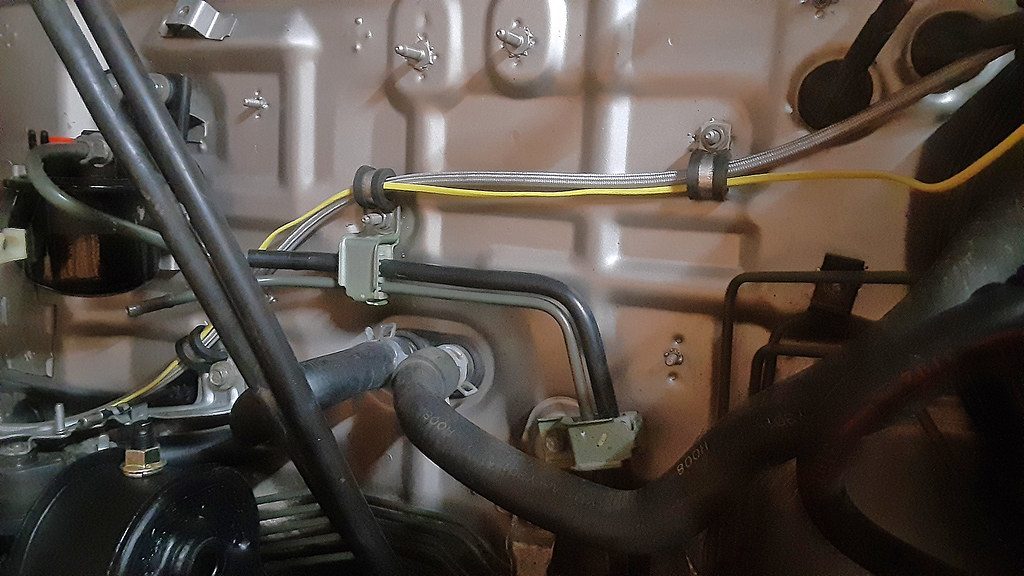
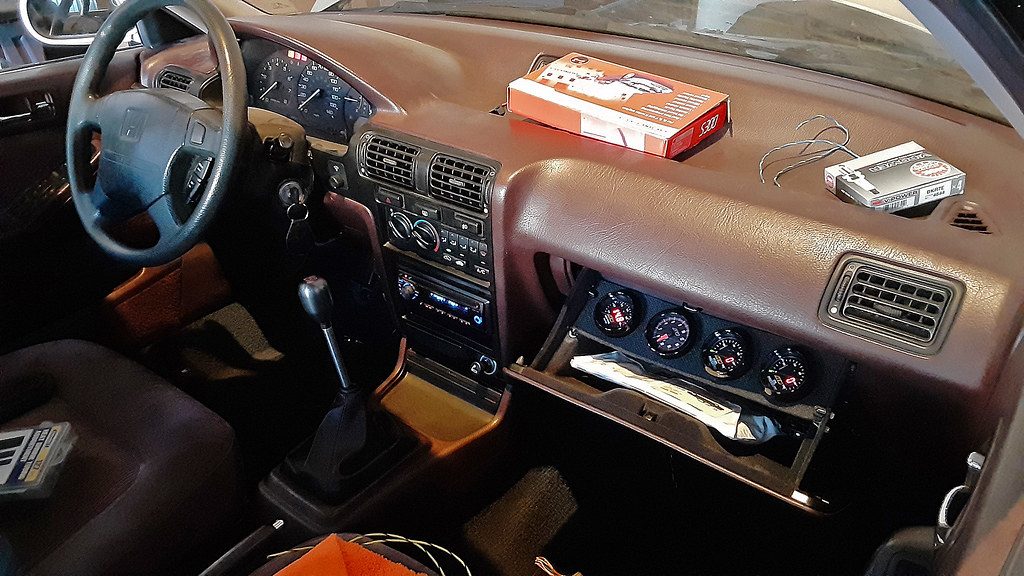
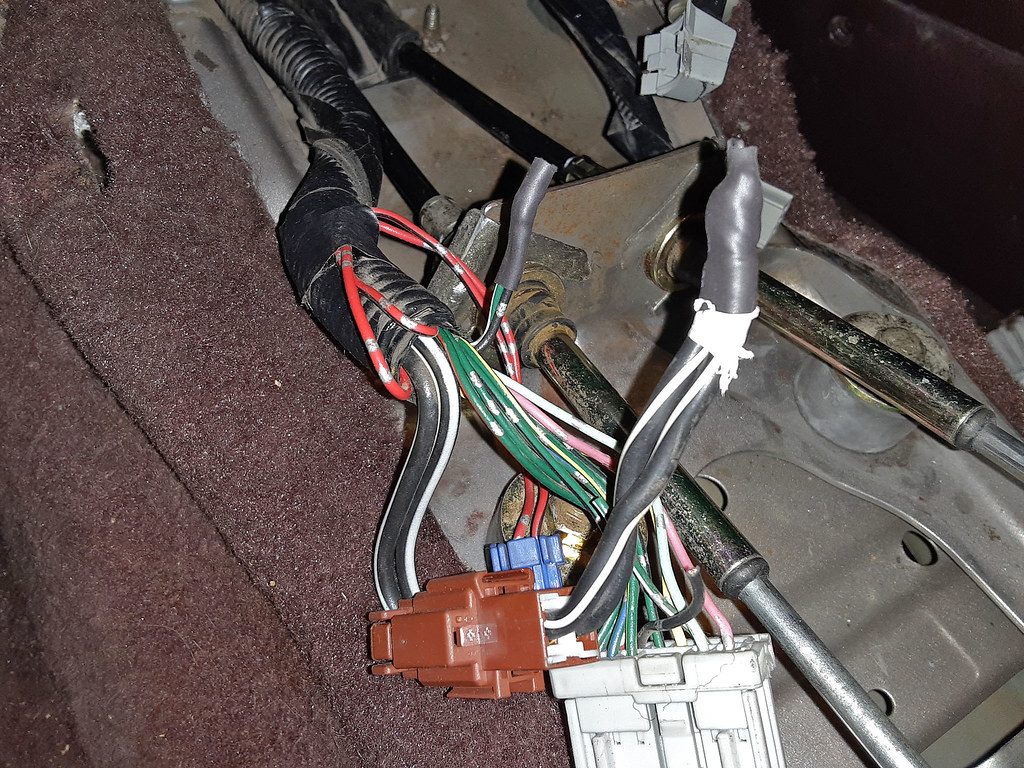
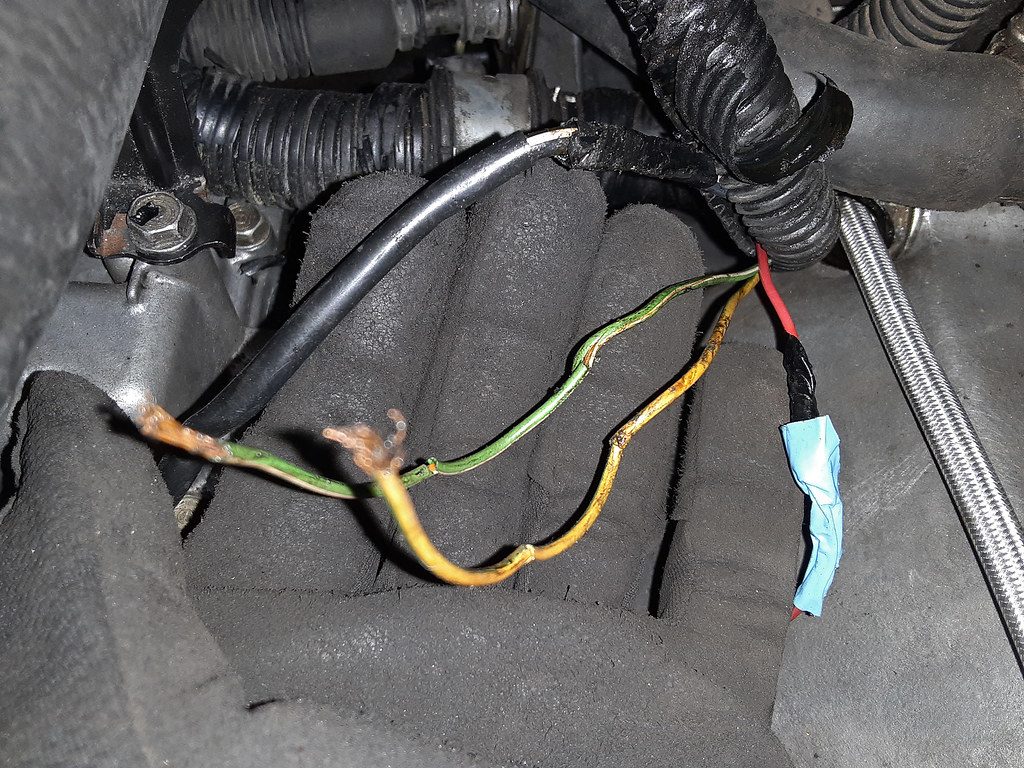
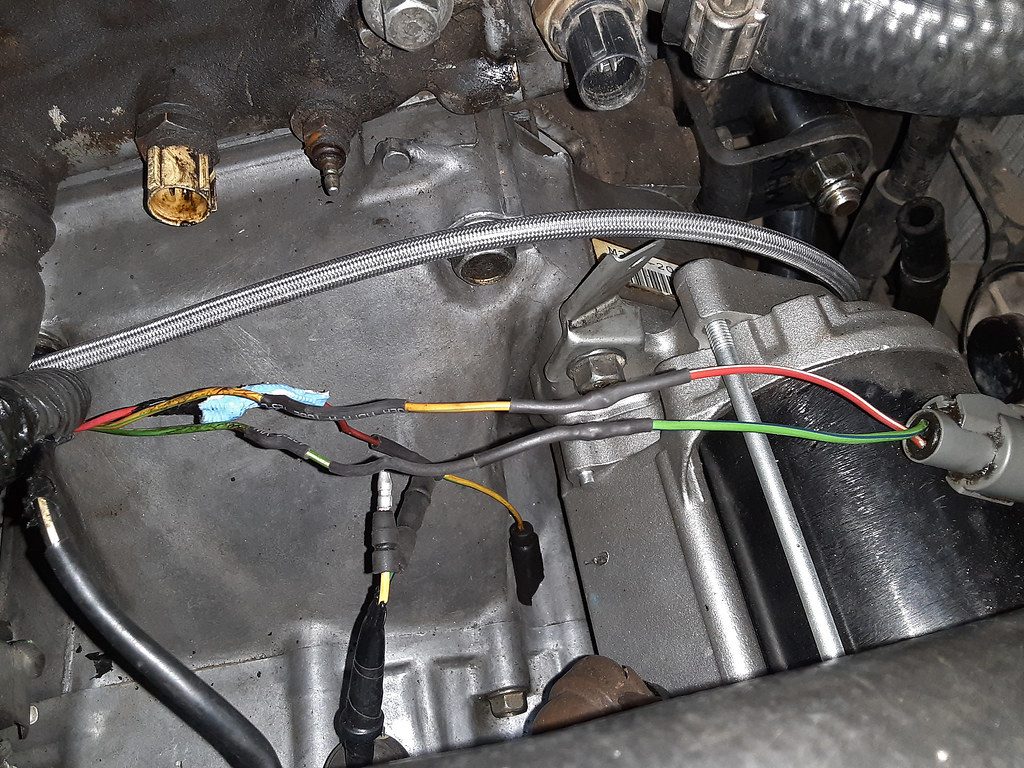
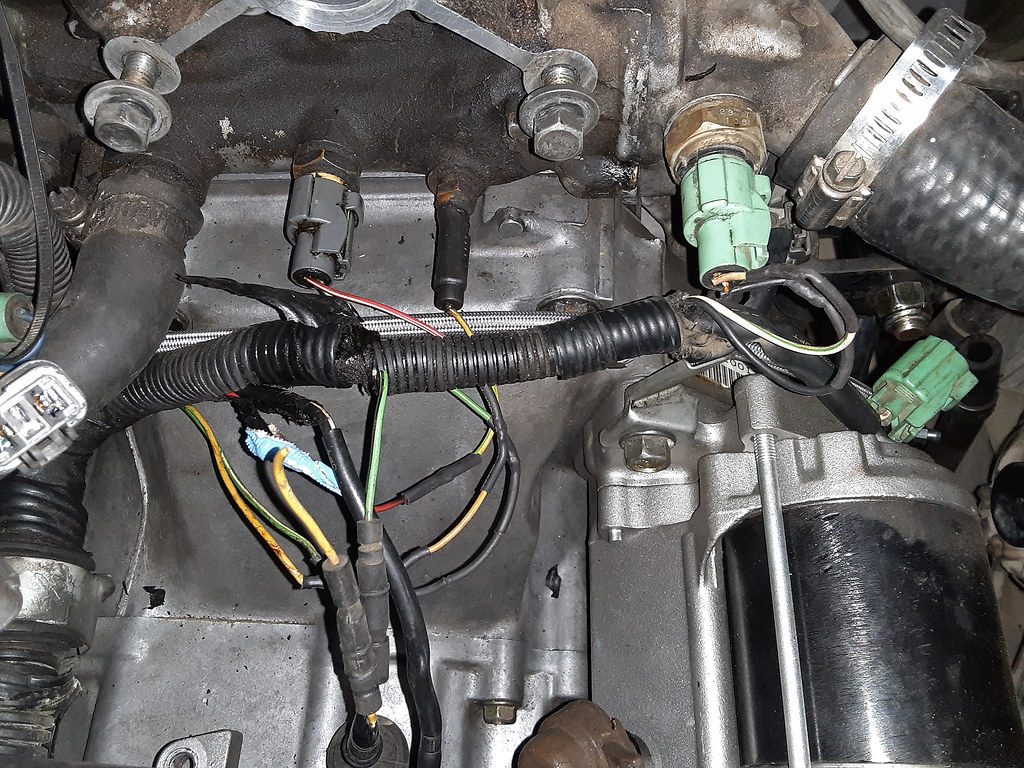
New wires. Gauges, VTEC, fog lights, reverse lights for the transmission conversion.


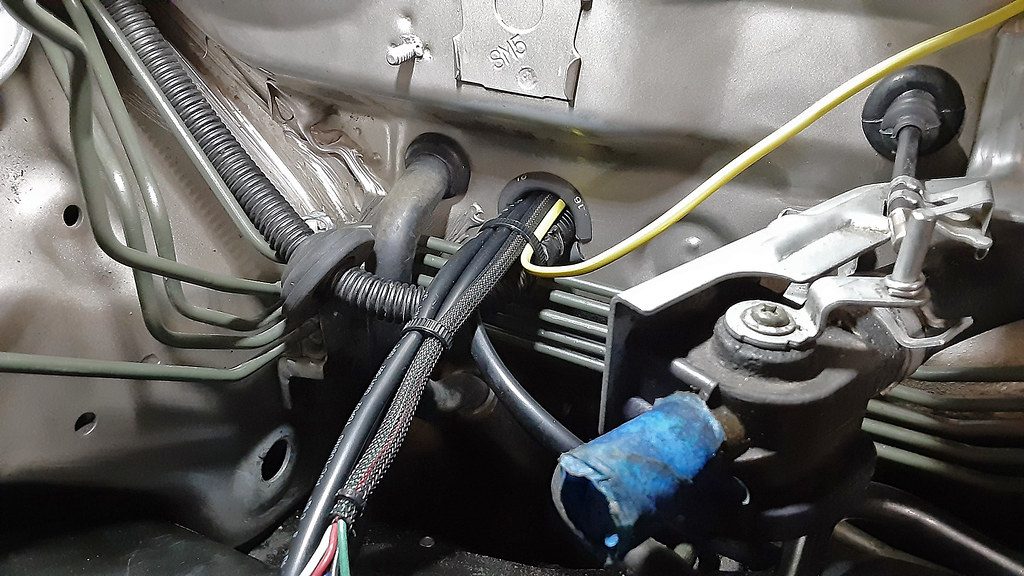
Clutch line and exhaust temp wires neatly secured out of the way.


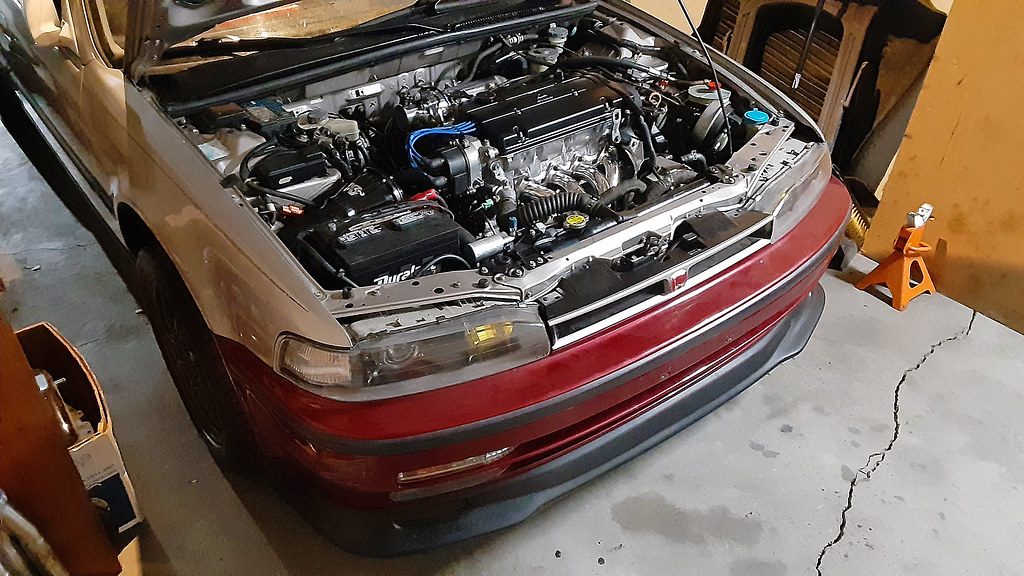
Engine/trans put up a bit of a fight, but it's finally in.


K-series intake manifolds can be mounts to an H22 with an adapter plate, and aftermarket options offer larger plenums and throttle bodies, so that's a future possibility. I sat this RSX Type S manifold in the bay to check clearance, and fitment's looking very good. My Spoon Sports header is also mounted for start-up testing, since the header I'll actually be running needs further modification to fit how I want.


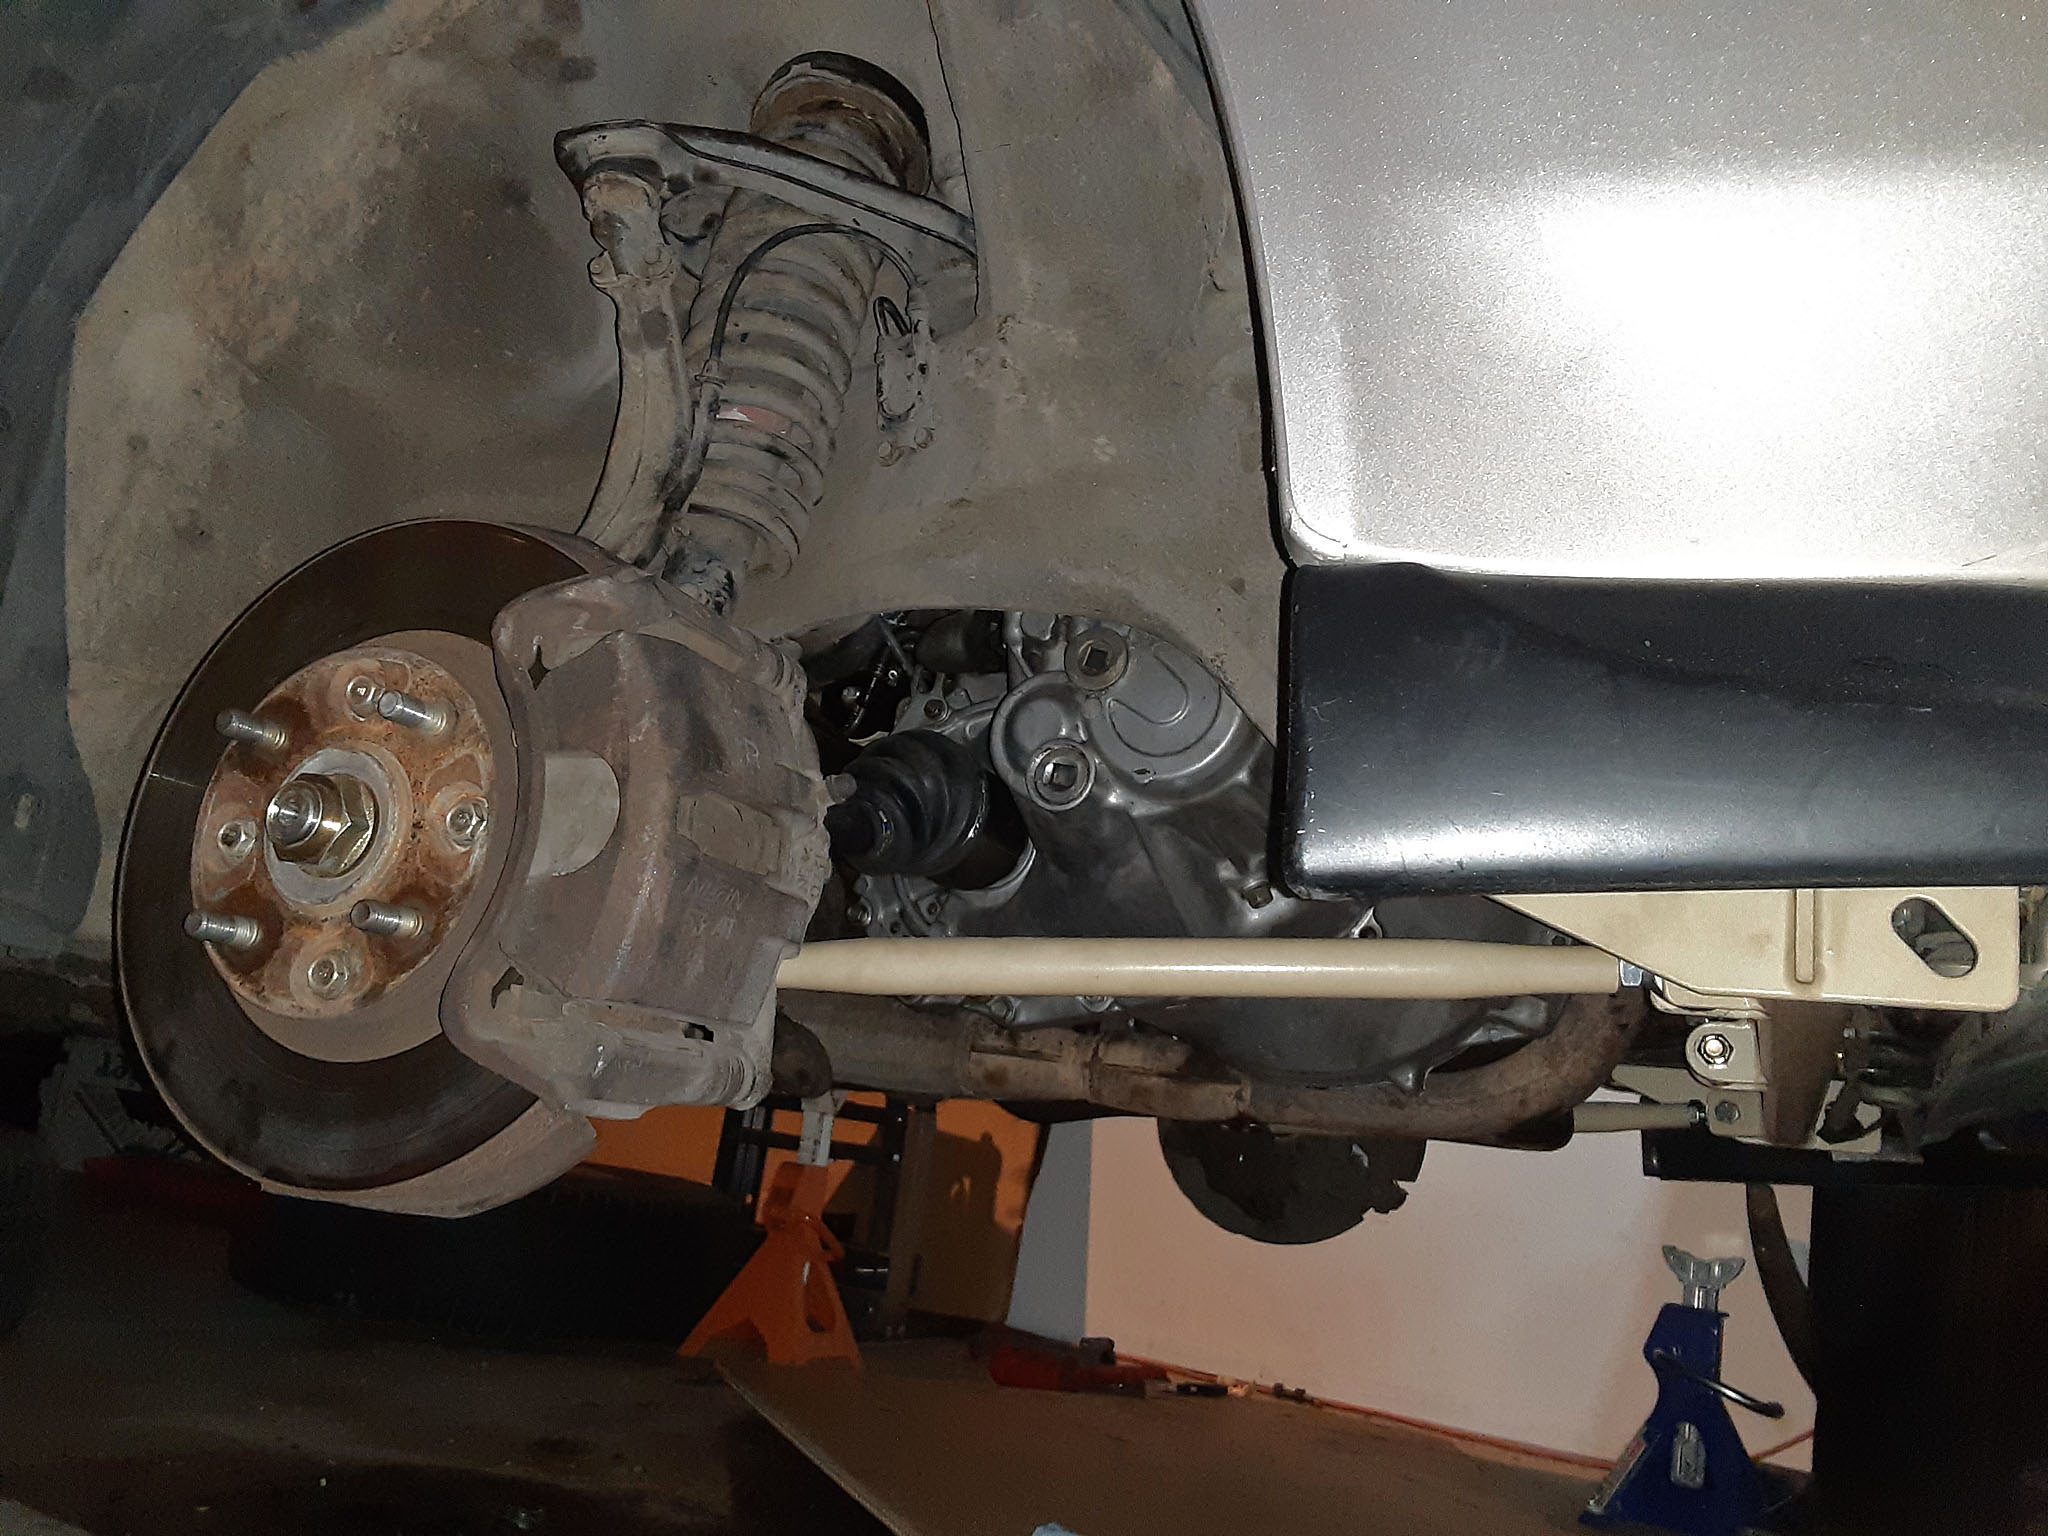
Luckily the smaller power steering pulley unbolts from this aftermarket crank damper, because a belt will not fit between it and the body when it comes time to service that.


The glove box gauges needed further wiring work inside the cabin but, short of getting the exhaust system welded up so I can plug in the wideband O2 and exhaust temp sensors, they're finally ready.


My intake system taking shape:


These NACA ducts that feed the space behind the bumper where the intake draws its air from arrived a bit smaller than I had imagined, but I was at least able to use them to figure out this idea I'd thought up. I'll be ordering slightly larger ones after the car's running and properly blend them into the bumper, but I'm very happy with this result.
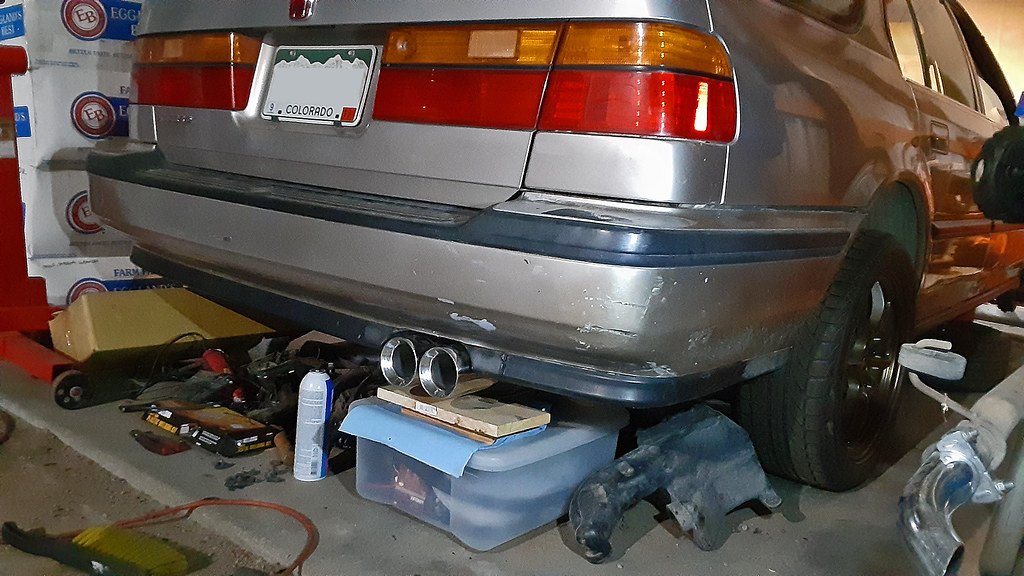
51320396966_ff9740596b_b.jpg


51319659017_9c502c4a32_b.jpg
 
Last edited:
Getting this thread up to speed...

I plastic-welded a coupe/sedan rear lip onto the wagon bumper. The wagon's original tailpipe exit was closer to the corner of the bumper, and required an extension pipe coming off the muffler to reach it. This way opens up options for aftermarket mufflers, and generally just looks nicer in my opinion. It still needs body work and paint, of course, but I had to at least get it mounted so the exhaust system can be properly routed.


The power steering has probably been the biggest headache of this entire build so far. Here I had to find a stepped barb adapter to connect the smaller outlet of the reservoir to the larger inlet of the low pressure side of the pump. Fortunately, this ugly connection is hidden under the cruise control diaphragm when that's installed. The belt is also probably within a couple millimeters of rubbing on the body; I'll "massage" some extra clearance when I eventually pull the engine back out to paint the bay, but it should be okay for now.


I had to pick up an upgraded rear sway bar at this time, since I knew this aftermarket bar is shaped slightly different from the stock one and the custom exhaust will need to be routed to clear it. I also replaced the bushings on the front sway bar with urethane at this time.


One detail that had been bugging me since the manual trans conversion was that the shift boot was just kinda hanging out loose against the shifter. This cool little collar secured it in place for a more finished appearance:


'90s Hondas/Acuras are pathetically easy to steal, and I kept hearing about those thefts even locally, so I got a bit nervous and picked up these locking hood pins. In combination with my under-hood plug that I can pull and take with me to kill power to the injectors, this should mean that if a thief wants this car, they'll have to tow it away. Anything to cost them time...


I managed to score a complete OEM roof rack. The cross bars are especially rare. I'm going to repaint it before install, though. Can't have a road trip car without a roof rack!


Annoyingly, Honda gave the Civics an access panel under the rear seat to get to the fuel pump but not the Accords, so I made my own. And yes, I was aware of the fire risk here if I happened to have a fuel leak in the area, but I was as insanely careful about cutting this hole. The lid is out of a late '90s Civic, that I bent to fit over this corner, stuck neoprene (wet suit material) to the bottom of for a weatherproof seal, and secured with riv-nuts. All this so I could install the upgraded fuel pump, and make future replacements a lot easier than dropping the tank.


I was then finally able to start the engine for the first time in a decade. And as far as the engine itself was concerned, my only issue was a slight oil leak that was easily fixed. The power steering pump was still giving me grief (that's the rattle you hear in the video below; it wasn't getting fluid from the lower-mounted reservoir), but I ran out of time and just took the belt off for now. Last Saturday, the car was dropped off at the shop who will be doing the intake/exhaust fab and dyno tuning. However, they're swamped, so I've no idea when they'll get to it.


Catching this thread up to date...


Took the car to the tuner/fabricator:


It didn't work out. The shop was having trouble holding on to employees and it was just the one owner taking care of all his clients, and the car just sat for two months. Sucks because he was a known good Honda specialist, but I got impatient and took the car back to get more work done to it with parts I had been collecting in the meantime:


Installed a full stereo system; deck, speakers, and stand-alone GPS:


I'm extremely detail-oriented; replaced the standard "Unleaded Fuel Only" reminder with one for Premium to match the new engine:


Installed some Hella Sharptone horns, painting the yellow cages black in an effort to hide them, since behind the grille was the only place these monsters would fit:


Tried to replace the A/C condenser, but that was a fail. This aftermarket unit was just poorly designed and didn't actually fit without me having to drastically cut up the core support to clear this little pipe. I've since found that Denso, the OEM, still offers the factory one, so I'll pick that up at a later time.


My power steering adapter was leaking a little, so I addressed that. Had to beef up the stepped fitting between the two differently-sized hoses using plumbers tape and heat shrink, got a pack of OE-style constant-tension hose clamps, and it seems to have solved the issue:


Also discovered a coolant leak. I seem to have forgotten to seal the threads on one of these head fittings. Simple, but annoying, job of draining half the system and putting some high-temp thread sealant on:


Coilovers aren't coming until the big 'chassis/suspension/brakes' build I have planned to do all at once, but that is a very long way off and until then there is no way I'm driving this car around at stock height. Got some Tein S-tech springs that lower the car two inches, and then completely rebuilt the rest of the strut assemblies to OE spec. This same setup served me well on my old sedan. The only parts I had to salvage from the old suspension were the bump stops (had to shorten them, per Tein's instructions) and rear shock boots:


Of course, nothing can ever be so simple when working on an old car. The fronts went on without issue, but when I got to the rears, the bolts holding the bottoms of the struts onto both spindles were seized into the bushings. The bushings themselves were bad anyway, so I got new OEM ones. I had to dip into the dyno/fab savings to buy a grinder to cut the old bolts off, and a press kit to replace the bushings. I look up in the wheel well, and the camber arms securing the top of the spindle to the chassis are also bad, so I spent even more money replacing those with some adjustable units. Yeah, this car's going to be another winter in the storage unit before it sees the road...


Once the chassis build comes, there won't be so many colors under the car, but for now:

 
Last edited:
With the car just sitting until spring, I was bored and test fitted the roof rack before restoring it as planned, just to see how it all secured together. This thing's solid, and with the six mounting points it's honestly got me wondering if there's any unibody rigidity benefit to it like with the more sturdy kinds of strut braces...


Did some online window shopping for a roof box for when I start driving this thing out of state, and boy are they pricey if you don't want some ugly, flimsy thing up there :scared:
 
Last edited:
Big step in the journey finished up earlier this week, getting the custom intake and full exhaust welded up. There are a few things I want to tidy up on it, but I'm crossing my fingers that next month is finally the time for dyno tune and registering the wagon to get it back on the road...

 
Very cool! I'm following you on Insta now (stratus.z4coupe).

Engine bay is looking 👌
I was wondering why a Z4 owner was following me, haha, it seemed so random. Beautiful car you've got there. I have a list of contenders for one day when I have the room for another car, wanting something non-FWD for once, and a Z4 coupe is up there. They're criminally underrated imo, but I suppose if it means they'll remain affordable I won't complain!
 
I was wondering why a Z4 owner was following me, haha, it seemed so random. Beautiful car you've got there. I have a list of contenders for one day when I have the room for another car, wanting something non-FWD for once, and a Z4 coupe is up there. They're criminally underrated imo, but I suppose if it means they'll remain affordable I won't complain!
They're incredibly rare, so they aren't that affordable anymore! At least not around here in the UK. They're not far off the same cost as a 5-year old Toyota 86 GT, while these are 10 years older... but they are incredible cars.
 
Should be contacting the dyno tuner in the next week or two. I spent some time in May getting it ready. My gauges (wideband O2, exhaust temp, fuel & oil pressure) were wired up to function, but weren't connected to the ECU for the tuner to take advantage of, so I did that. I also used the opportunity to clean up my wiring mess, and to run an aux wire from the back of the stereo to the glovebox to join the stereo's USB...

52948449291_e10b65b3ec_c.jpg


I discovered a slight oil leak, which looks like it might be coming from the new cam seals, so I've got new OEM seals on the way. I think I'll wait until after the dyno to address it, though; I really need to get this thing on the road so I can park the daily driver and get some work done on it.


Also, another engine bay shot, because I love this thing, haha:

52948589169_9912d4136e_c.jpg
 
Last edited:
Back