- 5,615

- Druids Bend
- Z4E_Midnight85
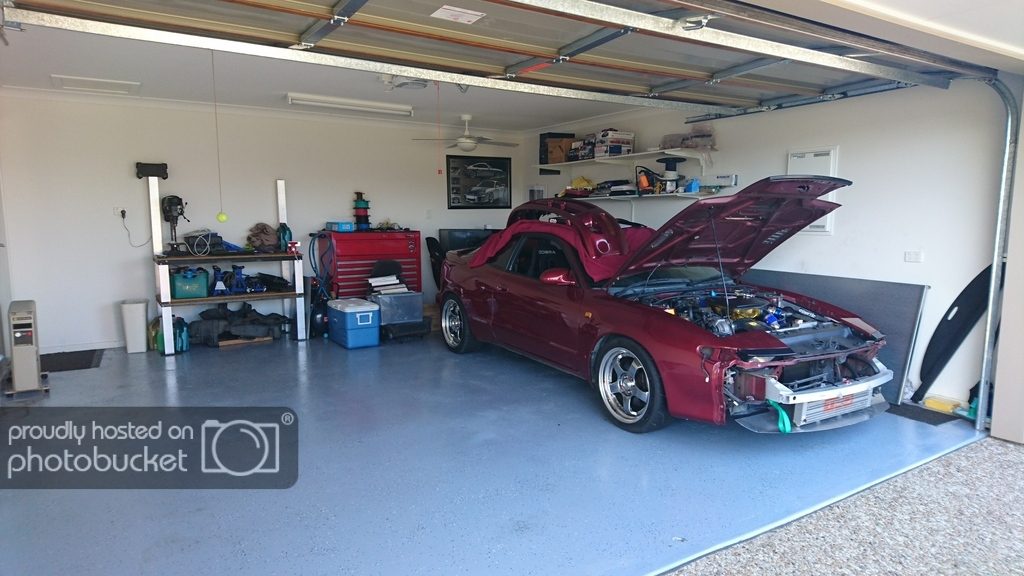
Good bit of progress you've been making there! Makes me wish I had a garage...
I've nearly always had a garage in all the places I've lived, with the exception being the house I rented just before buying this house. I hated every second of it. And so did my wife lol. She had to put up with me a whole lot more when I didn't have a man cave and a project to keep me out of her hair..Good bit of progress you've been making there! Makes me wish I had a garage...
")
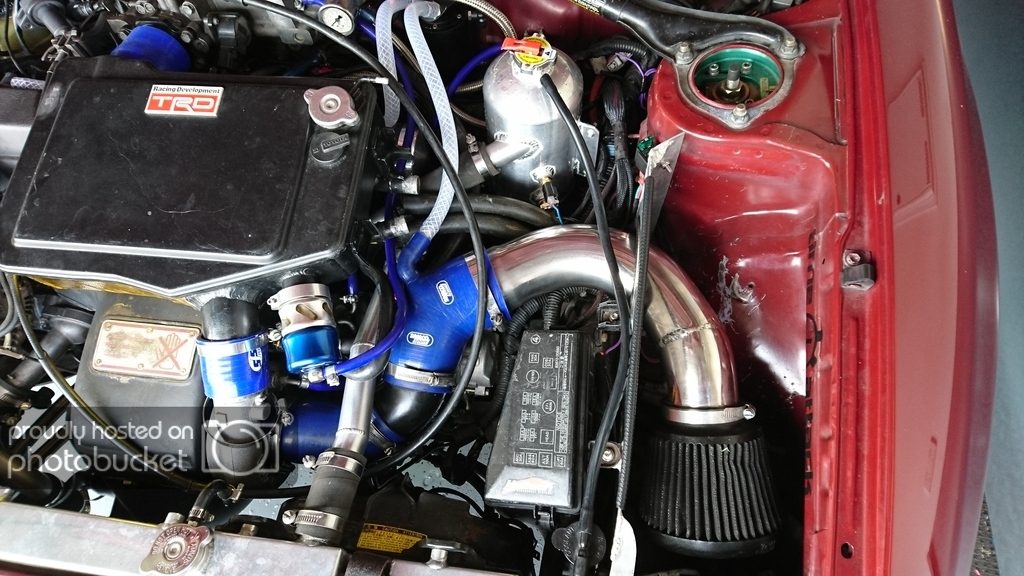
Looking great! Puts my engine bay to complete and utter shame!
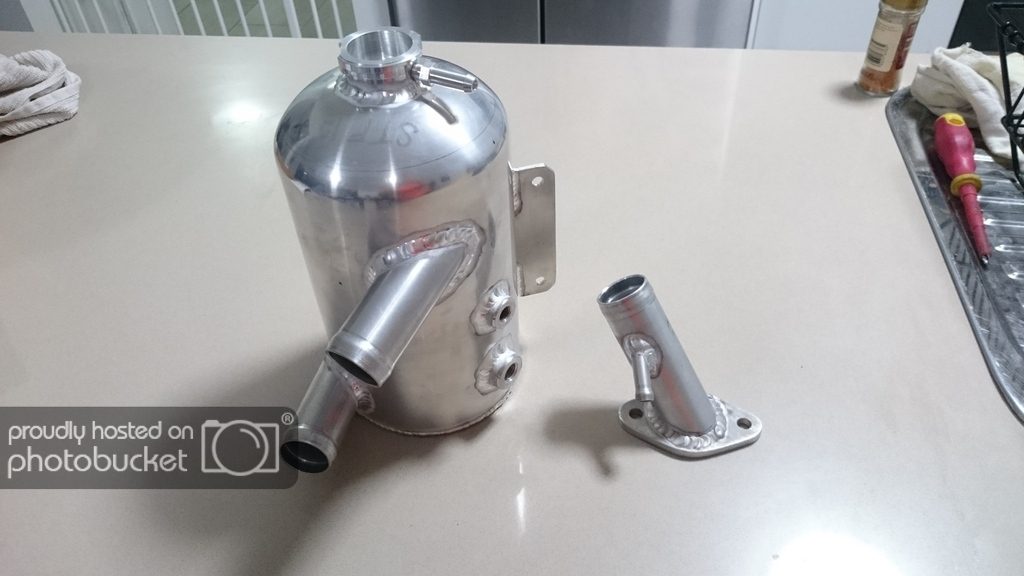
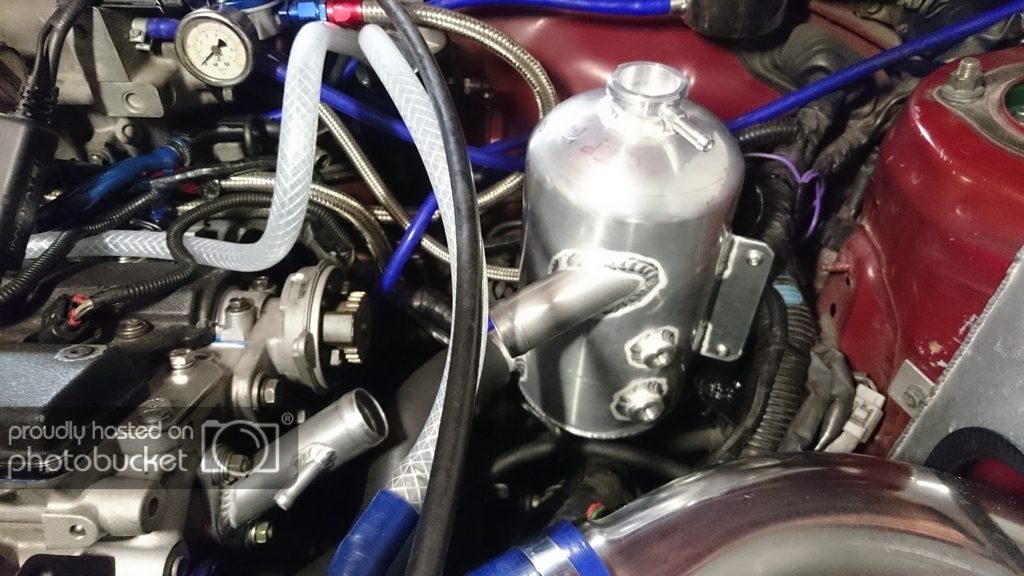
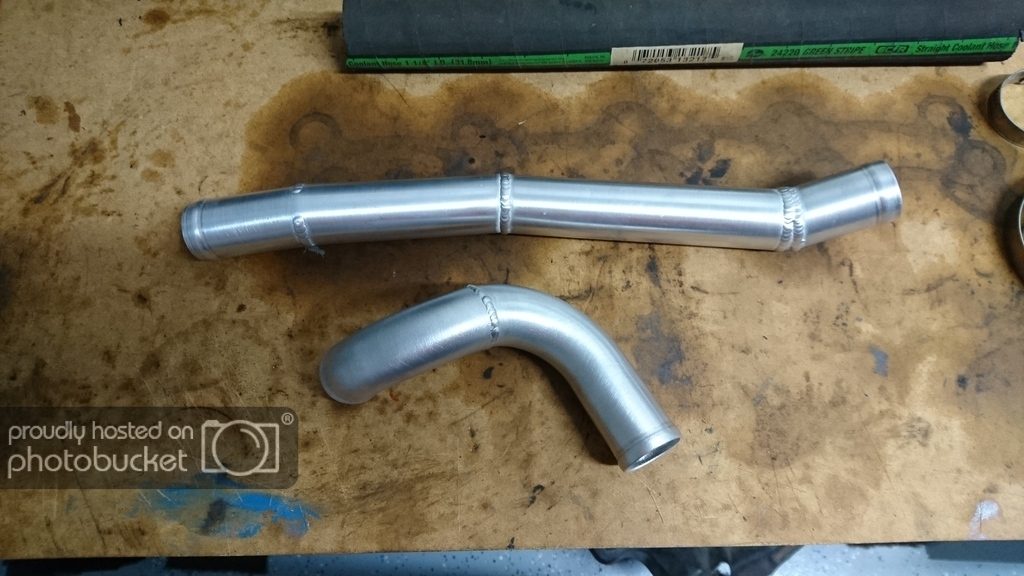
New tank and water neck are finished
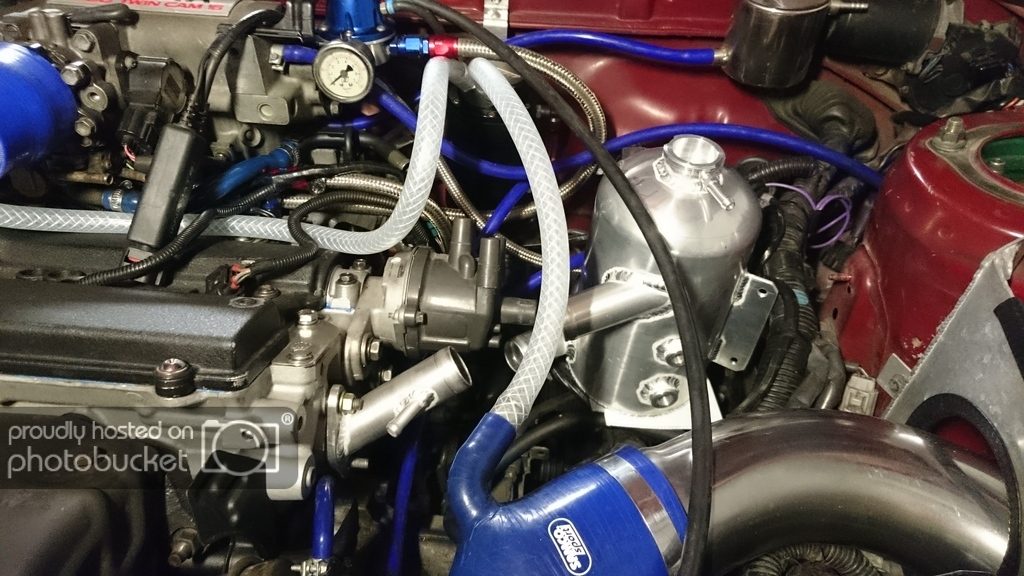
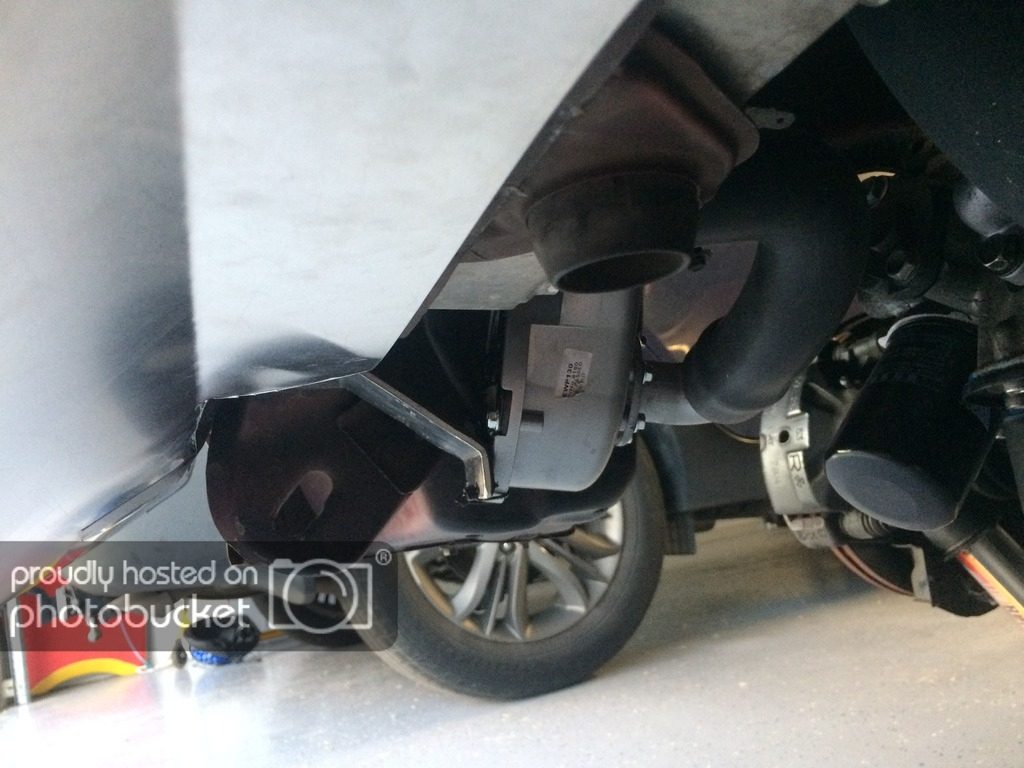
And to give you an idea of how it's going to to sit:
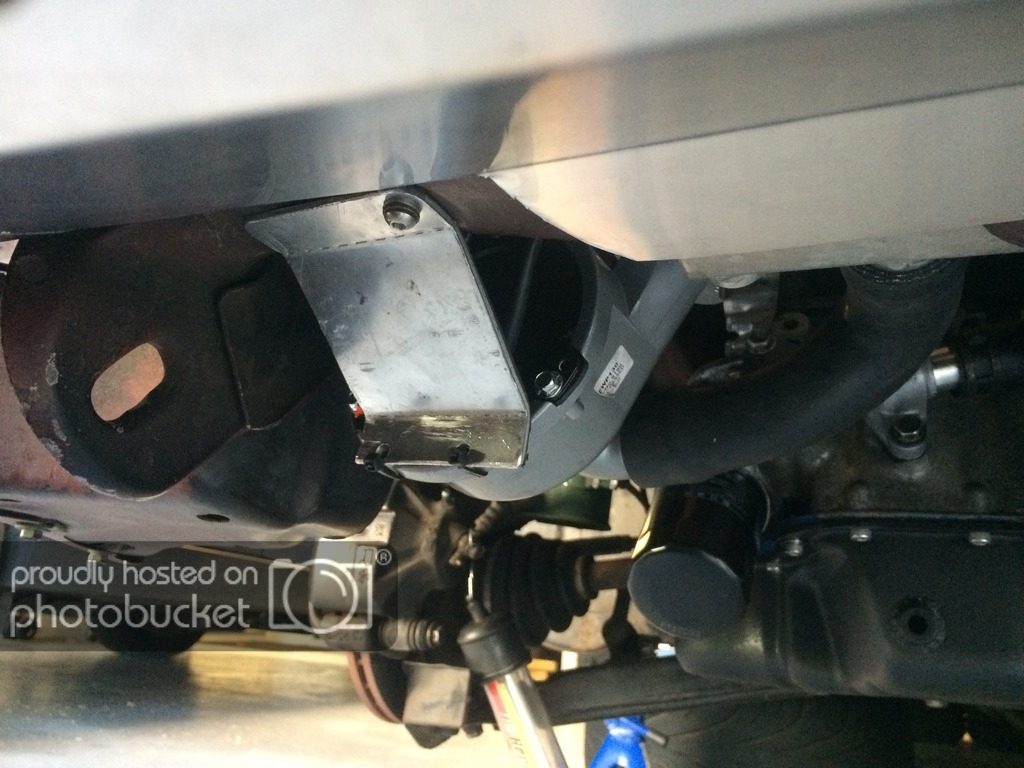
I need to fabricate a bracket to secure it, which won't be too difficult.
I measured how much water it takes. Roughly 2.2L. Condidering the whole system holds 8L, it's a significant increase in volume, which will also help with the performance of the cooling system.
Haha thanks, it still looks messy as there are still things floating around not installed in there but once it goes back together properly it should scrub up alright.Looking great! Puts my engine bay to complete and utter shame!
I like that it actually looks like an engine bay, not like the sea of plastic in my BMW engine bay!Haha thanks, it still looks messy as there are still things floating around not installed in there but once it goes back together properly it should scrub up alright.

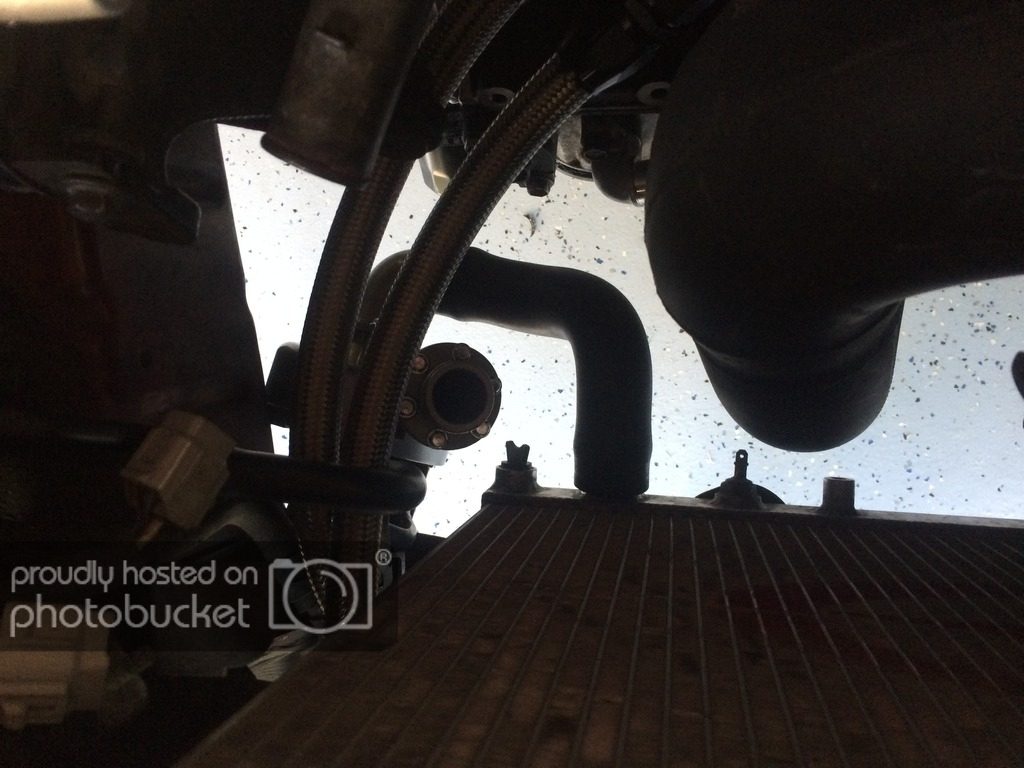
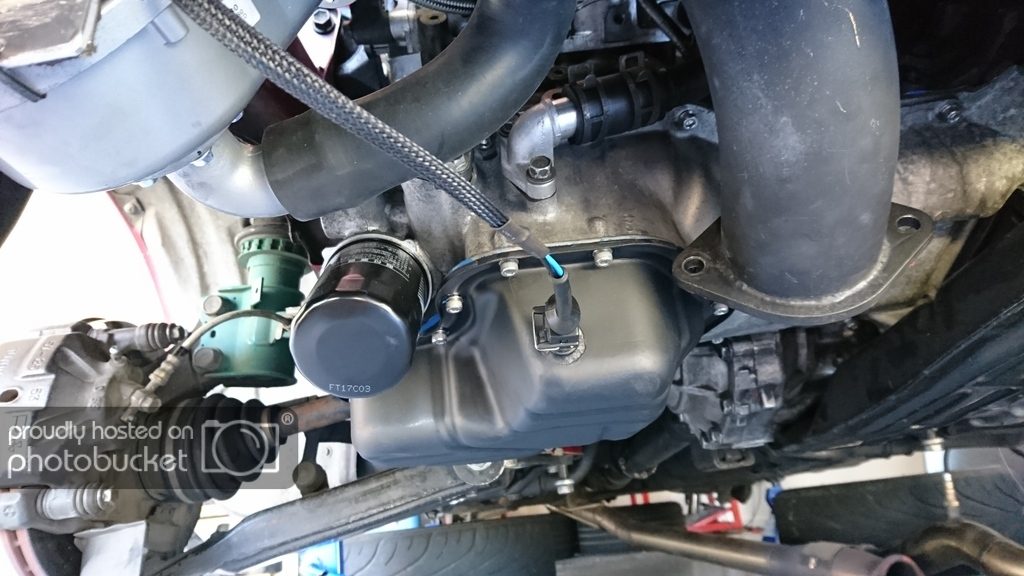
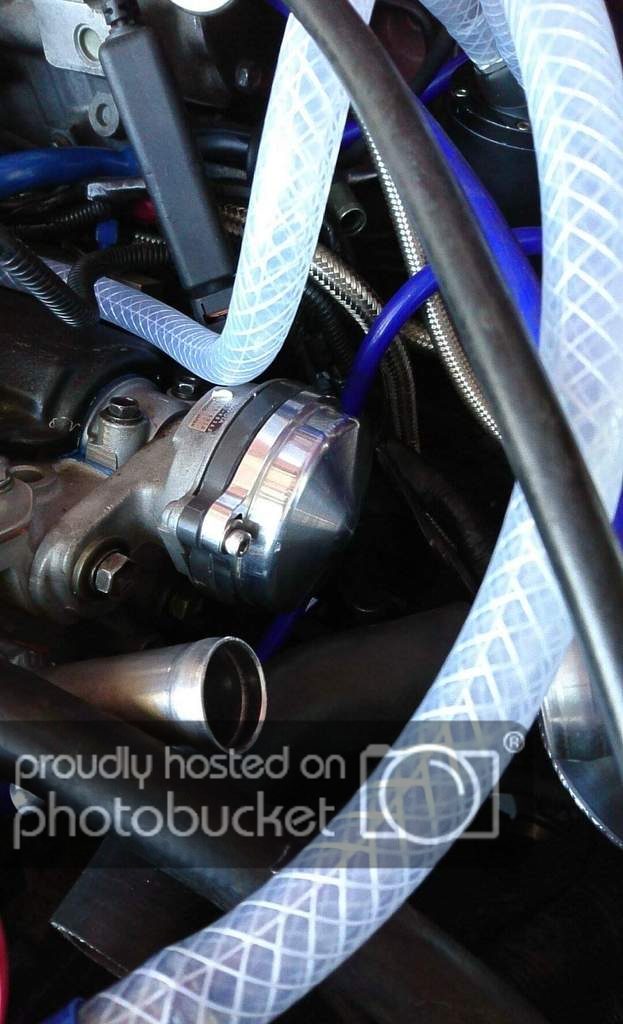
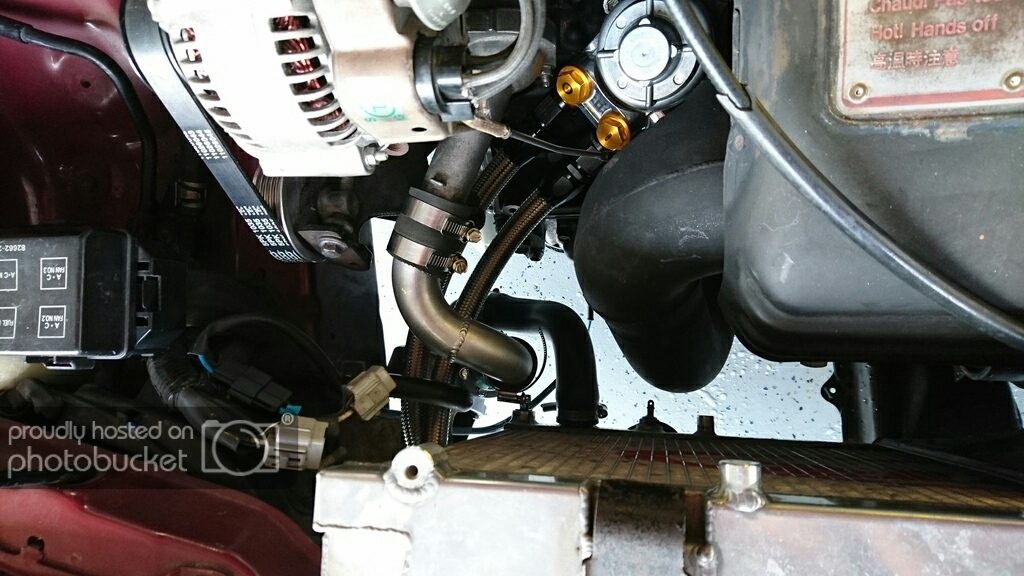
Turbo return line. It actually only has about a 6mm hole through in to the neck to limit flow, as the turbo doesn't actually need that much flow and I don't want to create too much of a bypass past the engine.What's the little hose fitting off the back of the head for? Based on the direction it takes, it's for water coming from somewhere after the pump rather than going to something? Also the 2 threaded fittings on the side of the tank, what are they for?
The tank looks awesome. Especially the curved top section.
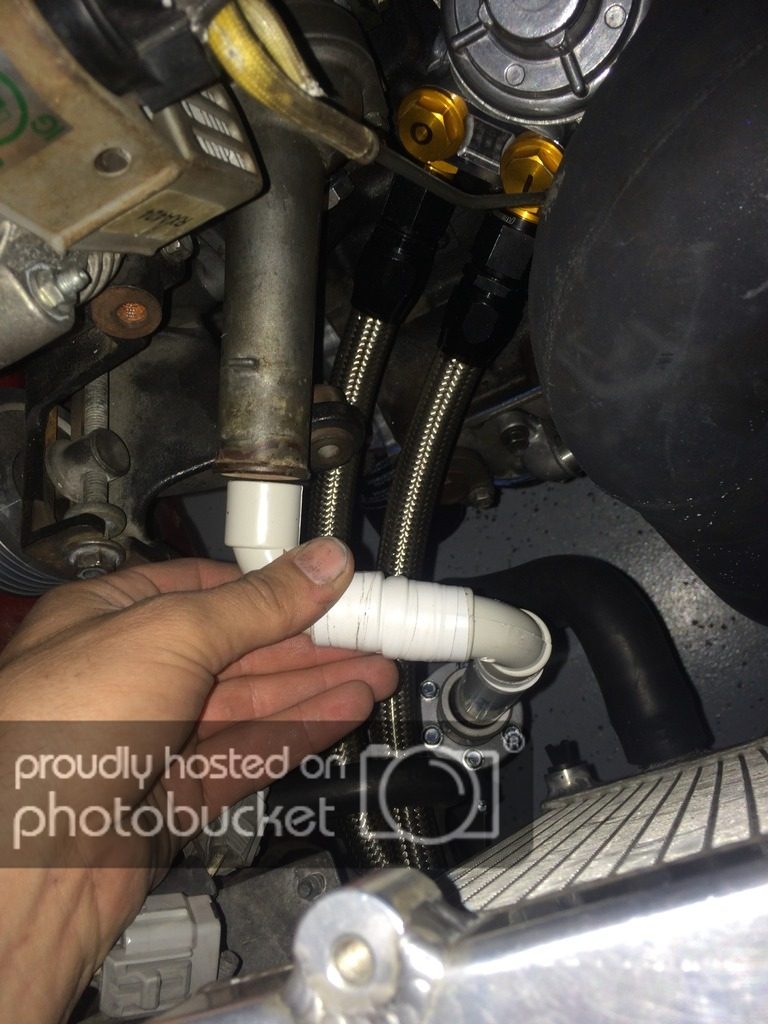
Yes good call. The top one won't need any flex, however the bottom one will need to be slightly shorter and I'll use a slightly longer section of hose. That will allow for movement. Not that there is much, due to my upgraded engine mounts.Make sure you have some flex in the hoses to allow for engine movement. Don't want to pop a hose because it's all too rigid.
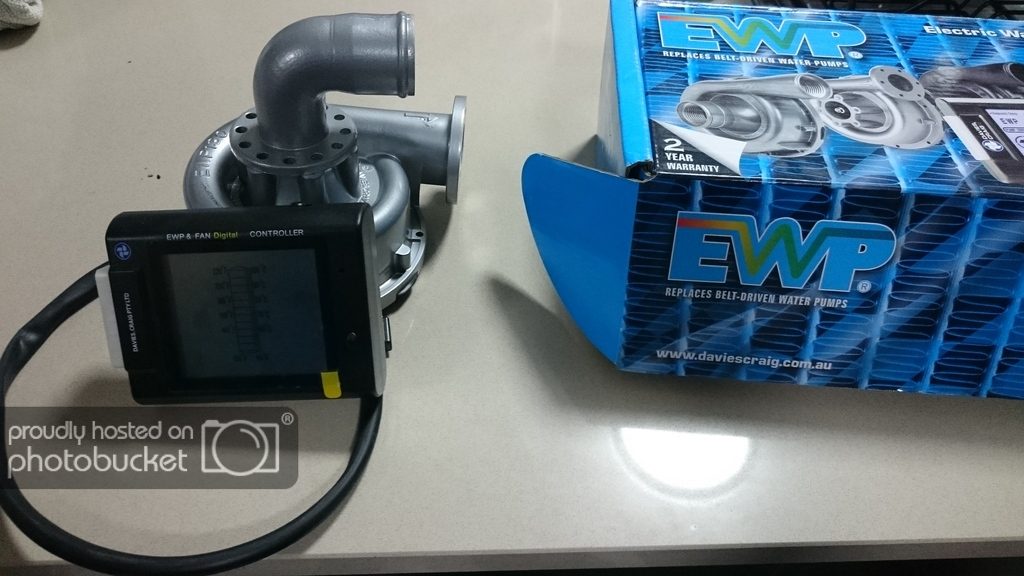
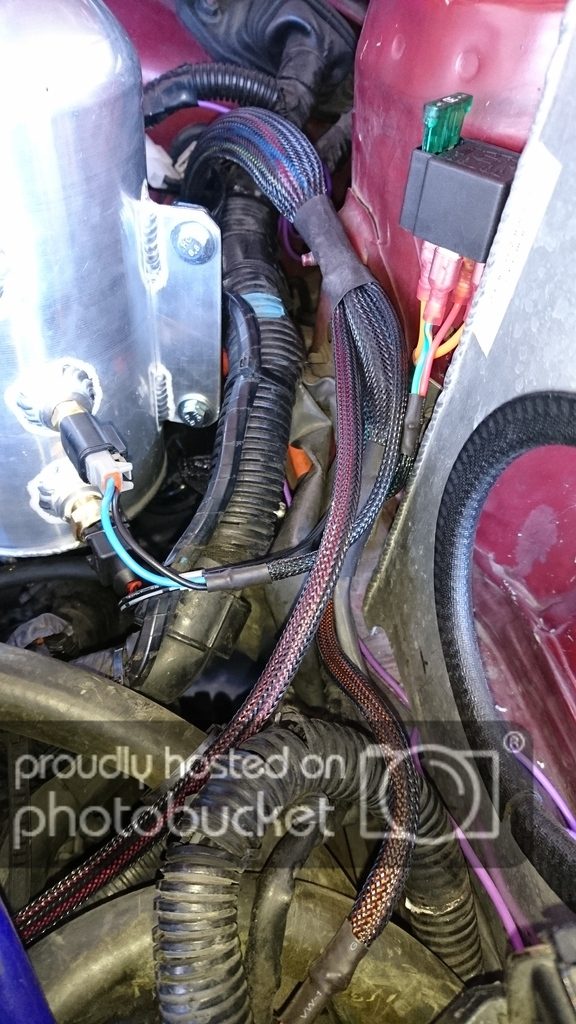
Good progress though. That water pump looks very interesting. Twin turbo engine bay


 ).
).