Lots of valid points being raised.
As I've already explained, the settings were never intended for such 'heavy' use. When I first created them (for my own personal use) my aim was for a consistent ‘studio’ type shot that I could easily replicate in order to catalogue my liveries as it's impossible to get the same angles each time when screenshot-ing the Livery Editor.
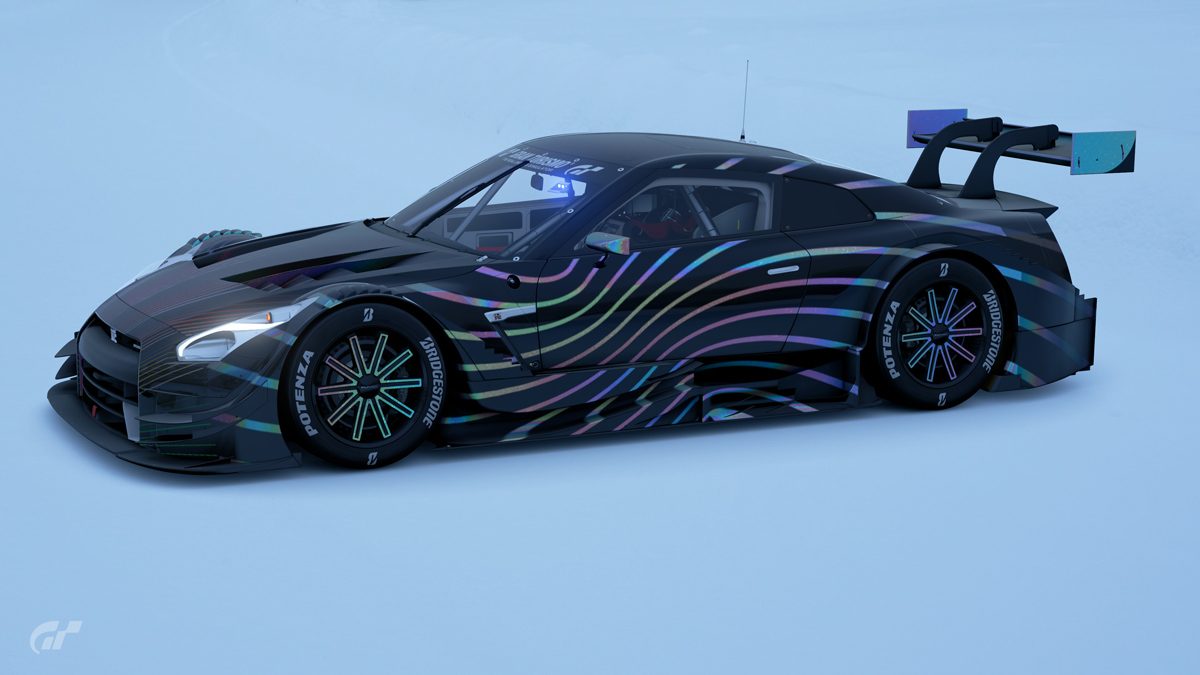
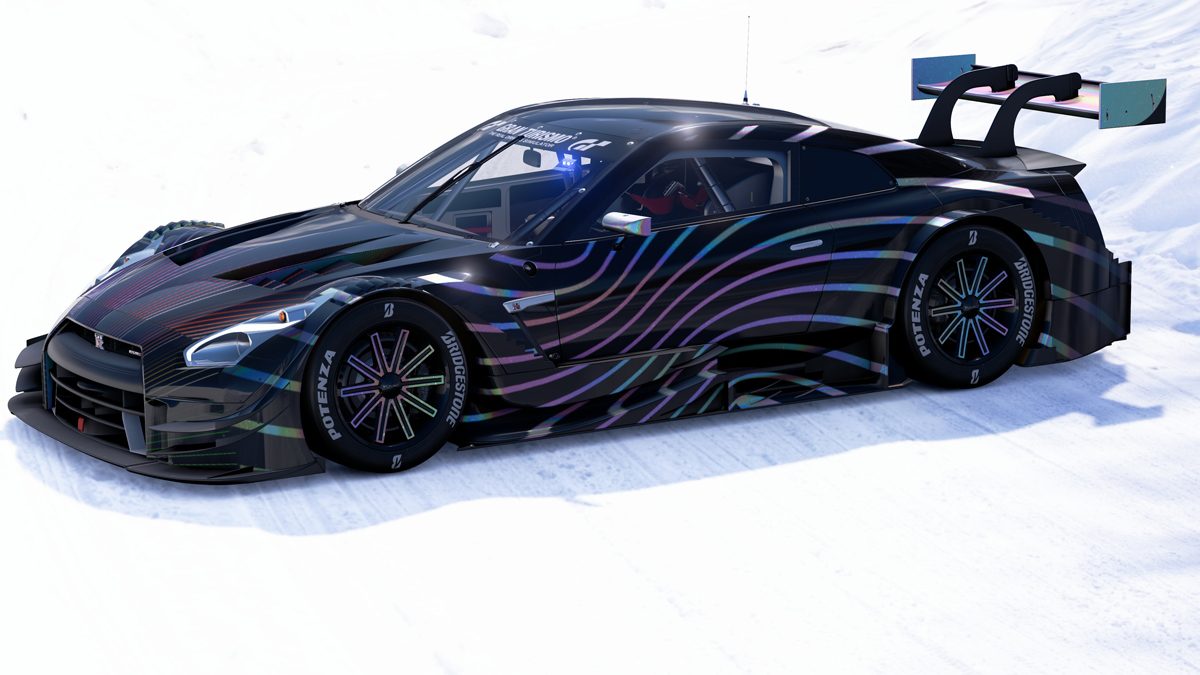
After much trial and error with simply masking backgrounds as
@dizco has shown above I wasn't happy with the results. Whilst it's incredibly easy to do this in any scape it results in an un-realistic shot without shadows and with reflections on the car and a background that’s
too white.
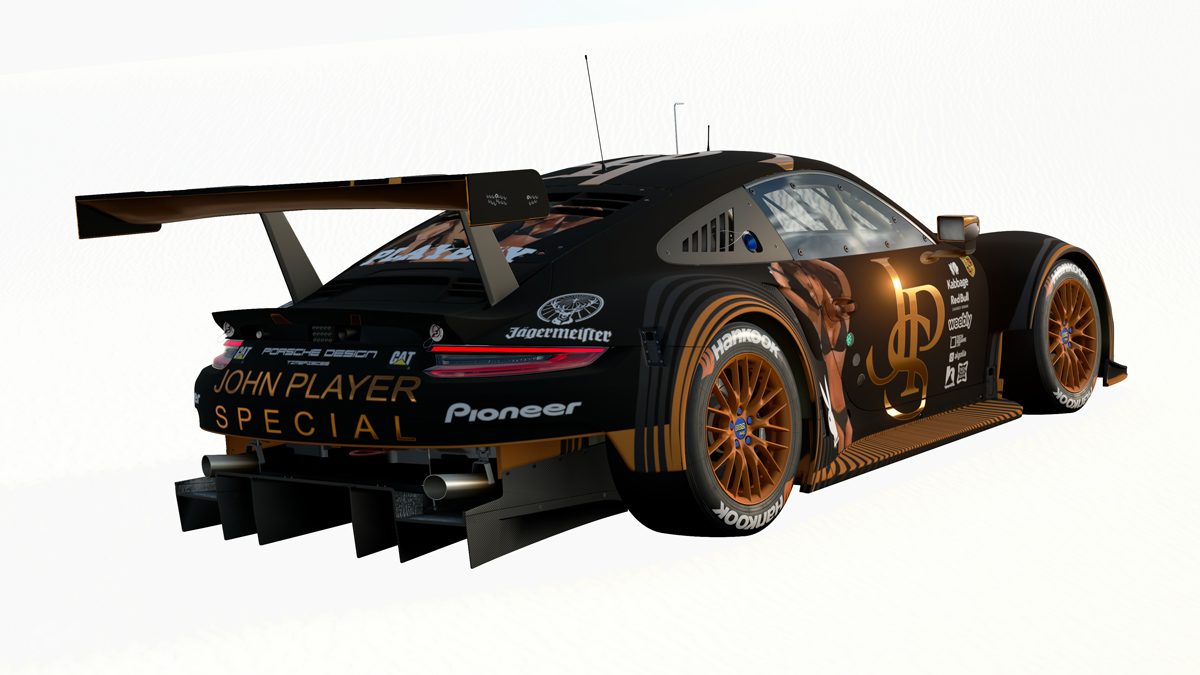
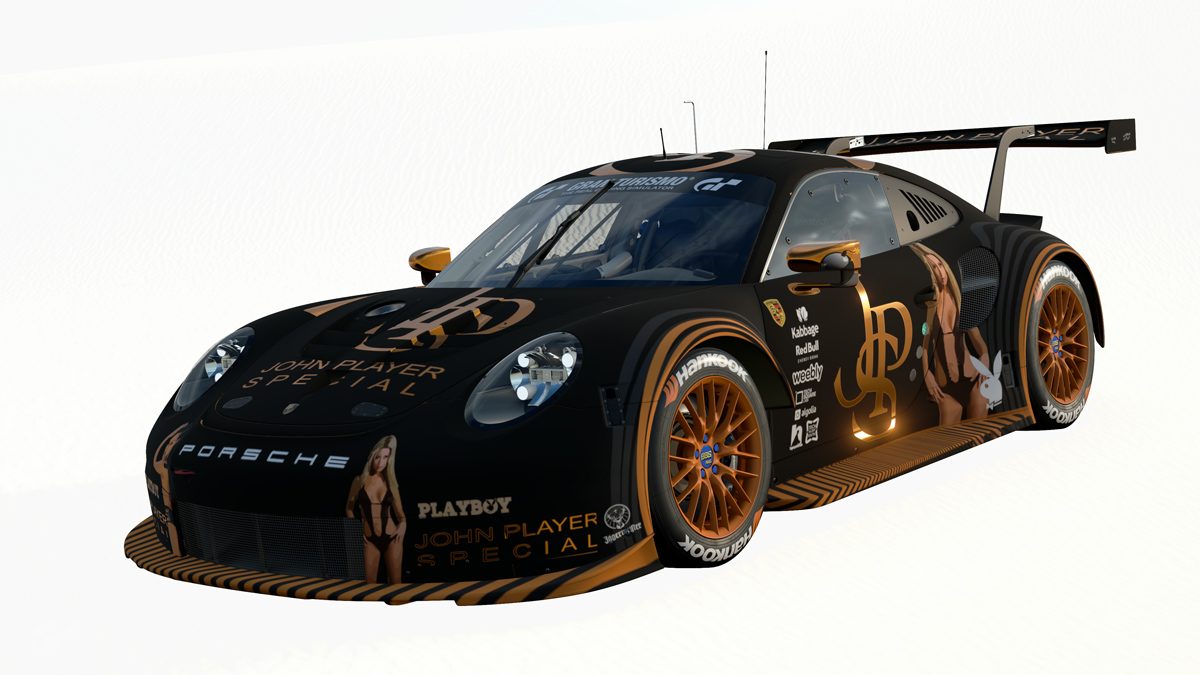
After trying various ‘plain’ Scapes I settled on Shiretoko as it has the following benefits:
- Plain background (Nothing shows through the windows plus you don't get any distracting reflections of the scenery on the car)
- Slightly elevated camera position (This gives a better ¾ view of the car)
- Neutral lighting (No extreme shadows or reflections that hide the livery)
The downside is its shot in low light and has a strong blue tint, hence the extreme settings required to correct it. Some of the settings, like Chromatic Aboration and F Stop are personal choices - I think it adds a touch of realism to the shot and stops it looking too 'perfect'. I'd rather it looks like a photograph than a render.
The settings were performed on a HDR TV so may look a tad bright on SDR but I’ve always been happy with how the shots look on my computer.
After the first Livery Editor Contest where I'd submitted Shiretoko shots for my winning entry
@syntex123 asked that I shared the settings as he liked the way they looked. I went back in to the shot and noted all the settings I'd used and gave them as the 'recommended settings'. At no point did I or Syntex suggest that they were mandatory, more that they should be treated as a 'beginners guide' to achieving the same results. (It's clear when people don't follow them as the results often look worse than no settings at all).
I think this thread is going round in circles with three main groups of people emerging:
1. Those who are happy with the current system or accept it's compromises in lieu of anything better.
2. Those who don't like the 'level playing field' approach and believe the only way they can win is if they tilt the board in their favour.
3. Those who are happy to spend an hour or two making a livery but can't be bothered to spend a few mins setting up a scape.
In answer to these:
1. I agree it's not perfect, I'm open to suggestions, but feel until we're given true 'studio' Scape I don’t see how we can get better results.
2. By sticking to a mandatory image it creates a level playing field, you're all in the same boat, by using the same settings if your livery doesn't look good compared to someone else’s, the issue isn't the settings, it's the livery!
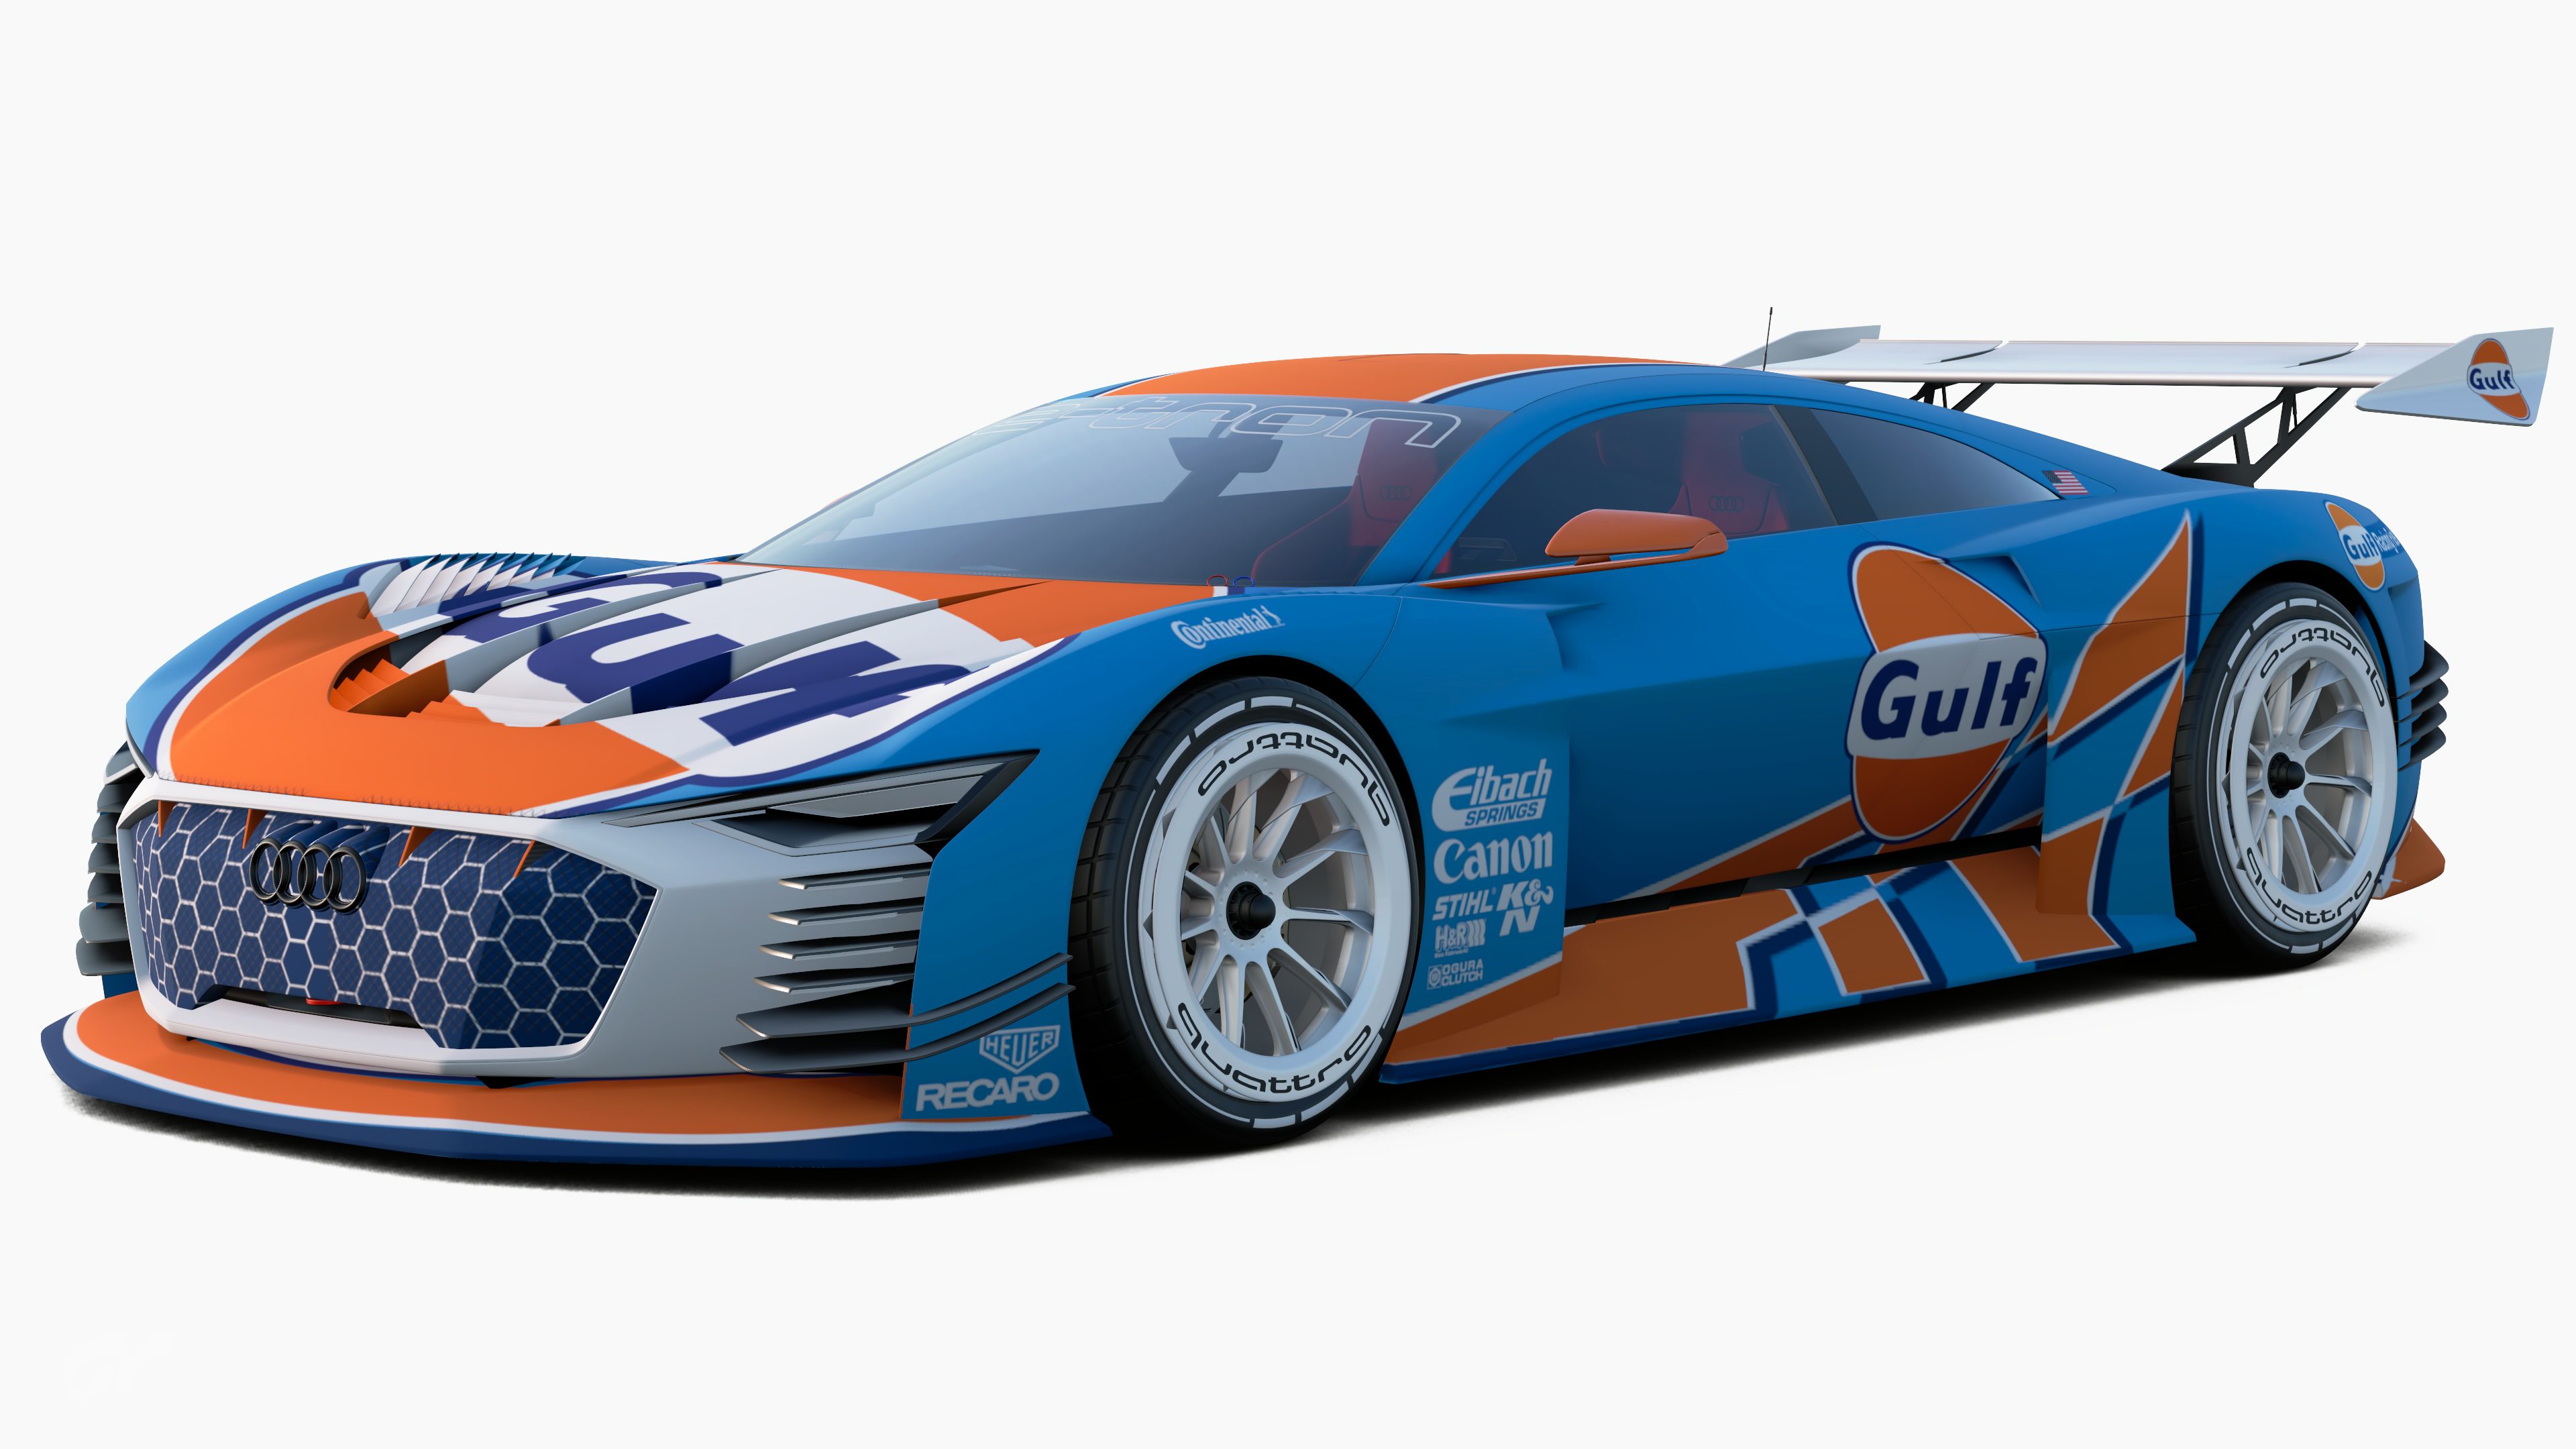
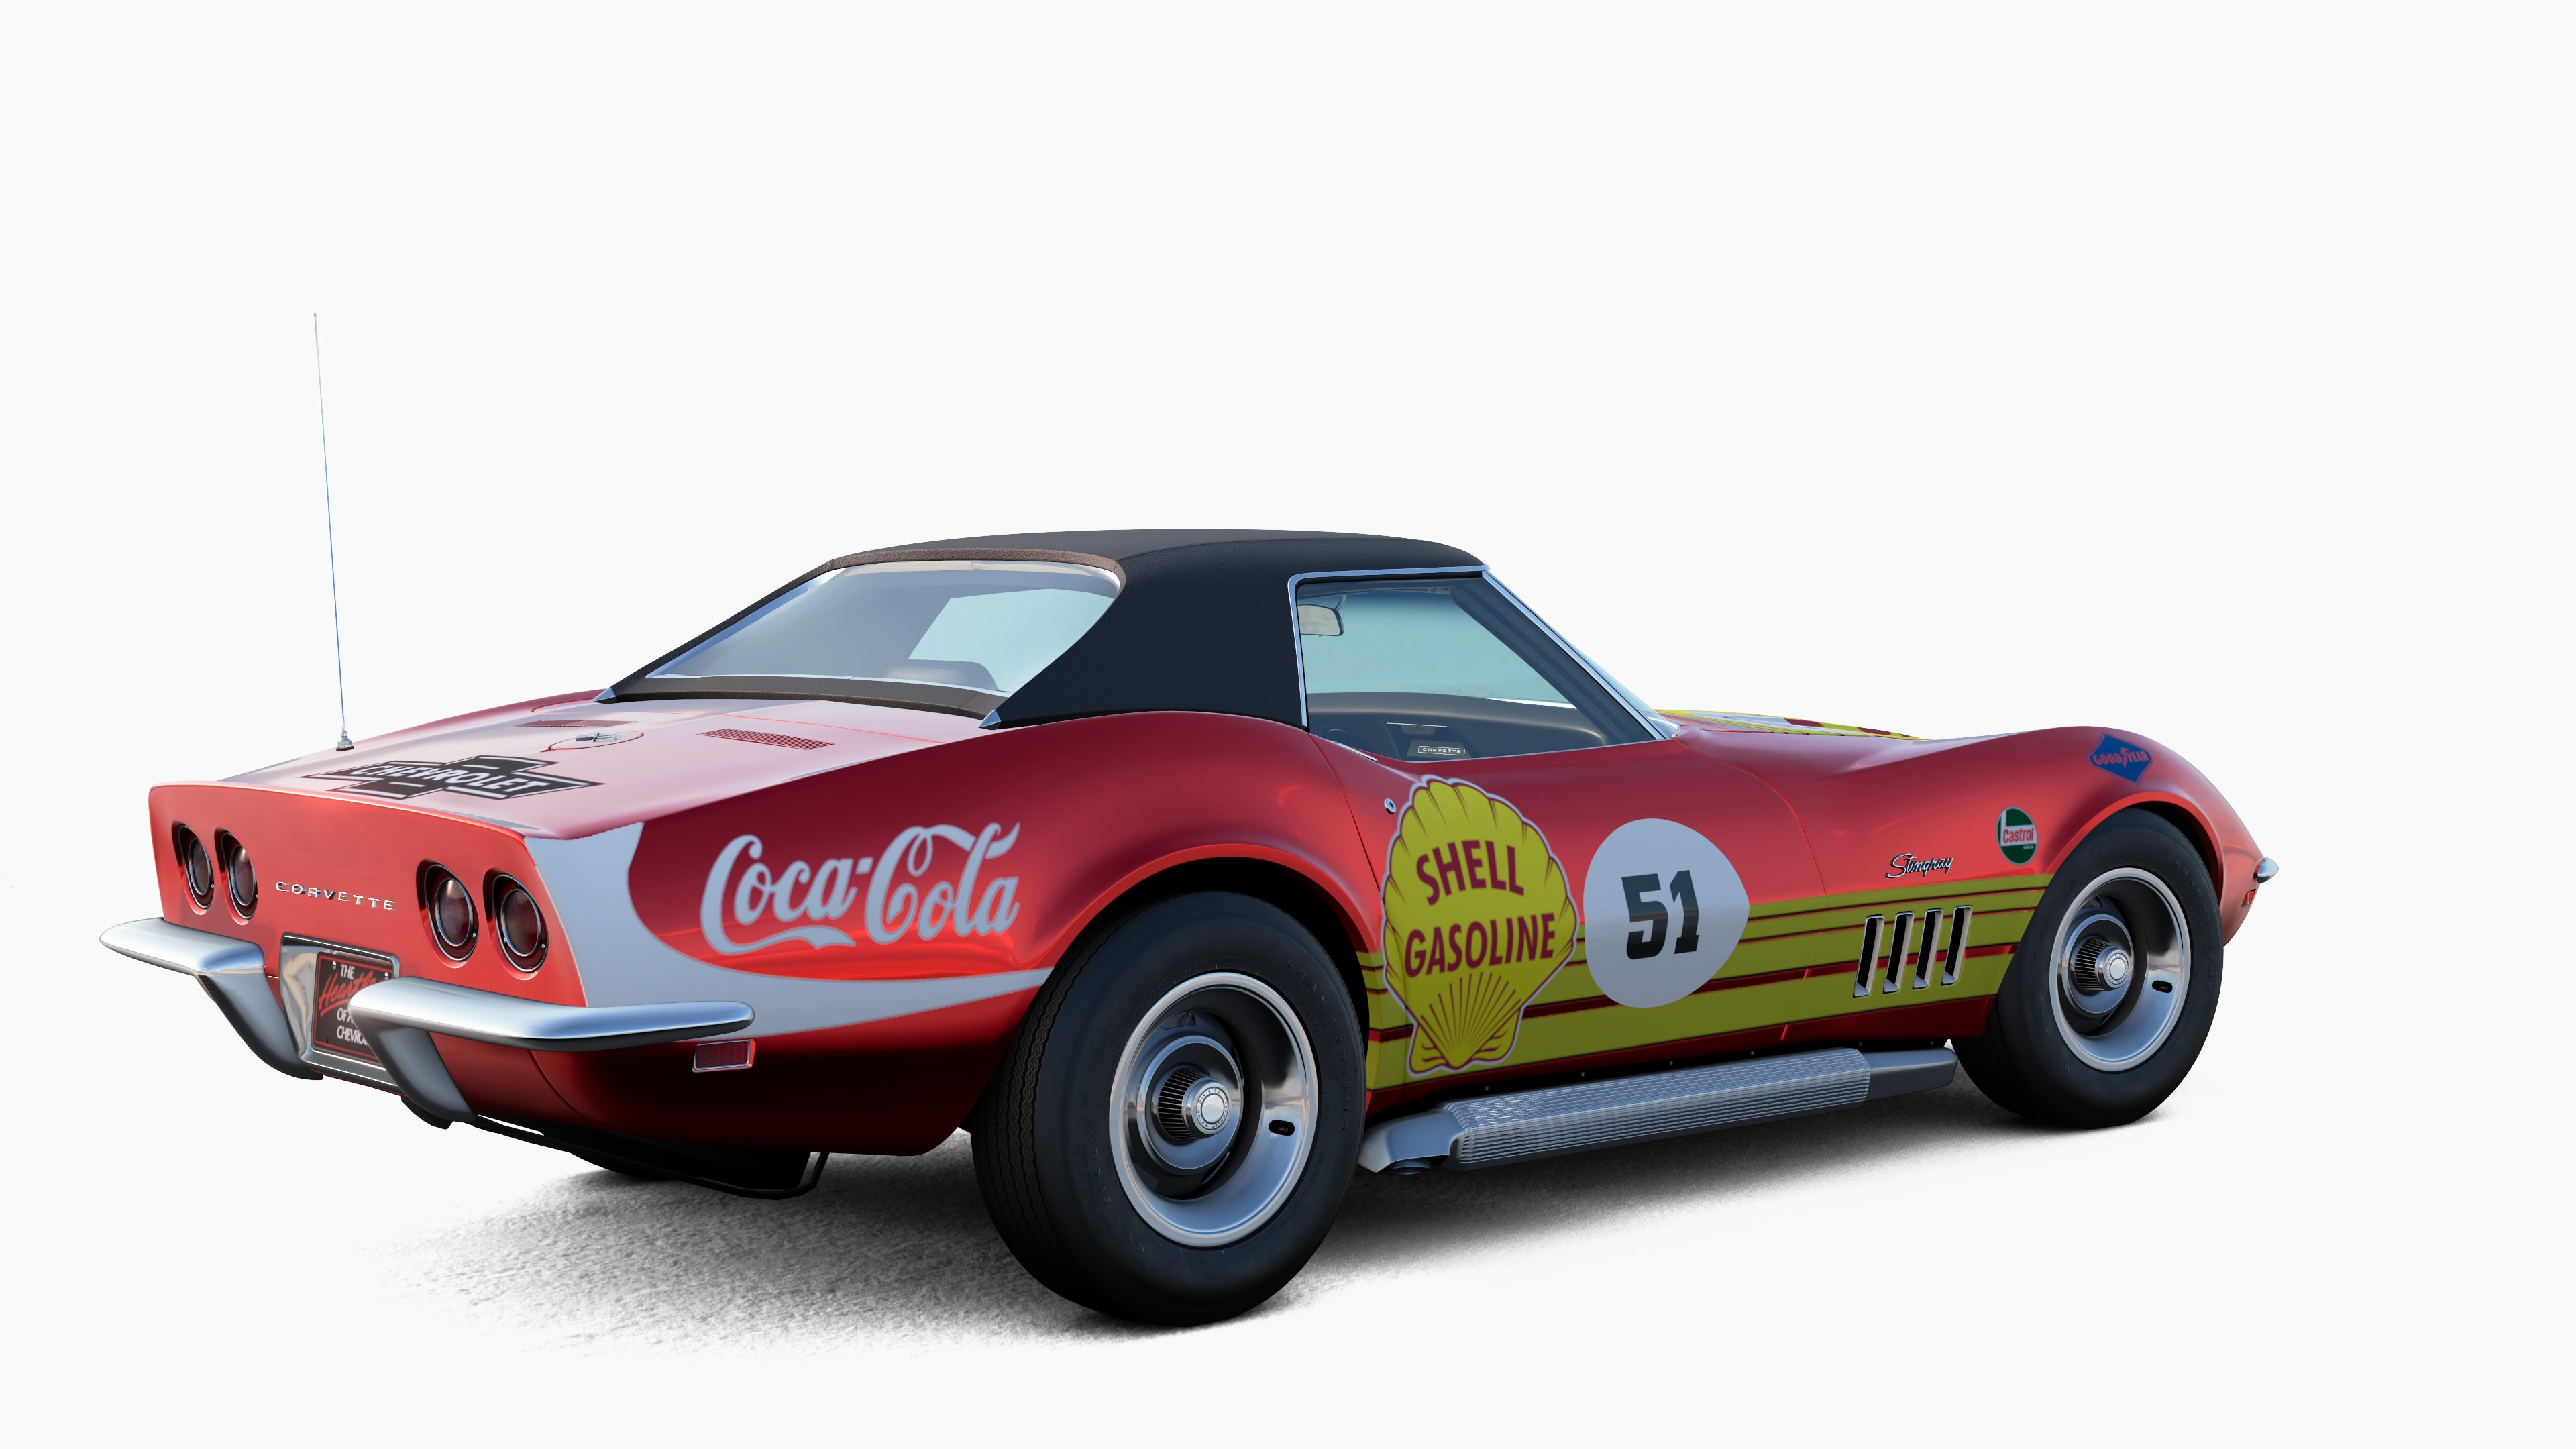
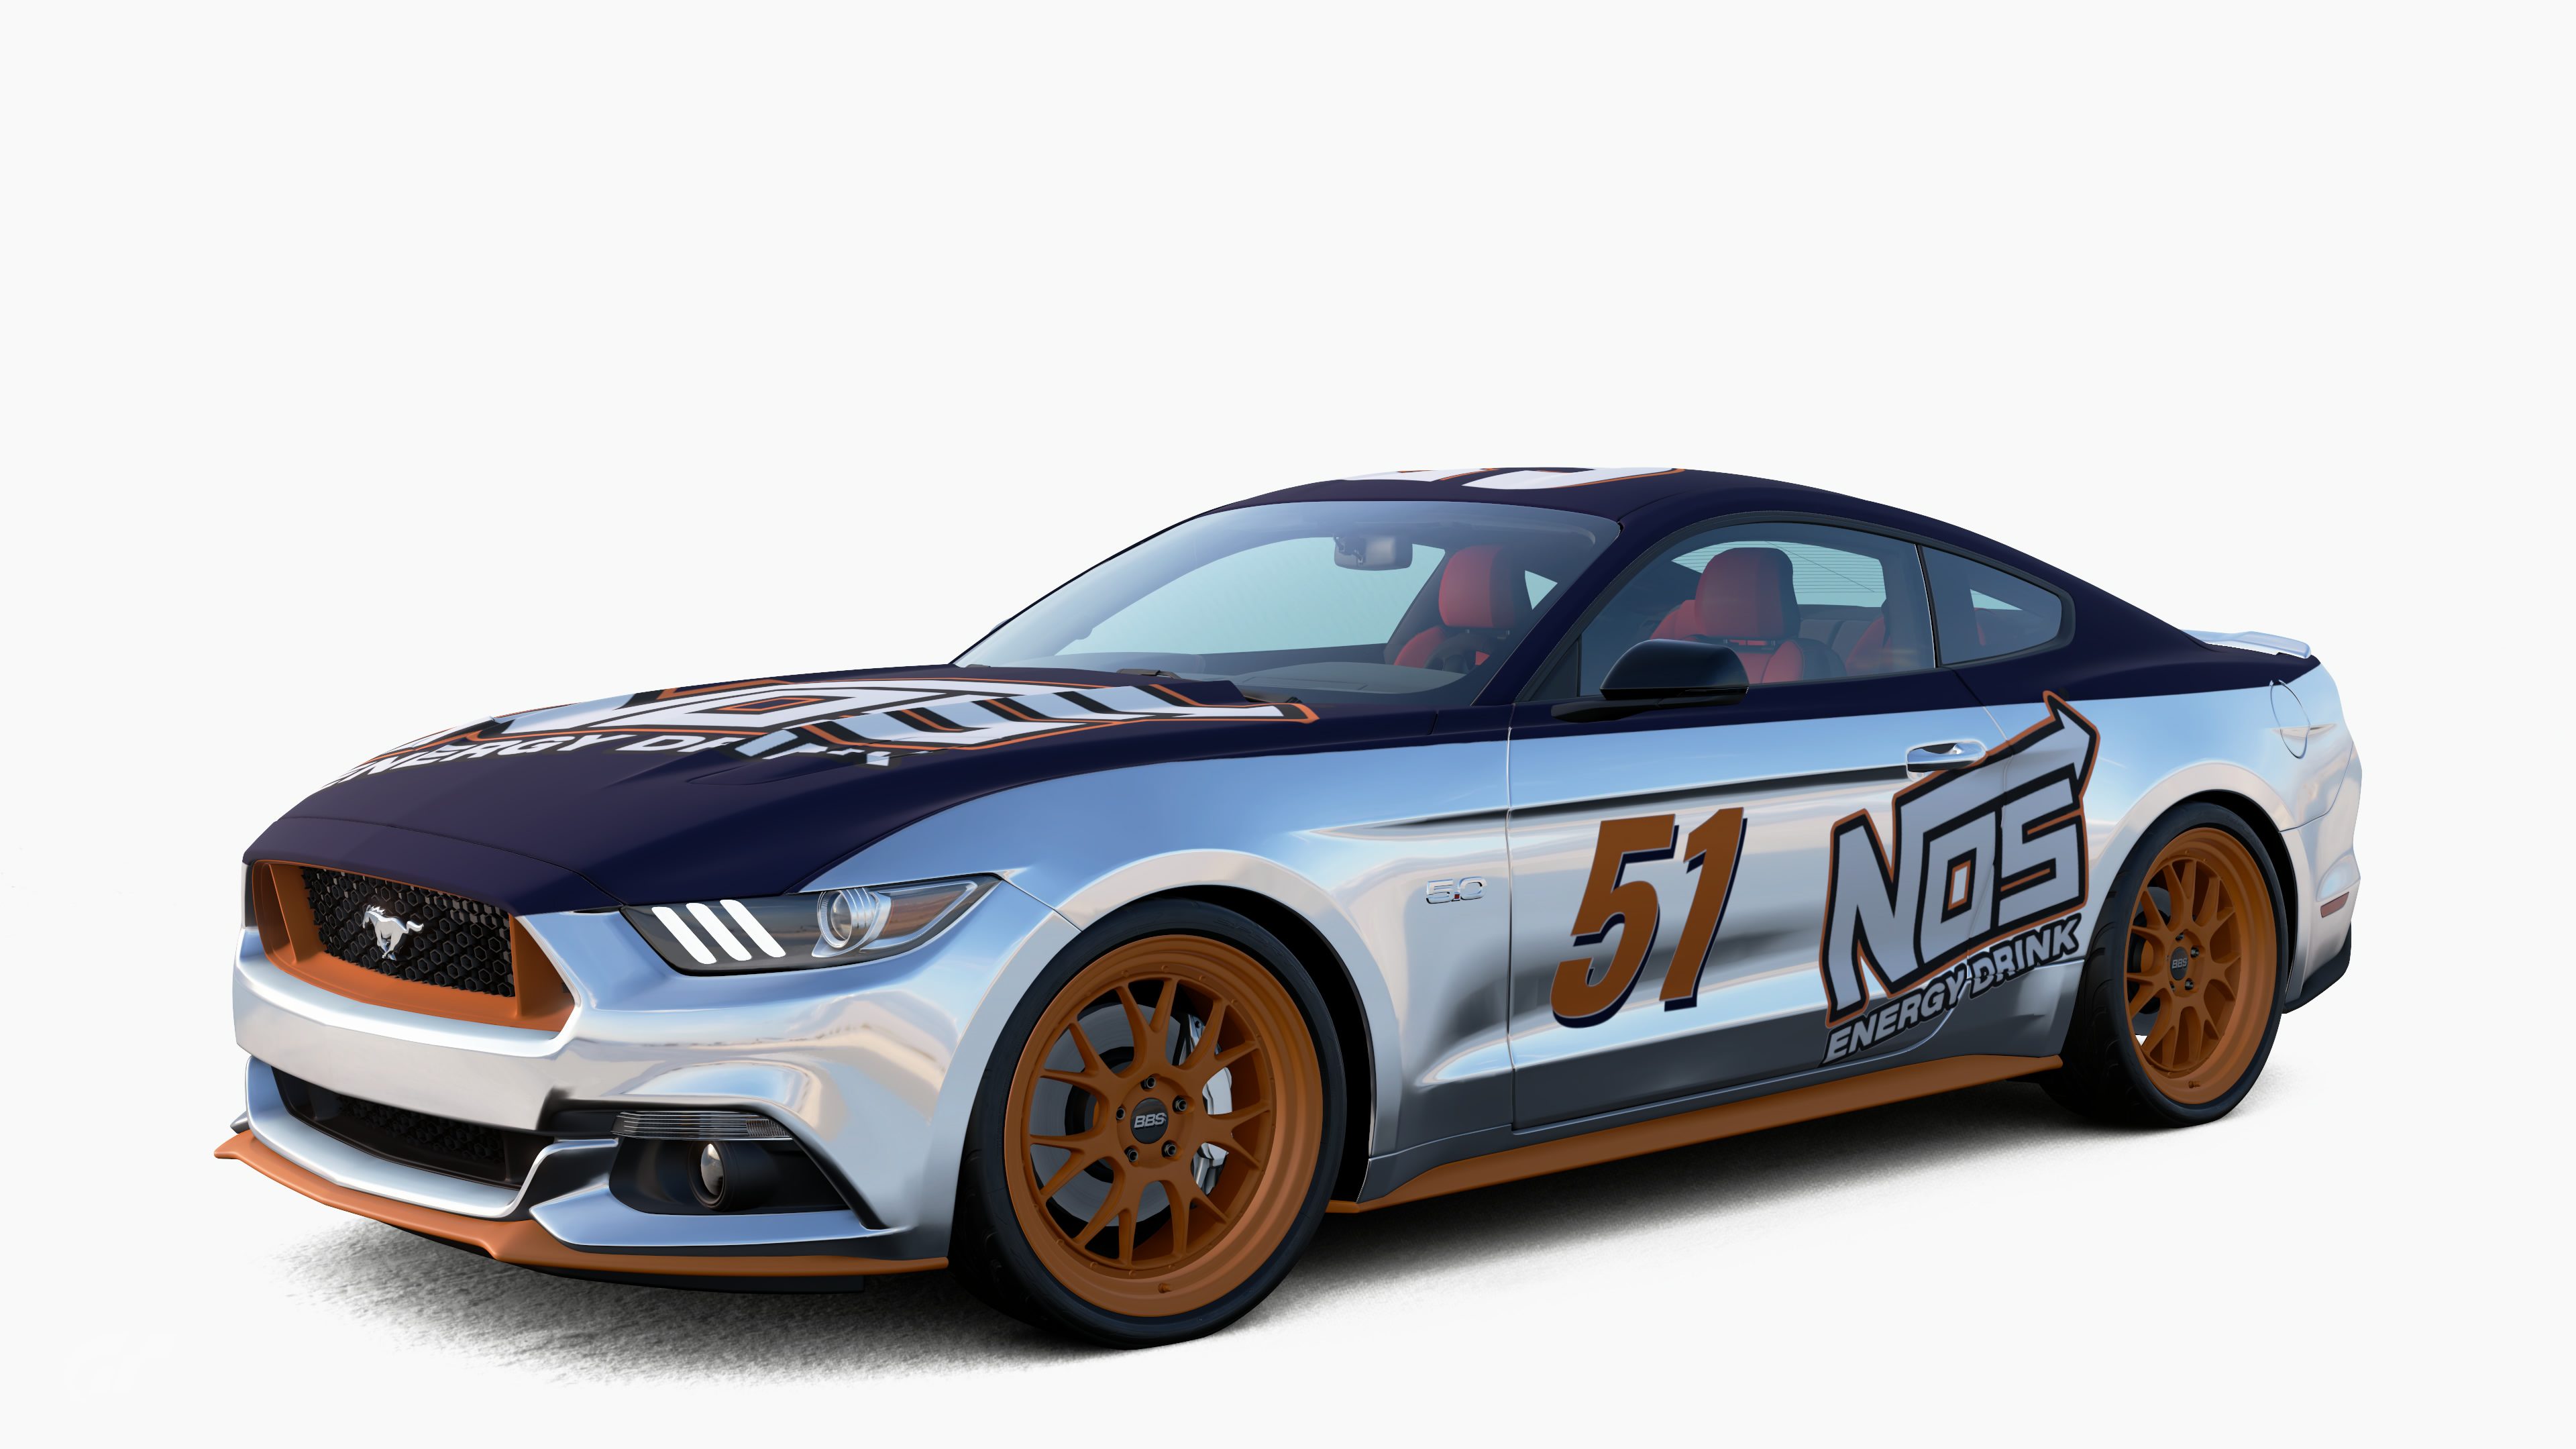
I agree that the current approach doesn't suit every livery 100%. By limiting the shots I could argue that my Gulf 919 didn't win because people couldn't see all the detail I'd put into the 917k decals I'd made for the sides and that a better choice of scape could have made things more favourable. The truth is, it wasn't a particularly good livery, and sure it had detail but as an overall package it didn't have anything special and that's how these competitions are judged. No-one really cares if you've used chrome paint for a particular part of the design if the overall design is not very good*.
* I'll just clarify here that this is in the context of an open competition. If we were challenged to make a livery for a set 'client' (IE mandatory car and sponsor combo) then the use of special paints could be the difference between winning/losing.
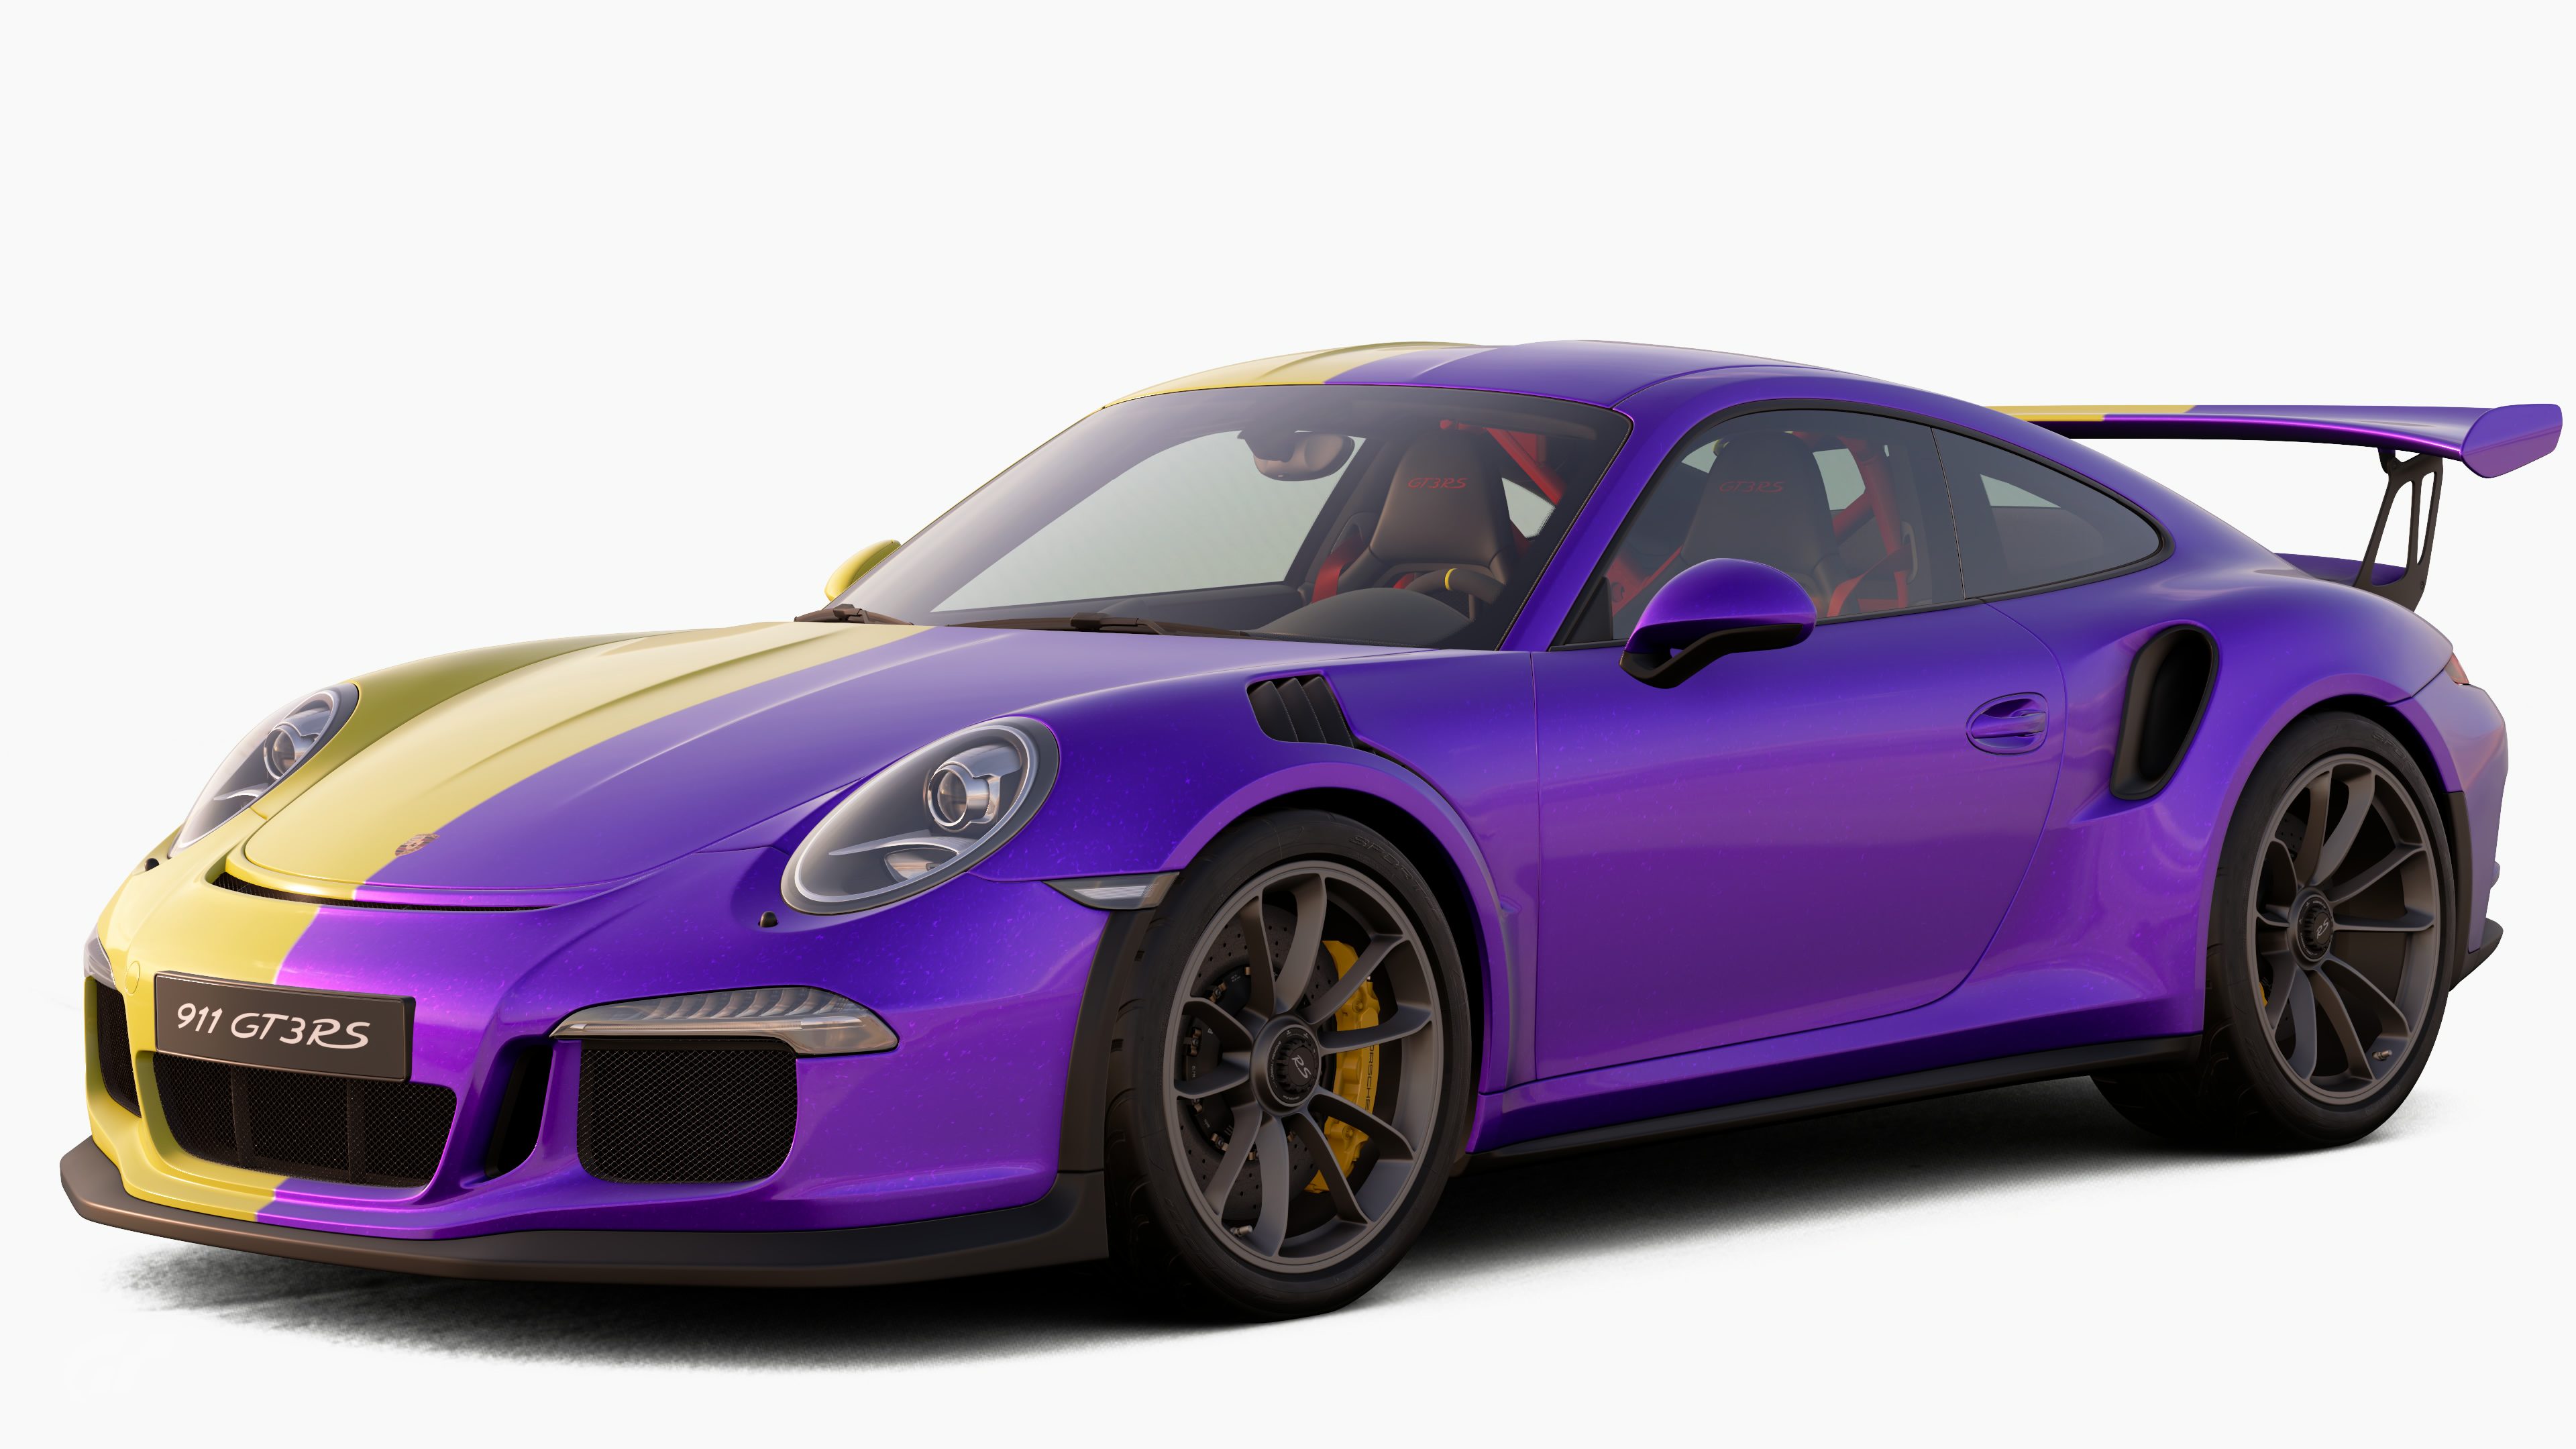
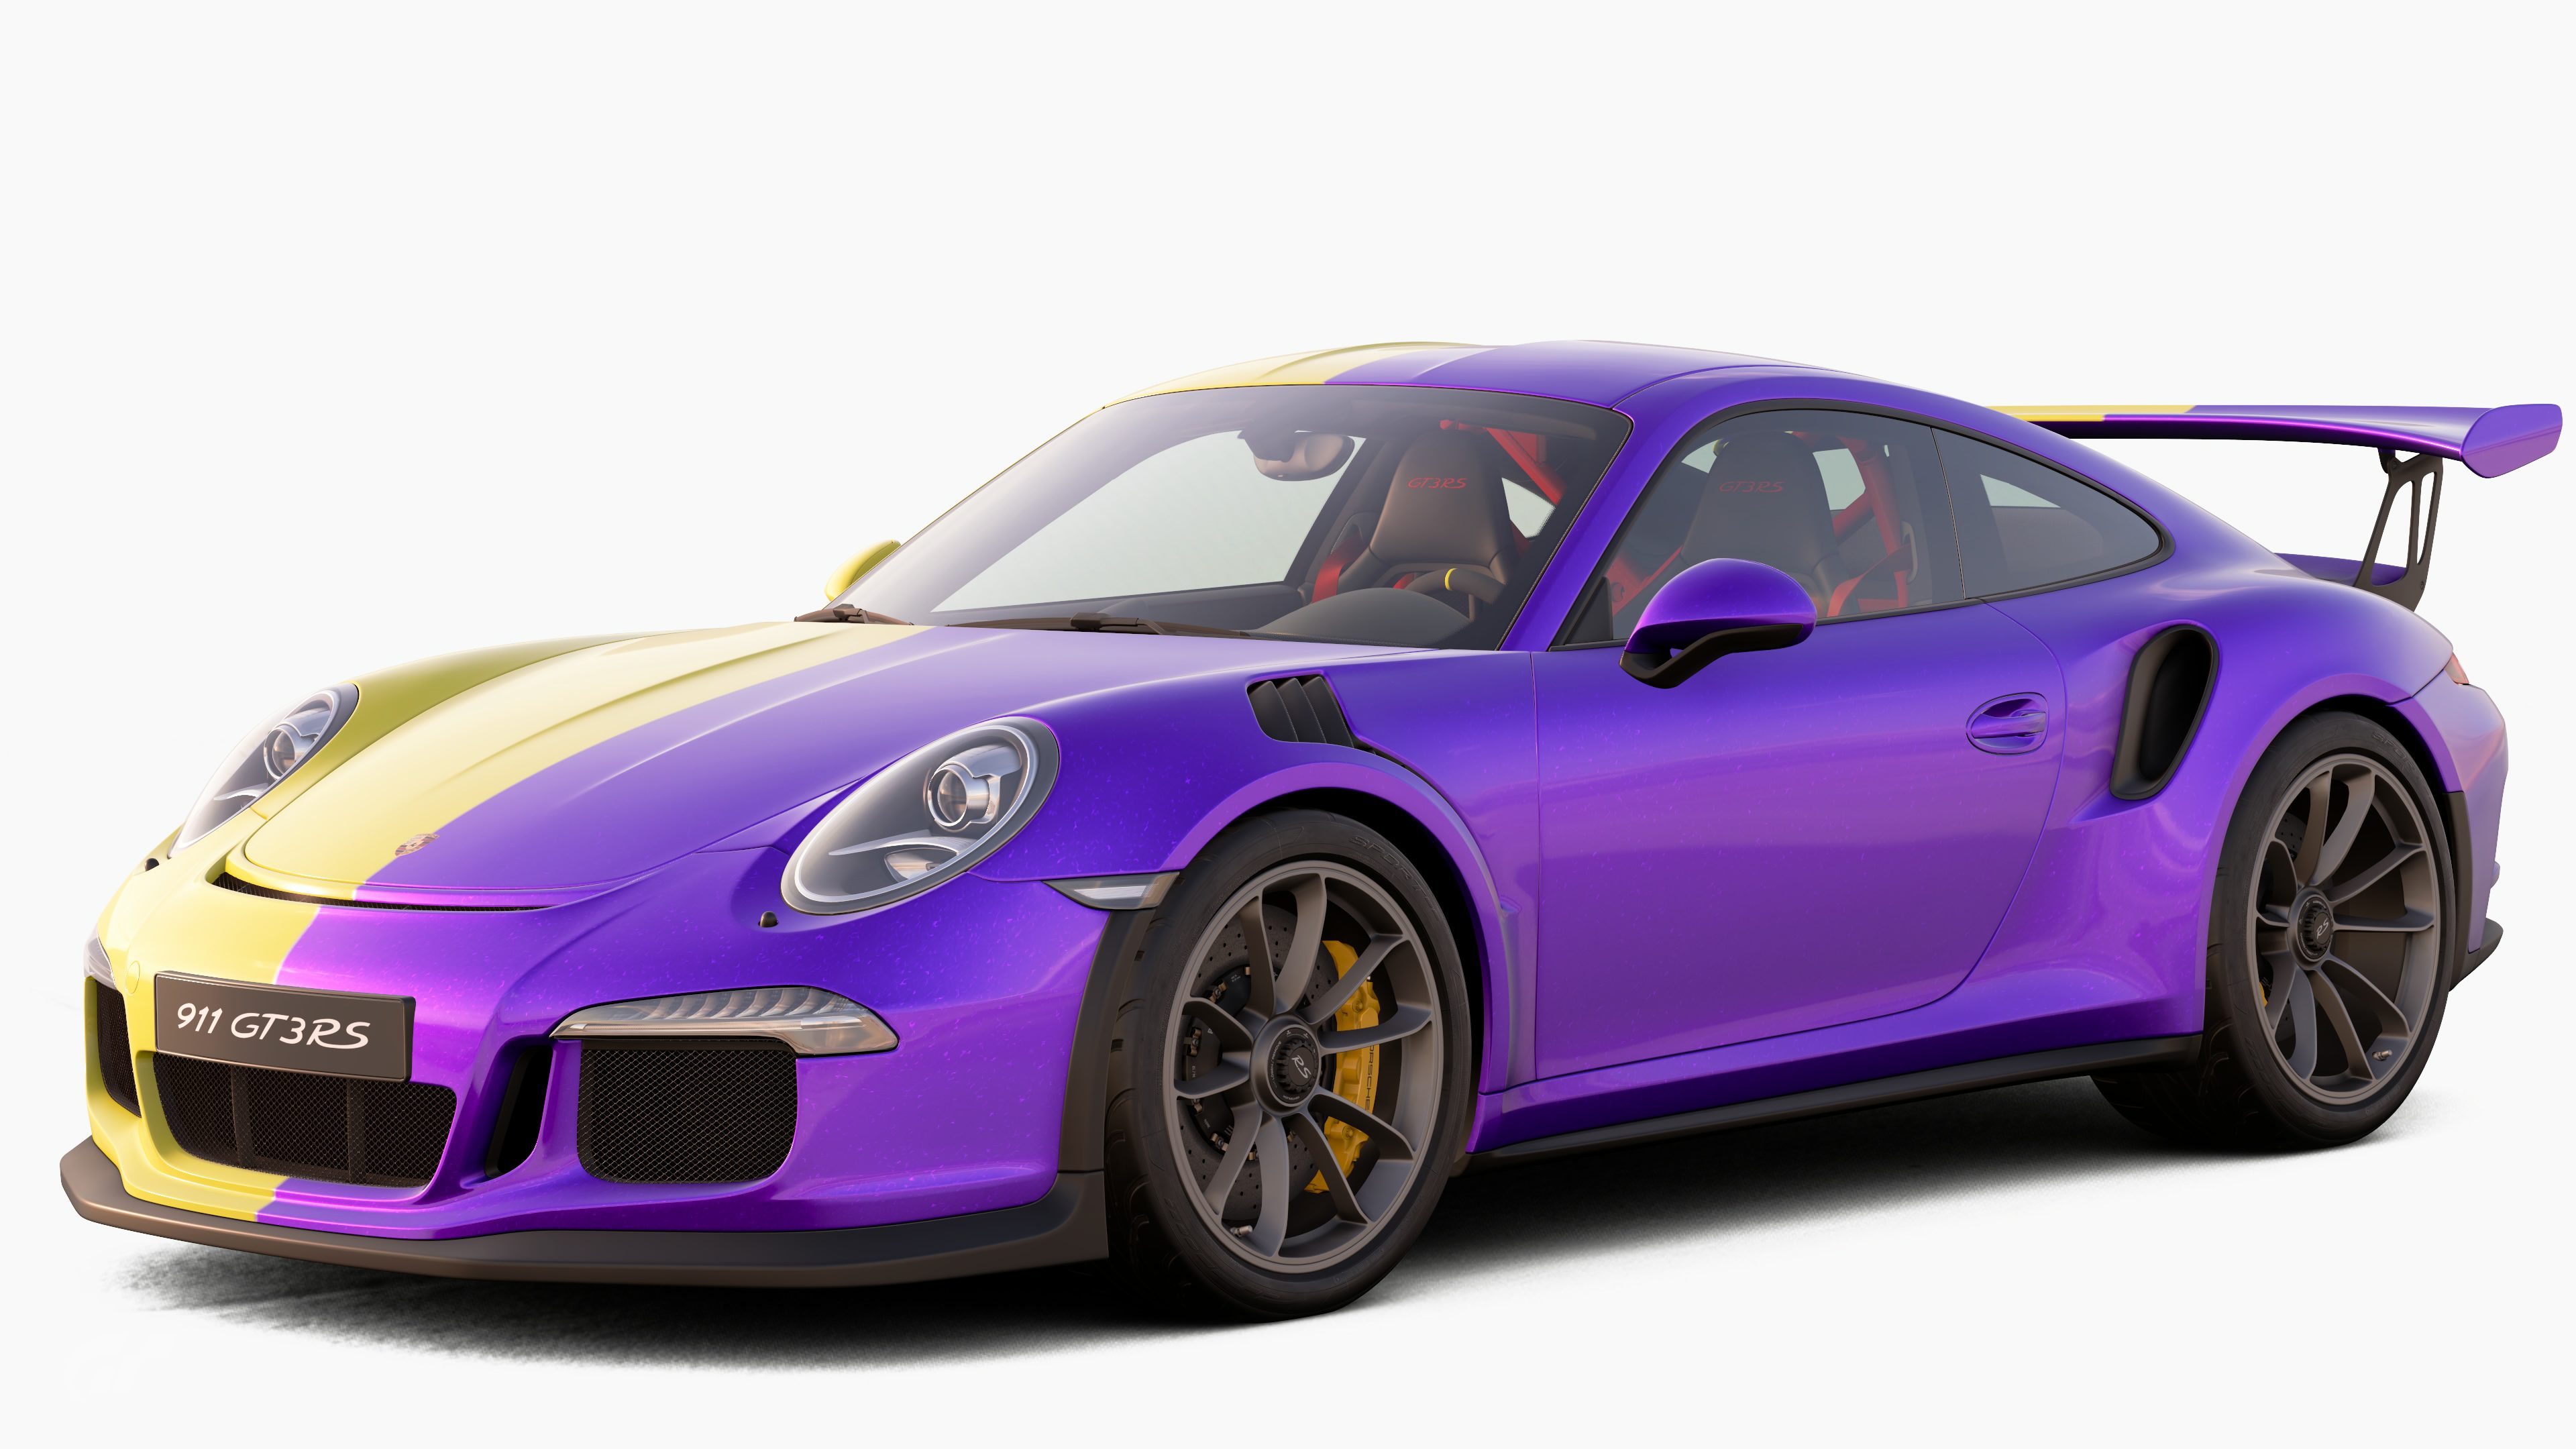
In addition, the issue is that Special Paints rely on reflections and the surrounding environment to work effectively. Chrome will only ever reflect the background or nearby objects, so in a plain white studio, it's going to appear flat and boring. Likewise, without extreme lighting reflections you won't necessarily see the contrast between matt and gloss paints. This is why you're allowed bonus shots to showcase detail in the livery that can't be seen elsewhere. That could be a close-up shot of a detailed decal, an aerial shot showing off roof work or a shot that better shows different paint finishes. Either way you have freedom to do what you want with it, but keep in the back of your mind that the casual voter is going to judge you based on the main entry shot.
3. What more do you want? We've provided simple instructions how to replicate a known 'acceptable' shot, it takes a few minutes to setup and can be re-used for subsequent entries (Instructions on how to re-use a scape have been posted multiple times).
Sorry to rant, but we’re getting nowhere with this and so far I haven’t seen/heard a better solution to the issue. The way I see it, we could go back to making the mandatory 360deg GIFs (which I personally found took a lot more effort to make and showed off even less detail) or we could carry on with Scapes which has worked for the last 8 rounds without issue!
On a final lighter note and as a helpful hint: Turn off 'Key Lights' in Detailed Settings so you don't have DRL's and dash lights glaring away in your studio shots!


")


") always someone who fails to read it anyway.
always someone who fails to read it anyway.


 But yeah White Sands and Shiretoko will probably be both allowed (and both settings will be posted in the OP) until something better comes along if we don't settle on anything yet.

