- 1,188

- Mumbai,India
- rambo793
As I got more involved in editing over the months since I started out, I found myself more inclined to a more "artistic style" of going about it. Intense colors, particles, textures, close up's , that cool subtle yet effective piece of text that gives a hint of the level of emotions behind a picture, all of these are basic elements within my work around here, if you've observed. ")
And an effective tool to help me bring about all the aforementioned effects is Textures. A few people came up to me asking how I made use of textures the way I do; that and a slight nudge from @leeislee made me decide to do this small tutorial. Now many of you might be familiar with the technique, but there's always someone out there who could benefit from this here tutorial, and this is for them
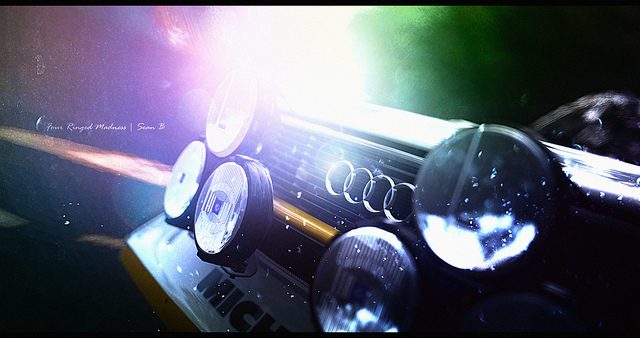
What I'm gonna do, is talk you through the use of textures in this recent edit of mine:
Let's begin!
What you're gonna need!
Textures, textures and more textures. The more you have, the more tiny elements you can add to your work, and yes, every tiny element has an effect!
Now, we all know Google is the one stop shop for all your editing needs. But This Here pack of textures, shared kindly by @ShaolinMasta is truly sublime. Download 'em, thank the man, and you will never get tired of using them!
Getting the right picture
But ofcourse! And by right picture I mean a shot that really deserves the use of textures. Don't simply add them because you have to. Plan your shot out, and try to imagine how and what you will be needing. Think you need a big of a bokeh effect? A few dust particles perhaps at the corner of your image? Make a note of that, and proceed.
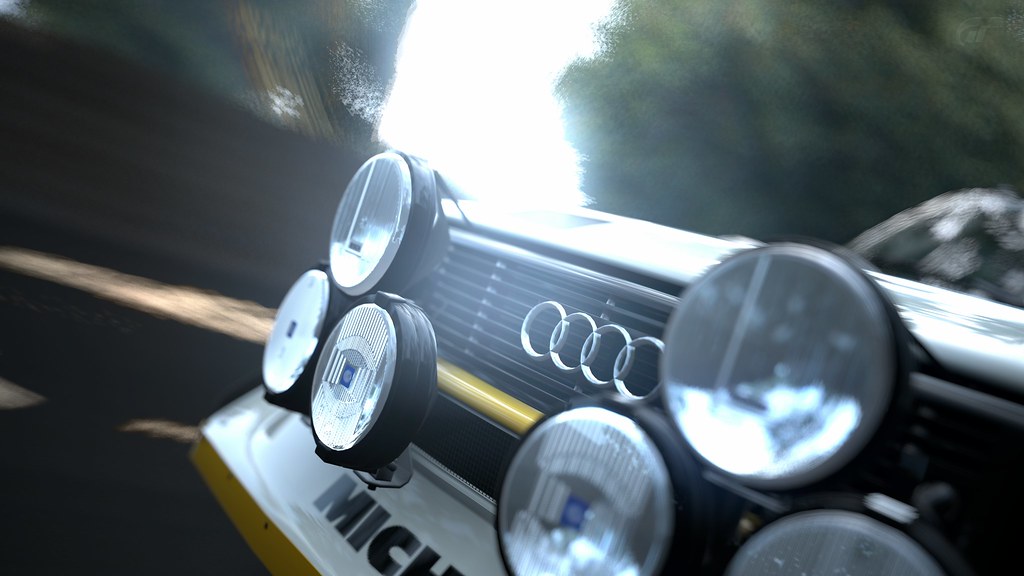
The shot we'll be starting out with is this, the original of the previous shot:

The Process
Go about your usual editing routine of adjusting levels, curves, toning, filters and adding gradients ( If you wish to). I presume my shot would do good with a bit of crazy dancing color, so after a lot of experimenting, I get the desired number and here's what it looks like:

Oh darn, my battery's low, let me go grab that charger, and a refill of my drink while I'm at it!
Right, so where were we? Oh yes, done with the basic editing? Well done. Now this is really about the time when I start working with textures, once I've got the foundations of the shot sorted out.
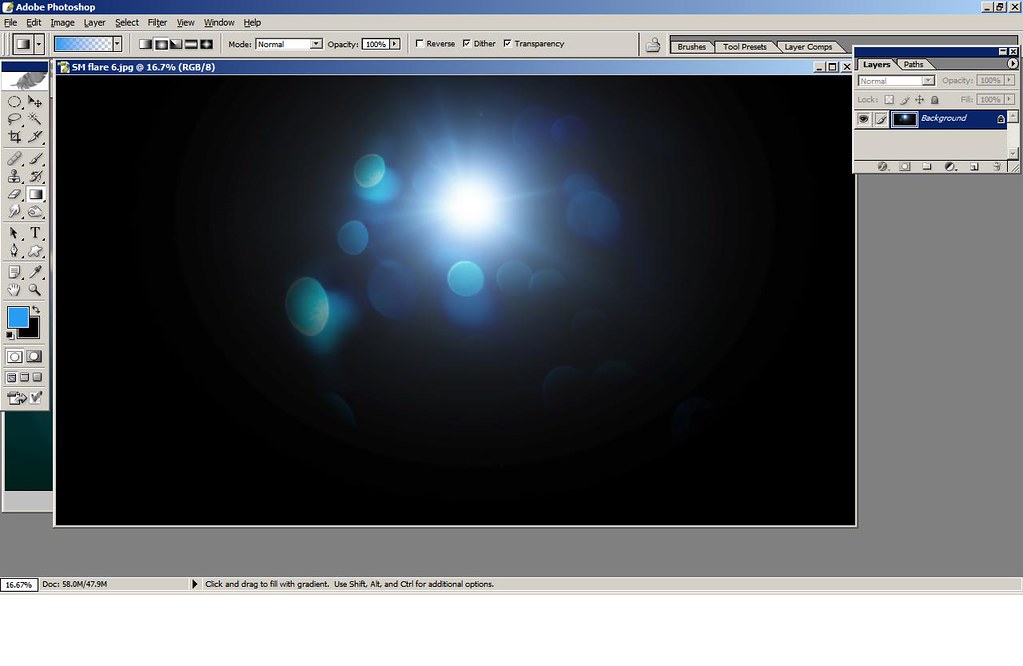
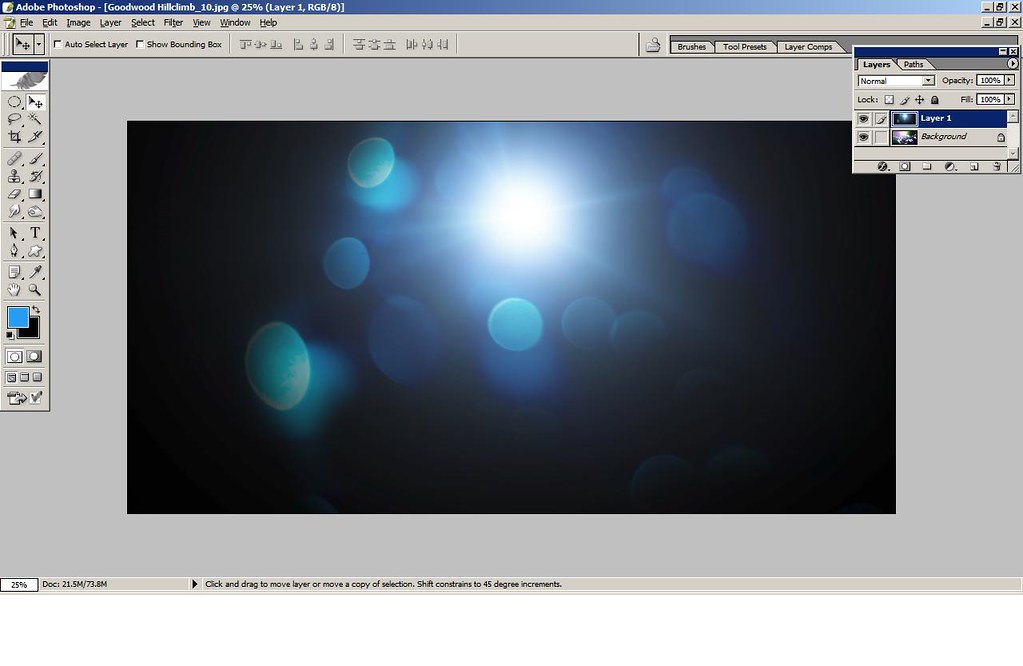
Open up the desired texture piece by opening File=> Open => Image . I'm using SM's texture obviously; I feel the shot could do with some bokeh. This is the texture I open up:

The texture piece should open in a separate window. Using the Move tool as shown, I move it to my primary window i.e, the window where the image we happen to be working on lies.

The texture should now be present as a separate layer in your primary window . Now comes the fun part, just like any other layer, you can mess about with it until you get the desired effect. That's the beauty of it really, you could resize the layer, drag, stretch, manipulate it anyway you want to obtain just the effect you're dreaming of.

First though, I roughly position the texture to the position I want it to be using the Move tool again:
 f you've noticed in the shot we're working on, there seems to be a lot of light emanating from the center, just about the Audi symbol, and that's really around where I want the bokeh to be.
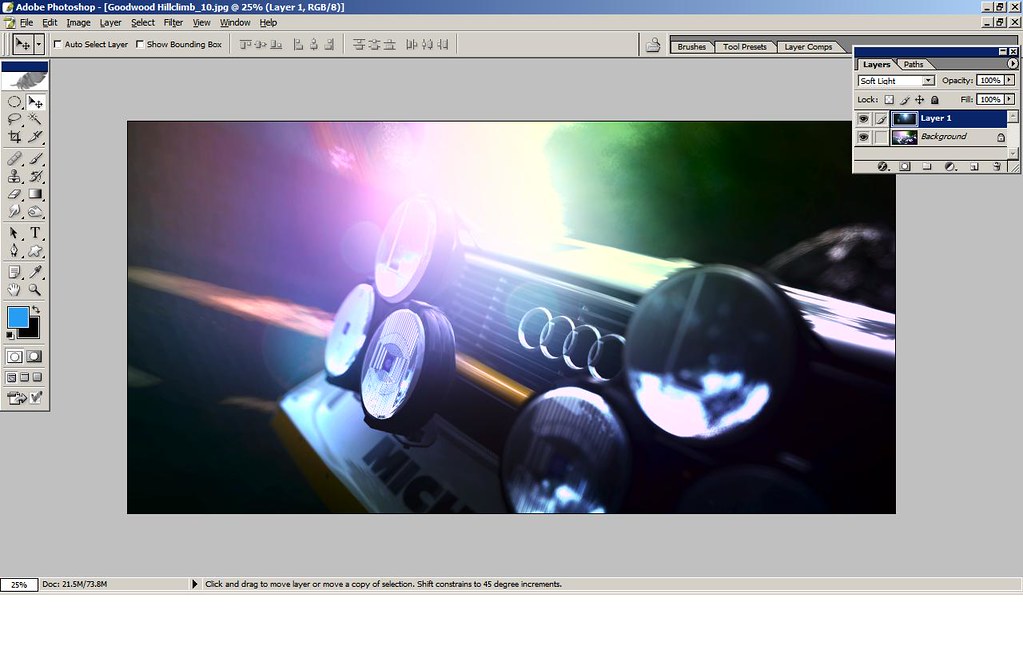
I then mess around with the layer options so that the Bokeh seems plausible at the very least, and not just "put in". This is what we're left with

But I'm still not pleased with it. Why you say? Well there's still not as much happening within the shot as I want to, and I've got this odd sort of OCD. Phew, another refill.
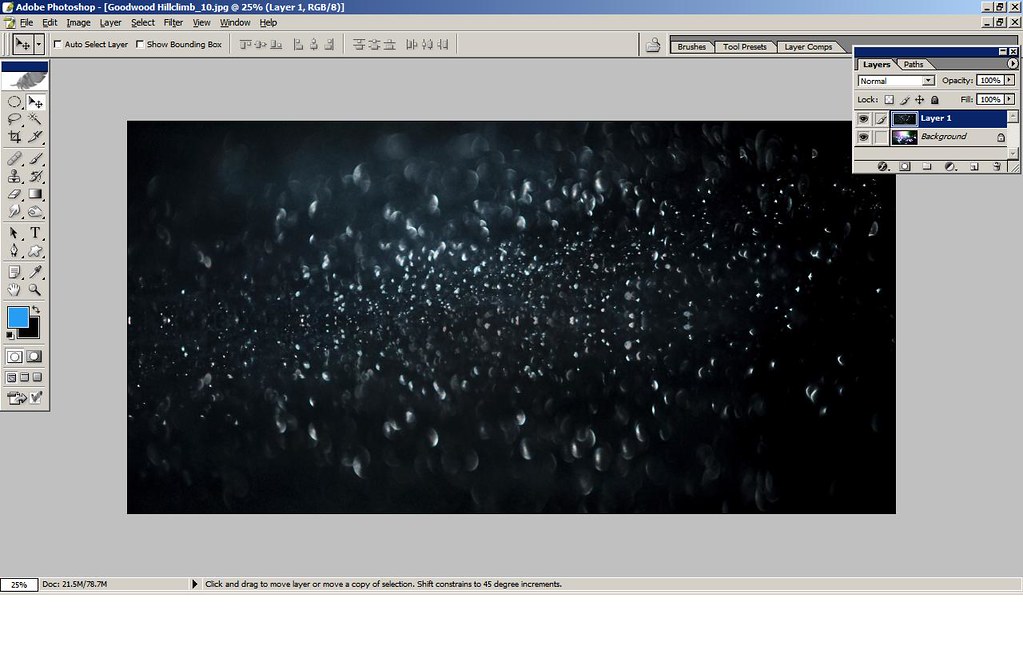
So yes, there's not enough happening, I say, a few random droplets of water should add another dimension to it, and I happen to have just the thing:

Though I just dont leave the texture piece as it is. After changing the Layer blending option, I use "Free Transform", quickly accessible using Ctrl+T, to stretch, drag and rotate the water droplets. I don't want too many really so I resposition and stretch the texture layer accordingly.
And after adding a few more, manipulating them , I adjust the lighting as I see fit. The result we see, is this ofcourse:
And an effective tool to help me bring about all the aforementioned effects is Textures. A few people came up to me asking how I made use of textures the way I do; that and a slight nudge from @leeislee made me decide to do this small tutorial. Now many of you might be familiar with the technique, but there's always someone out there who could benefit from this here tutorial, and this is for them
What I'm gonna do, is talk you through the use of textures in this recent edit of mine:
Let's begin!
What you're gonna need!
Textures, textures and more textures. The more you have, the more tiny elements you can add to your work, and yes, every tiny element has an effect!
Now, we all know Google is the one stop shop for all your editing needs. But This Here pack of textures, shared kindly by @ShaolinMasta is truly sublime. Download 'em, thank the man, and you will never get tired of using them!
Getting the right picture
But ofcourse! And by right picture I mean a shot that really deserves the use of textures. Don't simply add them because you have to. Plan your shot out, and try to imagine how and what you will be needing. Think you need a big of a bokeh effect? A few dust particles perhaps at the corner of your image? Make a note of that, and proceed.
The shot we'll be starting out with is this, the original of the previous shot:
The Process
Go about your usual editing routine of adjusting levels, curves, toning, filters and adding gradients ( If you wish to). I presume my shot would do good with a bit of crazy dancing color, so after a lot of experimenting, I get the desired number and here's what it looks like:

Oh darn, my battery's low, let me go grab that charger, and a refill of my drink while I'm at it!
Right, so where were we? Oh yes, done with the basic editing? Well done. Now this is really about the time when I start working with textures, once I've got the foundations of the shot sorted out.
Open up the desired texture piece by opening File=> Open => Image . I'm using SM's texture obviously; I feel the shot could do with some bokeh. This is the texture I open up:
The texture piece should open in a separate window. Using the Move tool as shown, I move it to my primary window i.e, the window where the image we happen to be working on lies.

The texture should now be present as a separate layer in your primary window . Now comes the fun part, just like any other layer, you can mess about with it until you get the desired effect. That's the beauty of it really, you could resize the layer, drag, stretch, manipulate it anyway you want to obtain just the effect you're dreaming of.
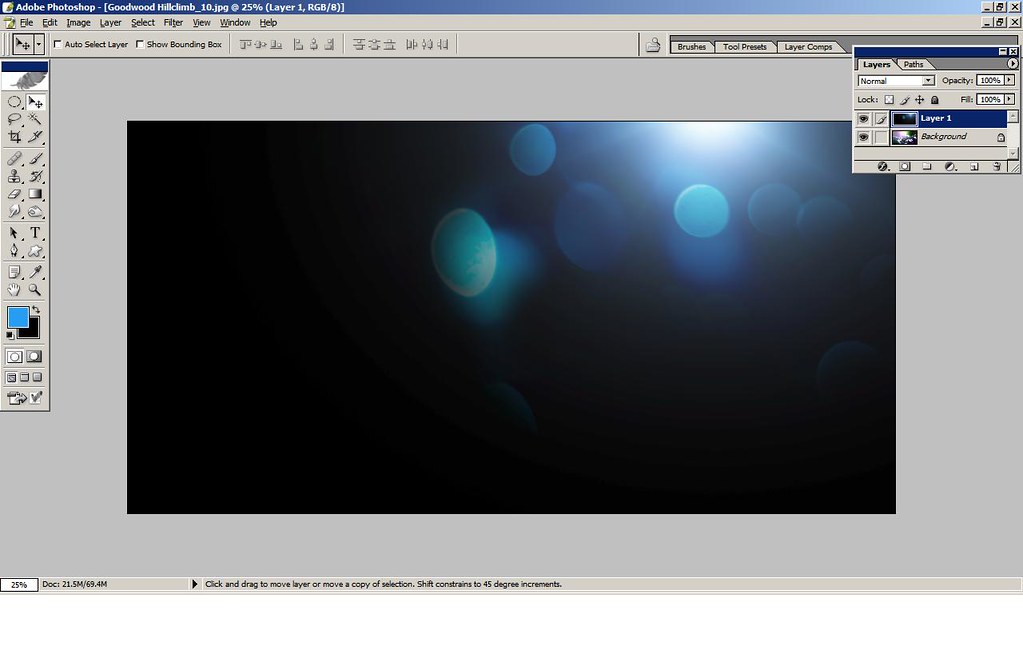
First though, I roughly position the texture to the position I want it to be using the Move tool again:
 f you've noticed in the shot we're working on, there seems to be a lot of light emanating from the center, just about the Audi symbol, and that's really around where I want the bokeh to be.
I then mess around with the layer options so that the Bokeh seems plausible at the very least, and not just "put in". This is what we're left with
But I'm still not pleased with it. Why you say? Well there's still not as much happening within the shot as I want to, and I've got this odd sort of OCD. Phew, another refill.
So yes, there's not enough happening, I say, a few random droplets of water should add another dimension to it, and I happen to have just the thing:
Though I just dont leave the texture piece as it is. After changing the Layer blending option, I use "Free Transform", quickly accessible using Ctrl+T, to stretch, drag and rotate the water droplets. I don't want too many really so I resposition and stretch the texture layer accordingly.
And after adding a few more, manipulating them , I adjust the lighting as I see fit. The result we see, is this ofcourse:
There you see? Absolutely nothing to it.
Talking about the beauty of textures
As I mentioned earlier, textures can be used anyway you see fit. You can use multiple in one shot; that along with the layer blending options and the Move and transform tool gives you a number of possibilities limited only by your creativity . Just so you get an idea of what you can really do, here are a few examples from my own work:


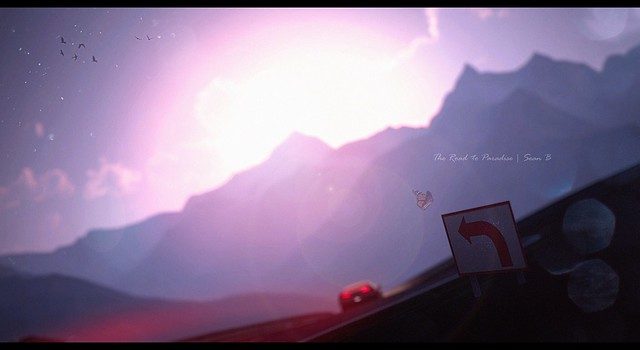
And this particular one, is perhaps my very own personal favourite:
Talking about the beauty of textures
As I mentioned earlier, textures can be used anyway you see fit. You can use multiple in one shot; that along with the layer blending options and the Move and transform tool gives you a number of possibilities limited only by your creativity . Just so you get an idea of what you can really do, here are a few examples from my own work:
And this particular one, is perhaps my very own personal favourite:
As you can see I've added just a hint of bokeh from the light emanating from the mountains, a few droplets to the sign and the illusion that there are stars visible in the sky.
Like I said, there's just so much you can do, and I hope I've helped those of you who didn't know how, to go about it. This happens to be my first ever tutorial by the way.
Feel free to leave behind any questions and share techniques of your own too. After all, it's all about learning!
Like I said, there's just so much you can do, and I hope I've helped those of you who didn't know how, to go about it. This happens to be my first ever tutorial by the way.
Feel free to leave behind any questions and share techniques of your own too. After all, it's all about learning!
Last edited:
