- 19,311

- Inland Empire SoCal
- SOLID_LIFTERS
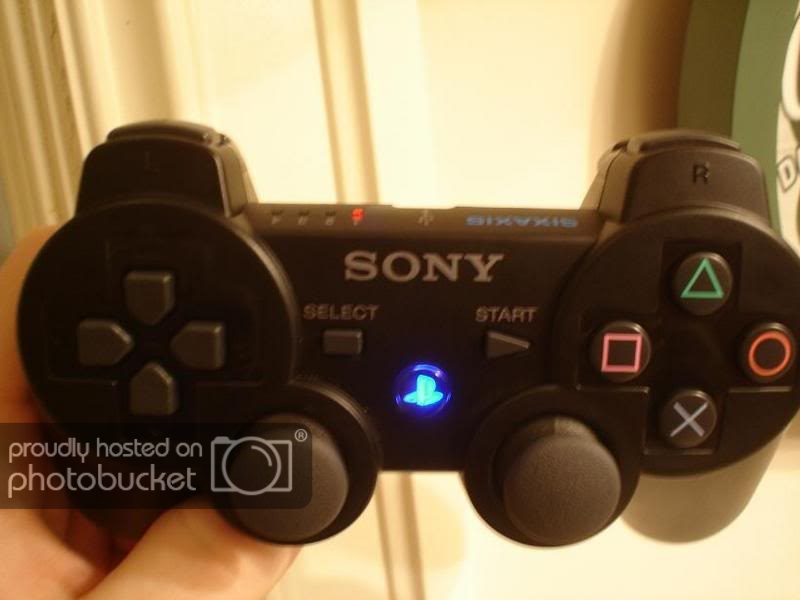
The Sixaxis controller originally had a 5th LED for the center PS button. However, it was never added. Perhaps it drained the battery too much. But, a simple mod can add any LED you want back in.
Taking apart a Sixaxis is not a difficult task, but for a simple process, it takes a long time to do. I just did it to see how difficult this mod is and it's not for noobs. Do the following at your own risk.
Here's the first mod of two. A small LED was used.
Used 0603 size LEDs. They are about the size of the letter E on the front of a dime. The wire that goes to the back goes to a PAD labeled GRD (ground). There are about 5 different ones on the back to choose from.


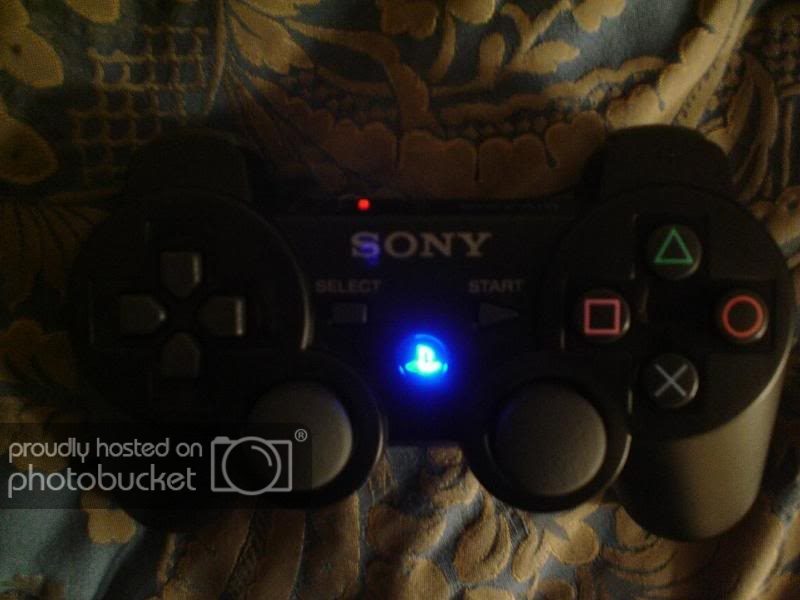
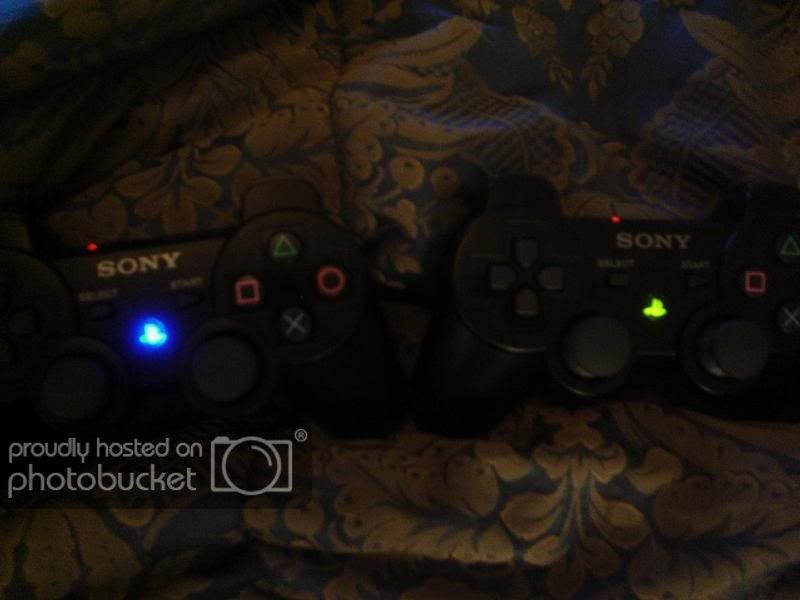
Here's the second mod with a bigger more powerful LED.
Parts needed:
PS3 controller
3mm LED (or 5mm if you want a really bright light, its a tight squeeze)
some wire
some solder
some patience
First you need to solder some short wires to the PCB board @ the "5" hole on the right side, and at the leg where the red wire plugs into the middle of the board. you will then solder an led to these 2 wires, do this while the controller is on so you can make sure it works. If you are using a 3mm or 5mm rather than the size eb used, you must melt or cut the black piece of plastic that is a cylinder under the PS button. It is the cylinder that the clear rubber piece slides into. This will allow the LED to sit in this cylinder directly under the PS button. you will also have to cut the part of the clear rubber piece that goes down into this cylinder. Leave enough to where it still sits in the rubber holster. After this is all done you should be able to just close it up and be done. BEFORE you put it all back together put the analog sticks back on the board and make sure they dont hit the wires to the LED (this happened to me and I had to make some adjustments.

I did some probing around last night and this is what I discovered!
+ side/power is active.
- side/ground is inactive
remember LED's are polarized so negative and positive contacts have to be placed correctly in the right direction
I followed the circuit trace and it dead ends right at the R22 printed on the board. What you have to do is jump the connection between that spot and pin five or another ground source. That will ground out the negative LED pad and allow you to install the surface mount led directly to the pads. That way the led will sit fully inside the tunnel for the PS button and not leak out as much light to other spots in the controller.
I tested this by holding a 3 volt bulb type led in place and jumping the ground with 2 pins and a piece of wire ( ghetto style) I couldn't take a pic because my hand where full...sorry but I assure you it worked.


Taking apart a Sixaxis is not a difficult task, but for a simple process, it takes a long time to do. I just did it to see how difficult this mod is and it's not for noobs. Do the following at your own risk.
Here's the first mod of two. A small LED was used.
Used 0603 size LEDs. They are about the size of the letter E on the front of a dime. The wire that goes to the back goes to a PAD labeled GRD (ground). There are about 5 different ones on the back to choose from.
Here's the second mod with a bigger more powerful LED.
Parts needed:
PS3 controller
3mm LED (or 5mm if you want a really bright light, its a tight squeeze)
some wire
some solder
some patience
First you need to solder some short wires to the PCB board @ the "5" hole on the right side, and at the leg where the red wire plugs into the middle of the board. you will then solder an led to these 2 wires, do this while the controller is on so you can make sure it works. If you are using a 3mm or 5mm rather than the size eb used, you must melt or cut the black piece of plastic that is a cylinder under the PS button. It is the cylinder that the clear rubber piece slides into. This will allow the LED to sit in this cylinder directly under the PS button. you will also have to cut the part of the clear rubber piece that goes down into this cylinder. Leave enough to where it still sits in the rubber holster. After this is all done you should be able to just close it up and be done. BEFORE you put it all back together put the analog sticks back on the board and make sure they dont hit the wires to the LED (this happened to me and I had to make some adjustments.
I did some probing around last night and this is what I discovered!
+ side/power is active.
- side/ground is inactive
remember LED's are polarized so negative and positive contacts have to be placed correctly in the right direction
I followed the circuit trace and it dead ends right at the R22 printed on the board. What you have to do is jump the connection between that spot and pin five or another ground source. That will ground out the negative LED pad and allow you to install the surface mount led directly to the pads. That way the led will sit fully inside the tunnel for the PS button and not leak out as much light to other spots in the controller.
I tested this by holding a 3 volt bulb type led in place and jumping the ground with 2 pins and a piece of wire ( ghetto style) I couldn't take a pic because my hand where full...sorry but I assure you it worked.

") )
)")


 I've asked myself that may times before. Anytime I play a multi-player split screen game I remember why it's so nice.
 eeeww!