Nice car, I can't remember ever driving it before but you can push it quite hard without being punished (some of the other mid-engined cars will snap in the middle of the corner). Should be friendly enough for everybody 👍If anyone's interested, I've got a quick test session open for my follow up to the Bridgestone Tour. Currently testing fuel load. Once that's done, I'll change settings to the SF at Laguna.
Car for the follow up series is the Gr.3 RCZ, at 106% power, 100% weight.
That is assuming we finish 1st and 2nd each race which hasn't happened 4 times out of 9 races so far. These cars drive totally differently to anything we've had to this point, I wouldn't be surprised if somebody else comes in with a win (Drex was a few tenths off at RBR, Kermit led most of last race, Pigems is always quick, etc).
1 on 1 demolition derby.

Practice lobby closed.
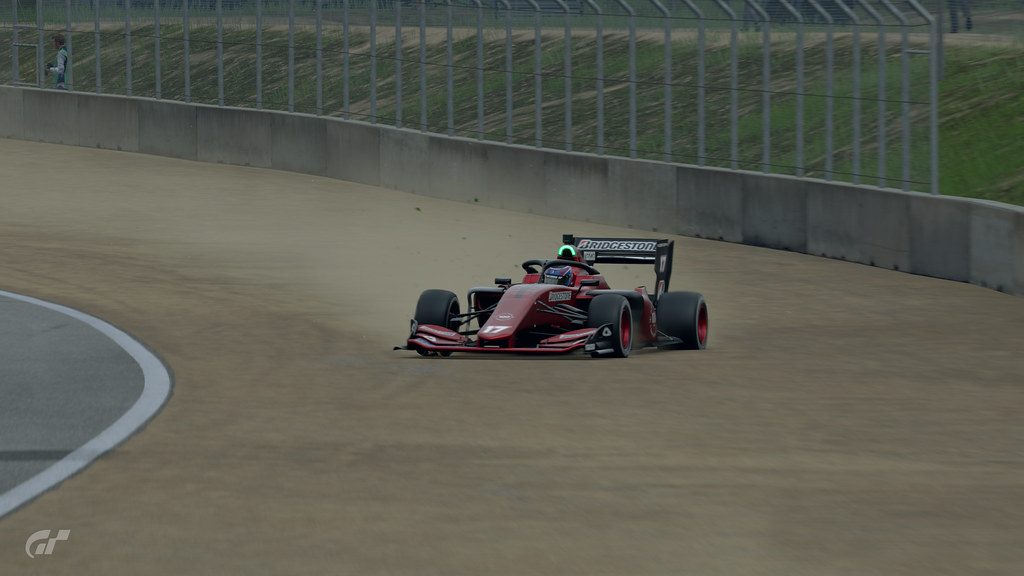
Anyone fancy showing me the way around Laguna, tomorrow?
Yes, that's a serious question. I can't get under 1:12.
Is this any use? The settings should be the same as in the lobby aside from having fuel set to 0 and being able to use the boost (set at 2.0x).Practice lobby closed.
Anyone fancy showing me the way around Laguna, tomorrow?
Yes, that's a serious question. I can't get under 1:12.
Sure, not that I’m great at it. What time will you be on? Are you still on now?
Is this any use? The settings should be the same as in the lobby aside from having fuel set to 0 and being able to use the boost (set at 2.0x).
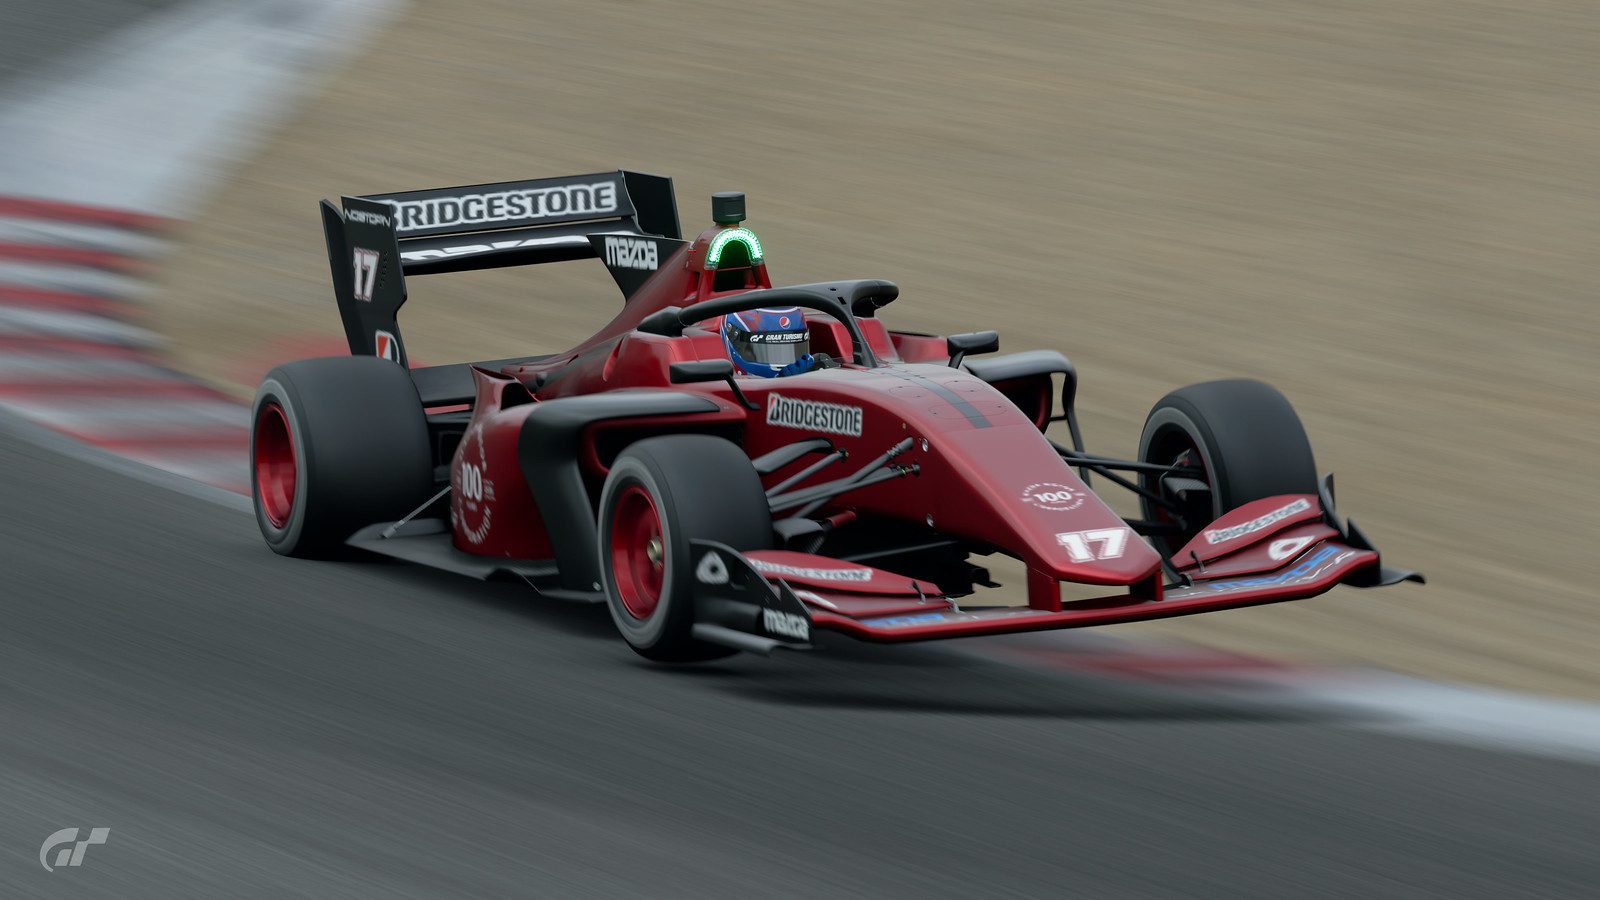
T2 (Andretti Hairpin): The 2nd apex is more important for getting a straighter exit onto the short straight, if you miss the first one you can still carry good speed.
T3: This one you have to hit the apex, it's worth braking earlier to make sure you get there because there is no grip off line.
T4: Don't hit the sausage on the inside because it will bounce you wide even if it's just a small tap, otherwise throw it in and hope you're on the right line, if not you can lift in the middle to get more rotation.
T5: The same as T3 really, just try to hold it tight to the inside.
T6: This one is scary as 🤬, with the fuel we start the race on it should be flat in clean air, you can cut further to the inside and straddle the sausage if you want more room on the exit but it's risky.
T7-T8: This is the one place where the rear gets loose, it's easy to spin if you take too much curb on the left, for the right you don't want to go too far over the curb, the hill is steeper so the car wheelies.
T9: Pretty much the same as T6, straddling the sausage is easier but it's easy to do too much and get a penalty.
T10-T11: Not that much to these other than hitting the curbs but not the sausage
Mistah probably has a lap guide up from the daily race which will be a lot better than my sausage review.

Lucky you get infinite lives in this game because I intend to use a few up at this combo
Same. I'm currently having what would be life changing, or fatal crashes, every couple of laps.
Nice! I've done a 1988 Rick Mears Pennzoil Penske inspired livery.
On my Honda I have a 1992 Al Unser Jr. livery.
Surprised nobody runs a super formula league 💡
I definitely would, if we had Sugo, Motegi, Okoyama, and Tokachi. As it stands, there aren't enough Japanese circuits in game to run a Japan only series.
International Super Formula series!?
Or change the power/weight ratio so it’s closer to European Formula 3?
@Kermit_2142 post got me thinking about it.
F3 sounds good 👍

Could be done. You'd need to allow tuning, though. Stock gears are far too long for dropping the power that low.
Could be done. You'd need to allow tuning, though. Stock gears are far too long for dropping the power that low.
Yes, I was just looking that up.
Not only gears. The SF19 generates a lot of its downforce from ground effects. So it could end up being too easy to drive.
I’m not against tuning for a one make series, but not everyone has time to mess around with it.
(I used to love tuning the R32 Skyline in previous versions of Gran Turismo! Supercar beater!)
")
Sounds to me like you should set up a league
Anyone practicing tonight? I’m torn between battlefield and doing some practice, and I really really need to practice