- 4,604

- The Netherlands
- GTP_PASM
Thanks for this idea! 👍
It has come to life in my place.
Nice one!
") Are you happy with the stability?
Are you happy with the stability?Thanks for this idea! 👍
It has come to life in my place.
Are you happy with the stability?
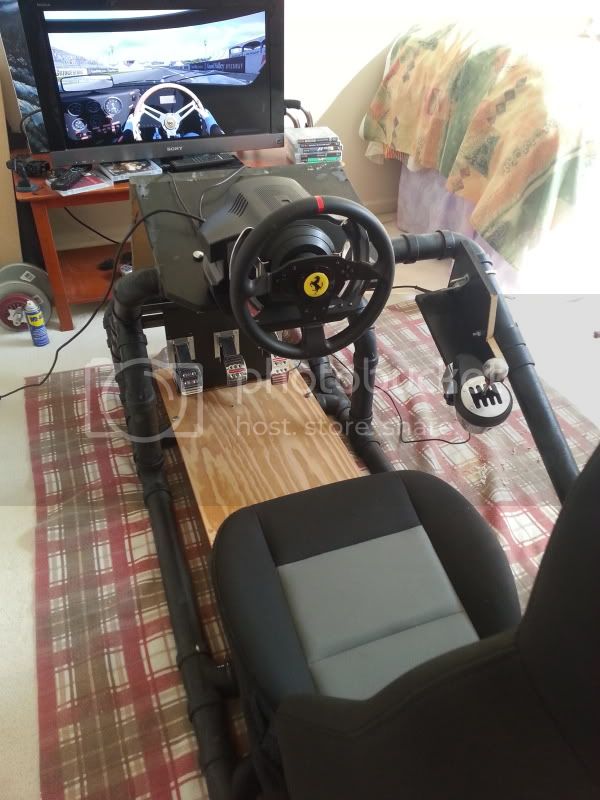


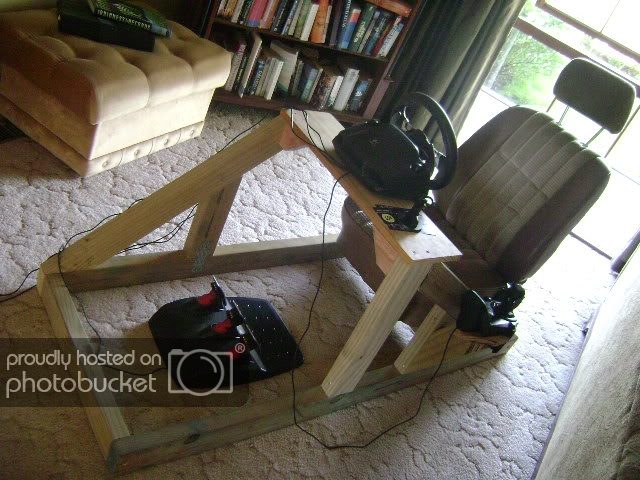
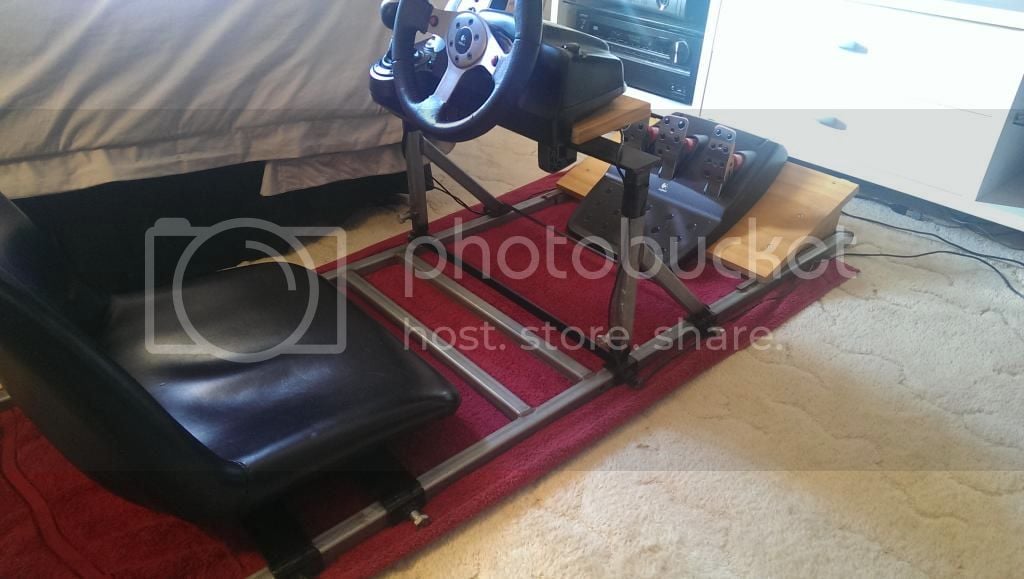
I started out with the design at http://buildawheelstand.blogspot.com/ (mentioned earlier in the thread), then I:
1. Attached the wires to the frame so they don't get tangled or in the way
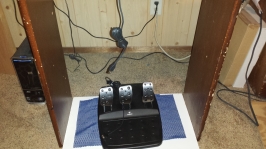
2. Added a floor so I could bolt my pedals on (which is nice because they are always in the right spot and don't move)
3. Added a cheap bath mat to the bottom so it doesn't slide on carpet or hardwood
Bath mat so it stays in place.
Though one suggestion: you could drill/cut a hole in the table under the wheel and route the cables through it, it would look even neater Love it.
Playseat makes a rookie model that sells for $129 that's the way I'd go and it's sturdy an comfy and hard to beat for the money
")


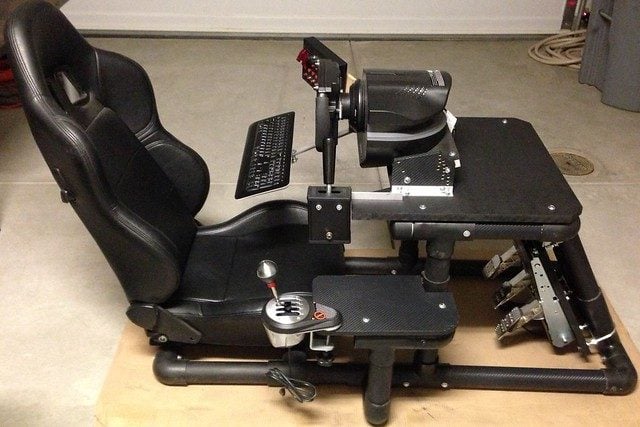
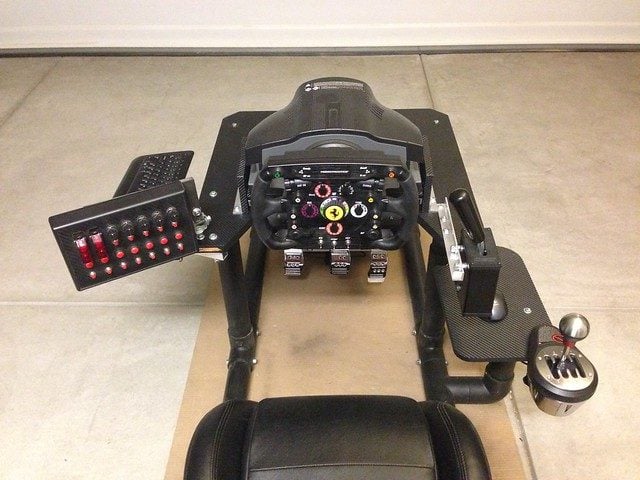
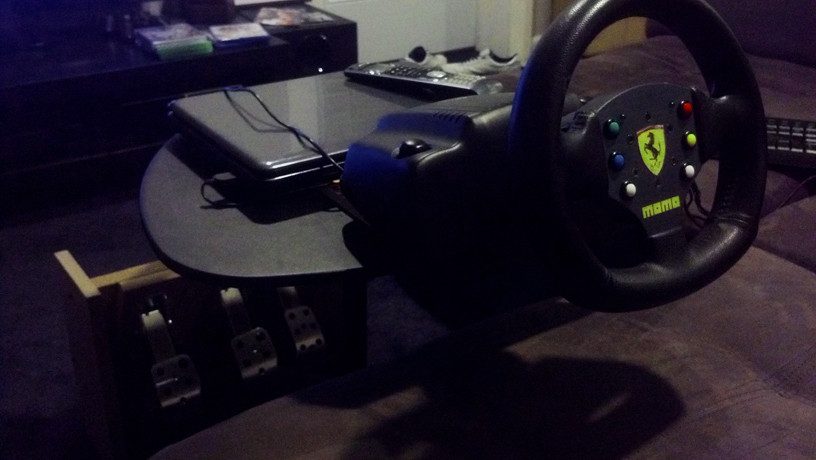
What's on the bottom (underside of base)? As I also have hardwood floors and you might end up scratching up your floors, I use a rubber mat under my setup . It also helps keeping it from moving around, looks like you could glue something to the bottom of yours. Just remember that if you put something on the bottom it will be harder to slide across the floor.Mounted the pedals on mine and did a bit of trimming to fancy it up. Now I'm done except for paint. I can play comfortably at either of my couches with it. I've also laid out where I'm going to stencil in the GT logo.
Total cost so far: $75 including the wheel.
What's on the bottom (underside of base)? As I also have hardwood floors and you might end up scratching up your floors, I use a rubber mat under my setup . It also helps keeping it from moving around, looks like you could glue something to the bottom of yours. Just remember that if you put something on the bottom it will be harder to slide across the floor.
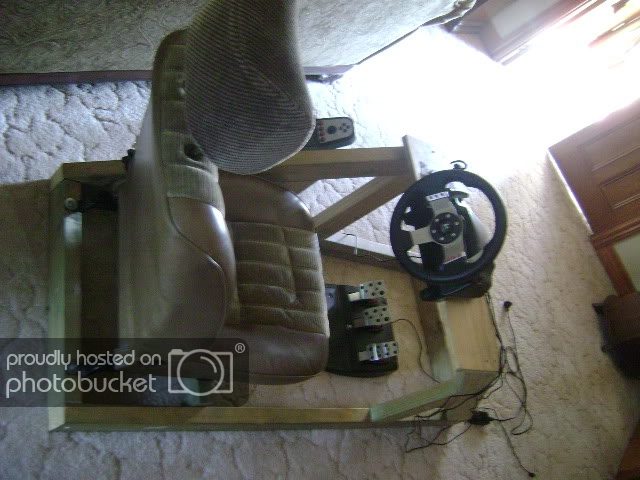
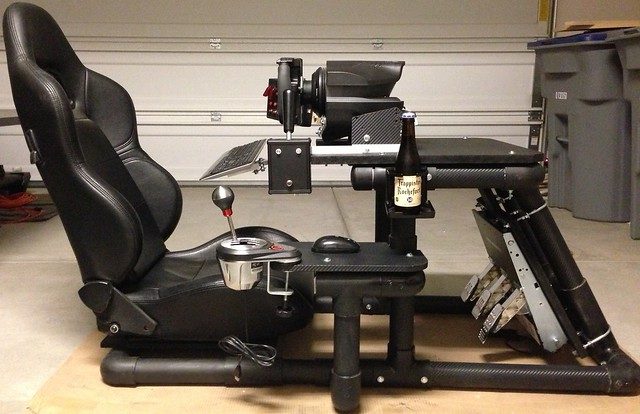
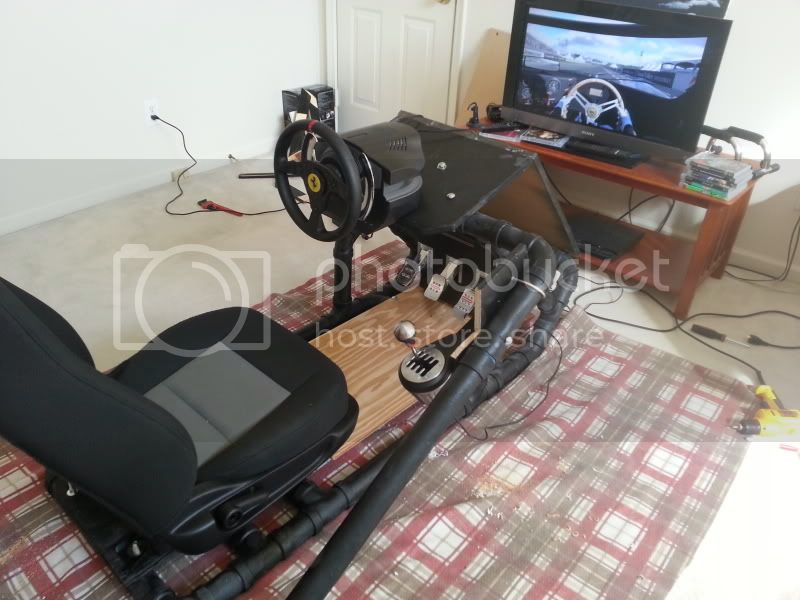
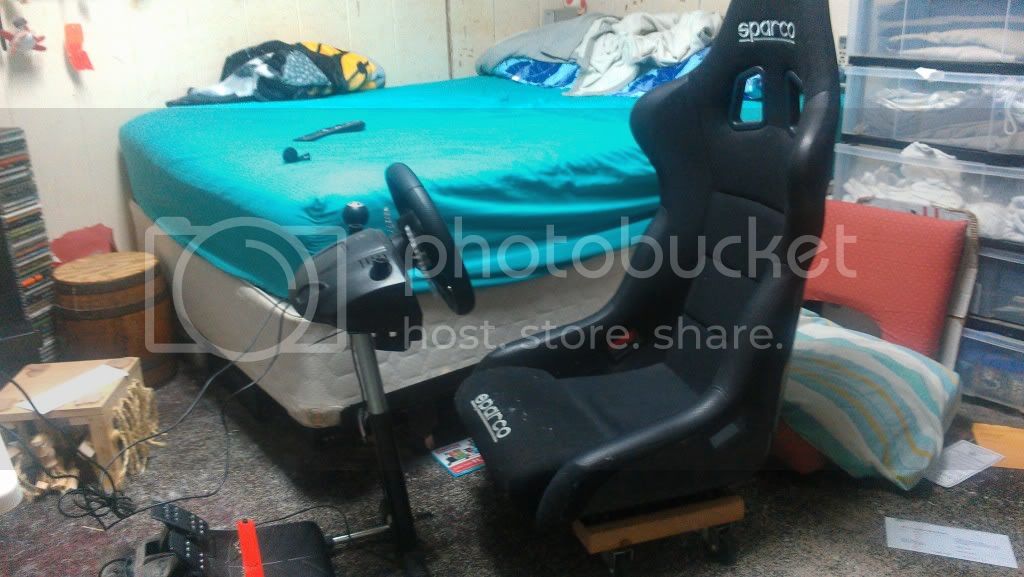
Plans - instructions on how to build?Well heres my cheap cockpit,
The design is my own, i call it the Z-Design (all the uprights kind of look like a Z from birds-eye-view), designed it by measuring up my 2006 Mitsubishi Lancer VR-X so it fits me perfectly but also all my mates fine aswell as the chair adjusts just like a car and the pedals can be moved (for now).
Just made out of 4"x2" wood, few tech-screws and a couple of nail plates for stability, Worked out real good, and was very cheap.
The seat is out of my old 1985 Mazda 323, purely for sentimental reasons but when i decide i want to finish it off it will be easy to change the seat.
Iv got a 5.1 surround sound system for it that im going to build into it, close in the sides, fix up the wiring, paint, do something with foot pedals, heaps of other little ideas..
This is very much just the foundations of my cockpit but does the job great untill i get around to finishing it off