My first edits were done with GIMP but shortly after I switched to Photoshop CS6. That means that my instructions might not be similar to your photo editing software.
Using textures helps a lot in that you don't have to paint the dust/dirt. You can use any image in the internet and turn it into a texture. Of course, you have to apply an appropriate image to your subject. A scene of a kid’s birthday party on the side of a car will not do. So you have to do an image search of say, “dirty window texture”, “dusty window”, “grime textures” “rusty metal textures” and so on. There’s lot out there. I taught myself Autodesk’s 3DS Max Design a few years ago and used these textures on 3d models. For Photoshop, I use it differently in that I want a high contrast image. (Contrast is the quantity of different color gradients from the lightest to darkest colors. For example, a black image in a white paper has just two colors; low contrast. A gray scale image has more; higher contrast.)
1. I would have the texture/image in its own layer.
2. Lower the saturation to turn it into a black and white image.
3. SCALE it appropriately, don’t want rain drops the size of watermelons.
4. DISTORT/WARP it to “fit over the physical” car.
5. Play with the different types of BLENDING modes available. This is where the magic happens. Depending on which mode you use, the lighter (white) colors become transparent. In 3d modeling programs, this contrast is used to define depth in textures, Texture Mapping. The darker parts of the image define deeper surface limits.
6. Use the OPACITY setting to adjust overall transparency.
You can also use the standard brushes in Photoshop for the grime/oil specks or even modify them. You could take a picture of a spatter of paint in your house, desaturate, lower contrast and make a custom brush. I went into the internet and did a search for “splatter brushes” and got some.
These instructions by themselves are usually not enough, I sometimes need to combine multiple textures over each other and add “shadow” layers. Other key things you need to watch for is:
1. Do not to over do it. You want to add more but can’t stop and the image may get too dark.
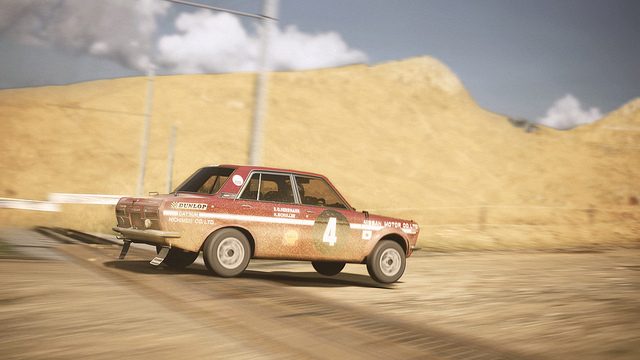
2. Go do searches in the internet and learn how the cars actually look when they are dirty. Where does the dust/dirt/grime collect? How dark should it be?
3. Specks of oil will be seen on a real car up close but not from far away so watch out for your “scaling”.
 Mazda 787B 1991 24 Hours of Le Mans by Metalsun1, on Flickr
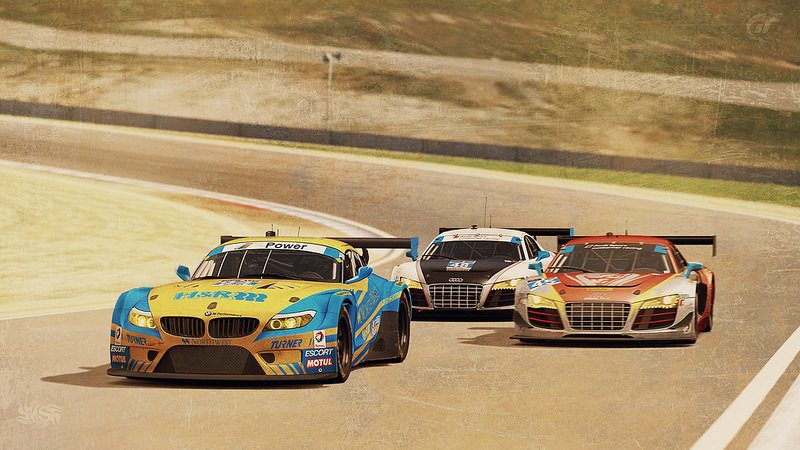 Turner Motorsports BMW Z4 GT3 2014 Laguna Seca by Metalsun1, on Flickr
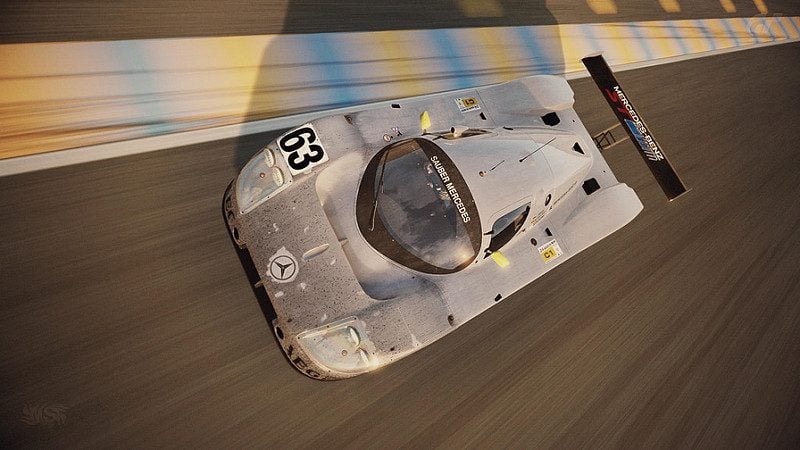 Sauber Mercedes C9 1989 24 Hours of Le Mans by Metalsun1, on Flickr
 Jaguar XJR-9 1988 24 Hours of Le Mans by Metalsun1, on Flickr
") ) i will follow your advices and hope to get better
) i will follow your advices and hope to get better 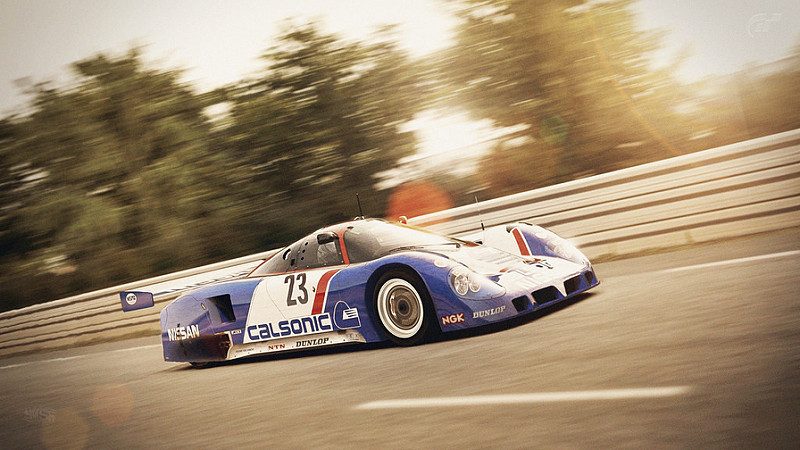 Nissan R89C 1989 24 Hours of Le Mans by Metalsun1, on Flickr