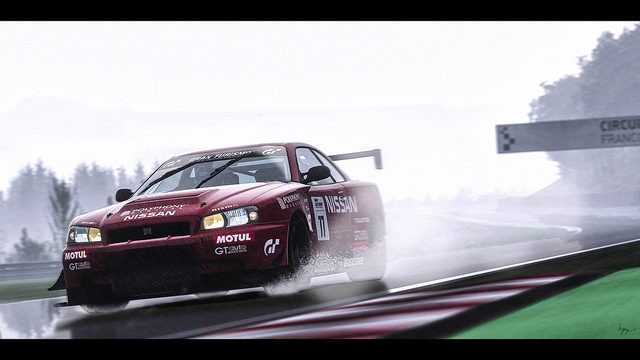
Great photo mate. Love the spray.~Picture~
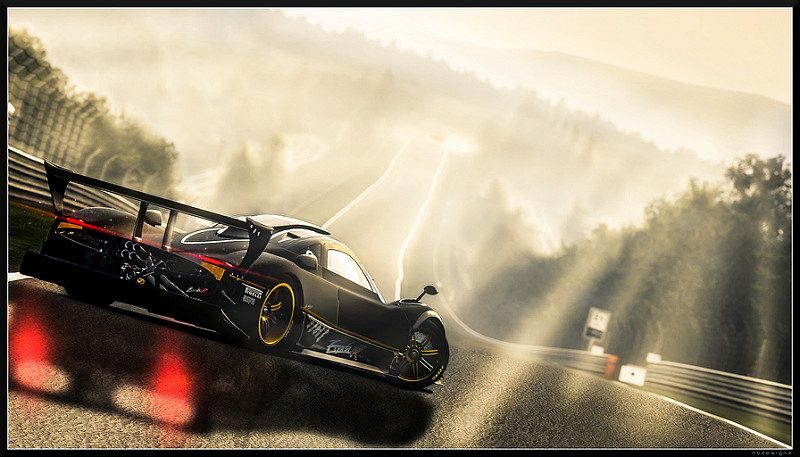
GT5-86 by Petri Hakala, on Flickr
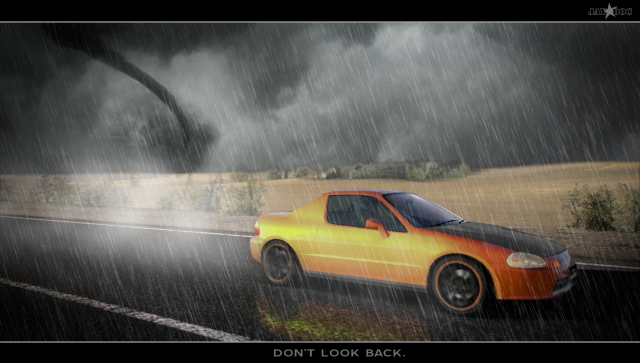
This is one of my oldest photos that I just re-edited. I'm learning piece by piece and now I focused on the road, as well as reflection of the car.
") 👍
👍Great photo mate. Love the spray.

Love the lighting, shadowing and spray in that shot, hgrf93. 👍
 .
.

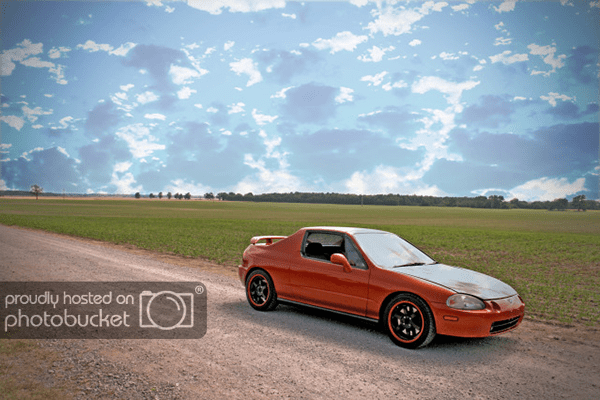
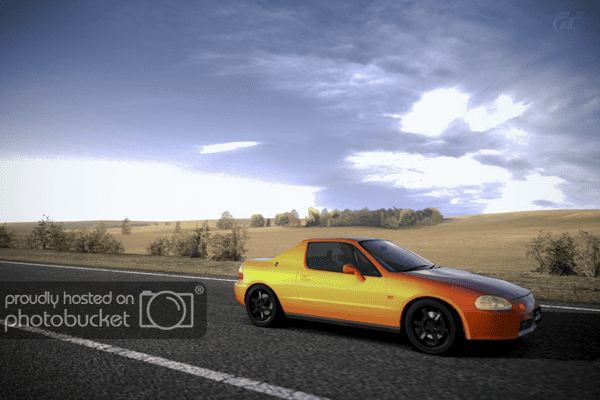
Great edit Ryan. Really good for a first attempt. The reflection could do with a bit of work but overall you should be made up with that mate 👍My first attempt with a little help from some internet tutorials:tup:

Great edit Ryan. Really good for a first attempt. The reflection could do with a bit of work but overall you should be made up with that mate 👍


May i ask what online tutorials you're using?!