Modified Ricmotech RS1 Racing Rig

2,782
United States
Washington
GrimGrnninGhost
So the racing bug caught me last year and have now moved on to my third racing wheel stand/rig.

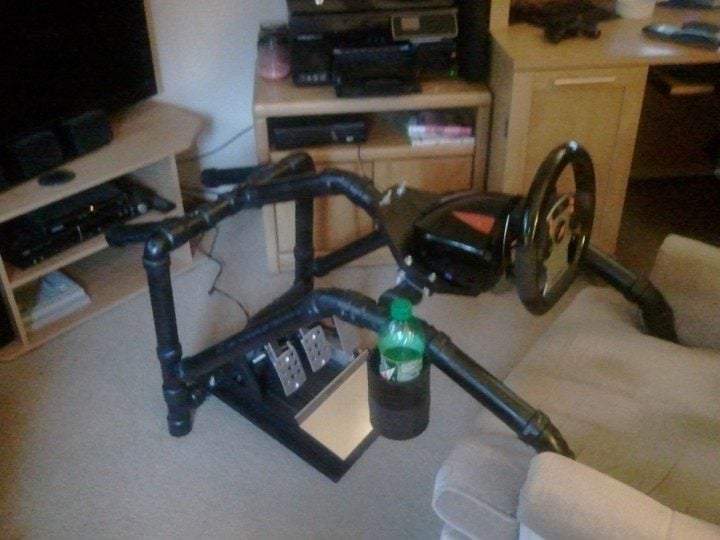
First, I bring you the Ghetto Rig 2000. As you can see, the water jugs (with the quick release in the event of an accident) was in place for a couple months until I upgraded wheel and pedals.
8525838325_9201697be3_b.jpg


Next, I bring you the Ghetto Rig 3000 XLT Turbo. This was in use until recently as the new rig became operational.
8628472474_14449cb09d_b.jpg


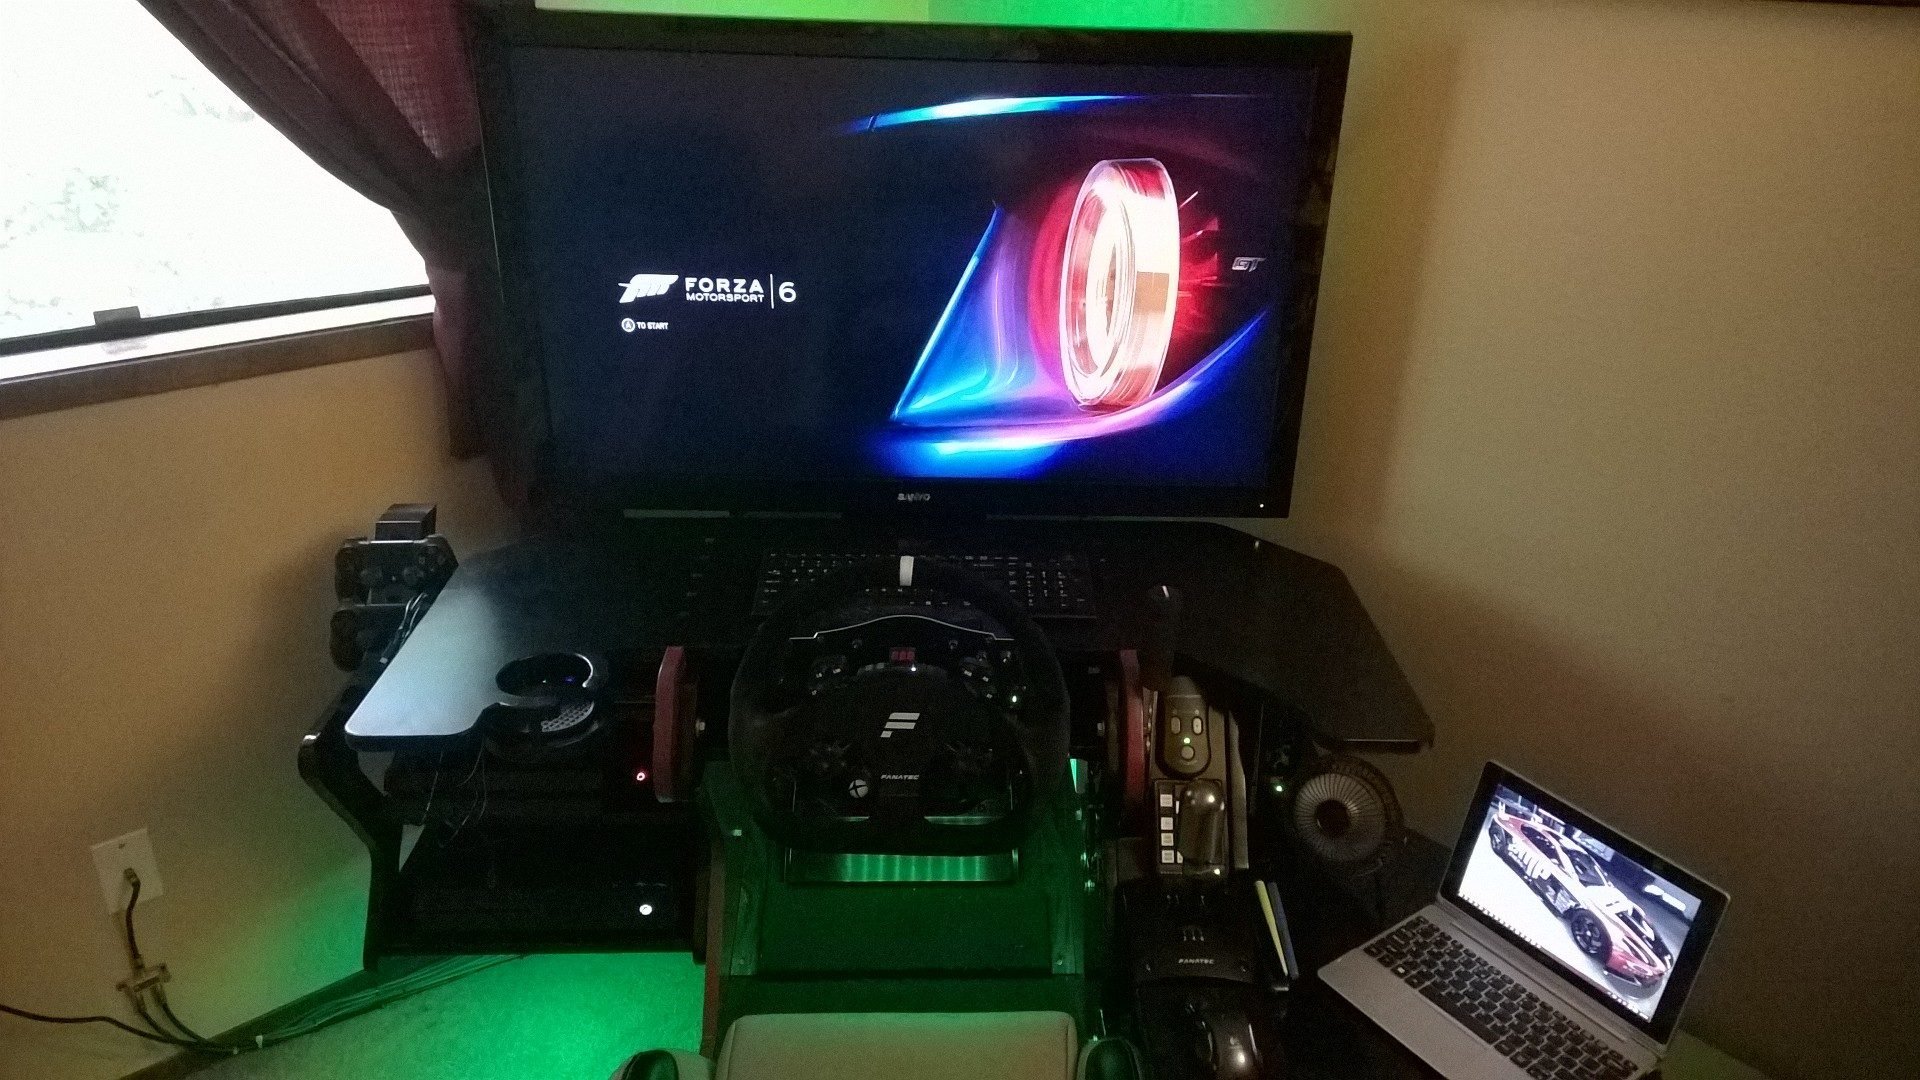
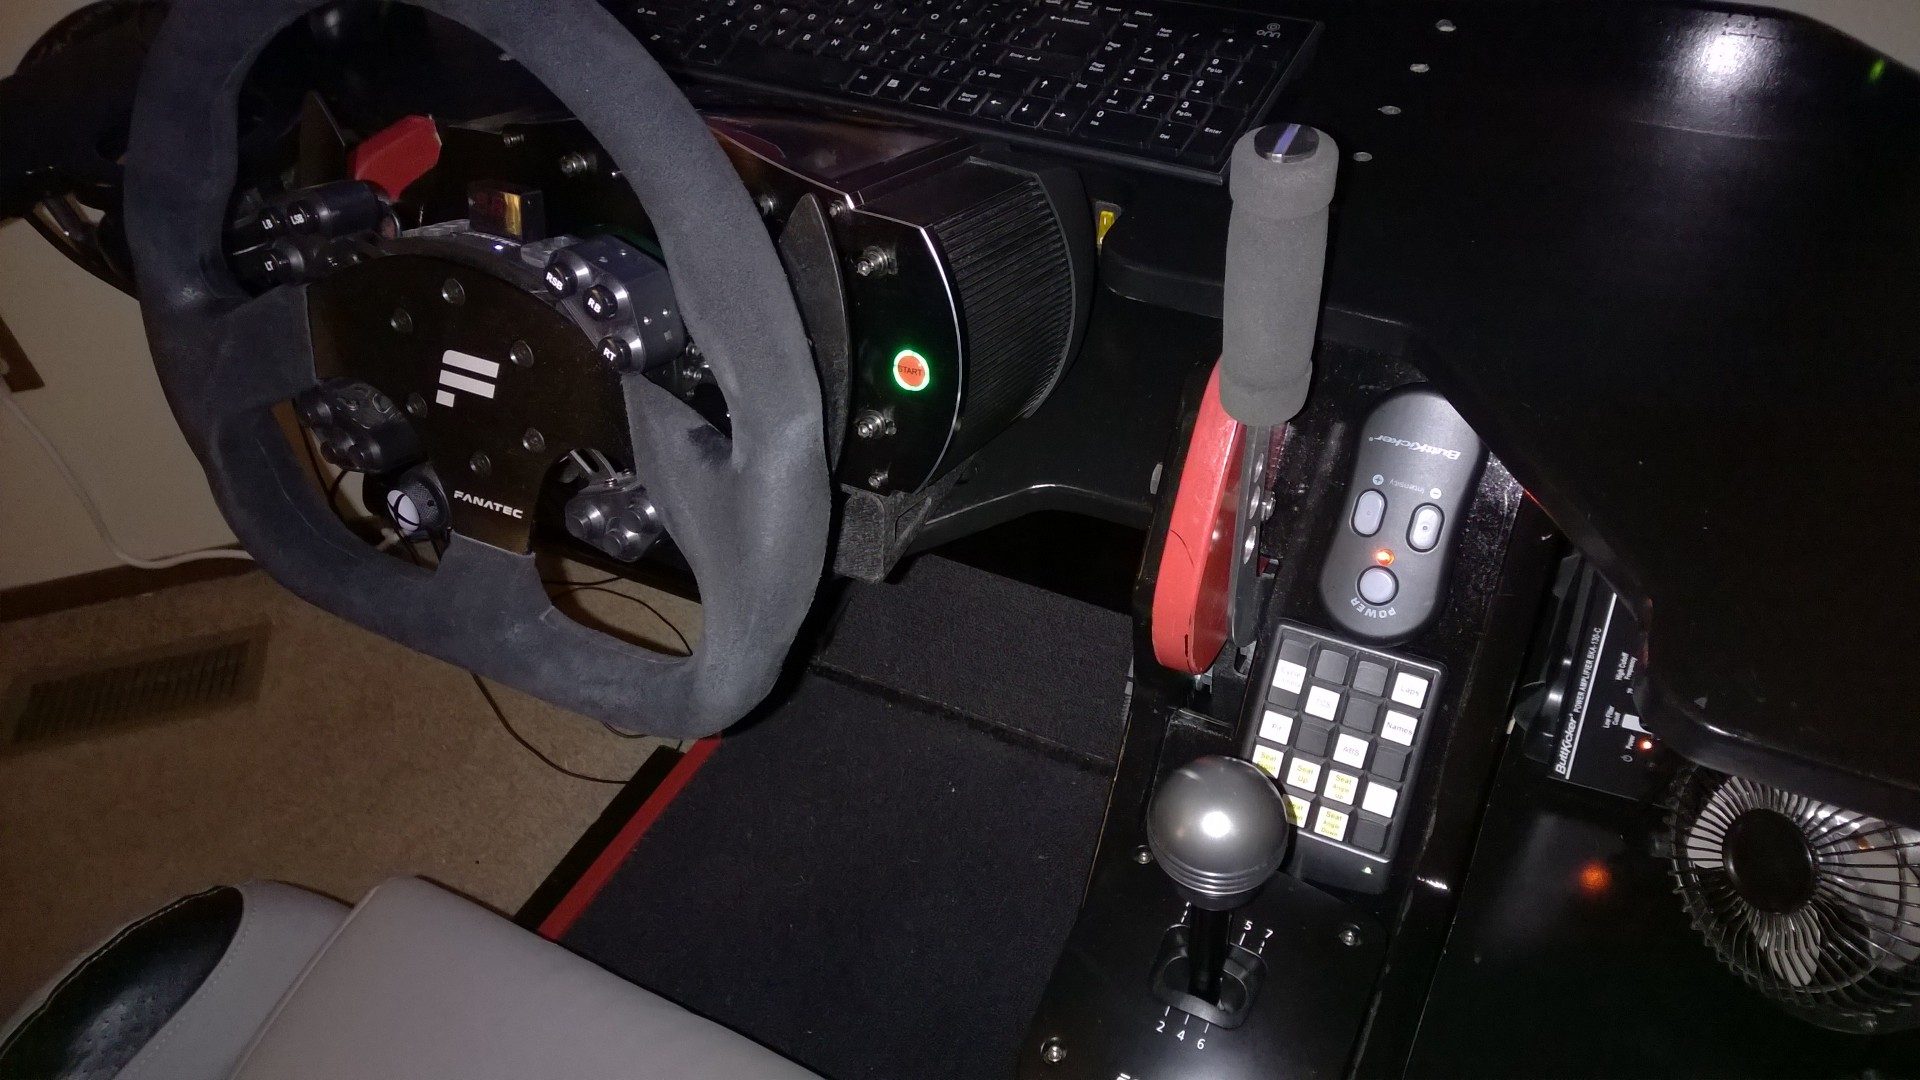
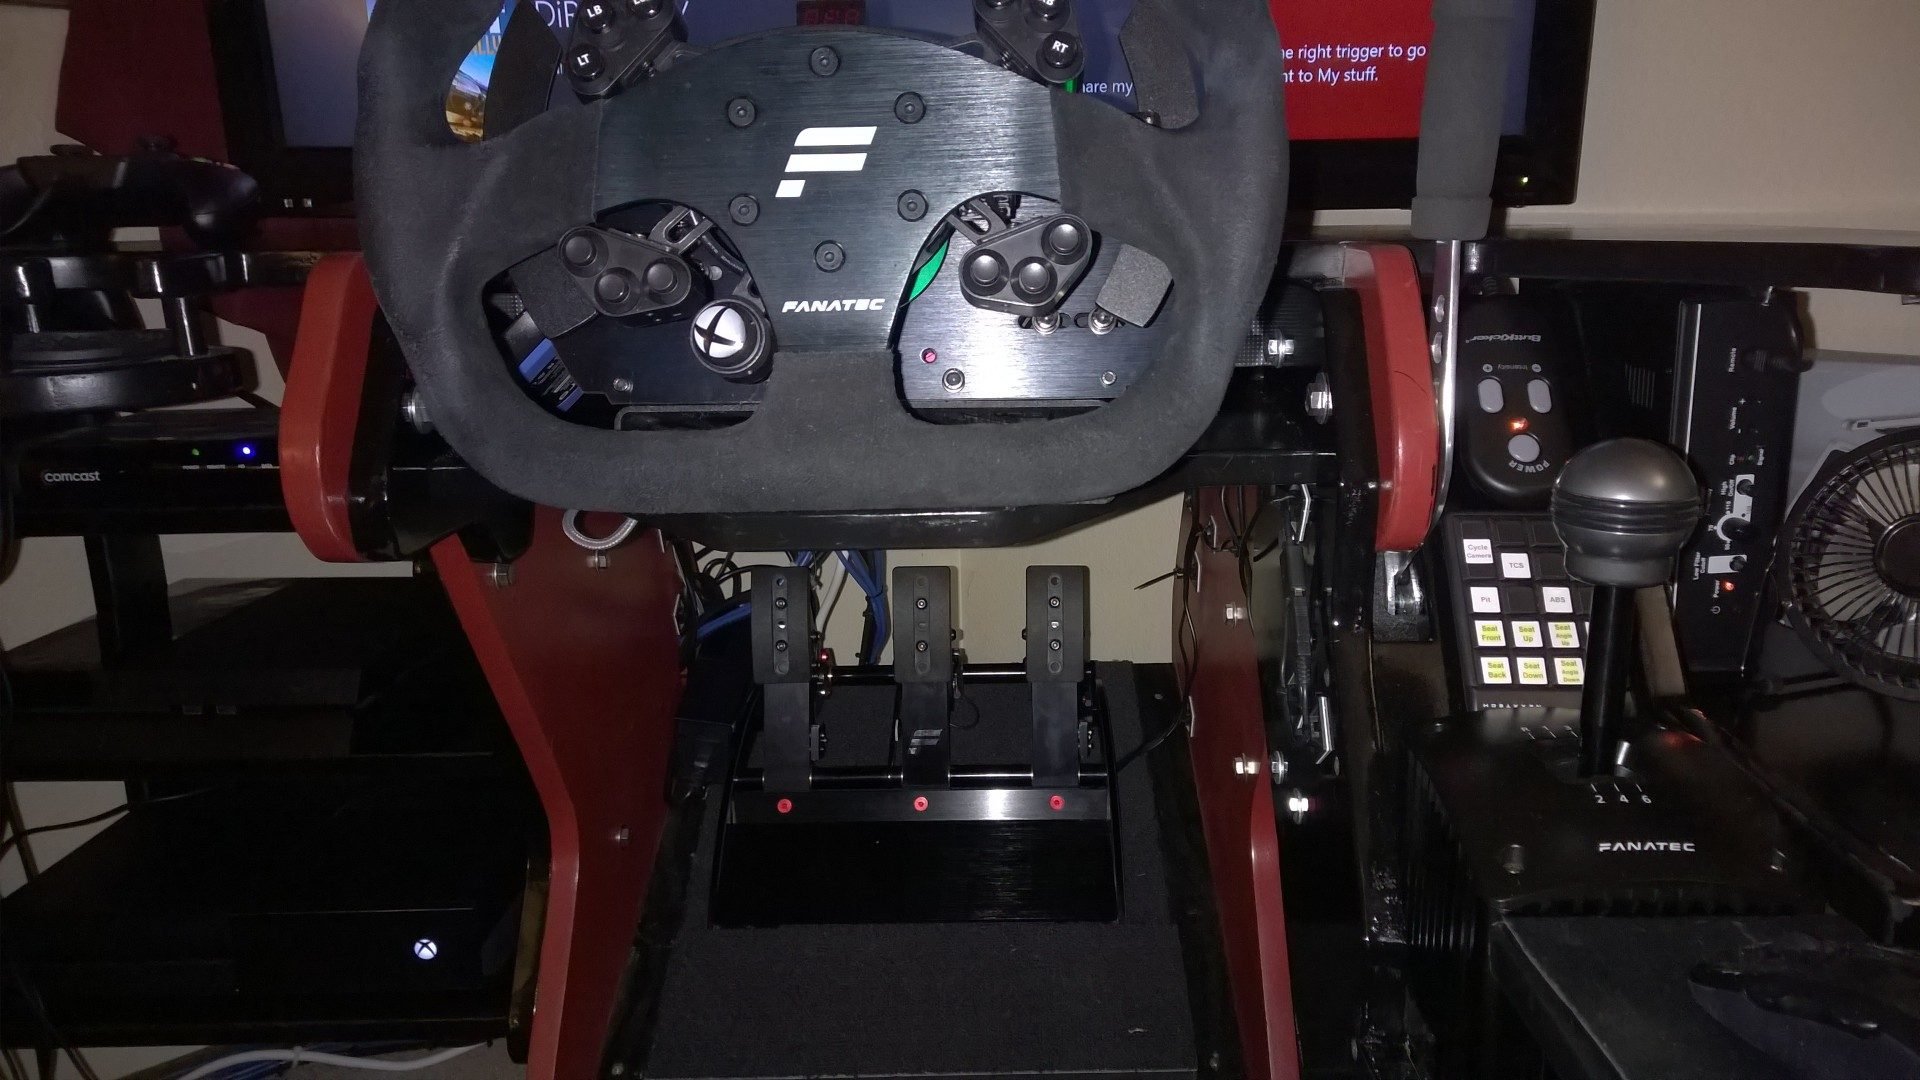
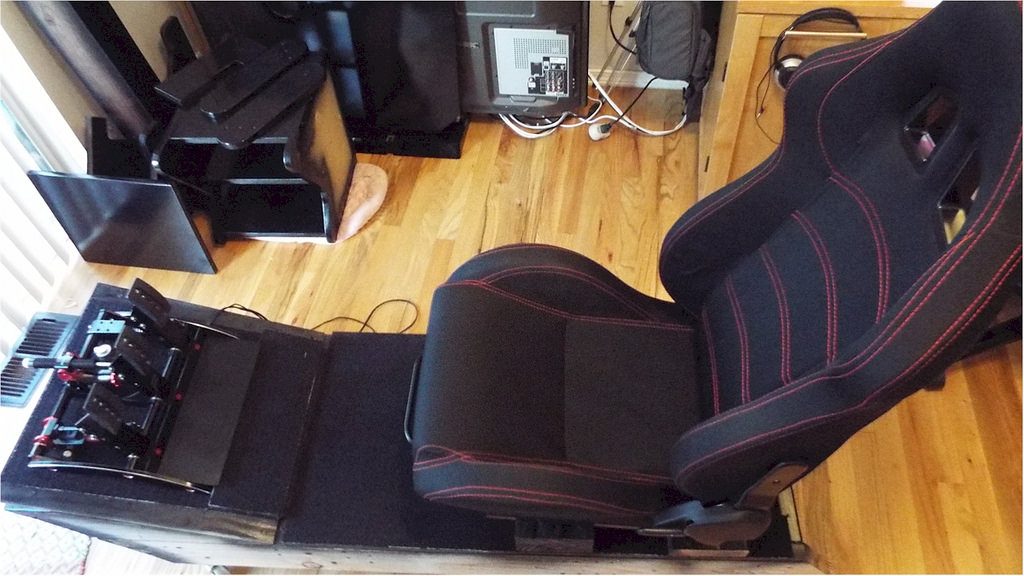
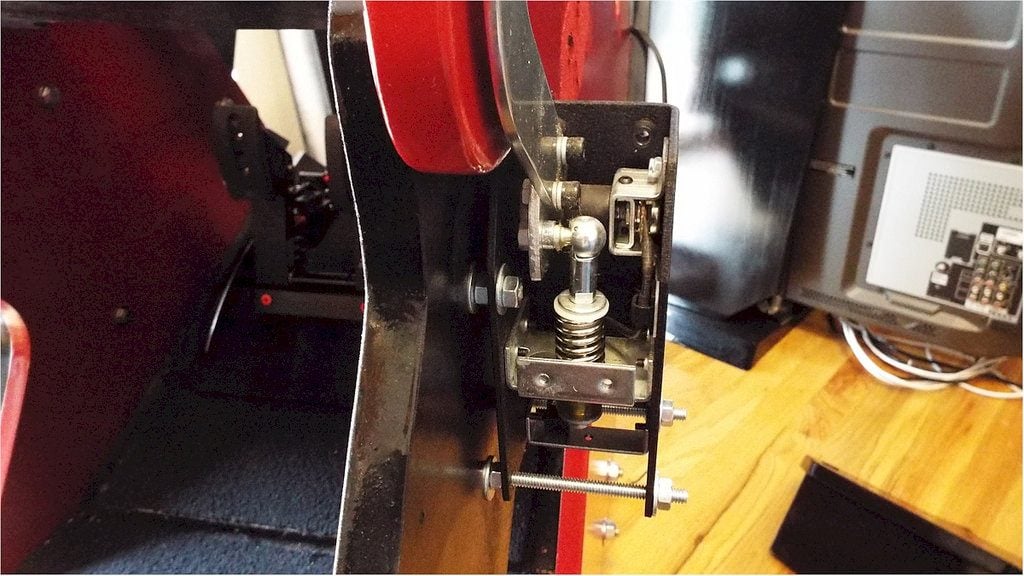
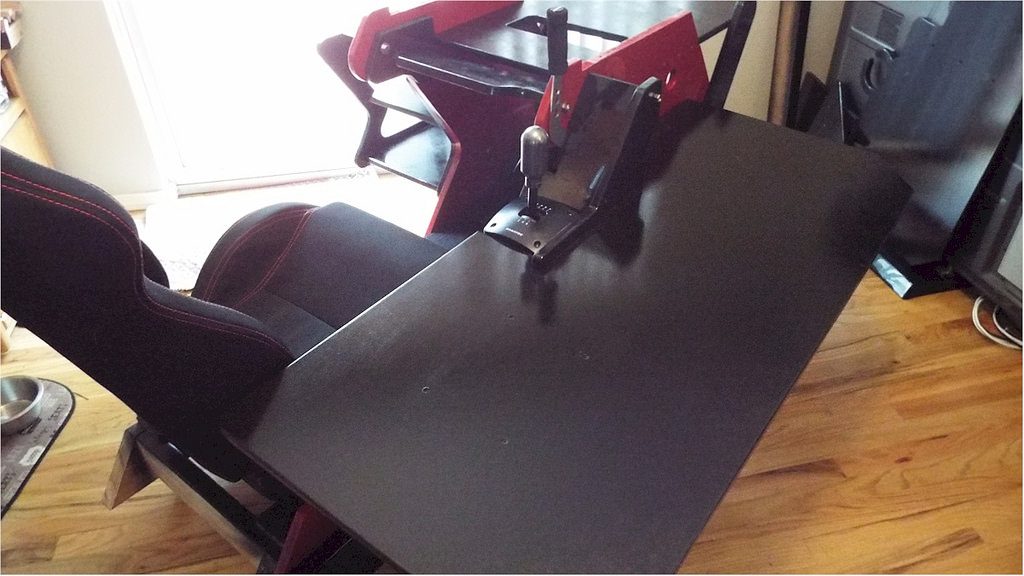
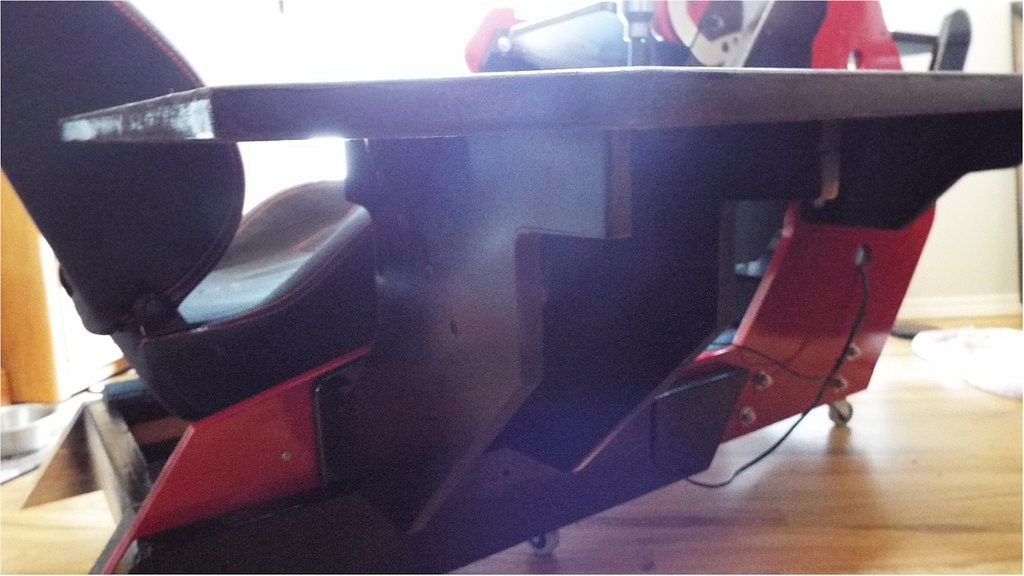
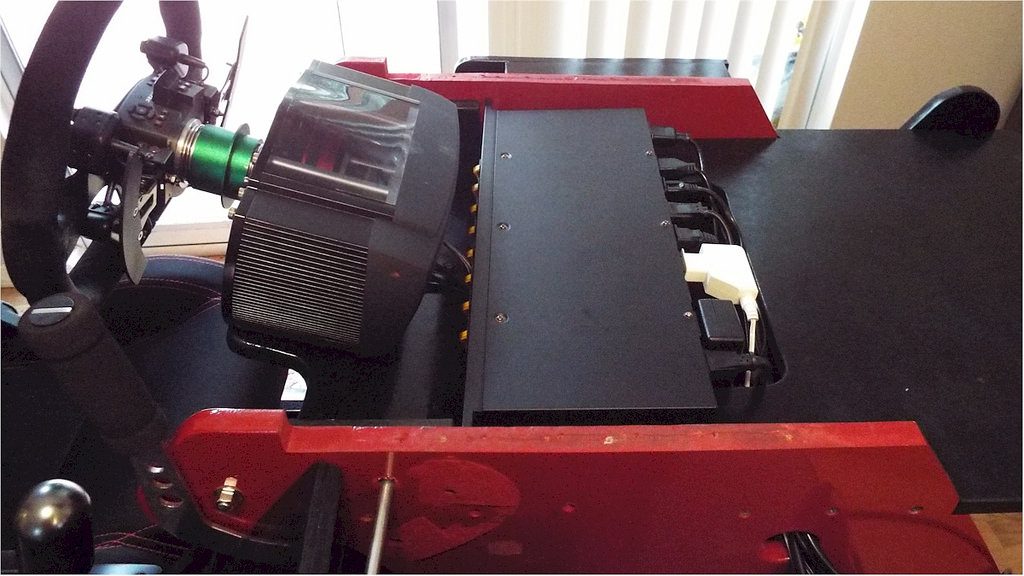
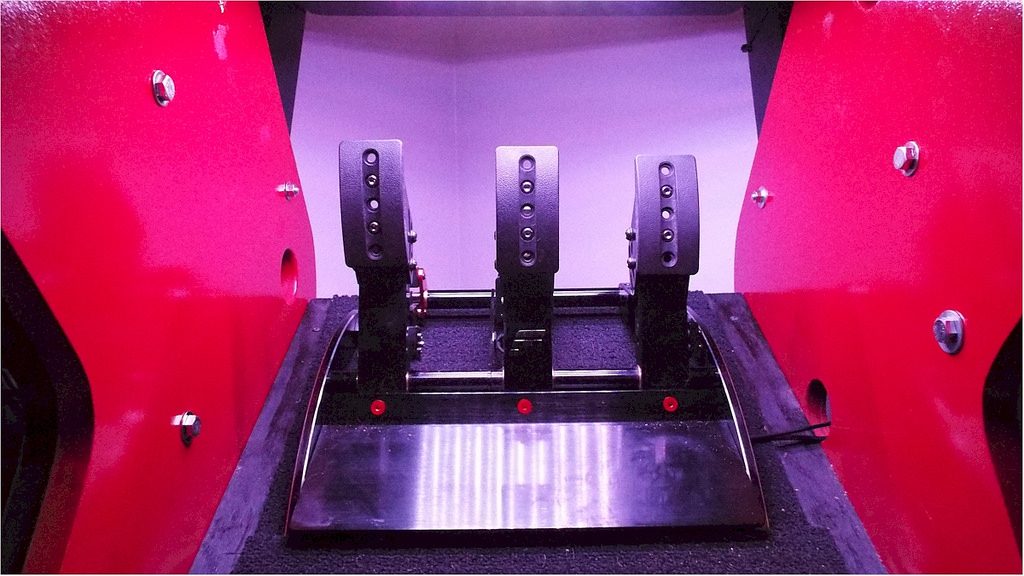
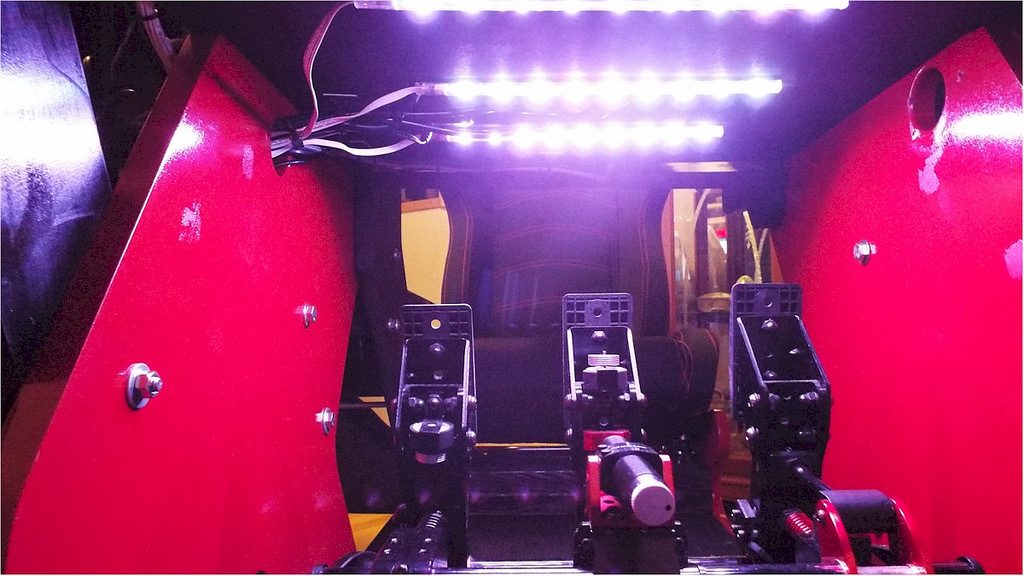
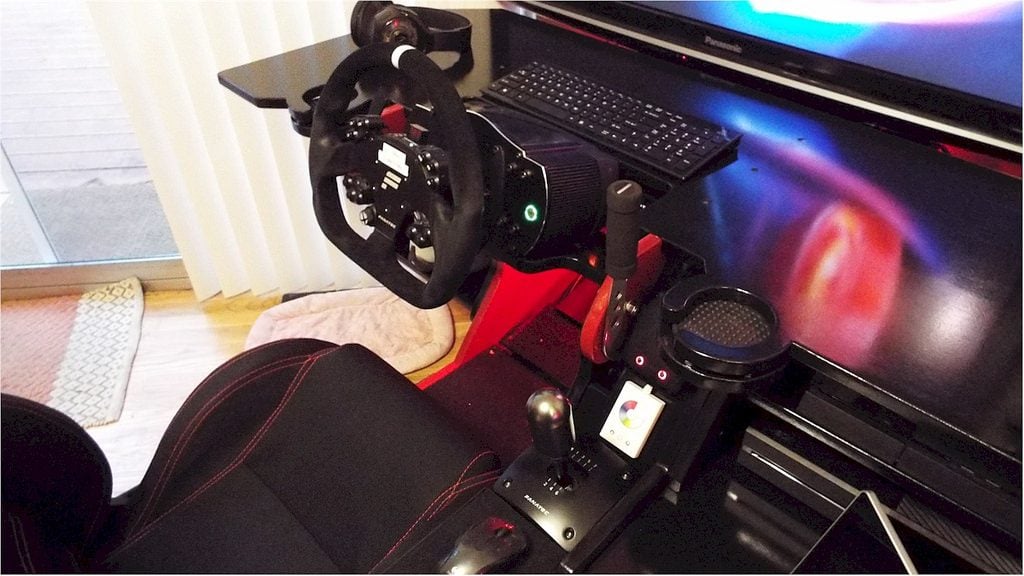
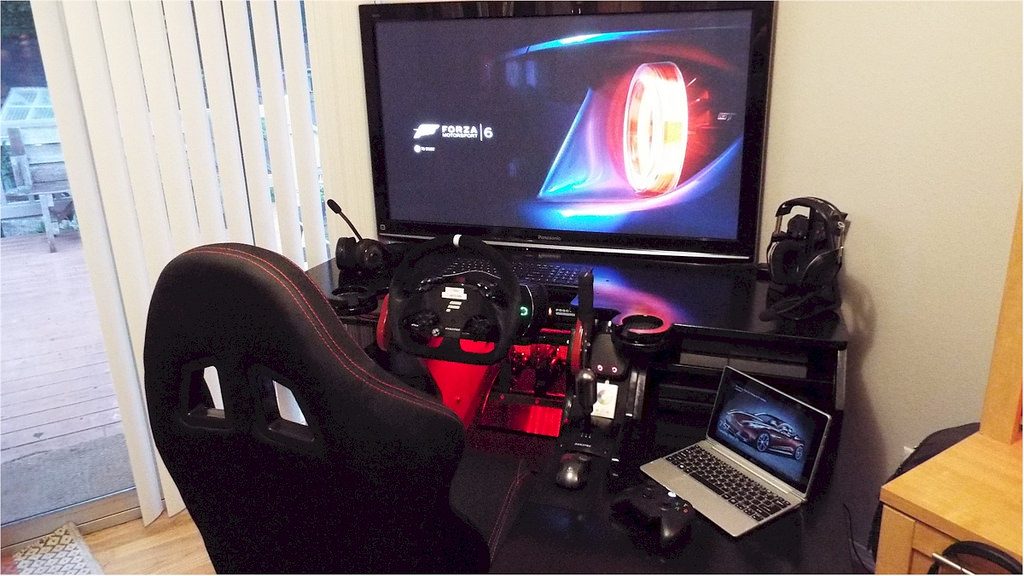
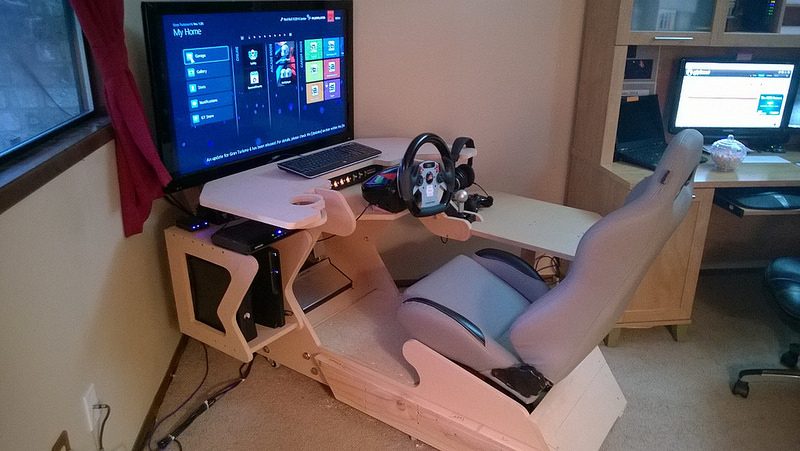
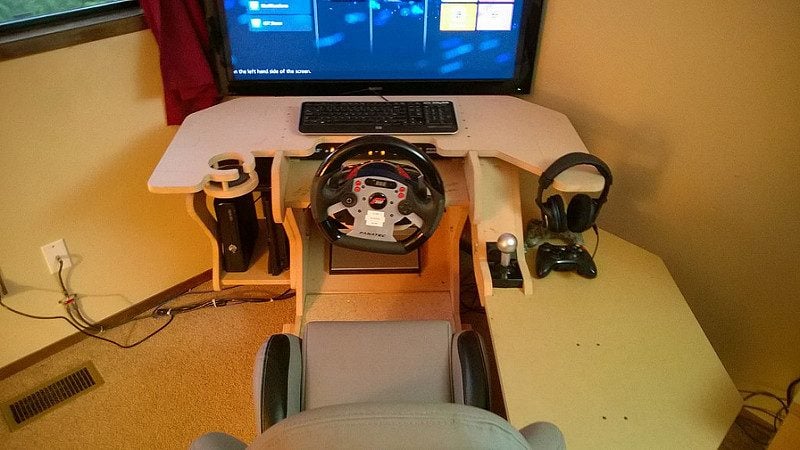
Finally, I bring you the current racing rig (still to be named) modified from the Ricmotech RS1 DIY plans. Still in raw form, however once it warms up a bit, the finishing work and painting will get finished. If your interested in a DIY rig, I highly recommend getting the Ricmotech plans and then modify to meat your needs.

13279491533_309a000027_c.jpg


13279551503_8748af7980_c.jpg


I'll post pics once it gets painted.
 
Last edited:
Me likey! Smooth lines and you never forget the drinks holder :cheers:
 
Thanks guys. The rig is back down in the garage getting the final adjustments and finishing work done on it and should be ready for paint this weekend
 
Usually these types of rigs are screaming to be painted. This one actually sits quite well in it's environment as is. That said, raw materials love holding on to the oils and dirt that we force upon them. Actually, your seat of choice should really pop with the right colour for the rest of it.

Nice work, and very neat.
 
How did you cut the wood, is that MDF wood?


Jerome
 
Thanks again guys. Aside from the ricmotech plans for the base, the rest was just various graph paper drawings that I really don't have anymore as I mad changes as it was being assembled.

As for tools, I used a circular saw, jig saw and dremel tool for cutting the MDF
 
Thanks again guys. Aside from the ricmotech plans for the base, the rest was just various graph paper drawings that I really don't have anymore as I mad changes as it was being assembled.

As for tools, I used a circular saw, jig saw and dremel tool for cutting the MDF

Ah okay, so I'm assuming the dremmel was used to make those rounded edges? Really great work :cheers:


Jerome
 
Actually I used the jig saw with a scroll blade for the curves. The dremmel was for the rounding of the edges along with sanding in the tight spaces. The pain these past couple days has been sealing all the edges with wood filler and then sanding them smooth. Talk about a pain in the 🤬. Will be worth it though in the end.

Im still not sold on the paint scheme for it yet but Im leaning towards at a dark red for the vertical surfaces and console box on the side and then black for the horizontal surfaces, shifter mount and the 2x6 runner on the sides. The carpet is black also (that has been decided). Friday I purchase the paint so I will need to decide soon :confused:.
 
Sheen levels are fun to play around with as well. Done right, using just combinations of matte black and high gloss black can look amazing. Baring in mind that gloss is easier to clean, but matte will look cleaner while dirty.
 
Thanks. It actually turned out better than I expected. It just feels great to race in. Now if I can just get faster!
 
After 2 years using the rig and 4 years on the hardware, it was time to make some upgrades. Still using the same modified Ricmotech RS1 rig (still very rock solid)

Updated photos to support upgraded hardware

Fanatec Clubsport V2 Wheel with XB1 Hub,
Fanatec Clubsport V3 Pedals with Damper
Fanatec Clubsport SQ Shifter,
Fanatec Clubsport Handbrake
ButtKicker
PS4
XB1
42" Sanyo
Astra A50 Headset

26969873411_351b50627b_o.jpg


26969875561_6a1b4f4aa3_o.jpg


26969877791_184fac470d_o.jpg


Grim
 
@GGGMotorsport I think the last upgrade needed and definitely required for your rig to be complete is for you to fire up the PS4 with ProjectCars and come back to race with us. We miss you. Hope all is well in your world.
 
would it be possible to post a youtube video of an overview of your cockpit, im about to build an rs1 myself and frankly, yours is the best I've ever seen. Id love to get a really in depth look at your rig, and maybe mine will look as awesome as yours.

finally, have you decided on a name for your rig yet?
 
@GGGMotorsport I think the last upgrade needed and definitely required for your rig to be complete is for you to fire up the PS4 with ProjectCars and come back to race with us. We miss you. Hope all is well in your world.
May have to do that. What nights are you racing and what is the current format?
 
would it be possible to post a youtube video of an overview of your cockpit, im about to build an rs1 myself and frankly, yours is the best I've ever seen. Id love to get a really in depth look at your rig, and maybe mine will look as awesome as yours.

finally, have you decided on a name for your rig yet?
Let me see what I can do. May be a few days though.

As for a name, its just "The Rig"
 
Update to the rig, version 2.5. A few weeks back, the seat that I purchased from craigslist final died so now was a good time as any to make some changes to the rig for a better layout in my office.

As part of the process, I took it down to the base and repainted all the parts

34542712096_5be80a55d1_b.jpg


Next came the seat and pedals
34542713626_541fcab1d3_b.jpg


Side panels reinstalled with a fresh coat of paint
34542716916_a35ac203ea_b.jpg


Wheel deck and TV stand - Wheel deck is re-positioned so that I can take off the metal mount on the base to allow for more leg room

34542718426_a388c3f76e_b.jpg


Installation of the handbrake
34453414871_a62d8d15f0_b.jpg


Shifter installed and a bigger working area on the side
34453415791_84e43dfae8_b.jpg


Bracing for the side work area
34453416171_fe66641235_b.jpg


Wheel now installed along with the power distribution panel
34453417351_086582c324_b.jpg


Closeup views of the pedal area while minimizing the sight of cables
34453420081_882c07f76a_b.jpg


34453421841_81170179b4_b.jpg


Final result. Note the XB1 and PS4 have been moved to the right of the rig now for ease of access and better cable management. Also, 1 cup holder was not enough!
34584066335_69c576c738_b.jpg


34584063865_e554747568_b.jpg


34584062825_492b1dded6_b.jpg


34584065205_9d006b0068_b.jpg


All of this was made possible with the Ricmotech plans. Working with wood allows for endless possibilities and modifications to really make it your own.
 
Signing into my GTP account for the first time in a long time just to say that this setup looks wicked. I'm in the process of designing my own setup from scratch and love that you've done. Really impressive and its obvious a lot of care and thought went into the design.
 
Back