Oh, I'm totally enjoying this. Your approach here is what's making this thread extra interesting.@a6m5 - This car straight OOB assembly is pretty straightforward and unfortunately I've seen some forums where exactly that happens. I could do the same and throw it together within a week, but where's the fun in that?
:tup:
 Wrap around black tubing till end, glue more heat shield and unglue fingers
 . Repeat process several times until tired. Create post on GTP to keep sanity.

@a6m5 - This car straight OOB assembly is pretty straightforward and unfortunately I've seen some forums where exactly that happens. I could do the same and throw it together within a week, but where's the fun in that?
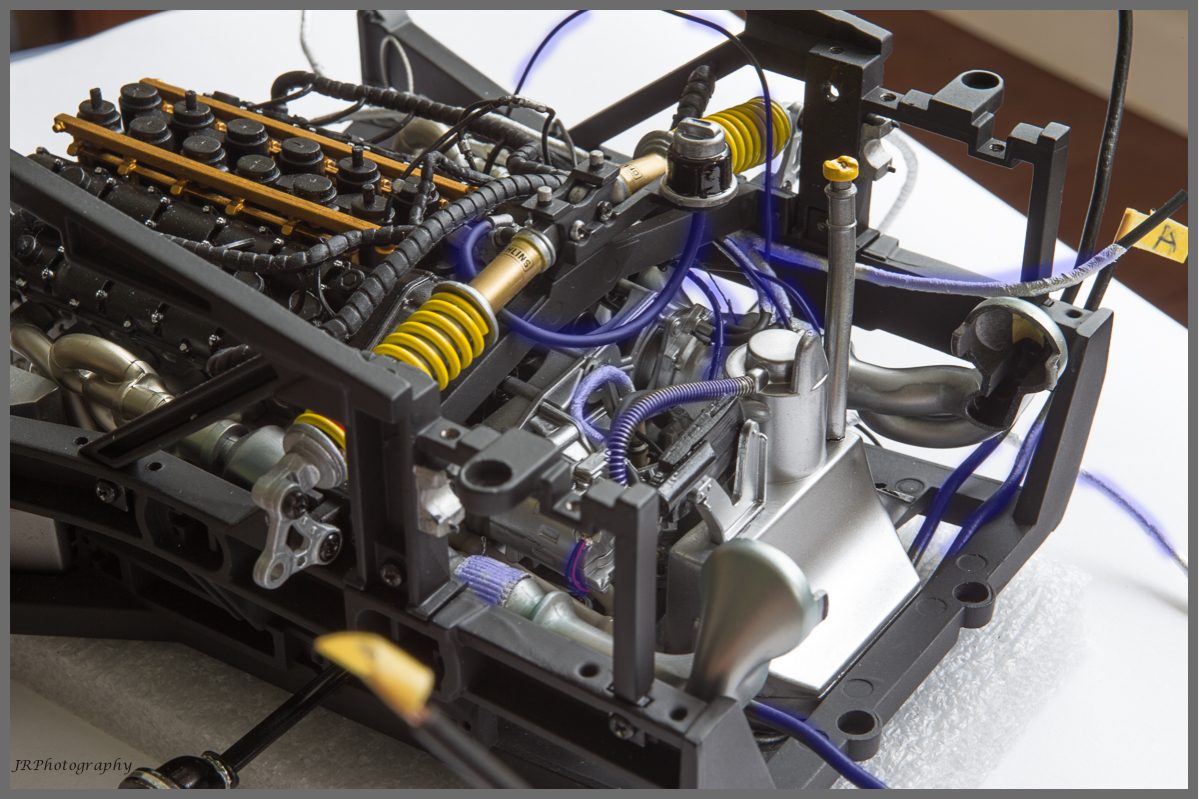
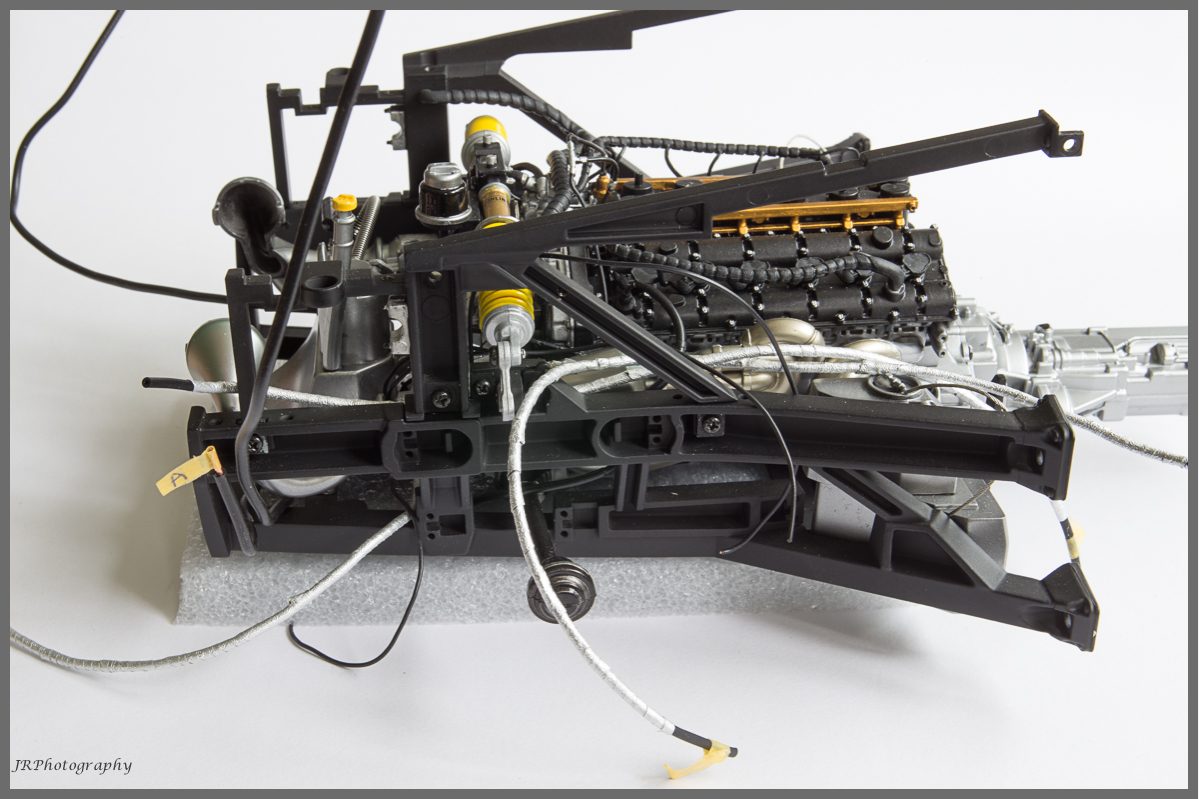
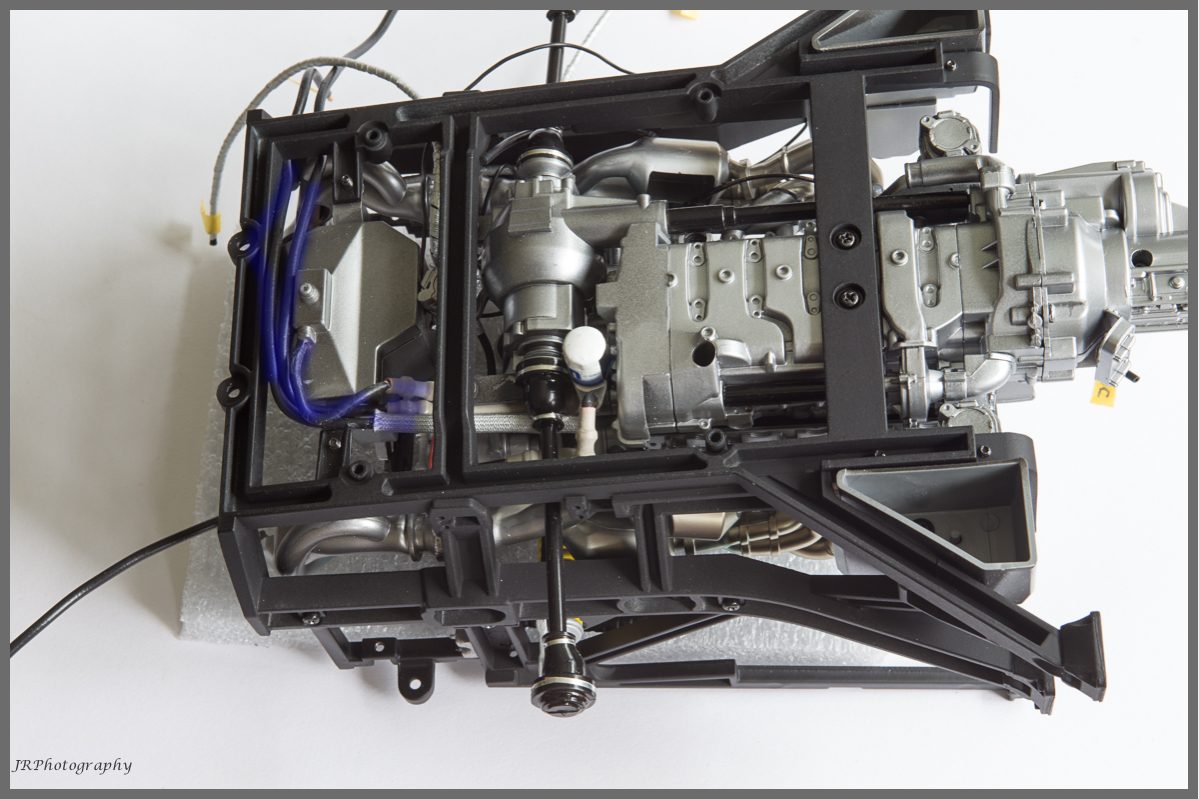
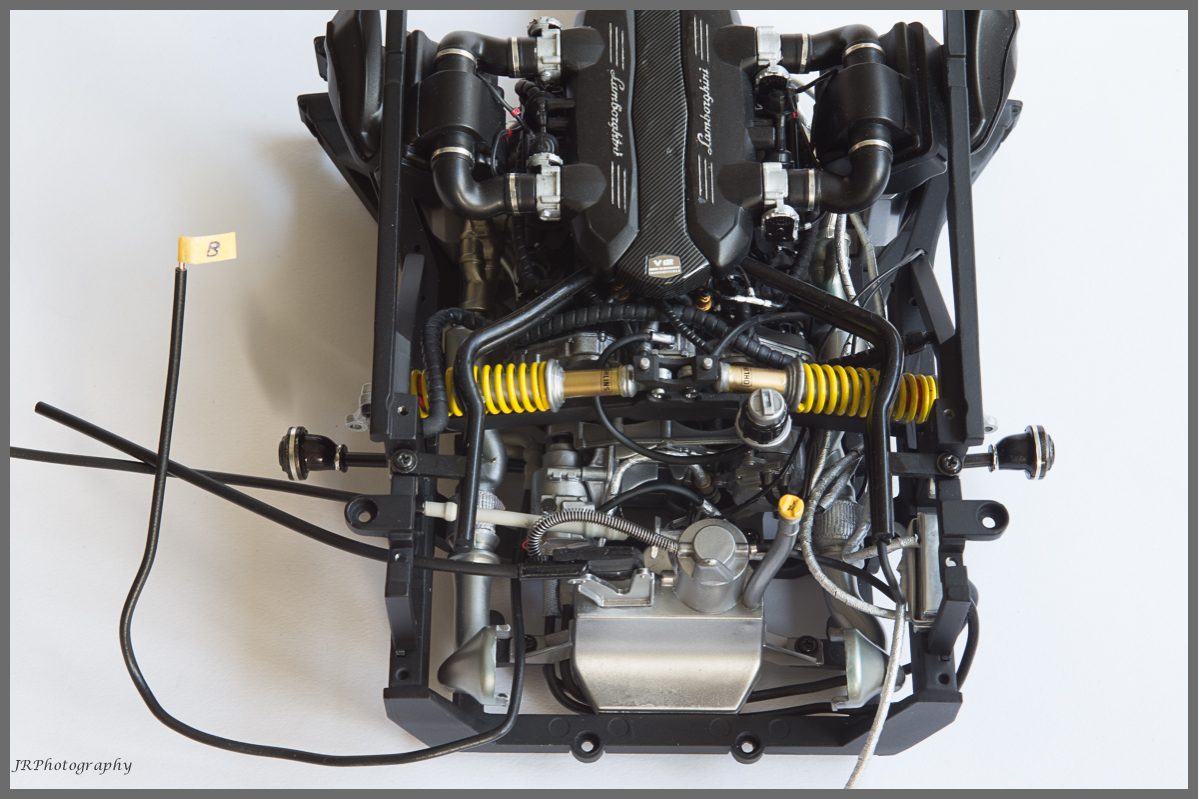
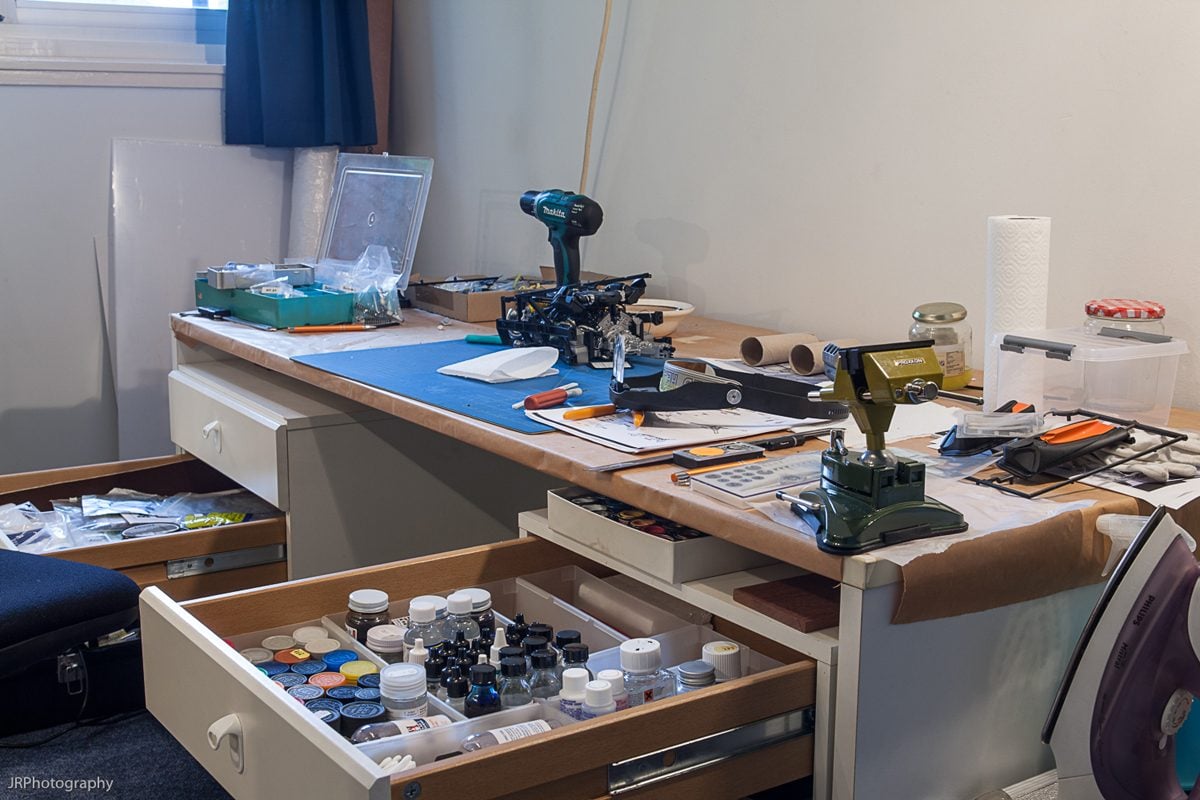
You sir have what I wish I had...awesome that organization is great as well. This is so cool.Adding wiring and oil pipes etc (mods) WIP.
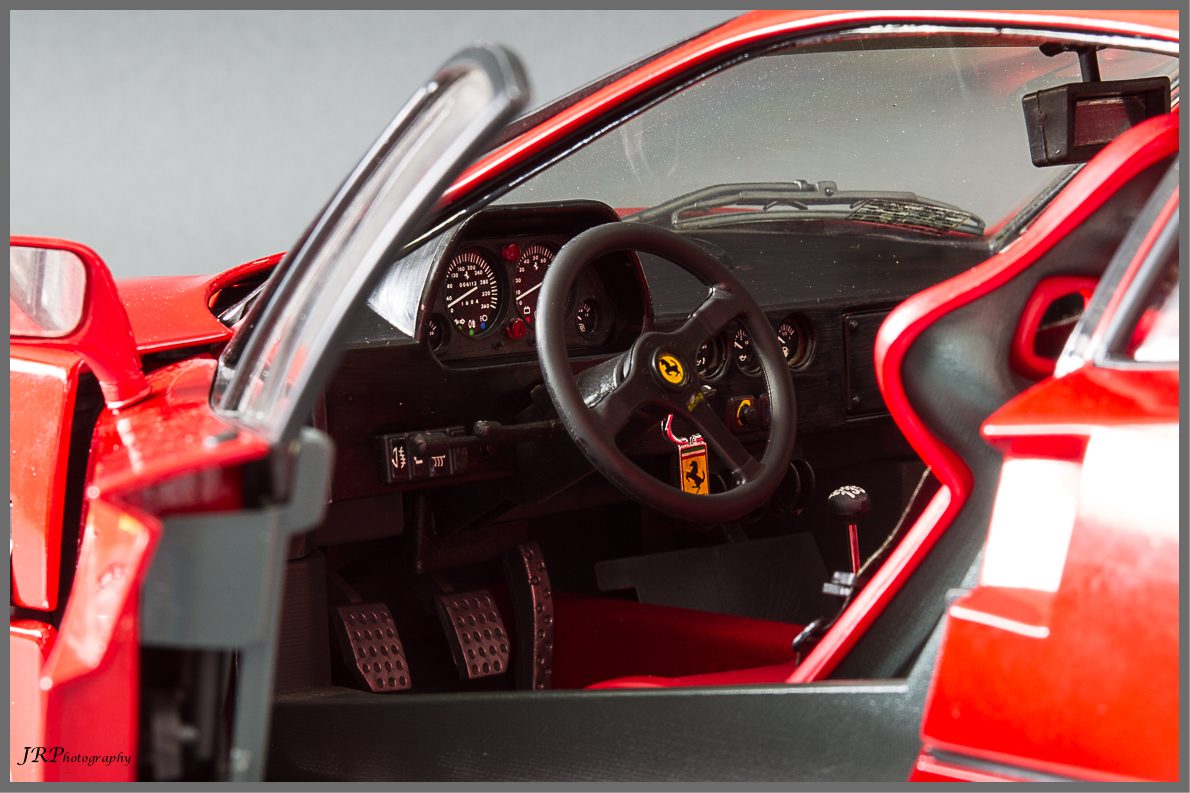
Dashboard etc added to interior

Increased thickness of the seatbelt clamp thingy (mod)
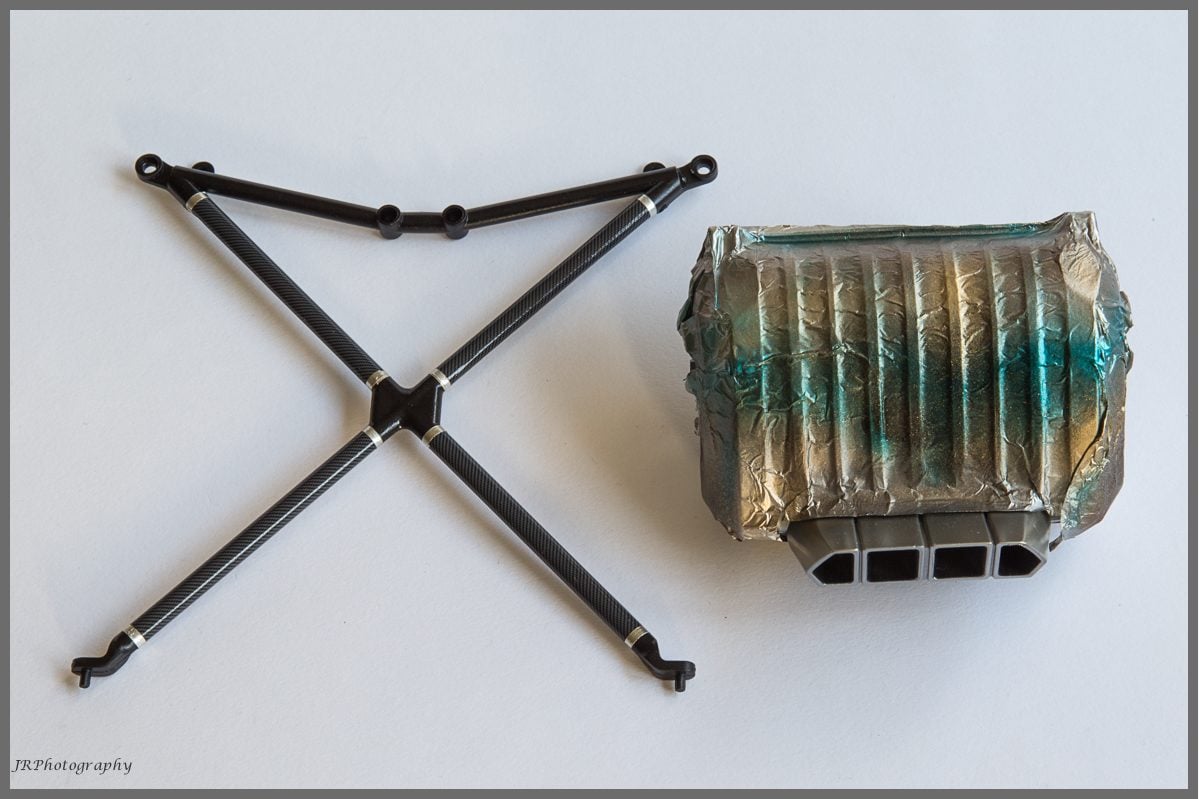
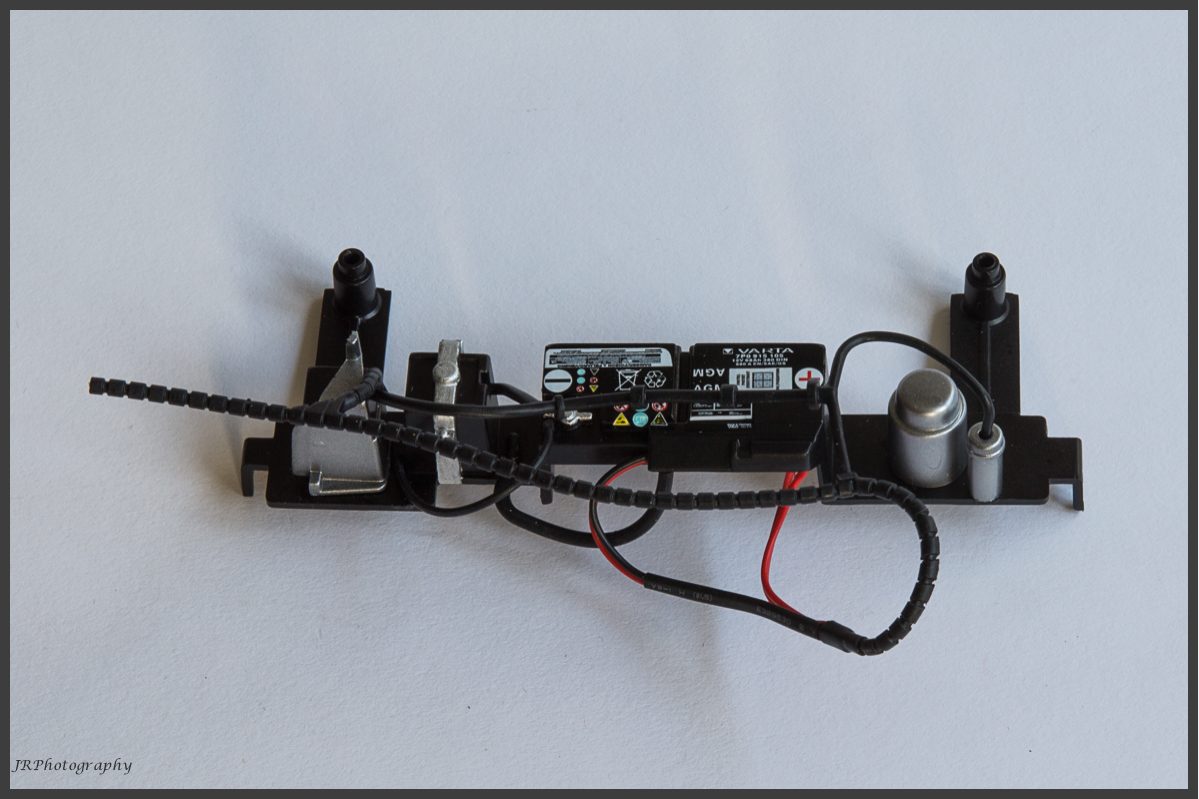
Heat shielding (mod)

Interior - awaiting metal decal for steering wheel - have been waiting for >1 month
Wiring
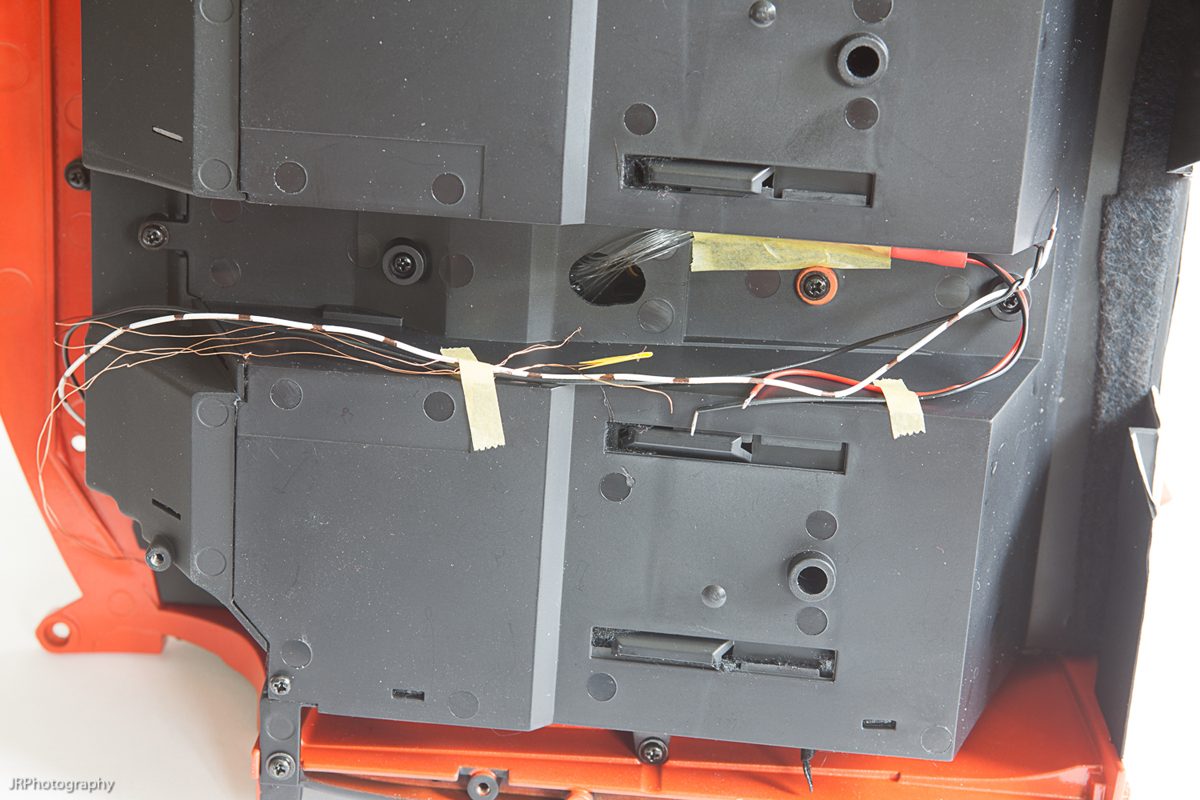
Carbon fibre struts (carbon = mod) and bare metal foil endings. In the background yellow suspension rubber stop. (mod)
Would you believe it if I told you they're actually fake food pellets for catching fish. They make perfect rubber stops.

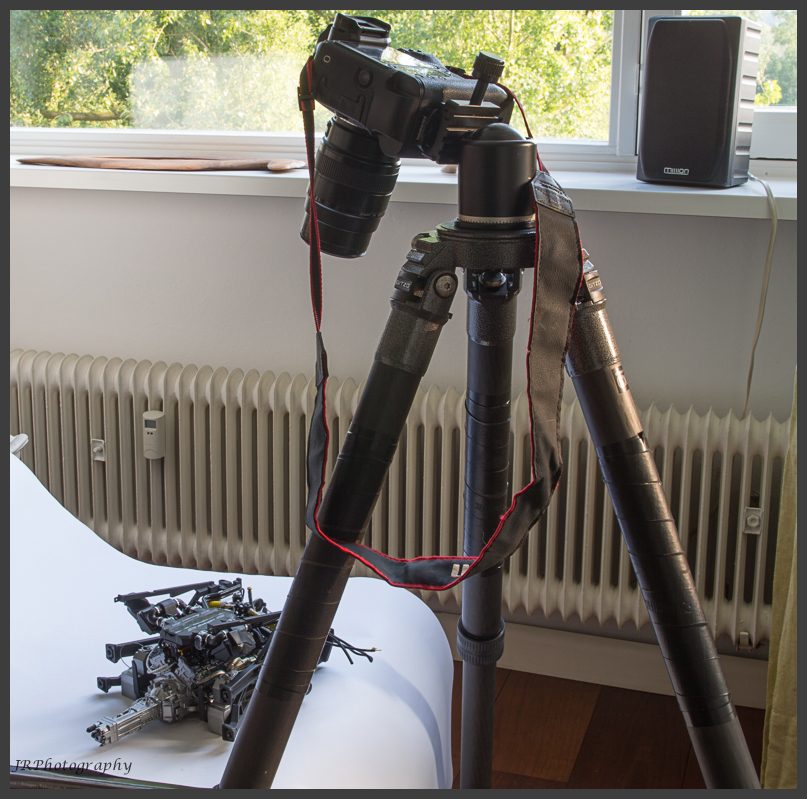
My "garage"
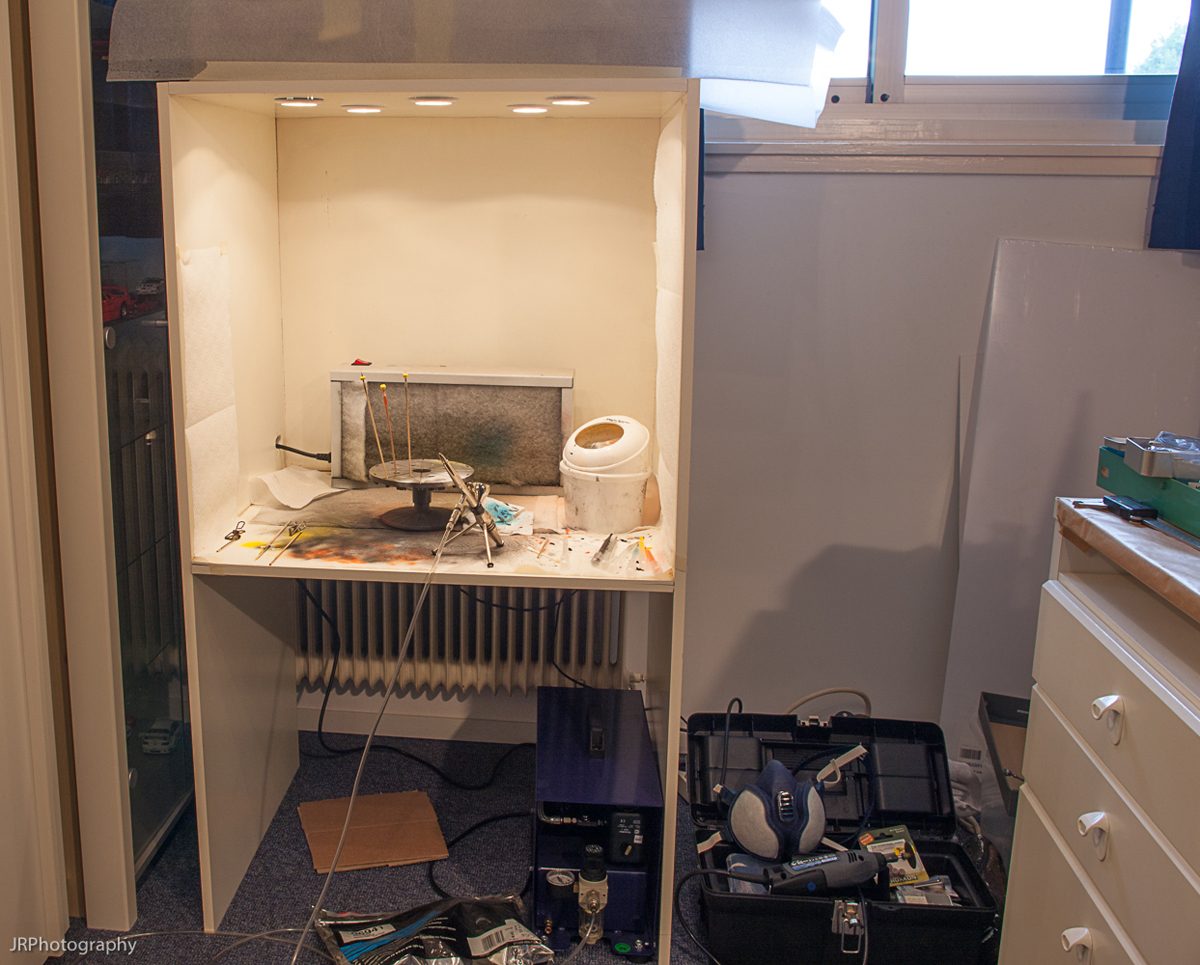
Paintbooth with compressor underneath
Various screws and bolts etc.

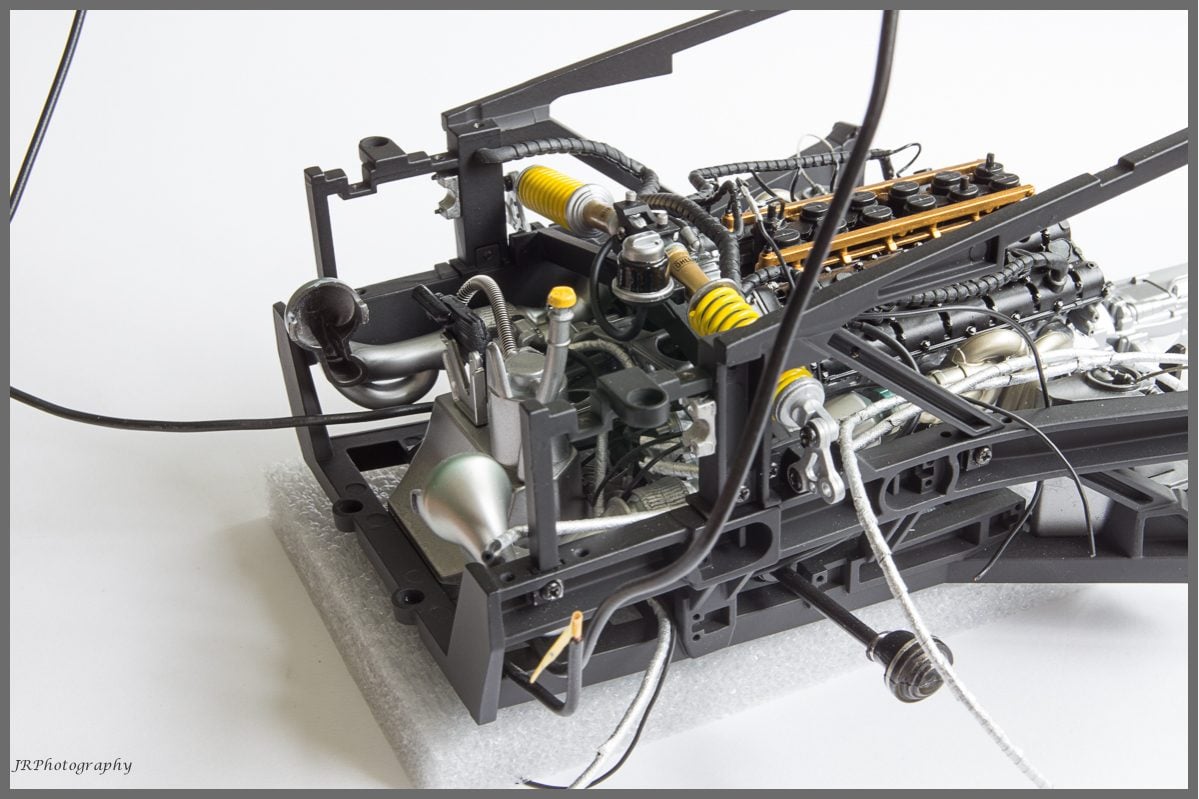
I'm awaiting a DVD with reference photos etc so I can add more plumbing to the engine and other sections of the car. Scouring the web for ultra thin rubber hoses 0.5mm - 3mm, braided hoses, braided sleeving but either the diameters are too big or they charge you over the top prices for 50cm tubing.
Such a shame that Pocher doesn't add this stuff BUT it does add more fun to come up with ideas how to improve the "Bburago-like" quality of this model.

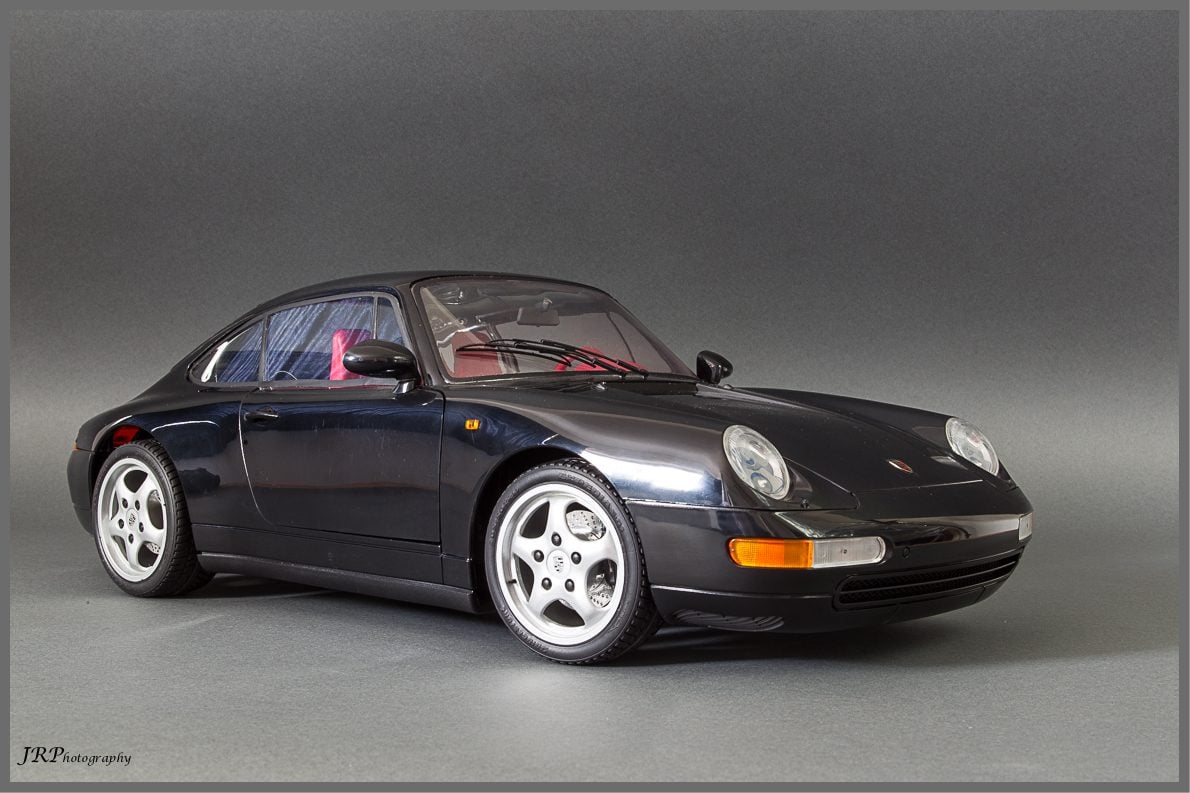
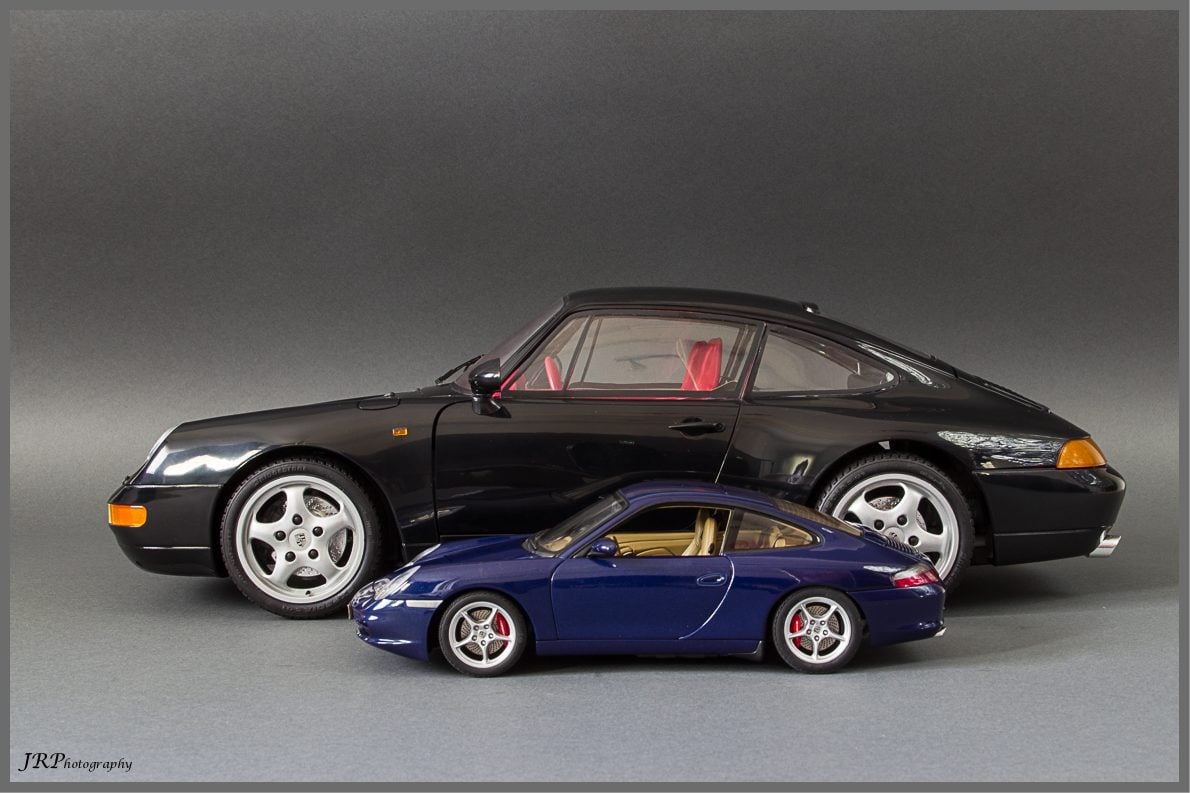
 F40's ABSOLUTELY gorgeous! Also loving that Porsche shot. Not sure of the scale of the smaller one(1/18? 1/24?), but the way the big brother dwarfs the smaller one is incredible. 👍
Not sure of the scale of the smaller one(1/18? 1/24?), but the way the big brother dwarfs the smaller one is incredible. 👍
Yeah most of my scale models cars oars over in the Scalemodel thread and the blue Porsche is 1:18.
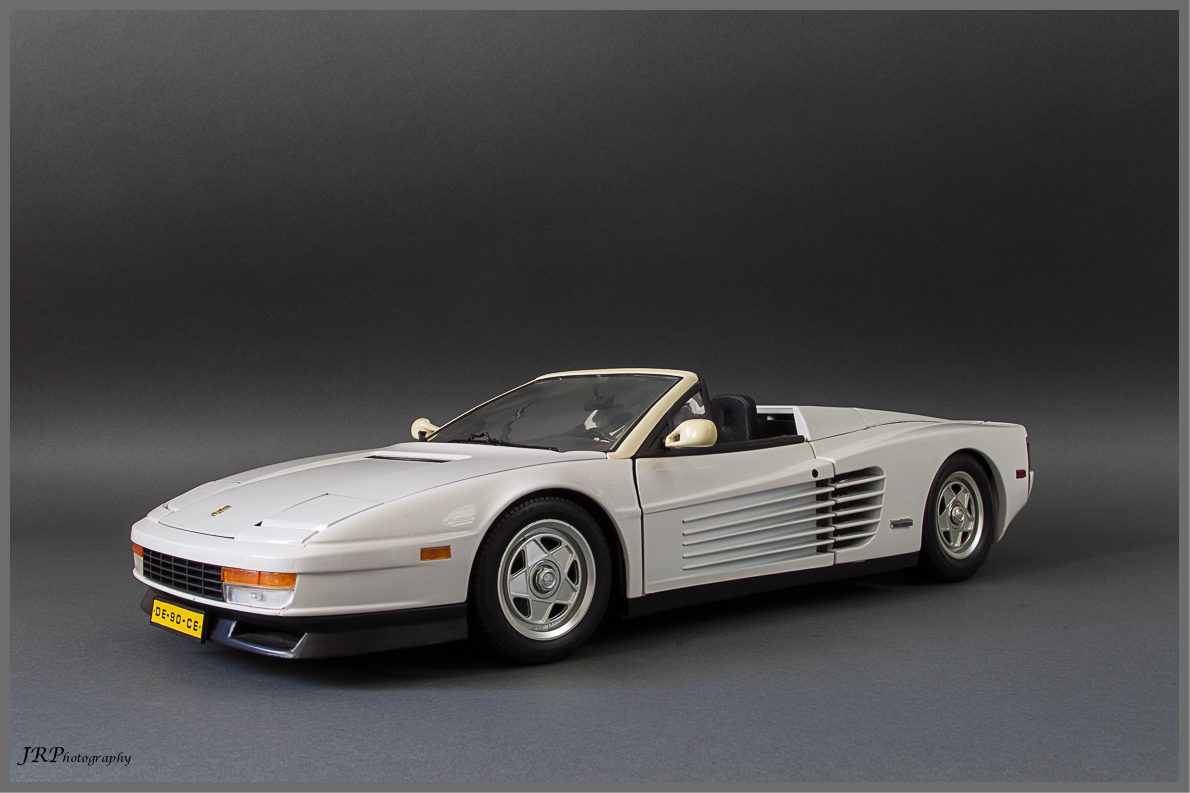
@TB - nah too scared to put a drill to the fuel cap, it's solid metal,but the Lambo has an opening fuel tank. I wonder who spotted the car key on the Testarossa (the white one has one too), VROOM VROOM
These models weigh in excess of 5kgs.
Looks great mate , but if you do a before and after shot. As I don't think a lot of us has intimate knowledge of the lambos engine and small fittings, great build btw .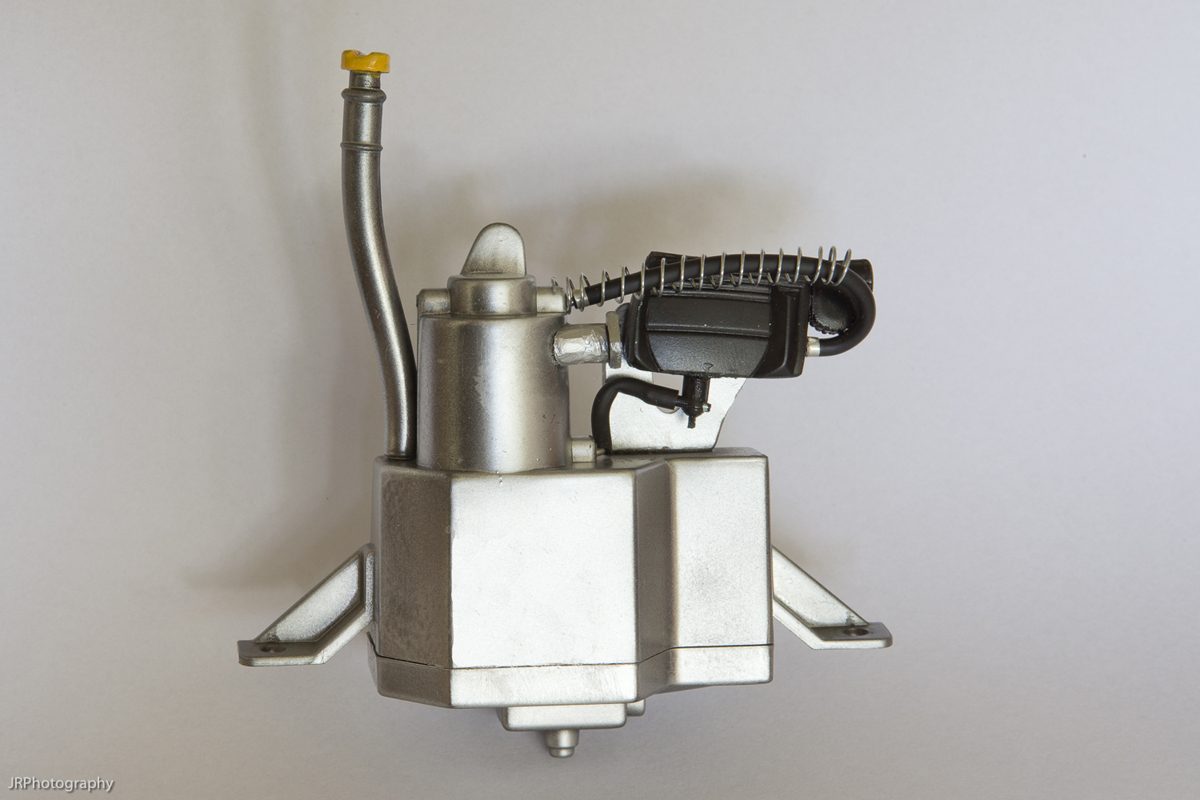
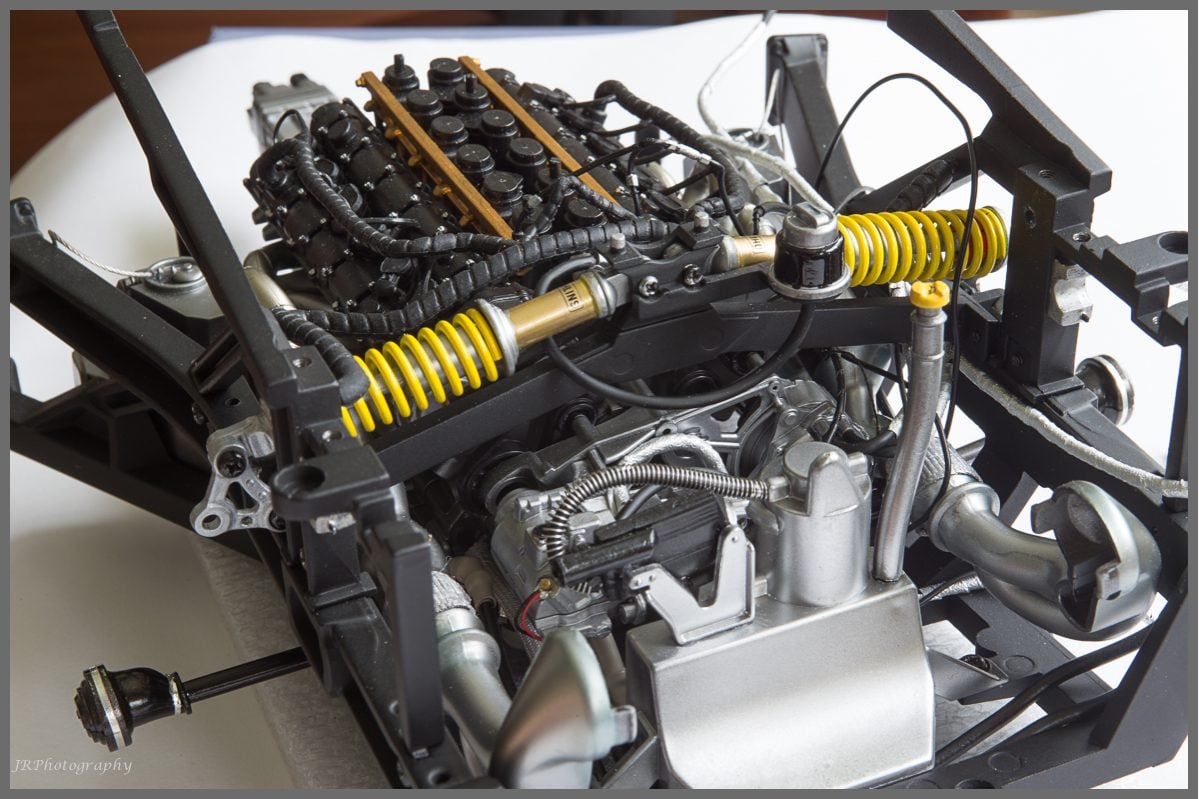
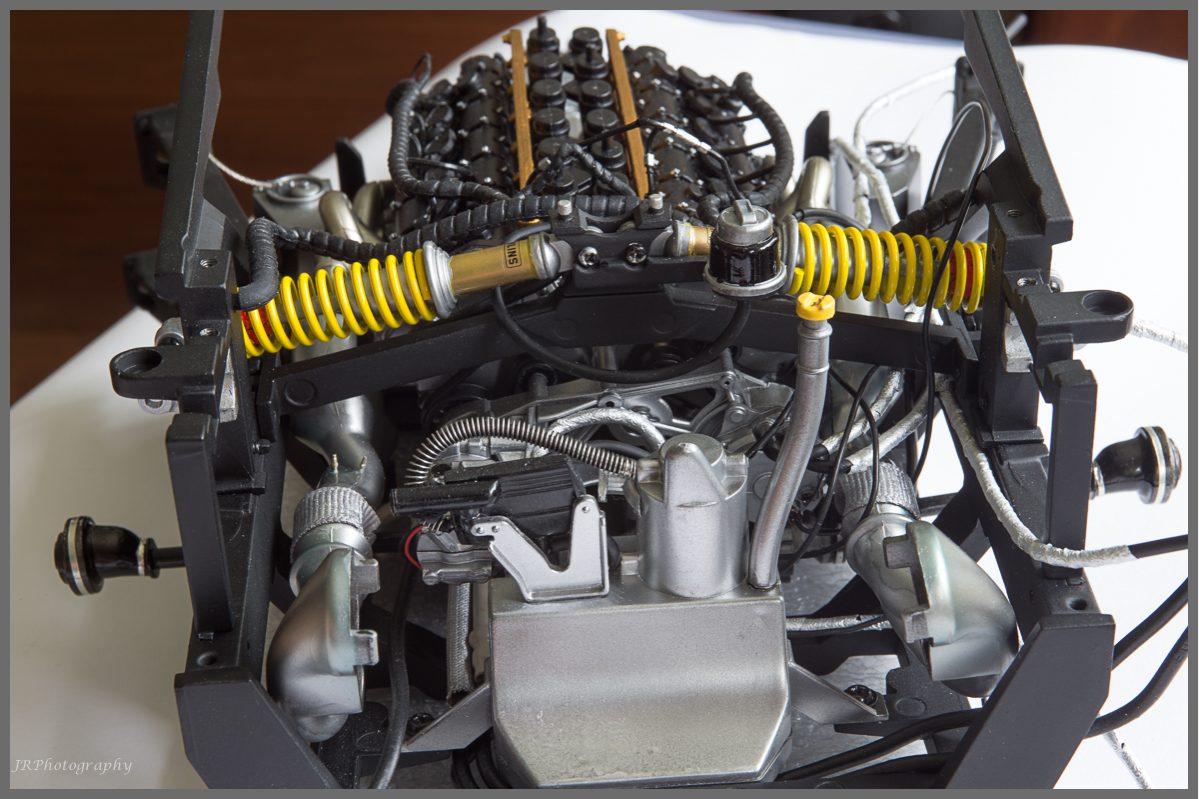
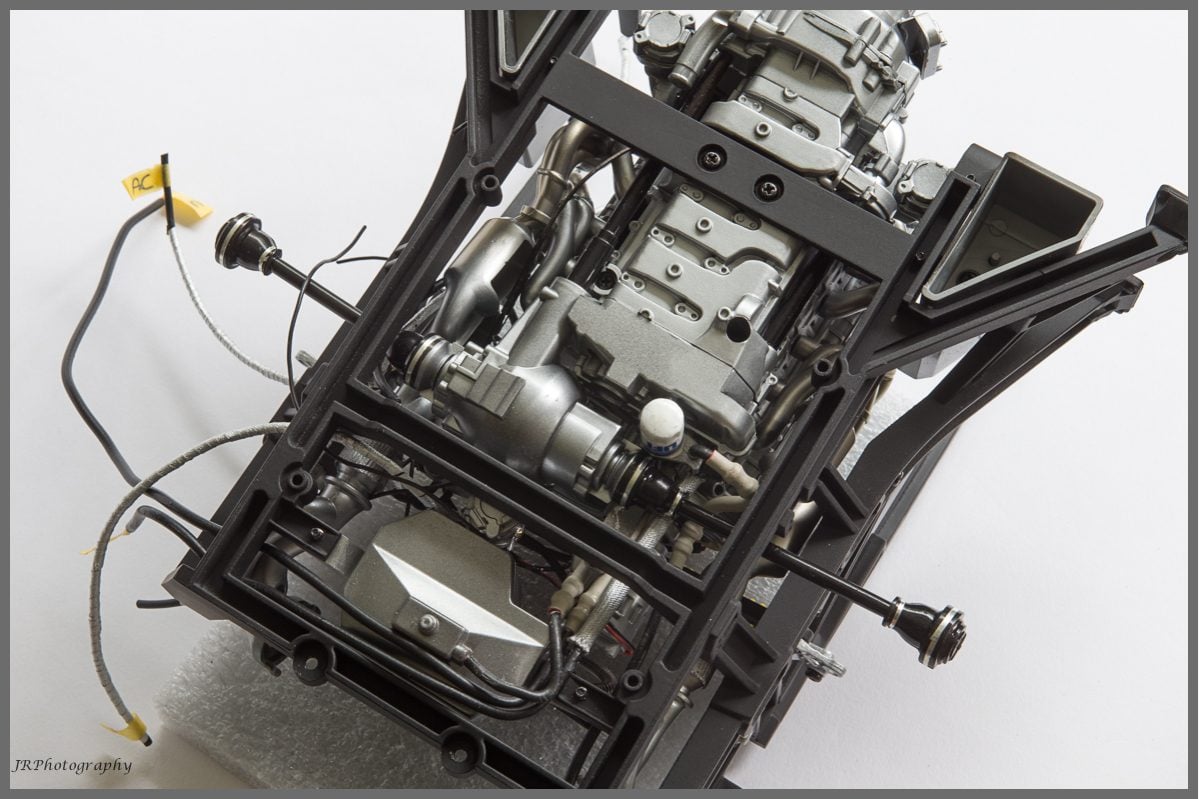
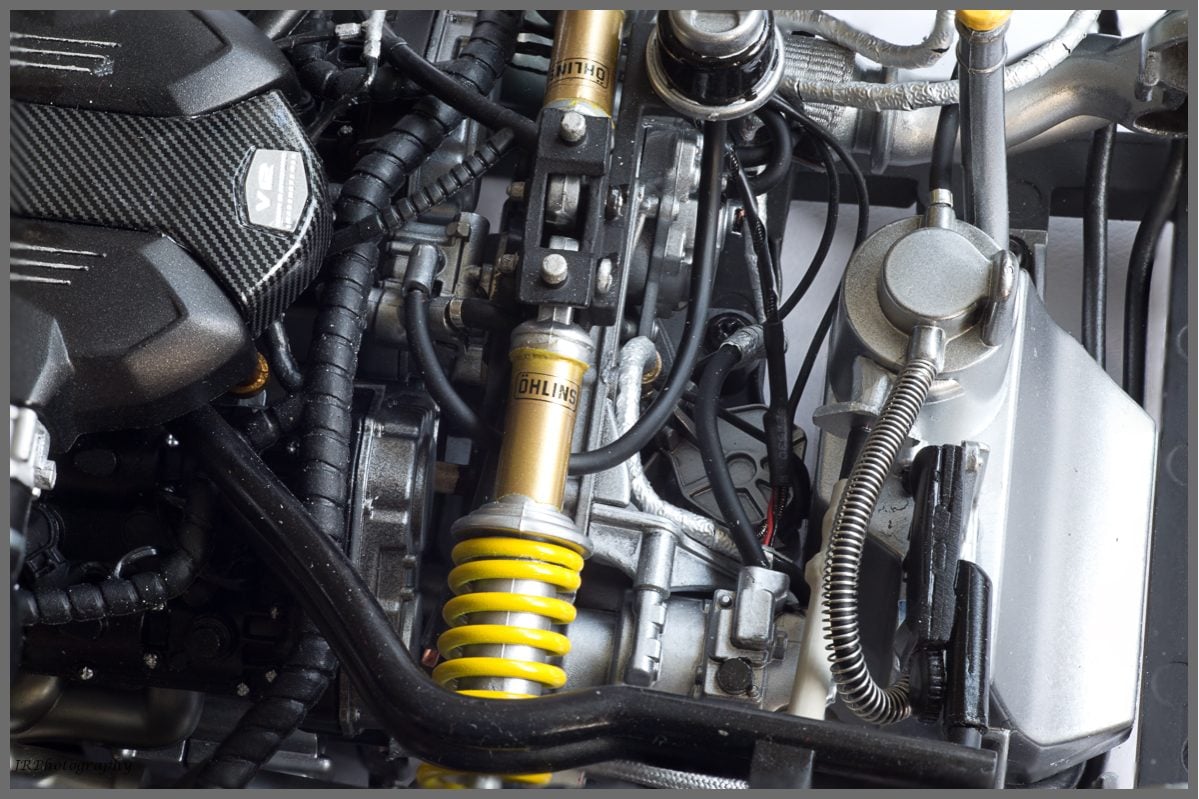
Small update - scratch built the oil separator (black piece) and added oil lines.
The spring comes from a ballpoint pen.
The oil lines in post 30 are coming along nicely too.