AMG.
Staff Emeritus
- 3,116

- NL, Leiden
- GTP_AMG
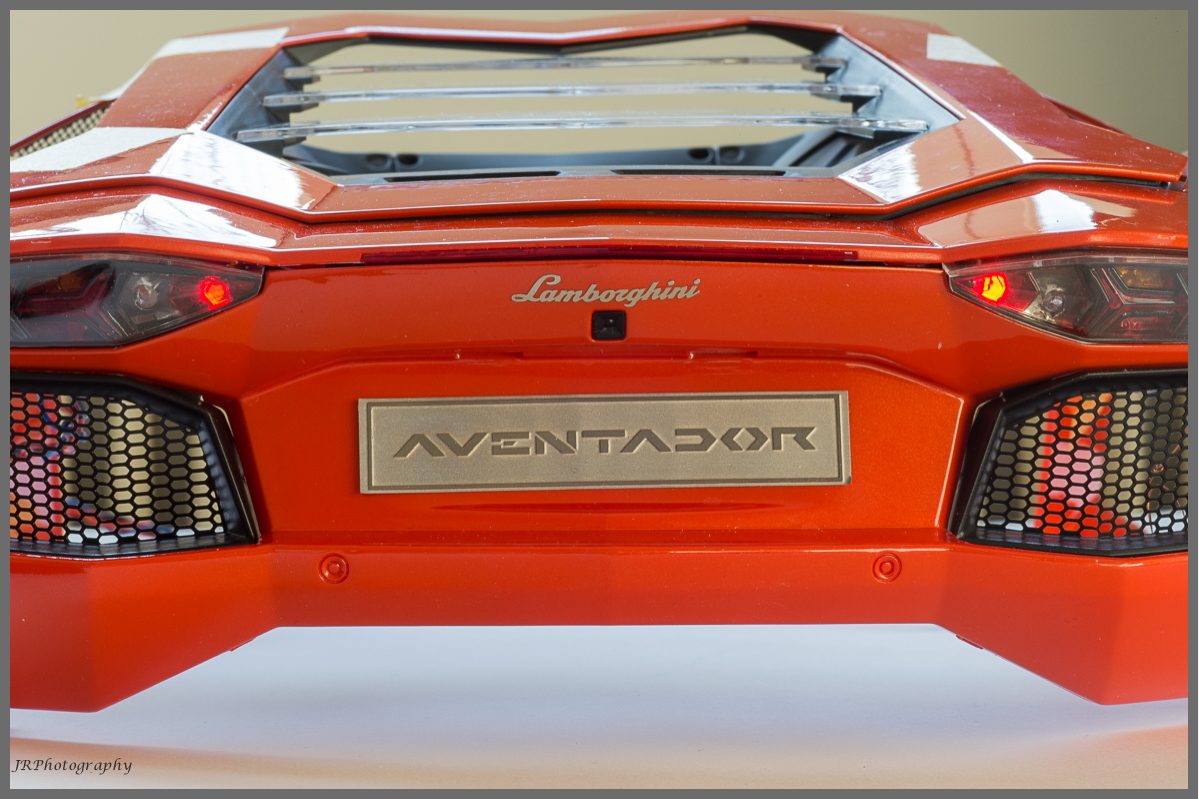
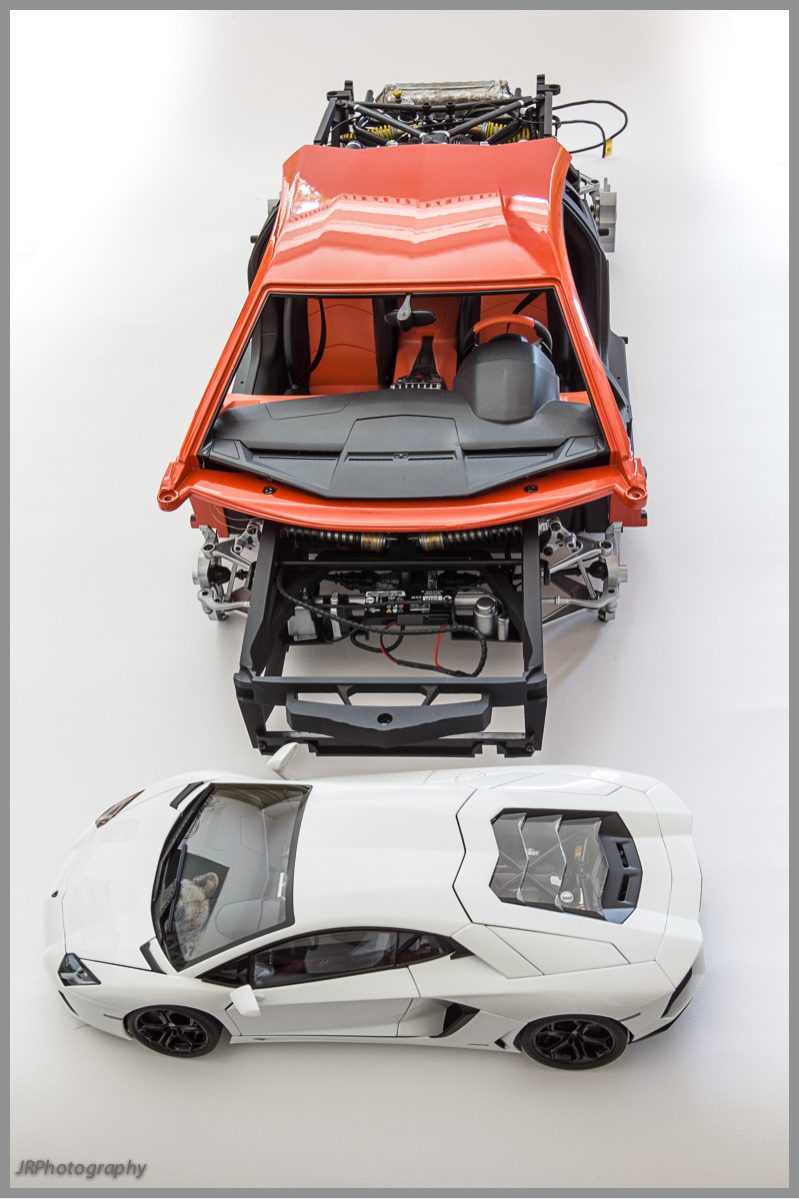
I'm pretty sure our reaction to every one of those detailed shots's like this:
 The sheer amount of detail @AMG. is adding to the kit is truly mind boggling. Enjoying watching this build so far, looking forward to the finished product. 👍
")


What do you make your scratch built pieces out of?

Thank you for taking the time to post, I know there are lots of views but the occasional post "says more"Amazing work so far, @AMG..")

Tree'dWhat do you make your scratch built pieces out of?
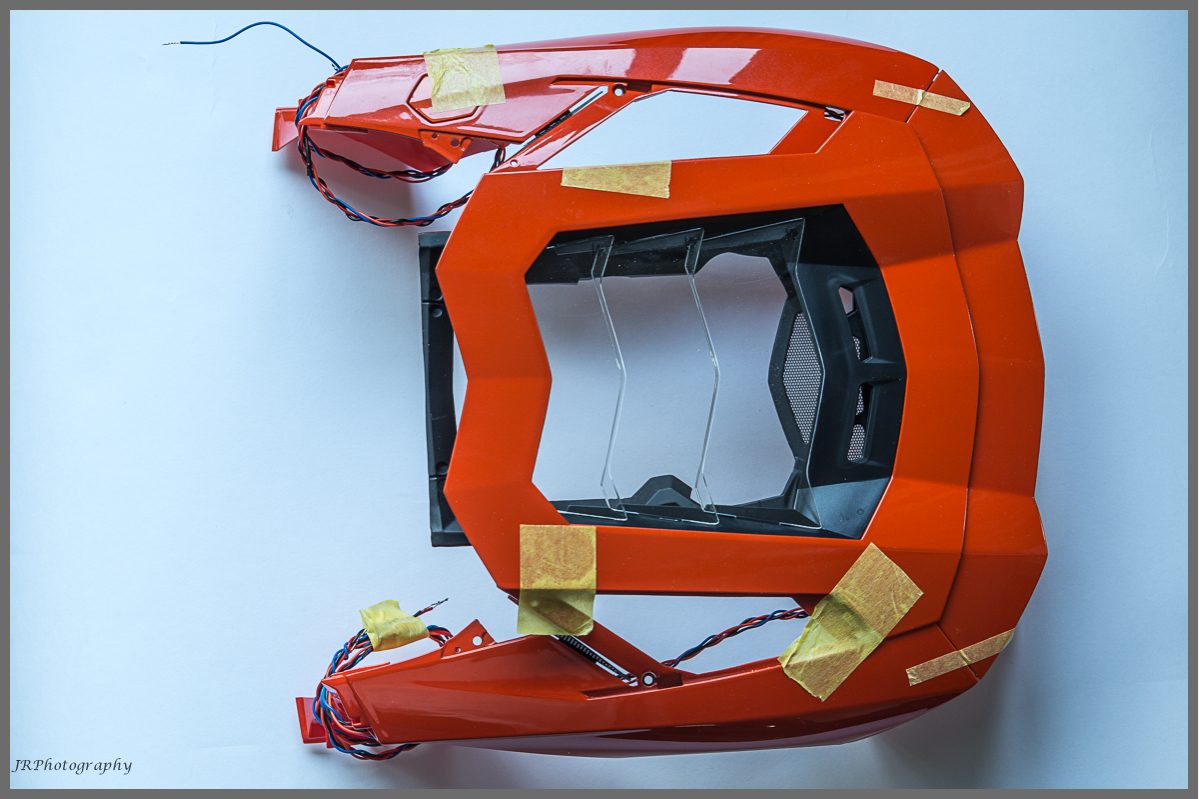
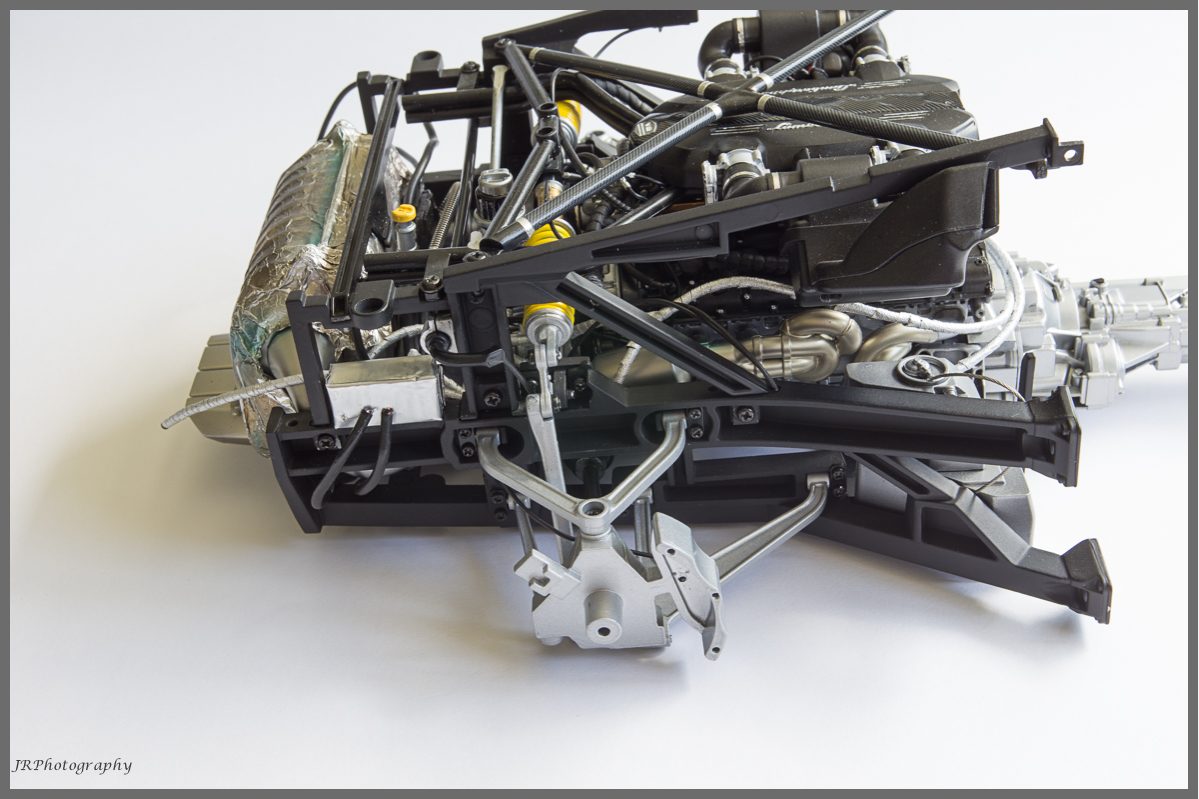
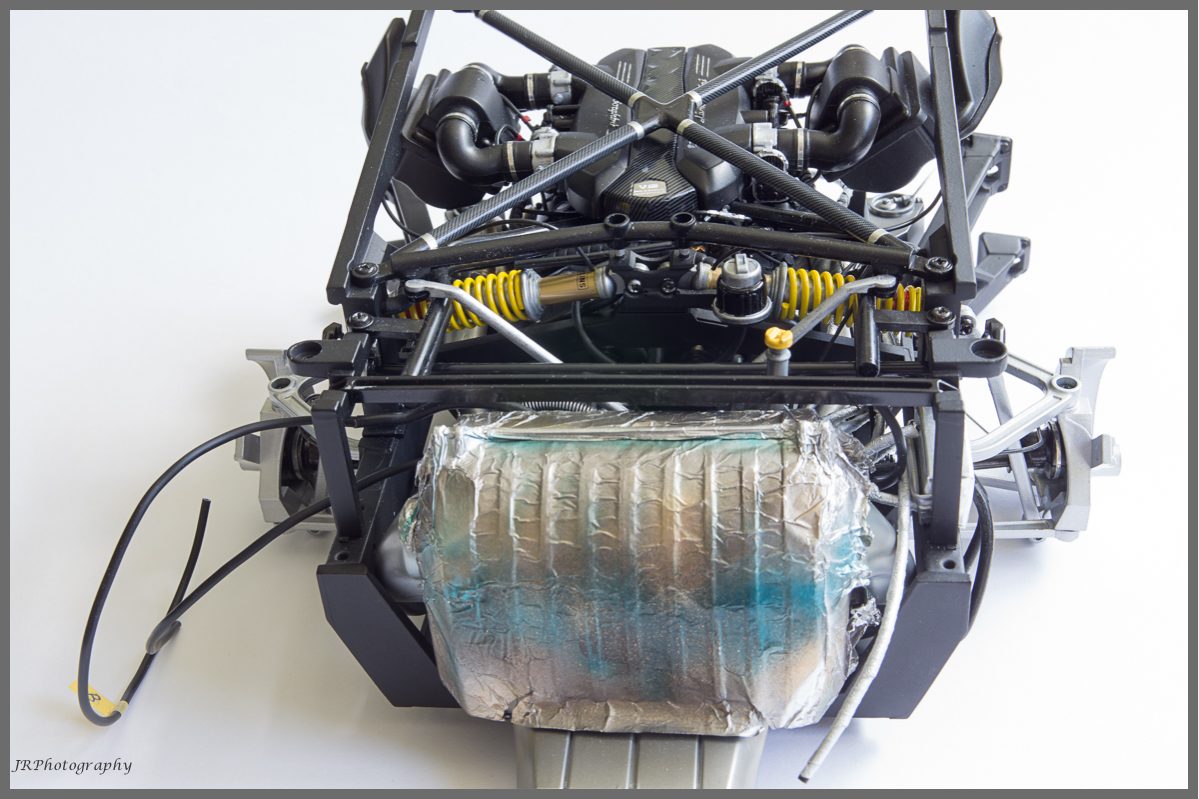
Yeah the heat shield behind the seats is cigpack material and Im still debating whether to 'upgrade' the exhaust or just leave it in or get rid of it alltogether. Thing is once the model is complete all you see it the oil filler cap and the X on top of the breather box.Hi mate , the exhaust looks ok but the foil looks like regular kitchen foil to me,
Thank you for taking the time to post, I know there are lots of views but the occasional post "says more"
Tree'd
Well, read up on a couple of my posts - it tells you what I use.
- Sticky felt cloth for the carpeting or whatever the hell its called in English.
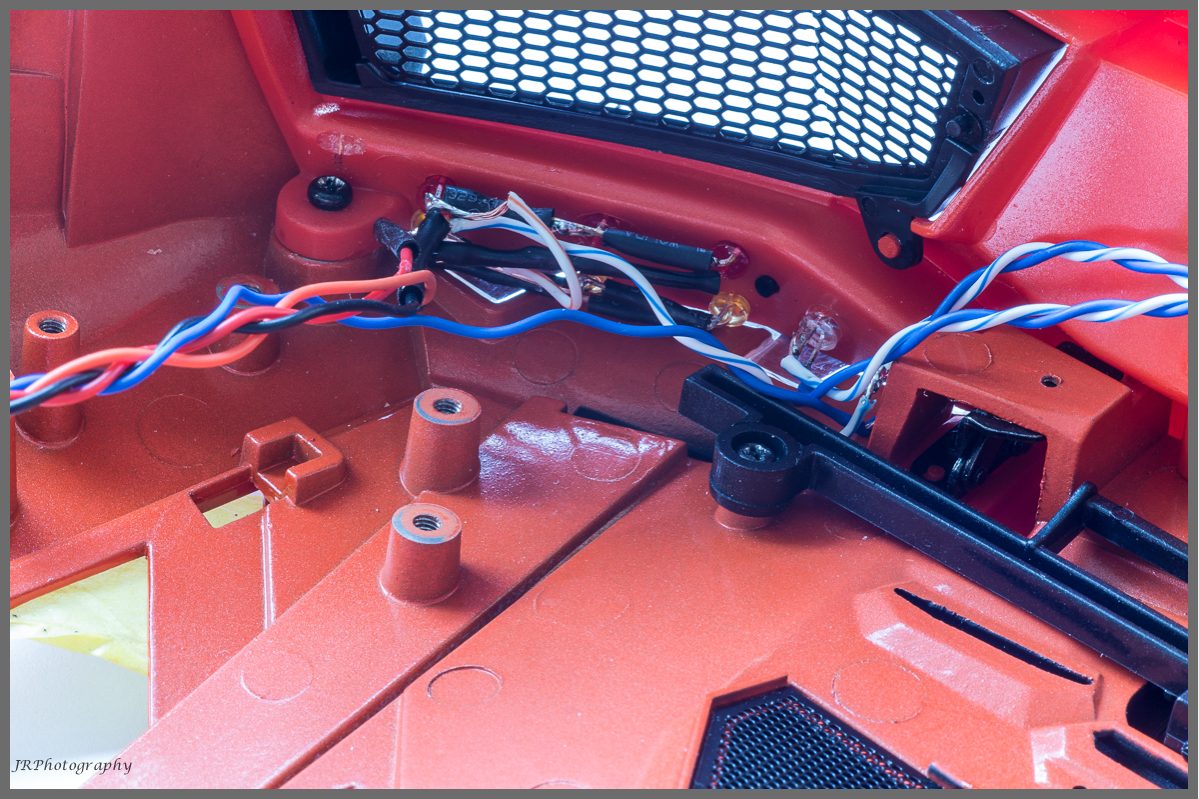
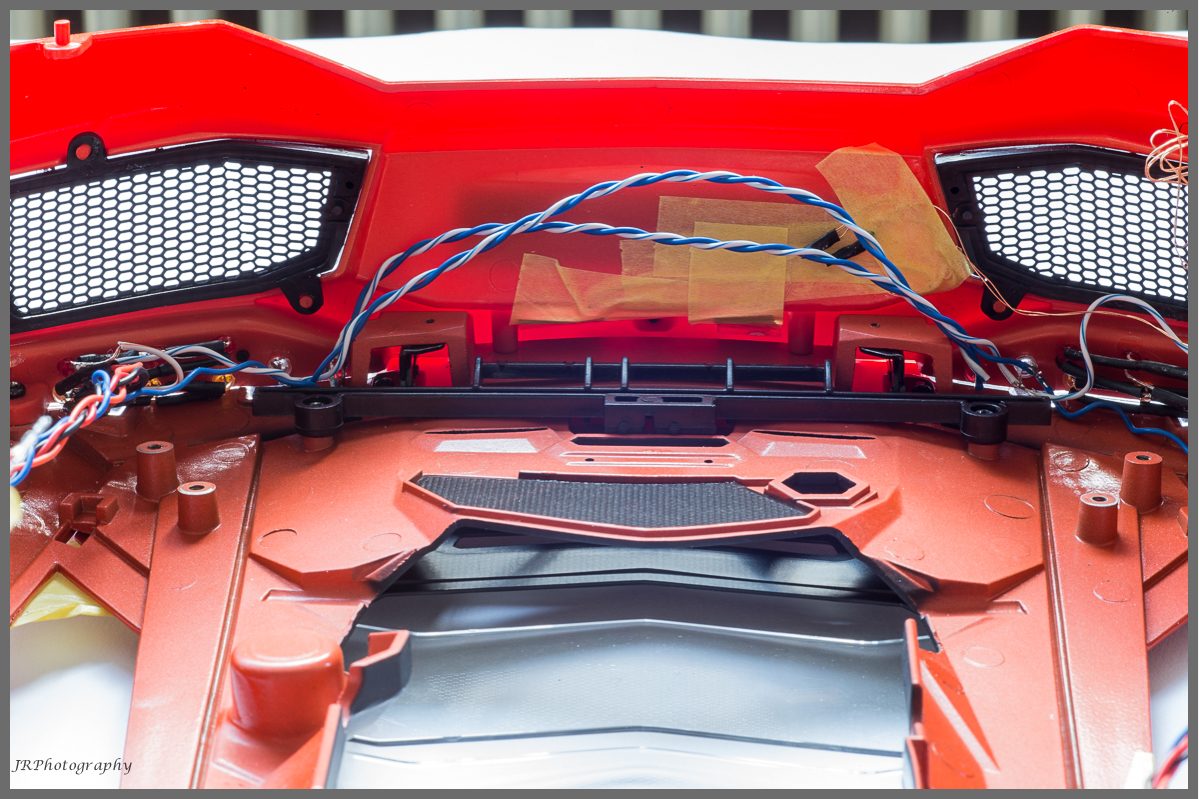
- Thin insulated copper wire and SMDs for lights
- 1-2mm Braided metal wire
- 0.25-2.0mm fible optics (MMI dashboard)
- 2,3,4 mm hollow rubber tubing
- ballpoint springs
- margarine tubs
- cig pack lining
- shrink tubing
- braided nylon tube
- nylon braided belt (1cm wide) for the exhaust in front of the muffler
- BMF
- odds and ends to make e.g. oil separator
- left over sprues to make fuel filter
- 220V single core copper wire
- thin (like the 12 V wiring) wires (see battery)
- MAGIC wand
Yeah the heat shield behind the seats is cigpack material and Im still debating whether to 'upgrade' the exhaust or just leave it in or get rid of it alltogether. Thing is once the model is complete all you see it the oil filler cap and the X on top of the breather box.

Do what?@TexRex Well we don't allow to use the word sex in the title so this is the next best thing to get your attention.
Or were you referring to the scale 1:8.

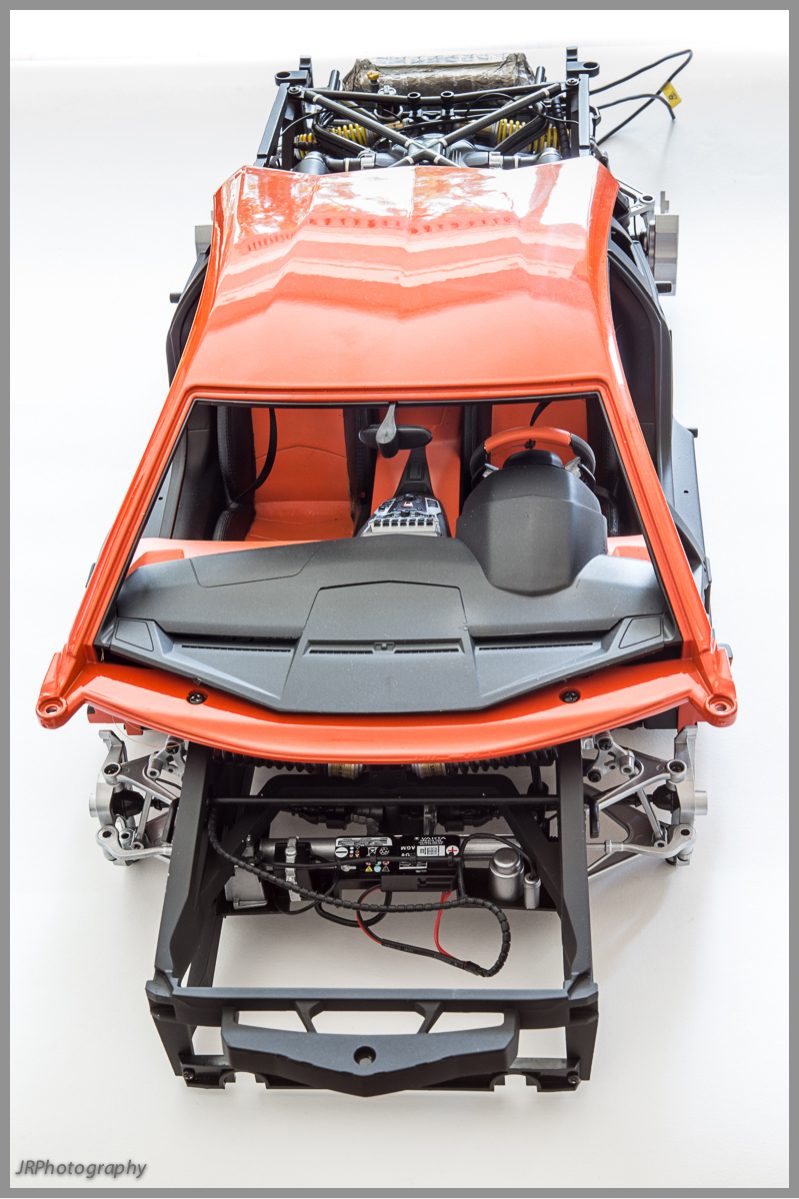
So what type of lights are you using?
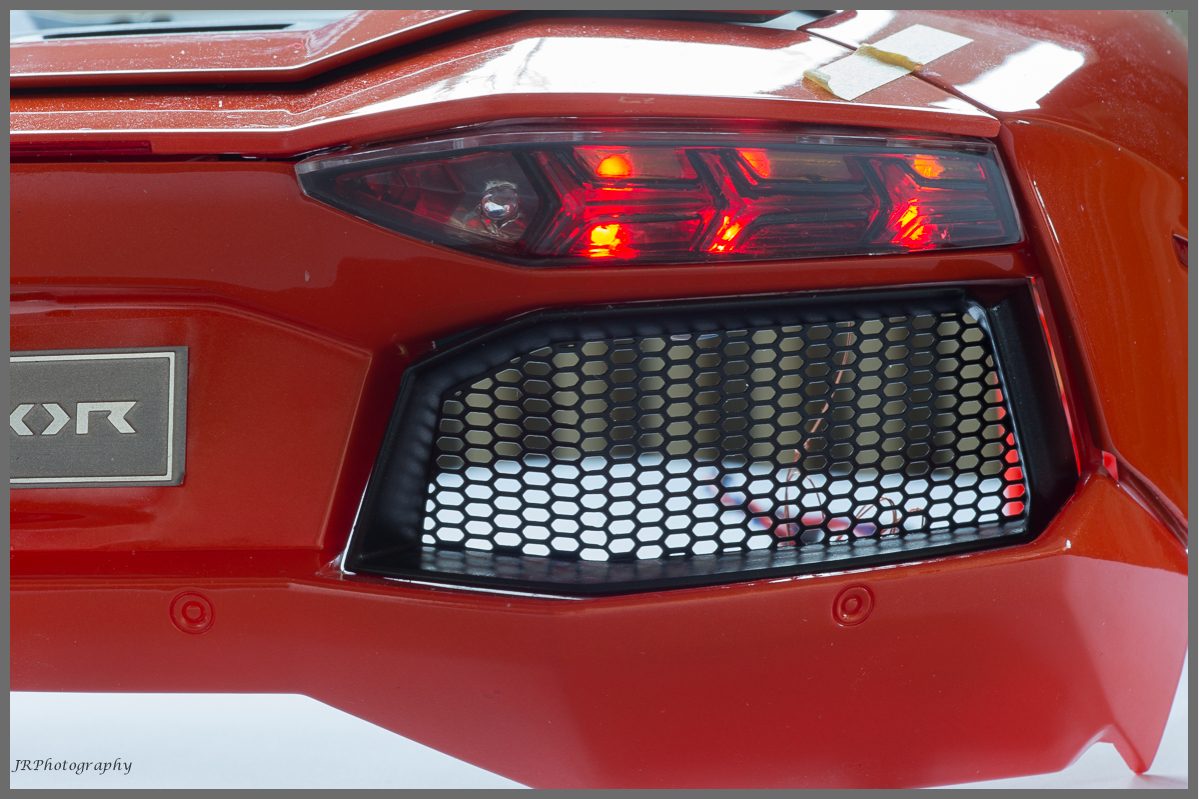
eight 1mm fibre optics - 3 rear/brake lights, 3 indicators, 1 reverse, 1 fog.
Those.LEDS
Ahh, thank youThose.
Thx for asking. Unfortunately no, I would like to have picked this up again but need to find a long enough timeslot to delve in to it again. Perhaps next week may give me the opportunity. It certainly isn't dead, only sleeping.Any new updates, @AMG.?
I can understand this isn't a small undertaking and will take time. It's so fascinating to me, this thread and all detail that goes into these models.
Please don't and hope your eye (and cabinets) are doing alright.So that Pocher is NOT to be touched soon.