- 8

- Platinum Town
- JaceSeville12
I'm trying to make SVGs of these plus a few others.Can you post up a couple of examples of what you're trying to create?
I'm trying to make SVGs of these plus a few others.Can you post up a couple of examples of what you're trying to create?
Hand tracing will get the best results . However here is A quick tutorial on a color scan in Inkscape.I'm trying to make SVGs of these plus a few others.
There is a setting in Inkscape you could try playing with. The lower this value the more nodes your scan will have.How did my edges get so blurry?
there's obviously something i'm doing wrong.
Think I led you astray that is more for when you simplify a path... getting late.Ill try that first.
Left my laptop at work. So dont have the original
Never had that myself. If you upload a zip of one not working I can test it on my account. Should eliminate a file problem, which it would be either an account or server issue. I also use Inkscape but with Firefox.Hi all,
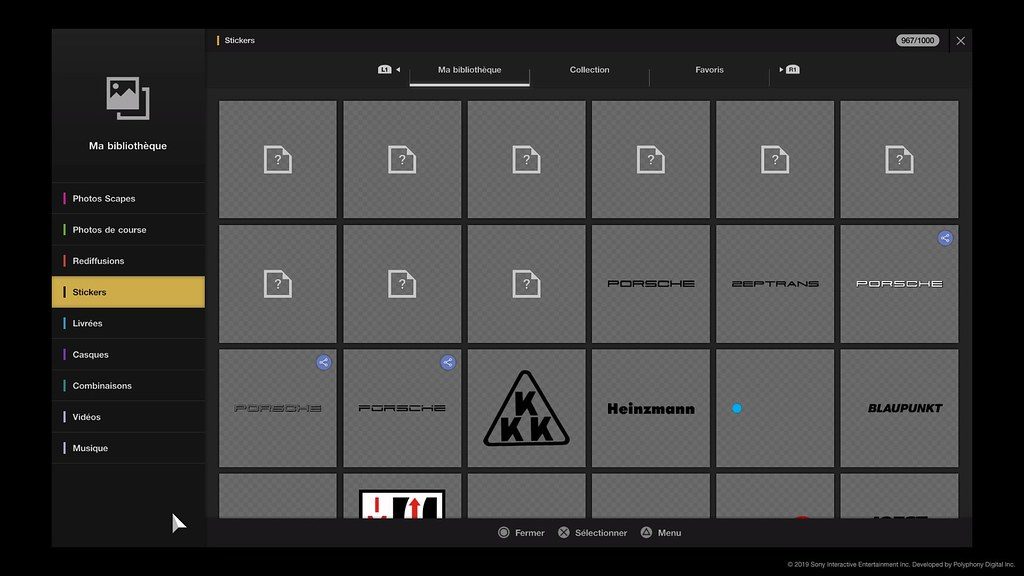
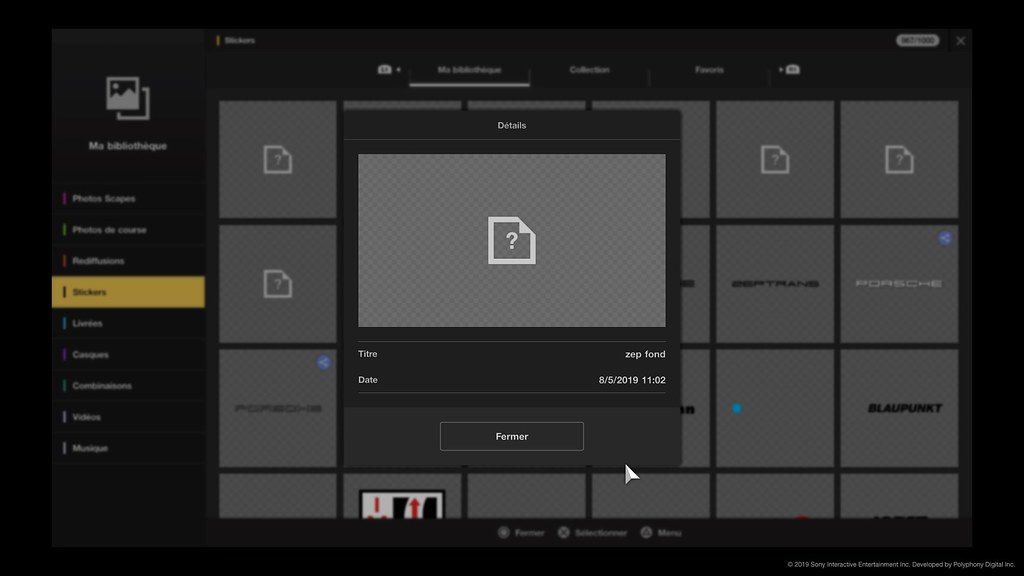
I'm not sure if it is the good thread to it...
I notice since 1 week, an issue during sticker upload. In fact, when I upload a sticker, the sticker looks fine (I have the sticker and his picture added just under).
But, when I start the game, and looking my new stickers...
So, I tried to upload some recent uploaded sticker, to compare... same problems
I ever uploaded more than 2000 stickers throught my different accounts, it is the first time I meet an issue.
I always use Inkscape and Chrome.
What happens when you try to apply one of these « unknown » stickers to a car? Is there an error or does the decal work?Hi all,
I'm not sure if it is the good thread to it...
I notice since 1 week, an issue during sticker upload. In fact, when I upload a sticker, the sticker looks fine (I have the sticker and his picture added just under).
But, when I start the game, and looking my new stickers...
So, I tried to upload some recent uploaded sticker, to compare... same problems
I ever uploaded more than 2000 stickers throught my different accounts, it is the first time I meet an issue.
I always use Inkscape and Chrome.
What happens when you try to apply one of these « unknown » stickers to a car? Is there an error or does the decal work?
Never had that myself. If you upload a zip of one not working I can test it on my account. Should eliminate a file problem, which it would be either an account or server issue. I also use Inkscape but with Firefox.

Hand tracing will get the best results . However here is A quick tutorial on a color scan in Inkscape.
1 Find a high quality image to scan with sharp edges.
2 Use these settings trying for lowest # of scans but see all color zones in preview picture.
View attachment 819438
3 ungroup the result and drag the paths apart. Like this.
View attachment 819428
4 Need to study paths to work out what is duplicated and what needs color changing for final decal.
In this case - The holes in the grey need to be white.
- The holes in the black need to be gold and does not need the text knights.
5 Select the grey path and use [path] [break apart] All the resulting paths except the big outline can be made white and recombined.
View attachment 819429
6 The black path can be broken apart. I changed the new outer path to red and pushed it to the bottom to make the next step simpler.
View attachment 819430
7 Delete the paths for the letters in knights. Recombine the remaining black paths and change them to gold. you can now delete the original gold path in 2nd picture. Change the red back to black.
View attachment 819431
8 Reposition and re layer the paths white to the top, then gold then black with grey at the bottom.
View attachment 819436
9 Delete the original Image. Select all paths and resize page to selection. then save.
10 use SVGOMG to reduce file size.
In this case a low precision of one was used in SVGOMG to get the file under 15kb.
By deleting the grey path and giving the black path a thin white stroke I could use precision 2 in svgomg.
Final results in the zip.
Edit: Did a hand trace for comparison (knights3.zip) and used a very close font for the word "knights". This method could be just saved as an optimized file and was under 15kb.
 Obviously doesn't work in game, but it amused me anyway.
I take it you found the correct font. Once I have converted text to path I ungroup then combine all letters to make a single path for the text.Perhaps someone could help me please with the stroke/fill aspect of this logo? The gradient only covers the fill part with the stroke unaffected. I've been trying with Inkscape for some time to get the desired effect with no success.
I can't imagine using a tablet with vector software, not precise enough for me. I just use my MacBook's trackpad.
I think I paid £25 for the desktop version about 2 years ago, it might have come down since then, not looked. But you're right, compared to £20 per month for Illustrator it's a no brainer!
Hi, may I ask for some help - you guys know what you're talking about! Have used Picta Graphic successfully to create gradients. I just bought Affinity Designer too but the simple gradient fills just won't appear on the PS4 - just black boxes (but look fine when uploading). As some of you speak SVG Code.... could you see what the differences are here:
First one, Picta Graphic simple gradient, works fine:
<?xml version="1.0" encoding="UTF-8"?>
<!DOCTYPE svg PUBLIC "-//W3C//DTD SVG 1.1//EN" "http://www.w3.org/Graphics/SVG/1.1/DTD/svg11.dtd">
<svg version="1.1" xmlns="http://www.w3.org/2000/svg" xmlns:xlink="http://www.w3.org/1999/xlink" x="0" y="0" width="595.276" height="419.528" viewBox="0, 0, 595.276, 419.528">
<defs>
<linearGradient id="Gradient_1" gradientUnits="userSpaceOnUse" x1="126.5" y1="195.25" x2="483" y2="195.25">
<stop offset="0" stop-color="#8EFDFF"/>
<stop offset="1" stop-color="#012BAA"/>
</linearGradient>
</defs>
<g id="Layer_1">
<path d="M126.5,41.5 L483,41.5 L483,349 L126.5,349 L126.5,41.5 z" fill="url(#Gradient_1)"/>
</g>
</svg>
Second one, Affinity Designer simple gradient - doesn't work:
<?xml version="1.0" encoding="UTF-8" standalone="no"?>
<!DOCTYPE svg PUBLIC "-//W3C//DTD SVG 1.1//EN" "http://www.w3.org/Graphics/SVG/1.1/DTD/svg11.dtd">
<svg width="100%" height="100%" viewBox="0 0 1325 1325" version="1.1" xmlns="http://www.w3.org/2000/svg" xmlns:xlink="http://www.w3.org/1999/xlink" xml:space="preserve" xmlns:serif="http://www.serif.com/" style="fill-rule:evenodd;clip-rule:evenodd;stroke-linejoin:round;stroke-miterlimit:2;">
<g transform="matrix(1,0,0,1,-391.309,-498.568)">
<rect x="391.309" y="498.568" width="1324.48" height="1324.48" style="fill:url(#_Linear1);"/>
</g>
<defs>
<linearGradient id="_Linear1" x1="0" y1="0" x2="1" y2="0" gradientUnits="userSpaceOnUse" gradientTransform="matrix(1324.48,0,0,1324.48,391.309,1160.81)"><stop offset="0" style="stop-color:rgb(0,255,248);stop-opacity:1"/><stop offset="1" style="stop-color:rgb(233,15,15);stop-opacity:1"/></linearGradient>
</defs>
</svg>
Designer has loads of options for exporting and I may have missed something obvious - I'd love to get it working and any advice appreciated!

Wish I could help but all I see is jibberish.
Hi, well there are a couple of reason for the first one not to work prolerly in game, see Ive fought this battle too, you are not alone! First of all keep in mind, gt sport converts svg files into .png therefor the coordinate system you are using in the first svg cant be processed by the game, it needs pixels to define the png size. Second, for some reason it really struggles with gradients on paths, a better way to use gradients in game is to put them on a rect. At the and of the svg. And this brings us to the second one, svg as well as all html or css codes are processed from left to right up to down line by line. You give your object a fill with the gradient, but only after you define it. As far as platform concerns you filled your object with nothing, always define first then use! Also viewbox, only works if you put the whole thing at the end on a rect, in GT sport at least, plus unfortunatelly you can forget things such as clipping masks, masks in general, any effects like blur and so, wont work in game, and use rgb(a,b,c) instead of the #form at least in GT sport to avoid color glitches! If you want to do a gradient with opacity thats more of a qzestion of luck really, game prefers opacity for the object rather then the gradient, but even if you try gradient, try using rgba instead of stop opacity...well hope this helpsHi, may I ask for some help - you guys know what you're talking about! Have used Picta Graphic successfully to create gradients. I just bought Affinity Designer too but the simple gradient fills just won't appear on the PS4 - just black boxes (but look fine when uploading). As some of you speak SVG Code.... could you see what the differences are here:
First one, Picta Graphic simple gradient, works fine:
<?xml version="1.0" encoding="UTF-8"?>
<!DOCTYPE svg PUBLIC "-//W3C//DTD SVG 1.1//EN" "http://www.w3.org/Graphics/SVG/1.1/DTD/svg11.dtd">
<svg version="1.1" xmlns="http://www.w3.org/2000/svg" xmlns:xlink="http://www.w3.org/1999/xlink" x="0" y="0" width="595.276" height="419.528" viewBox="0, 0, 595.276, 419.528">
<defs>
<linearGradient id="Gradient_1" gradientUnits="userSpaceOnUse" x1="126.5" y1="195.25" x2="483" y2="195.25">
<stop offset="0" stop-color="#8EFDFF"/>
<stop offset="1" stop-color="#012BAA"/>
</linearGradient>
</defs>
<g id="Layer_1">
<path d="M126.5,41.5 L483,41.5 L483,349 L126.5,349 L126.5,41.5 z" fill="url(#Gradient_1)"/>
</g>
</svg>
Second one, Affinity Designer simple gradient - doesn't work:
<?xml version="1.0" encoding="UTF-8" standalone="no"?>
<!DOCTYPE svg PUBLIC "-//W3C//DTD SVG 1.1//EN" "http://www.w3.org/Graphics/SVG/1.1/DTD/svg11.dtd">
<svg width="100%" height="100%" viewBox="0 0 1325 1325" version="1.1" xmlns="http://www.w3.org/2000/svg" xmlns:xlink="http://www.w3.org/1999/xlink" xml:space="preserve" xmlns:serif="http://www.serif.com/" style="fill-rule:evenodd;clip-rule:evenodd;stroke-linejoin:round;stroke-miterlimit:2;">
<g transform="matrix(1,0,0,1,-391.309,-498.568)">
<rect x="391.309" y="498.568" width="1324.48" height="1324.48" style="fill:url(#_Linear1);"/>
</g>
<defs>
<linearGradient id="_Linear1" x1="0" y1="0" x2="1" y2="0" gradientUnits="userSpaceOnUse" gradientTransform="matrix(1324.48,0,0,1324.48,391.309,1160.81)"><stop offset="0" style="stop-color:rgb(0,255,248);stop-opacity:1"/><stop offset="1" style="stop-color:rgb(233,15,15);stop-opacity:1"/></linearGradient>
</defs>
</svg>
Designer has loads of options for exporting and I may have missed something obvious - I'd love to get it working and any advice appreciated!
Hi, well there are a couple of reason for the first one not to work prolerly in game, see Ive fought this battle too, you are not alone! First of all keep in mind, gt sport converts svg files into .png therefor the coordinate system you are using in the first svg cant be processed by the game, it needs pixels to define the png size. Second, for some reason it really struggles with gradients on paths, a better way to use gradients in game is to put them on a rect. At the and of the svg. And this brings us to the second one, svg as well as all html or css codes are processed from left to right up to down line by line. You give your object a fill with the gradient, but only after you define it. As far as platform concerns you filled your object with nothing, always define first then use! Also viewbox, only works if you put the whole thing at the end on a rect, in GT sport at least, plus unfortunatelly you can forget things such as clipping masks, masks in general, any effects like blur and so, wont work in game, and use rgb(a,b,c) instead of the #form at least in GT sport to avoid color glitches! If you want to do a gradient with opacity thats more of a qzestion of luck really, game prefers opacity for the object rather then the gradient, but even if you try gradient, try using rgba instead of stop opacity...well hope this helps
If by any chance you have access to adobe products, Illustrator is the best to use for decals, I use it too, check out my ig @gtscdecals and you will see how to work with them decals! Also Adobe Dreamweaver is a very userfriendly code editor, with instant preview, or if not that, register to CodePen and youll have a free to use online code editor UI works perfectly! There you can change the base code any way you want, pritty easy actually just sounds scaryThank you very much for the reply..... so there's not much I can do about it really!!
The first one (top, Picta Graphic) works fine..... I've used the decal in liveries and covered whole cars, and it looks great!
The second one (bottom) just comes up as a black box on the PS4.
I don't try anything fancy - just linear gradient in a square (with no stroke).
Pity, I like Affinity Designer very much.... just a shame I can't use it on GTS (am not clever enough to manually adjust the code!)
Thanks again for helping.
Thanks again Takkadam05 - very helpful of you!
I looked at Adobe but decided I really don't like their rental model..... far too expensive for a casual user like me. I will stick with Picta Graphic for decals, it seems to work well. Pity about Designer not working - it's a great vector / bitmap design app.
Have you tried Inkscape for Mac OS . It's free and the linear gradients work in Gtsport (at least with the pc version they do when saved as optimized). Not a great GUI but maybe an option.Thanks again Takkadam05 - very helpful of you!
I looked at Adobe but decided I really don't like their rental model..... far too expensive for a casual user like me. I will stick with Picta Graphic for decals, it seems to work well. Pity about Designer not working - it's a great vector / bitmap design app.
Thanks, I'll look into that. Graphic is doing fine and I will probably stick with that..... feel I sort of wasted money on Affinity Designer ( a great app though that I'm sure I'll have other uses for!!)Have you tried Inkscape for Mac OS . It's free and the linear gradients work in Gtsport (at least with the pc version they do when saved as optimized). Not a great GUI but maybe an option.
Things I tried and did not work with Inkscape. First I saved your above affinity designer text from above as svg. Looked O.K in Inkscape.Thanks, I'll look into that. Graphic is doing fine and I will probably stick with that..... feel I sort of wasted money on Affinity Designer ( a great app though that I'm sure I'll have other uses for!!)
EDIT - just tried exporting a gradient from Designer as SVG, opened in Graphic (as an iDraw file), re-exported as an SVG, uploaded both to the GTS site and.....
It didn't work! One black square (Designer), one yellow square (Graphic).
Oh well......
")