Timppaq
Premium
- 5,137

- Helsinki
- GTP_Timppaq
**texts removed**
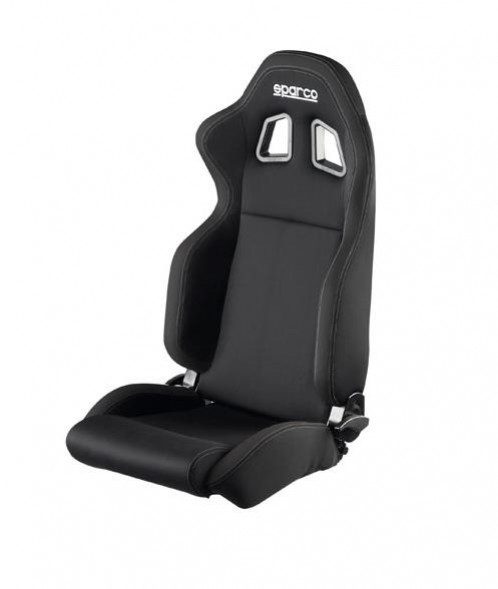
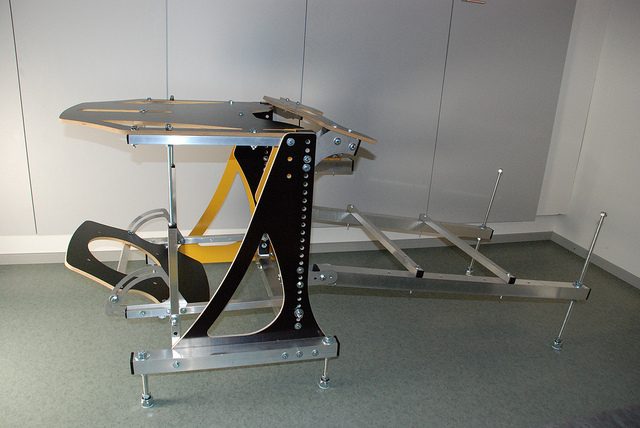
Without the accessories

http://farm5.static.flickr.com/4149/5060413171_9a7c5b73c3_z.jpg
http://farm5.static.flickr.com/4106/5060412033_111dd9a380_z.jpg
.
.
.
.
.
.
.
.
.
.
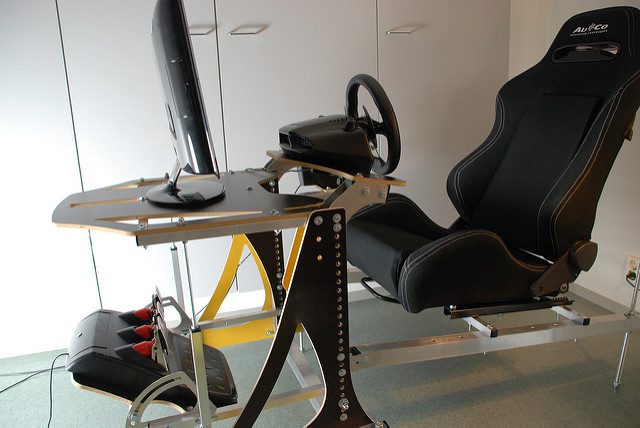
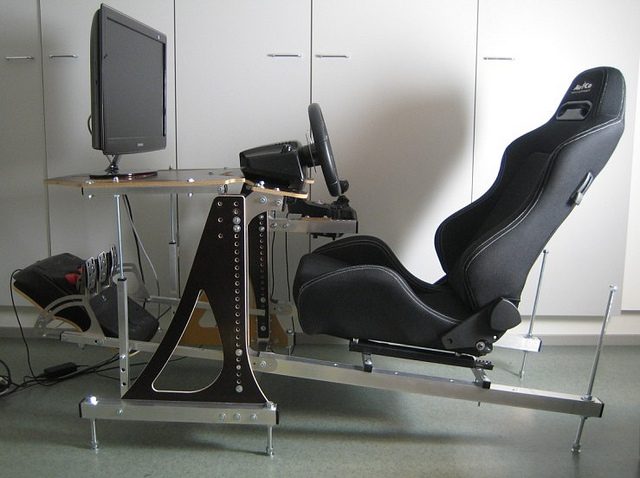
and with..
http://farm5.static.flickr.com/4145/5060418185_927961554c_z.jpg
http://farm5.static.flickr.com/4084/5060413707_d32d72952a_z.jpg
http://farm5.static.flickr.com/4131/5061026914_4634140a7f_z.jpg
.
.
.
.
.
.
.
.
.
.
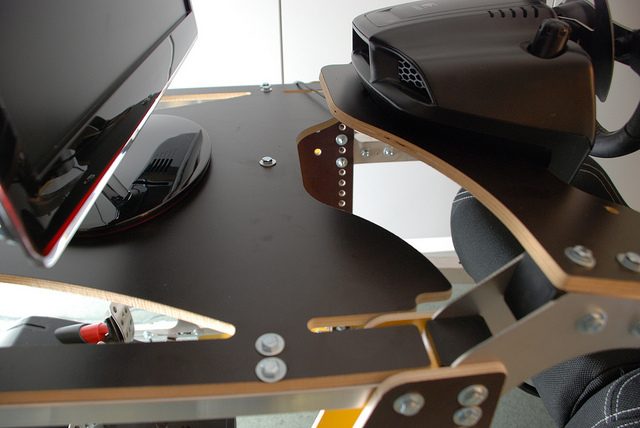
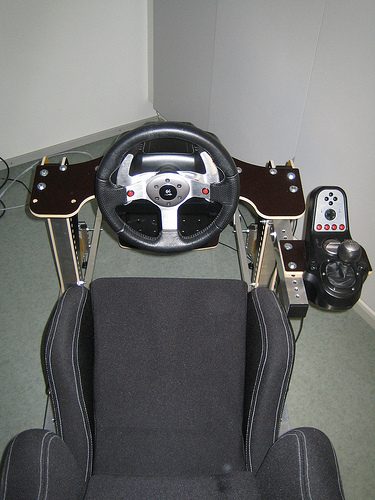
A few pics of my current driving position
http://farm2.static.flickr.com/1229/5103008336_ccc22a788d_z.jpg
http://farm5.static.flickr.com/4106/5102383269_f816d01a00_z.jpg
http://farm2.static.flickr.com/1425/5102384141_77317ac4df_z.jpg
http://farm2.static.flickr.com/1361/5102383835_971fbe5702_z.jpg
http://farm5.static.flickr.com/4013/5102383525_781e92a0c3_z.jpg
.
.
.
.
.
Without the screen table
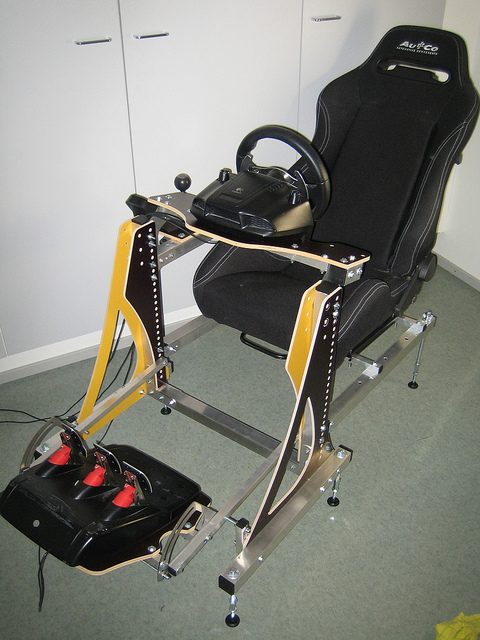
Without the accessories
http://farm5.static.flickr.com/4149/5060413171_9a7c5b73c3_z.jpg
http://farm5.static.flickr.com/4106/5060412033_111dd9a380_z.jpg
.
.
.
.
.
.
.
.
.
.
and with..
http://farm5.static.flickr.com/4145/5060418185_927961554c_z.jpg
http://farm5.static.flickr.com/4084/5060413707_d32d72952a_z.jpg
http://farm5.static.flickr.com/4131/5061026914_4634140a7f_z.jpg
.
.
.
.
.
.
.
.
.
.
A few pics of my current driving position
http://farm2.static.flickr.com/1229/5103008336_ccc22a788d_z.jpg
http://farm5.static.flickr.com/4106/5102383269_f816d01a00_z.jpg
http://farm2.static.flickr.com/1425/5102384141_77317ac4df_z.jpg
http://farm2.static.flickr.com/1361/5102383835_971fbe5702_z.jpg
http://farm5.static.flickr.com/4013/5102383525_781e92a0c3_z.jpg
.
.
.
.
.
Without the screen table
Attachments
Last edited:
 )
)
") I've tried to keep the shipping & easy construction etc in mind while designing this, and luckily I feel that I haven't had to do any sacrifices because of it. So I guess it will be on sale if there is somebody wanting to have it. 👍 But not the main idea here, as I said in the other thread, I do this to get me a new rig for gt5 and everything else is another thing.
I've tried to keep the shipping & easy construction etc in mind while designing this, and luckily I feel that I haven't had to do any sacrifices because of it. So I guess it will be on sale if there is somebody wanting to have it. 👍 But not the main idea here, as I said in the other thread, I do this to get me a new rig for gt5 and everything else is another thing.

 !!! Very interesting:tup:
")