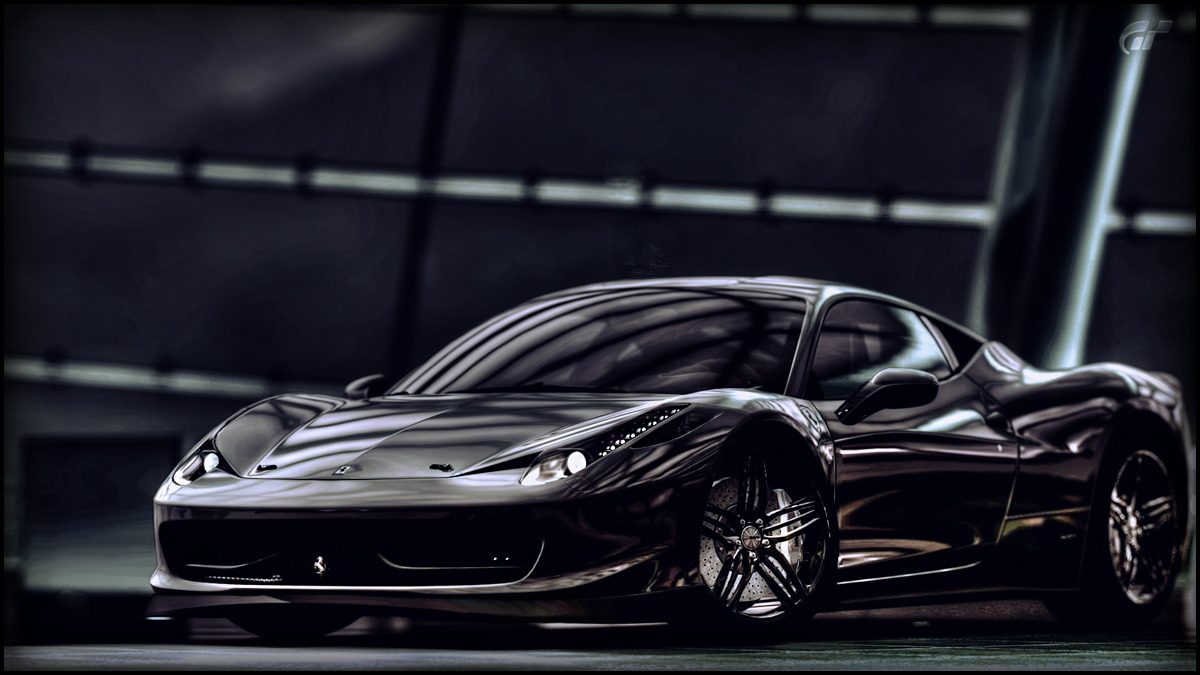
I feel like the light is overtaking the darks in both of these photos though. Do I need to add more shots at lower exposures to combat this? Or just use environments that are "darker"?
The main use of HDR is for HIGH CONTRAST situations. HDR does NOT work in all situations... human portraits for example, are considered UGLY, or gritty, because it shows EVERY detail... generally speaking, the average woman spends over half her life hiding blemishes... a simple HDR photo could ruin her self image.
Back to the case in point, High Contrast, is the difference in values, of luminance something you view has. The human eye is only capable of viewing a certain range of contrast at once... Simply think of the night sky... If you look directly at the full moon, you will see no stars, because the Moon is in the HIGH END of the white spectrum, causing your eyes to see black surrounding it.
In the same manner, your eyes adjust to a sky with no moon, allowing you to see details that you just couldn't see before, by removing the higher end of the light range.
If you were to take a snap shot of the moon that you were staring at, and then remove it, and take another snapshot, this would be the exact same way you create an HDR image.
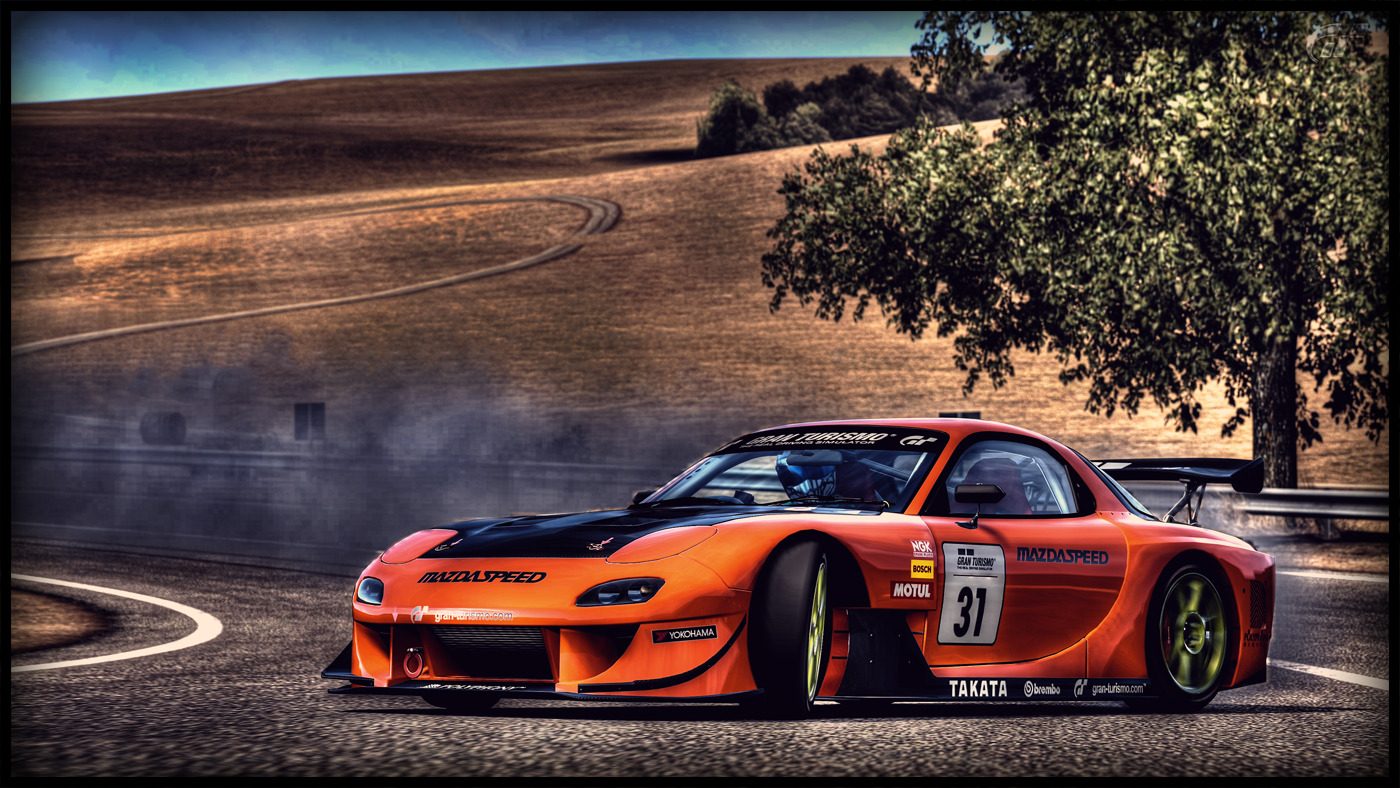
Typically, when prepping for an HDR image, you want to know that there is an area that is too bright to see detail AND an are that is to dark to see detail... but for the best images, you also want an area that is naturally lit in good detail, in the middle.
These are your 3 images... Named (-2, 0, +2) in EV terms, this is enough Evaluative Light difference to create a STARK HDR.
From this point, its all about the tonemapping... and there is nothing anyone can tell you that applies to every image, aside from the fact that you should always create a custom preset if an image turns out GREAT, after you spend 40 minutes dialing it in.
So, to shorten the story, if you have the time, adjust your exposure to the MAX and the minimum, to see what details will magically appear in the photo, and don't worry too much about your Darkest shot, just make sure it has some detail... concentrate on Flares in your brightest shot, and try to eliminate them as much as possible, while still keeping it bright enough to capture the details in the shadows.