Sorry for the delay, but I used this one. (the one on the right)
They work best when they're new because I have found overtime it just becomes a dull silver color that isn't shiny anymore. My brother had just bought his and his is what I used for the Massey Ferguson.
So, remember that spoiler less Supra called Hamada from the game Test Drive I started on WAY back in 2013? If you remember, I took a FNF Supra, cut the spoiler off, stripped the paint and later painted it in blue with a yellow bumper. Then I made a texture rip of the car and was going to edit it a bit so it can fit on the casting, but then I realized the rip wasn't too good since the letters were jumbled and generally did not look right compared to how it looked in the car select menu. Problem is, I did not know how to hack the PC version of the game to get the texture I needed and was unable to run the PS2 version on PC (if you know what I mean) to do the same. While this update is LONG overdue, the custom has not been forgotten, rather it's just been on hold since at least 2014 because of what I said above.
However, as of April 1st, I have finally made a breakthrough! Thanks to the help of a friend on Discord, I now have the proper texture I have been after for so long now:
It's obviously going to need a lot of work in order to fit on the Hot Wheels Supra as well as some recoloring, but it's doable and it'll be worth it. It's a lot better than what I posted years ago.
As for the casting I worked with, near the end of 2020 I stripped off the paint I applied years ago since it was a bit too thick. (Especially on the front bumper) I later decided to ditch the old body I had used since I had butchered it in some areas and it had always bugged me. I’ll probably salvage it and use it for something else in the future.
Not long after, I decided to start again with a new body using the Supra I took apart for the wheels last year, which later went on the Volkswagen I posted here. Paint is already off and the spoiler removed, but it needs some filing. So far it’s a lot better than the old one I did years ago. Going to reuse the wheels, windshield and base from the old one since theirs nothing wrong with them.
Haven’t done anything custom related in a while though and I would jump on it now, but I have a lot of other personal stuff going on and don’t have the blue paint I need for it. But hey, the Hamada custom is back and hopefully I can finally finish it after all these years!
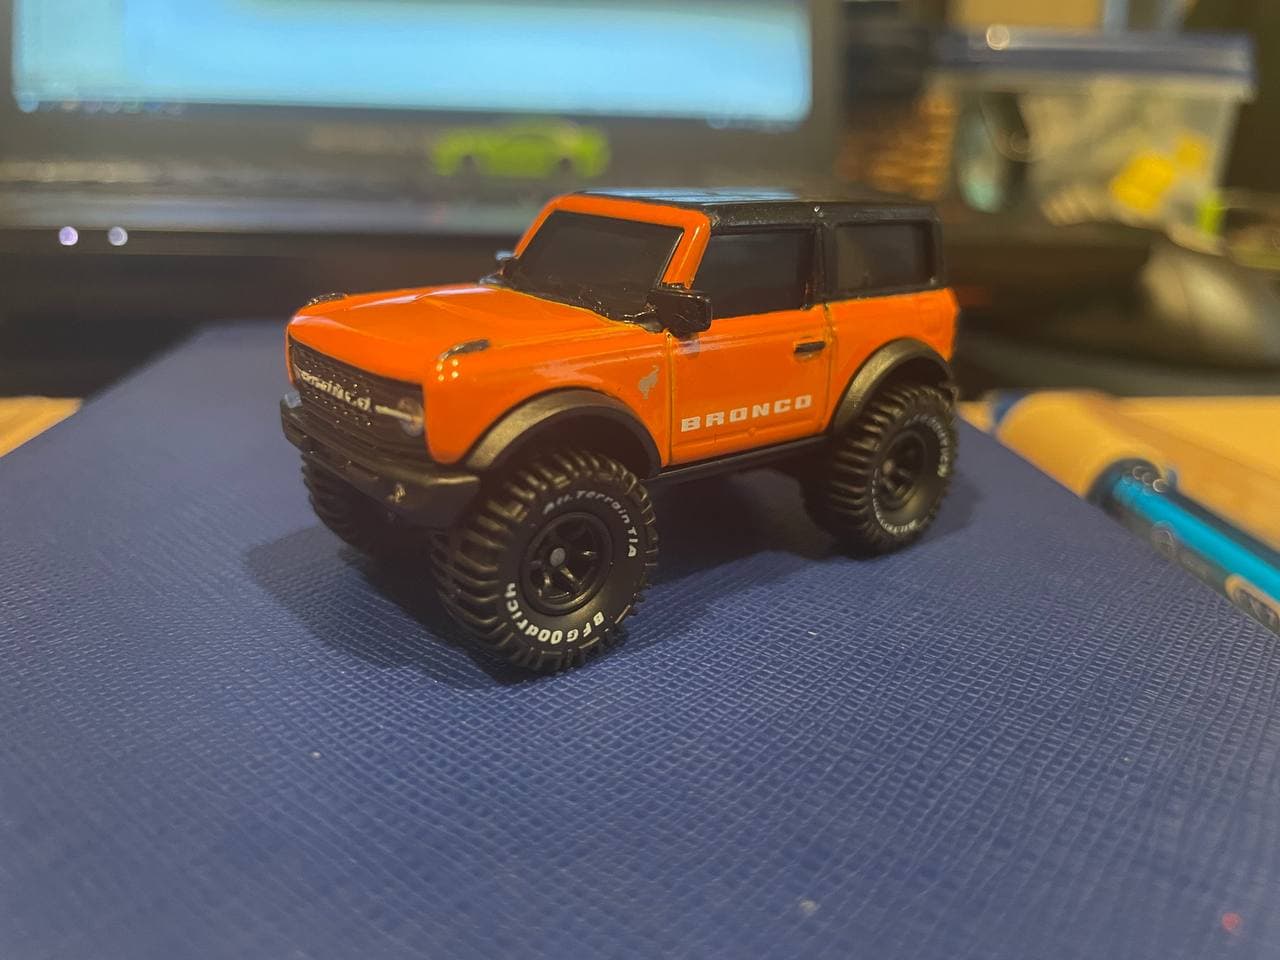
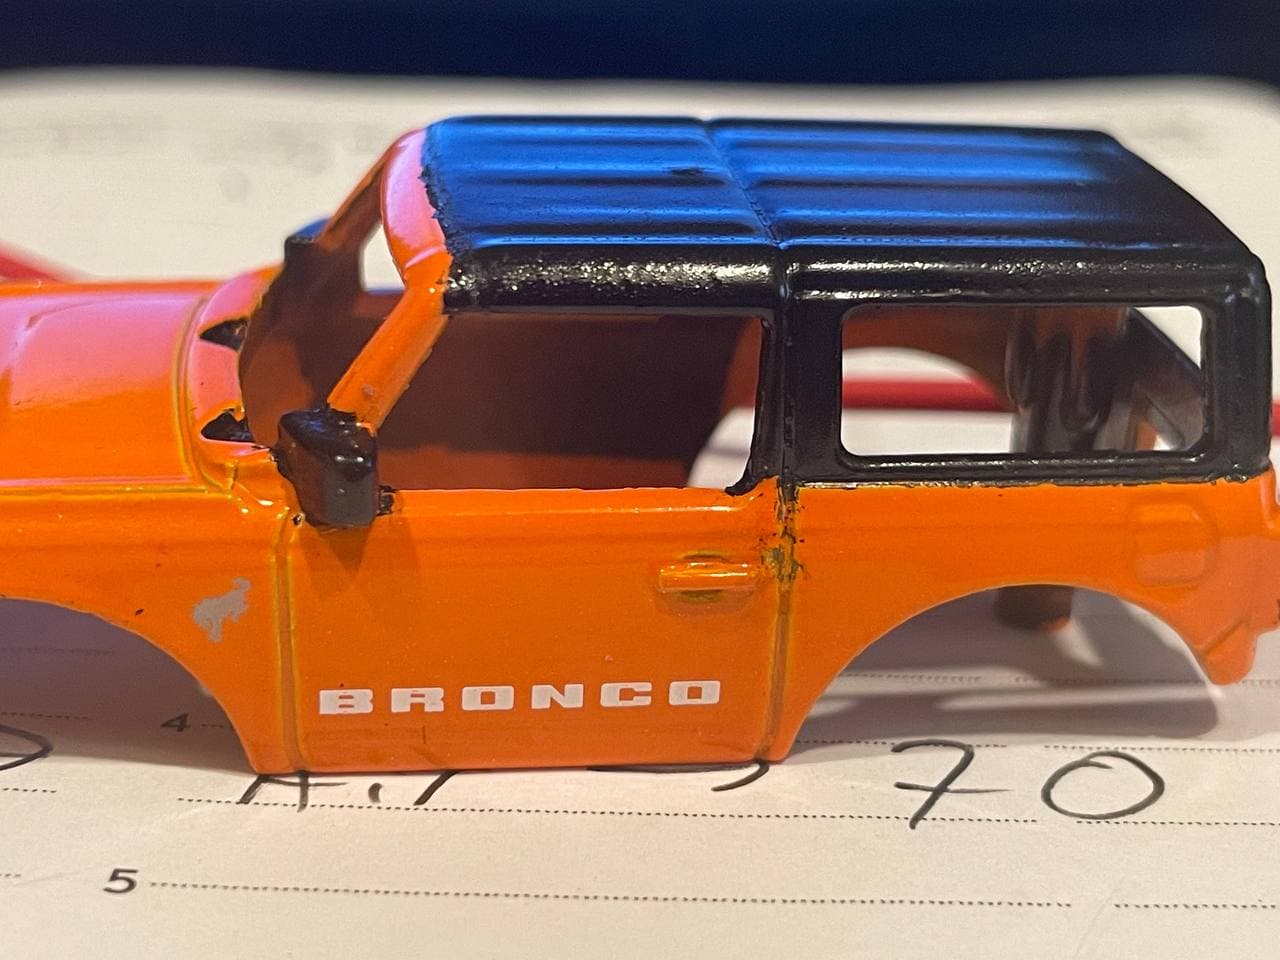
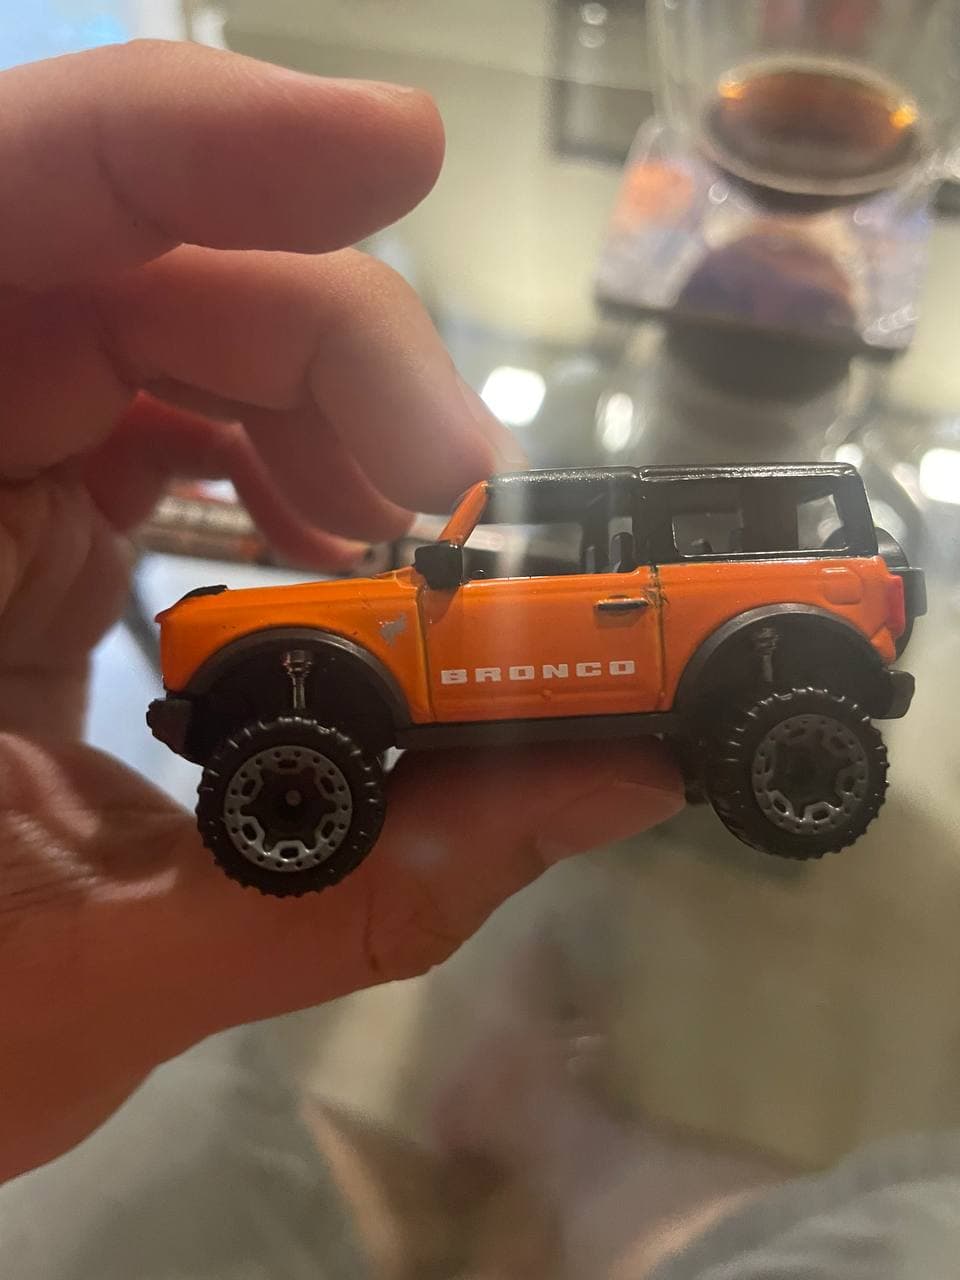
Came to this thread years ago in hopes to fix my LP750 but now is my first time attempting to custom one of them instead of just fixing them. My first attempt is to try and improve Hotwheels Ford Bronco:
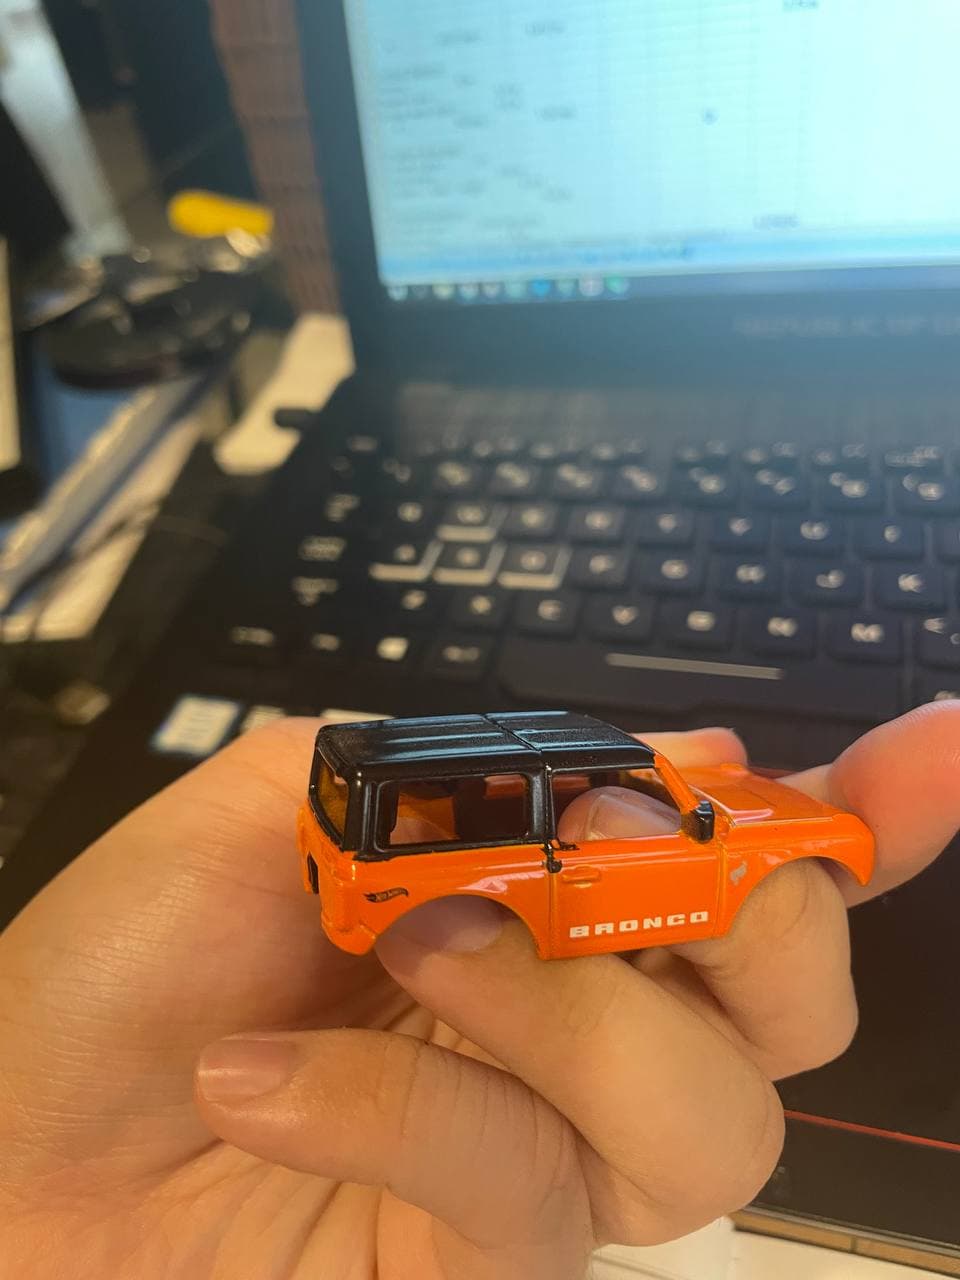
I mostly want more details on it and a black roof and here is the end product of it:
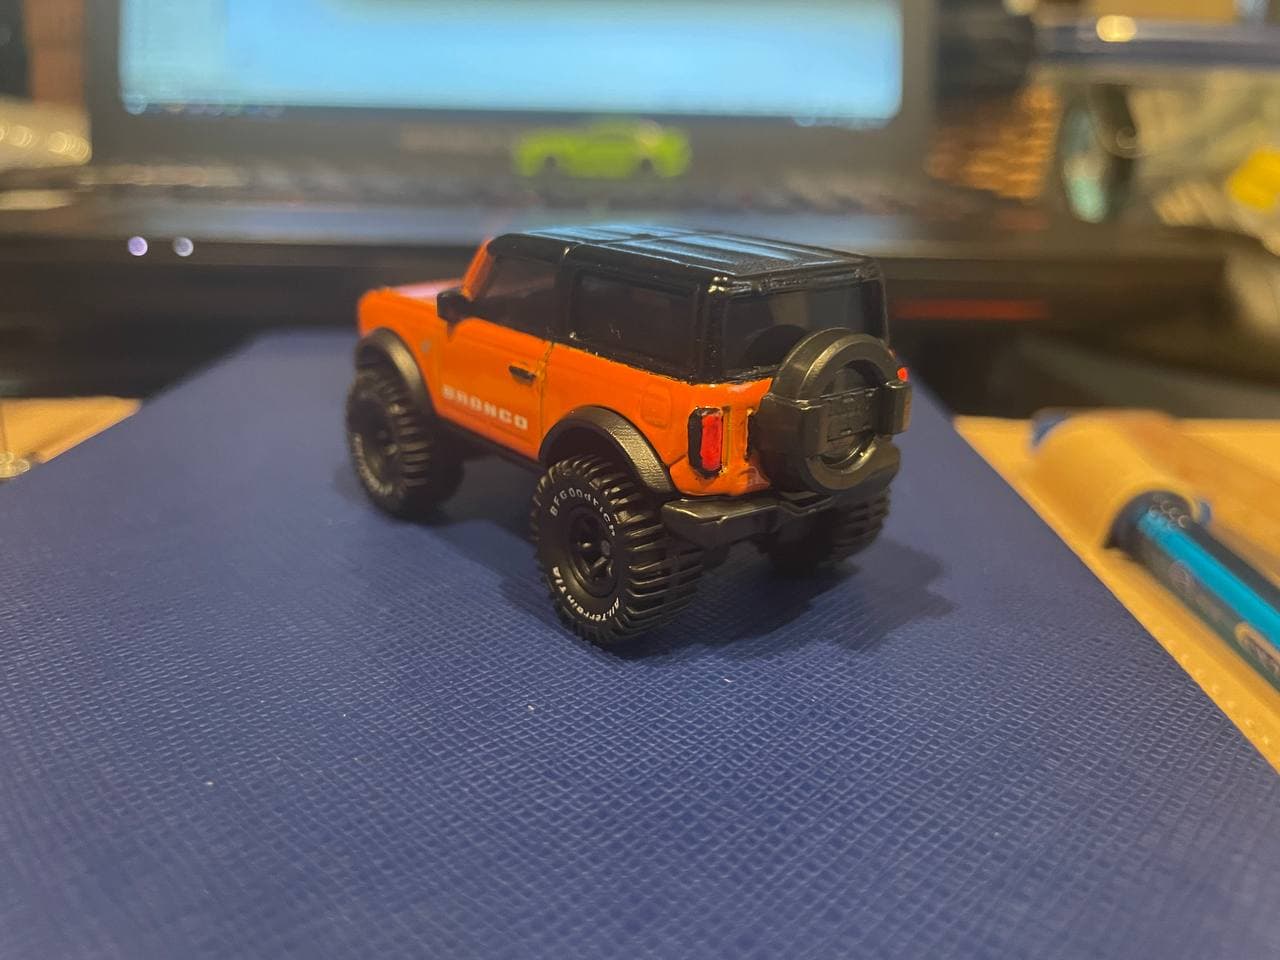
It looks decent enough for first attempt, mostly just to blackout parts that should be black and also added some red to where the tailights are. I also swapped a set of bigger wheels too since the ones it came with looks too tiny for my liking but the wheels I bought was slightly too big and the could not roll anymore.
Pictures of my progress going through it and the mistakes I done
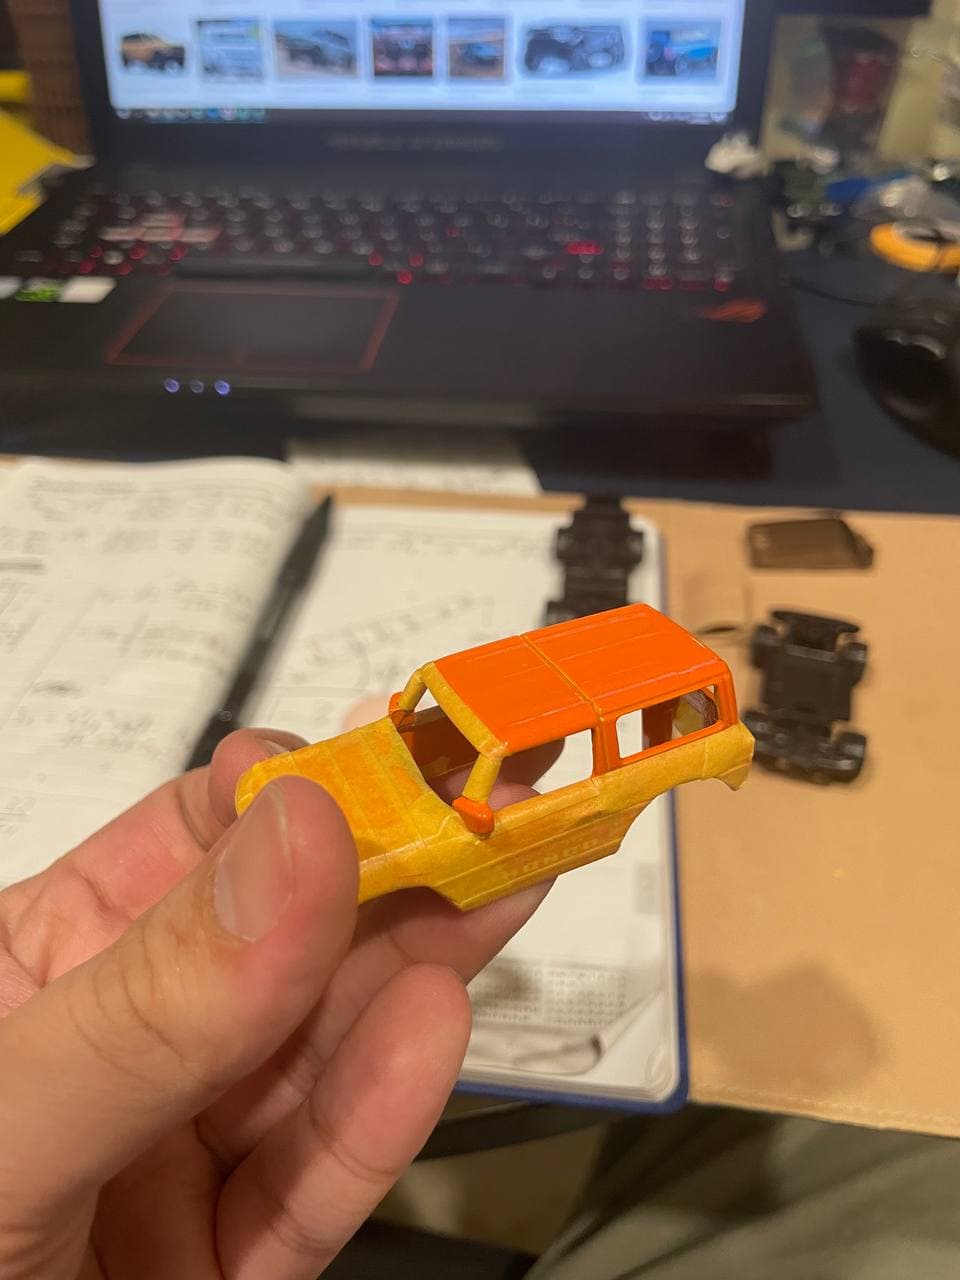
Started by taping up the whole car and left the side mirrors and roof for spray painting
After spray painting it, I have no idea how some of the black paint leak into the doors. It happened on both doors.
My attempts to scrape off the black paint makes one side even worse
But manage to salvege with some white paint and orange gundam colouring pens
Also painted the suspension part in chrome and how the Bronco look with its original wheels before I swap them.
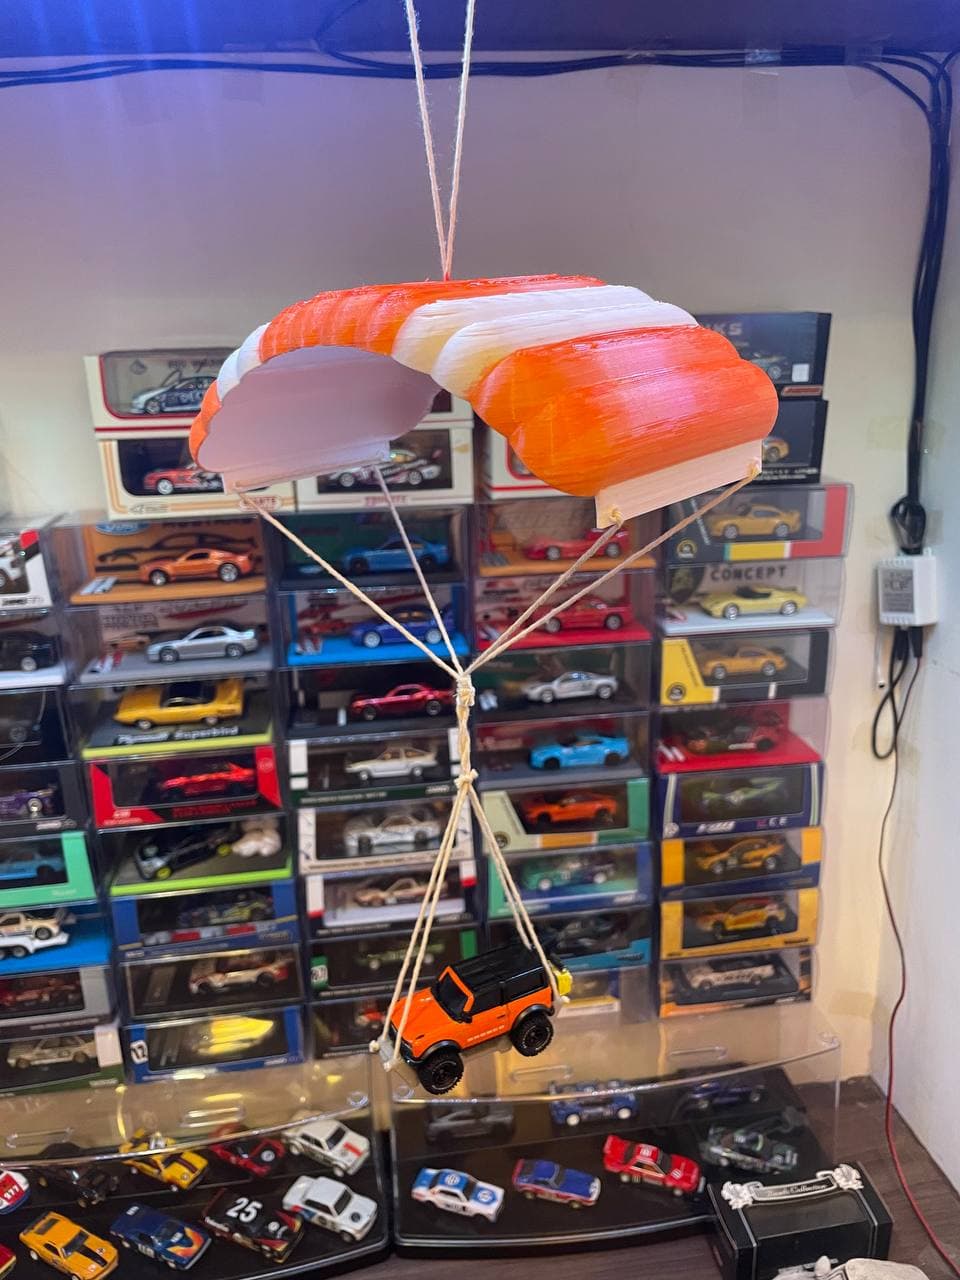
As for why I decided to try out repainting parts of the Bronco, one of Playground artist released the art work of the parachute rack the game use in the intro:
I was really interested to try and make that with my 3D printer and I spent the last 2 weeks modelling and testing it. As it is hanging off my shelf now, the poor paint details are not too obvious, the process on improving the Bronco and designing the parachute thing was really fun too:
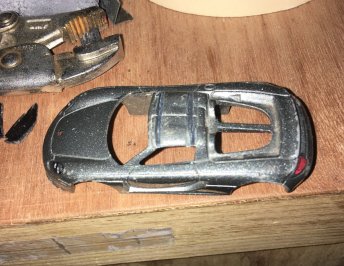
So guys, ya'll probably remember this Volkswagen Golf I detailed almost a decade ago right? Well, I brought it up from my basement and discovered something weird has happened to the paint. For some reason, it seems it bubbled on the top and part of the sides. It kind of reminds me of what happens when you spray paint a casting with a spray can that has trash clogged up in it and has a similar look to this, but this one still has it's original paint. Worth noting it's made in China.
No idea how long it's been like this, but does anybody have any idea what could have happened to this thing?
Came to this thread years ago in hopes to fix my LP750 but now is my first time attempting to custom one of them instead of just fixing them. My first attempt is to try and improve Hotwheels Ford Bronco:
I mostly want more details on it and a black roof and here is the end product of it:
It looks decent enough for first attempt, mostly just to blackout parts that should be black and also added some red to where the tailights are. I also swapped a set of bigger wheels too since the ones it came with looks too tiny for my liking but the wheels I bought was slightly too big and the could not roll anymore.
Pictures of my progress going through it and the mistakes I done
Started by taping up the whole car and left the side mirrors and roof for spray painting
After spray painting it, I have no idea how some of the black paint leak into the doors. It happened on both doors.
My attempts to scrape off the black paint makes one side even worse
But manage to salvege with some white paint and orange gundam colouring pens
Also painted the suspension part in chrome and how the Bronco look with its original wheels before I swap them.
As for why I decided to try out repainting parts of the Bronco, one of Playground artist released the art work of the parachute rack the game use in the intro:
I was really interested to try and make that with my 3D printer and I spent the last 2 weeks modelling and testing it. As it is hanging off my shelf now, the poor paint details are not too obvious, the process on improving the Bronco and designing the parachute thing was really fun too:
So guys, ya'll probably remember this Volkswagen Golf I detailed almost a decade ago right? Well, I brought it up from my basement and discovered something weird has happened to the paint. For some reason, it seems it bubbled on the top and part of the sides. It kind of reminds me of what happens when you spray paint a casting with a spray can that has trash clogged up in it and has a similar look to this, but this one still has it's original paint. Worth noting it's made in China.
No idea how long it's been like this, but does anybody have any idea what could have happened to this thing? View attachment 1208055
The thought that metal used to manufacture diecast cars could corrode due to impurities in the metal is why I think I stopped buying diecast and switched to resin.
First time hearing about this, but possibly? I can't find anything wrong with the metal, only the paint seems to be affected as far as I can tell. It's strange that this happened because I have never had one do this, ever. And it's too bad because this was one of the first few castings I ever detailed and one of my best too.
Here's a better picture of it, again this is the paint it came with:
And yeah that definitely look like the pest. It's a more common occurrence with 1/18 diecasts. All you can really do is sand it off until it's smooth again. Now if your paint coat is thick enough, you may be able to sand it down without cutting past the paint and revealing the bare metal. If you really care for the VW, you could do an overhaul and repaint it again after taking off all the paint, correcting the surfaces and starting over.
But if you want to give the sanding method a try, there are specially-made sandpaper out there of absurdly high grit that you can use in combination of water. It will take an immense amount of patience, but that's the price you'll pay for taking zero risk of scratching your paint.
Sandpaper.ca sells premium quality German made sanding sheets for wood, metal, plastic & fibreglass applications. We carry Wet-Dry, Hook & Loop, PSA Stick-On and Emery sheets in various grit specifications.
Thank you! That's what they have always looked like after I detailed it really and I haven't changed anything on it since. The previous photo I made on my PS Vita just didn't do a job of picking it up and I think the shadow being cast from the hood was covering part of it. Glad you like it though! I am still pretty happy with how they turned out nearly a decade later.
If you really care for the VW, you could do an overhaul and repaint it again after taking off all the paint, correcting the surfaces and starting over.
And that's what I have decided on doing. Thought about stripping the paint off, painting it green, slapping some decals on it, and keeping the original wheels and detailing on the headlights I did years ago since it still looks good. The inspiration for this one comes from the Hyundai Click Type-R from GT4 because I like how the body looks completely normal, yet it has racing decals and that's something I think would work very well on this VW. It's going to kill me a little on the inside because it was only like the 2nd or 3rd casting I ever detailed and I was quite proud of it, but I hate seeing it in this state even more and I feel this a good opportunity to finally customize one of these.
Although I don't plan on keeping the original paint, I'll consider what you said about sanding it though. I'll probably at least try it just so I can get familiar with the process in case I have to do this someday.
Question: Has anyone here ever drilled and tapped the rivets for screws in any die cast before?
Eventually, I am planning on doing this because I've been meaning to for many years now and it's long overdue. I have some castings that really need this sort of thing since glue just isn't enough. I've watched a few videos already about this, but if anyone has any extra tips, please share!
I thought I remembered him saying something about it, but I can't seem to find any kind of guide for it here. I have watched some tutorials on Youtube though.
My question is mainly asking if anyone has any additional tips to share from their personal experiences because I am VERY apprehensive about this since taps break so dang easy from what I heard.
Here is my wood custom hot wheel. It is my attempt at making a 1932 ford coupe. I used wood for the hot wheel body. I used a hotwheel base and tires for the underside. I also added weights inside of it to make it weigh more.
Question: Has anyone here ever drilled and tapped the rivets for screws in any die cast before?
Eventually, I am planning on doing this because I've been meaning to for many years now and it's long overdue. I have some castings that really need this sort of thing since glue just isn't enough. I've watched a few videos already about this, but if anyone has any extra tips, please share!
#51 drill with some oil, steady pressure and go straight. Can use a smaller drill to make a pilot hole first. Then tap with #2-56, again use a drop of oil and go easy but firm, back and forth a bit to drive down. Clean off the tap shavings and go again deeper. #2-56 x 3/16” screws should then fit nicely.