Project Simulation | DIY Cockpits Plans | GT and F1 Style

  • Thread starter Masi_23
  • 222 comments
  • 285,732 views
Status
Not open for further replies.
Have a look at this FYI
 

Attachments

  • IMG_20130628_191653.jpg
    IMG_20130628_191653.jpg
    67.4 KB · Views: 541
  • IMG_20130629_022130.jpg
    IMG_20130629_022130.jpg
    69.5 KB · Views: 511
  • IMG_20130629_022643.jpg
    IMG_20130629_022643.jpg
    74.8 KB · Views: 527
  • IMG_20130629_032922.jpg
    IMG_20130629_032922.jpg
    88.8 KB · Views: 521
  • IMG_20130629_032942.jpg
    IMG_20130629_032942.jpg
    74 KB · Views: 522
  • IMG_20130629_032955.jpg
    IMG_20130629_032955.jpg
    77.1 KB · Views: 513
  • IMG_20130629_033011.jpg
    IMG_20130629_033011.jpg
    73.3 KB · Views: 497
  • IMG_20130629_033034.jpg
    IMG_20130629_033034.jpg
    63.7 KB · Views: 500
  • IMG_20130629_044928.JPG
    IMG_20130629_044928.JPG
    77.4 KB · Views: 497
  • IMG_20130629_095325.jpg
    IMG_20130629_095325.jpg
    64.1 KB · Views: 514
  • IMG_20130629_095338.jpg
    IMG_20130629_095338.jpg
    67.8 KB · Views: 521
Looks like Masi is out... I discovered this thread about a year ago and decided to copy this PVC-cockpit, without buying the plans.

It was a long and hard process figuring everything out, but the result is pretty nice: http://i.imgur.com/KyutOLr.jpg?1

The pipes underneath the seat look crooked, but it's because of the removable trolley underneath the seat. Without the trolley, the frame is perfectly flat.
What piping did you use?
 
TO ALL, GOOD NEWS: (ish)

upload_2015-5-16_17-54-33.png


This was on the 16/05/2015 just to let all know just because he is not replying on this post does not mean he is not still around. (Personally a great relief for me!)

(Suggestion for people needing an answer quick to post on his profile)
 
Saw his designs and gladly signed up. I'm happy to have found such a great design for an F1 closed cockpit !! I'll be donating to the F1 project very soon. Best bang for the buck that I've seen so far , and I've been researching F1 style rigs now for quite a while online... (I'm going Ferrari scheme though out of respect for Schumi.) Have fun and keep the rubber side down guys and gals !
 
What piping did you use?

I used PVC piping with a 50mm diameter and a thickness of about 3-5mm. In my country you've got the option to use standard PVC pipes or extra strong pipes (for sanitary purposes for example). The rig is quite stable, but not solid. I suggest using a bigger diameter if you really want a rock solid rig.

I wanted to keep the rig as compact as possible, so I went with the 50mm.
 
Hello new to this forum ,but been racing pc game for a long time.

Here is my rig :


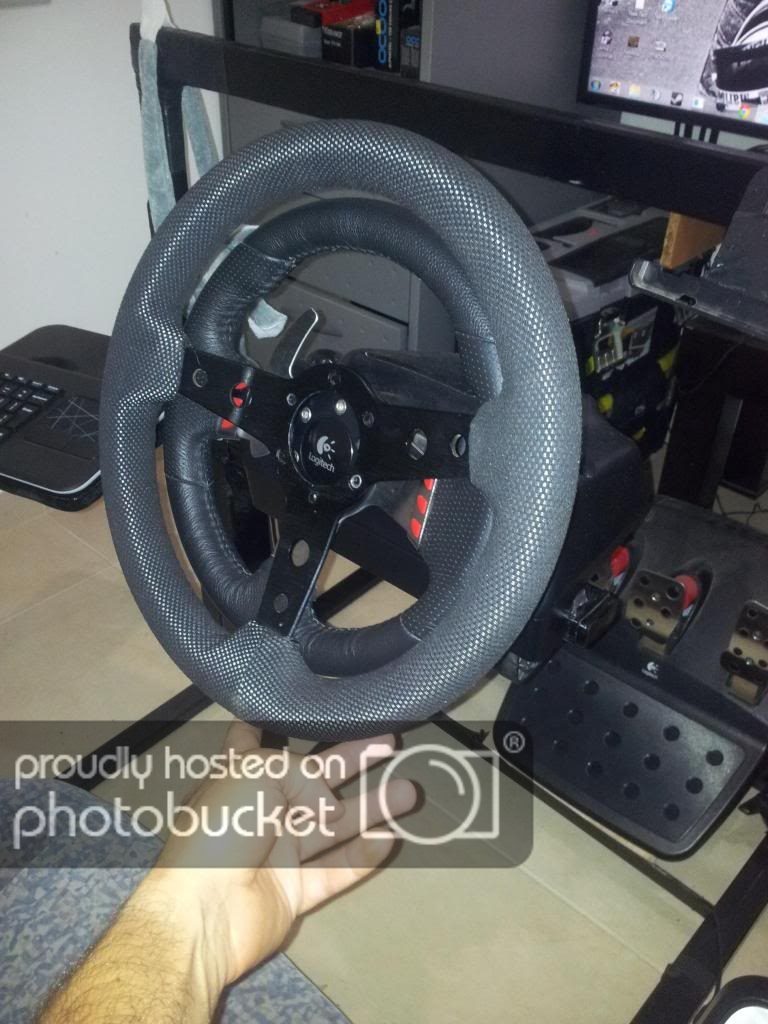
I replaced the stock wheel rim with an aftermarket cheap pvc 34 cm one that i found online and did some custom upholstery on it .


Next project is the pedals , waiting for the v3 spanish total sim brake mod to be finished.
 
So yea -
Gran Turismo gave me the passion for racing simulation in general. I had few steering wheels over the years and this summer I thought why not make another one -

gallery_8864_385_174062.jpeg


It was simple wood work with not functional car panel parts.

gallery_8864_385_94234.jpg


The sort of ending result was 3 - 24inch monitors with old G25 wheel and handbrake mod with it :)

gallery_8864_385_110603.jpg


Then the shifter broke due wire soldering for handbrake and it became sort of unusable. Time passed by and I thought to make something more stable. So this is still on-going budget racing sim V1 (without motion simulation or 3-way projectors screen.)

gallery_8864_385_342840.jpg


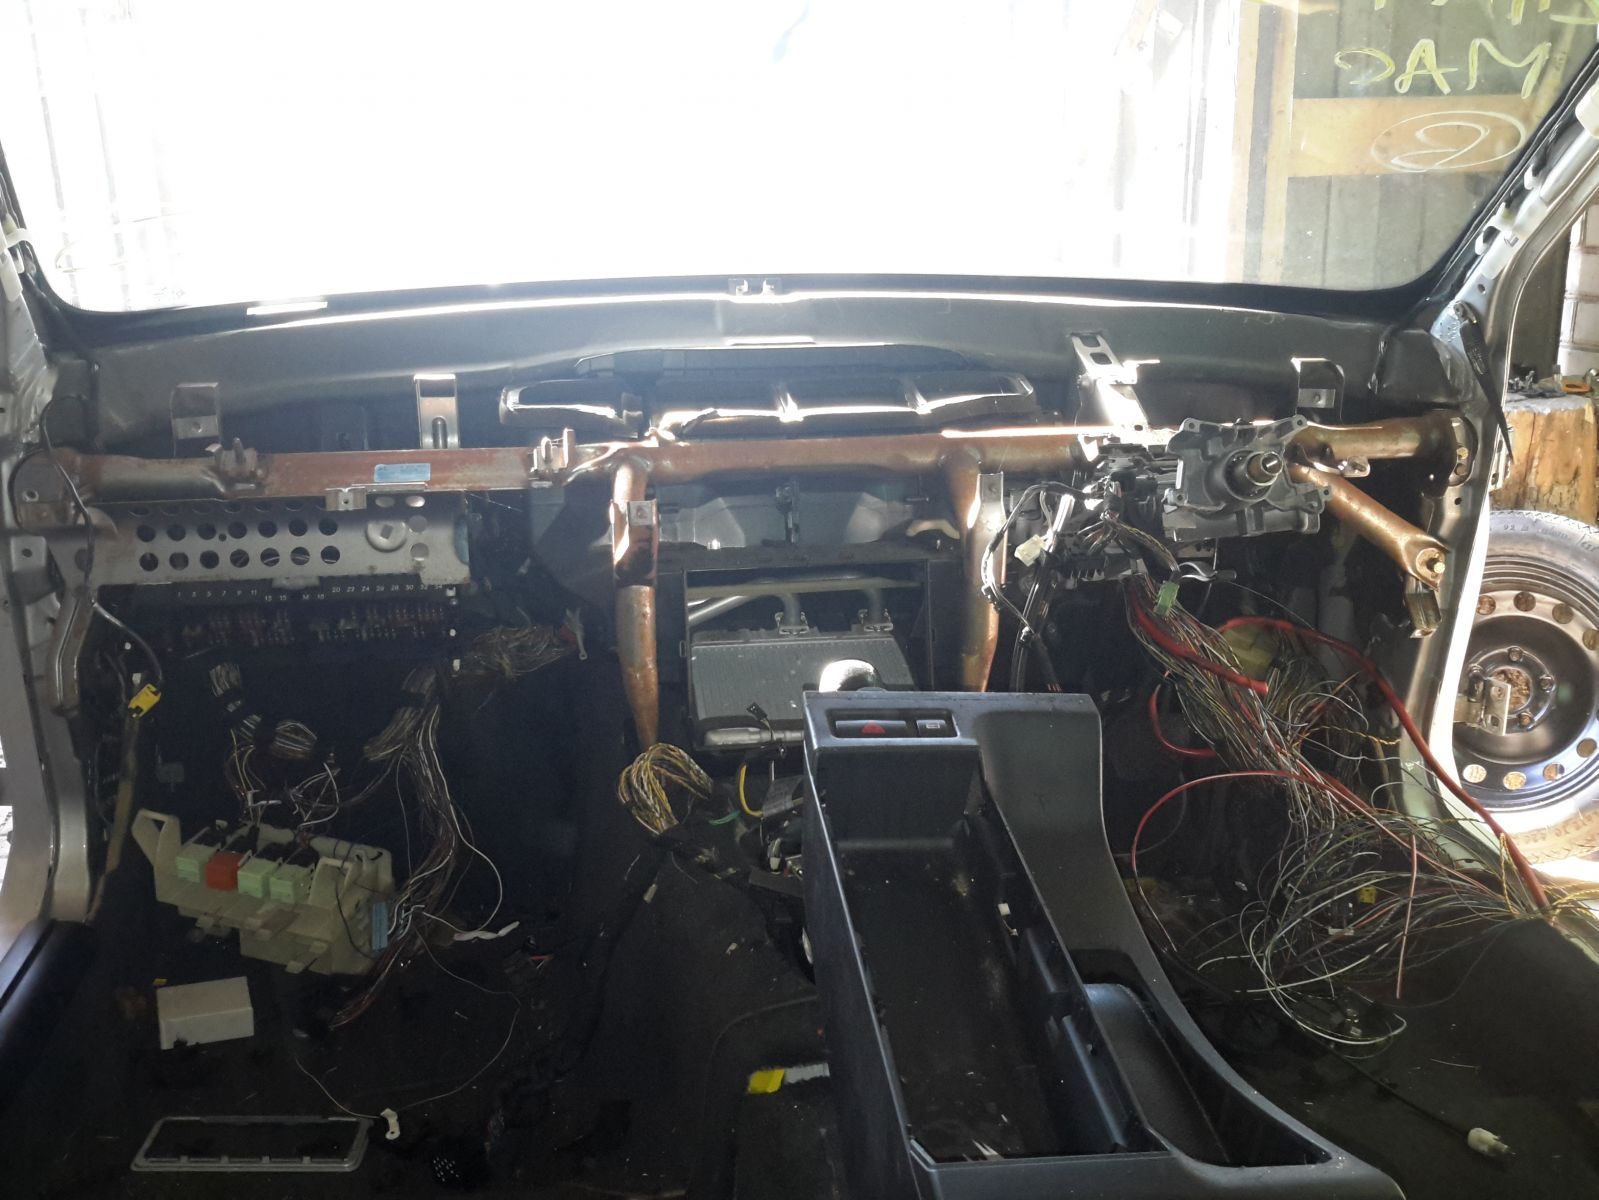
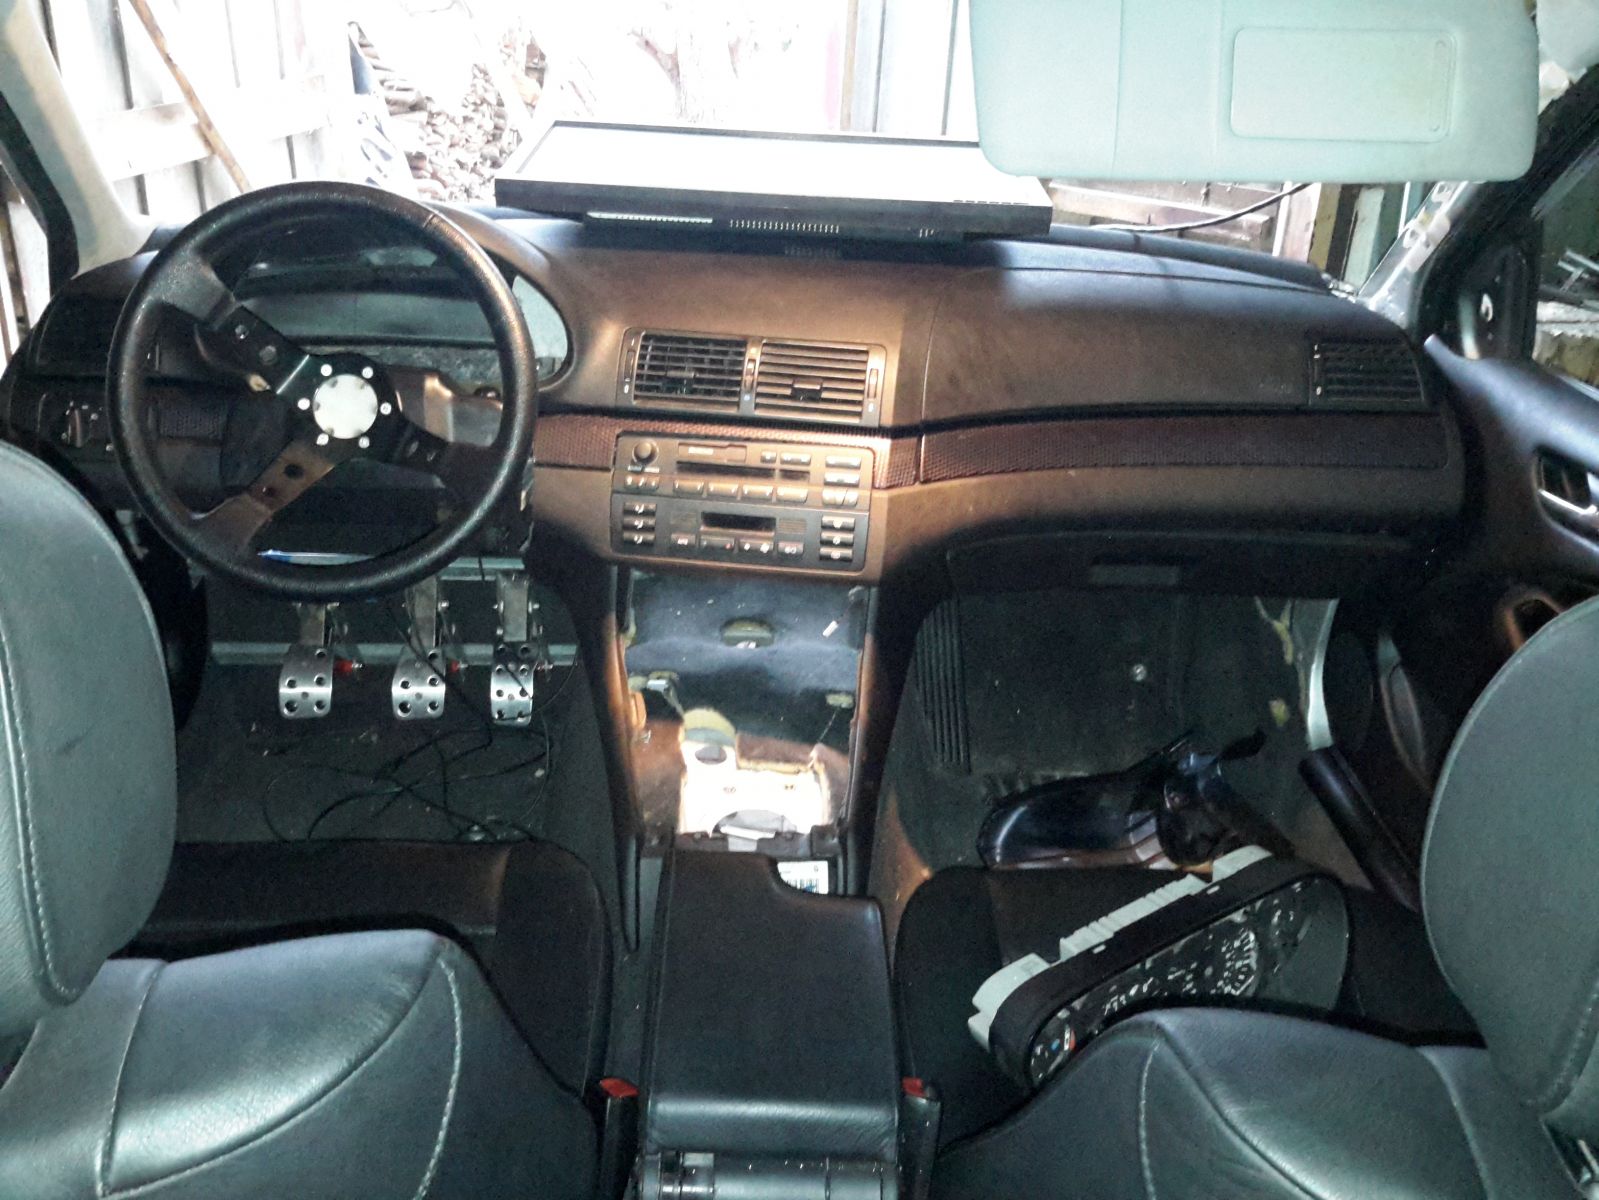
This is BMW e46 body.

gallery_8864_385_2291157.jpg


It was pretty messy.

gallery_8864_385_43855.jpg


Something better :)

gallery_8864_385_30118.jpg


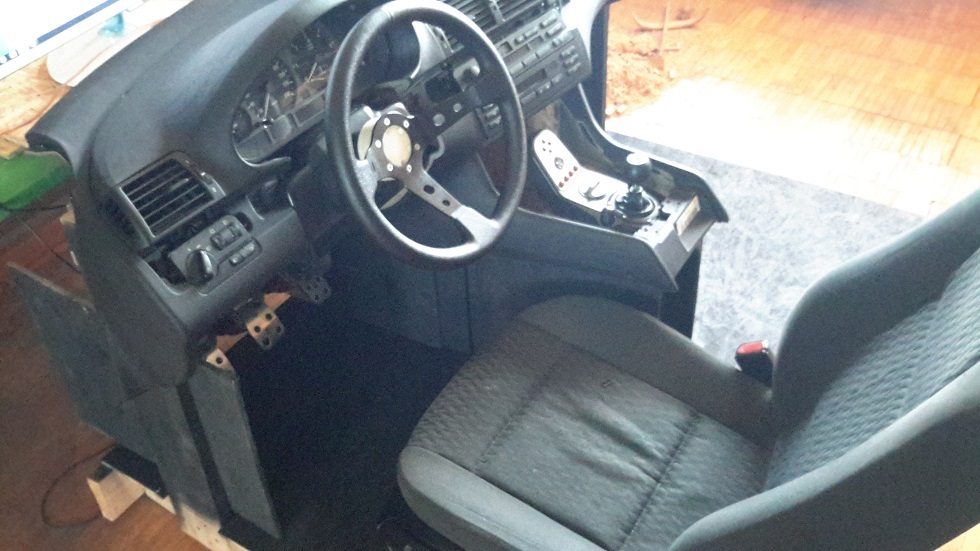
Bit by bit, sorting out the problems with metal constructions. BTW it was UK model, so more work was put in redoing panel parts.

gallery_8864_385_1227046.jpg


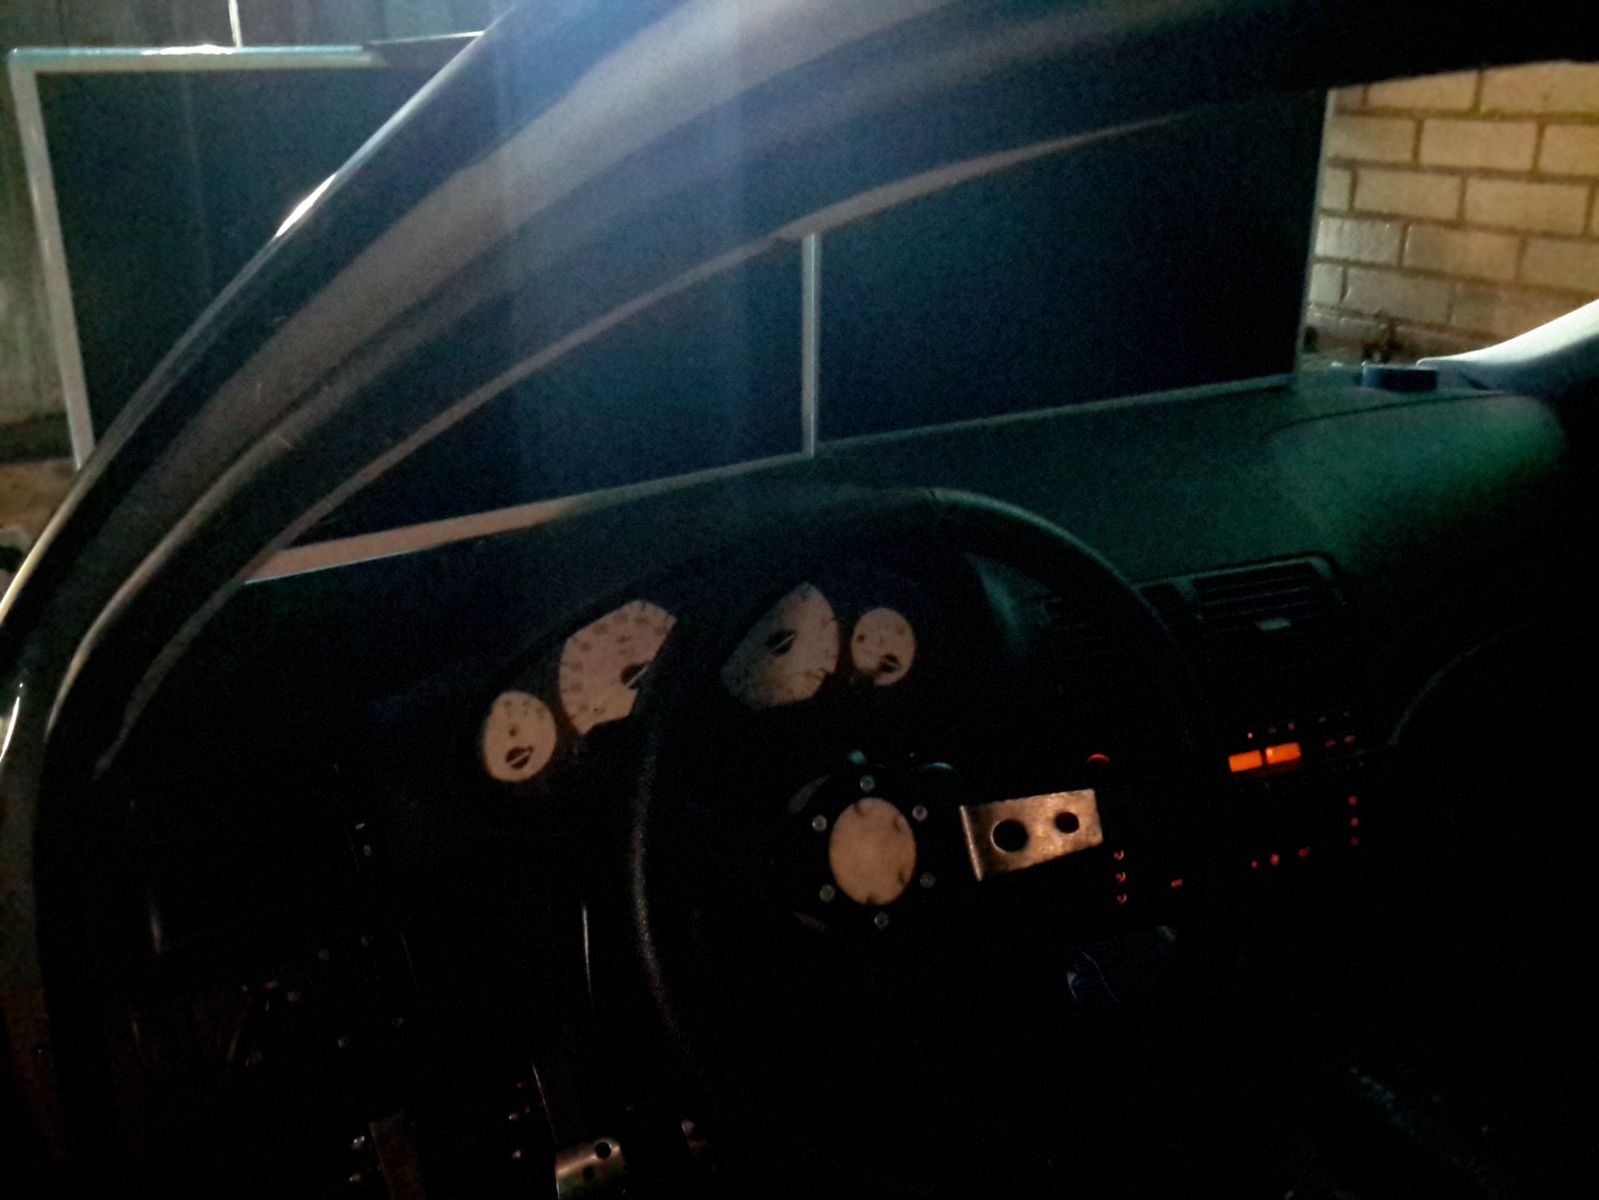
At this stage its more likely looking like a car :)

gallery_8864_385_386871.jpg


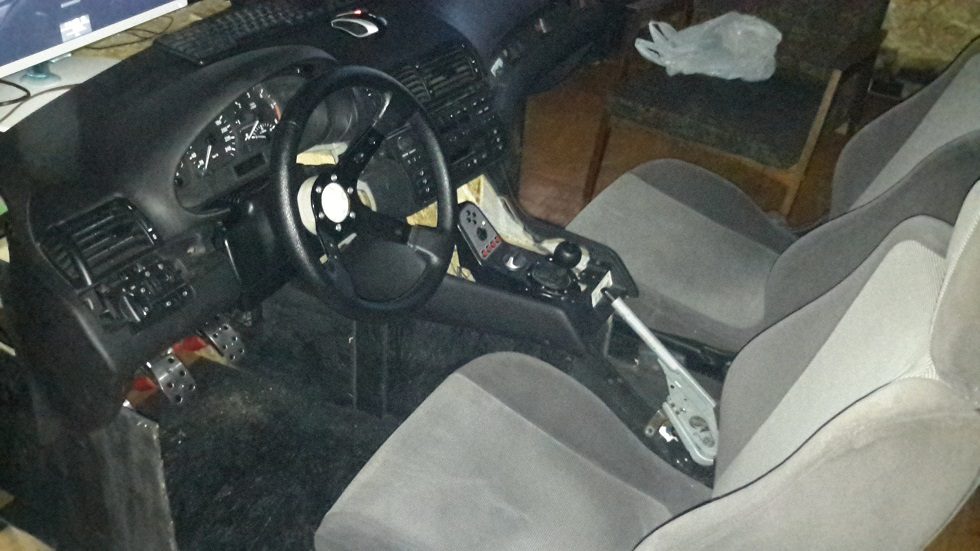
Currently I'm ar this stage - most of eletricity is done, 2 out of 3 monitors are in (third one is bit harder due car doors). I'm waiting for th8a and pro gauge to arrive :)

gallery_8864_385_2588663.jpg


chipped 4 cylinder 3,4 liters AMD motor :D.

Ill try to upload some video of final version of this with functional buttons, hand brake, traction control, maybe with "turn sticks". Also strong sub-woofer under the car to get more "realism" :) :) :D
 
Last edited:
Just a video of some test runs and photos. As winter is coming its a little hard to work in wood shed, so project will move only with button functionality, sound system, finding cheapest ways of doing things :)
 
20151113_180854-1.jpg
20151115_150628.jpg
Heres a rig i built and a 2nd one i just recently put together. Still testing so paint and trim are not yet completed.
Ive nearly documented every mitre and cut for the rig so i can easily re make in a few days.

Test Night on Rig 002 and 001 sits beside her.
20151114_200615.jpg
 
gallery_8864_385_136294.jpg


More goods from symprojects.com.


gallery_8864_385_48596.jpg


They got really nice hardware with plenty of functions. I think they should do more tutorials on their things tho. I'll try to make a simple wiring tutorial of interior car parts, which are really simple and easy to do.

l2JIhiK3eJb1c1qUM.gif


Meanwhile, when I got a day off doing simple things like this. Also looking and speaking to people about bearing system and where to get cheapest parts. The main bearing will have to hold at least 1500kg (4 people in) and maybe even different springs might be used while handling different amount of people. Will see in summer :)

gallery_8864_385_387836.jpg
 
Meanwhile, when I got a day off doing simple things like this. Also looking and speaking to people about bearing system and where to get cheapest parts. The main bearing will have to hold at least 1500kg (4 people in) and maybe even different springs might be used while handling different amount of people. Will see in summer :)


Wait what ? Main bearing ? different springs ? what exactly are you planning here ?
 
Wait what ? Main bearing ? different springs ? what exactly are you planning here ?
I'm sorting out proper pivot point for a center of a car shell. The main "joint" between car shell and platform on the ground will be "metal ball' with a diameter of what is available. By meaning different tension springs I'm talking about 4 of them in place equaling weight distribution (1 to 4 people sitting in a car). By doing fluid frame for various motions I aim to save money on motors, which will move the frame :)
 
Last edited:
gallery_8864_385_82417.jpg


Thats quick sketch to get head around what I'm talking about ;) Main joint will be used from hydraulic trailer because its common and does not cost a fortune
 
Interesting, have you been to the more Motion oriented sites to see what guys with a lot of motion experience have to say ? motor/pivot/controller suggestions ect ect
 
Hmm, adding motion to a full car simulator. You don't typically see that very often. This just got more interesting. It's in the completely wrong thread but still, very interested indeed.
 
Hey guys, still alive!

Completely abandoned this thread. Mostly been active at the iRacing forum (barely) - haven't touch console racing at all since. Been real busy with other commitments outside of sim racing, but I still do work on the F1 rig and its progressing well lately.

I had people kindly help me with my efforts with donations way back - I've refunded a few since it has taken millennials to finish. If you are one of them, please PM me; I still have my logs.

Cheers!

Here's the GT1 rig being put to good use (Lotus 79 - Nordschleife):


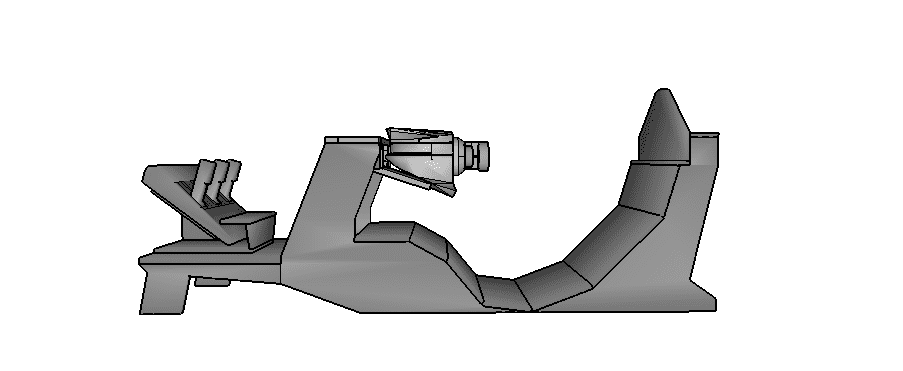
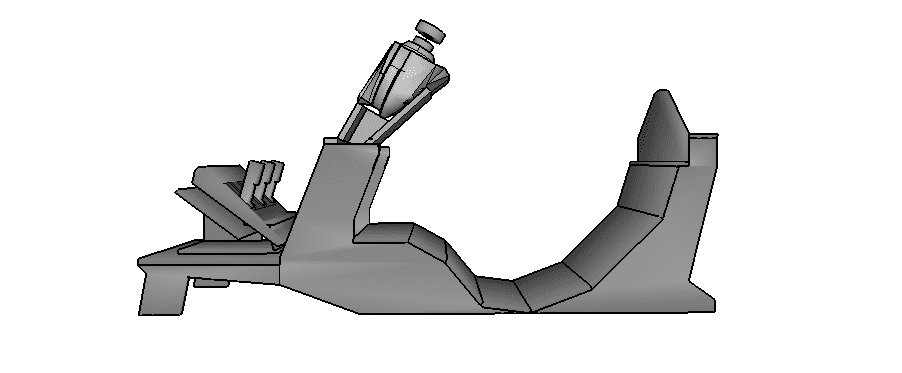
Here's a couple of sketchup mock-ups (Close to prototype design):

a2edZP1.png


ayak4uM.png
 
Last edited:
Sweet, looks good. Curious what the octopus of cable is working...i see a few push buttons and normal dash stuff, but what are the other leads all about ?
 
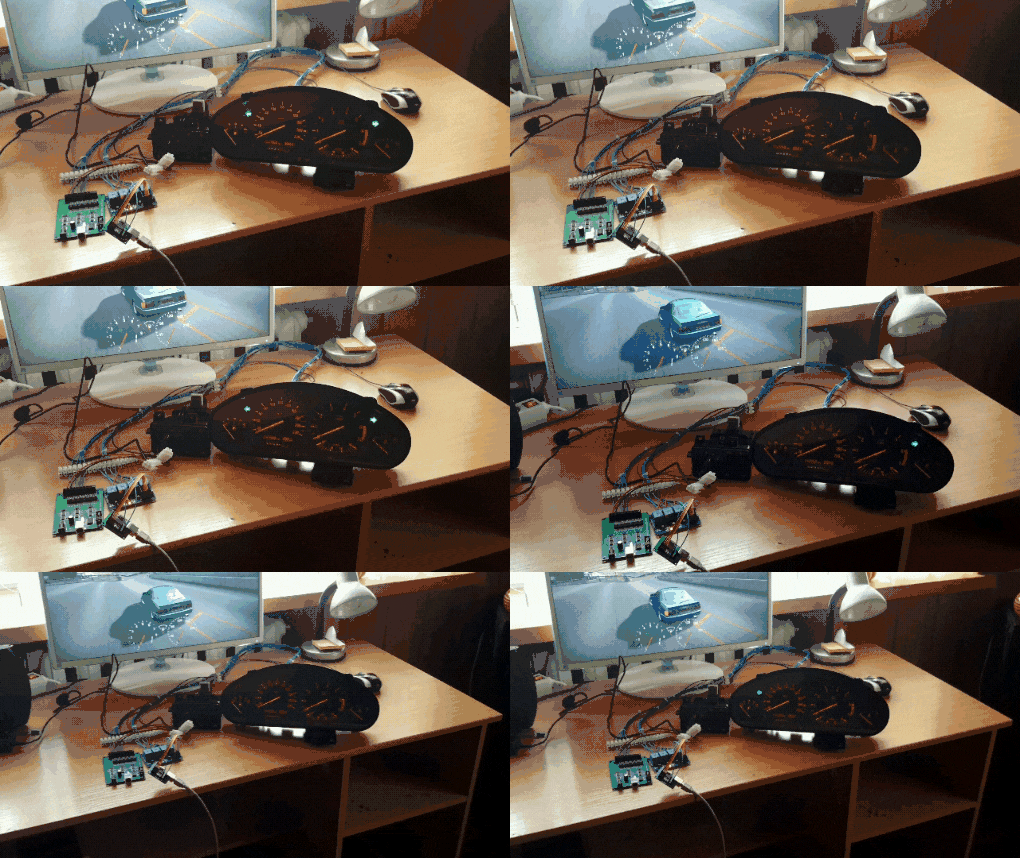
light control module wires - positive/negative and another positive to power up lights inside a car and is controllable (light intensity).

attachment.php


audio/climate - negative and positive (from lcm) just to light up them.
turn signal/long light unit - negative and 4 (maybe? cant remember) wires to JC32 to register it as buttons
dashboard - wires for pro gauge, relay module and its controllers
also there are two bolts which holds all positive and negative wires and are easily removable (for testing, adding, etc)
 
Status
Not open for further replies.
Back