- 7,436

- Canada
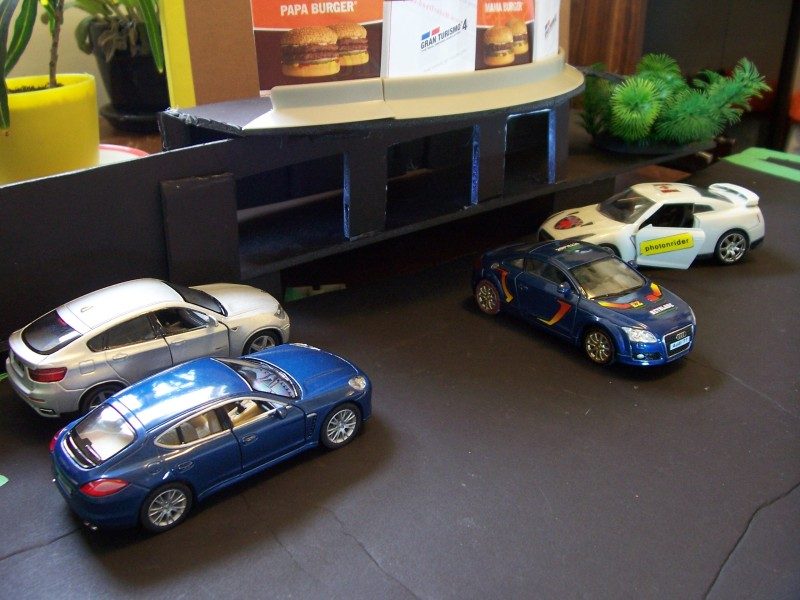
- photonrider
DIECAST MODEL DIORAMA PHOTOGRAPHY
Gallery & Workshop
GALLERY
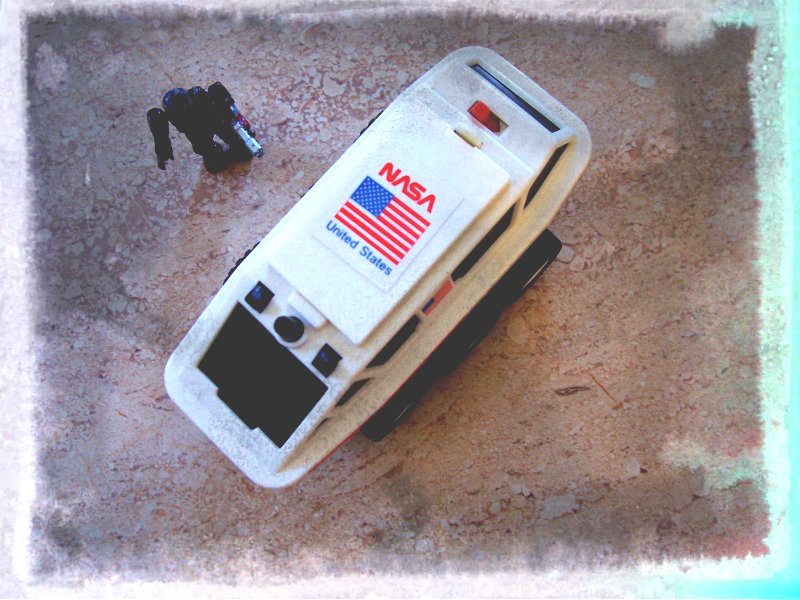
a6m5

SVX


SpaceGoat

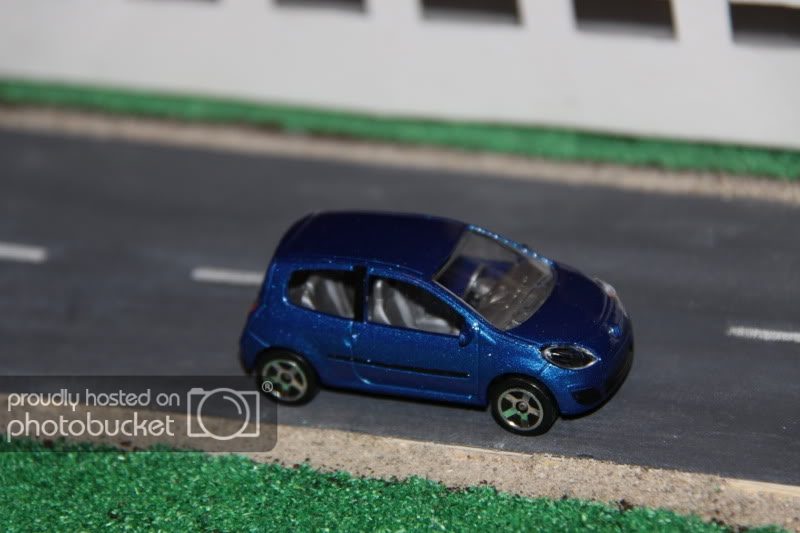
Suzuki Swift by VC SL/E
Gallery & Workshop
GALLERY
a6m5

SVX
SpaceGoat
Suzuki Swift by VC SL/E
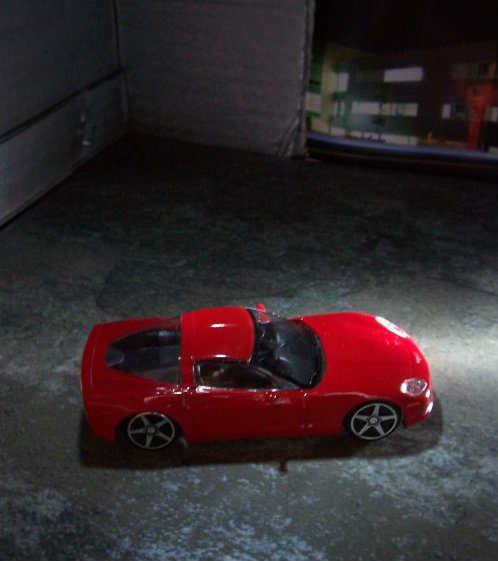
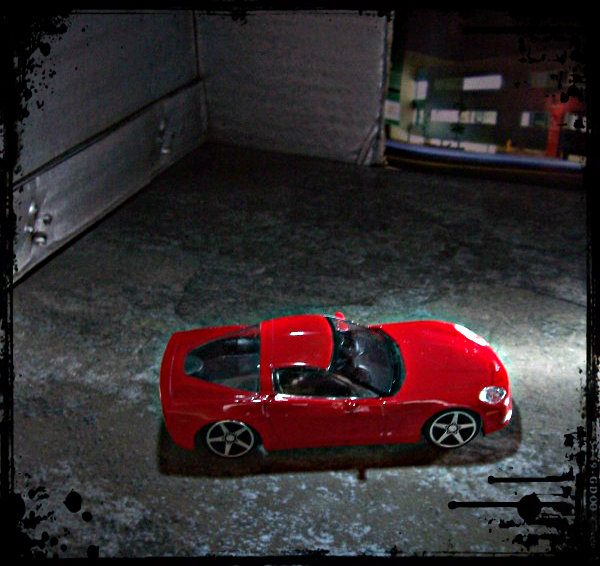
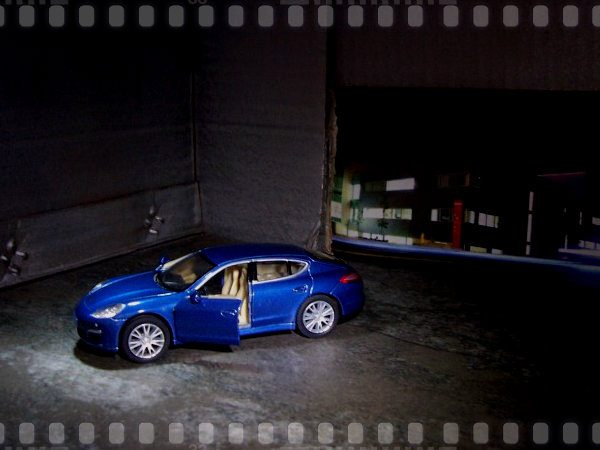
AOS-


ForceMotion
Apok
AMG
.motortrend

Takumi Fujiwara


gtuned
carfanatic45
View attachment 83930
______________________________
WORKSHOP
Guidelines
:
Guidelines
:
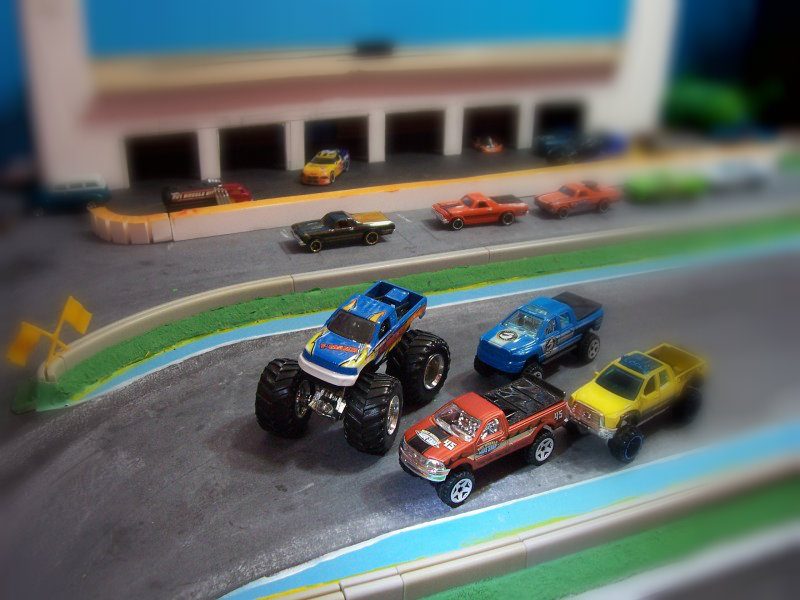
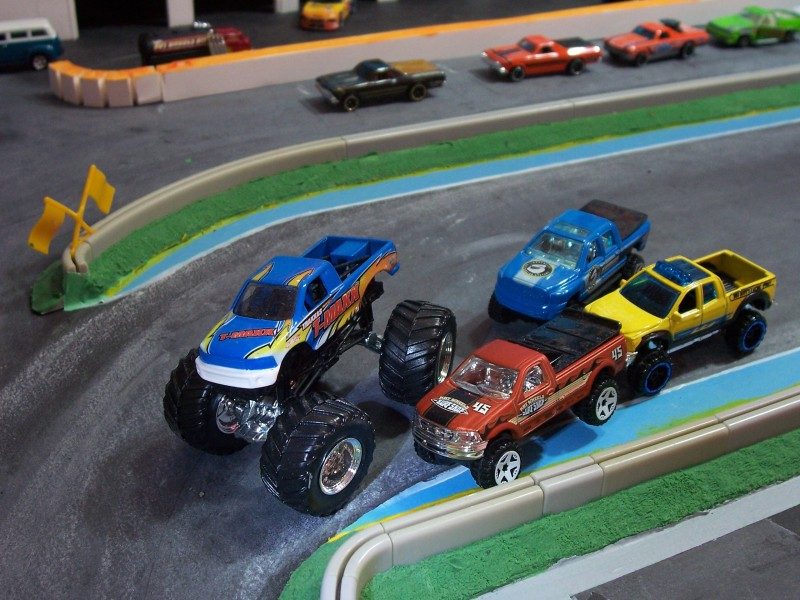
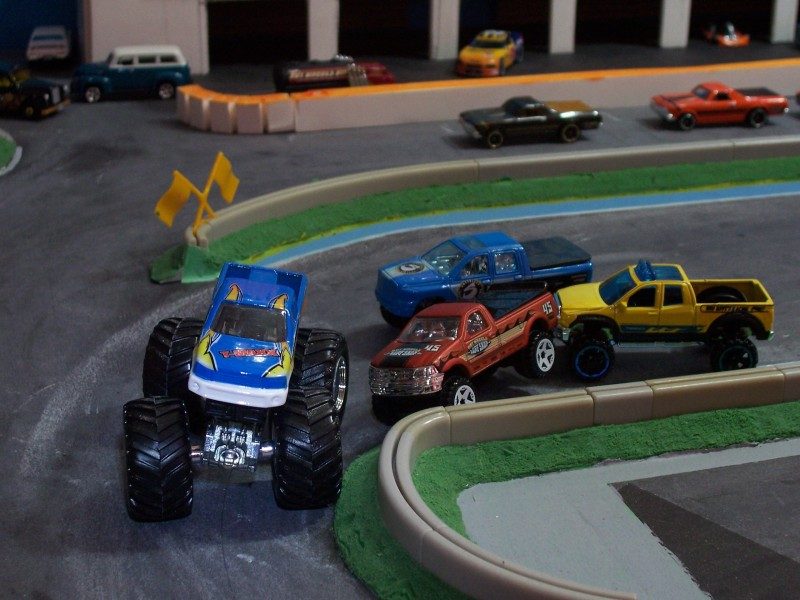
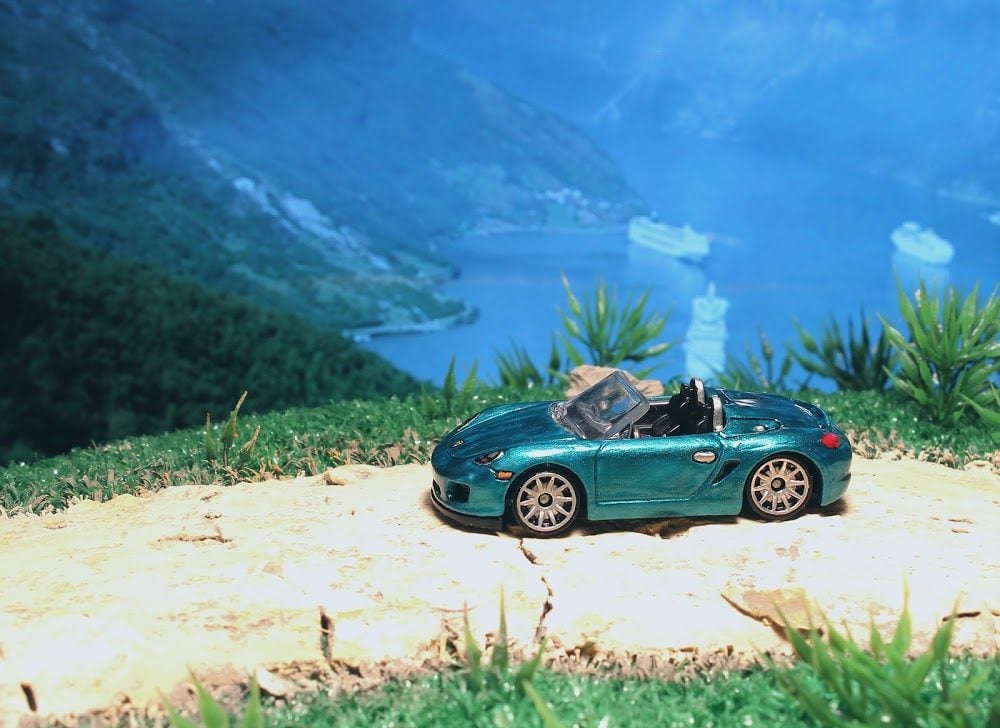
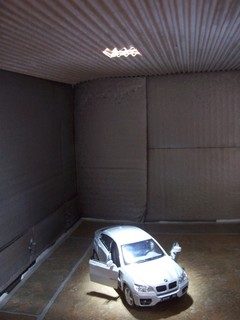
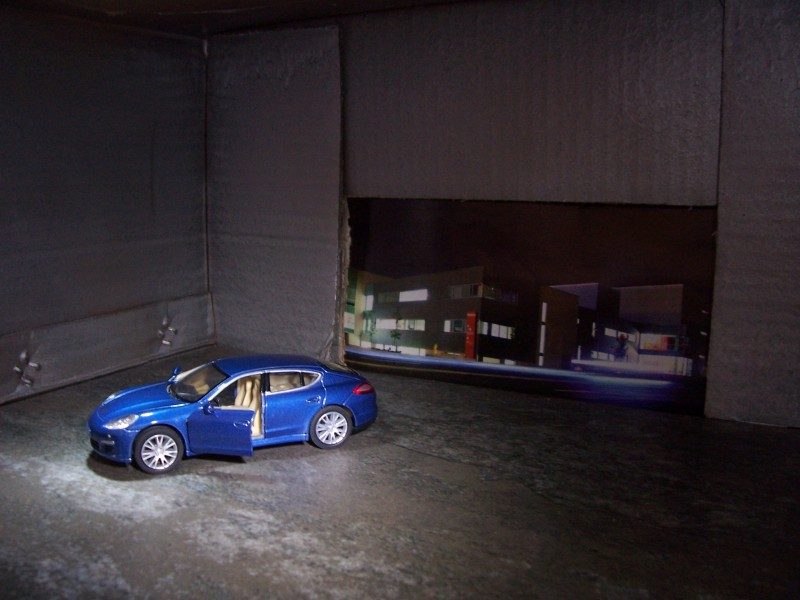
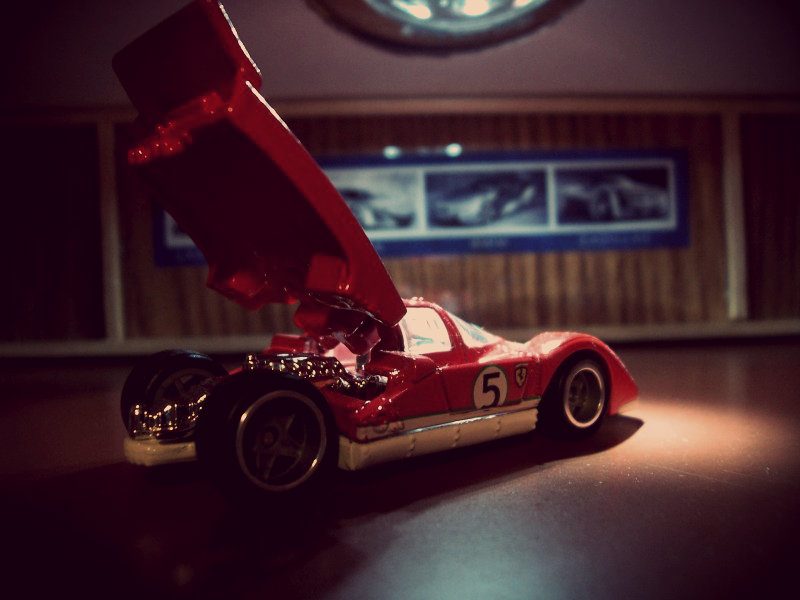
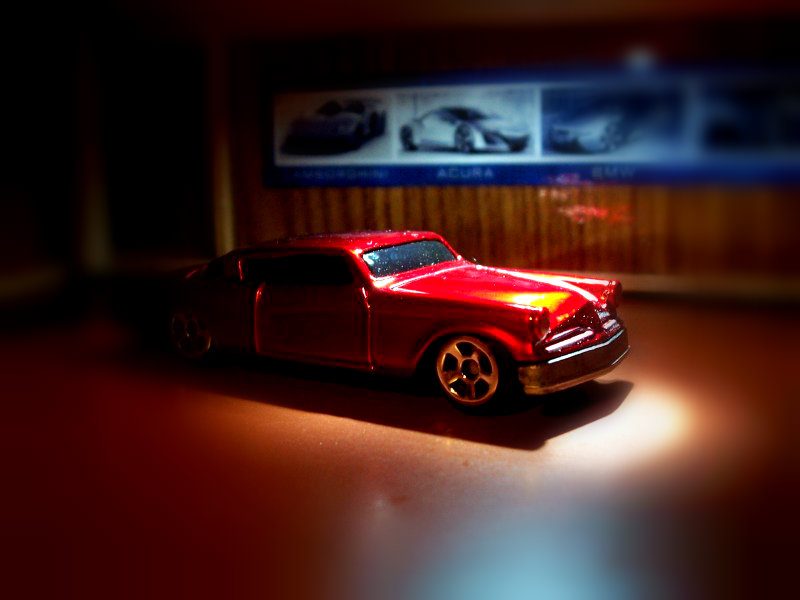
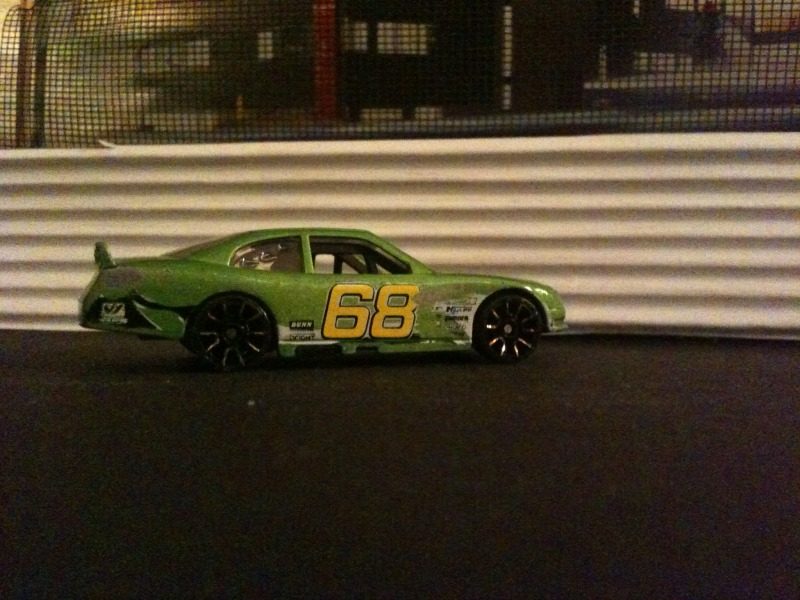
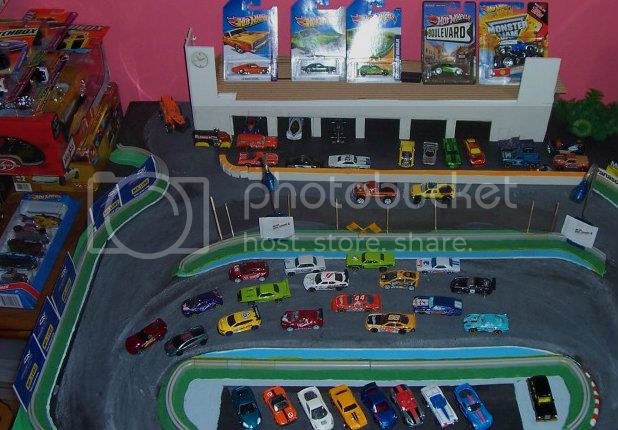
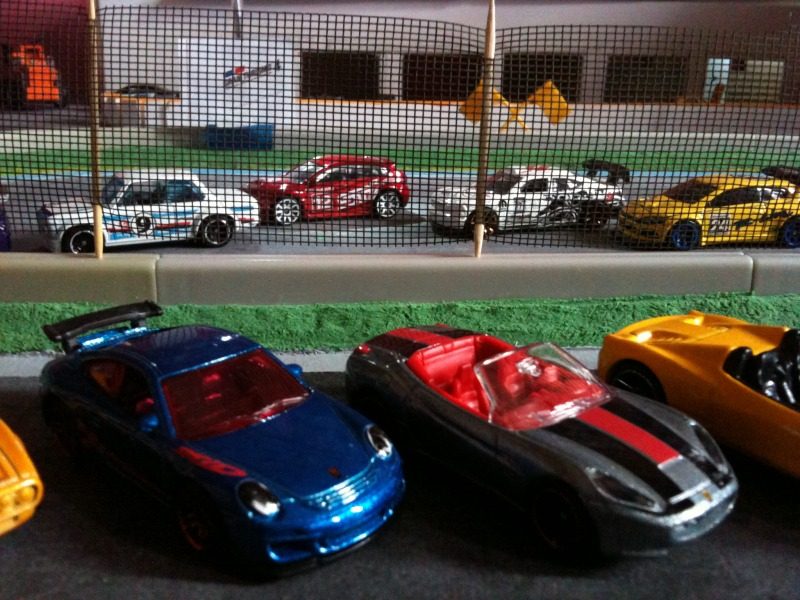
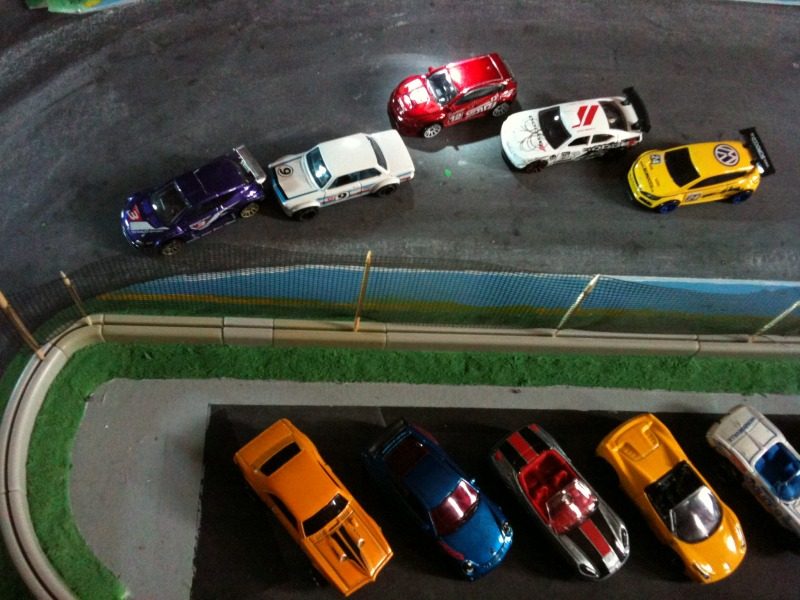
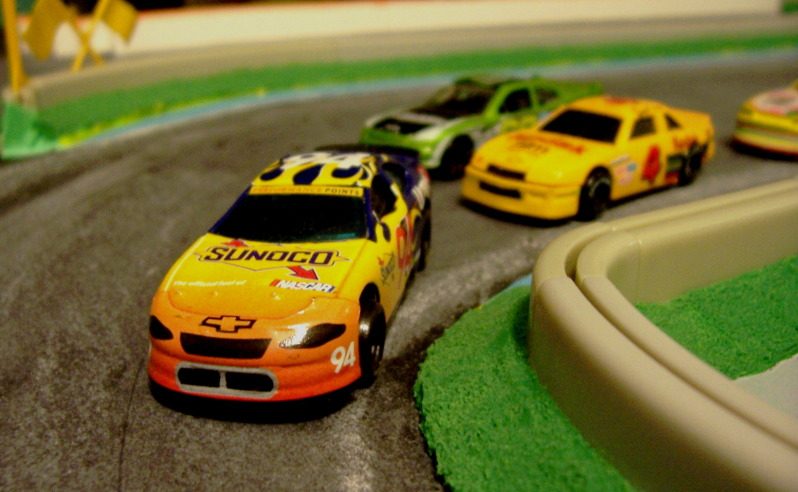
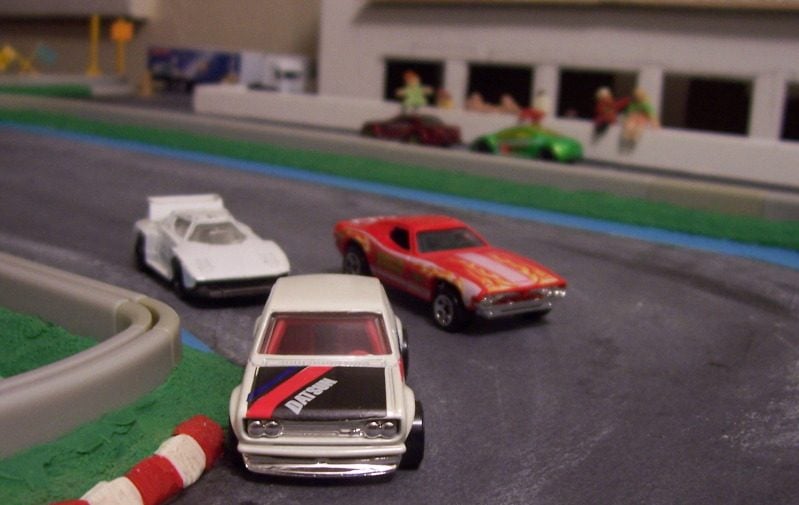
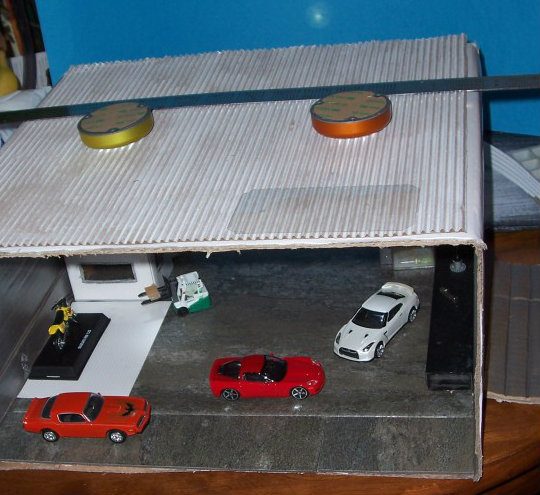
Here is where we learn how to set up realistic modelling environments for our photography - or to put it another way; where we have fun creating dioramas and taking loads of pictures!
* Photos by all members accepted.
* Photos may be photo-realistic, artistic, or edited for effects, framed, cropped and/or collaged.
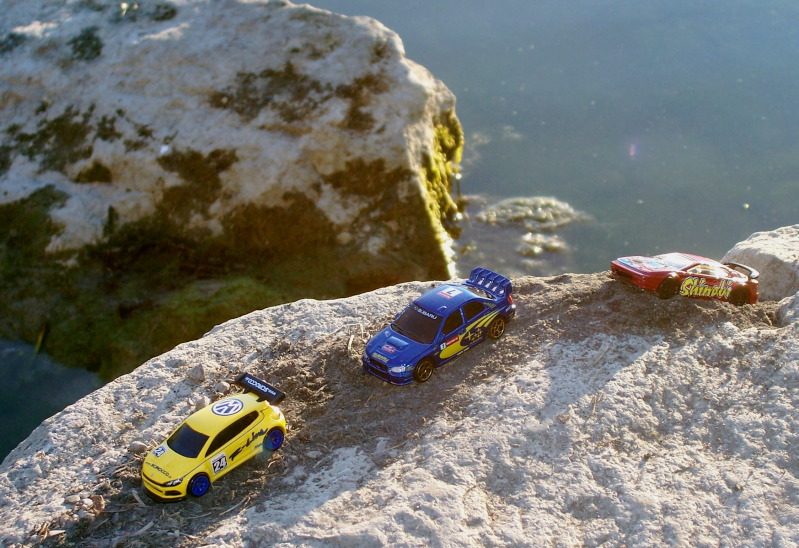
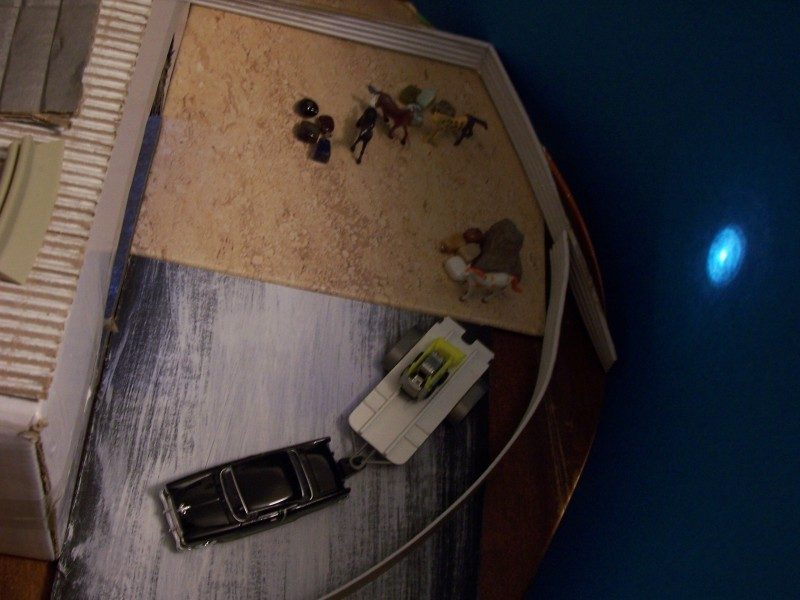
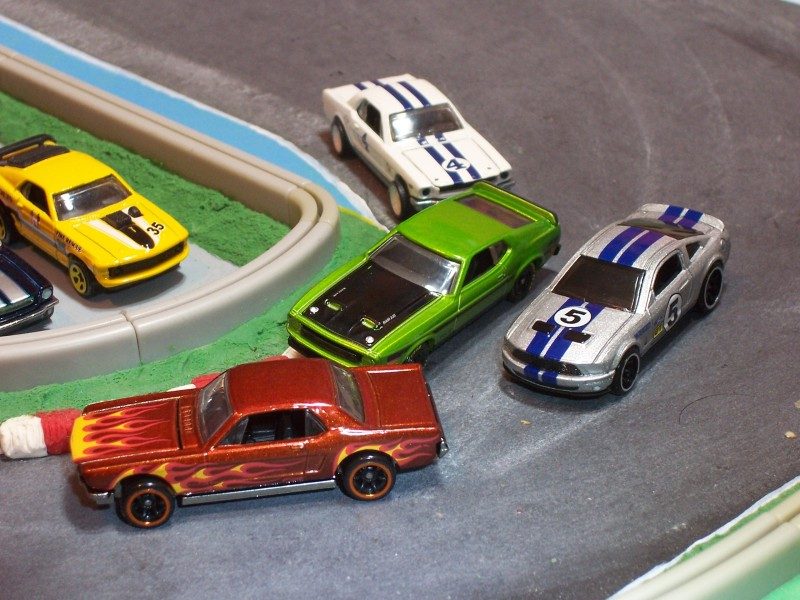
* Photos can be scale models up to and including 1:18 of any type of transport vehicle, (land, sea, air and space) in any environment natural or constructed of your choice.
* Since a picture is worth a thousand words (in as many languages) you may let your art speak for itself; no comment, titles or captions are necessary. However, due to the technical aspects of the subject matter, comments and notes on your methodology, as well as techniques, tips, tricks and advice on all theoretical and practical aspects of this particular type of Art may be discussed - and even prove informative!
* Discussions about your 'collection' should be taken to the relevant 'Collector' threads.
* Discussions about 'customising' - likewise.
* Discussions about capturing it 'through the lens', how you modeled your environments (and showing off your artistic genius) - HERE!
* Attempt to limit over-enthusiastic posting - space it out. A glut of pictures doesn't create a hunger for more.
* Please accept critiques gracefully. Remember - there are professionals in here that may help you master your art.
* Positive comments are always accepted, and makes for a welcome audience.
These are only Guidelines. Following the Site Rules, however, as outlined by the Administration, is mandatory.
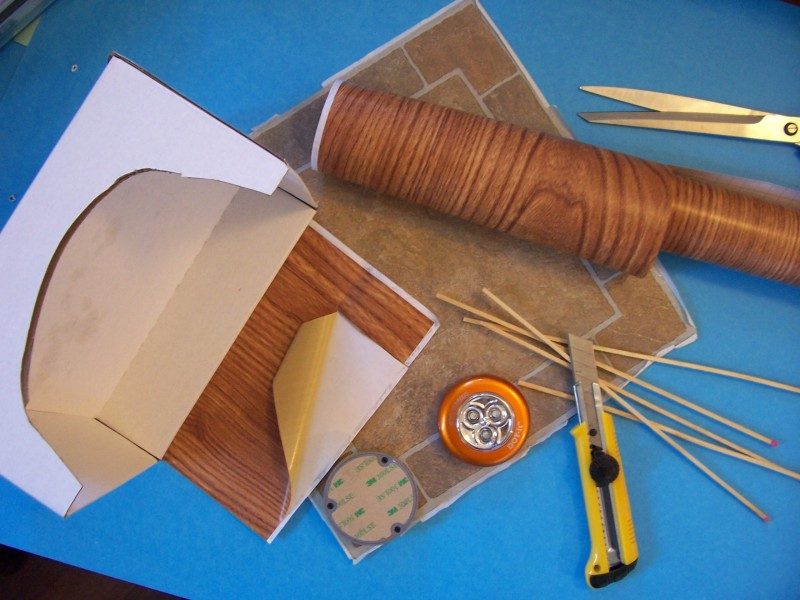
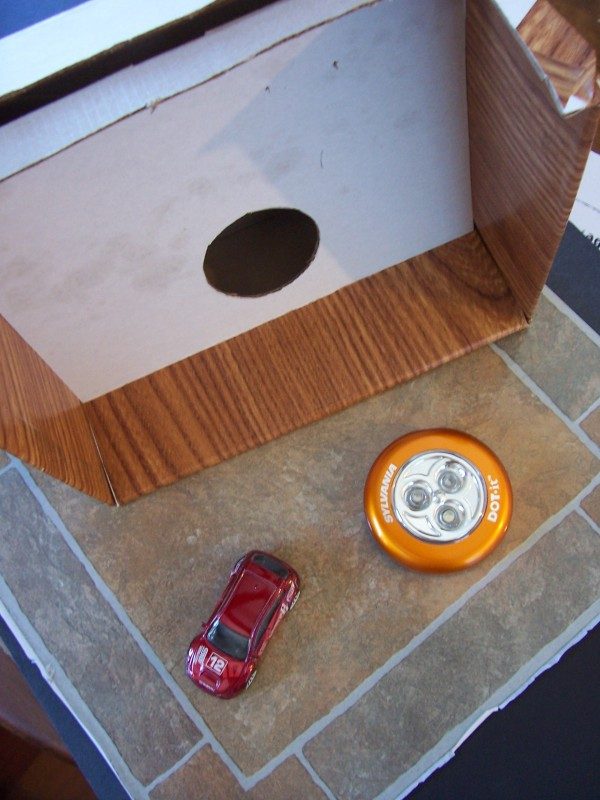
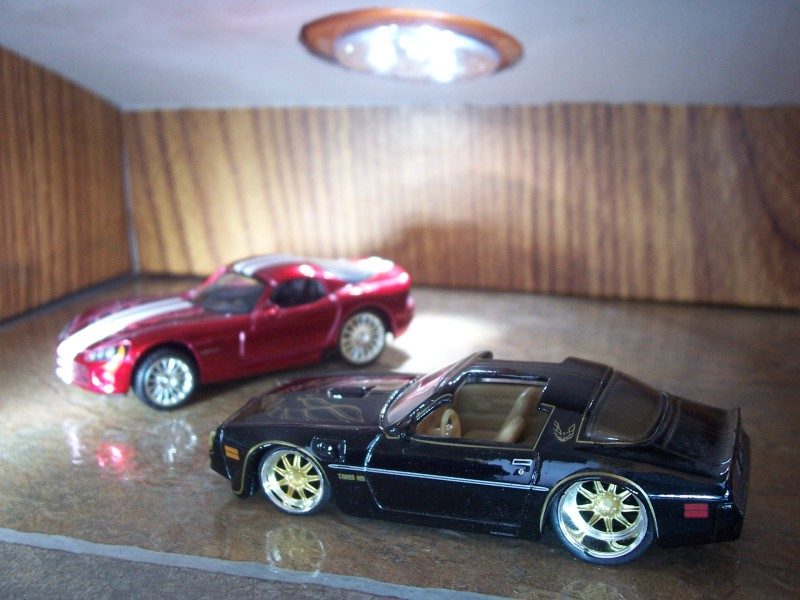
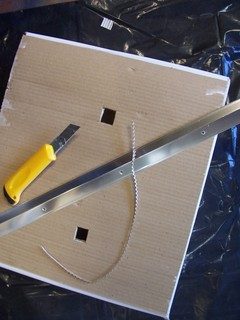
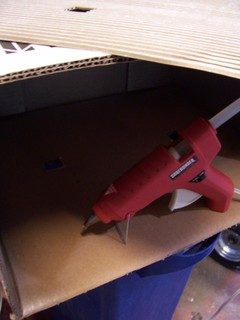
As we go along, I'll describe (with graphics) how I go about getting the effects I want. You are most welcome to join the discussion with your own dioramas, as well as passing on your own tricks and tips in our efforts to capture the light of reality around the models in our collection. Pro photographers who wish to share their photographic skills are specially welcome!
Thanking You for your Participation and Contributions!
Cheers,
Harry.
Last edited:
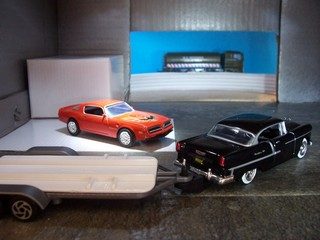
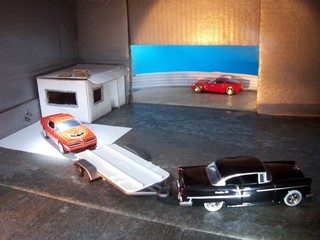
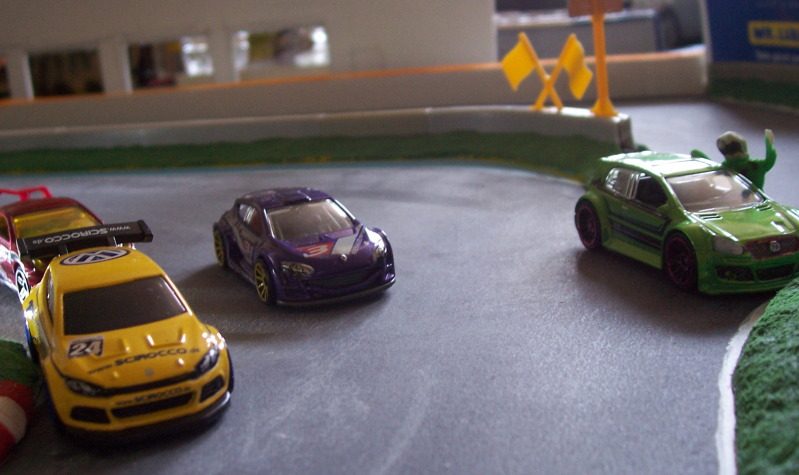
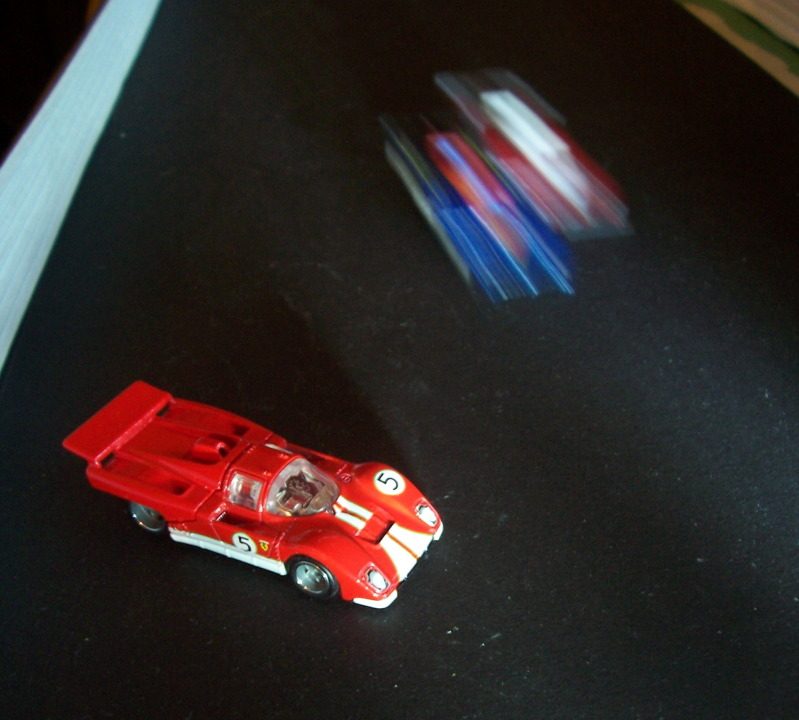
") - the Hula dancer gives the game away about the size of the car on a grand scale.
- the Hula dancer gives the game away about the size of the car on a grand scale.

 .
.

") :
:


 Very nice work, keep it up mate. 👍