It's coming along fine - I did a bunch of building recently, recorded it all in pics so that you guys could spin some ideas off it, and then Photobucket decided to revamp their schtick - which threw me off for awhile.
Well after emails back and forth everything's working again now, and I can post the step by step pics.
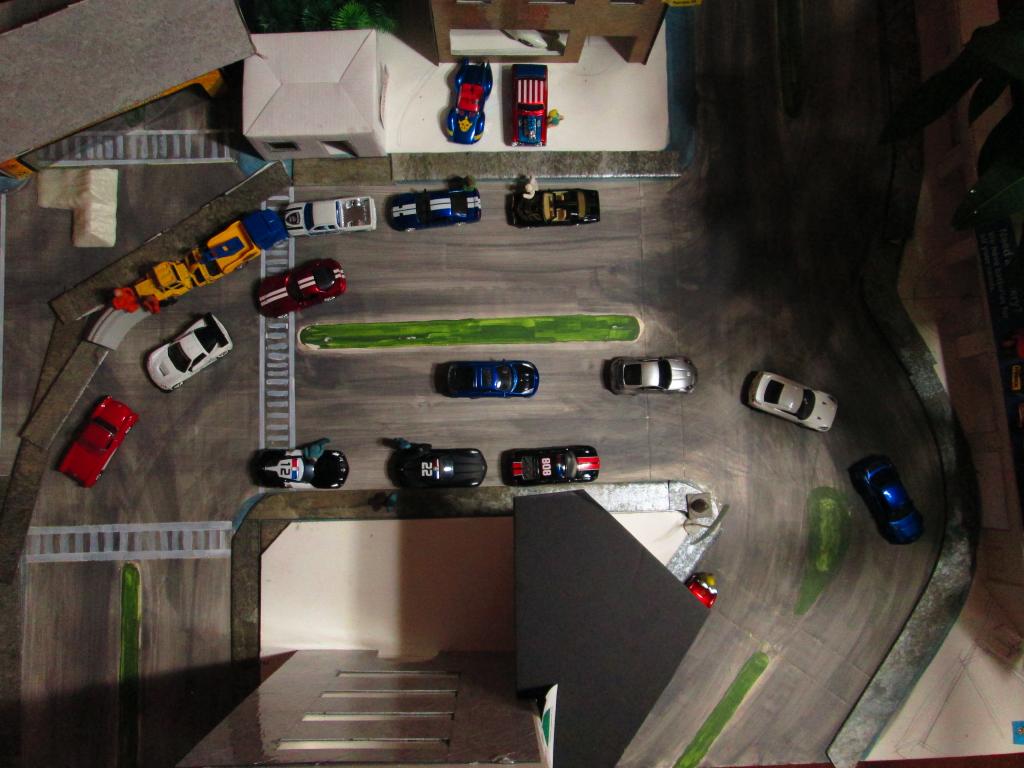
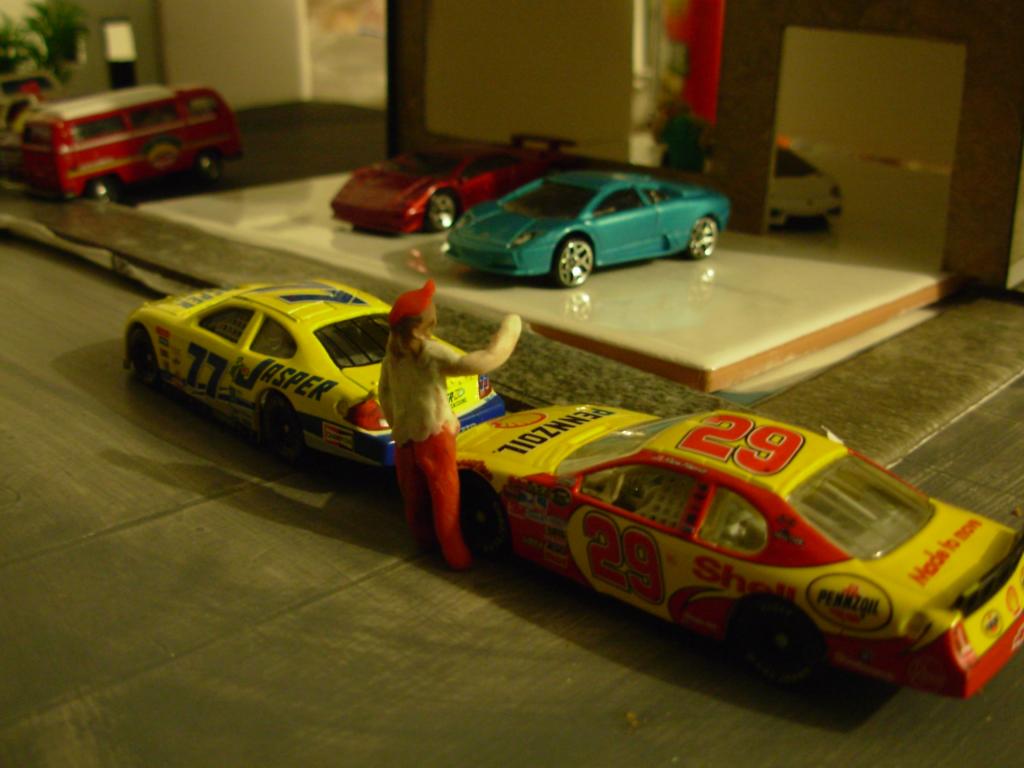
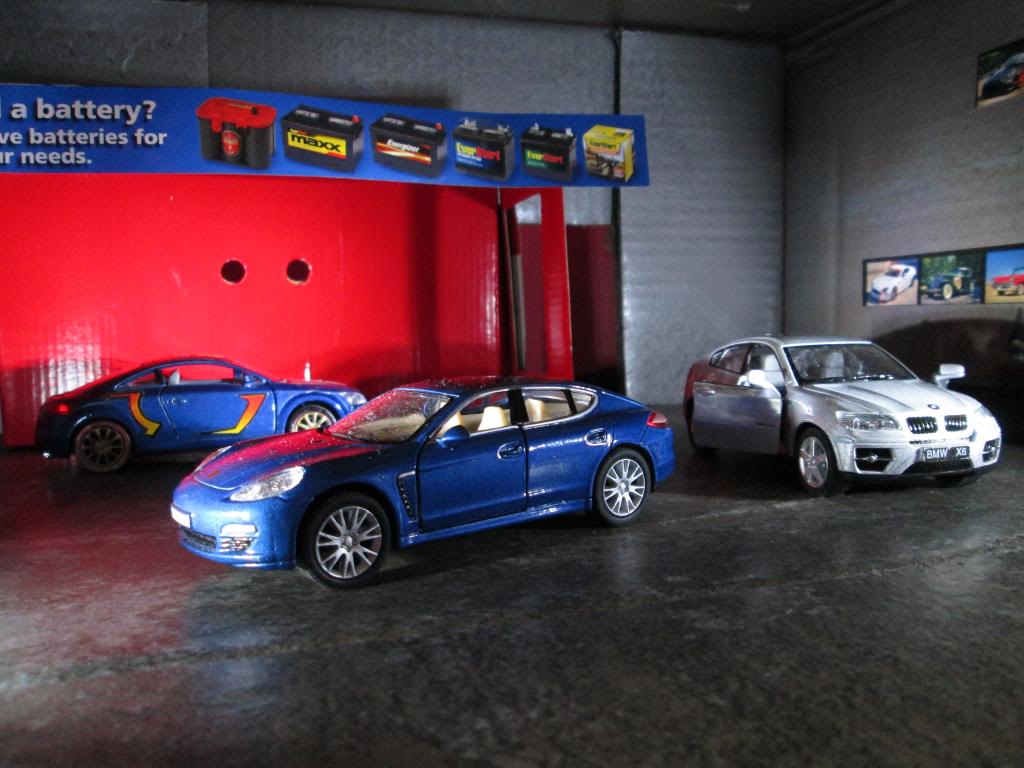
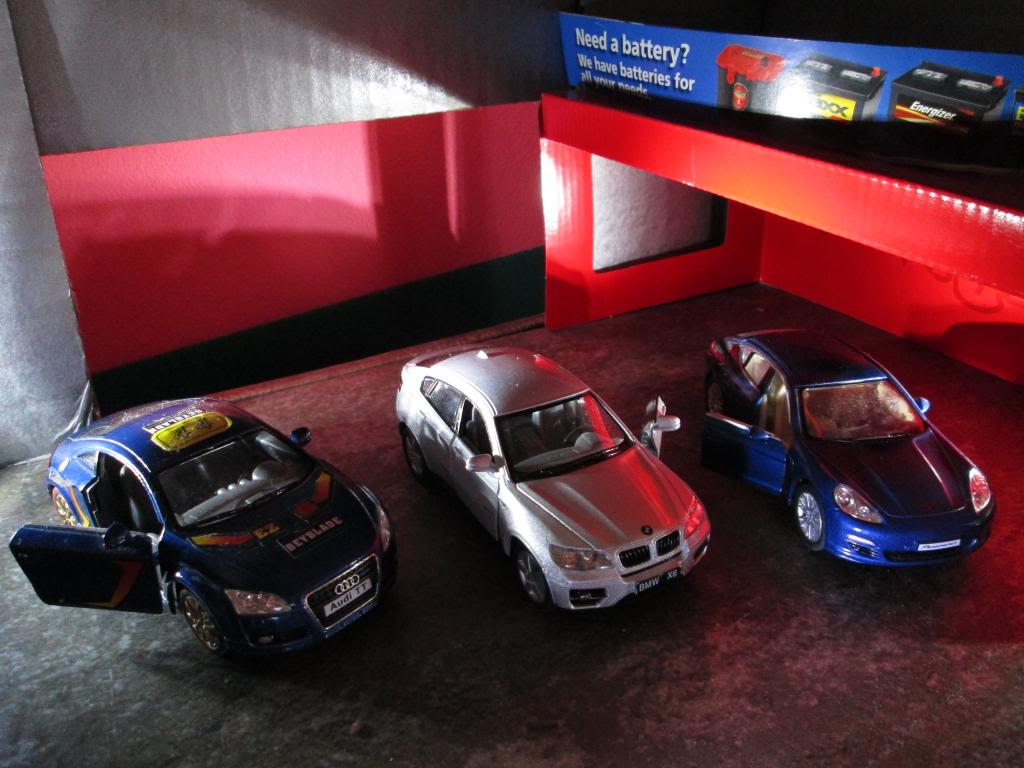
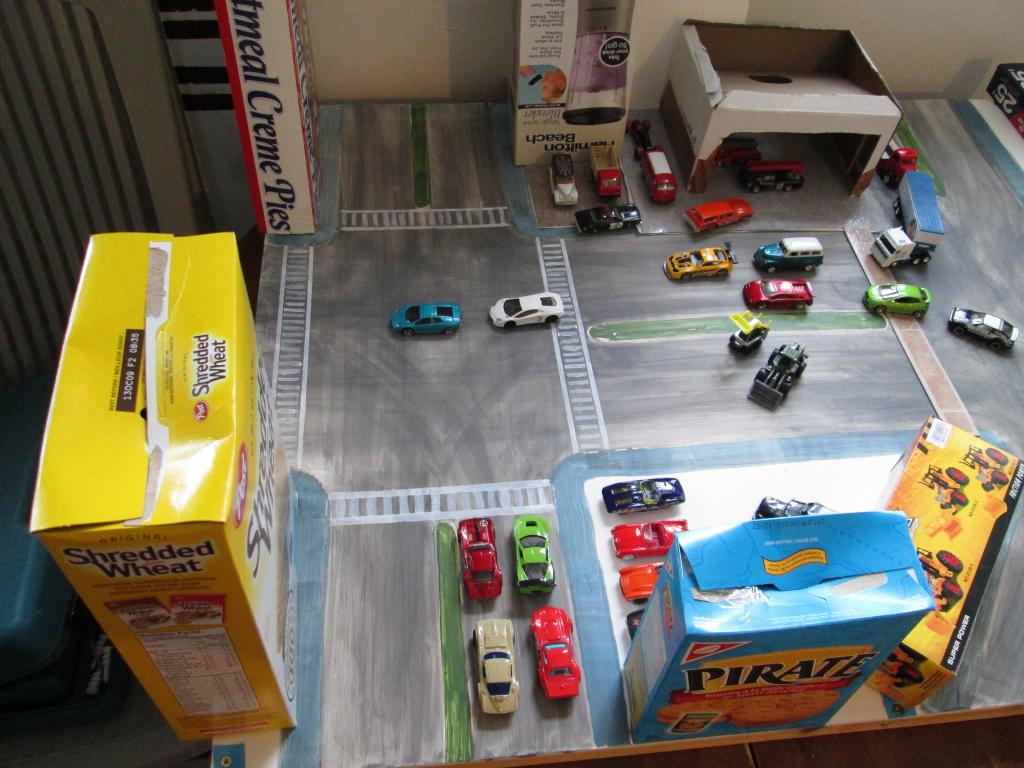
So far the city has a car dealer, gas shed, police station, fire dept, and pizza restaurant.
I just spent hours downloading - and soon I'll be able to bring these pics to the table.
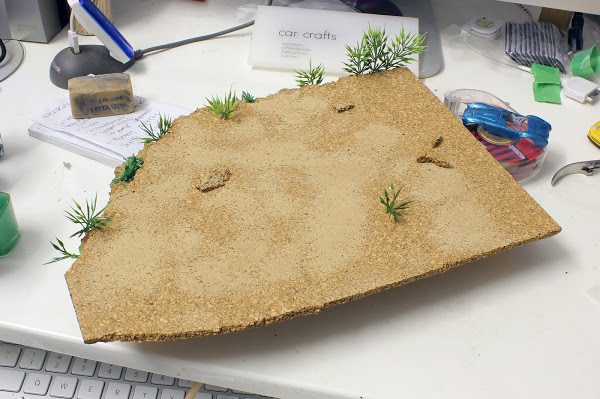
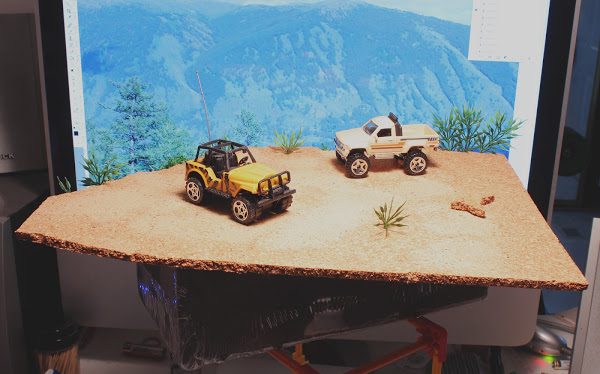
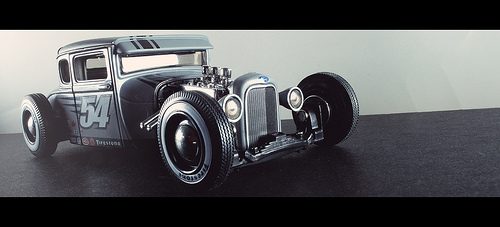
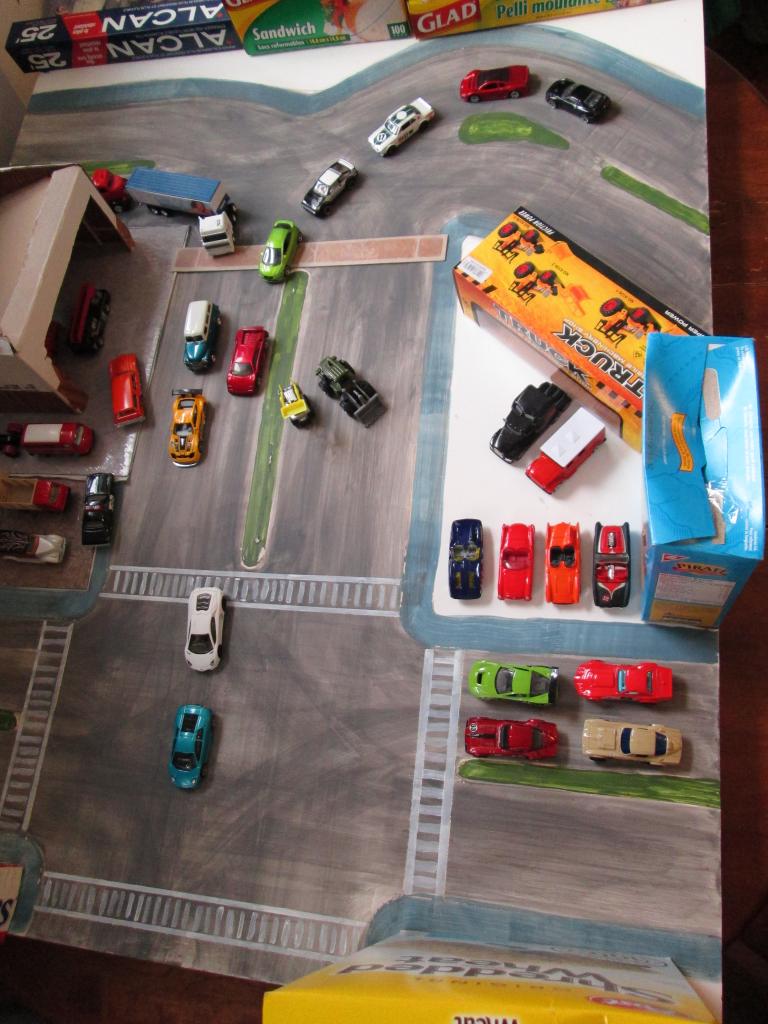
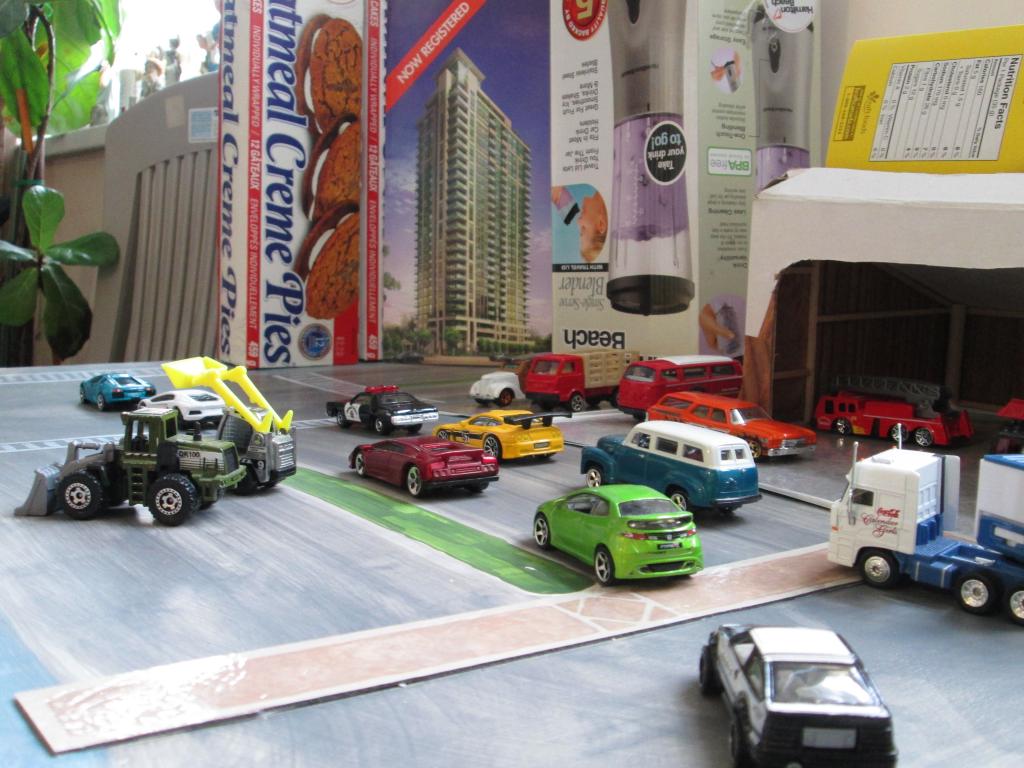
As you can see - if you remember the sketch that turned into the larger board of streets - has now acquired pseudo buildings. I use various boxes, and test out perspectives with the camera fist. Then I make the buildings to scale.
More later . . .
")


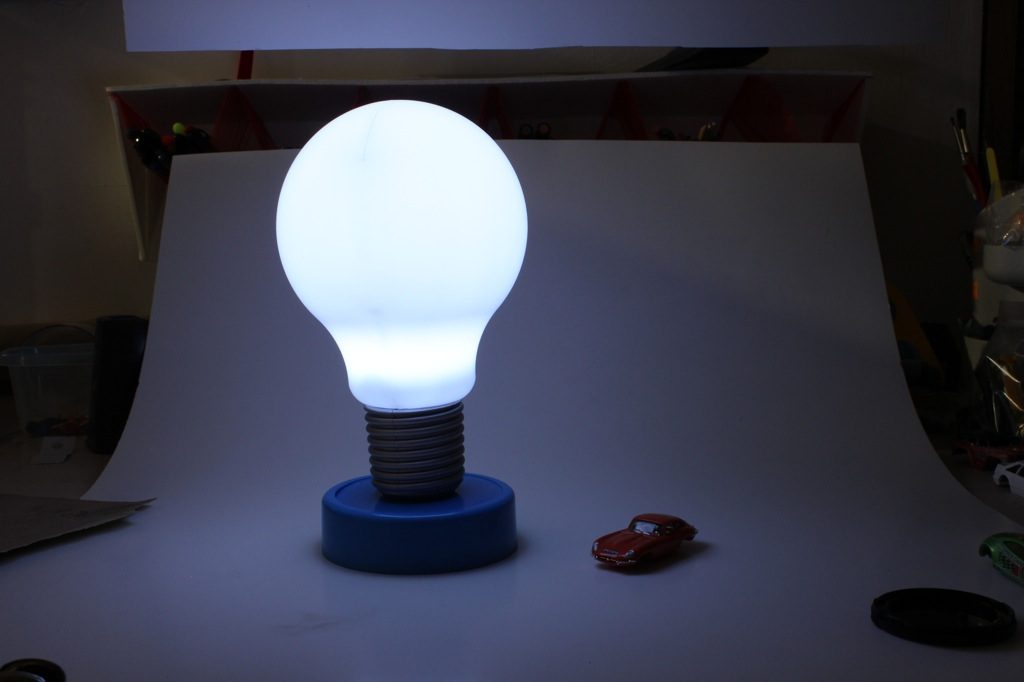

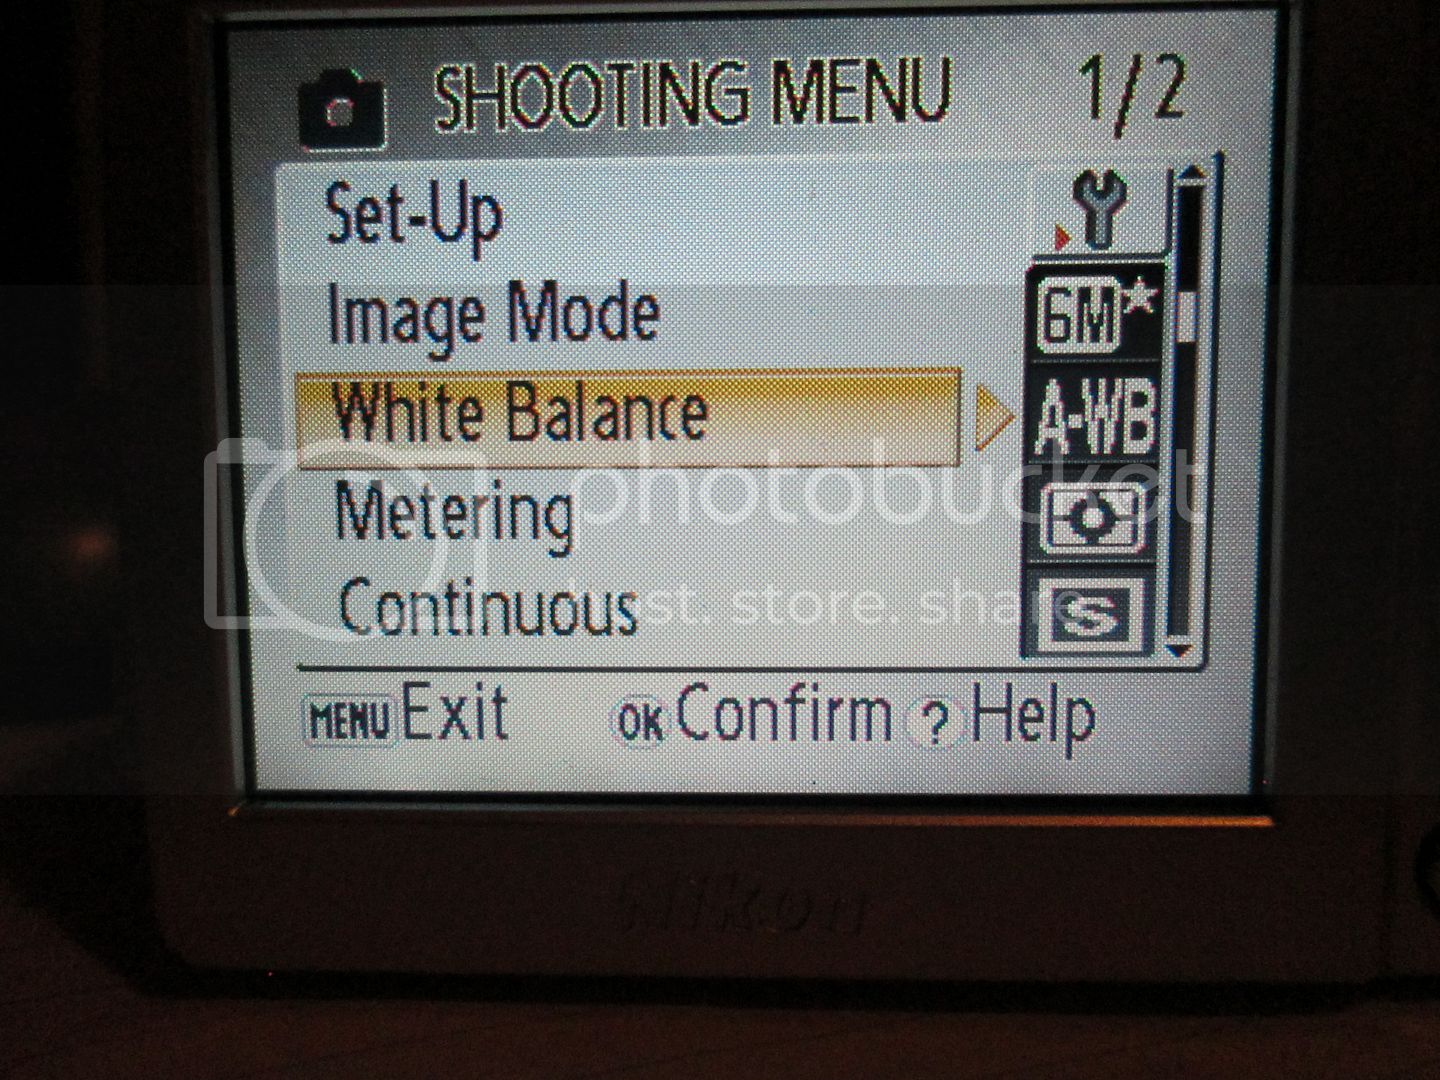
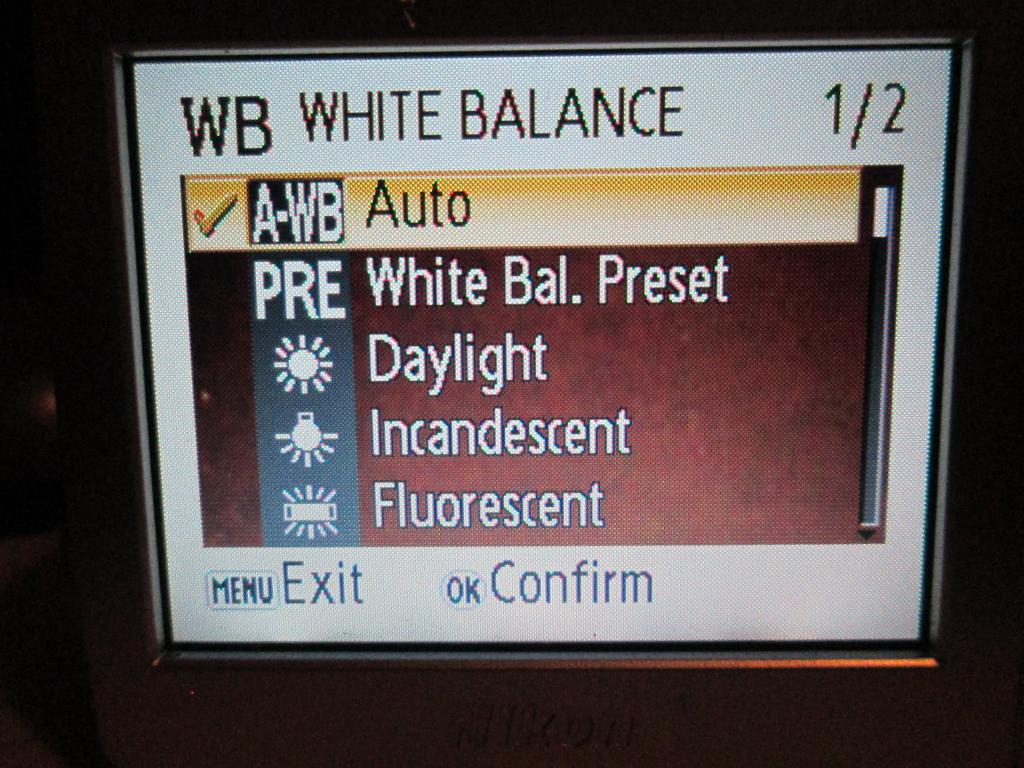
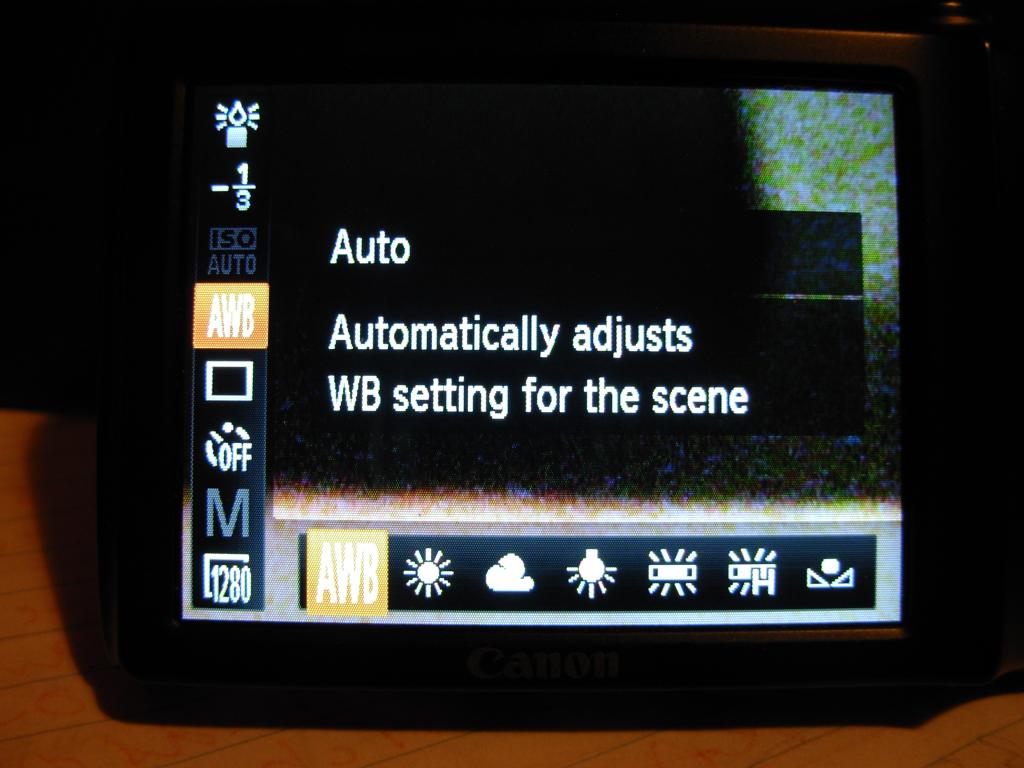
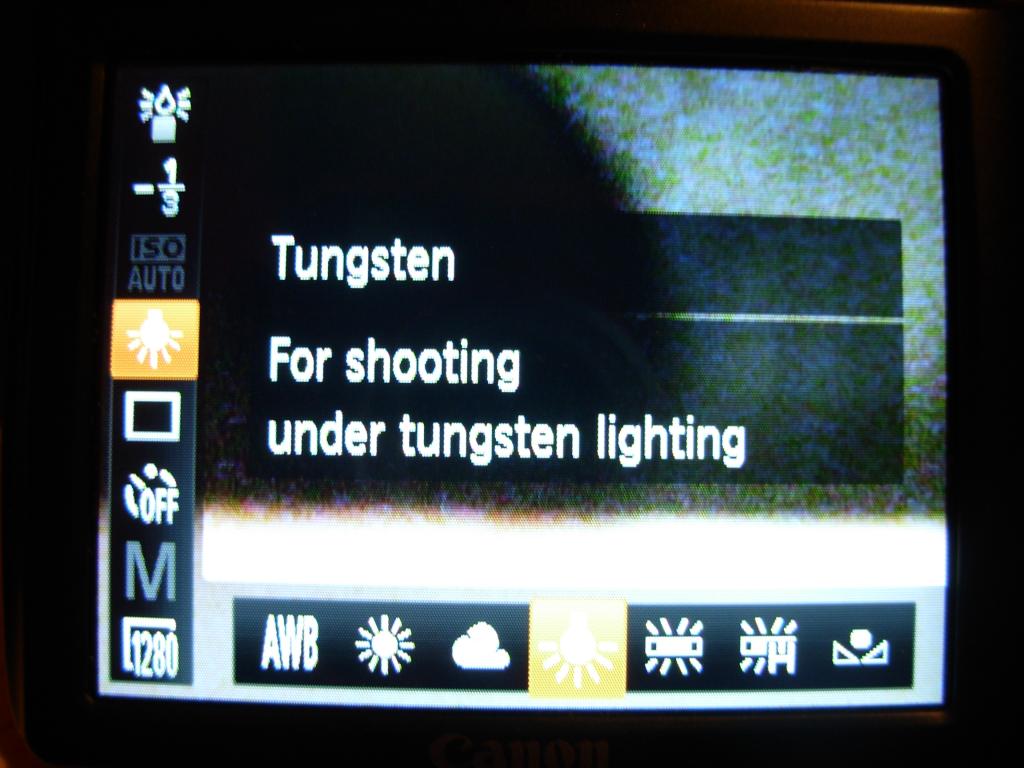
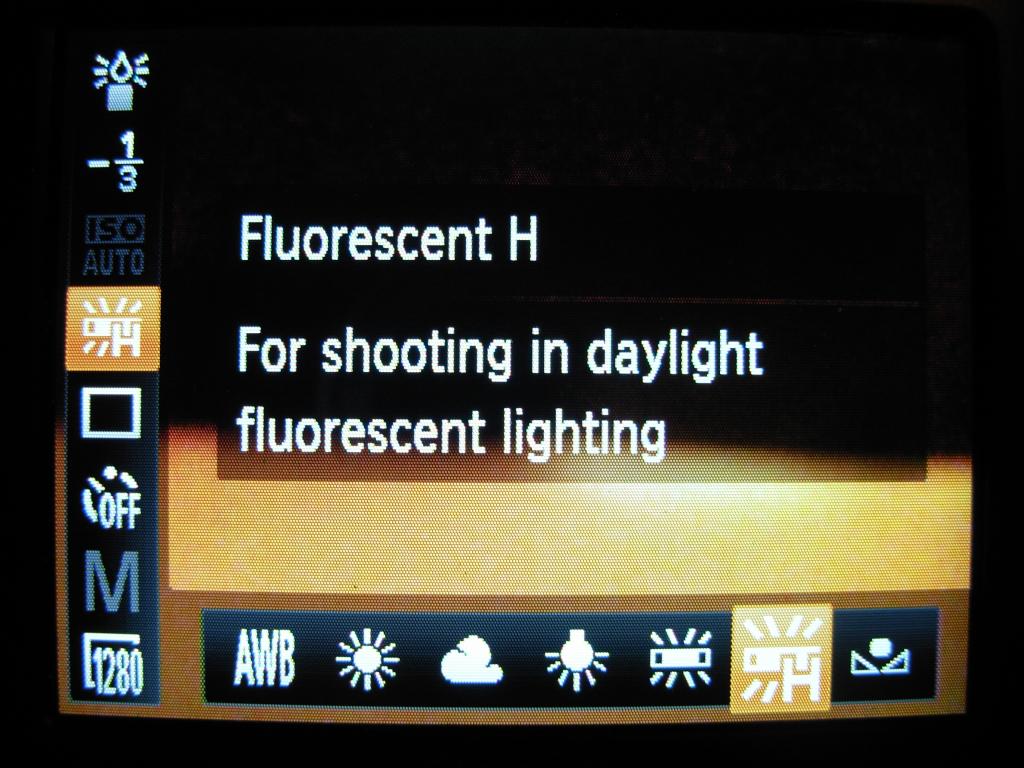
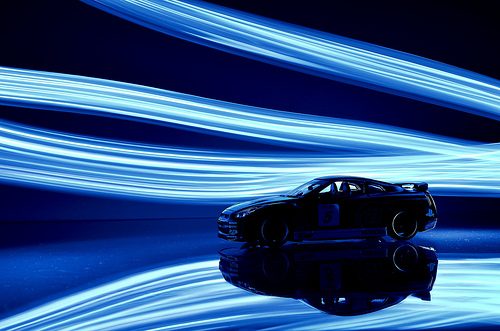
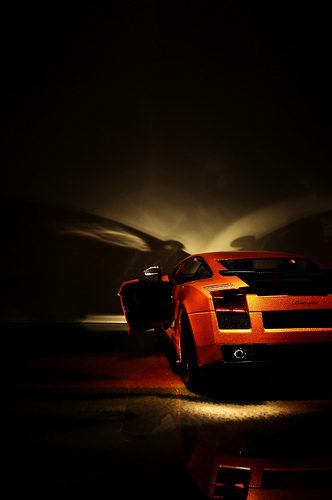
") ) or just even bouncing them out of the club and blocking them out by polarising them. So keep in mind filters - for different lighting. (Not that we're going to use them - we have other ways, but the idea is the same)
) or just even bouncing them out of the club and blocking them out by polarising them. So keep in mind filters - for different lighting. (Not that we're going to use them - we have other ways, but the idea is the same)