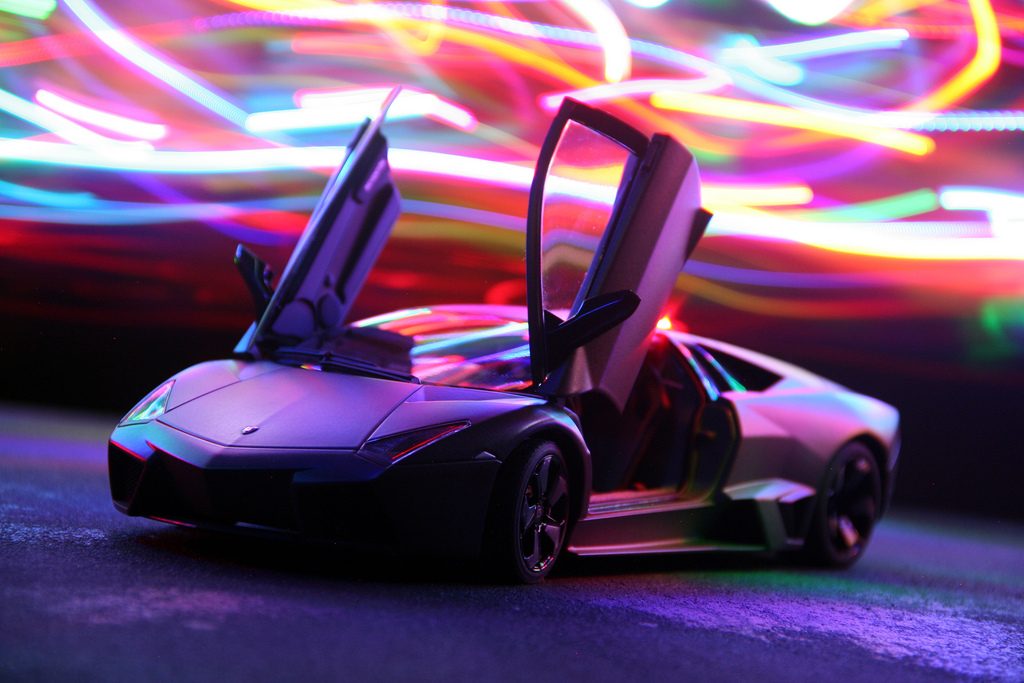
Thanks. The action shots fascinate me - I can spend hours trying to figure out how to capture the effect I want. Obviously with 'shopping any effect can be obtained but I love it when I'm looking at RAW and it's . . . raw.
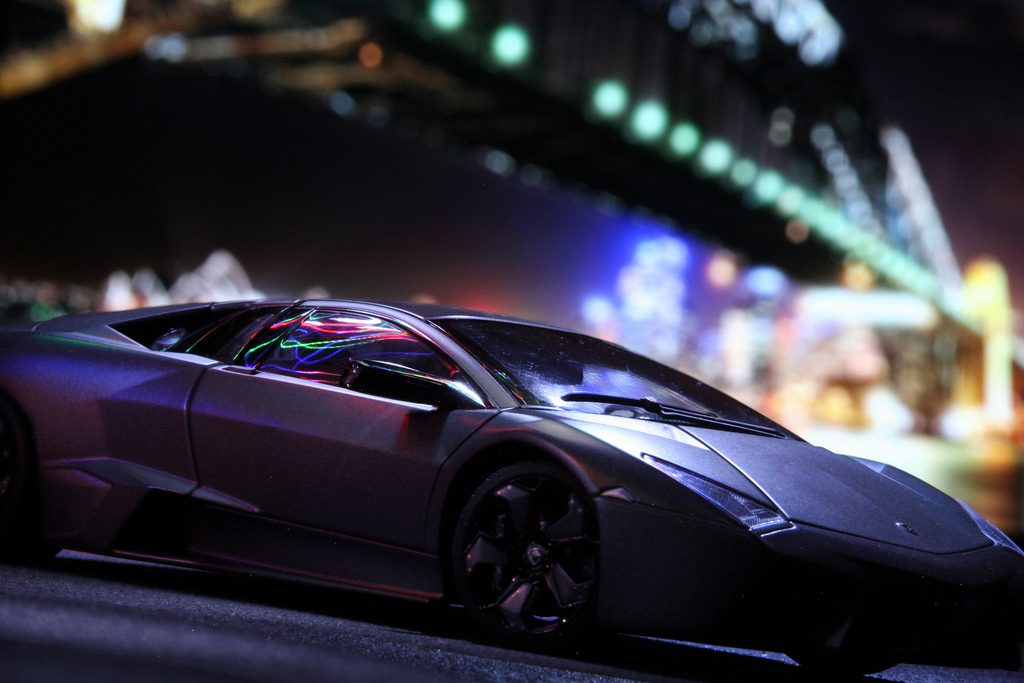
The Rover shot was an impulse shoot - happened to throw it on some Orchid-growing potting material, threw a sheet of blue Bristol board up as background, cut a hole in the blue board and taped my iPhone to the back of it showing the wallpaper on the screen (Planet Earth

) and kept shooting. I have many other angles of that shoot - different light sources, etc - I'll toss them in here sometime.
Thanks. I think your shots are much better.

very professional looking with the NASA logos and all. A fgew miniature rocks scattered around is all I would have added - the lighting is very intriguing.
@
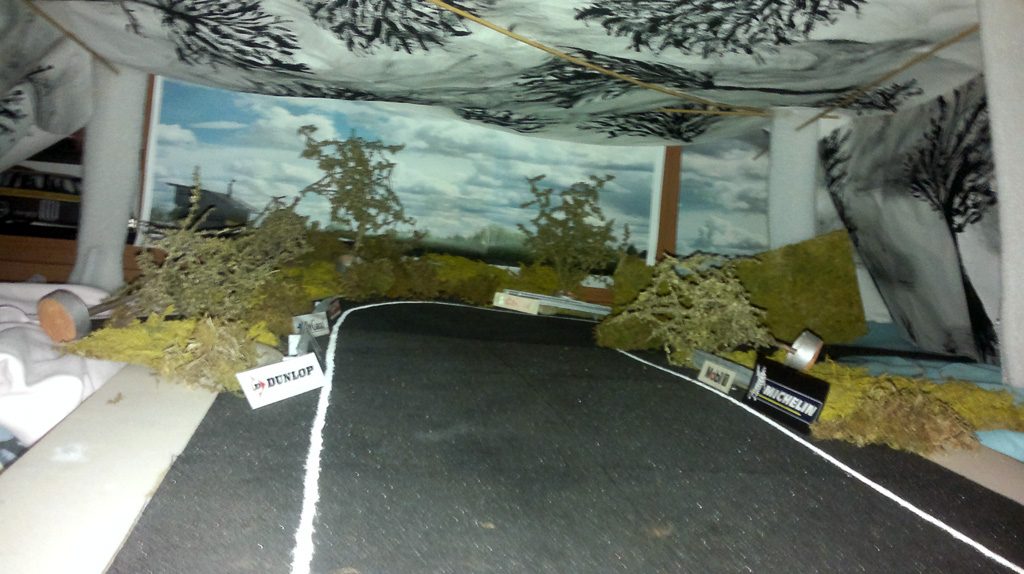
GreatServant - Absolutely stunning work - the mixture of RL props and models can only be handled by someone with a precise eye for the proportions of reality - and, dang me if you don't have it. I see a lot of passion behind your work, too - which of course can be a driving force in getting things perfect. Thanks for the great shots - however - more shots of the actual constructions, how you made them, materials used, and so on would be totally grist for our creative mills. Read up on the whole thread for some great tricks and tips in here from others, too.
Some time ago, Suzie threw this in - and it seems like he does the same stuff you do.
Unless you are the same guy. Maybe not.
@
Sonygamer455 - Good efforts, and nice lighting, but the scaling needs to be worked on. Not to split hairs - but you just happened to have a Quadracer in your pocket, right?
")
General Note:
My apologies on not updating the OP with some of the latest contributions - shall do so soon.


")