


")
Probably have gotten beyond this, but an idea may be to get some self locking nuts. Not sure if that is a threaded rod you are using but those nuts have a domed head. Get a pair that are a bit bigger than the diameter of the hole. This should keep them centered.
That drill set up is pretty slick. I've set aside an old blender base to build a little lathe. That's a good idea though.

And, now that I have your attention, I can show you a plan I made for a foldable desk that I can use in our new house.
View attachment 518973
It's going to solve all of my current problems.
1. My desk is too big.
2. I don't have enough use able space on it.
3. My wheelstand can't fit under it.
(I did this on my phone, so please excuse any formatting errors. I can't fix them.)
That section that folds in, are you thinking of doing a support leg that swings out horizontally via hinge?


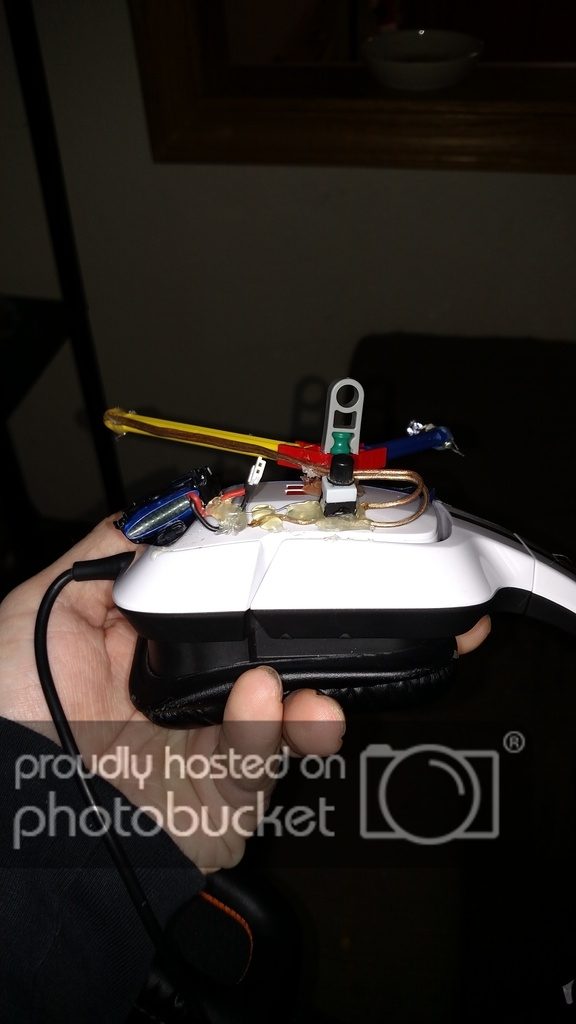
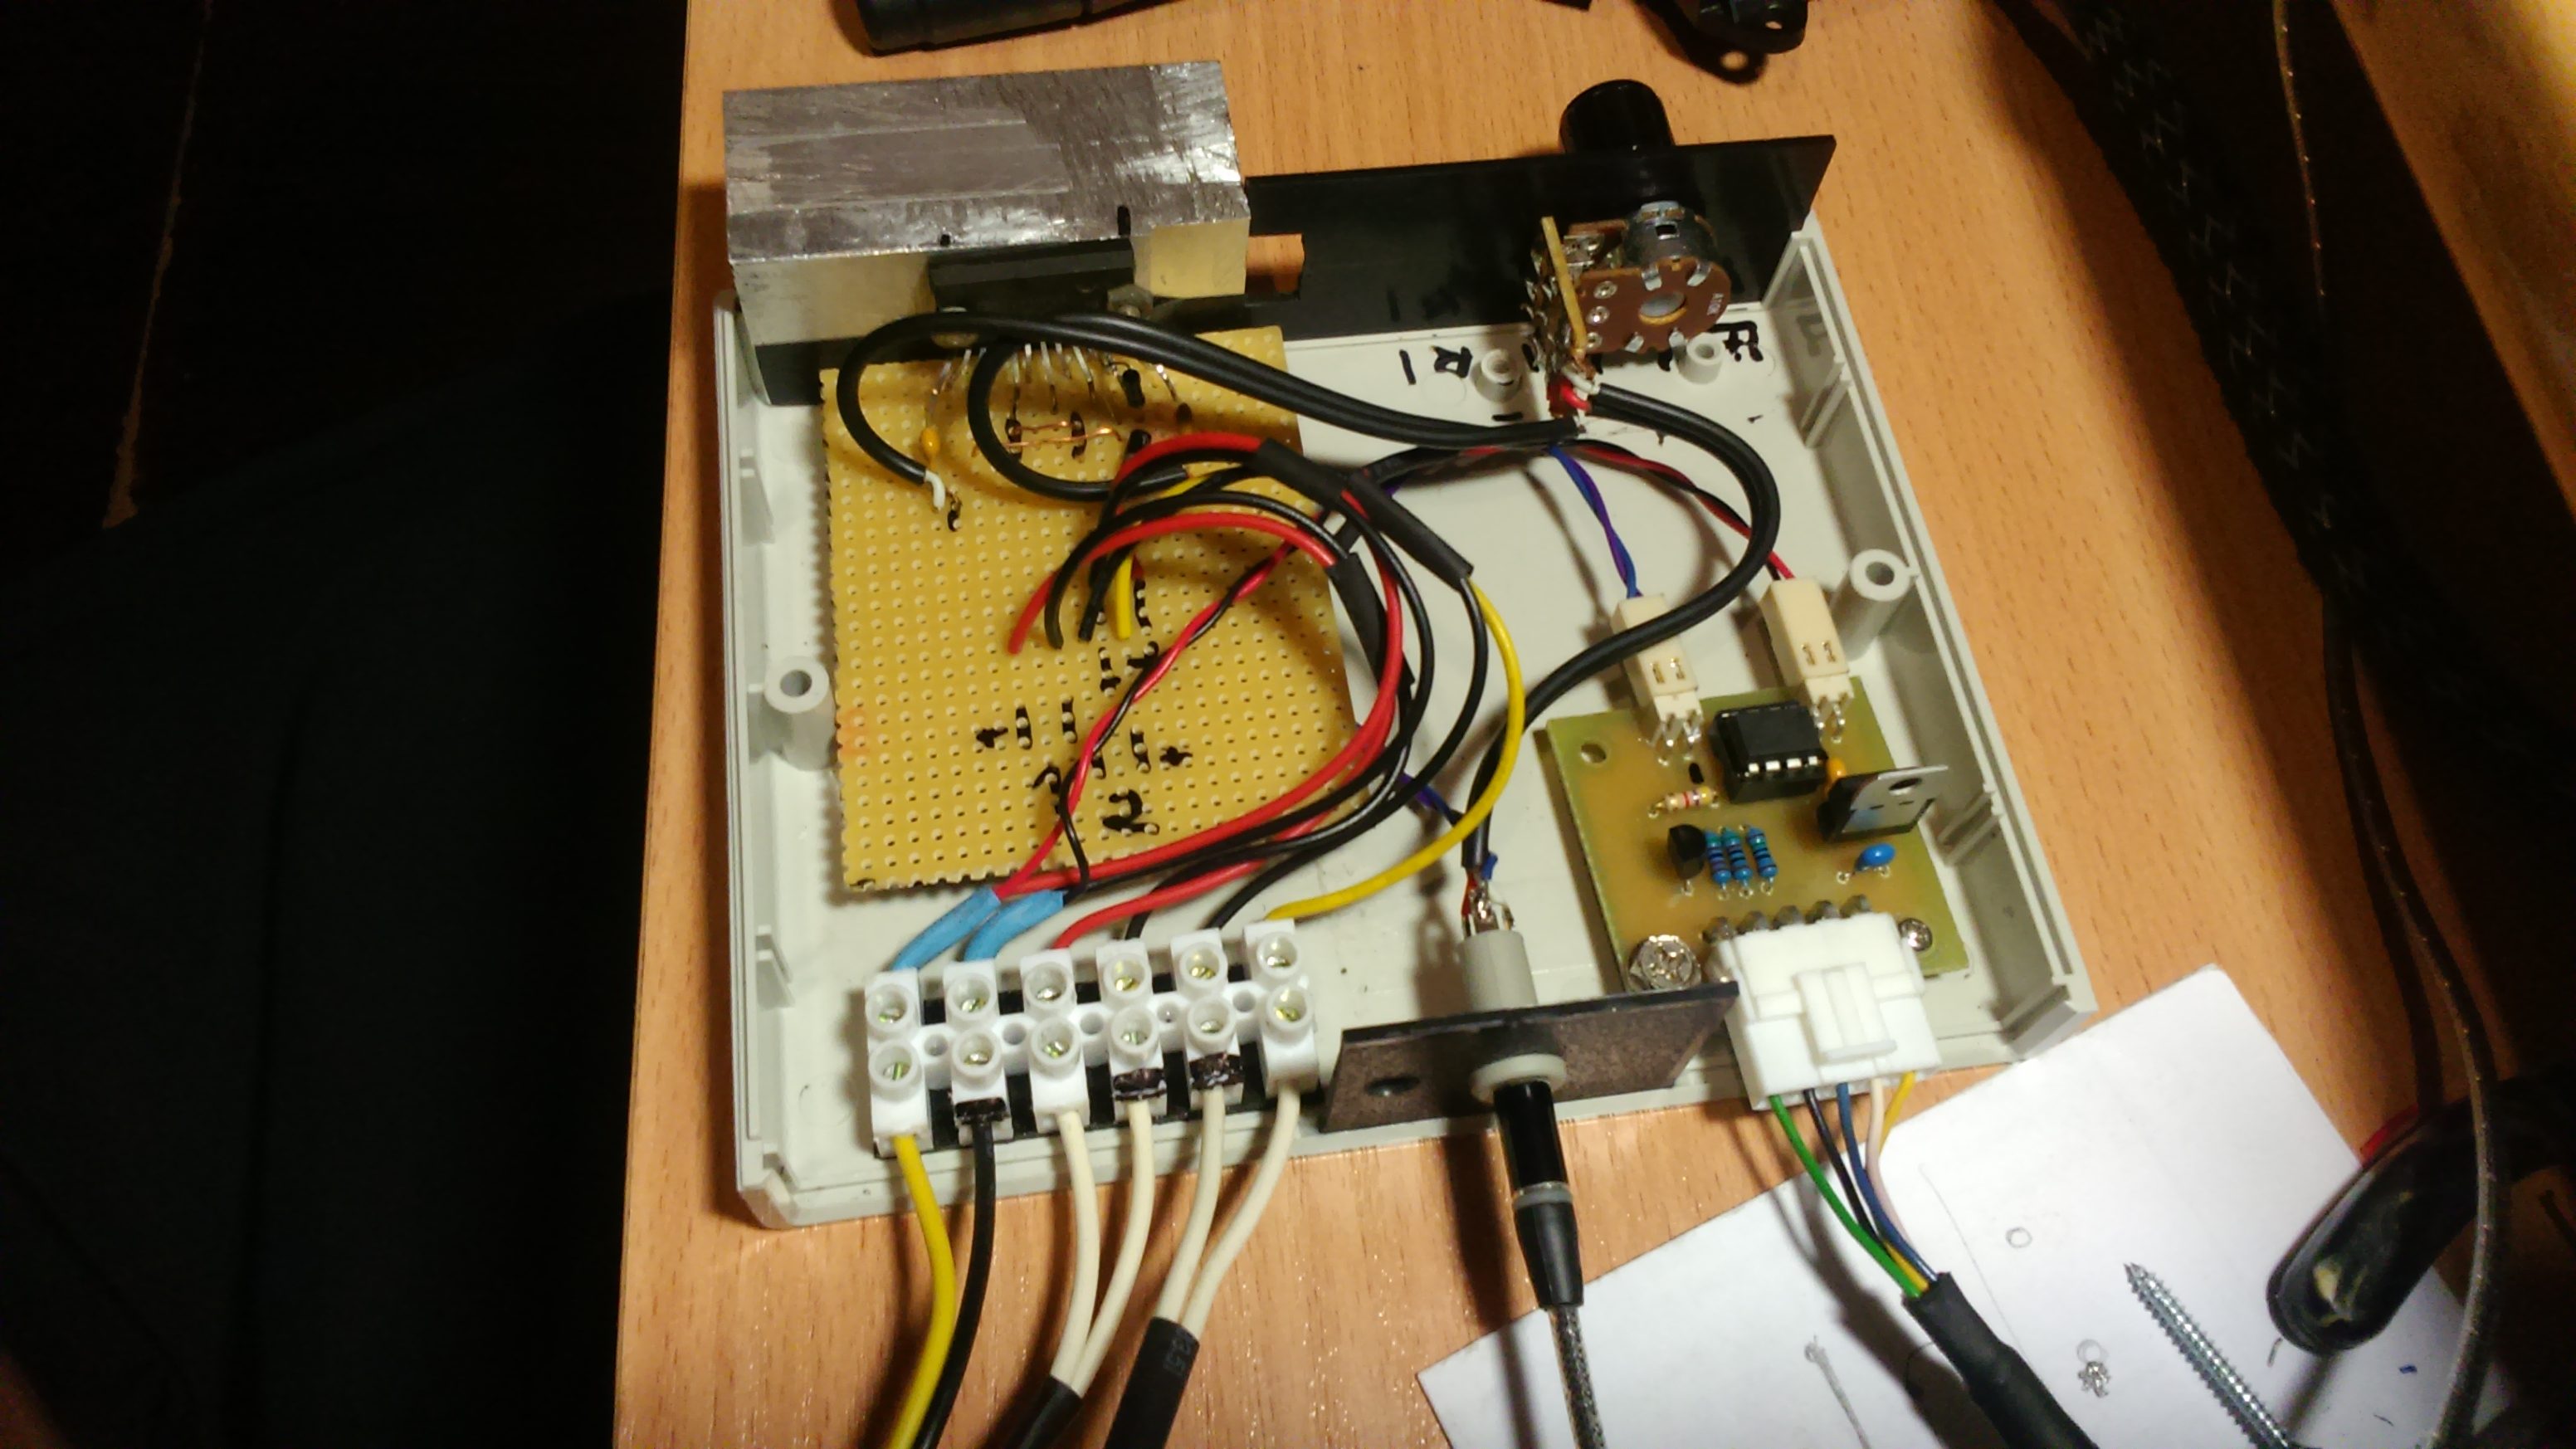
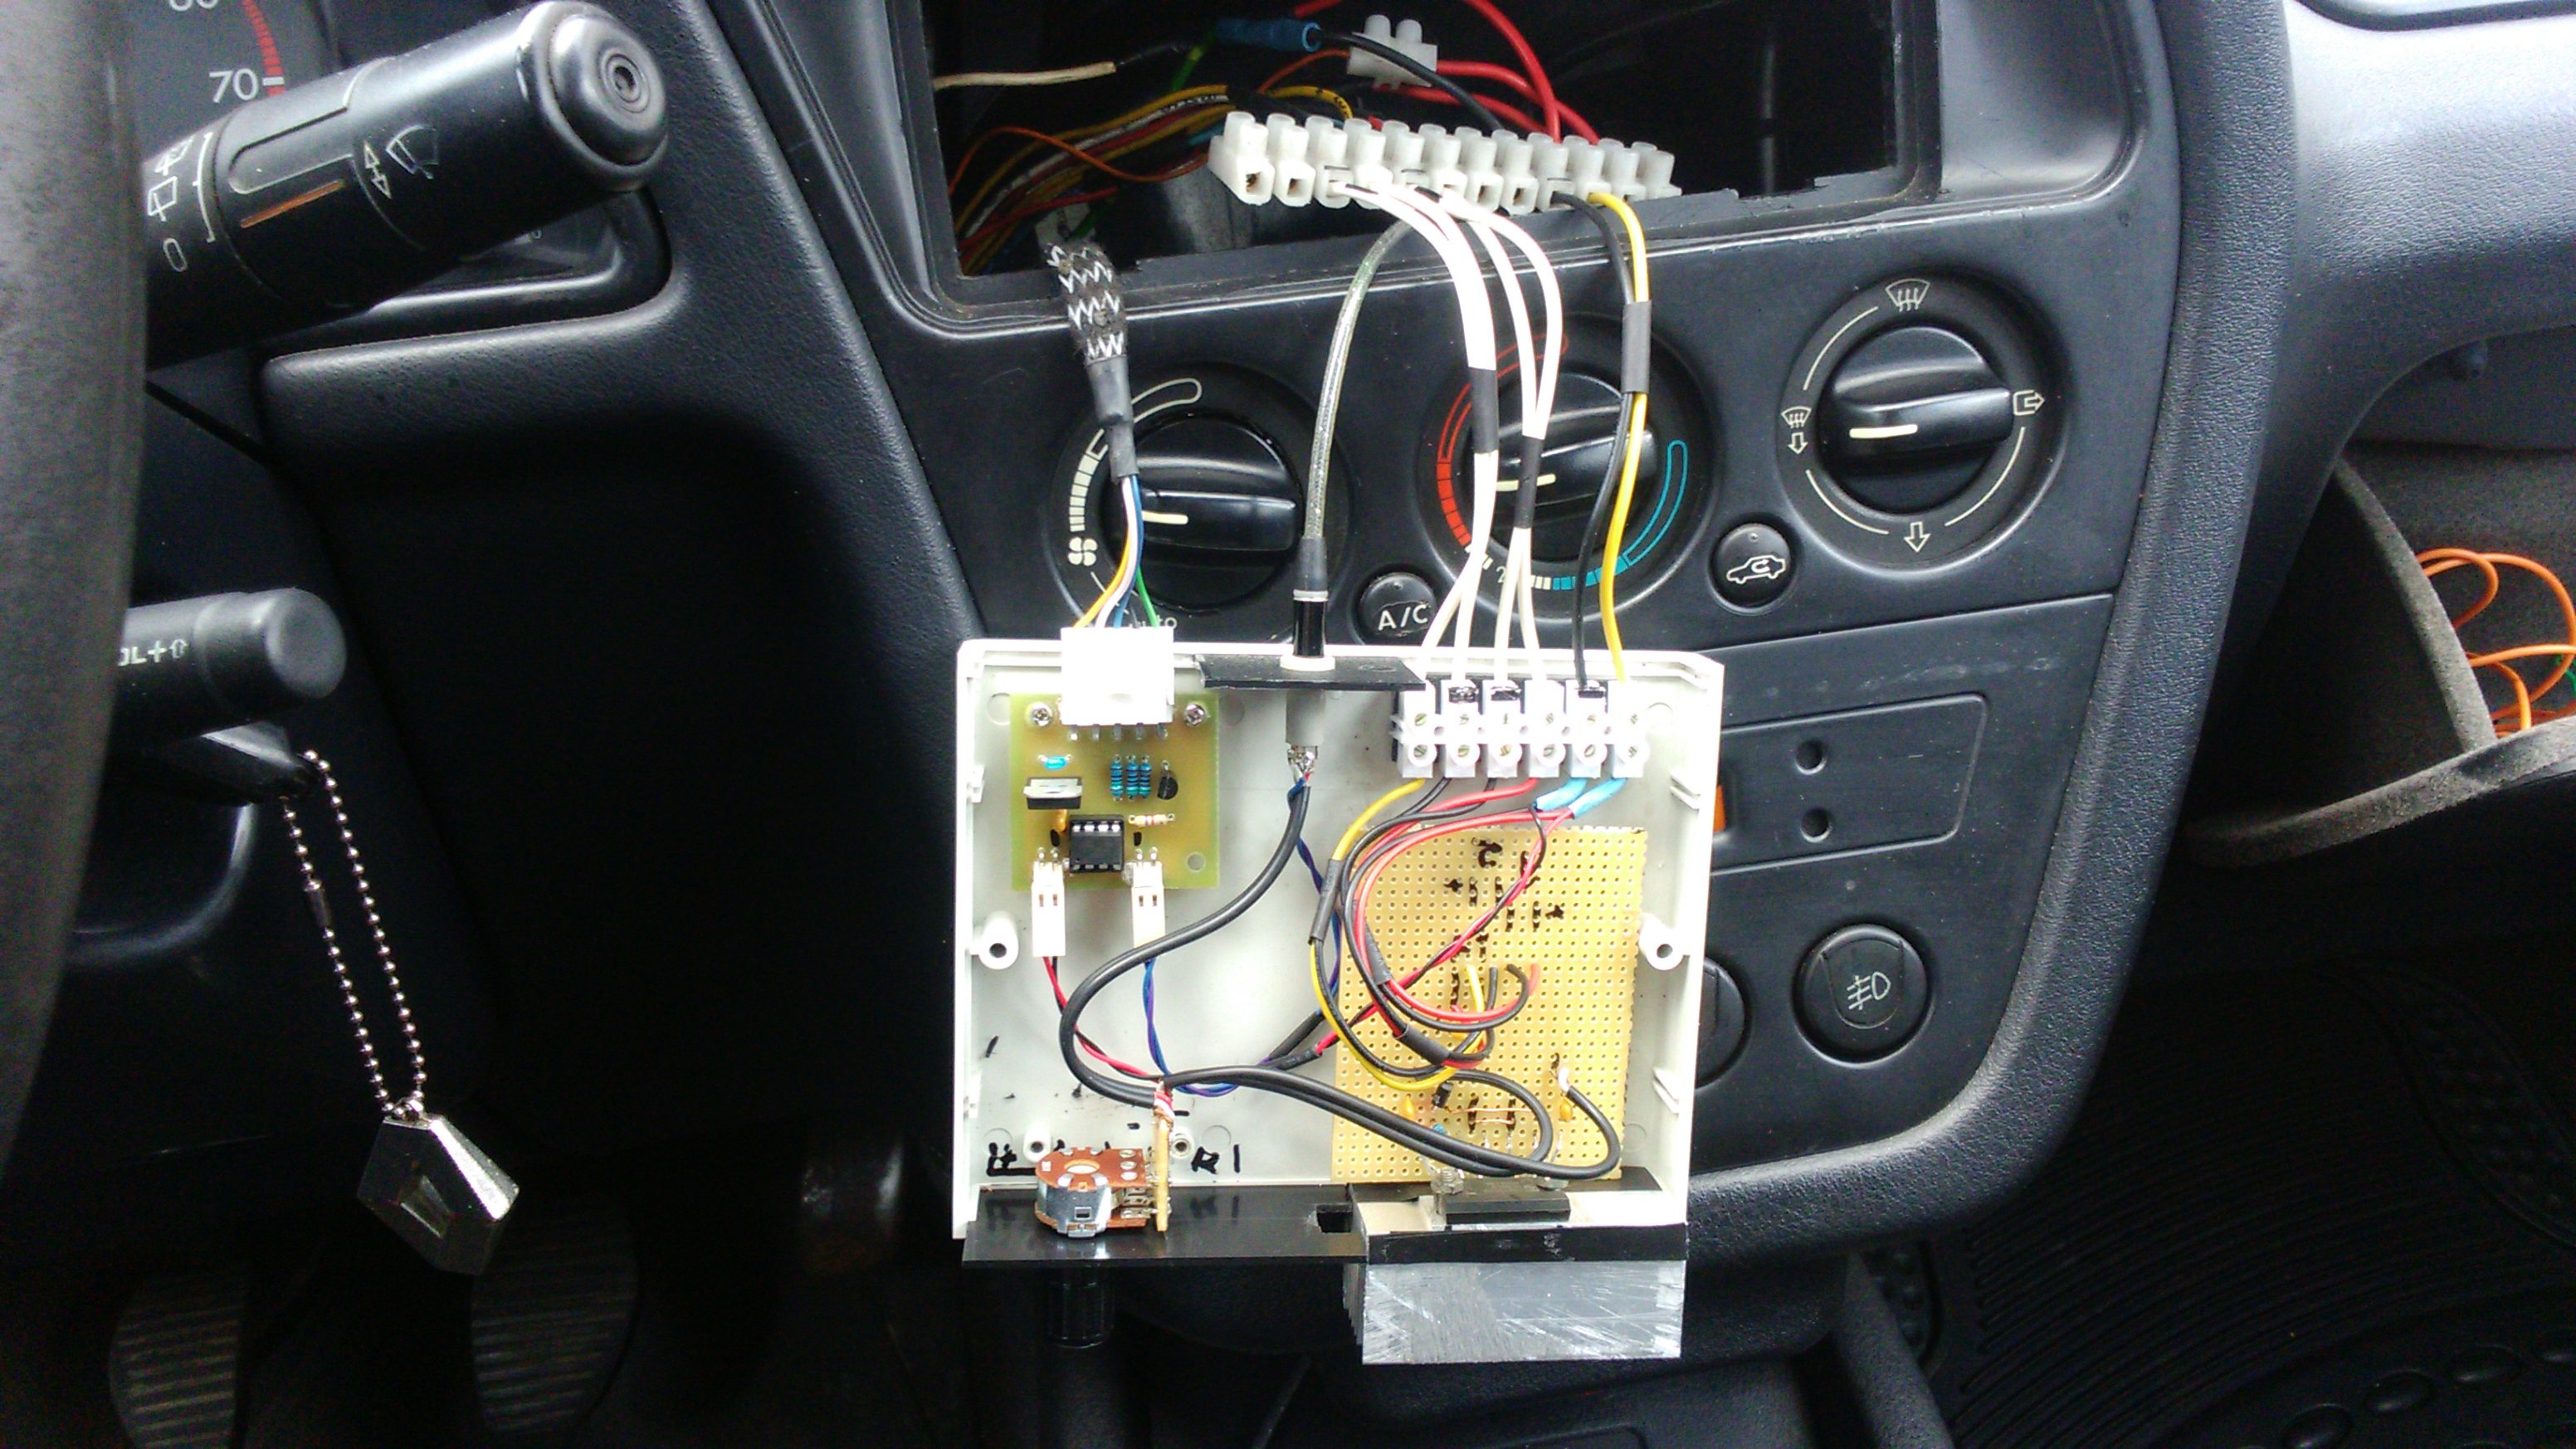
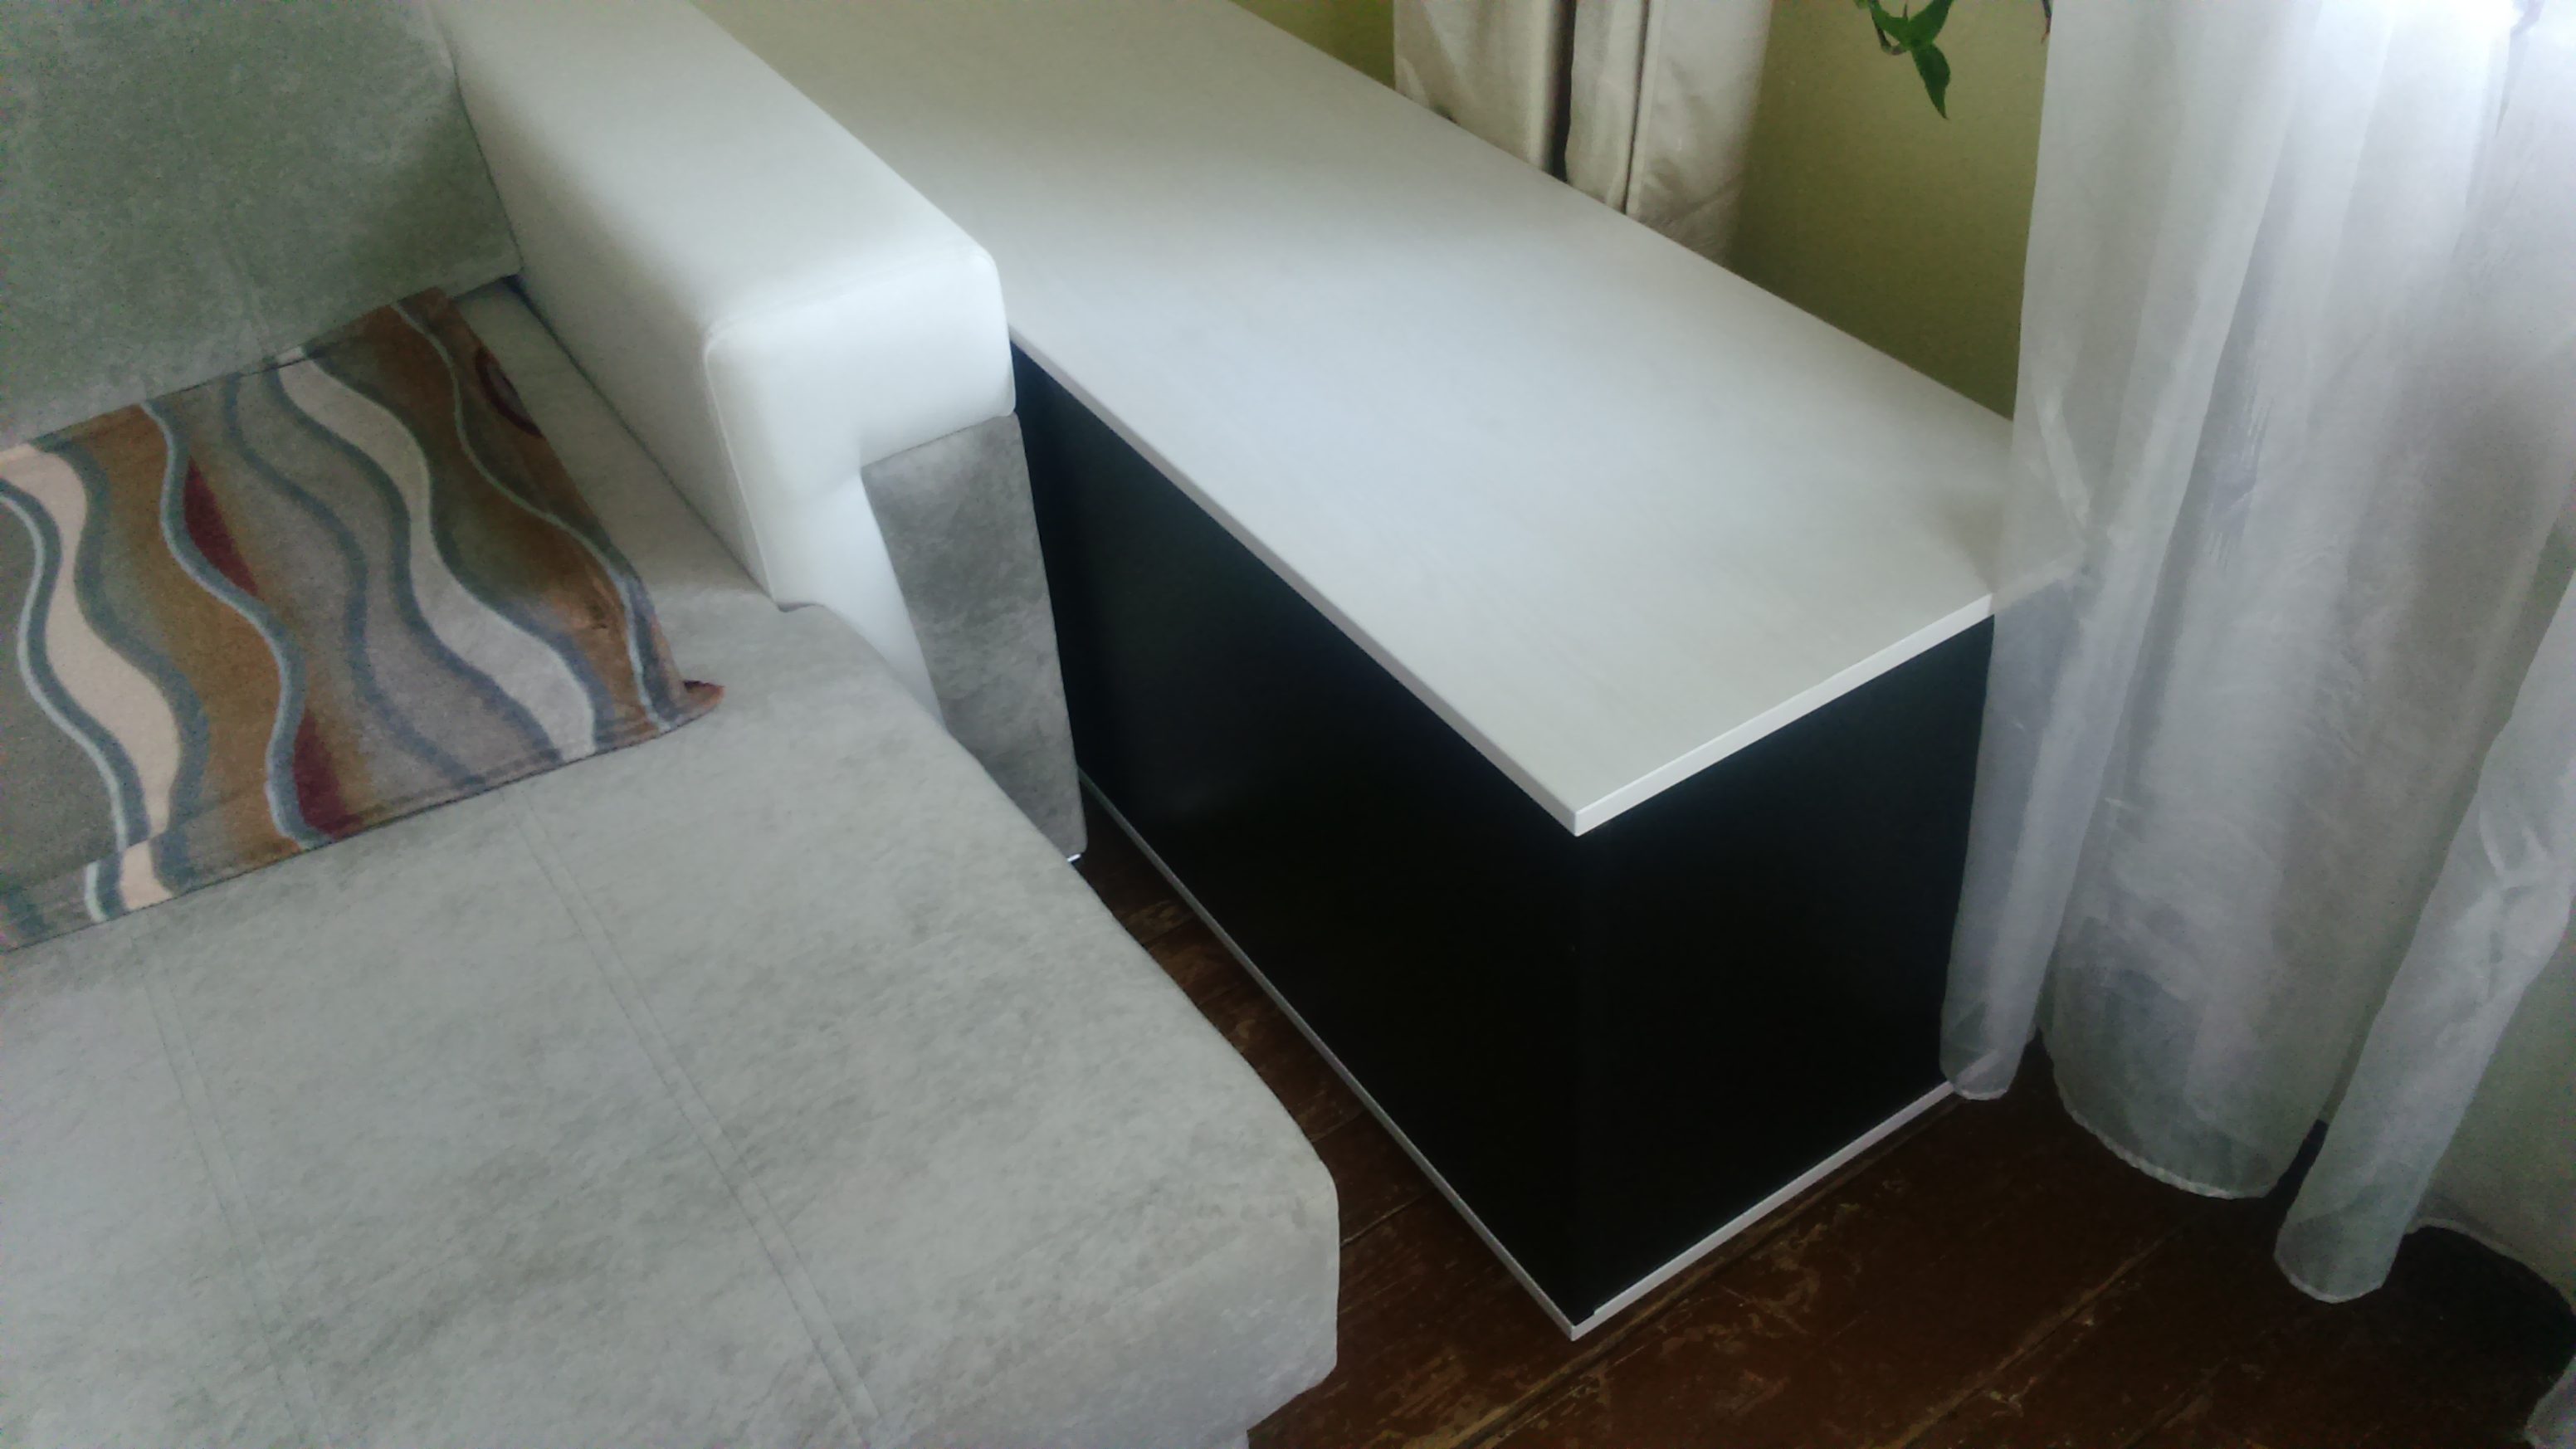
Having received a new, quite a bit larger center speaker:
View attachment 539787
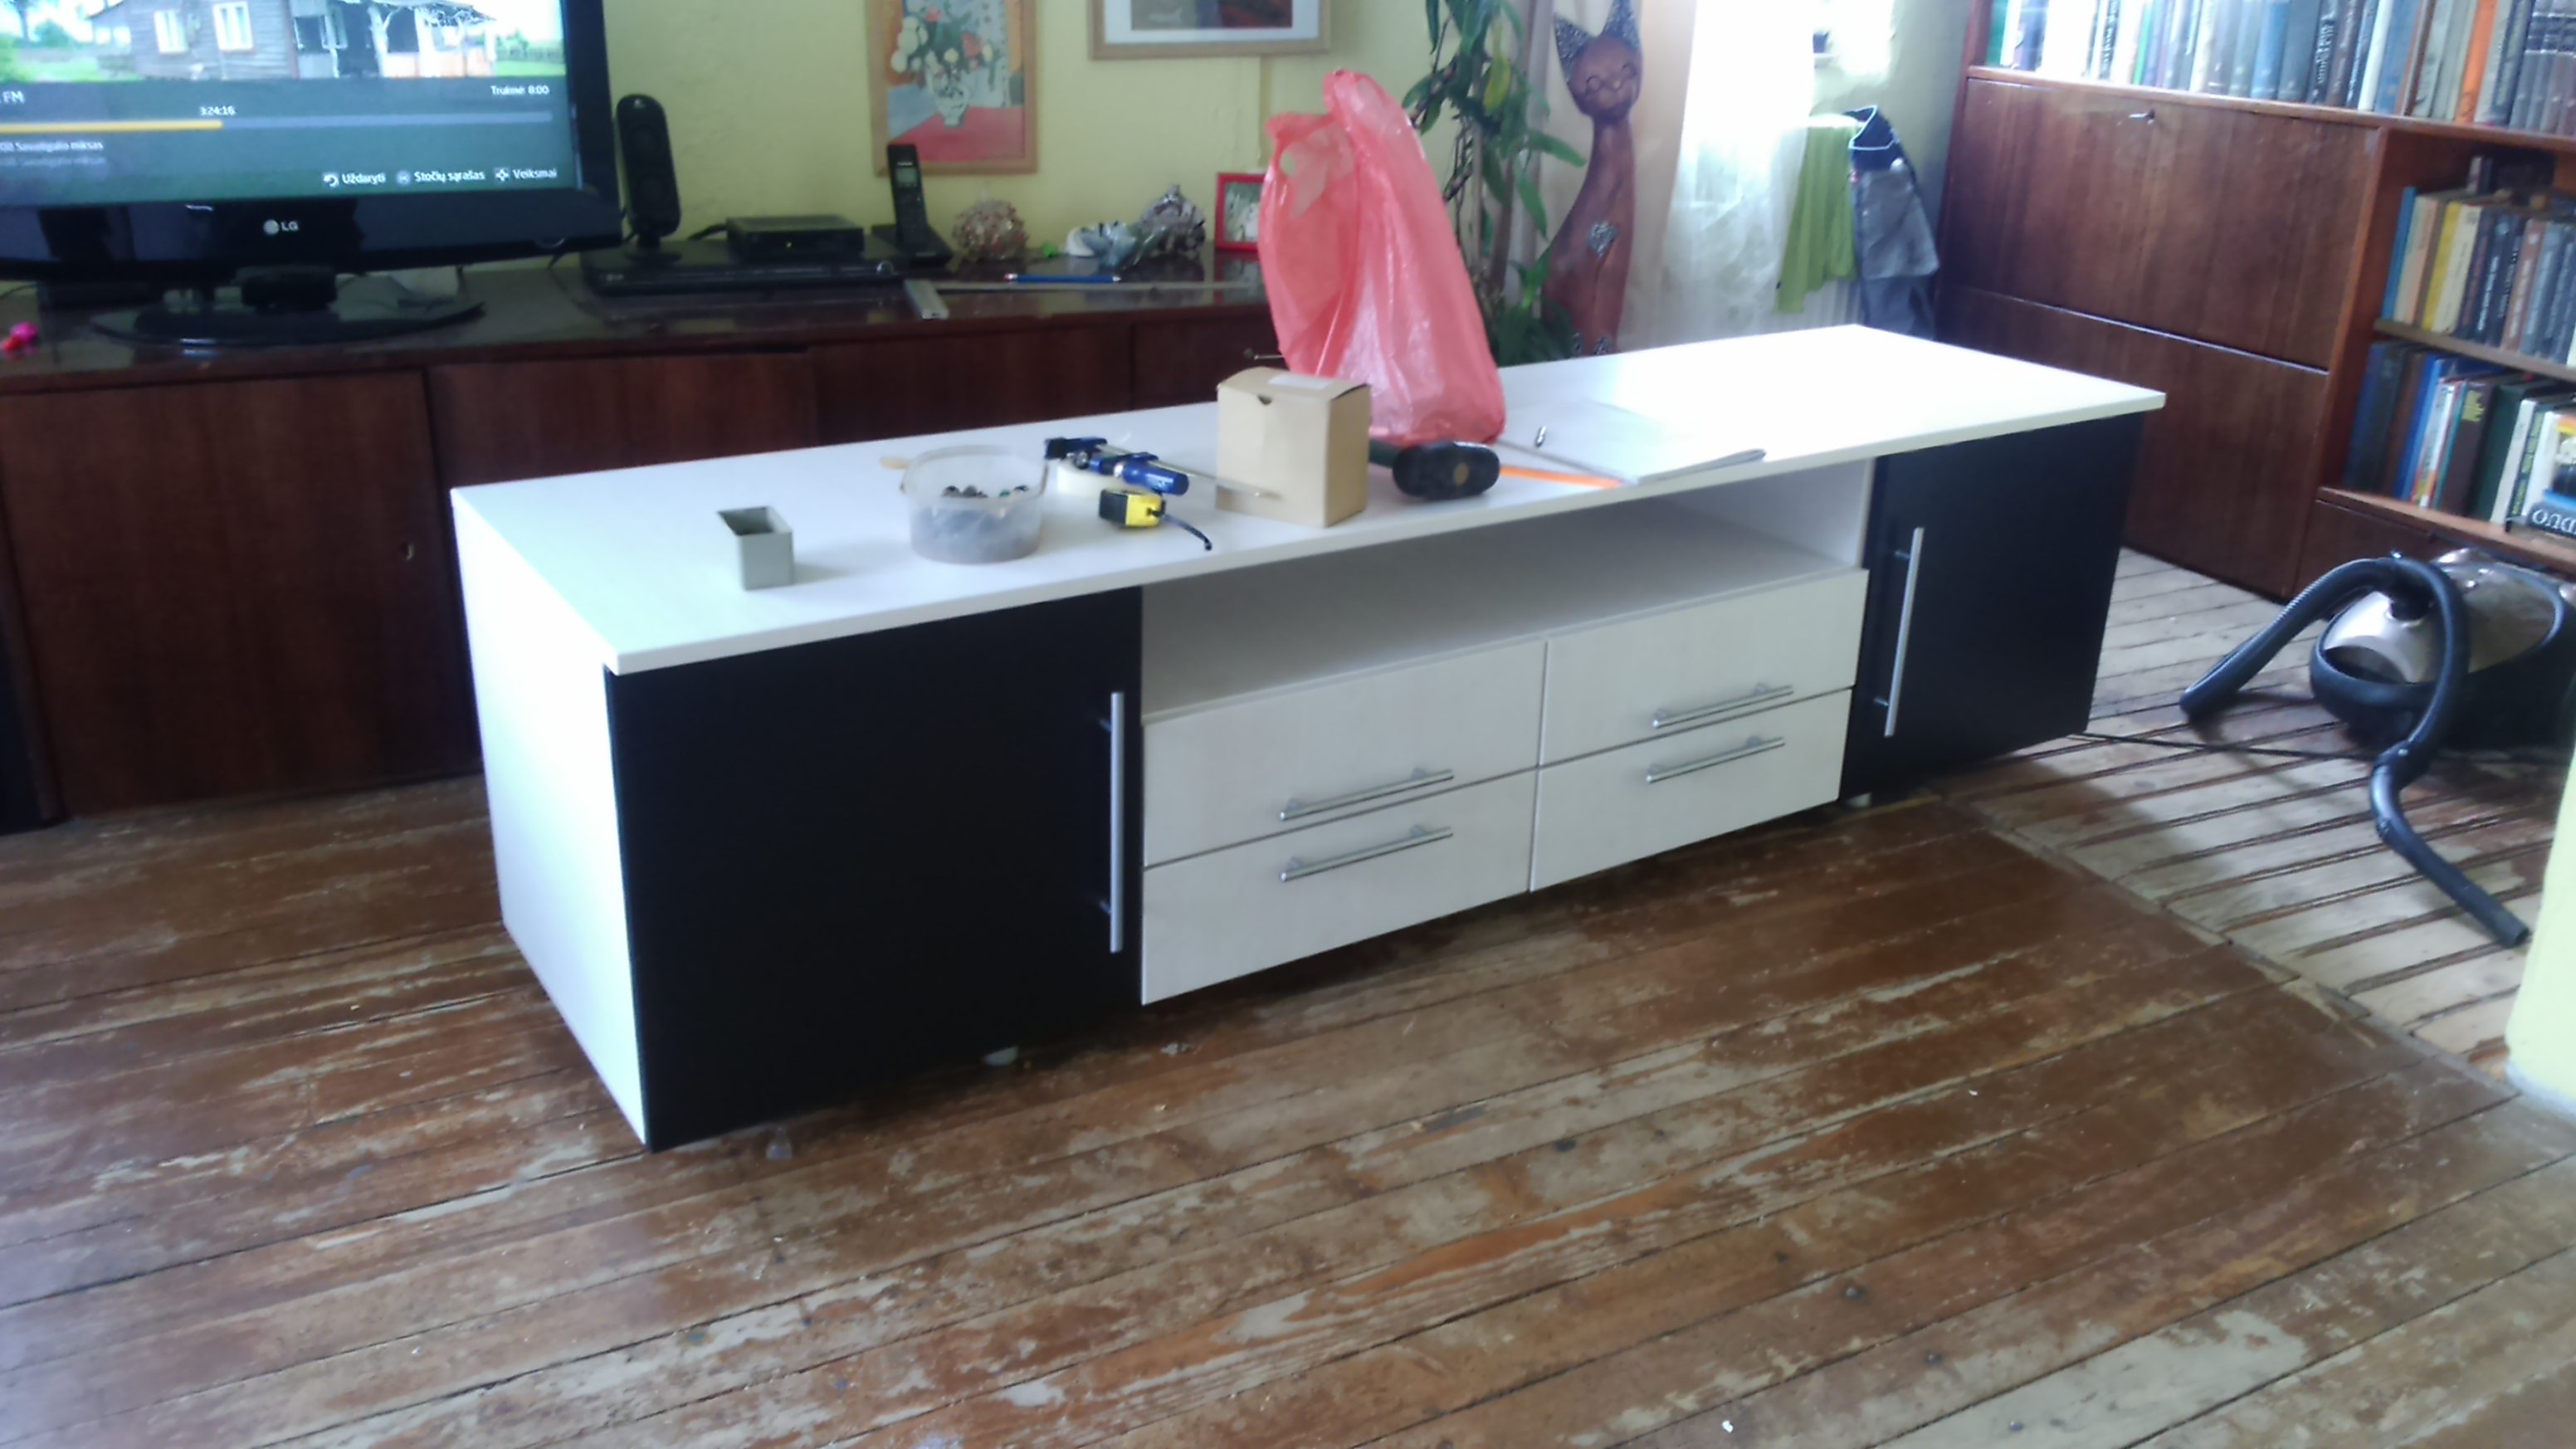
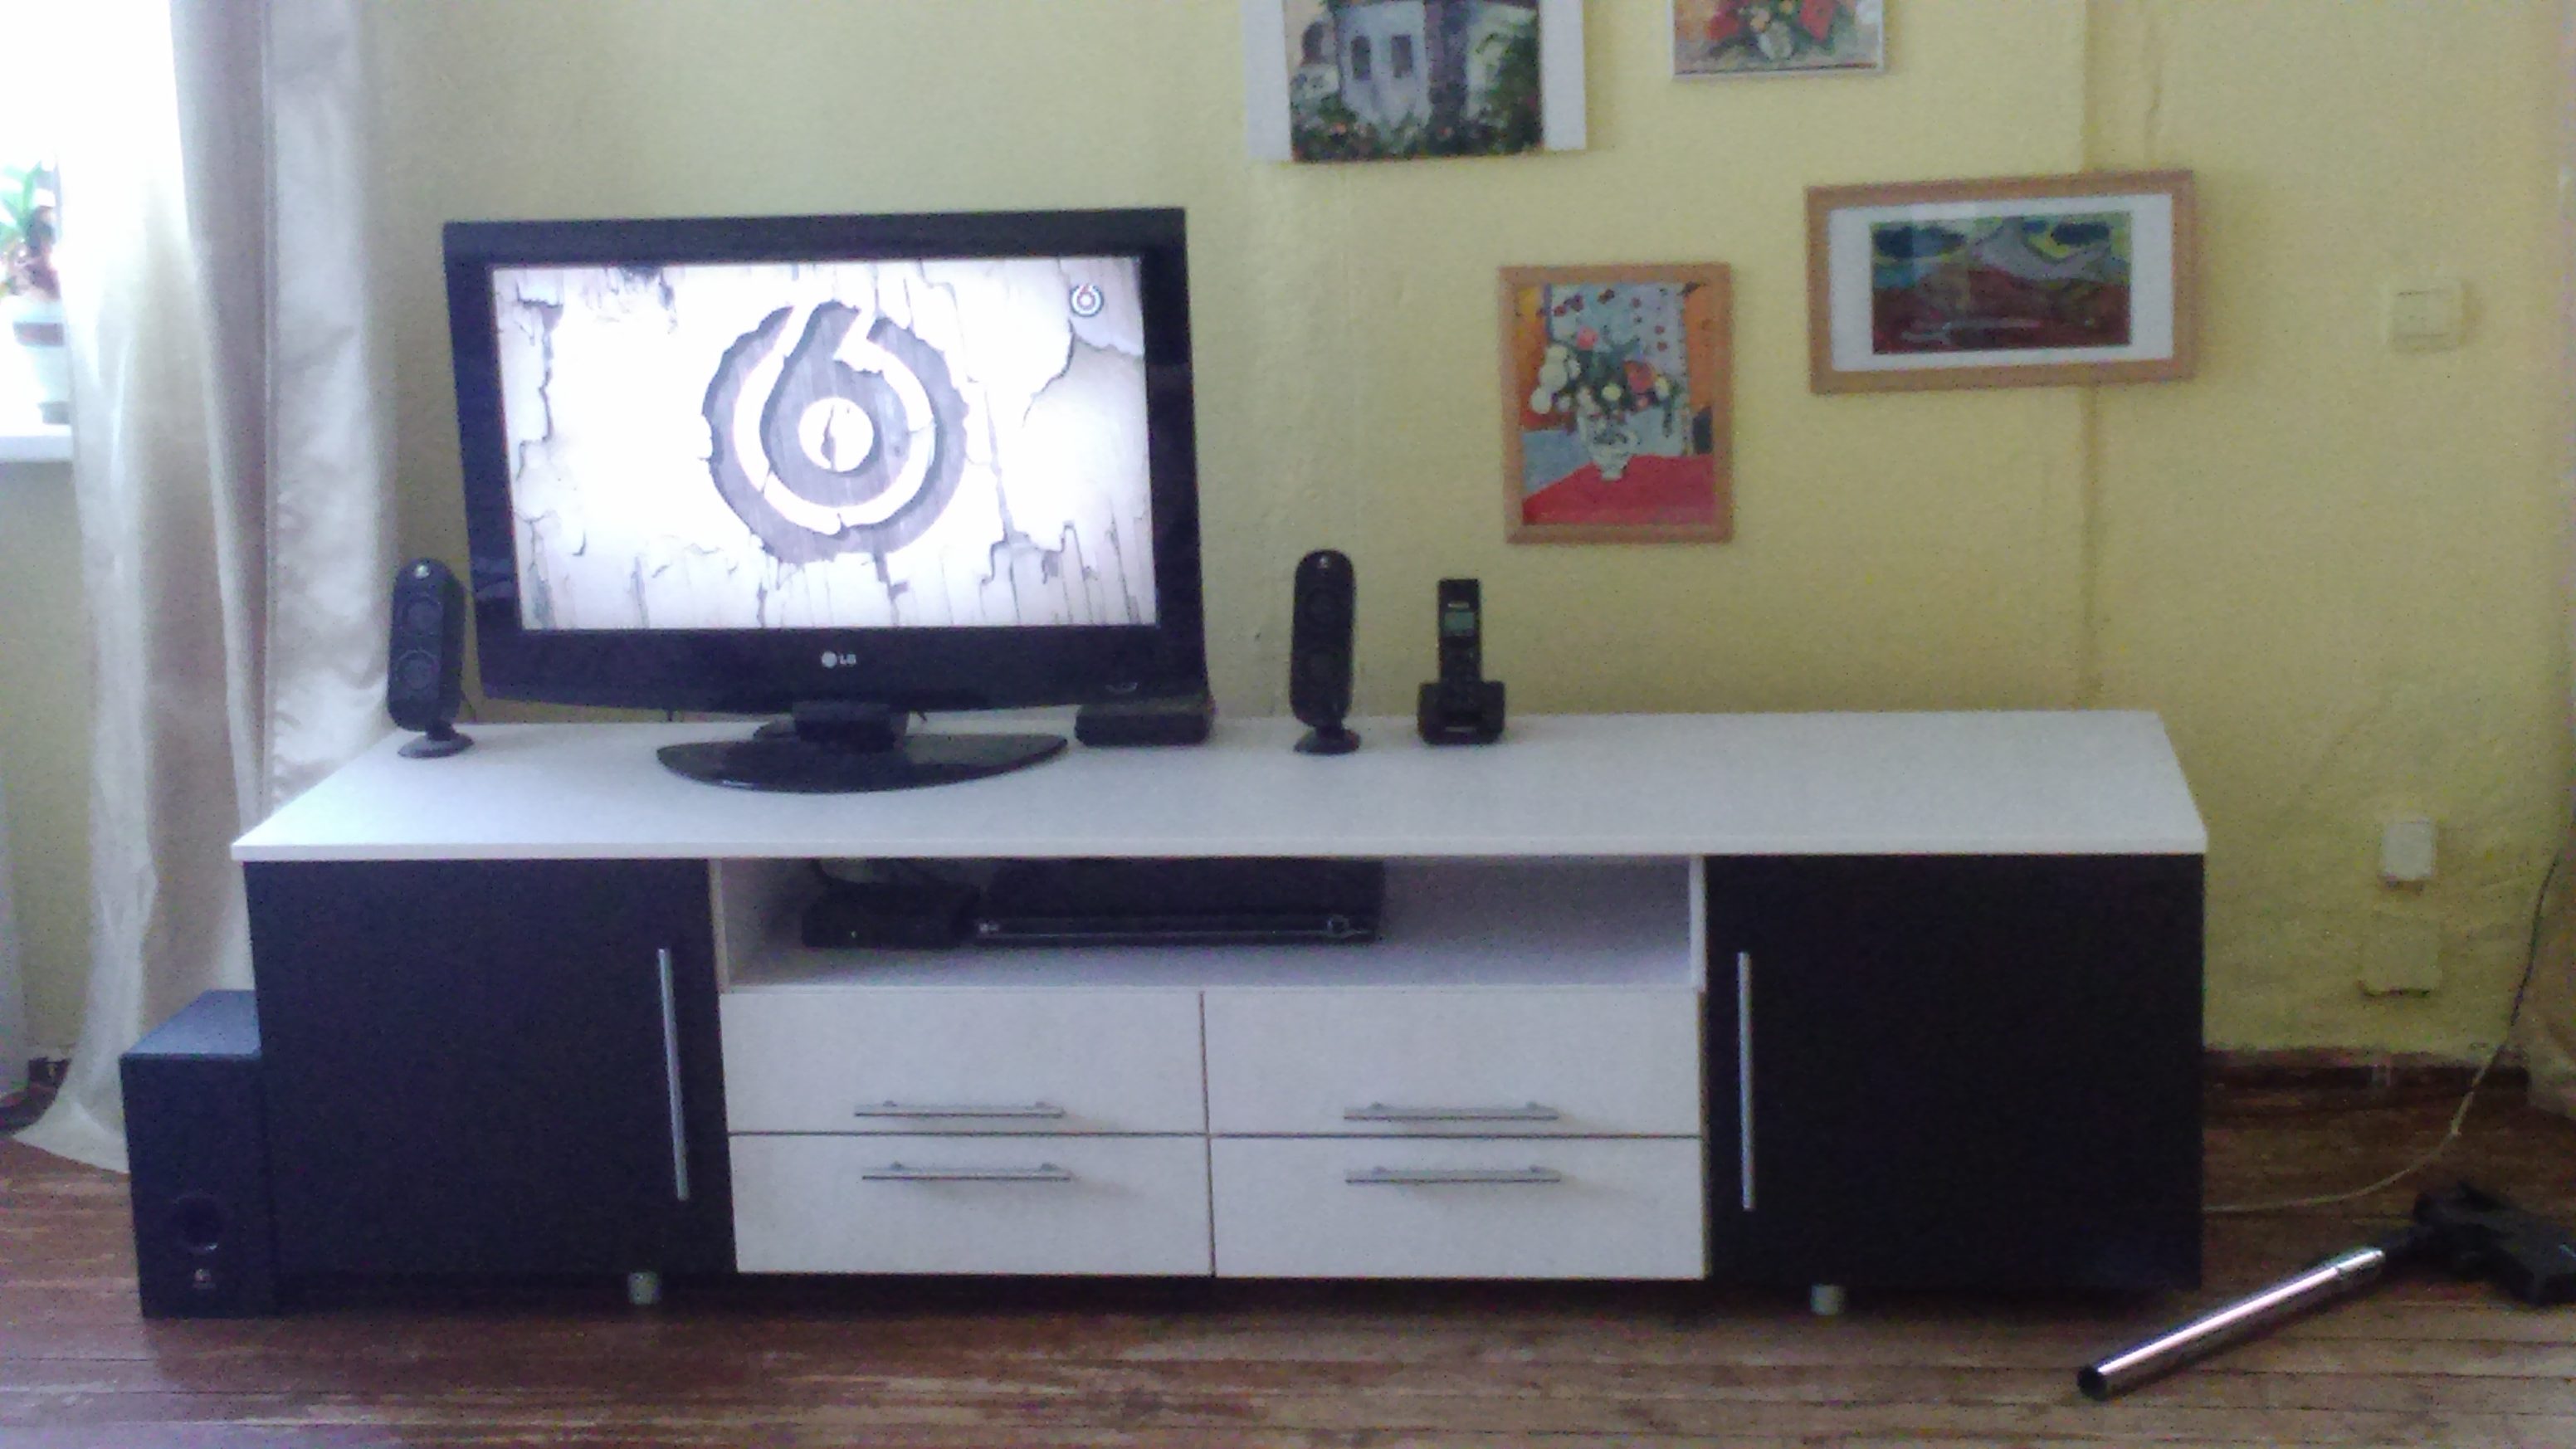
And it's a bit too heavy to put it in place of the old one, on a flimsy pole above the tv, I decided it would be nice if it was placed inside my tv cabinet. But it didn't fit due to the height. I wasn't allowed by the lady in the house to get another, bigger cabinet so I had to be sneaky and creative.
View attachment 539788
View attachment 539789
I just raised the upper plank by fitting a 2cm slat between it.
I wonder how long it will take before she notices that I modified it.
Edit.
The upper plank will eventually be replaced by a thicker, sturdier one that will be painted in greywash, to match the desk I made.
I could start posting my theater room wall updates in here but I probably wouldn't get any more comments.We should rename this thread the "Dennisch does stuff thread".
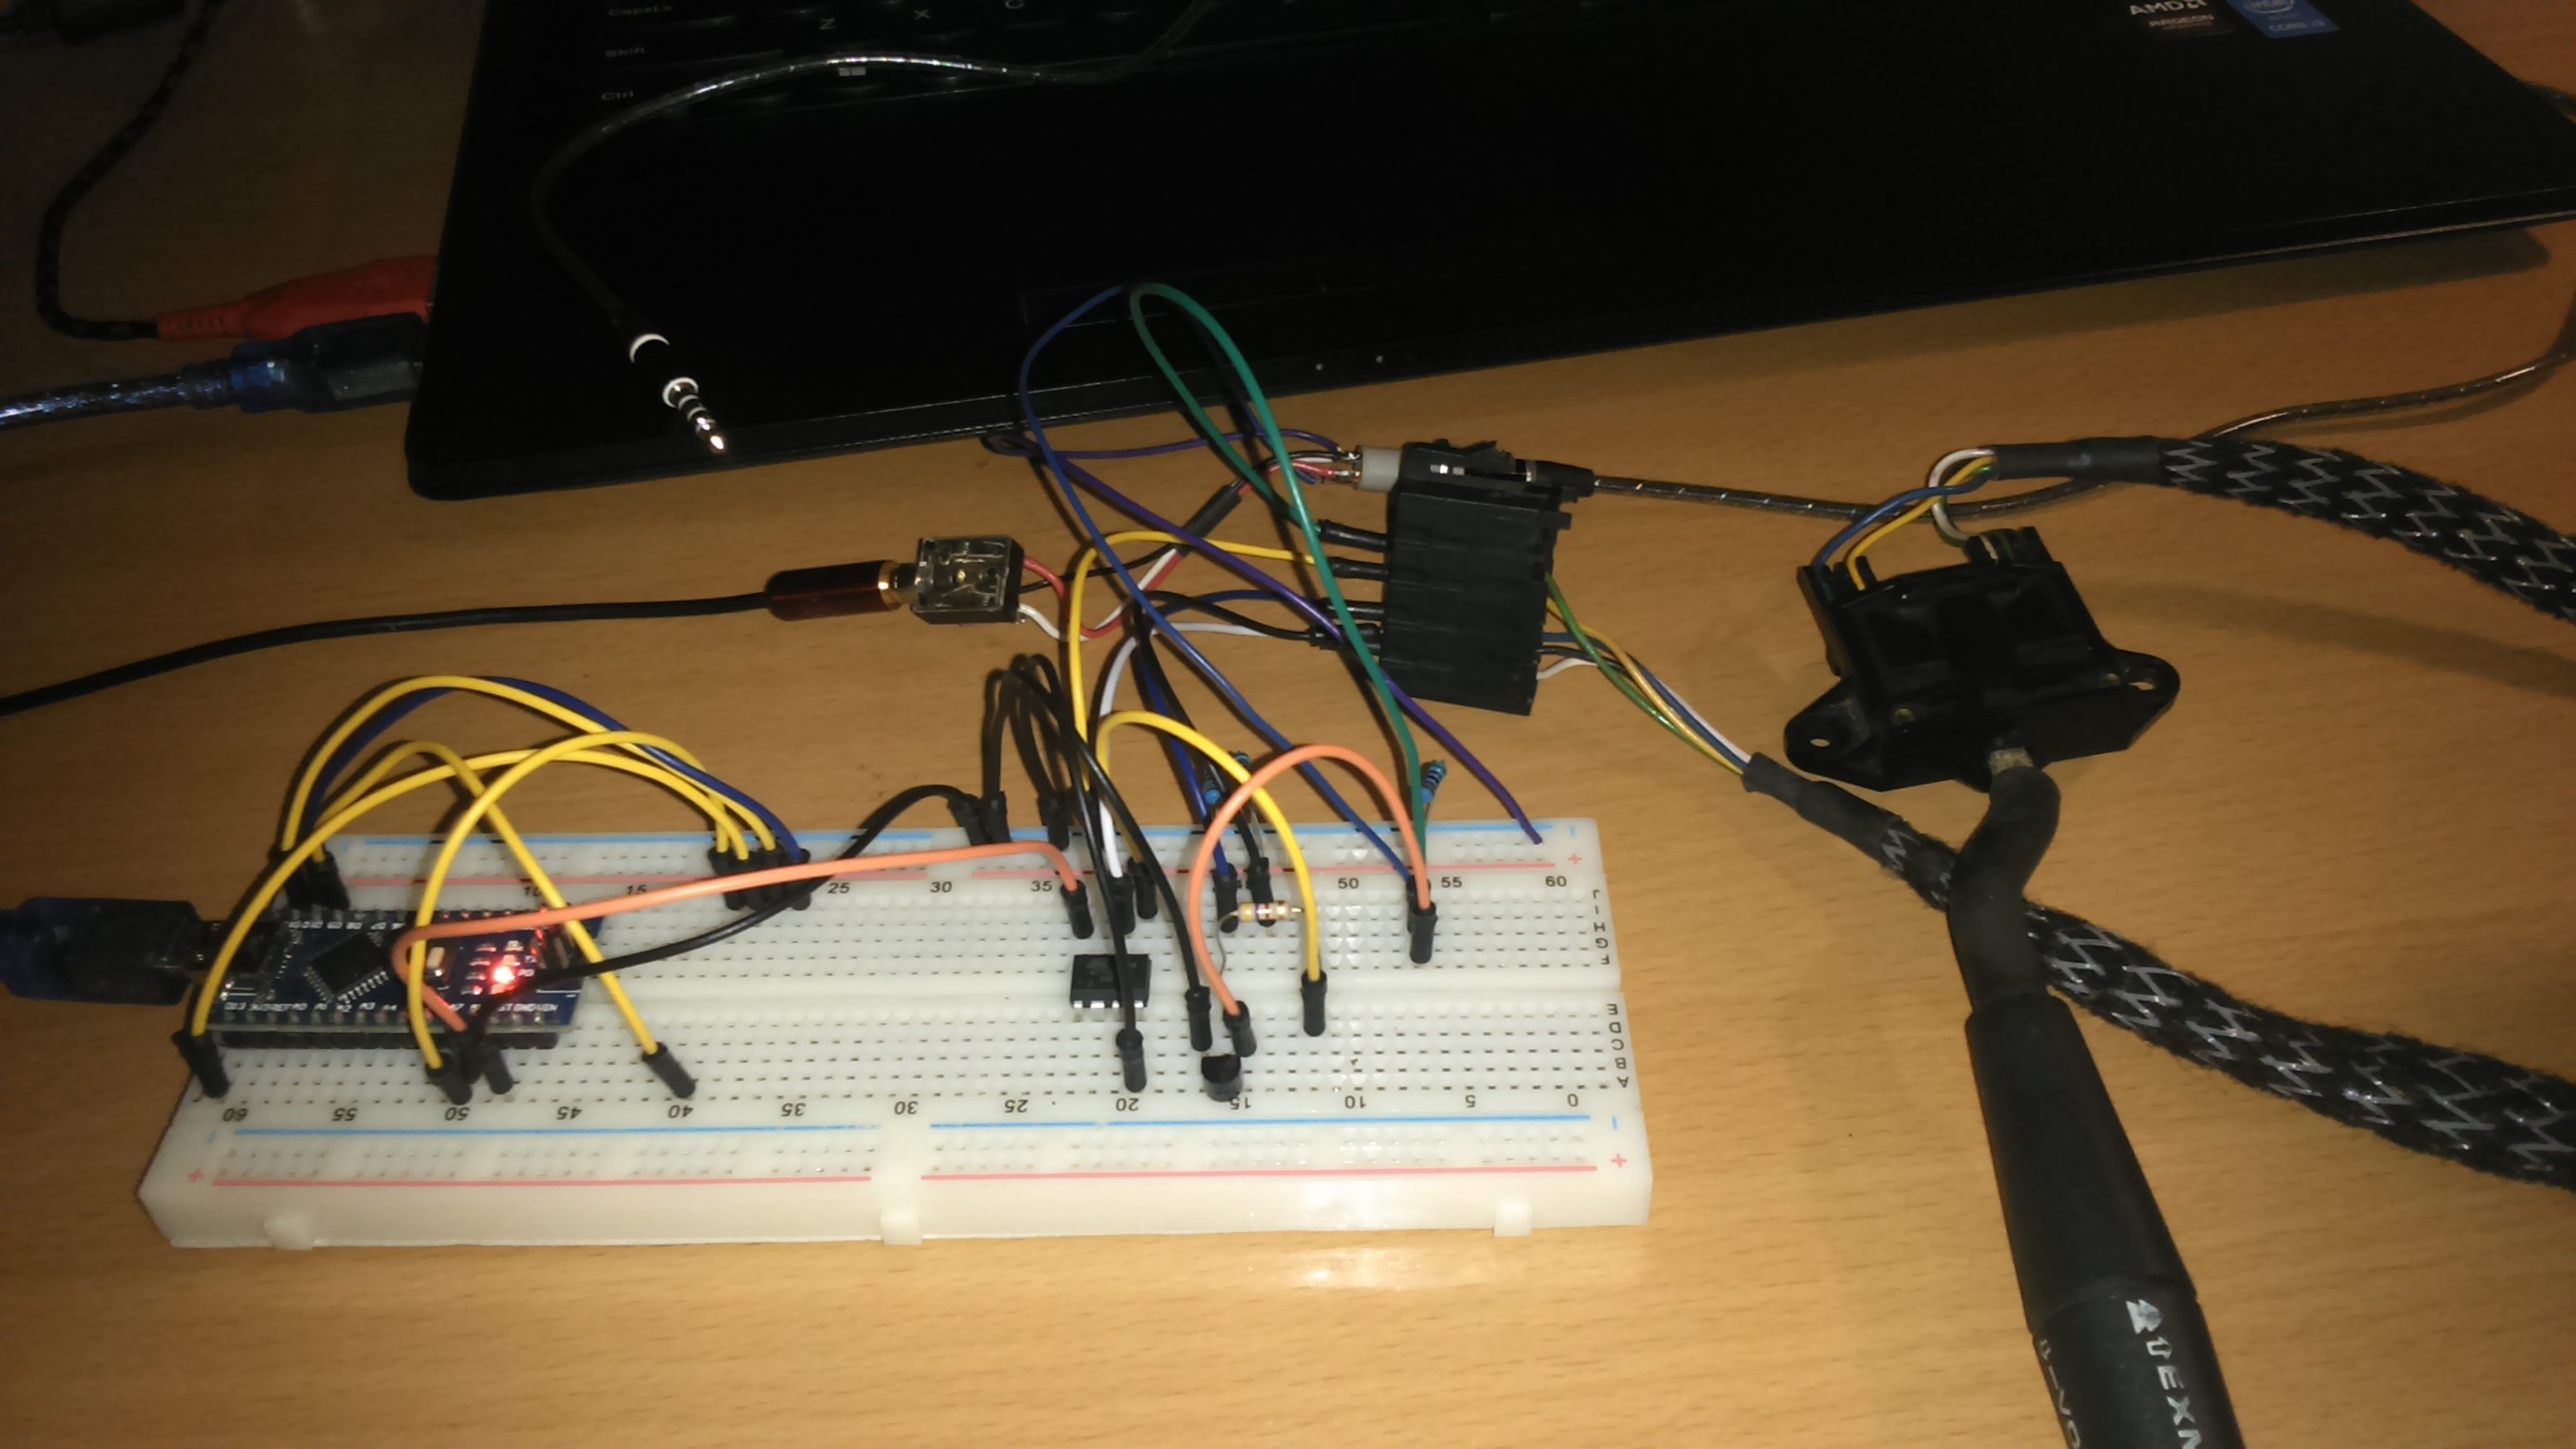
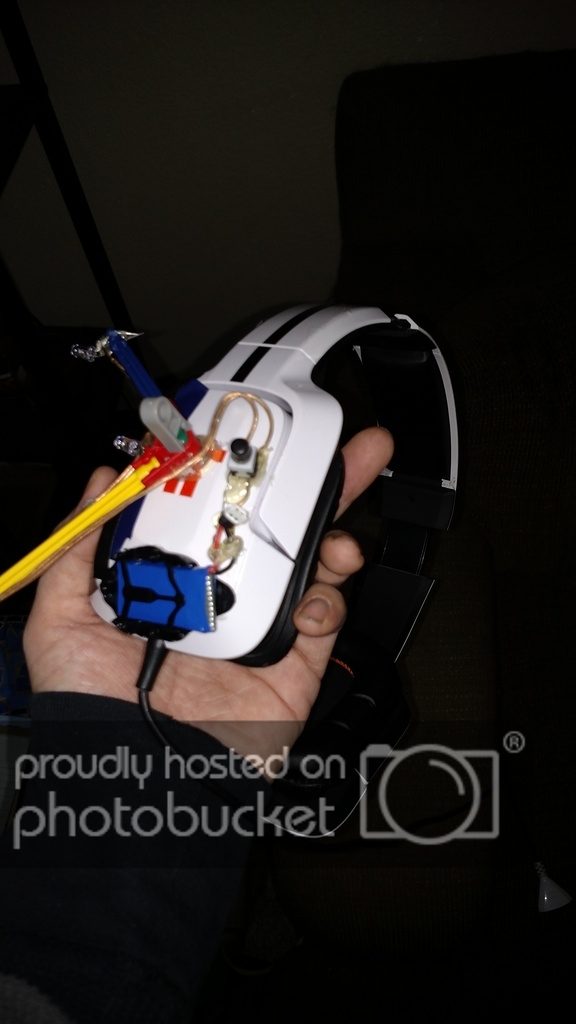
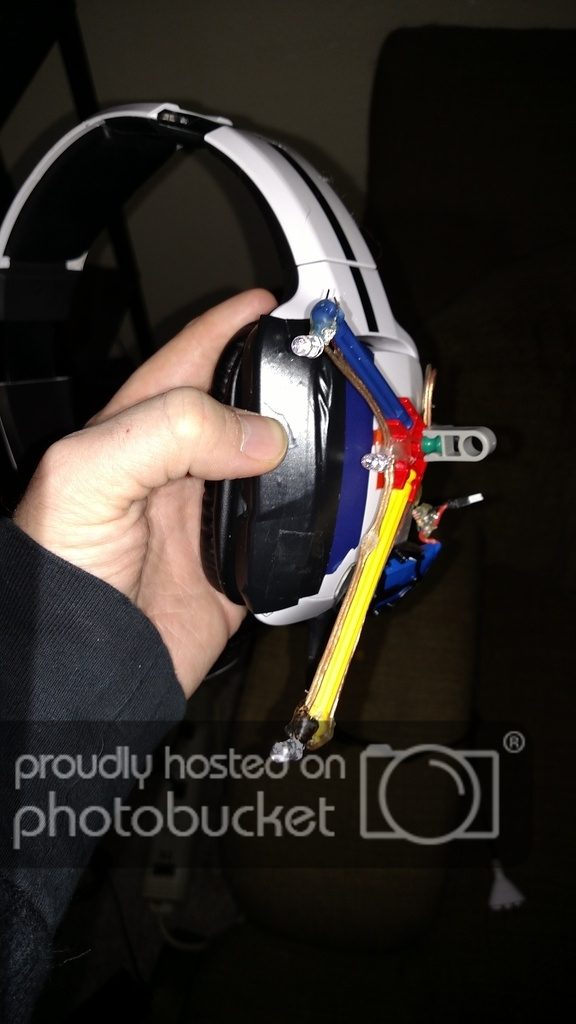
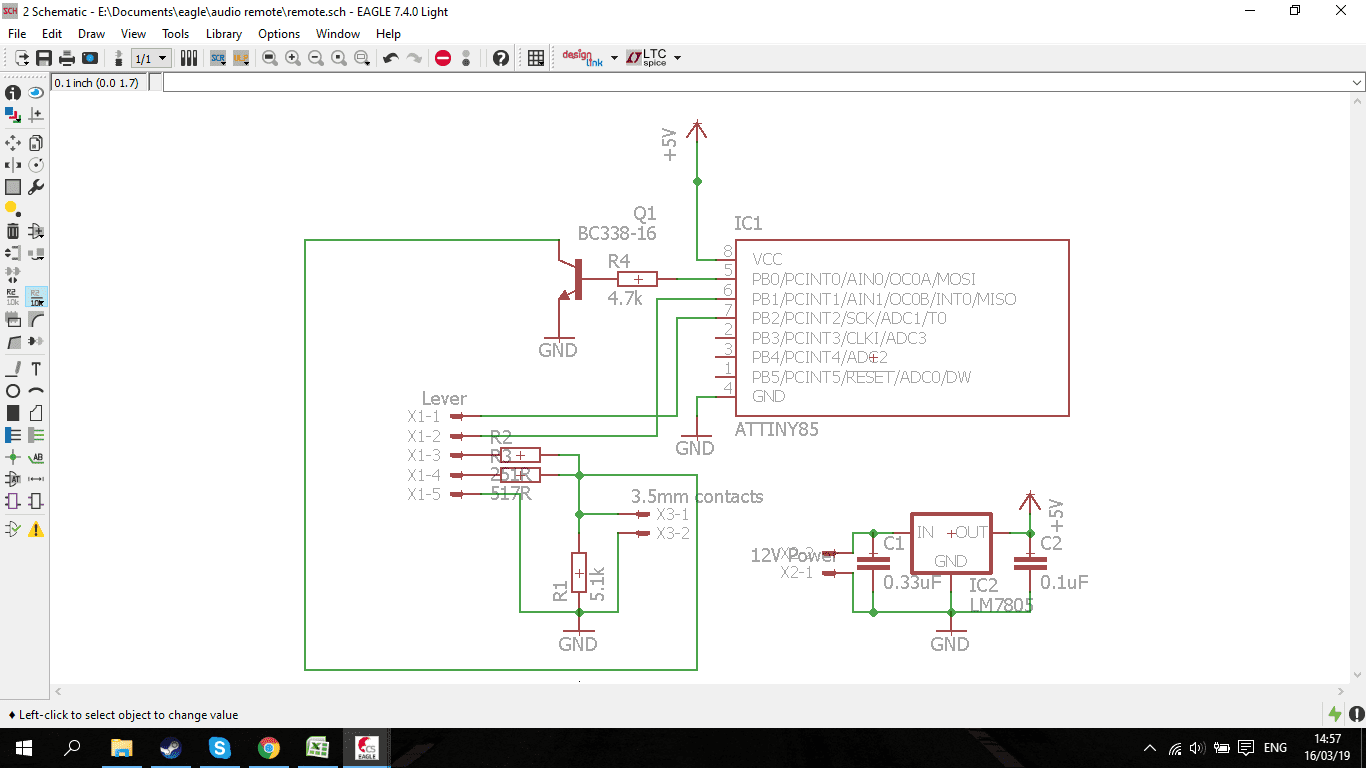
int laststate1 = 0;
int laststate2 = 0;
int delaylenght = 100;
void setup() {
pinMode(0, OUTPUT);
pinMode(1, INPUT_PULLUP);
pinMode(2, INPUT_PULLUP);
digitalWrite(0, LOW);
}
void loop() {
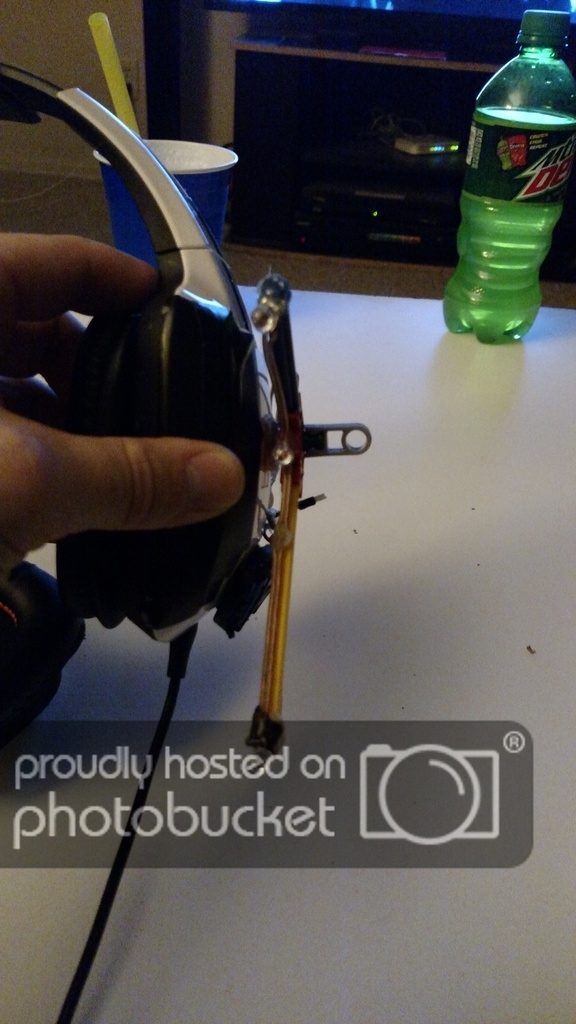
//double-click song forward
if(digitalRead(1) == LOW) {
if (laststate1 == 0) {
digitalWrite(0, HIGH);
delay(delaylenght);
digitalWrite(0, LOW);
delay(delaylenght);
digitalWrite(0, HIGH);
delay(delaylenght);
digitalWrite(0, LOW);
}
laststate1 = 1;
} else laststate1 = 0;
//triple-click song back
if(digitalRead(2) == LOW) {
if (laststate2 == 0) {
digitalWrite(0, HIGH);
delay(delaylenght);
digitalWrite(0, LOW);
delay(delaylenght);
digitalWrite(0, HIGH);
delay(delaylenght);
digitalWrite(0, LOW);
delay(delaylenght);
digitalWrite(0, HIGH);
delay(delaylenght);
digitalWrite(0, LOW);
}
laststate2 = 1;
} else laststate2 = 0;
}
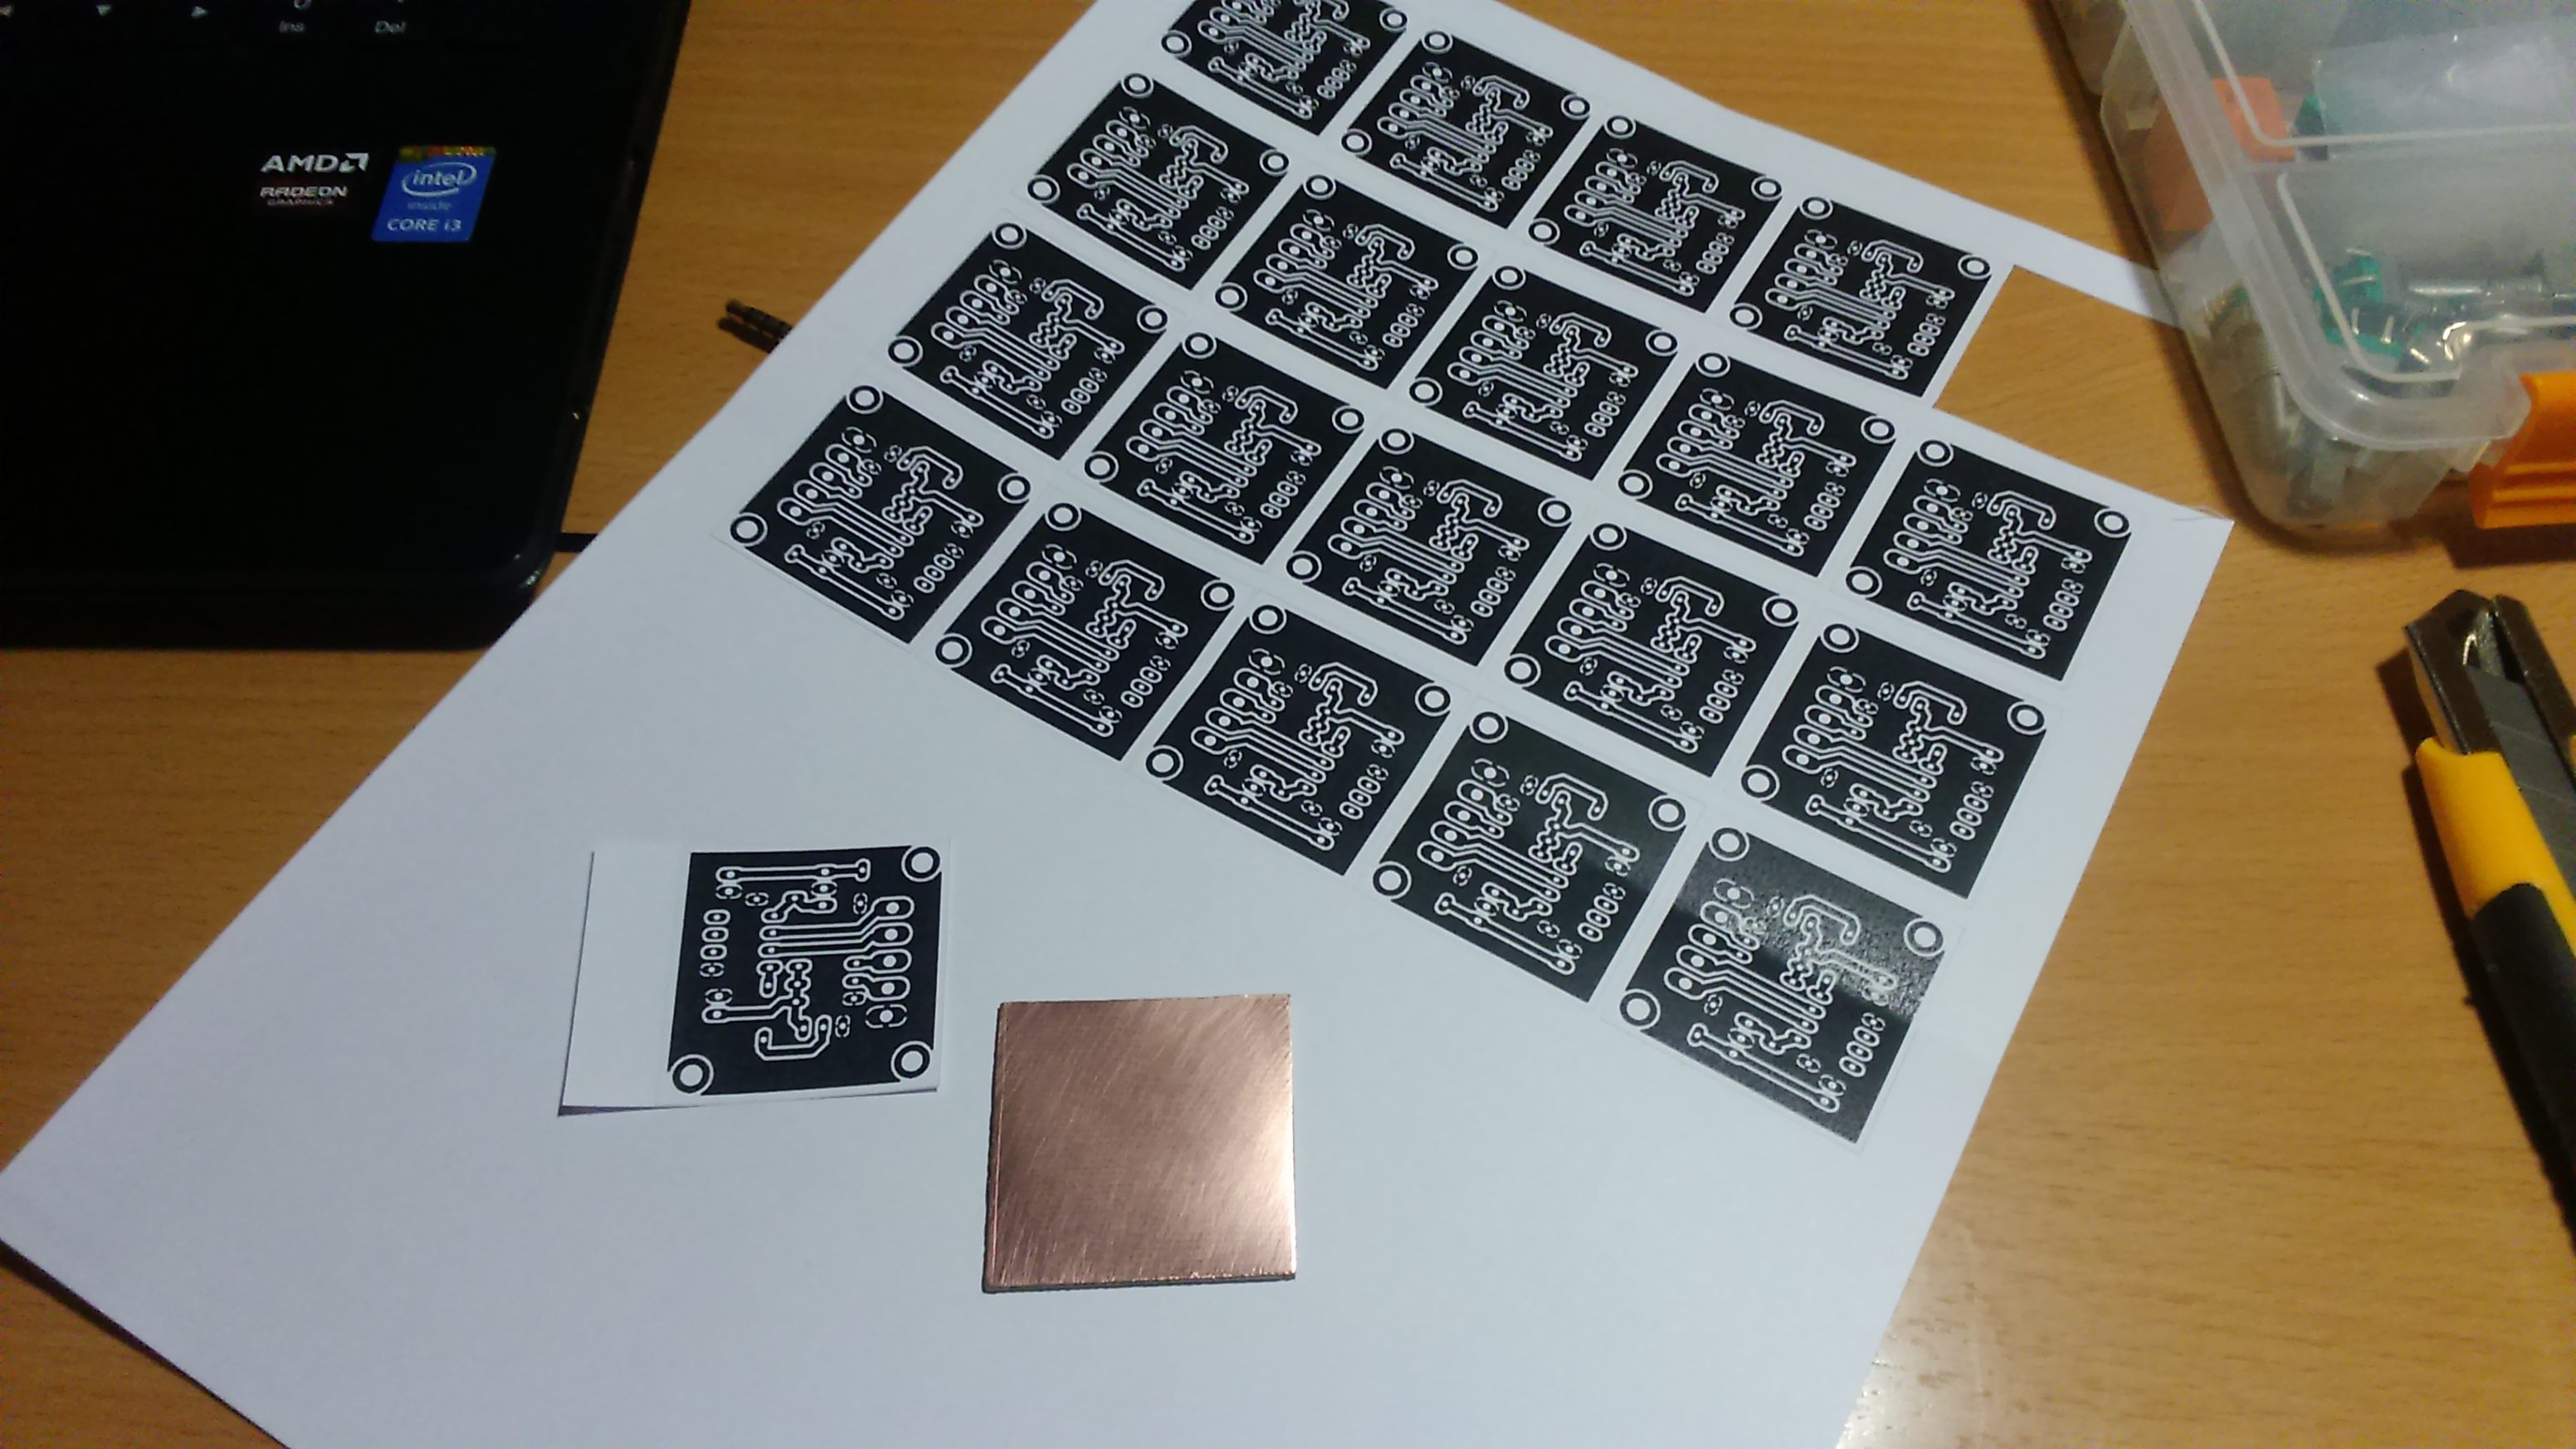

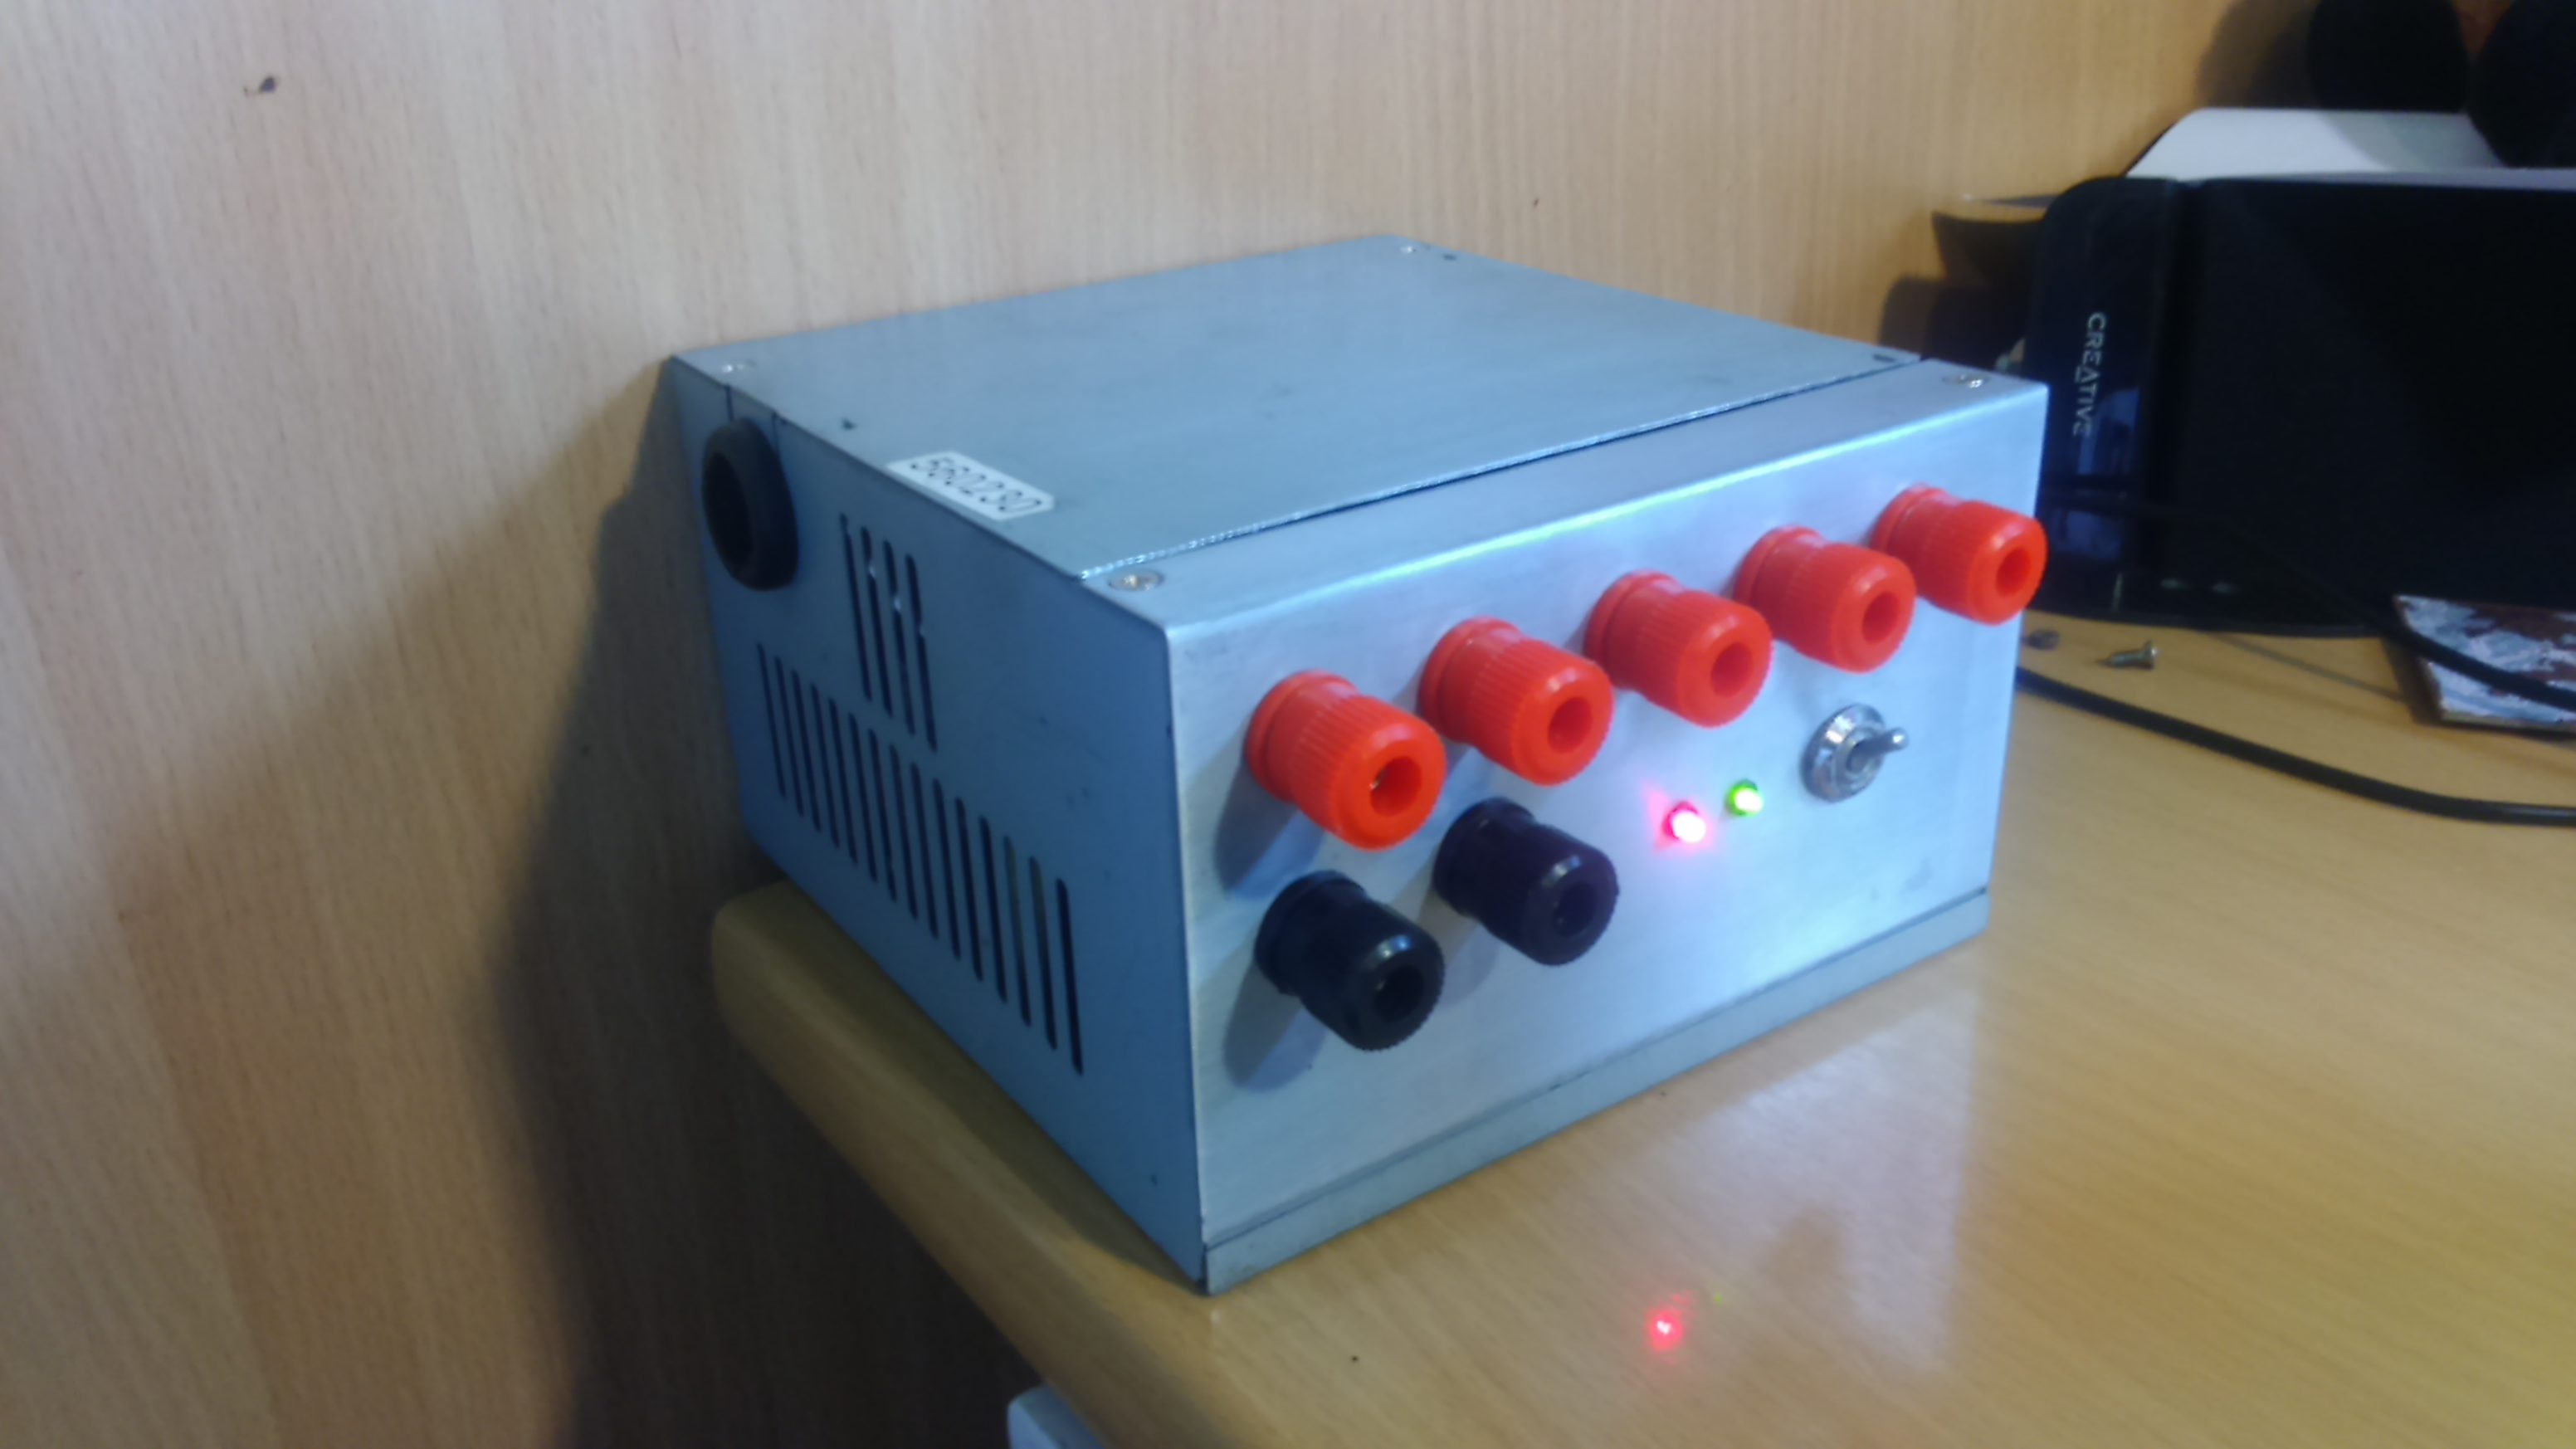

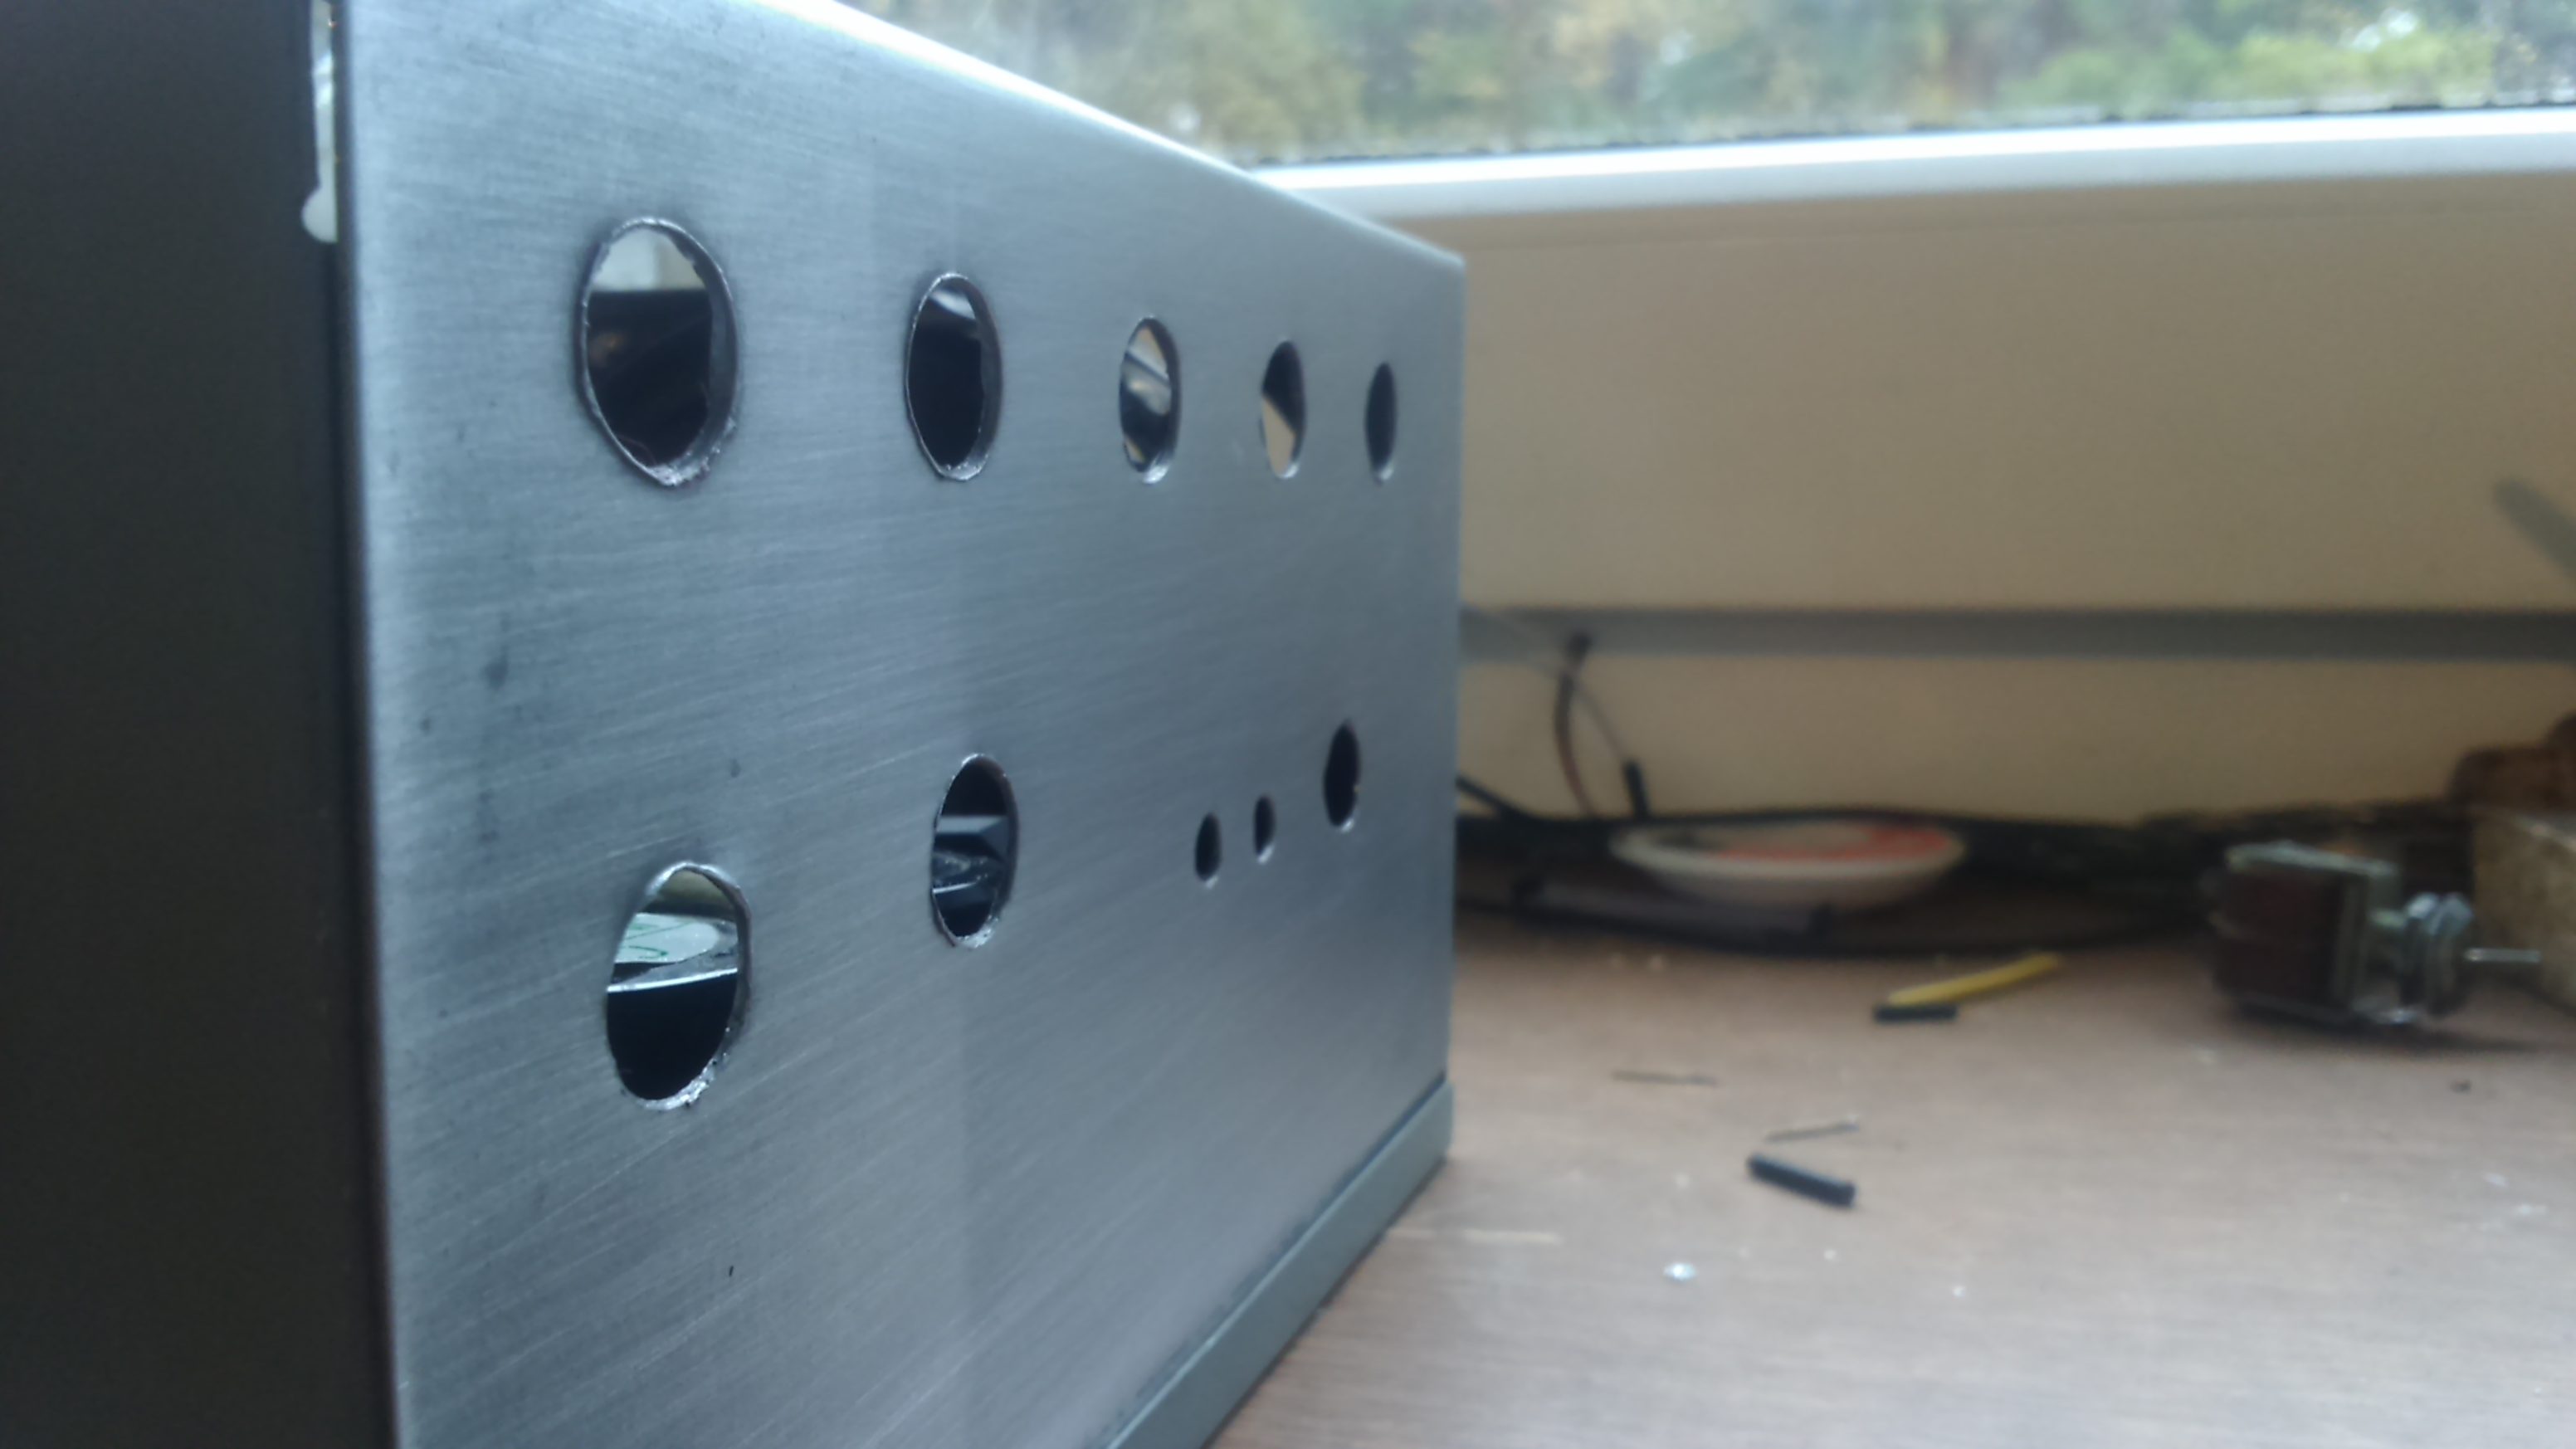
I've been drooling over CNC machinery for months now after having to find somebody to make some parts for us at work. Having access to one sounds amazing, the possibilities are endless.@Jet Badger we just got a CNC router at work, I've already got plans for a nice turntable, amp, HTPC and record cabinet...
Incidentally, since starting this job I've had zero energy or enthusiasm for my own projects, I mean I pretty much spend all day here working out DIY fixes for problems so the last thing I want to do is go home and do more! That's not to say I don't still have ideas, though, but my G27 mod is still at the top of the list.
but what I saw was way out of my scope of comprehension.
That looks spectacular, @Shaun! 👍 Are you putting up a railing? At least I'm assuming that's what the grommet is for.
Meanwhile here I sit not working on my theater room wall as I've had a few things come up that have pulled me away from it for a bit. I should be able to start making some more progress on it pretty soon.
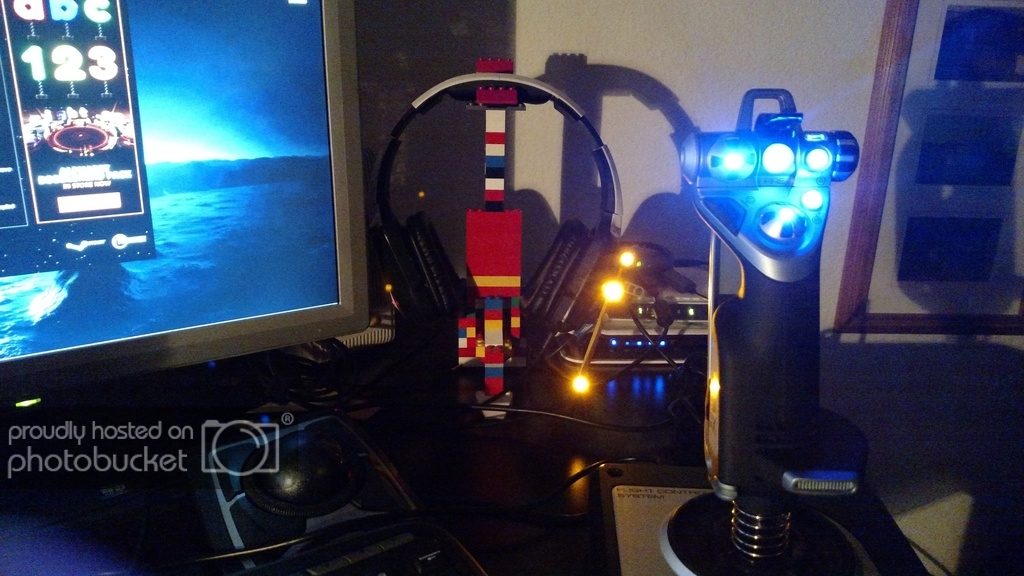
Didn't even occur to me that they would be lights.If so no they are lights.

I'm a loooong ways from being done but this is the last picture I took on my phone.I've been waiting in anticipation of you wall in the theater room as I think I can picture it but need to see it if I'm correct.
Would you be interested in commission work @Dennisch?