This is just a little tutorial for using clones to make a logo with multiple stroke colors. Also handy if lettering overlaps the stroke area and if you have allot of lettering that requires the original lettering thickness. Sometimes using a copy and placing below it will make the file to big. This can also be used for shadow effects or multiple gradient effects like carbon fiber. This is for Inkscape but I assume other programs can clone.
Using the Lego logo as an example. Final result below if you want a look at it.
View attachment 949533
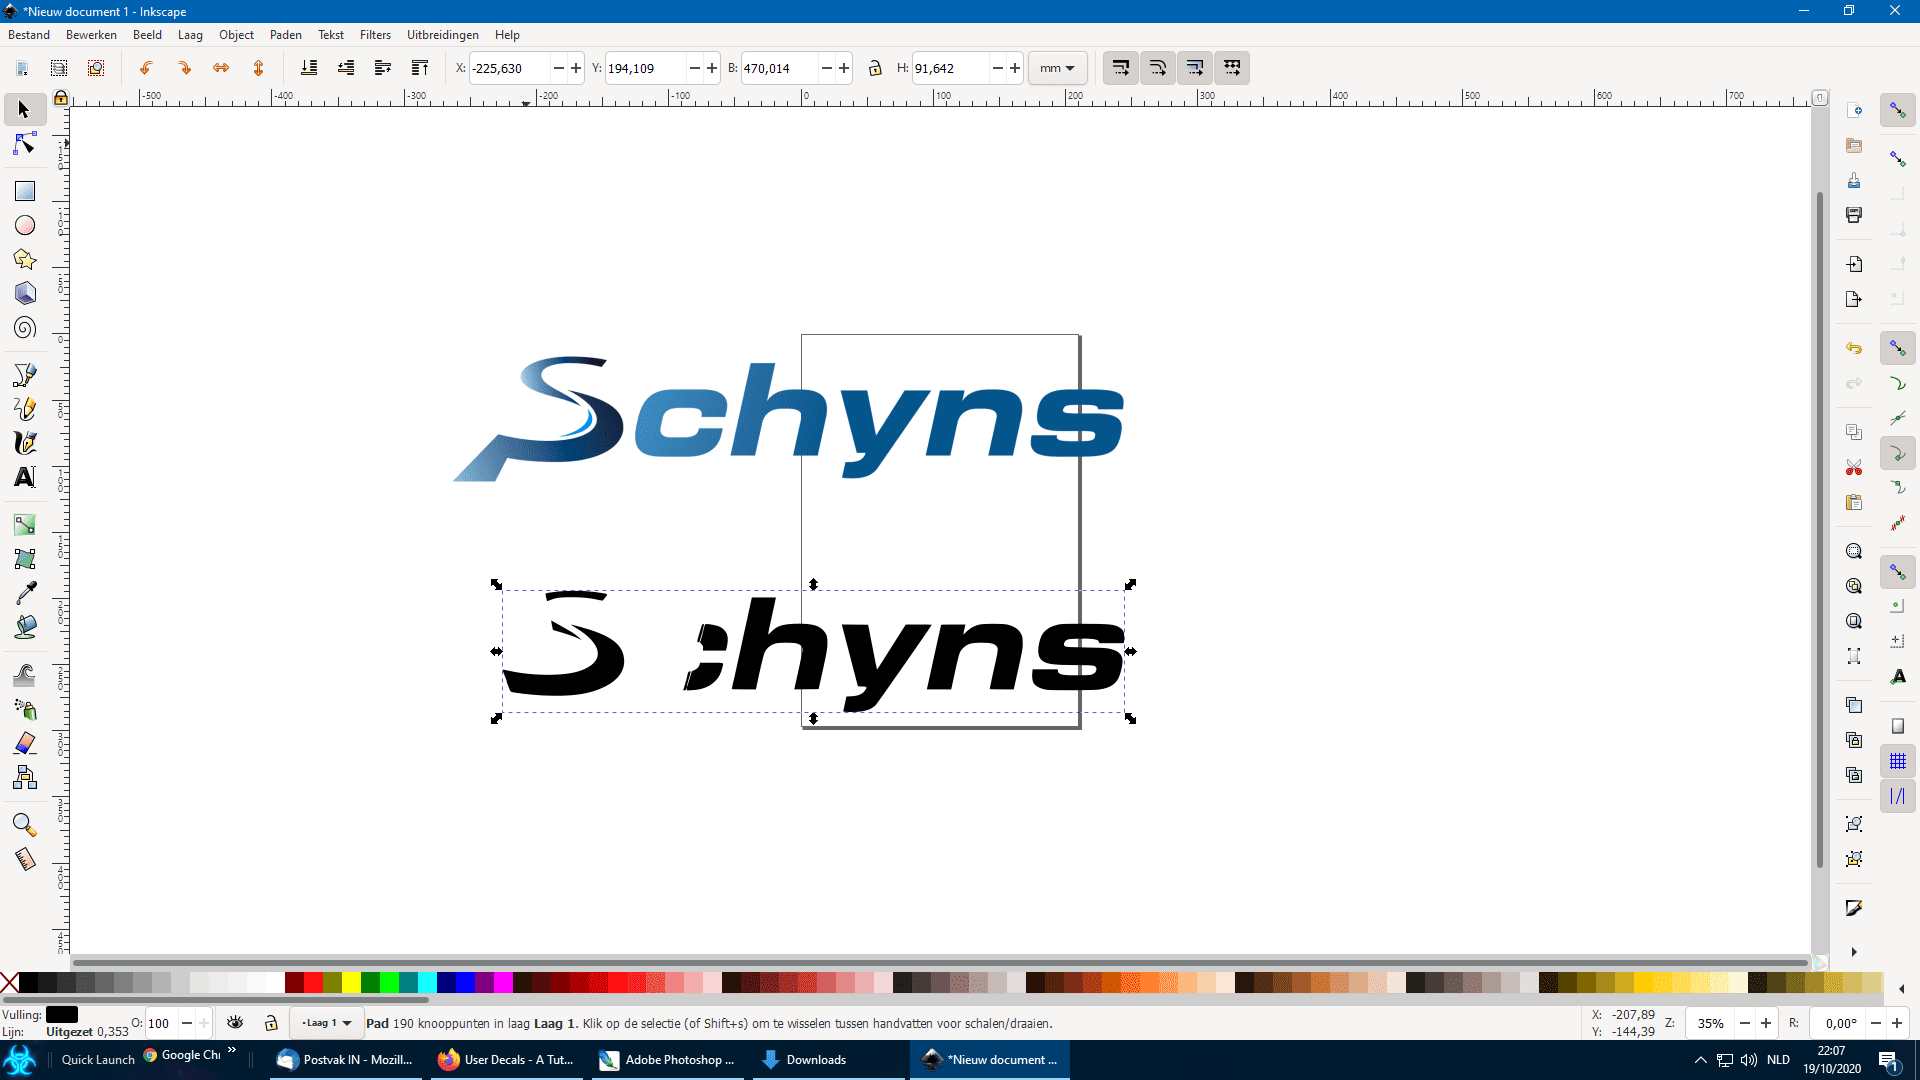
1 Trace the white letters only or scan and keep just the white parts. Make sure it is ungrouped and combined into a single path.
2 Set both the fill and stroke colors to undefined. It should appear black. If either color is set the clone will keep that color and can't be changed. Do not move or resize original path after clones are made.
3 Make a clone of the lettering and set the stroke color to yellow. Increase to desired thickness. Set fill to none or black. *
4 Make another clone of original path (not the previous clone). Clones need to be above the original, so open the objects view box to make sure you select original path. All clones should show as a "use" object rather than a "path" object. The clones can be moved but original should stay put.
5 Set stroke to black and fill none or black. Set black stroke thickness to what you require.
6 Yet again make a clone of original path. Set fill to white and stroke to none.
7 Select all. Resize page and save. Use
SVGOMG if required. ** and ***
* If your clone does not add stroke make sure your original path has a stroke thickness set above zero before making stroke color undefined.
** If the stroke appears corrupt in SVGOMG. Toggle the setting Round/rewrite paths.
View attachment 949535
*** ALL clones need to be above the original path to work in GTSPORT . So make sure the setting "Round/rewrite number lists" remains off.
View attachment 949532
The clones can be moved around resized stretched etc. Even with gradients. However try not to mess around with the original path as GTSPORT is very fussy.
The final file size may be larger than using just 3 colored paths in this example. But if you had 30 letters instead of 4 the file would still remain only slightly larger than just the original 30. Anything under 30-40 nodes for a clone may not save much.
Edit: Just checked - my original text is 56 nodes. SVGOMG precision3 = 3.54kb . With original lettering and no clones 3.18kb.
At precision1 in SVGOMG 3.52 and 3.16 . Roughly adds 0.12kb per clone.


 , not sure about how to post it here...
")
")