[Quote = "SlowEddy, post: 4252864, miembro: 147048"] *** Editar clic aquí si mis fotos no aparecen ====>
http://s12.photobucket.com/albums/a206/edguna1/ GT5% 20Project /? start = 0
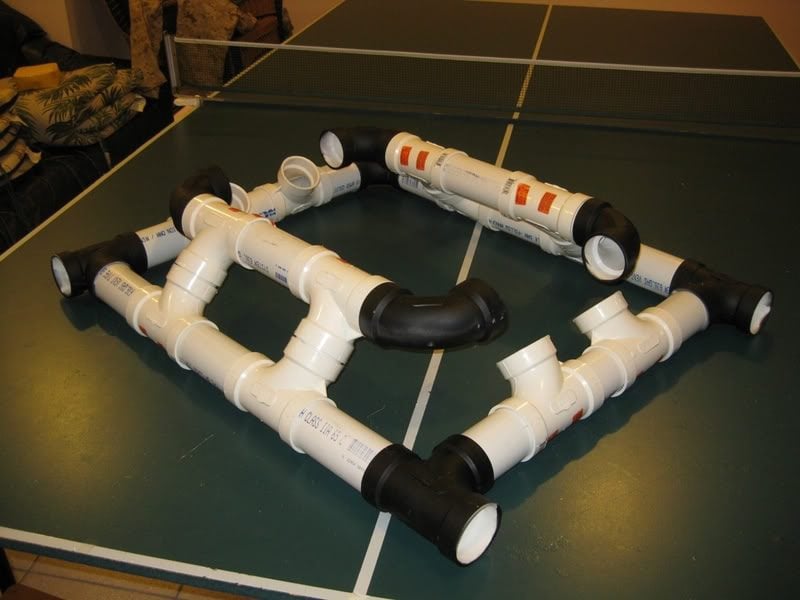
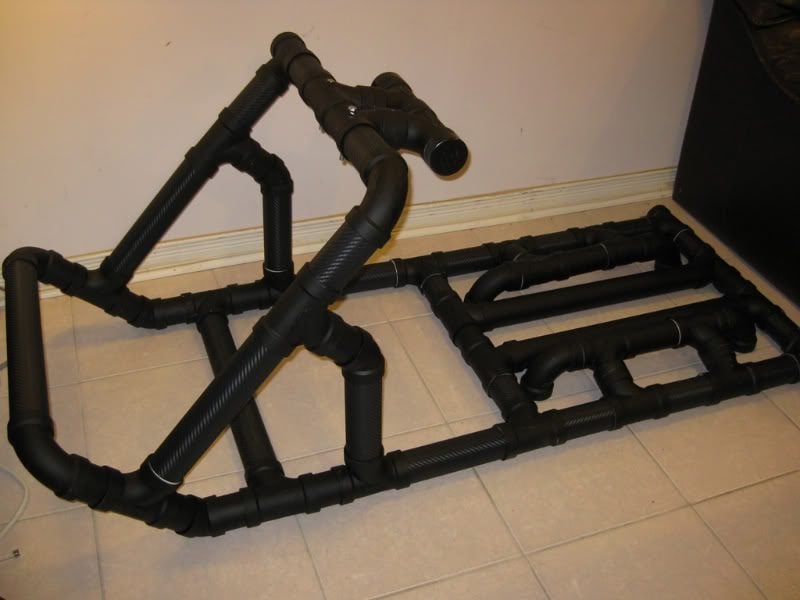
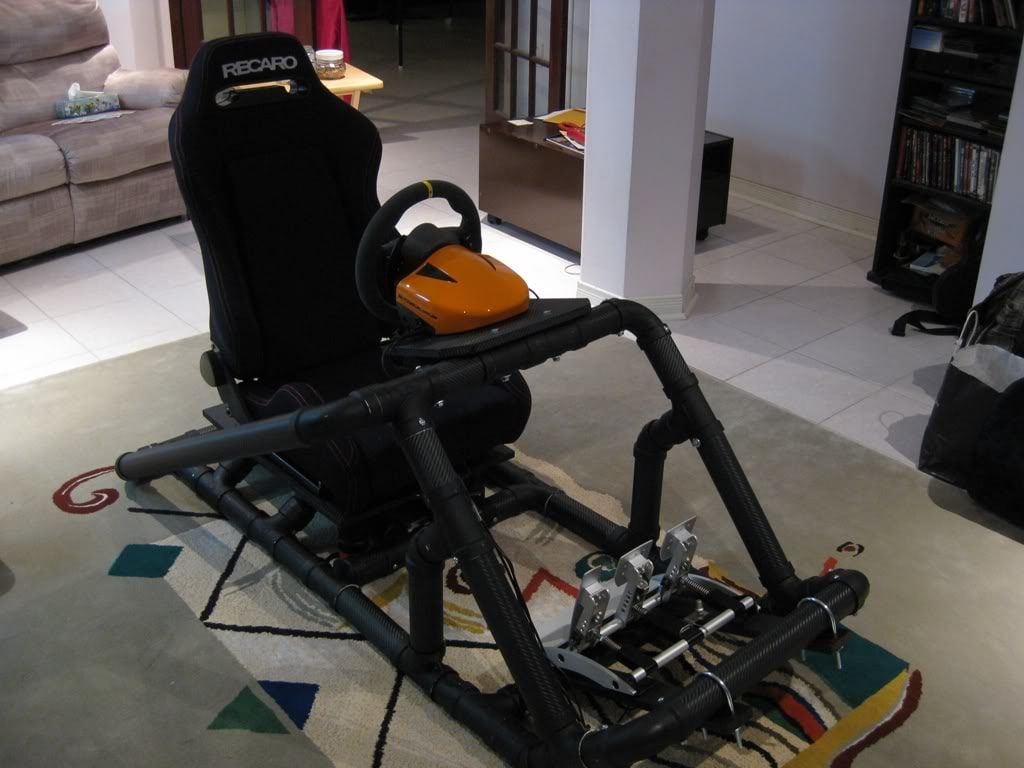
Así que aquí es el principio hasta el final de construcción de mi aparejo PVC - ver post número 2 para dibujos e instrucciones Bricolaje - Estaré actualizando con el tiempo ya que no estoy 100% terminado con los dibujos
Originalmente iba a construir algo fuera de extrusionado de aluminio / 8020 cosas pero tropecé con PVC vaina de carreras juegos de SIMUL8R que se puede encontrar aquí.
http://lumenlab.com/forums/index.php?showtopic=28016&st=0
así que fui la ruta de PVC e hice algunos cambios en el diseño de mi propio. Me tomó aproximadamente 2 meses para terminar de principio a fin - me tomé mi tiempo ya GT5 se retrasó
Todavía estoy pensando en añadir un pateador culo y el Fanatec palanca de cambios deportiva del club cada vez que sale
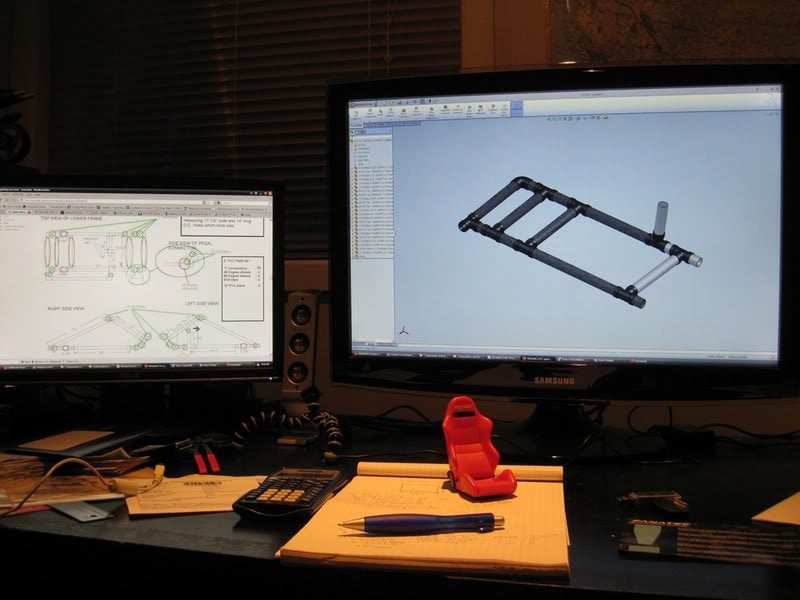
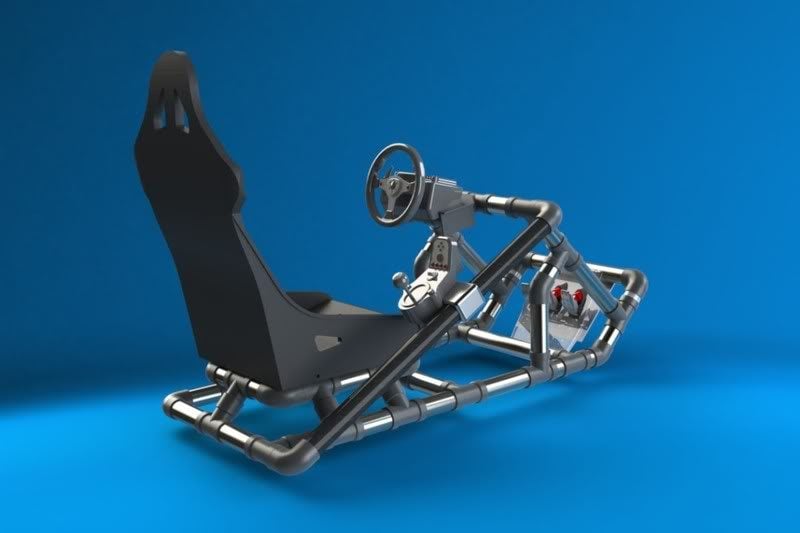
Empezó, la creación de un modelo 3D con el diseño original de SIMUL8R
Terminado y foto prestados
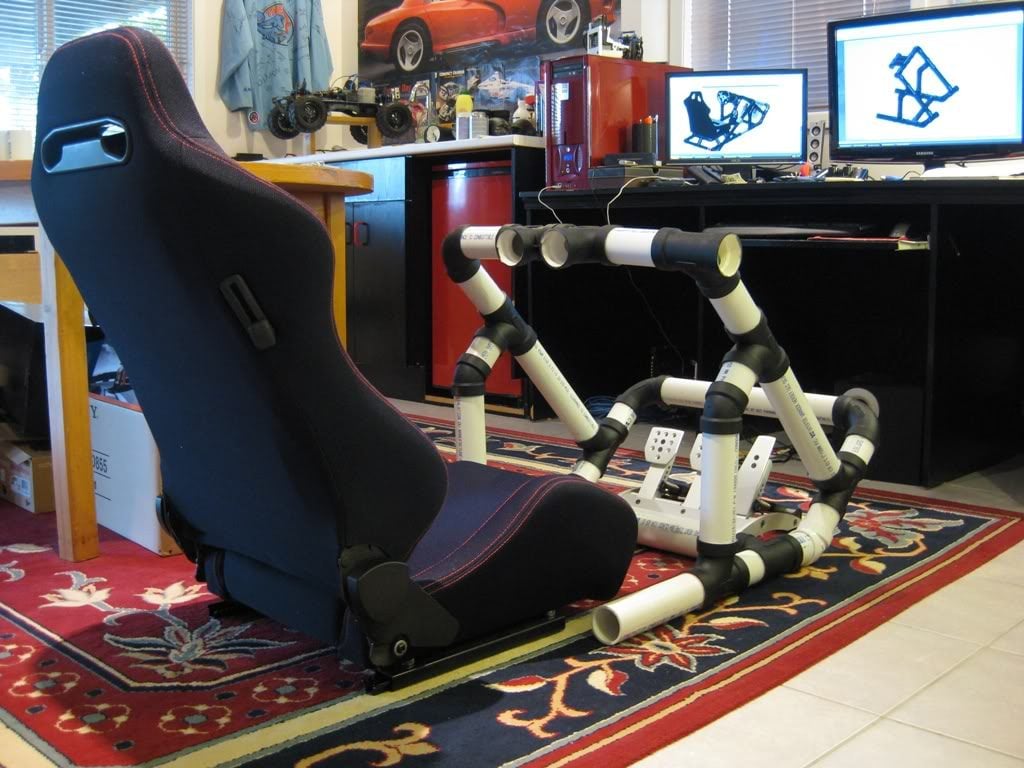
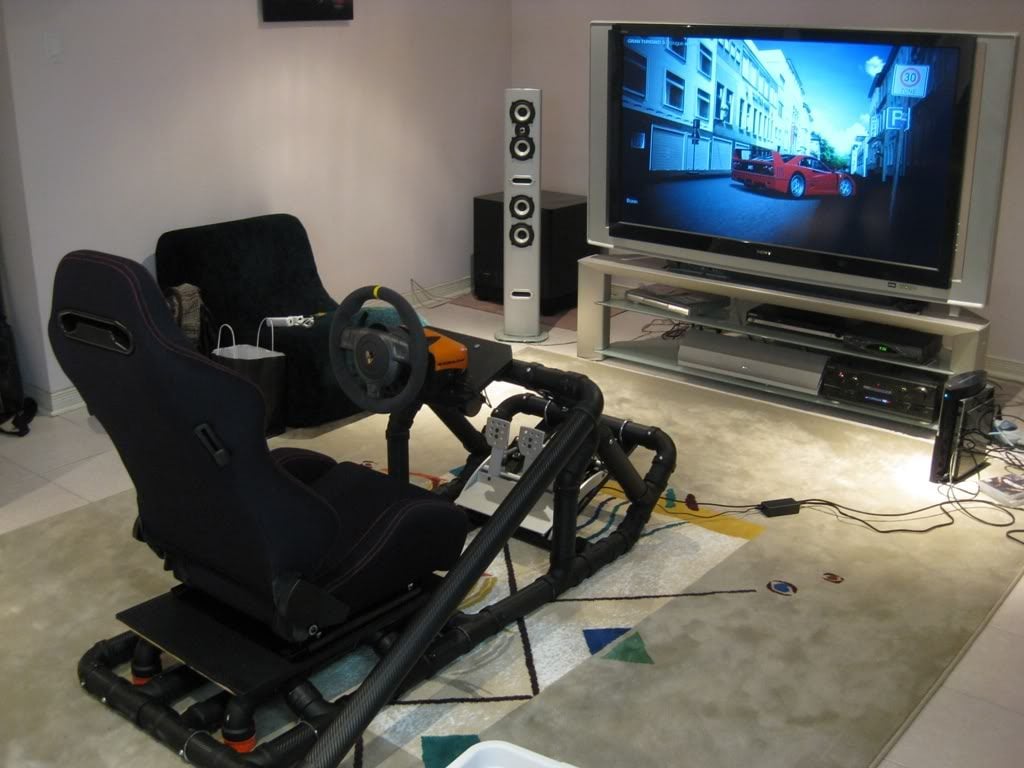
Quería hacerlo más portable y más fácil de moverse por la casa de enfrente lo creado y las secciones posteriores del marco
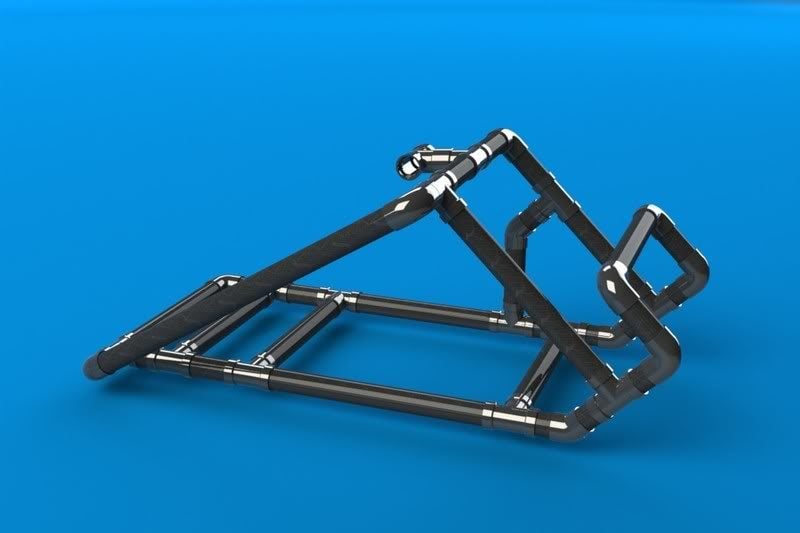
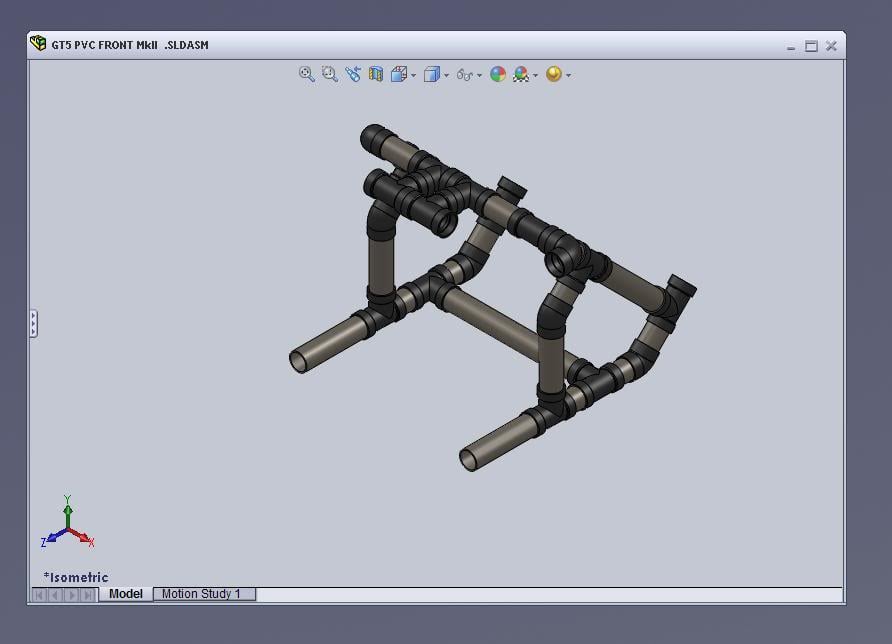
Frente
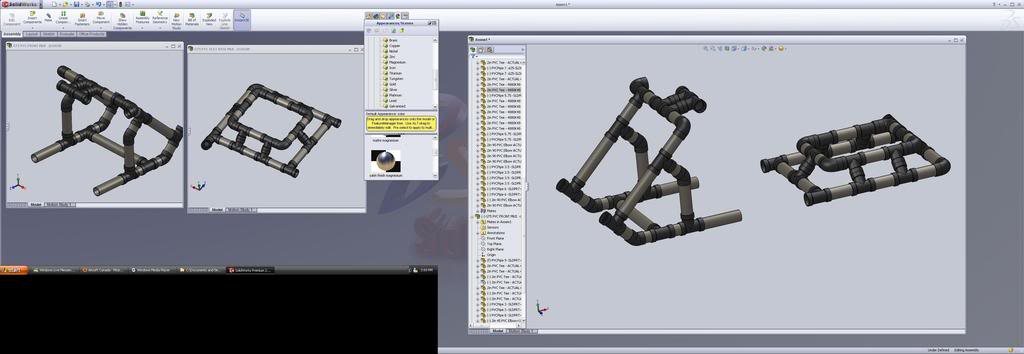
Delantera + trasera
Asamblea completa
Foto render 1
Foto render 2
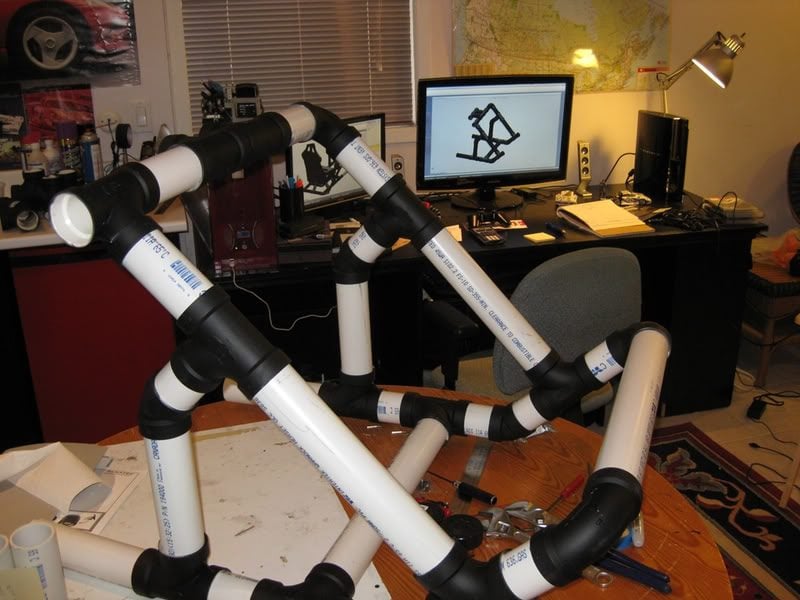
Empecé a fabricar componentes utilizando una sierra, caja de ingletes y Dremmel
Asamblea de construcción a Spec
Progreso !!!
El progreso en el conjunto trasero
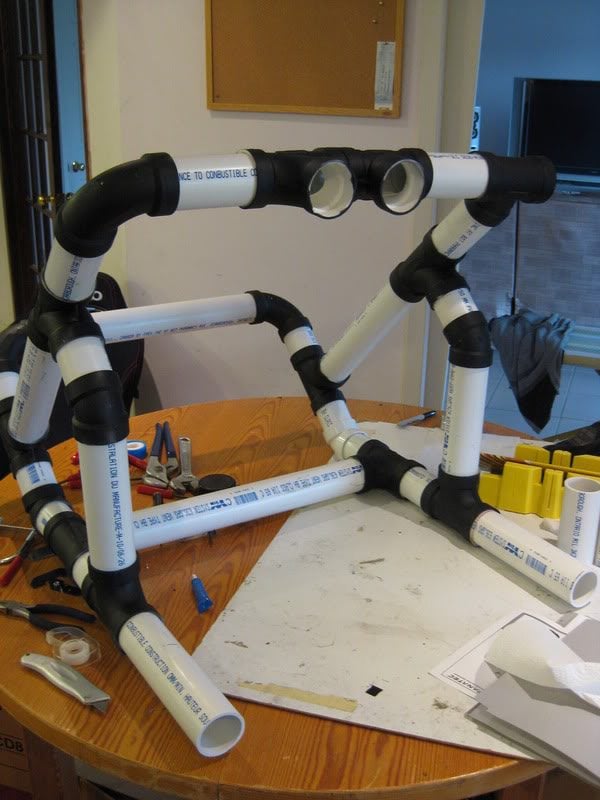
Delantero y asambleas traseras
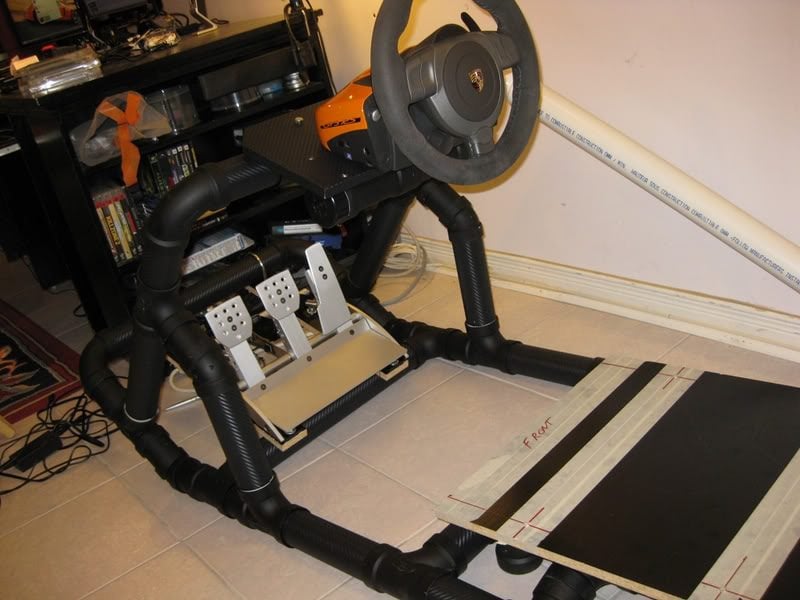
Con asiento y montar la rueda
Me di cuenta de la sede era demasiado alto con el que mi diseño inicial así que tuve que cambiarlo
haciendo uso de los libros de texto antiguos de averiguar aa mejor altura del asiento
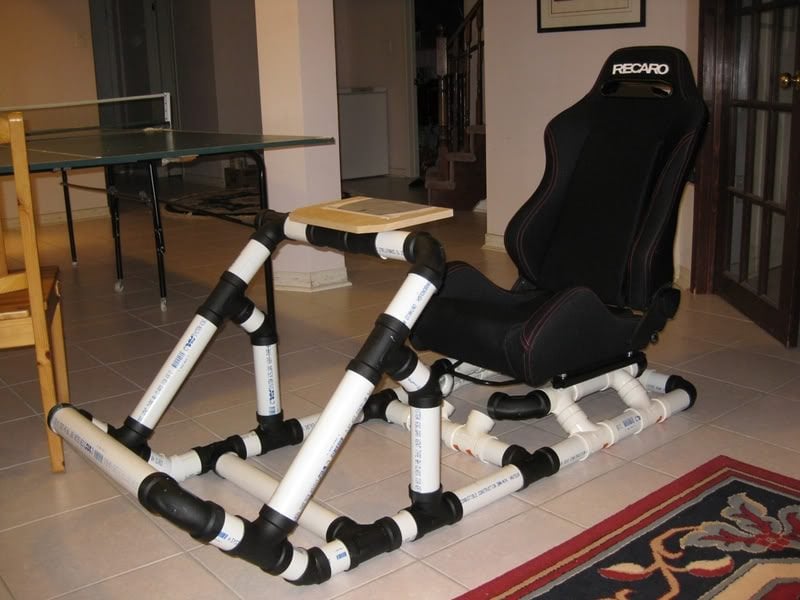
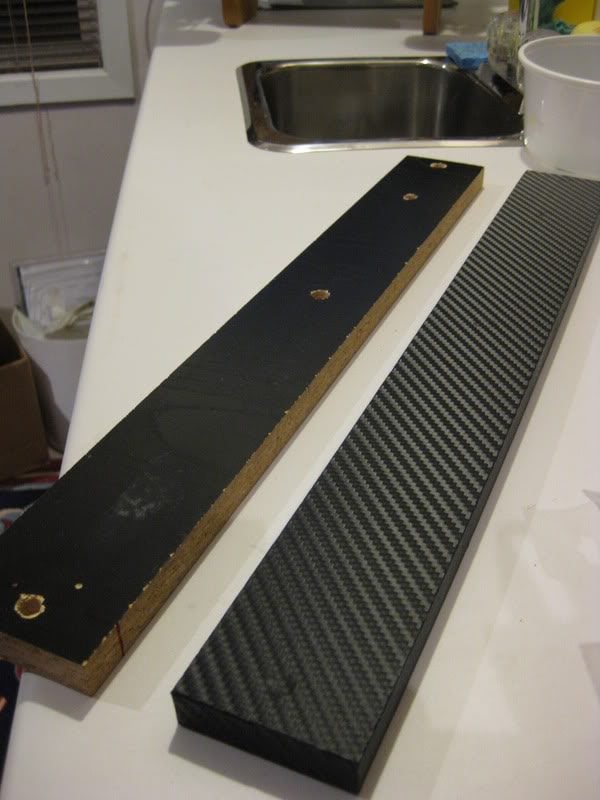
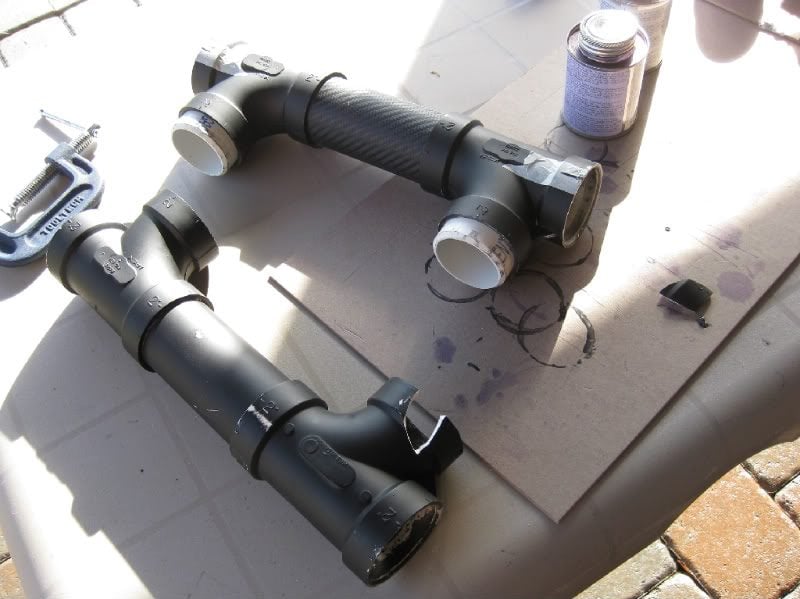
También decidí envolver todo en 3M-Di-Noc película de fibra de carbono. Su material bastante caro, pero bastante agradable
Real CF de la izquierda y la derecha, 3M cosas en el medio
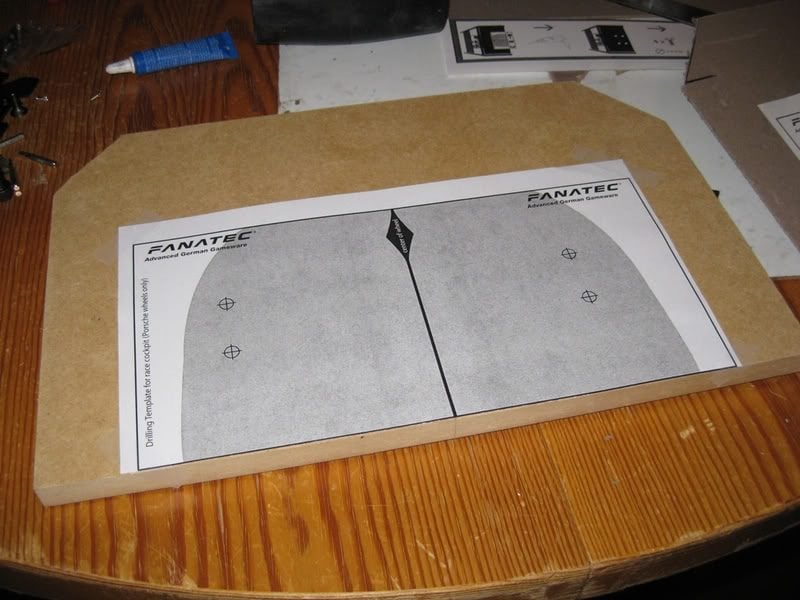
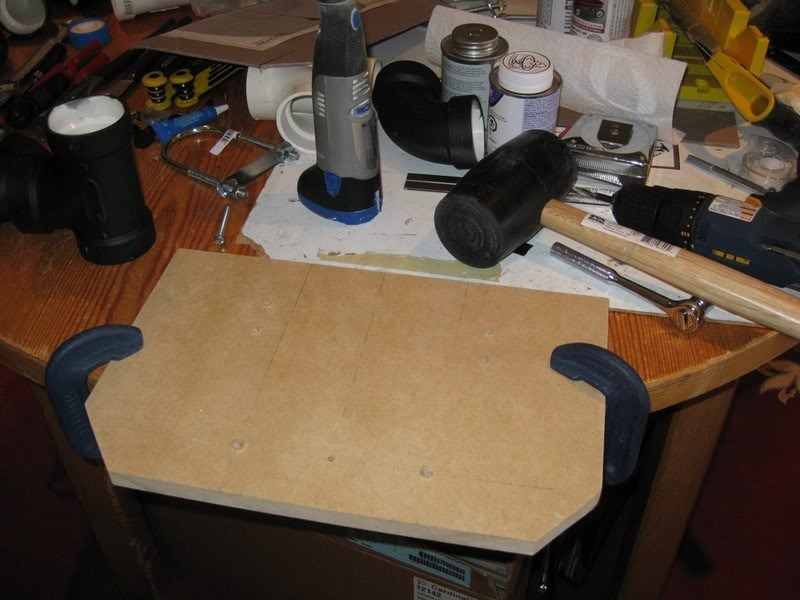
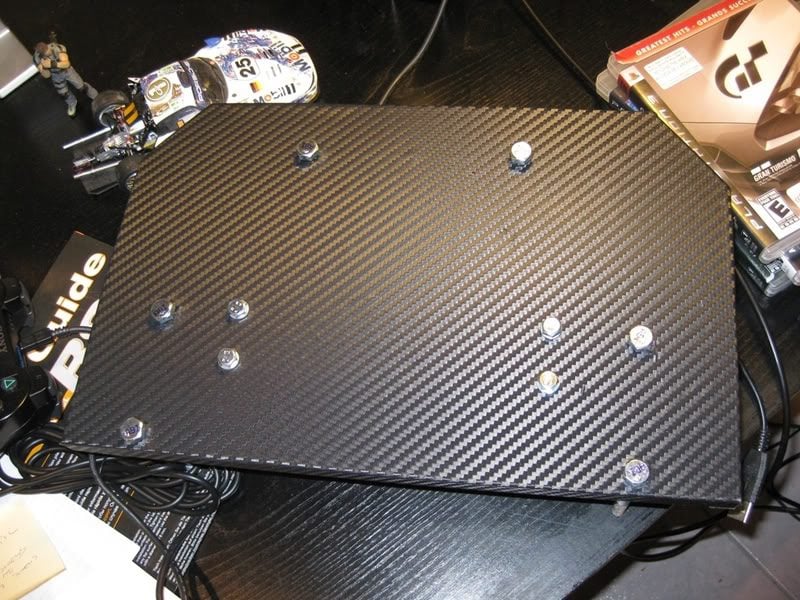
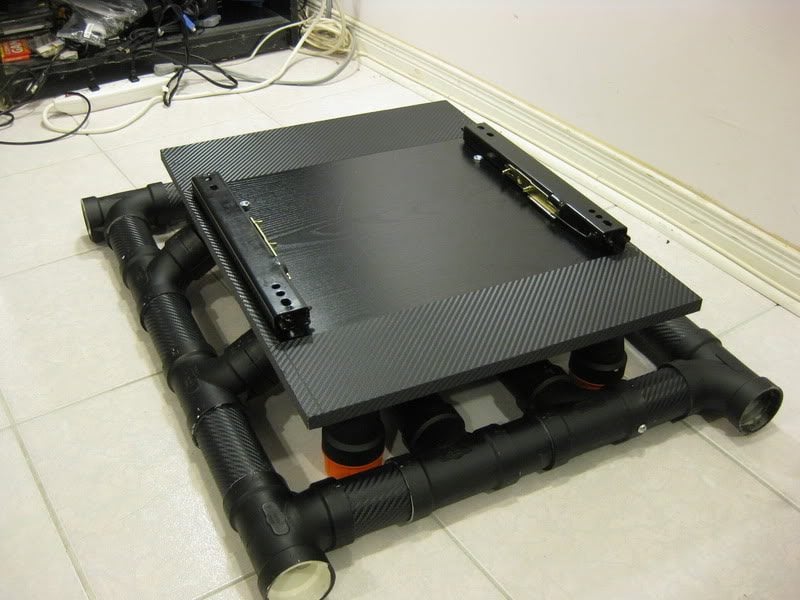
Montaje de ruedas - hecha de MDF - se usa la plantilla de la fábrica de totalidades de montaje
Envuelto en fibra de carbono 3M
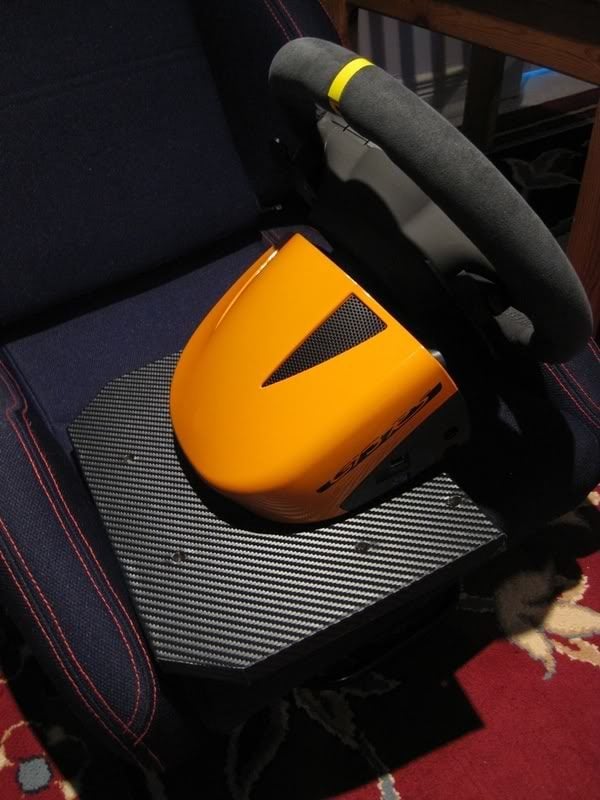
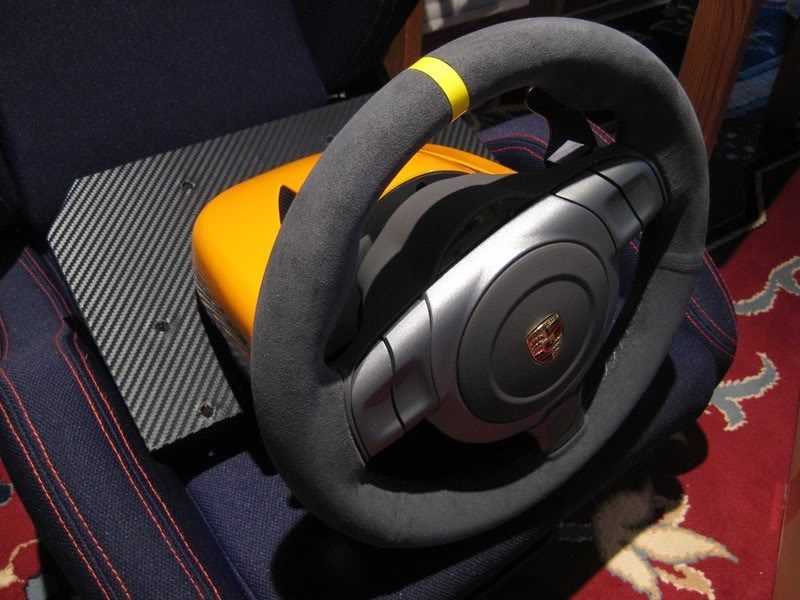
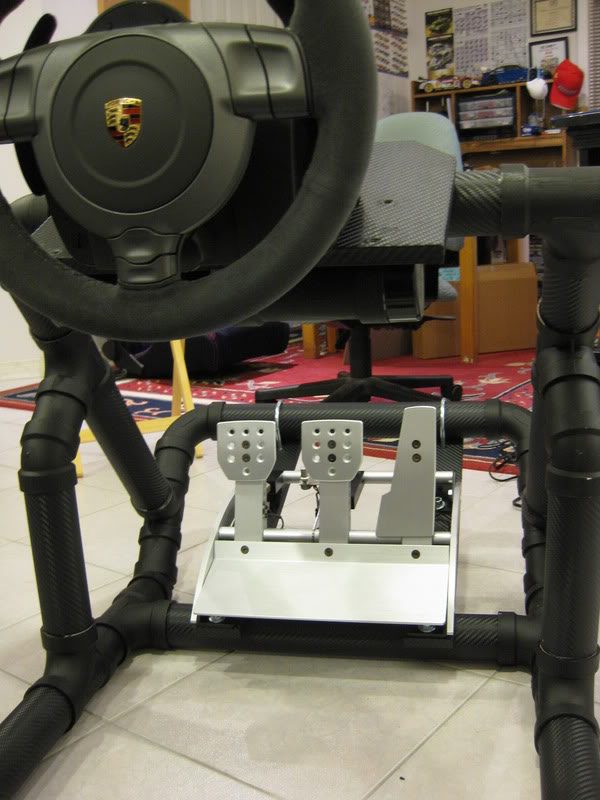
Con montado mi rueda
La trama completa envuelto con fibra de carbono 3M
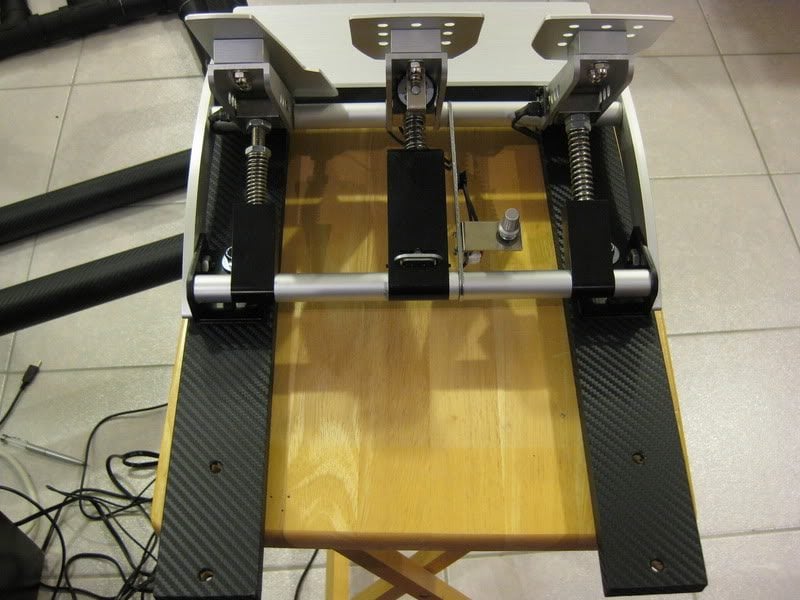
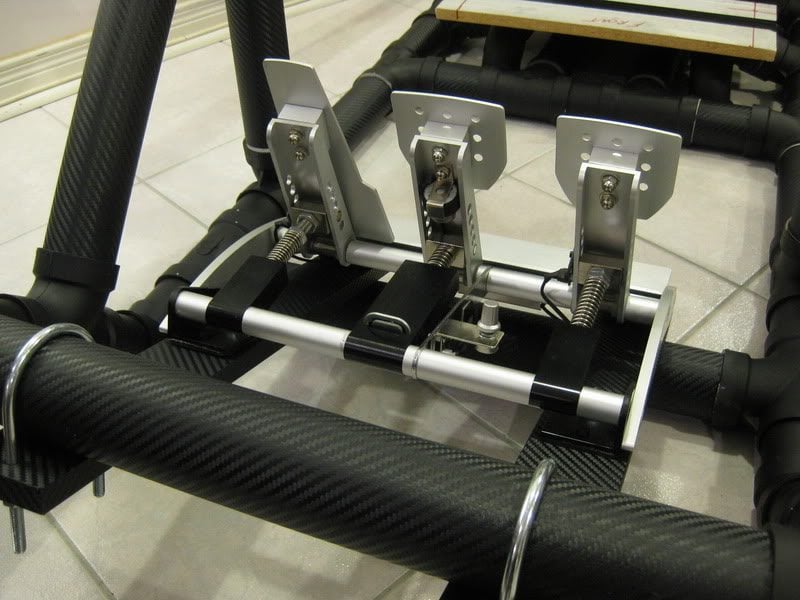
Montajes Pedal hechas de madera de 3/8 "de espesor escarpa de prensa que encontré
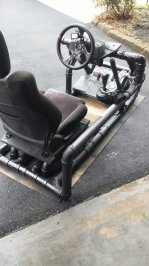
Terminado
Montado a la asamblea delante usando 2X pernos en U
Ruedas y Pedales
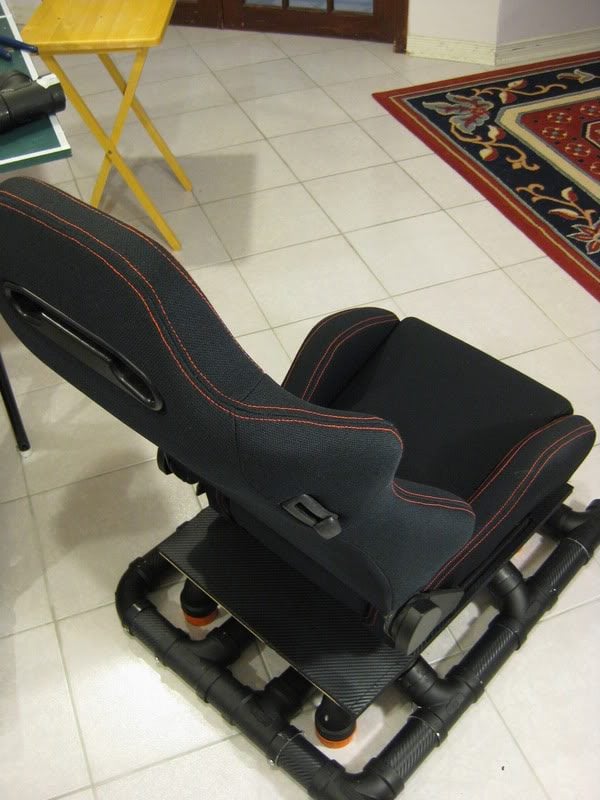
Montar asiento - también hizo a partir de chatarra de 3/8 "de prensa de madera
atornillado en el conjunto trasero
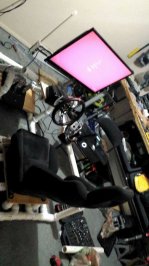
Montado Asiento
hay un montón de habitación en la parte posterior para una extremo-golpeador
Esto es por qué odio a pegar !!! - Piezas no encajaban - por lo que la parte trasera se pegan juntos y la mayoría de la parte delantera se atornillan con tornillos de 1/4 "
después de la re-corte / pegamento / pintura y montaje de su finialy Completado!
He estado jugando bastante tiempo con él en GT5 ahora - es genial! : astuto:
gracias por mirar! [/ quote]
Hola mi amigo, buenas noches muy ... Quisiera por mí favorecer ayudaras con las INSTRUCCIONES y con La Lista y Medidas de los Materiales Necesarios párrafo crearlo por favor, ya Que Soy de Venezuela y tus imagenes salen en ingles y no las comprendo, y AUNQUE él intentado translate los planos los traductores no me Ayudan ... Te lo Agradezco por favor ...

")