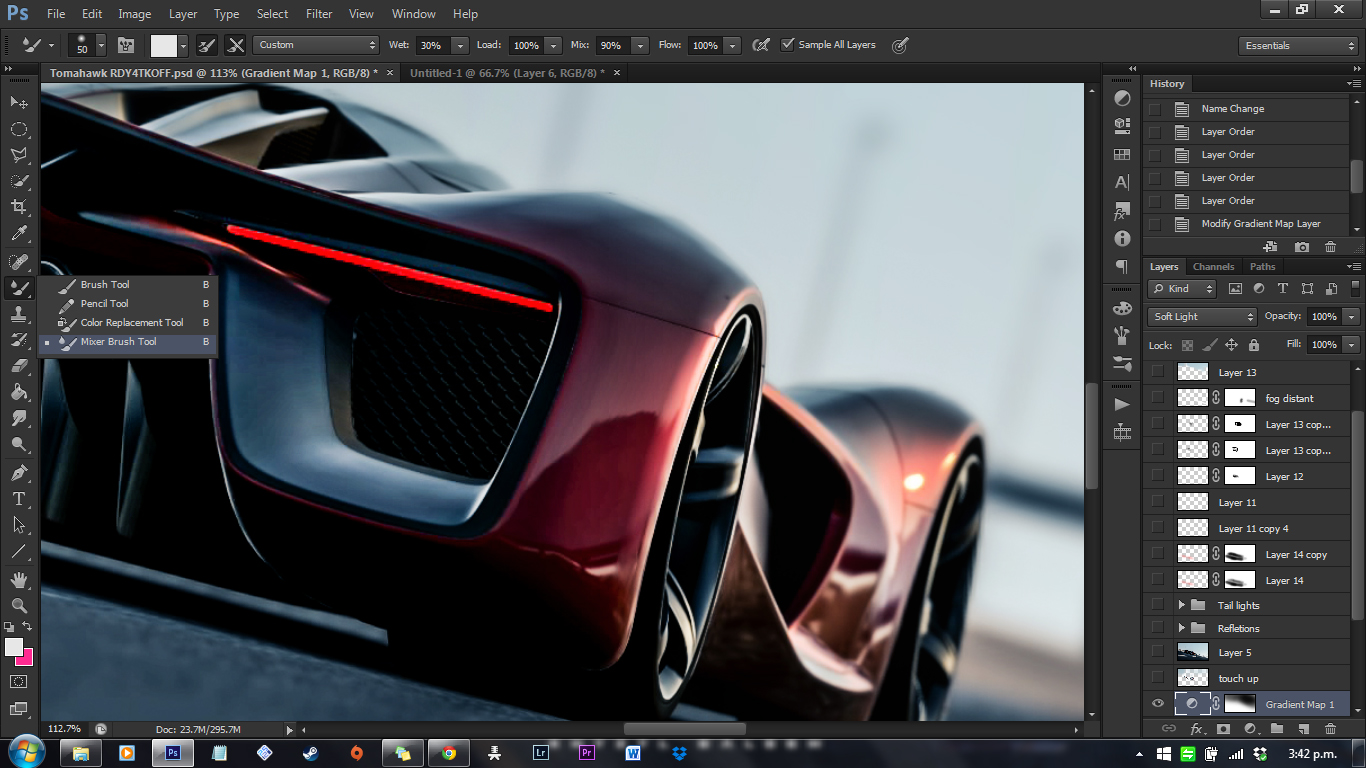
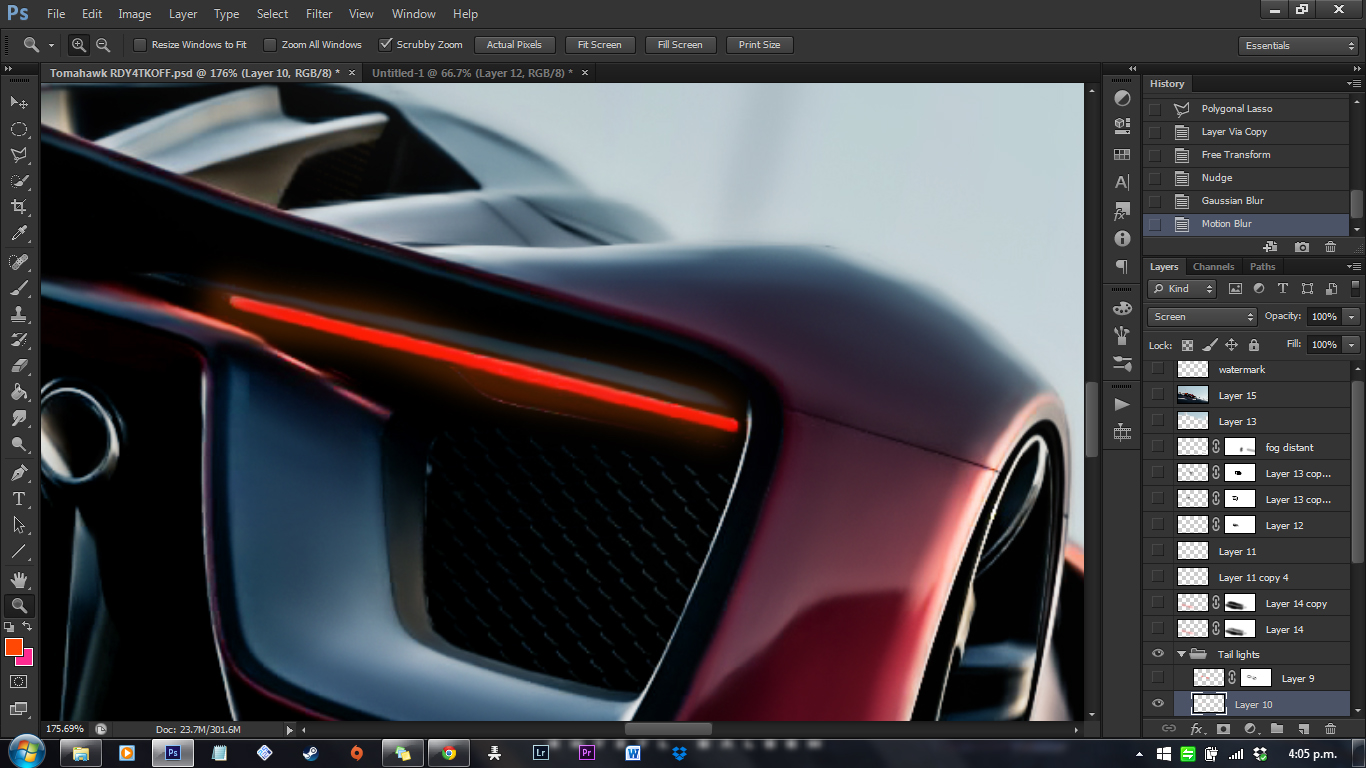
Okay, time for glowing tail lights. I go ahead and create a new layer, select a soft round brush but choose a red/orange color. The opacity is set to about 20-30%.

I brush over the tail light with a small brush and a single stroke. I set the layer blend mode to
screen.

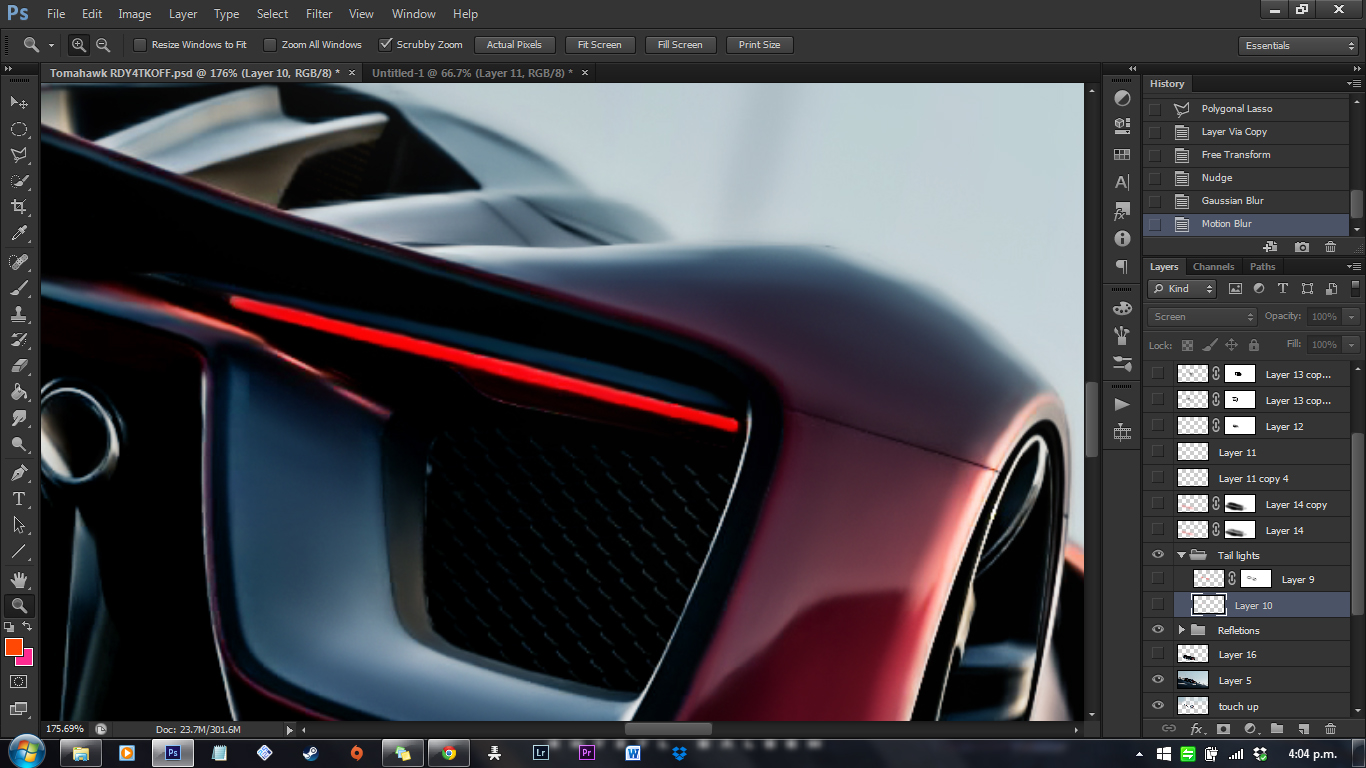
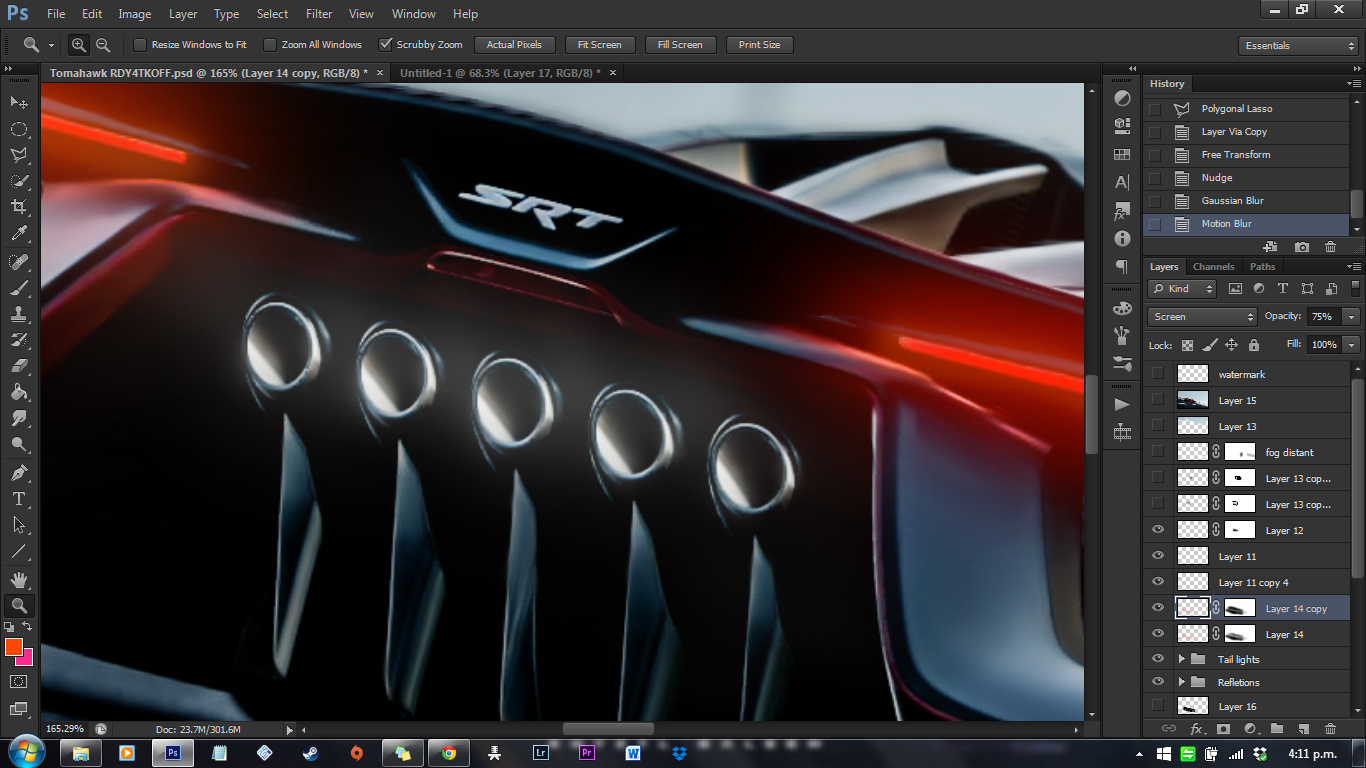
After that I create another layer and select a slightly more red color. Using a larger brush, I paint around the tail light area. Using the same opacity, I tend to build the paint up more by clicking a few times. I then change the layer blend mode to screen and mask away the edges to make the light fade with a smooth transition.

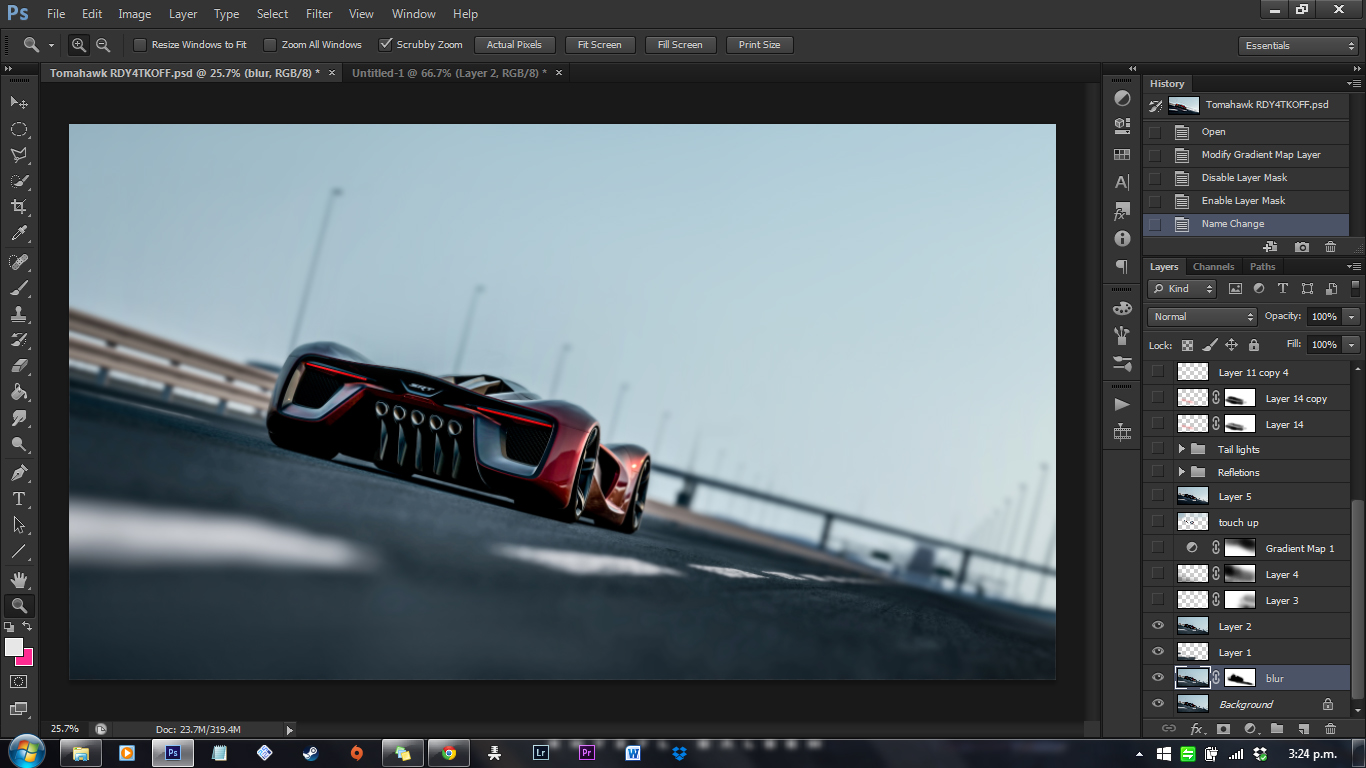
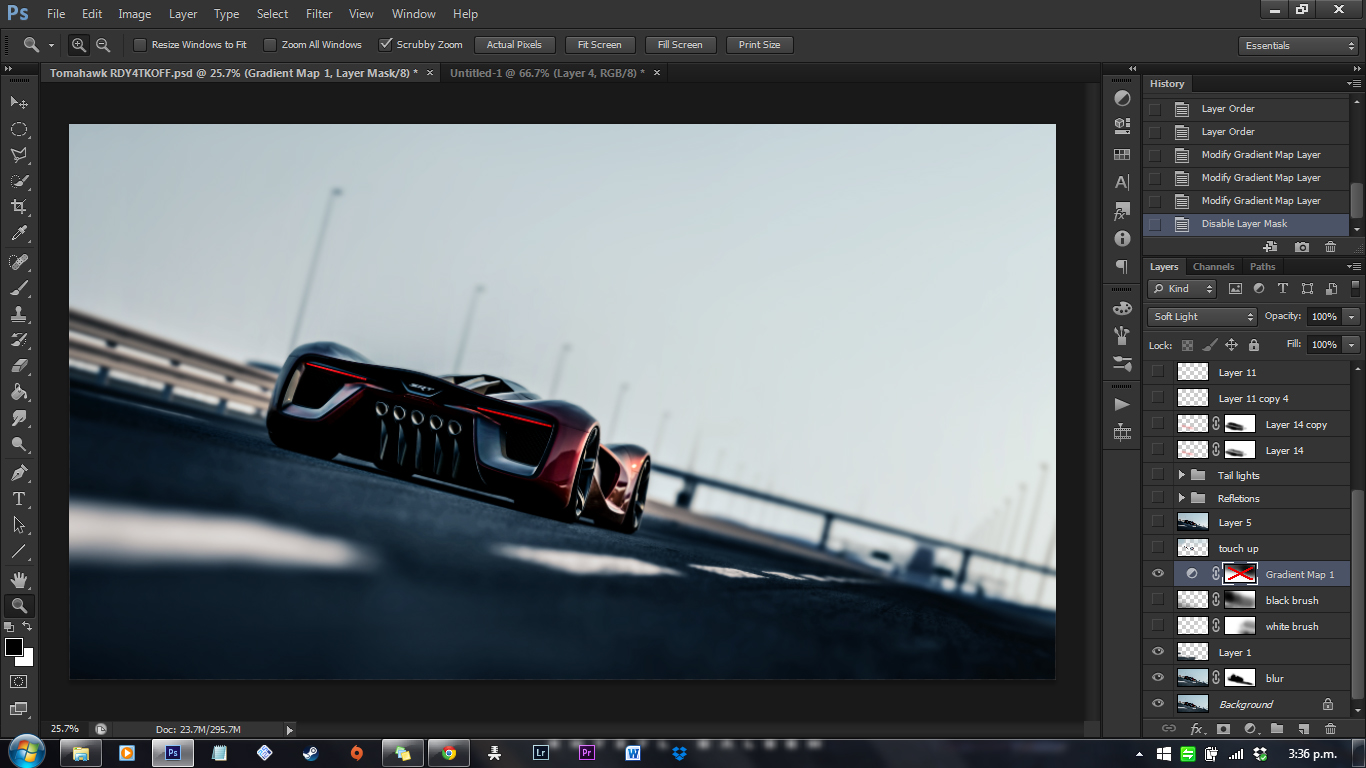
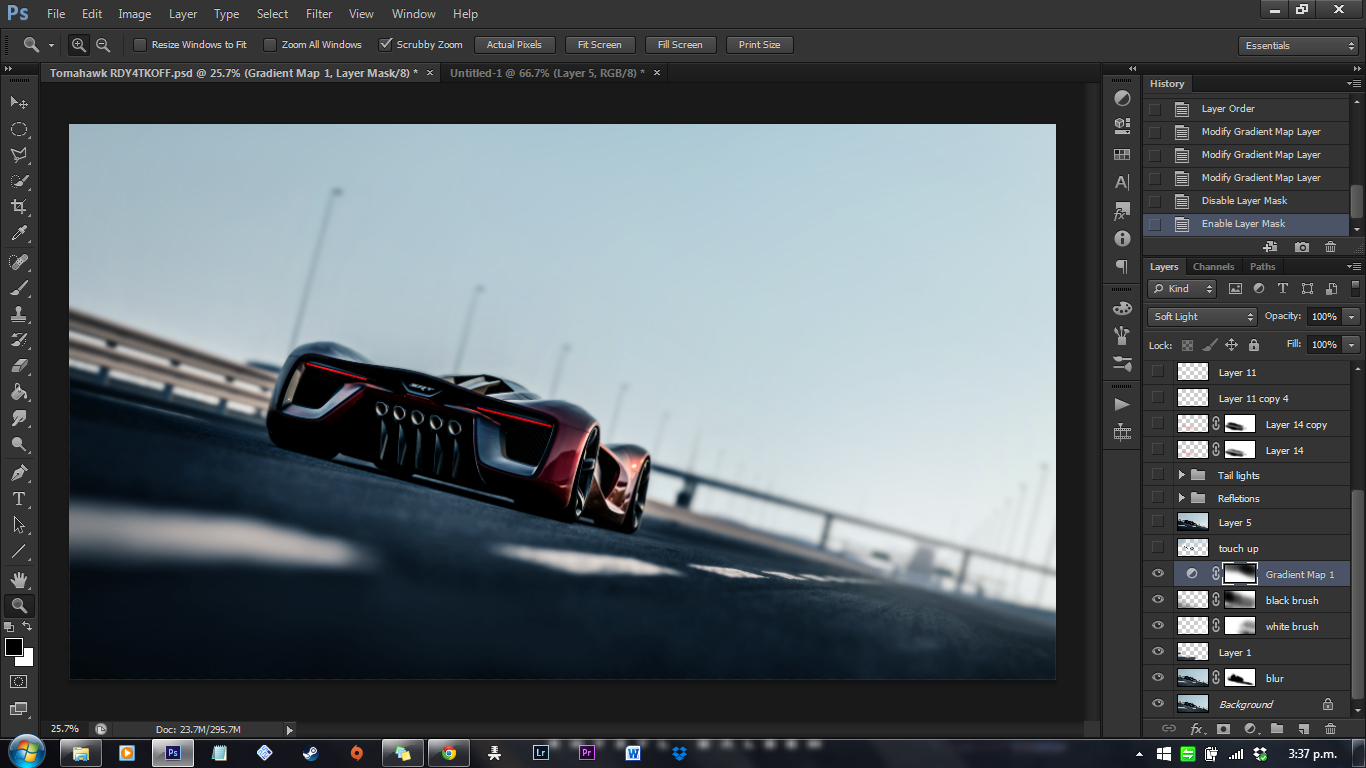
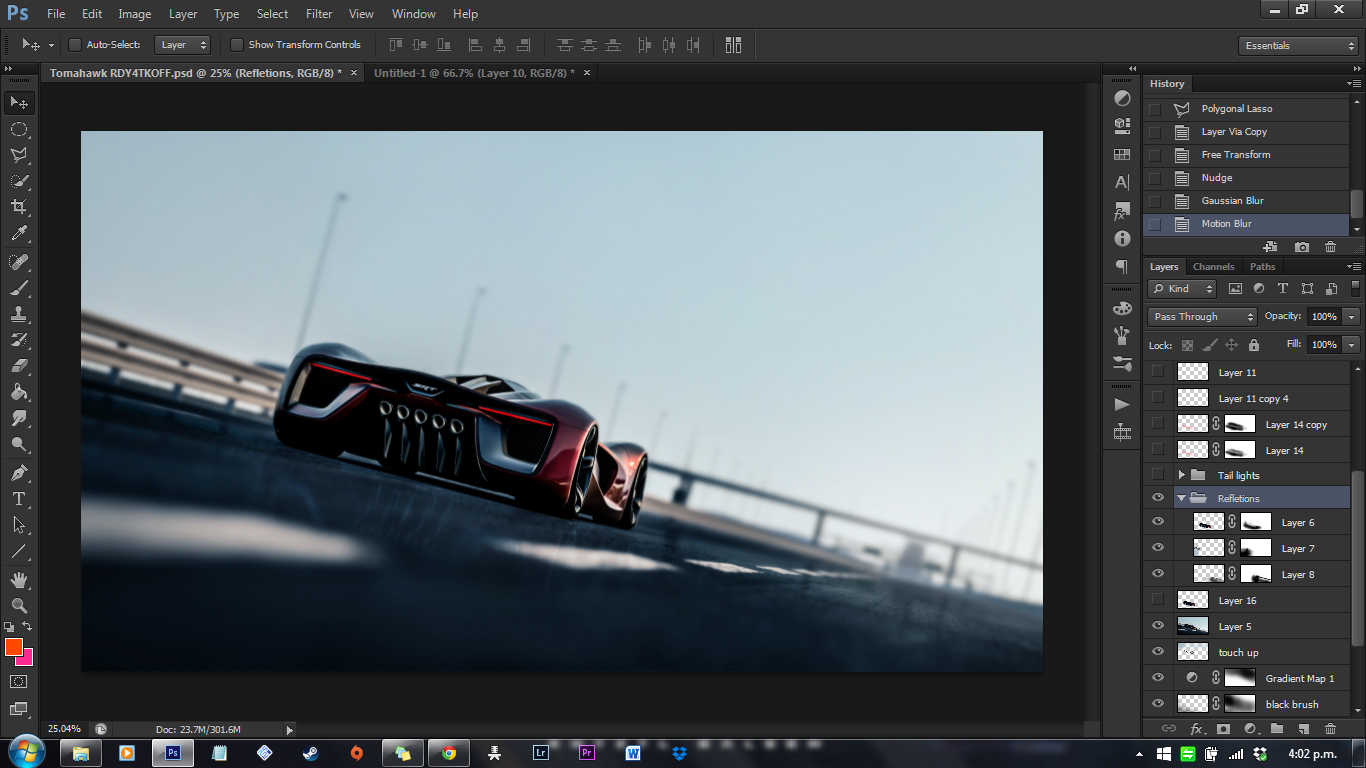
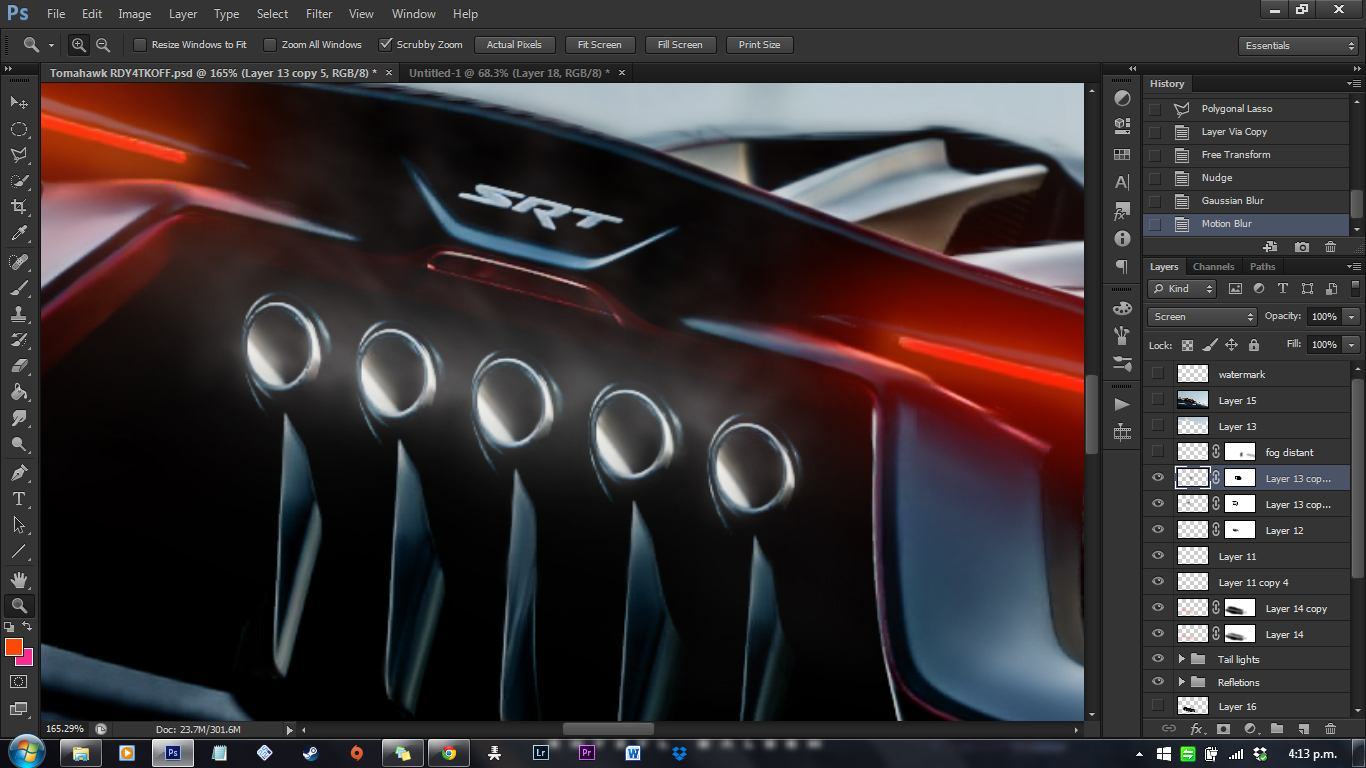
Here's what it looks like when both sides are done.

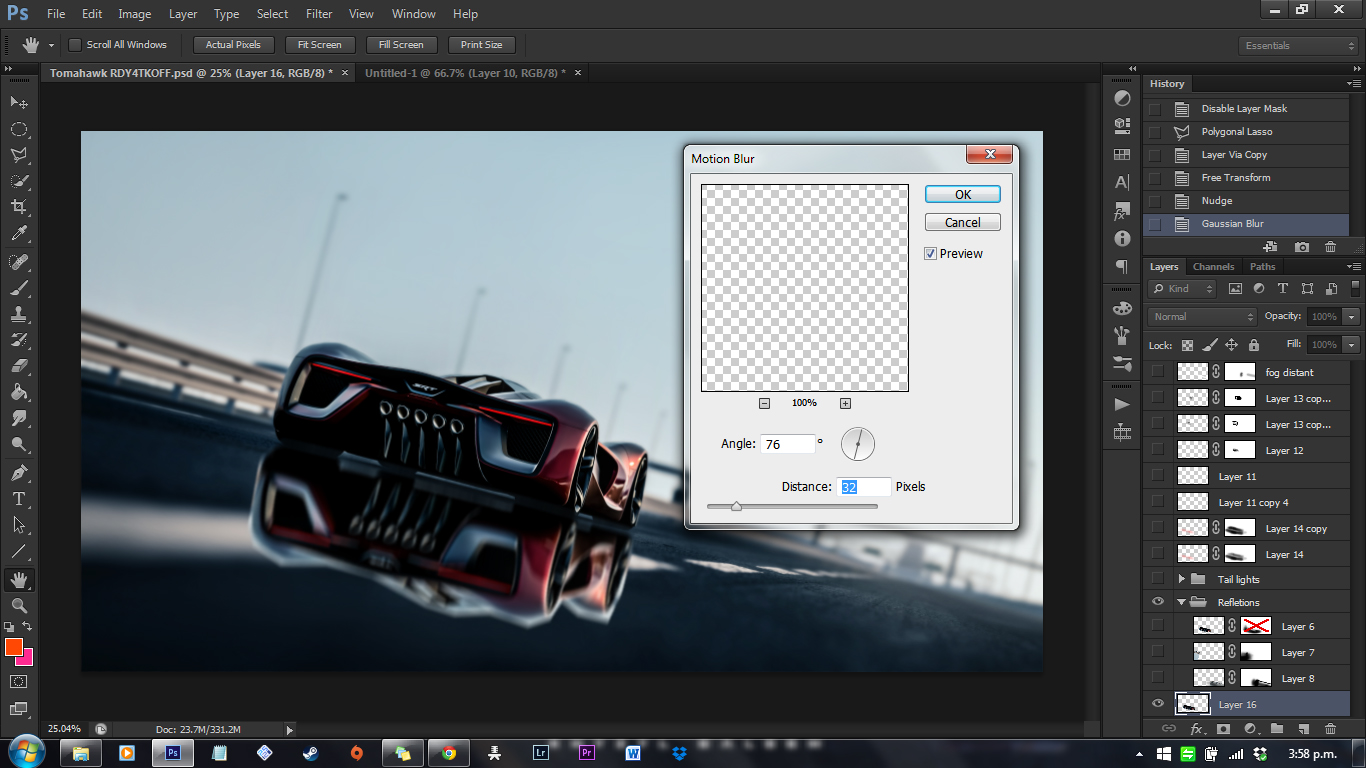
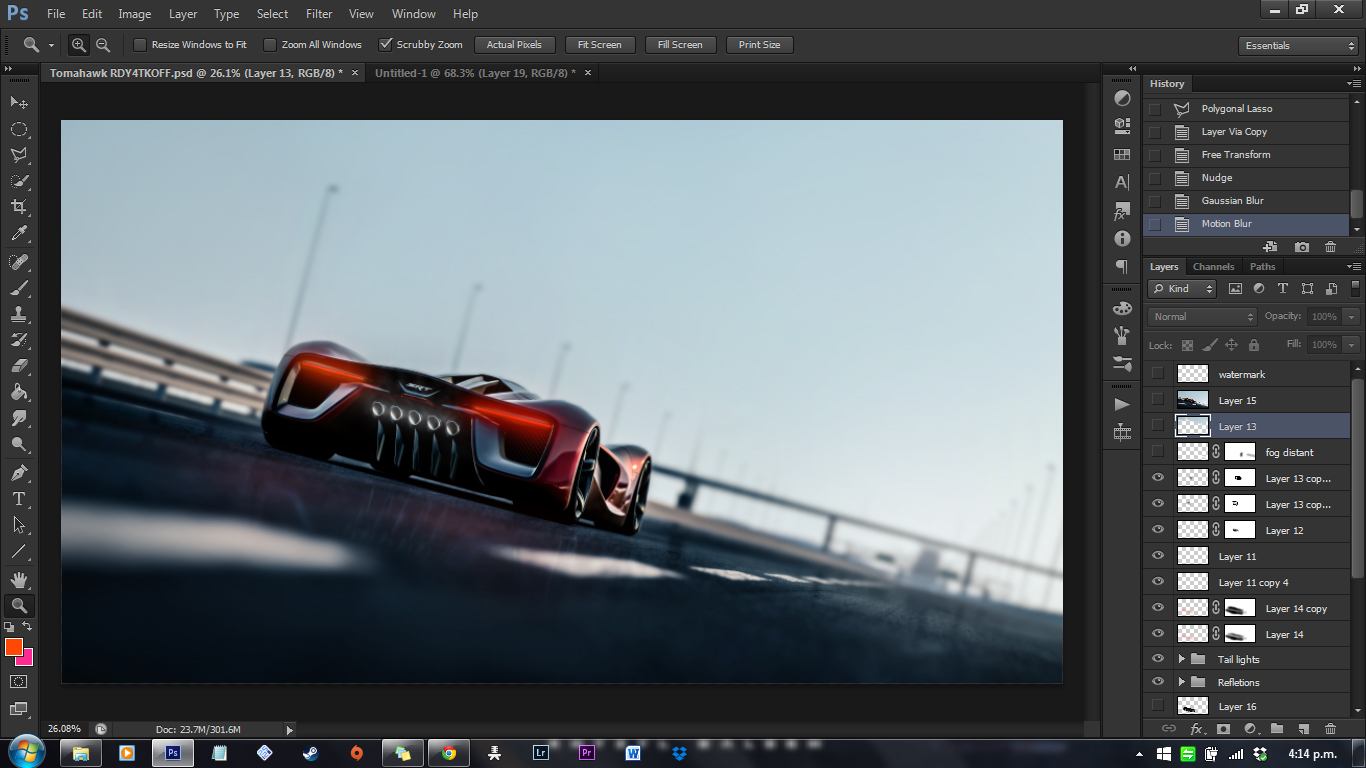
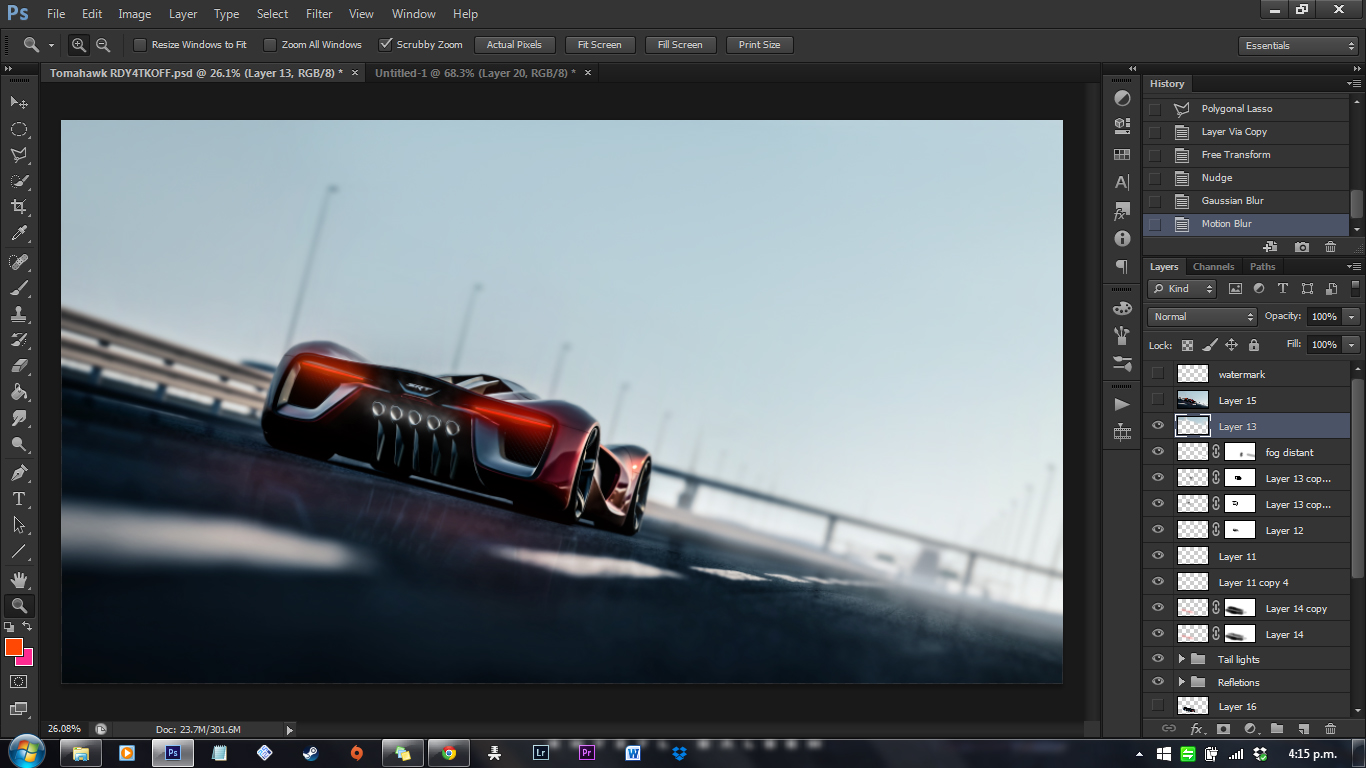
On a new layer, I paint the ground with the red brush to give the illusion of light reflecting off the wet pavement. I set the layer blend mode to soft light or screen depending on the image. For this one I use screen and lower the opacity to the point where it's extremely subtle.


City of Arts and Sciences - Night_1 by SnailRacing.Org, on Flickr


 Peace fellas!
")
