Recently I had a request from
@Chameleon9000 who aksed how or what I did to a particular shot of mine to get it to look they way it did. So I ended up doing a short walkthorugh tut about it.
Anyway I thought it might be good to share it with everyone, and hopefully it can be of use to others. (It's not the best tut, but hopefully it all makes sense.) You can thank Chameleon9000 for reccomending I share it also.
")
Oh, and it's mainly for Photoshp users. You can pretty do al this in Gimp too but the tools and shortcuts will likely differ.
__________________________
Ok so here goes. Hopefully this will give you some useful insight into some of my processes. Most of what I've done on this image is most of the regular techniques I use on most of my images.
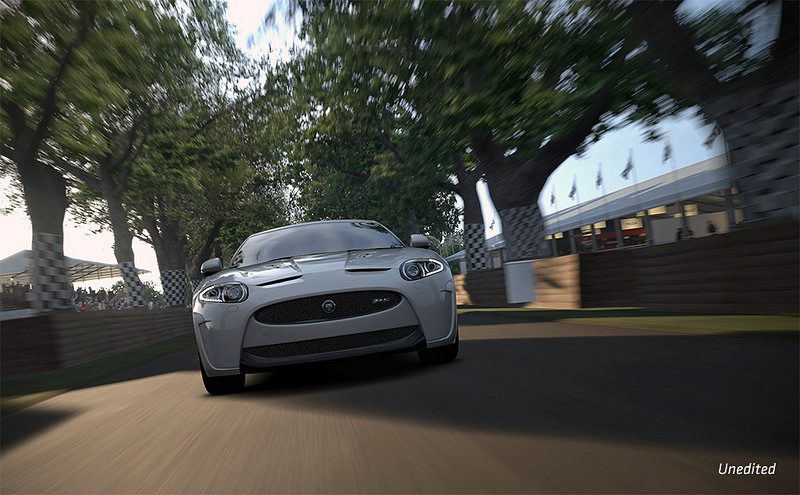
First off here is the unedited pic...
Generally I try to make sure the image is balanced well and careful to not have any major overexposure.
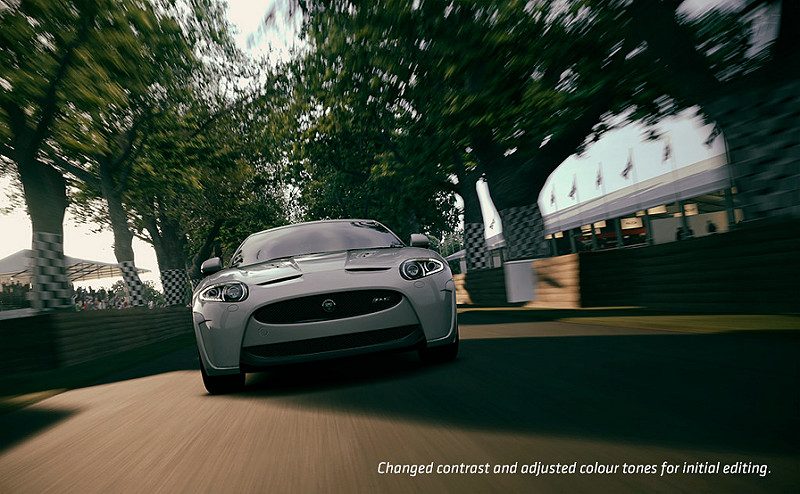
From there I do some general tweaking of contrast and colour to get an initial look of tone that I think works for the image...
As you can see there's quite a dramatic difference. In this instance I changed levels of colour and upped some of the blue, all done in the colour balance tool. I also changed the contrast level as I wanted the dark areas a bit darker. For greater control of light and shade the Curves tool works well and offers more control than the standard Brightness & Contrast tool.
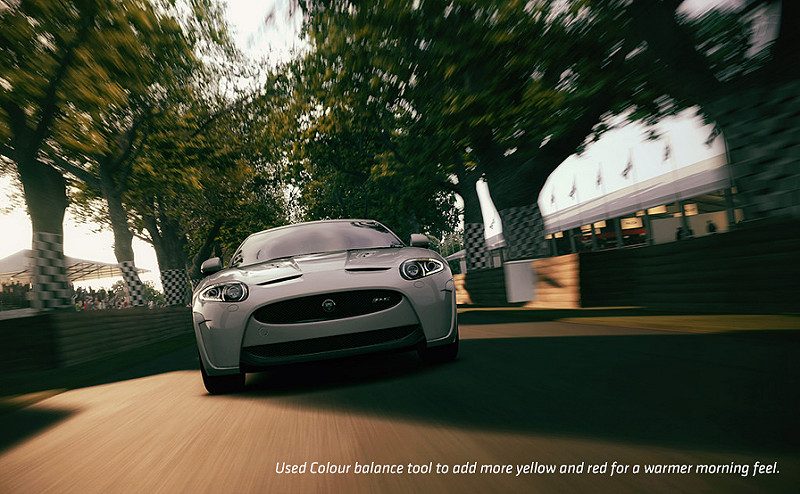
From there I felt like it needed a warmer morning feel so I used the Colour Balance tool again and added some more yelllow and slight red to enhance that warm feel I was after...
Now it has that warmer feel I was after, but now the white tones of the car look too yellow and a bit dull. So using the Lasso tool I made a quick soft selection of the car, using a feather setting of around 80-100...
With that selection I then wanted to lighten the front of the car a little, so the shadow tones and dirty-ish green tones need to be lifted. And to also whiten up the whites of the marquees and tree wraps. To lighten these areas I used the Shadows/Highlights tool found in the adjustments menu. This tool is great for lightening shadow parts of an image and sometimes can give you a bit of HDR image look without actually using more than one image. I had it set to a lowish value somewhere around 3-5 just to lift the darks a bit.
As you can see in the image above now the middle section of the image is lighter and not so yellow-ish which makes the whites seem more white and bright. Also they have a slight blue-ish tinge to give it the brighter white feel.
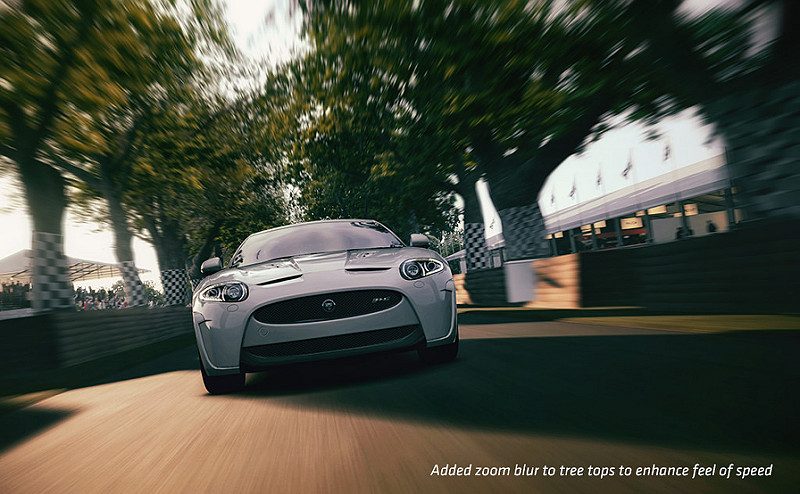
Now that I'm pretty happy with the overall colour and tone of the image I look for other elements to enhance the feel of the image. Next I wanted the sense of speed to be a bit more pronounced and smooth...
I made a quick selection of the trees using the Lasso tool again and put them on a new layer. I then used the Zoom blur found in the Radial Blur filter. And with a bit of trial and error found the right placement for the center of the blur to match the angle of the shot. This makes the blur follow the right line to match the shot. I only added a bit of blur not too much as high setting would likely make it look unrealistic.
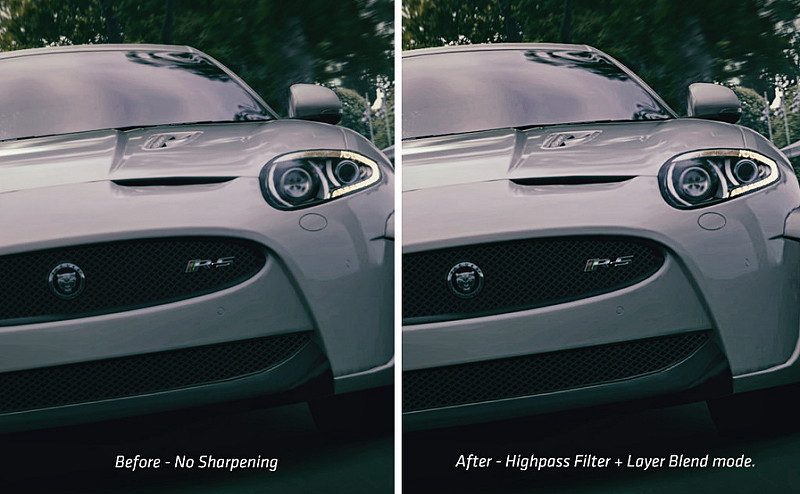
Once this was done the image was getting closer to where I wanted. Now I felt it needed sharpening overall. And my method of sharpening is one I know a few people on the planet do use themselves to sharpen images.
I start by selecting the entire image (Ctrl + A) on a pc. Then I do a copy merge of the whole image (Ctrl + Shift + C) and paste onto a new layer. I then use the High Pass filter. (Filter>Other>High Pass) And set it to a value of between 2-3.
Then I change that layers blend mode in the layer panel and set it to Overlay or sometimes Soft Light. This shows through the highlights parts of the High Pass layer and creates a sharper look. As shown below...
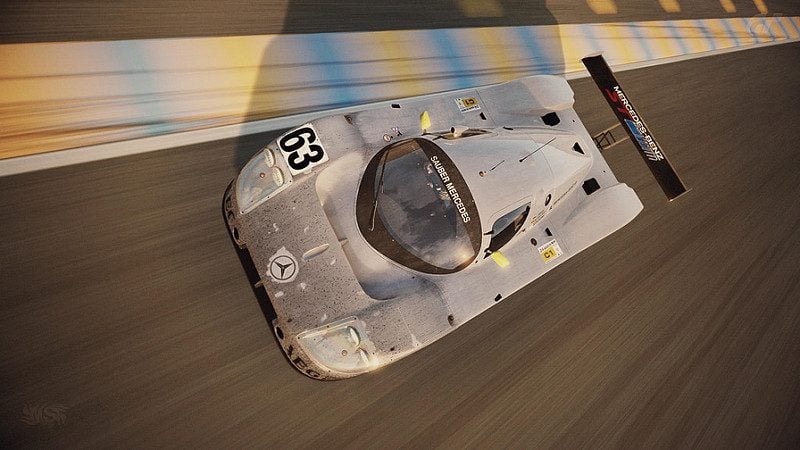
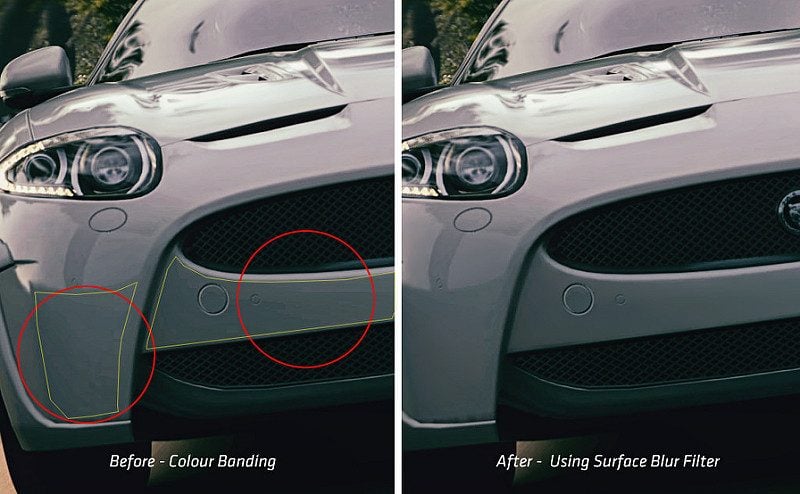
From this point I often have quite a bit of colour banding going on and as seen below (The red circles) this was quite evident on the car. To help eliminate this I use the Surface Blur tool.
First thing I'll do is make a selection of the panels or areas I need to smooth out (As seen in yellow outline above) And I'll copy and paste these onto new layers incase I need to go back or make changes separately from the entire image.
Then using the Surface Blur filter I'll adjust the slider levels until I get a smoother look but not too much that it looks unatural or the edges of the panel shapes begin to not blend with the rest of the car. Mostly the Threshold value will be low-ish like 5-10 and the Radius will be adjusted more so. Again this can vary depending on the image so it really requires tweaking on a case to case basis.
As you can see on the right side image the car panels look much smoother now.
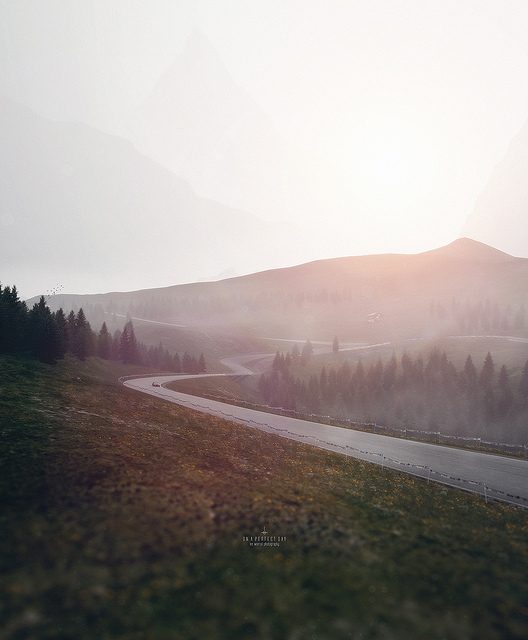
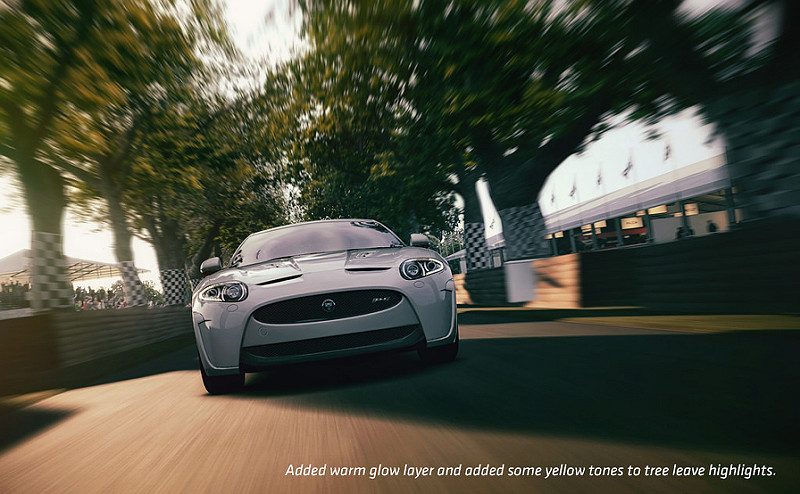
Almost there now, last few steps are really just minor tweaks as I often make subtle changes or final slight modifications to finish the piece. In this case I felt like the light on the left and light highlights on the trees could use a touch more warm glow and light.
So I added a soft warm coloured light with a brush onto a new layer over the left area where the light scource comes from. And set the layer blend mode to Screen then adjusted the opacity of the layer until I got the amount of subtle glow light I was after. I also made a quick soft selection of the tree highlights and upped the lightness of the yellow/green tones to lift the leaves contrast a little.
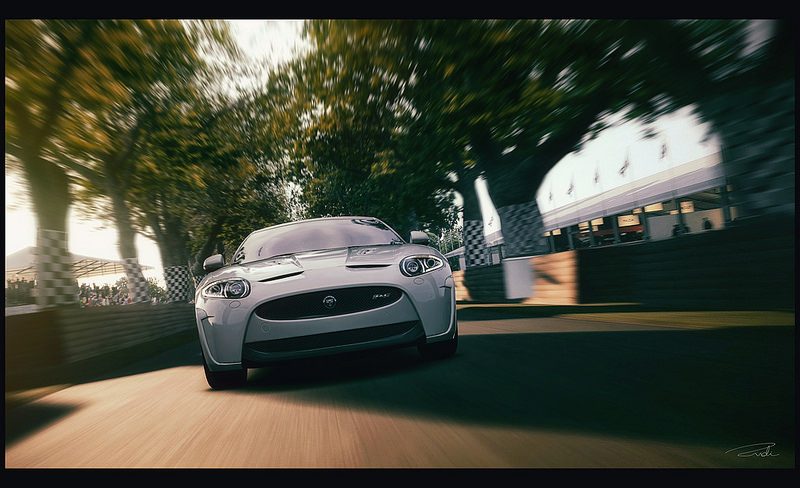
Final step was to enhance the overall saturation a little with the Vibrance tool. (Image>Adjustments>Vibrance) Upped the Vibrance setting a touch like +5-10 and then finally added a black border on this one and voila, edit done!
I hope this short guide through this image gives you some tips, methods and techniques to consider and use in your works. And hopefully it all made sense.

")


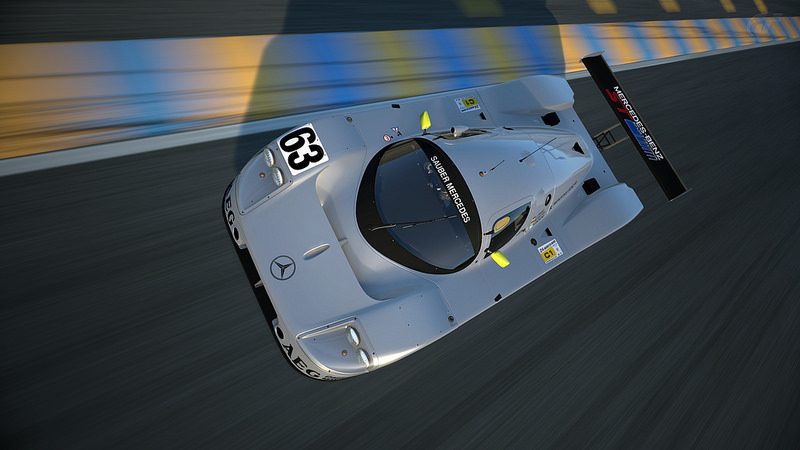
 Sauber Mercedes C9 1989 24 Hours of Le Mans


 City of Arts and Sciences - Night_1