here are Wyvern's cars. I do not have an excuse for having them more than a year in my hands other than procrastination and problems that arose one after the other, but after such a long time they are heading for Wyvernland right away.
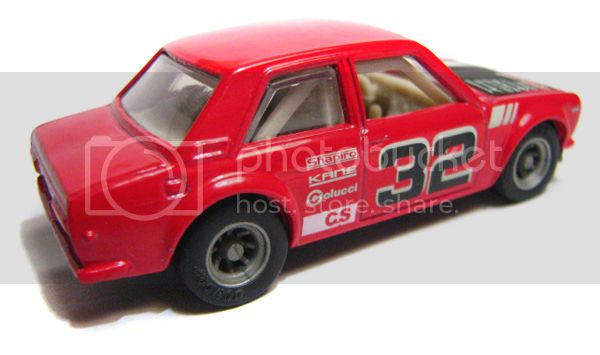
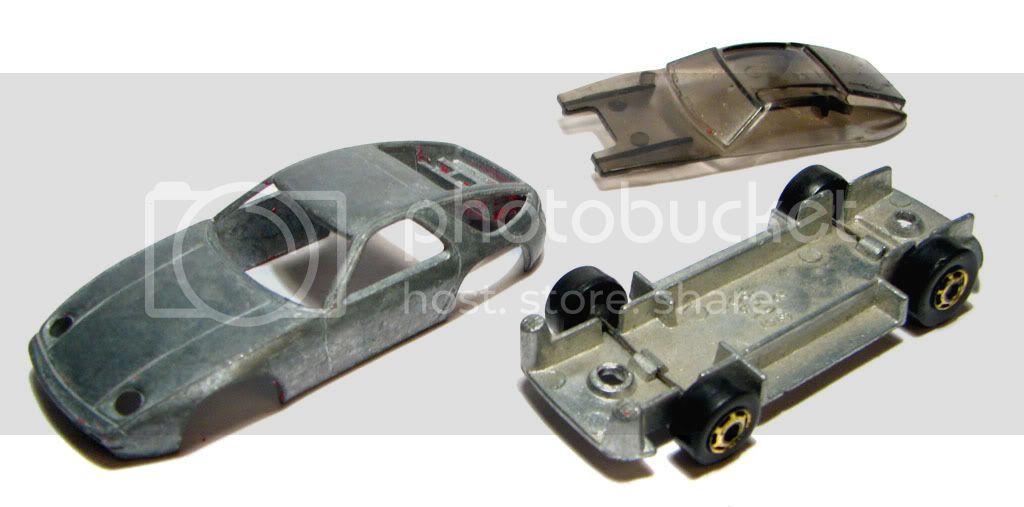
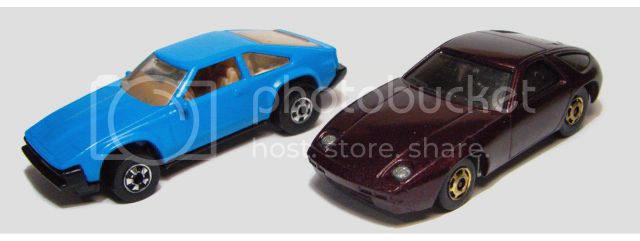
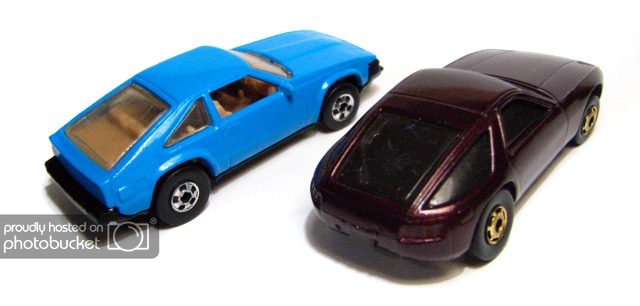
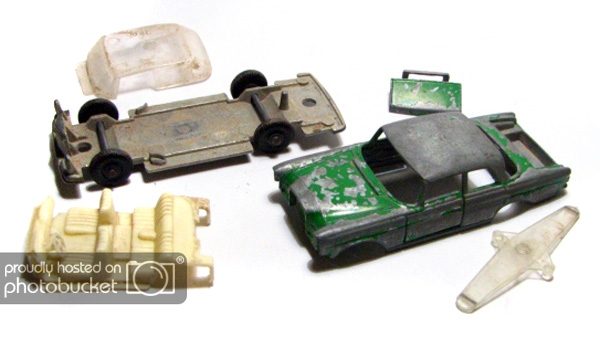
First, let me show you how they looked when they arrived. they're the black Toyota Supra and the red Porsche 928.
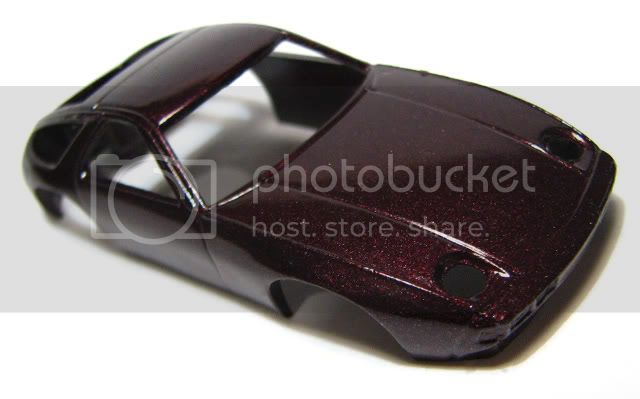
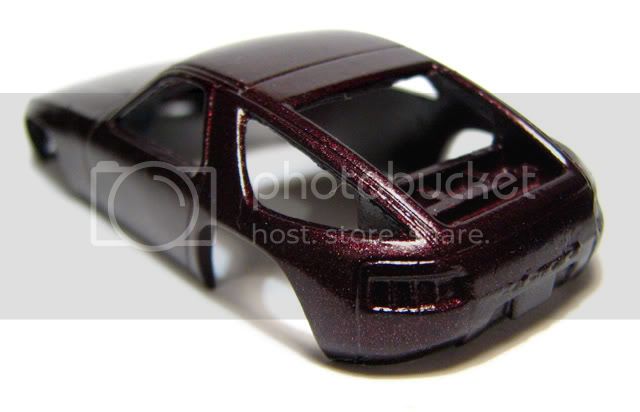
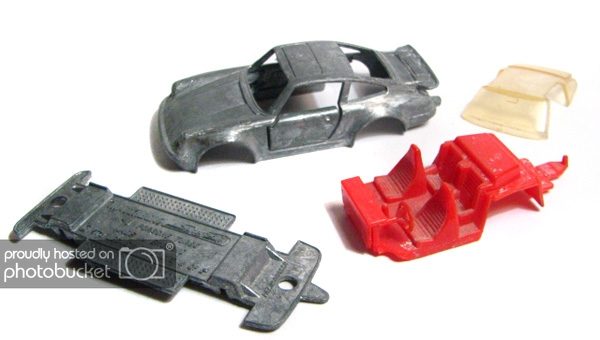
I'll show you first the process of the 928.
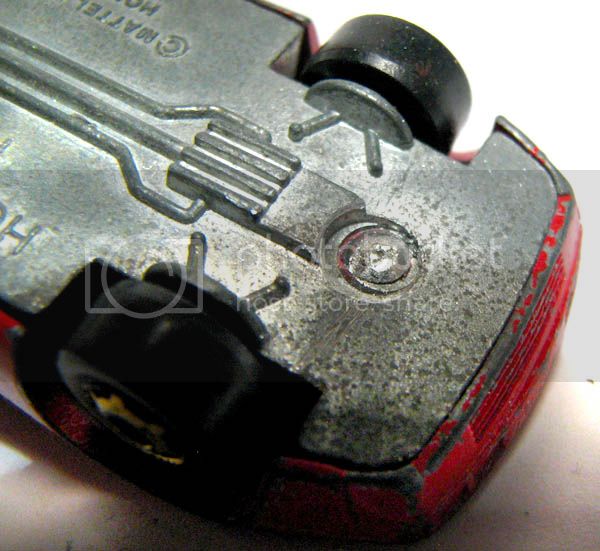
The first problem with this car were its rivvets. They were much smaller than modern rivvets and had a rounded head. I had to find a drill bit that was the right size, but still, the drill danced a lot because of the rounded rivvet top. Believe me, these were a pain in the ass to drill away.
I've since found a new Dremel accesory that takes these out really fast, but when I drilled these cars out, I didn't even know of it's existence.
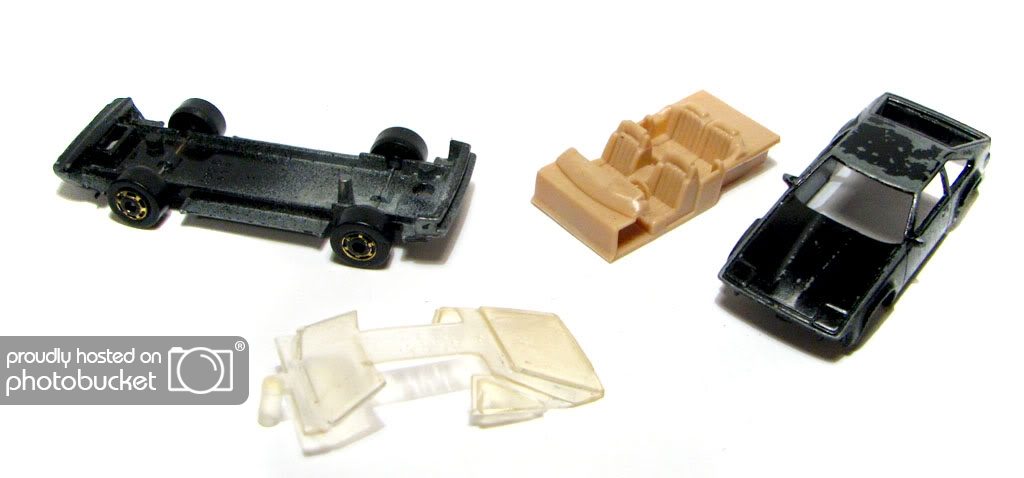
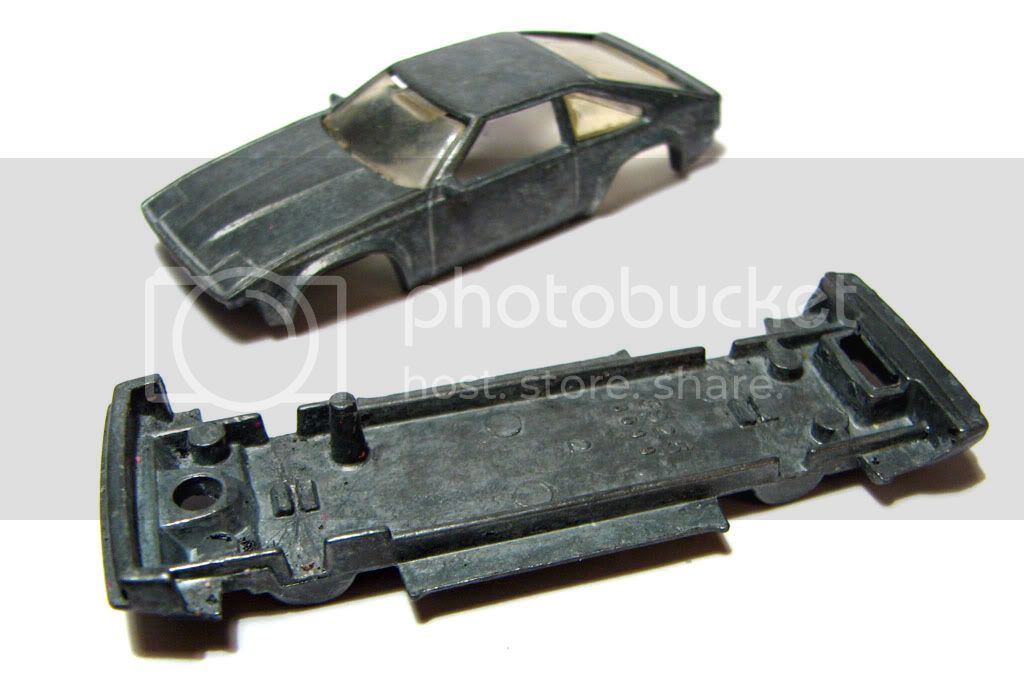
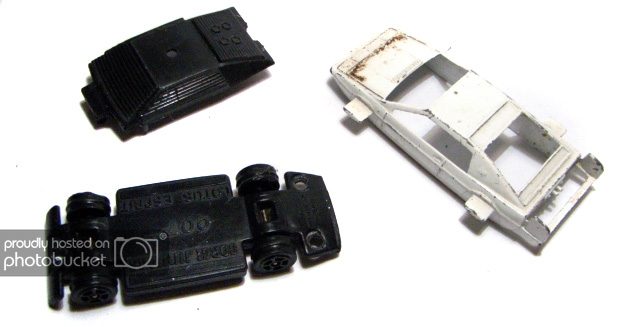
Once taken apart, it was time to strip it out.
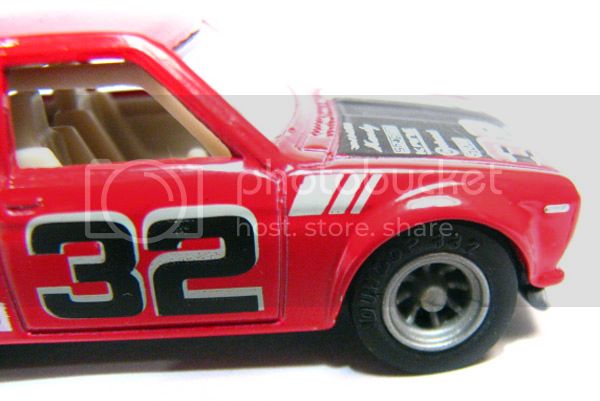
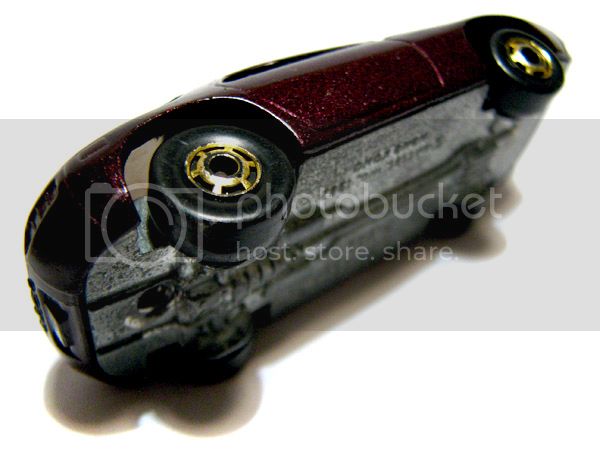
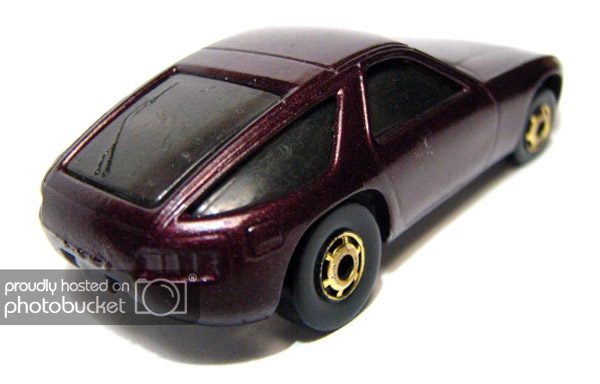
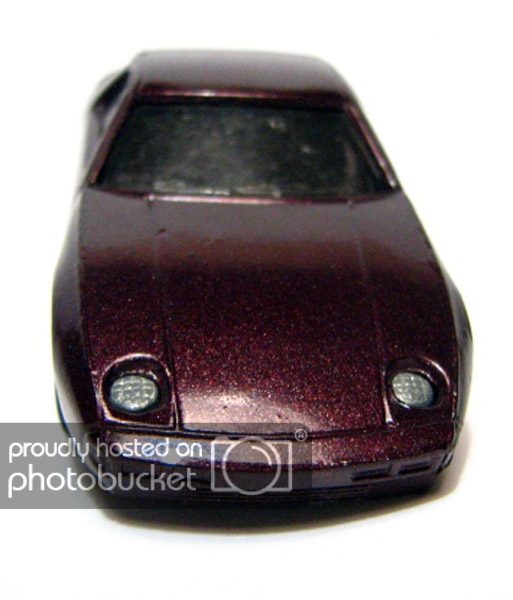
This casting has no interior whatsoever, that is why the glass is so dark.
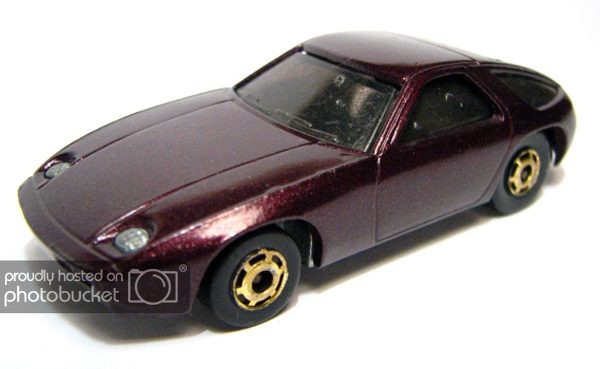
Wyvern told me he wanted the car in a color never issued by HW, so I chose a metallic maroon-purple-raspberry thing that looks awesome.
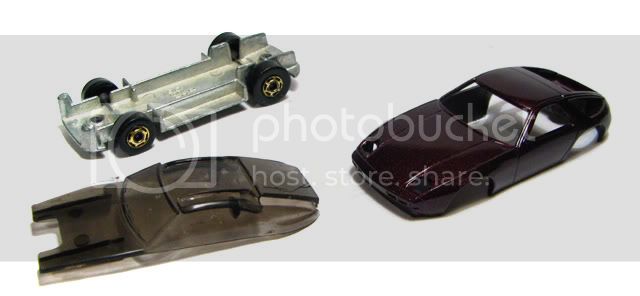
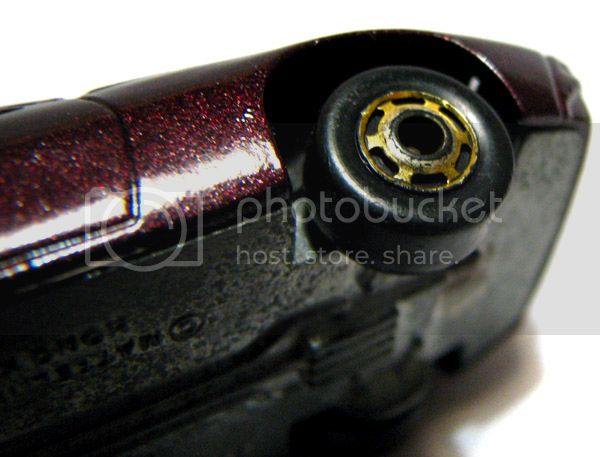
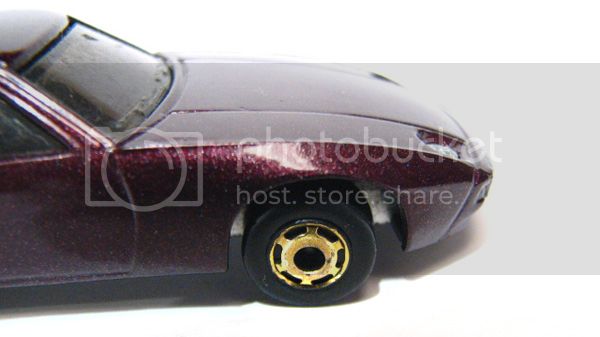
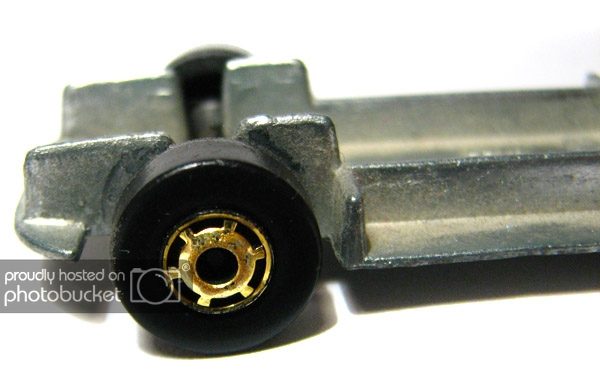
Next problem with this car came with the wheels. Since I didn't need to strip off the chassis of this car and the tires were good enough to keep them in place, I only needed to restore the wheel's gold color, which had seen better days:
I
only needed to. Yeah, right. Finding a tone that really fit the Gold Hot Ones wheels was a very, VERY difficult challenge. I tried like 4 paints (I was allowed to test two of them at one store fortunately, the other was a friend's paint bottle, and the other I had to buy) and even considered taking the gold out, painting them chrome, then coating them with Tamiya yellow clear... until I found a tone that most closely matched the original gold chromish finish. The winner was also a Tamiya tone that the previous stores didn't have in stock. With that in my hands, the car regained it's gold glory. In these pictures the wheels look ABSOLUTELY different than in real life, you'll have to trust me on that.
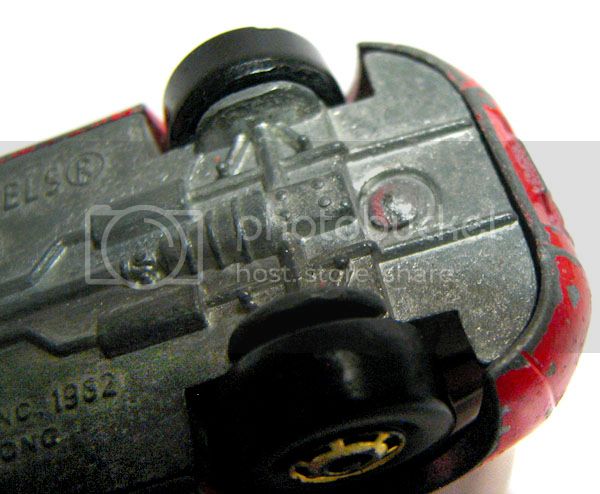
The final problem with this car, as well as with the Supra, came when closing it. Wyvern had asked me to close them with a rivvet. Surprise, the rivvets I use were too big for this small-rivvet, small-post car, so I had to look for smaller rivvets. Luckily, a friend of mine that restores Redlines donated a few smaller rivvets for the project, so that didn't take long.
However, for a rivvet to work you have to drill the rivvet post in order to make a "channel" for the rivvet to fit in. Surprise, yet again: my drill bit was too big for the job. It seemed as if the car (and the Supra, both being of the same era) were different in every critical measure than their more modern counterparts.
I found a correct drill in a hardware store near my house, then... surprise, my Dremel wouldn't take such a thin drill bit. I had to buy a new Dremel head ($12 in discount, oh yeah) for the damned thing to work. I then proceeded to "create" the rivvets (you have to cut them to make them fit, each rivvet is practically custom-made and has at least half an hour of work. Yes, each) and close the car:
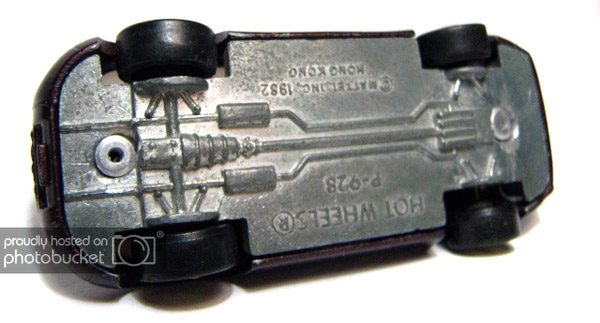
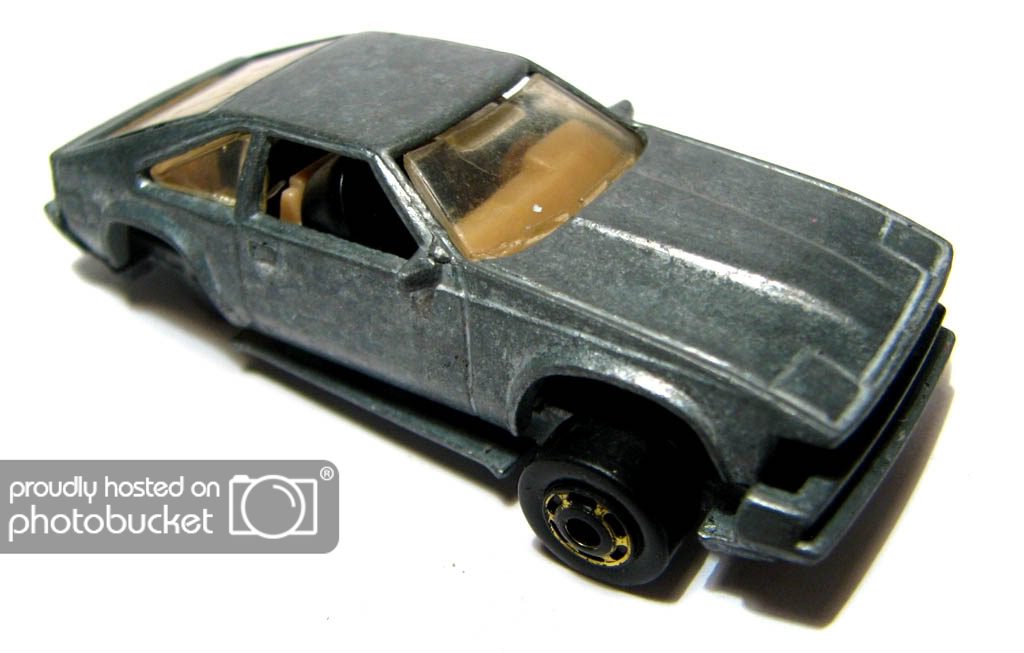
The final result:
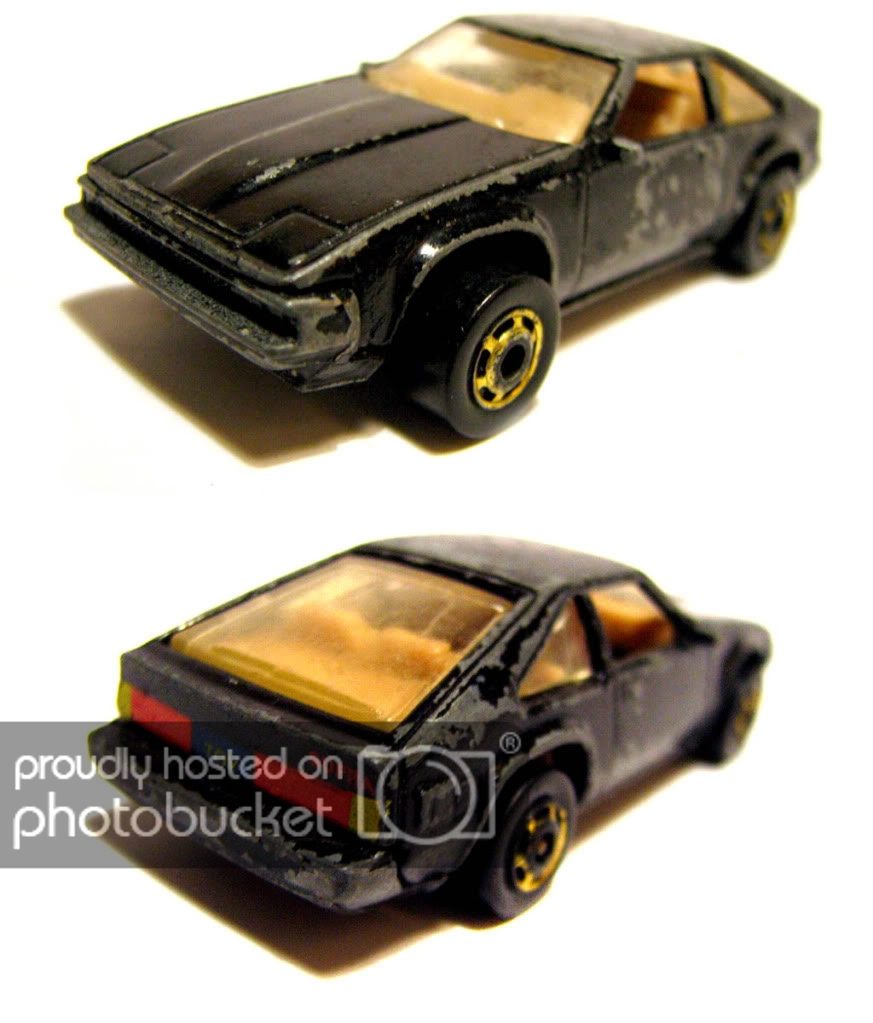
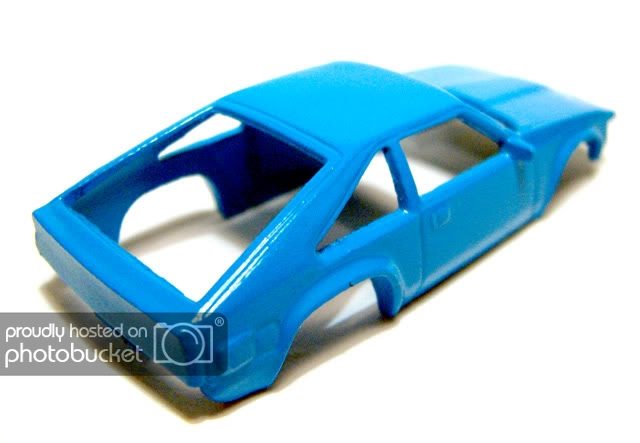
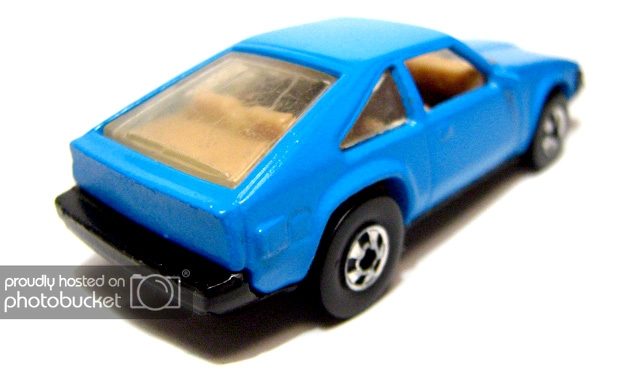
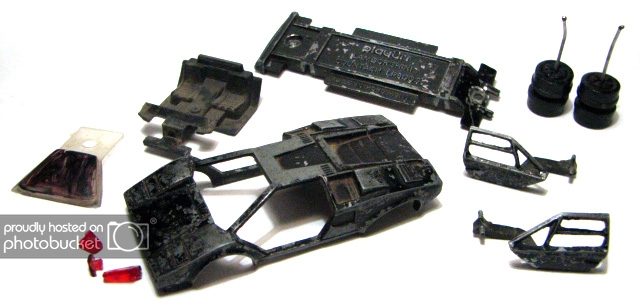
And now, the Supra. This car also featured the rounded-head rivvet but for some reason it was much more easier to drill out than the Porsche, and it helped that it only has one rivvet. From here...
to here...
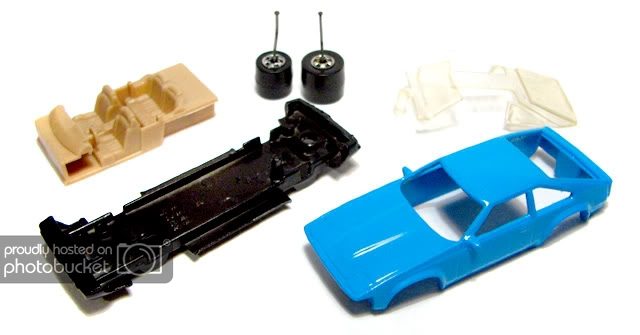
to here:
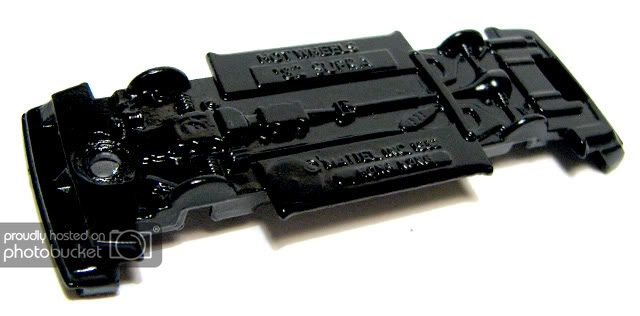
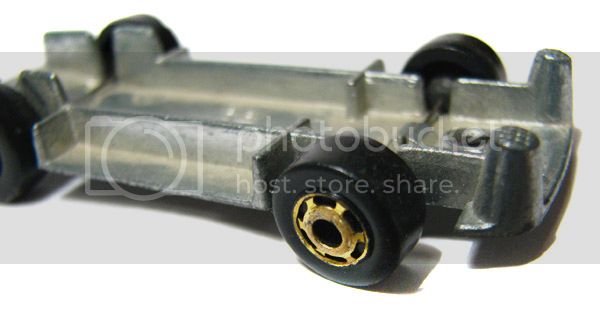
The first real problem with this car was the wheels. The damned axle was secured to the chassis with a solid dab of metal, which was VERY difficult to do away with. So difficult in fact that one of the axles simply bent too much (the axle tube on the Hot Ones axles is much, MUCH thinner too, than the more modern axles, btw) and snapped. I consulted Wyvern about it and he told me that some basic Blackwall wheels instead of the Gold Hot Ones it had originally would look good on it, since there were versions of this car with those wheels and yes, it looked good. So I removed the original axles and started looking for a set of replacement axles.
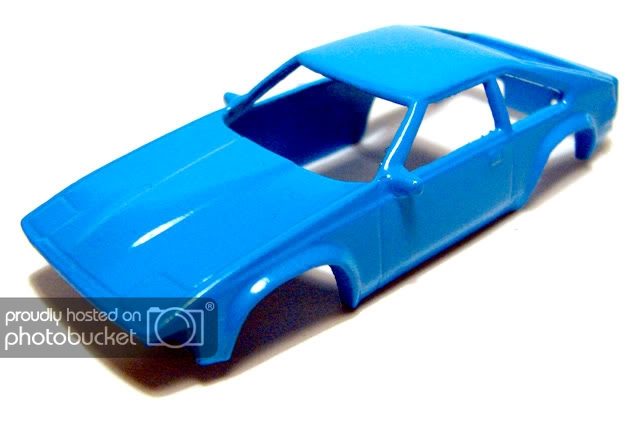
In the meanwhile, Wyvern had the colours defined: sky-ish blue with a black base. So my paint friend mixed a cool custom color for the car and shot it:
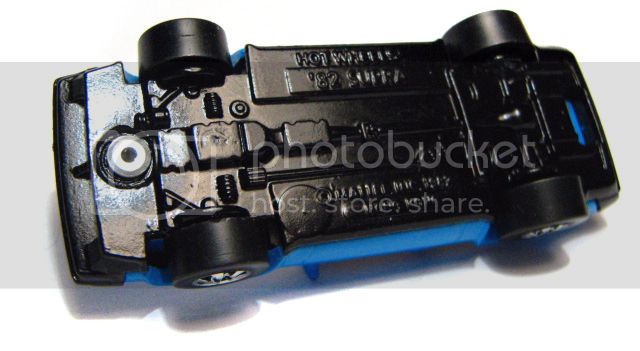
As you can see from the first pic of the previous batch, I had found a set of replacement axles. The difference, beisde the wheel type, was that the rear wheels were now bigger instead of both the same size. Even so, the axles were too wide, so I would have to modify them... until I bought a lot of axles @ E-Bay that had like 40 blackwall axles. I figured I'd find a set with the correct width in there, so I decided to wait for them to arrive.
And I was right. Like they were made for the damned car. I just touched them up a bit and in they went. It was also reassembled with a rivvet:
Here is the final result, which looks killer btw. If I ever get one of these for restoration, I'm building me a clone of this freaking car. It will be hard to see it go, I really really like the final result.
The rear wheels, restored and bigger:
And here both of them together:
And finally. I still find it hard to believe that such a basic restoration job could have proved so difficult and consumed so many resources, and that early cars like these are so different to the more modern Hot Wheels I've worked with before. It was difficult but cool, and now I've got a bunch of stuff I'll be using with similar-vintage projects, so it's all good. These should be heading to their owner in the next few days.
Sorry for the
slight delay bud, but here they are.


 Might have to find some wheels for a start, if I can. Luckily I've got a friend who's very much a craft person and has plenty of paints and tools for working on model cars.
 ")