Metalsun's GT6 Gallery * Rain Forest 3D Render *

  • Thread starter Metalsun
  • 84 comments
  • 7,222 views
I'me seriously late to comment here and you've made many awesome edits more since my last visit. Your gallery is like no other because we have a lot of informations, very usefull for people who like to understand the way you make your edit work. Thx a lot for that and a great bravo fo all your last edits !
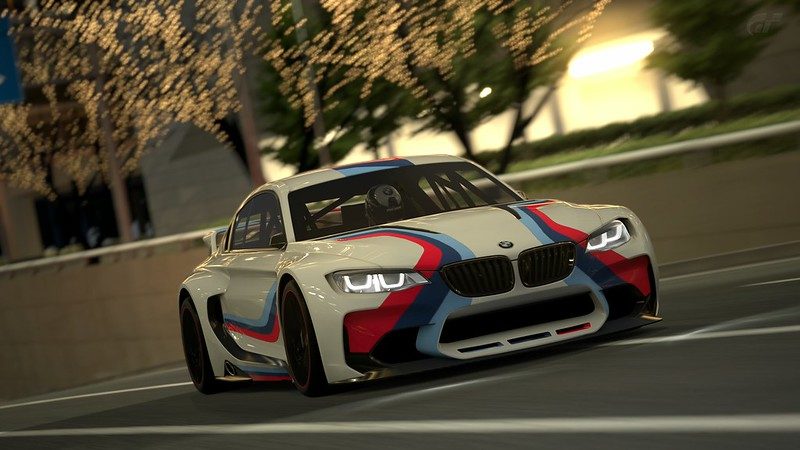
 
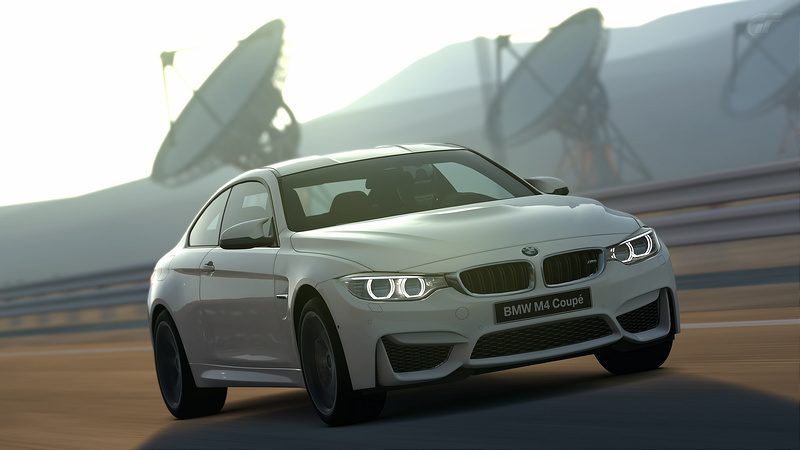
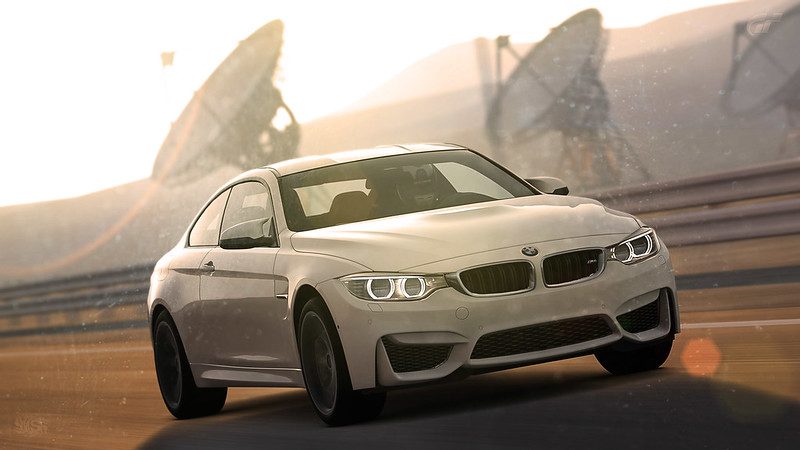
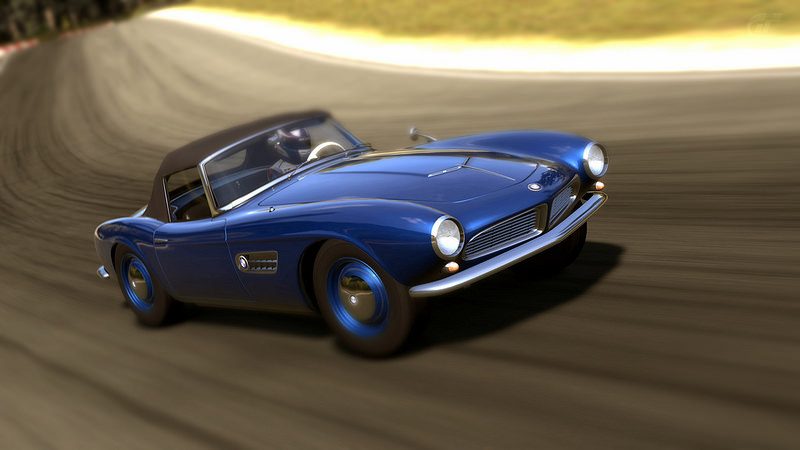
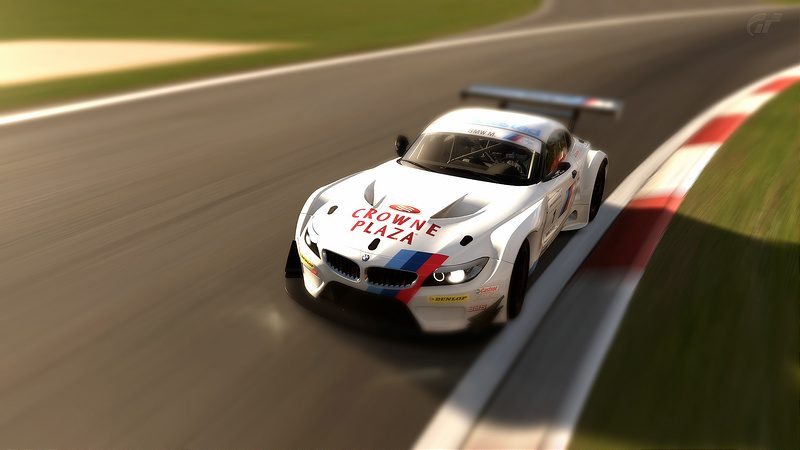
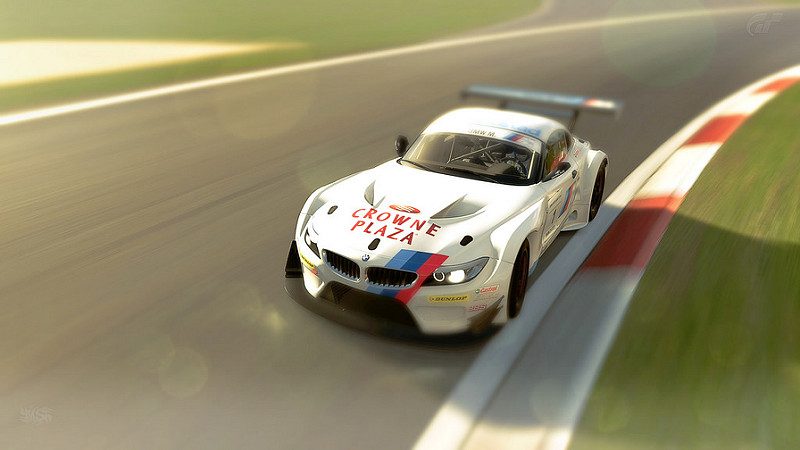
These photos were part of my unsuccessful attempt to win the weekly BMW and PlayStation Special GT6 Photomode Event contest featuring 4 BMW cars. I submitted the unedited shots. Later, I posted here on GT Planet some simple edited versions.

15046168825_6c076366c6_c.jpg

Here, I only added sharpness and brightness.


15046150035_5fa37a74c6_c.jpg

Again, some sharpness, brightness, sun flare and internal camera reflections. I finally added the dirty lens effect from ShaolinMasta's Texture Pack.


15046155185_d7343daff0_c.jpg

Just sharpness and brightness.


15046177875_e0916d8260_c.jpg

Some sharpness, brightness. I added some white haze around the edges of the picture. I also used 2 of ShaolinMasta's bokeh textures from his Texture Pack. I recolored the bokeh images a shade of green. I then finished the shot with an overall green tint to take advantage of the grass color.
 
Last edited:
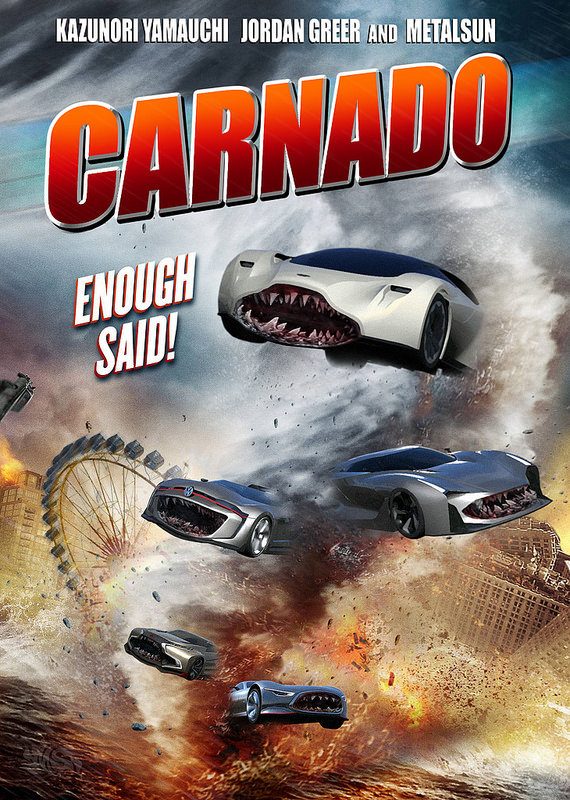
I kind of needed to do a humorous edit, it's been a while. So I threw a request to my kids and asked them what they would like to see. They said, "a monster car". We had seen the movie, so I suggested SHARKNADO...that was it for them!

15255149606_6f8aca8576_c.jpg

First thing to do is remove the sharks to make way for the cars. Erasing the sharks only leaves a hole in the image. You can SMUDGE out the sharks but it would not work here because of the presence of all the details around the sharks. A clouded smudge in the middle looks very bad. What I did was erase the sharks, created a copy of the original image and placed it behind my principal layer (the one with the hole). I would move this copied layer and it would fill the hole with a similar texture. After many copies, merge all layers and edit the "hole" into something cohesive.

15091587818_6463776009_c.jpg

Now, the cars, which to use? Using any cars would not tie this edit to Gran Turismo but the Vision GT cars will. The big bonus, is the fact that these cars have huge front air intakes already. I used the WARP tool and opened the intakes a bit more and modified the shark's teeth to fit.


CARNADO, part of Polyphony Digital’s recent strategy to diversify its entertainment offerings tied to the Gran Turismo game series into the silver screen. The movie is extremely cheesy but totally entertaining due to the absurdness of the plot and production value. The critic’s opinion on Yamauchi's acting participation is great but I wouldn’t know, he speaks only in Japanese; although he walks and moves his arms around in a very “Oscar-worthy” fashion. On the other hand, Jordan Greer’s “acting” was quite pitiful and thankfully, the writers took him out early in a very gruesome scene. Let’s just say that, what’s left of him was red car paint on multiple vehicles. Then there is me, I do an amazing car chase scene to rival the movie BULLITT. So, go see the movie, have some fun and never admit to anyone that you enjoyed it.
 
Last edited:
That's too much crazy, and I totally love it ! Really well made edit in addition to the great fun of the idea, bravo mate !
 
I've done tons of GT Photo Mode edits using Photoshop and posted them here in GTPlanet. Now, I decided to get back into 3d modeling, it's been a while. I know, it's not PhotoMode but I think you guys might find it interesting. I'll be posting in Off-topic/Computers & Technology/3D Modelling, Post your 3D models! (Cars, Planes, People, Landscapes etc!). Bungie's Destiny game is my inspiration, my kids love the game. I haven't played it but I find the Ghost's geometric shape very interesting. I'll be making a photorealistic scene with this model with Autodesk's 3ds Max 2015 and render it with V-ray 3.0.

From a simple box, I made the general shape.


I began to add geometry. The top half is my working model. The bottom is just the "symmetry" model done by the program to save time.


Close-up detail of the top of the model.
 
Finished Ghost model front, test render.


Finished Ghost sphere model rear, test render.


Done with the Ghost model. I am thinking doing a scene in a wooded area and some concrete structure with maybe a wrecked Vision GT car. After that, texturing.
 
Last edited:
I've been trying to increase my skills in environments to place my Bungie "Destiny" Ghost. I took a break to work on this one.


Ocean Sunset
by Metalsun1, on Flickr

Apart from the imported picture of my kids (in the rear) and their cousins, EVERYTHING is a modeled or procedurally created 3D environment. We were at a beach house 2 weeks ago when I took a picture of a beautiful sunset and got inspired to recreate it in 3D. The foreground and background islands are real and I reproduced them in 3D like in my reference photo.
 
Last edited:
Dining Room Table by Metalsun1, on Flickr

I learned a long time ago that if I wanted to get good at this I needed a way to measure my progress, so comparisons to real-life objects was the solution. I practiced modeling scenes on real-life objects. The better the model, the more true-to-life the scene. This is my dining room table I have at home. I revisited the original file that I did in 2010 and just adjusted some textures and render settings.
 
Your recent work is really impressive, I know nothing in 3D modeling but the result is very realistic each time 👍
Also like a lot your work on the Ocean sunset photo 👍
 
I've posted this in another relevant area in gtplanet but I am sure you will find interesting what I have drawn, so I'll share it with you.

I saw a very interesting interior and realized it was the many "visual textures" that caught my eye, so, it inspired me to draw this kitchen with lots of textures.

Rustic Kitchen by Metalsun, on Flickr
 
I wanted to do a simple hallway, then it got away from me into 4 images. I tried to create a gloomy dark gritty environment then curiosity got hold and I wanted to see what was at the end of this hallway.

Rain Forest Hallway by Metalsun, on Flickr

To the right...the balcony overlooking the misty rainforest.

Rain Forest Balcony by Metalsun, on Flickr

Behind, the house.

Rain Forest House by Metalsun, on Flickr

I had to do one more. The hallway at night.

Rain Forest Hallway Night by Metalsun, on Flickr
 
Back