The Before & After Thread

I mostly do this:
-Make a selection of the light and copy it to a new layer
-Make another layer and fill that same selection with a red color
-Set these layers both to "screen" blending mode
-Gaussian Blur the red filled layer a bit
-Motion Blur the light copy layer a bit
-Play with the transparancy
Thanks! I'll play around with it.


Gemasolar (15).jpg


14443501064_c6df972d68_c.jpg


14258022598_62af4b88fc_c.jpg


14421516456_abdd58fbfc_c.jpg


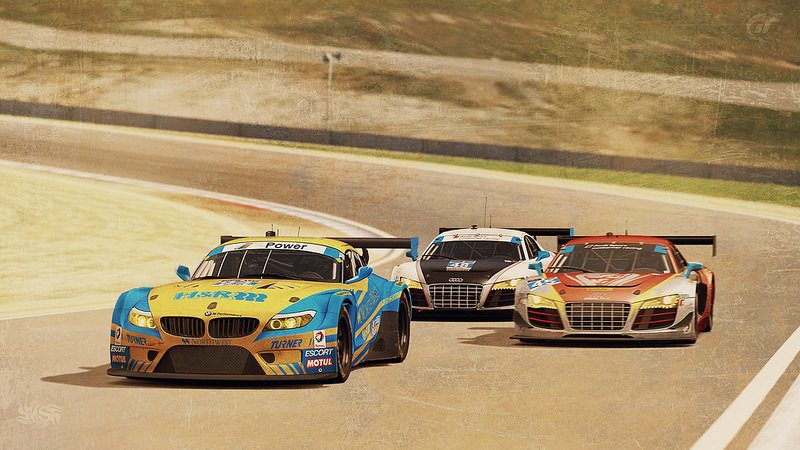
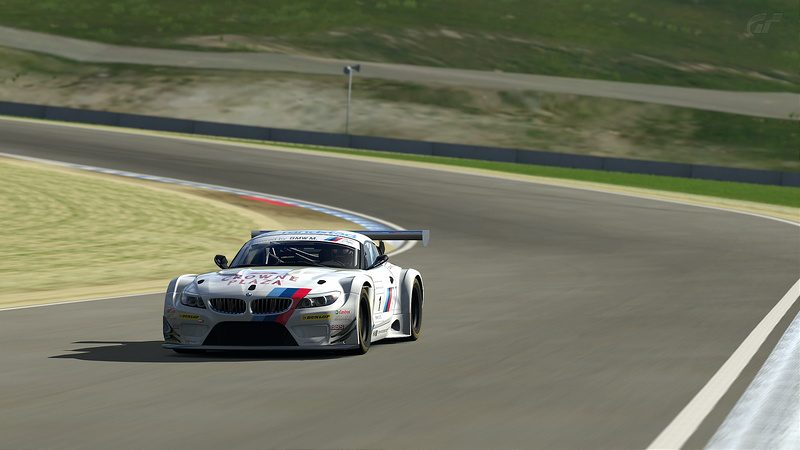
Turner Motorsports BMW Z4 GT3 2014 Laguna Seca by Metalsun1, on Flickr

For more insight on how I did this, visit my GT Planet GT6 gallery.

Surprise endings continue to happen. This time, at Mazda Raceway Laguna Seca, in the 3rd round of the 
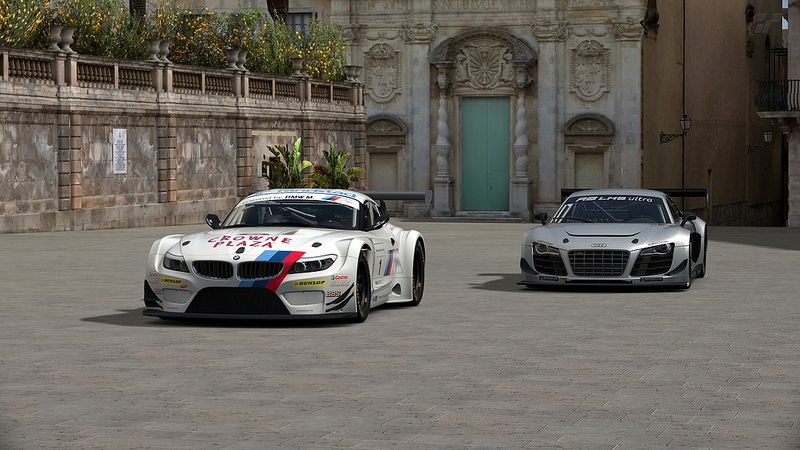
2014 TUDOR United SportsCar Championship in the GTD category. The #45 Flying Lizards Motorsports AUDI R8 LMS was set for a win starting from the pole position. After a 2nd yellow flag, 34 minutes into the 2 hour race, many teams came in for a driver change and a splash of fuel. A 3rd yellow flag opportunity never materialized. In a strategy move 1 hour into the race, the Turner Motorsport #94 pitted again for fuel, out of sequence, to take their car to the finish. The Flying Lizards’ pit strategy had the car skip the stop and continue on racing while conserving fuel. Then the surprise. In the last lap, above the “Corkscrew” turn, the #45 ran out of “fumes”. Eventually, giving way for the Turner Motorsport #94 BMW Z4 GT3 driven by Dane Cameron and Markus Palttala, who were 11 seconds behind from P10, to take their first checkered flag (fast forward to 1:38:00) of the 2014 season.
Update: After 8 races into the series the #555 AIM Autosport (now with a modified livery) still leads in in the GTD championship by 2 points.
Update 2: The Turner Motorsport #94 BMW Z4 GT3 became the 1st GTD team to repeat a win in the series after reaching the checkered flag first at Watkins Glen. Now with 3 wins, the team is 3rd in the championship.
 
Last edited:

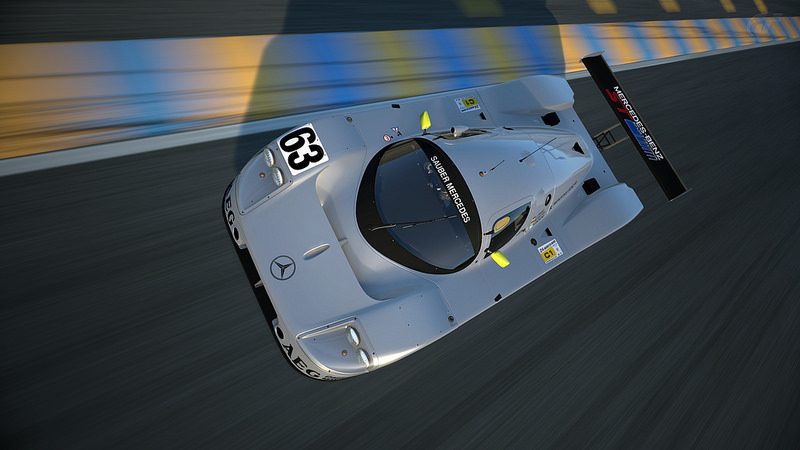
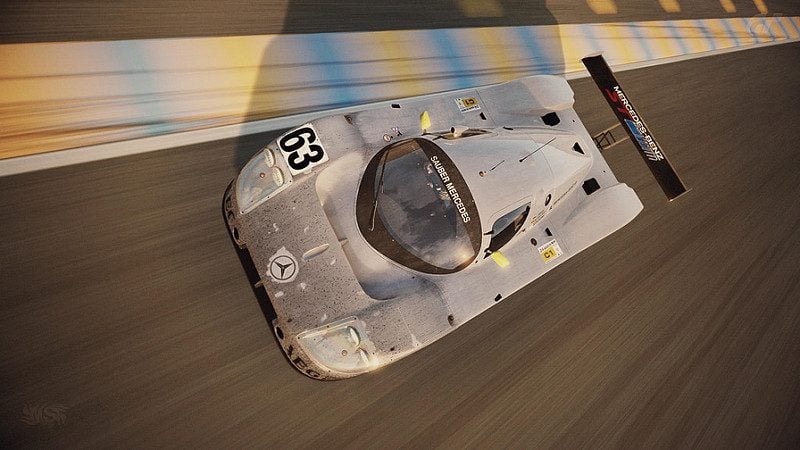
Sauber Mercedes C9 1989 24 Hours of Le Mans by Metalsun1, on Flickr

For more insight on how I did this, visit my GT Planet GT6 gallery.

Mercedes-Benz had retired from top tier racing since the tragic accident in the 1955 24 Hours of Le Mans. That’s until the privateer racing team Sauber, asked M-B in 1984 for some time in their new wind tunnel so they can develop their C8 race car. M-B’s involvement crept from there to engine supplier, then full factory support by 1988 with the C9. Among other improvements above the previous generation, the development of a 4-valve DOHC increased the power output to 720 bhp in race trim. The C9s were very dominant in the 1989 season, winning all but one race. During the 1989 24 Hours of Le Mans, the C9 reached 248.0 mph (400 km/h) during their qualifying sessions down the Mulsanne Straight. Eventually, the #63 Sauber Mercedes driven by Jochen Mass, Manuel Reuter and Stanley Dickens took the checkered flag in a 1st, 2nd, and 5th finish. By the next season, 2 new chicanes were installed in the track to slow the cars down.
 
14595685774_c9d69475b9_c.jpg


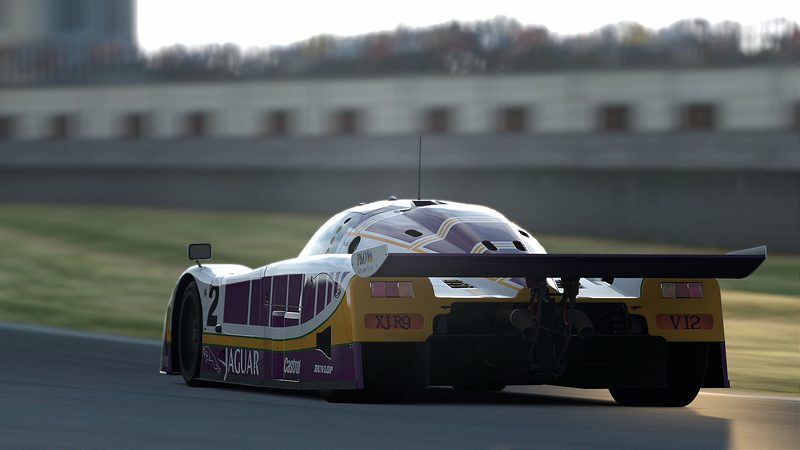
Jaguar XJR-9 1988 24 Hours of Le Mans by Metalsun1, on Flickr

For more insight on how I did this, visit my GT Planet GT6 gallery.

By the time the 1988 24 Hours of Le Mans came around again, Porsche was still a dominating force. If you were a privateer team and wanted to win this race, an obvious car to invest in and take to the race would be a Porsche 962. They had won for the last 7 years straight. The odds were stacked against the other teams. Tom Walkinshaw Racing (TWR) brought to the fight 5, factory supported Jaguar XJR-9s. A development of the XJR-8s, the XJR-9s had increased its horsepower to 750hp and aerodynamic efficiency by 15%, in part by re-installing the rear wheel covers over, low rear spoiler and truncated bodywork. After 31 years, Jaguar without a win, Johnny Dumfries, Jan Lammers and Andy Wallace take the checkered flag in the Silk Cut sponsored #2 XJR-9, chassis number TWR-J12C-488, and saw Jaguar take the World Championship with wins in six out of 10 Group C races.


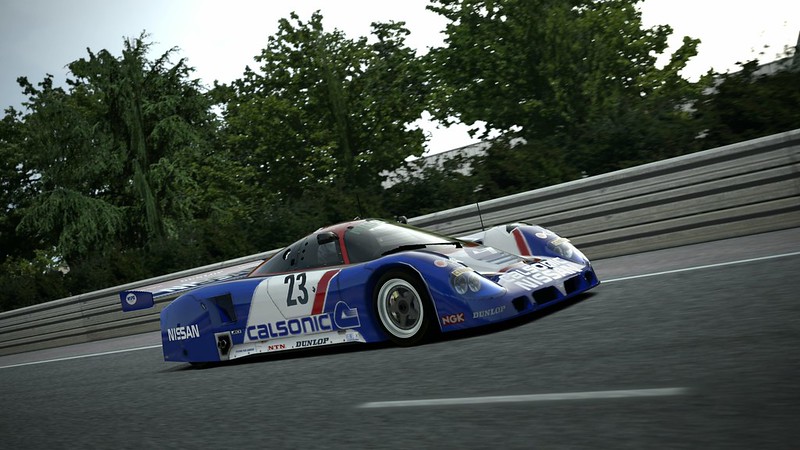
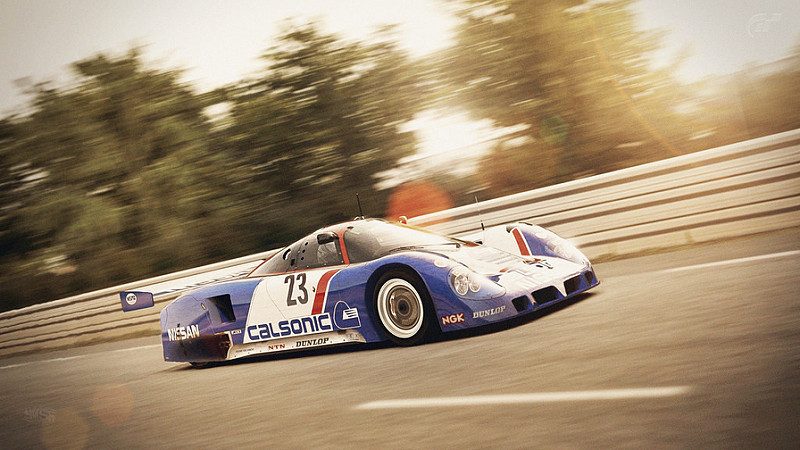
Nissan R89C 1989 24 Hours of Le Mans by Metalsun1, on Flickr

For more insight on how I did this, visit my GT Planet GT6 gallery.

The R89C was the result of Nissan's effort to compete in the 1989 World Sportscar Championship season in the Group C category. The race car progressed from Nissan’s previous generation into a new Lola chassis and twin-turbo VRH35 engine, 3.5L V8 DOHC. Unfortunately, race tuning, reliability and track set-up was slowly being optimized and results suffered. The R89C, as a whole, was an unsuccessful race car for Nissan reaching its most prestigious position of 3rd place in both Donington Park and Spa Francorchaps. They never finished the 1989 24 hours of Le Mans due to engine failures and crashes, eventually finishing 5th in the 1989 championship. All wasn't for nothing and the lessons learned from the R89C were put to good use in the very successful future.
 
BEFORE


Steven2992,

I don't know how others do it. Probably an easier method somewhere. I taught myself. Sorry.

If you don't have GIMP, get it, it's free.

First off, EVERY vehicle needs to be cleaned. (See GT5 Clean Up Tutorial), Especially premiums, and the Vision vehicles also. Jaggies do not exist in real life. Realism= No Jaggies. Got it? Good.👍

GIMP 2.8

Duplicate layer

On the duplicate layer, click 'Overlay'.

In the Overlay layer, set opacity 50%

Right click your image. In the 'Colors' tab, click 'desaturate'.

Right click your image. In the 'Colors' tab, click invert.

Right click your image, and select 'Filters'

In 'Filters', select 'Blur', then 'Gaussian Blur'. Set to 40%

Right click your original layer, (The one at the bottom of the two layers) Select 'Duplicate Layer.

Look to the bottom of your 'Layers' tab, you will see an 'Up' arrow. Click the 'Up' arrow.

The newest layer is now at the top (First of the three layers) of the layer column in the 'Layers' tab.

On this layer, select 'Soft Light' Set opacity to 50%

Flatten the image.

Done.

With the finished photo...

Saturation -17%

Unsharp mask Radius -1.0%/ Amount -50%/ Threshold -0% (This is the reflection part)

This will produce a basic realistic shot. Play with other controls to your liking.

Remember, don't sharpen so much if you don't clean the vehicle. It will look crazy. And I see everything!

I give you this one, because GIMP is free, and a powerful editor for the price. And, I love to help.

I use PS also for non-destructive editing, and more flexibility.

After


Most of all...practice, practice...PRACTICE.👍

Sorry for the big post on the thread, but this may be useful to others who may be too shy to ask.

I was actually curious on how you and a few others get pictures to come out like that, but I kept forgetting to ask. So, thanks; it gives me new ideas on how I should edit.

Personally, I use either gimp or pixlr to edit my photos. I mostly use gimp for when I want to clean up a standard car or something and pixlr for a lot of my photo methods. I normally just increase the saturation, duplicate layer to increase the exposure & contrast before reducing the opacity a bit. I also mess with the curve options a lot.
 
Last edited:
First off, EVERY vehicle needs to be cleaned. (See GT5 Clean Up Tutorial), Especially premiums, and the Vision vehicles also. Jaggies do not exist in real life. Realism= No Jaggies. Got it? Good.👍

MoMo, I liked this shot very much when you posted it the first time. Now, this looks like a mini tutorial. Why don't you post it also at GTP GT6 Photomode FAQ & Tutorial Depot for everyone's benefit?
 
My apologies Metalsun...Done. And Thank You!!! I love EVERYTHING you do. Pure mental genius!!!

-RandomCarGuy1, I hear you brother! Great work by the way, I use those methods also, depending on the shot.

I wanted to give Steven the quickest way I know of to get your car looking real. IMO A base shot from which to do all of those things you mentioned.

If practiced, my method takes 3 minutes. (After cleaning)

Please guys, call me Gary if you like.:)


Peugeot 905 EVO 1B 1992 24 Hours of Le Mans by Metalsun1, on Flickr[/URL]

For more insight on how I did this, visit my GT Planet GT6 gallery.

In the 80’s, Peugeot had great success in Group B rally racing but after the elimination of the category they focused their efforts in Group C racing to win the World Sportscar Championship and Le Mans. By 1990 they were ready with the Peugeot 905, basically an F1 car in disguise. It had only one race win by the end of the 1990 season. For the next season a new car was engineered, the 905B, which finished 2nd in the 1991 WSC. Further development resulted in the 905 Evo 1B (depicted in this photo) and it had a very successful 1992 WSC season. It had won both the championship and for the first time, the 1992 24 Hours of Le Mans at the hands of Derek Warwick, Yannick Dalmas and Mark Blundell. Although the WSC ceased to exist at the end of the 1992 season, Group C cars were allowed for one last time to race in the 1993 24 hours of Le Mans. This time, Peugeot raced their 905 Evo 1B to a dominating 1-2-3 finish.
 
Last edited:
Back