
- 589

- United States
DISCLAIMER:
The suggestions used in this guide are catered towards Forzatography ONLY and should not be used as a guide to real-life photography. Although the two share many similarities, they each have their own do's and do not's that should be taken into consideration.
The suggestions used in this guide are catered towards Forzatography ONLY and should not be used as a guide to real-life photography. Although the two share many similarities, they each have their own do's and do not's that should be taken into consideration.
Introduction
Hi there fellow Forzatographers! Some of you may or may not know me, but I spend a great majority of my time taking photos – especially when it comes to cars. As video games start to rival real-life in terms of visuals and game developers implement lighting techniques that really bring their world to life, it becomes easier and easier to implement real-life photography techniques when fooling around with the in-game photo mode. In this guide, I hope to share with all of you some tips and tricks I’ve learned over the years as an ‘amateur’ photographer and how to properly implement these talents when shooting photos in Forza Motorsport and Forza Horizon. I hope this guide will prove useful to you! Thank you for reading and have fun!
PART ONE: LIGHTING
As the name suggests, photography is the very study of light. You can imagine, then, that lighting conditions play a vital role in taking great looking photos – and you’d be right. A common misconception is the idea that more light equals better photos. This is not true as it’s more about how the lighting is used, rather than how much of it there is. In this chapter, I’ll guide you through some basic steps to ensure you make the most use of lighting conditions.
"Everything the Sun touches is our Kingdom"
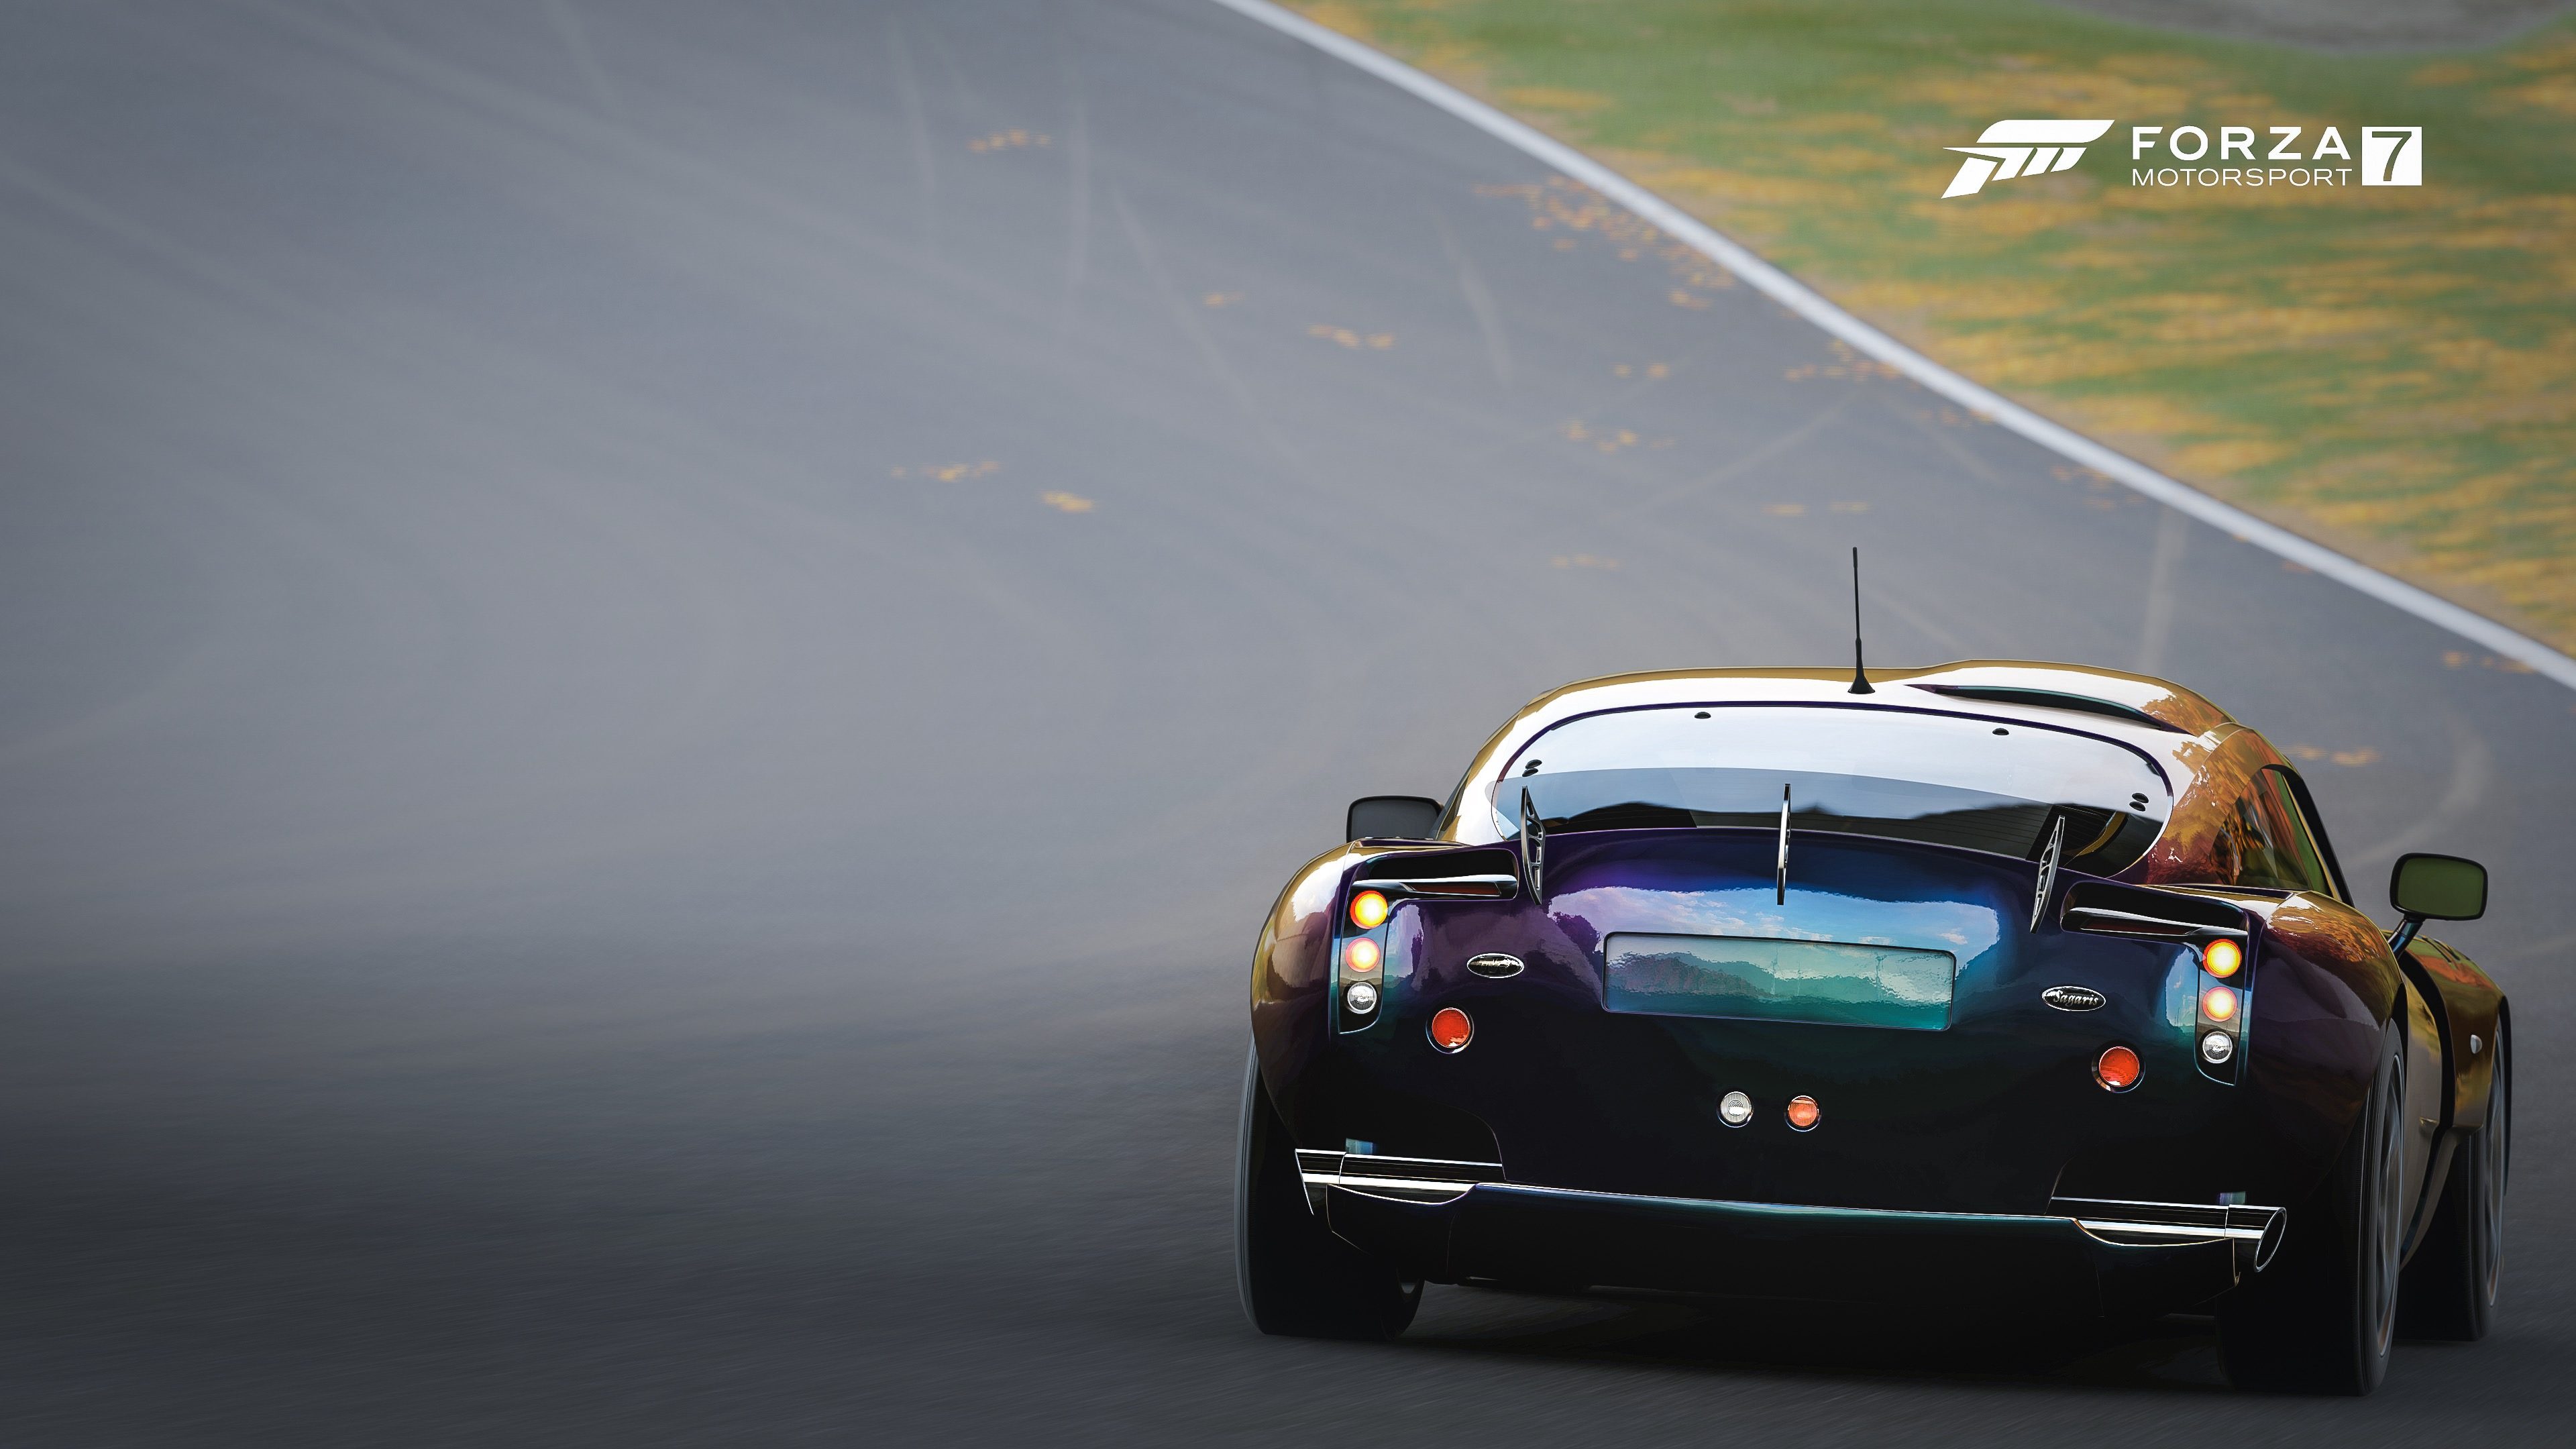
The sun’s positioning plays a vital role in where and how you take your photos. Based on where the light source is coming from, several factors like shadows, exposure and contrast get affected. Ideally, you want as much light as possible to really make the shots of your car bright and detailed, but at the same time you don’t want too much exposure ruining the color. A great way of doing this is allowing the sun to shine brightly upon your car, but then choose an angle where the car is the darkest and rack up the exposure. You don’t want the camera facing the sun when doing this, as this will most likely blind you! But doing this allows you to capture a lot of detail, without ruining the shot with over exposure. Having the sun directly hit a subject is a common amateur photographer mistake. Instead, allow the light to bounce off of your environment and rack up the exposure. I’ll demonstrate with the following photo:

Take a good look at the spot of leaves cutting through the trees in this shot. Notice how much lighter some parts of my car are as opposed to others? Those lighter spots are from the sun shining through the leaves, whereas the rest of the car is in the shade. Now why would I want to take a picture in the shade? Because it allows me to utilize the natural light illuminating the world around me, without having the sun blast my car with brightness. From here we can increase the exposure slider to permit more light, making the car shine and revealing smaller details in its design, without having the whole car (and the whole environment) shine as bright as a candle.
You want to make sure that the parts you want brightly lit get the light and the parts you want darker left in the shade. Sounds simple enough, right? It can be a bit tricky, however, especially with these motion shots. If you pay closer attention, you can see that the front lip of the car, along with the right side intercooler, remain lit up by the sun. This allows you to see the weaves of the carbon fiber. The parts that are in the side, however, remain dark. This is a nice trick to 'force' details out on a car to make them pop!
When taking shots of the front with the headlights turned on, make sure to capture the light at an angle so that it doesn’t blind the lens. Remember, we want high levels of exposure in these shots! Increasing the exposure also makes the headlights brighter, so make sure you catch them at the right angle! Be careful, though, as the environment might shine, too. Shots like these are really tricky to pull off in places where parts of the environment are very bright, like the sands in the outback or white flowers in the grass, etc.
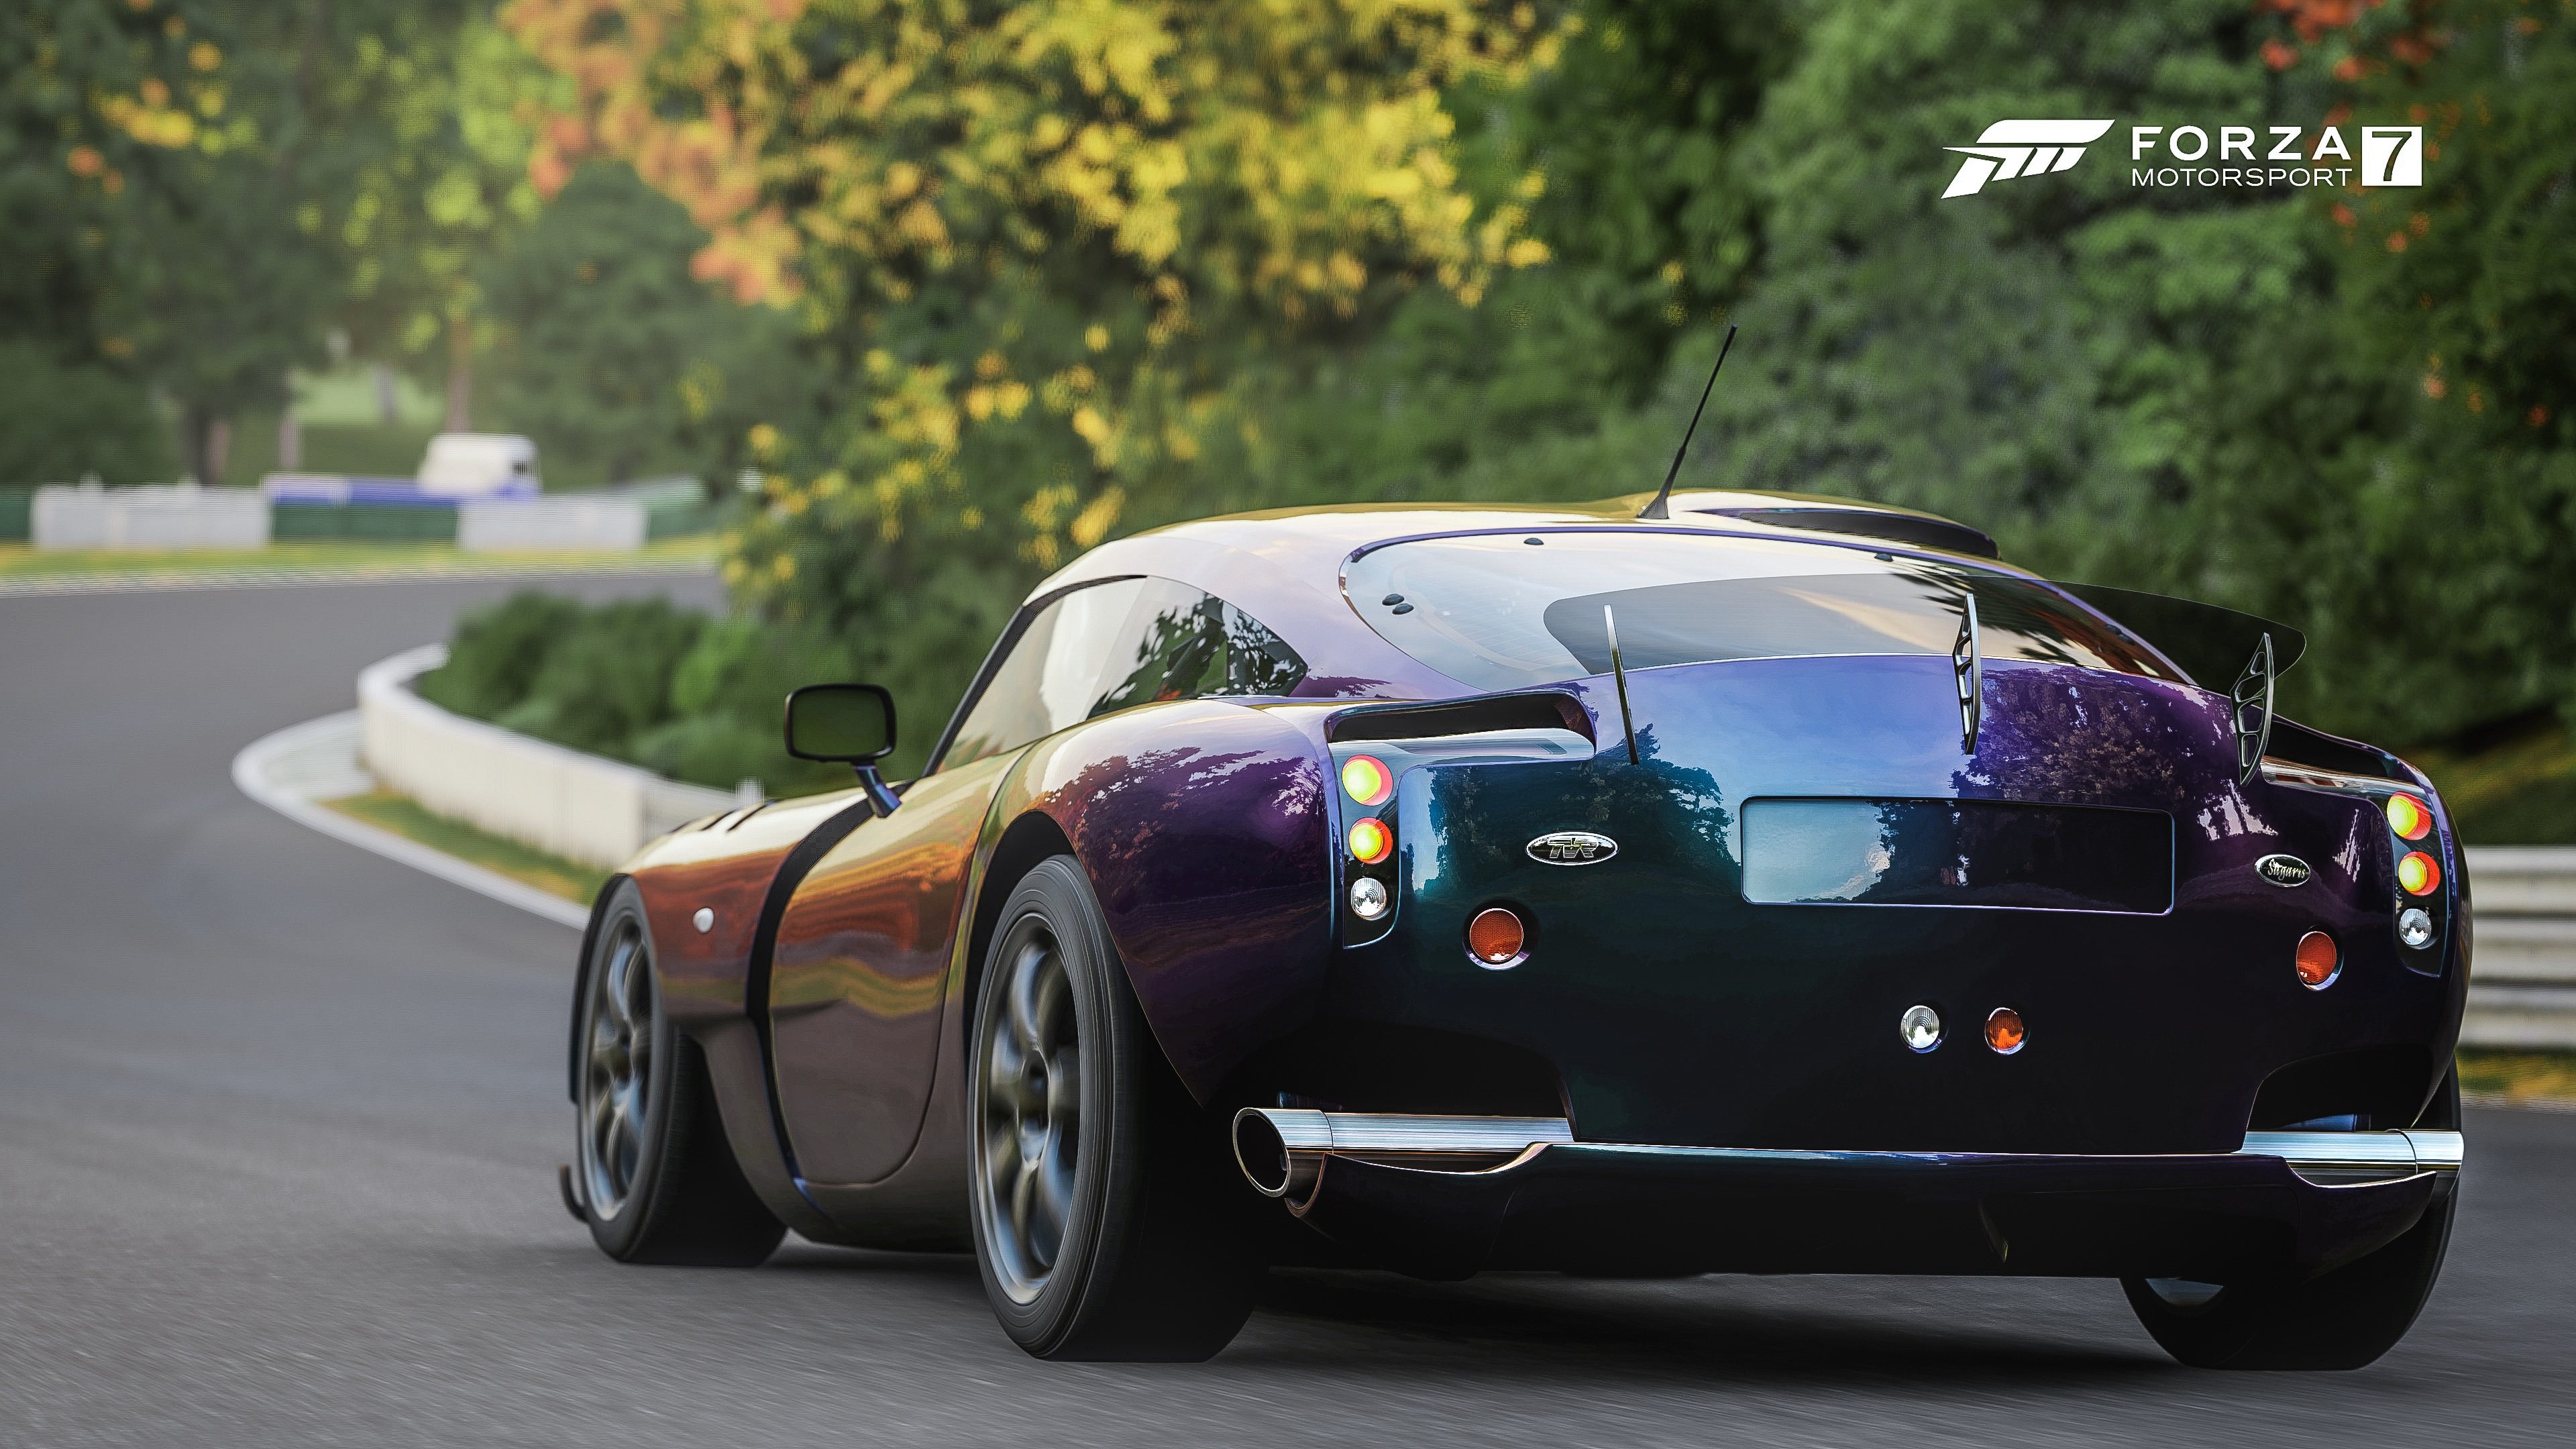
Now, take a look at this second shot:

Notice how bright the front end of the car looks as opposed to the rest? That’s because the front is no longer in the shade! We have identical photo settings, but here we have too much exposure on the front end of the car. The car model also looks softer and more brushed as opposed to the sharp look we are going for here.
Here are two more shots to illustrate my point. Same car, same color, same conditions, but one is in the shade while the other one is in the light.


Keep in mind that this doesn't mean you can't get good shots out of cars that are in the light, but it means you have to keep in mind what you can and cannot do with it. You cannot produce darkness, for it is the absence of light. You can, however, produce light (in this case, exposure) so plan accordingly! To show what I mean, here's the identical car, with almost identical settings, drifting a turn in the middle of the afternoon. Oh and I painted the car black so you get to really see what I mean.

See the difference? Again, almost identical settings. I get asked what type of settings I use all the time, but that proves that there is no "perfect" setting around. It all depends on what exactly you're shooting.
Now, let's consider an area that is bright everyone else, but perhaps has a much larger area of shade. This allows us to direct the camera towards the darker areas and, again, allow the environment to bounce off its light onto our car. In these two photos, exposure was set between 95-100, and yet the shots do not look over-exposed. This is because they were taken in shady areas and faced away from direct sunlight - under a bridge and under the shade of trees.
Now you've seen the difference lighting can make in a photo. Remember that Forza is a game and learning how the lighting engine works is vital to getting the best shots out of it. To keep things simple for beginners, I won't dwell into night photography just yet. I'll save that one for a future lesson!
Alright guys, now it's your turn! Hop into any car of your choosing (it can be a volcano orange McPlaren P1, if you want) and snap a picture of your car using the techniques discussed here. Upload your photo to a image hosting site of your choice and share your photo in the comments. Together we can see if the guide proved useful and also if anyone has any questions regarding any of the parts.
Hope this helps; until next time - Cheers!
BONUS SHOT: http://i.imgur.com/4bcs5te.jpg
MY FAVORITE FROM THIS SHOOT: http://i.imgur.com/KFSlfr0.jpg


