- 2
- almeidaSLB
Congrats Eddy!
It's looks perfect!! That's why i want to build one myself.
But first i need to ask you if you can share the construction diagrams in full resolution.
Thanks!!!
Gil
It's looks perfect!! That's why i want to build one myself.
But first i need to ask you if you can share the construction diagrams in full resolution.
Thanks!!!
Gil
") all good now.
all good now. ) with a few extra T's and a bit of pipe leftover

 I made a mistake on the front part of the rig and didn't realize it until after both sides were glued and inseparable...now what....I removed one of the sides but cracked a Tee, and the other side wont budge. i hate this stupid gluing!
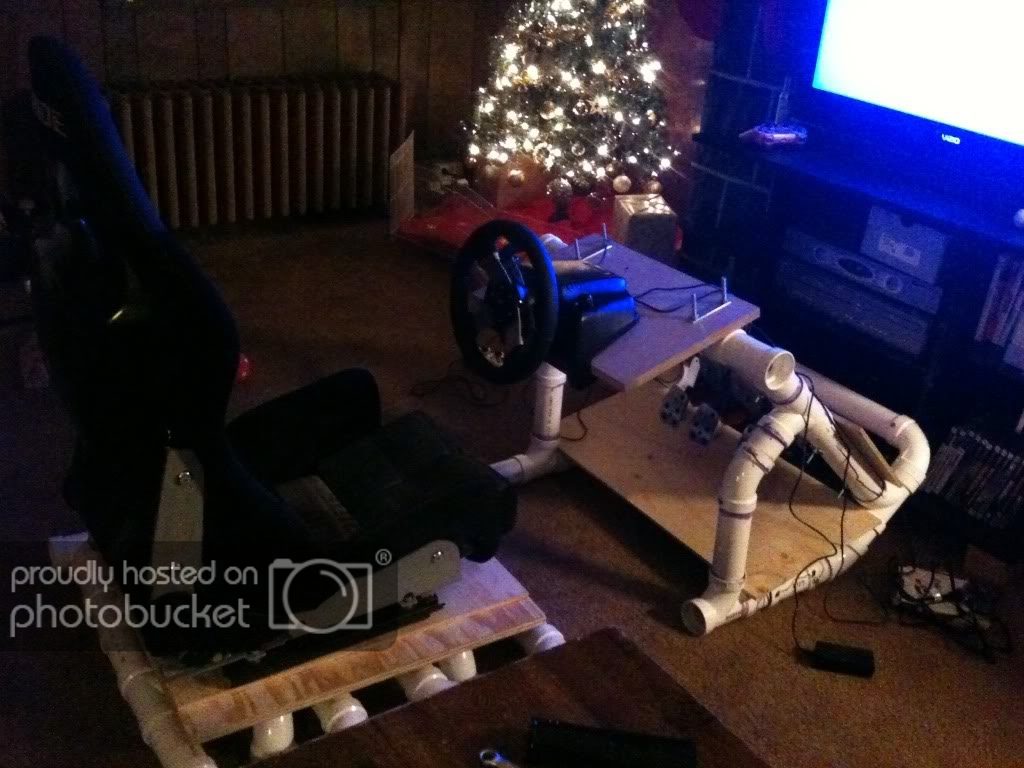

") I got a brand new Otto-r bucket seat today and the wood for the mounts.
I got a brand new Otto-r bucket seat today and the wood for the mounts.