- 502
- PositionZero
- Endemictr
eeek my free photo bucket account has reached the 10gig monthly Bandwidth limit. they say it won't pics wont be active again until "the 14th of the month" unless i upgrade to premium :s ..
which pictures do you need?
Try to host pictures at imageshack.us
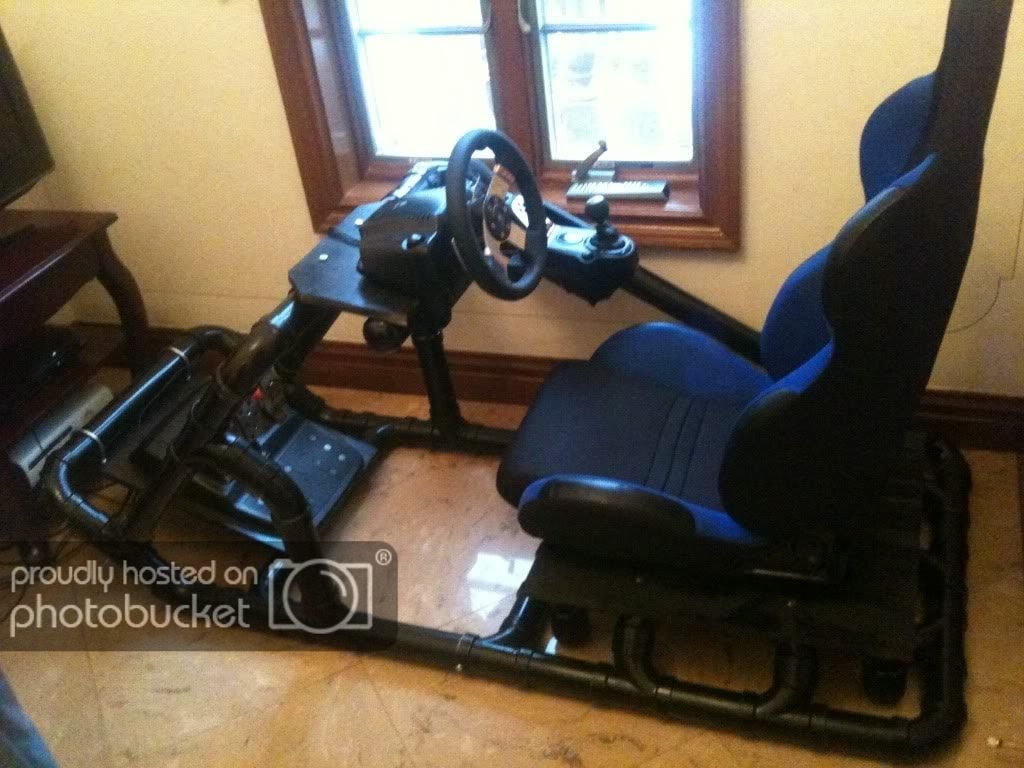
and I found some wrong sizes on the seat base If you go with 1 and half PVC Pipes only, I dont know it will be the same with 2" PVC.
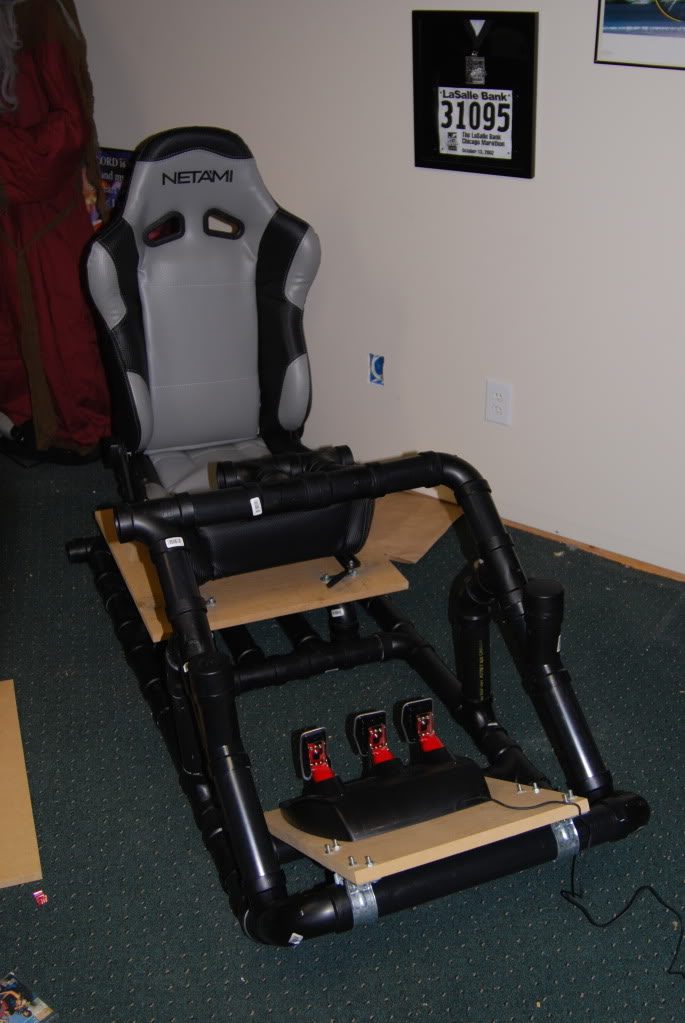
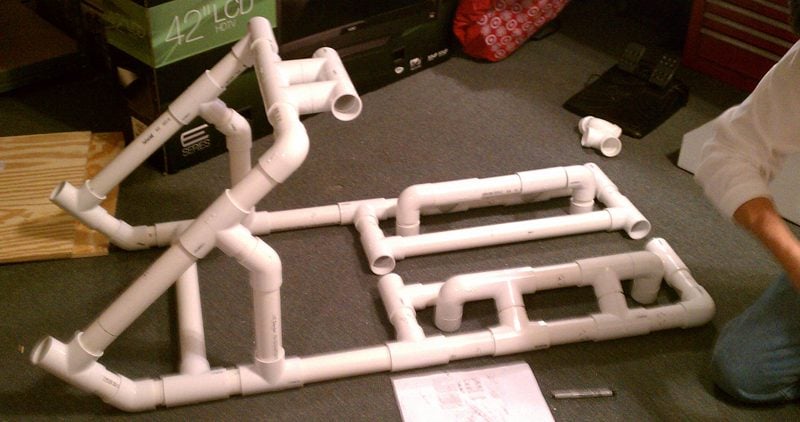
SEAT BASE BLUEPRINT:
Item # 8 (3" pvc pipe QTY:2) you don't need that. It's too short.
Item # 9 (5.375" pvc pipe QTY:4) It's perfect size but Item # 8 should be in this.
I will say remove Item # 8 and add QTY: 2 on item # 9.
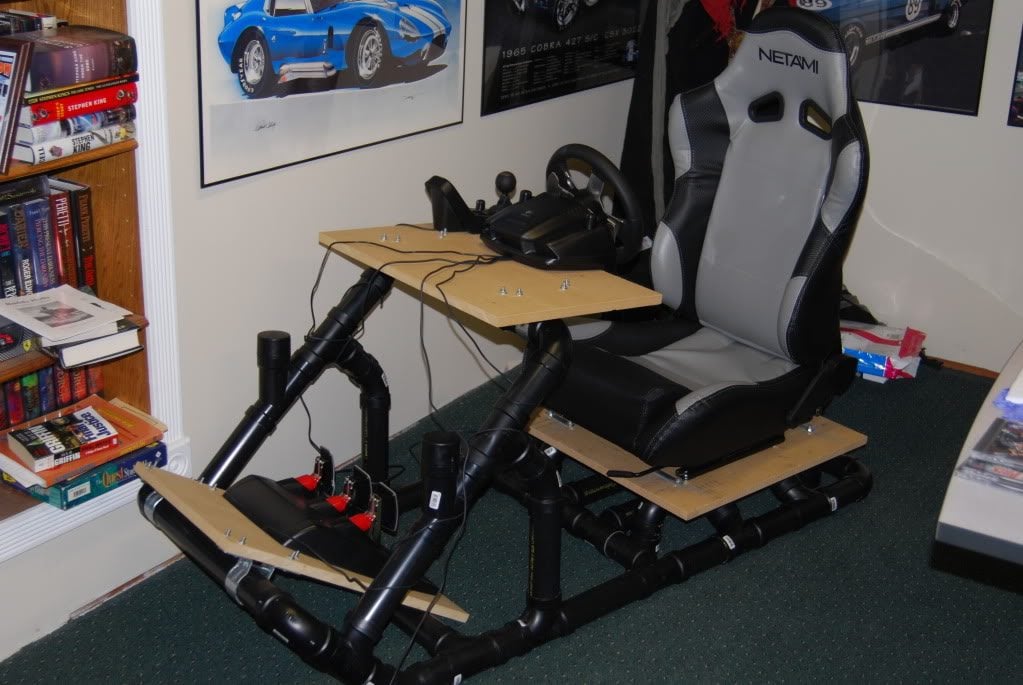
Here's my cockpit rig. almost completed! You see the missing two PVC pipe on seat base. 5.375" PVC Pipe is fitted all together with front cockpit base.
I hope this help!
Last edited:
")