GDII's SW20 MR2

  • Thread starter GDII
  • 777 comments
  • 97,666 views
Looks perfect :) Good to hear it handles nicely, too
It does look perfect but then I did say that about the RS*R springs which clearly wasn't quite right. These are much better.

I have barely driven it but yes, the ride is as good as the stock springs with more planted handling. Larger bumps can be felt but that's not really an issue. The Bilsteins control any bounce very well so the car settles quickly and handles bumpy corners way better than the stock springs. Still need to take it for a proper drive to see what it does over just adding the swaybars. I hear they are really good for open road driving and a bit rough on city streets.
 
I took the car for a longer drive today and found a few things that are quite different over the stock springs. Obviously I have lots of other suspension changes over a stock car but the springs really changed things up.

First thing you notice is the ride quality, it's smooth and soft and not harsh like what I expected it to be. Yes larger bumps are more noticeable but not really harsh. The ride is comparable to the stock springs for most of the uneven bits on our roads. It's also not bouncing so the Bilsteins are doing their job well.
The second thing you notice is the turn in response is very good, I found I am turning at the same time as I used to into a corner but getting much quicker turn in making me get closer to the inside of the corner faster. Need to adjust my turning points now.
Third thing is the tendency toward more oversteer, which I need to dial out with my driving style and swaybars. The car sits very flat in corners and has far less pitch with braking and acceleration. Compared to the RS*R springs I had before, they are softer but handle better. It's not a direct comparison as the suspension has changed a lot since then. For a road car it's perfect but you still get the handling required for any future track work I want to do.
The last thing is that the initial turn in steering weight is much lighter. When I increased my caster angle to 5 degrees the steering was heavy but now it's lightened up, not as much as stock alignment but liveable.

I compared these to some H&R springs in another car, you push down on the car and the TRD springs are far softer but give the same ride height. This makes for a more comfortable ride, as mentioned by the owner of the car.

Overall for a lowering spring they are awesome. I guess that should be expected from TRD when making them for one of their own cars.
 
6th shot down the front looks almost FD RX-7ish. Looking mint as dude, freaking love it (well, apart from the fuel cover but that's personal preference..)
That's true, it sort of does but the RX7 has very unique styling that is better than the MR2.
Thanks for your kind words, I love it too. :crazy:
Hehe yeah, the fuel cap door is the only odd thing on the outside of the relatively clean exterior. Being vinyl it can be removed easily so it's not that bad. I did make it myself though.
 
More new parts to add to the MR2. I had bought the 92+ shift lever and assembly but I wanted to add a few extras to it before I installed it.

So I asked my brother to make some solid aluminium shift plate bushes and a knob adapter that I designed.The adapter will allow my TRD knob to fit on the shorter lever with the boot support ring.
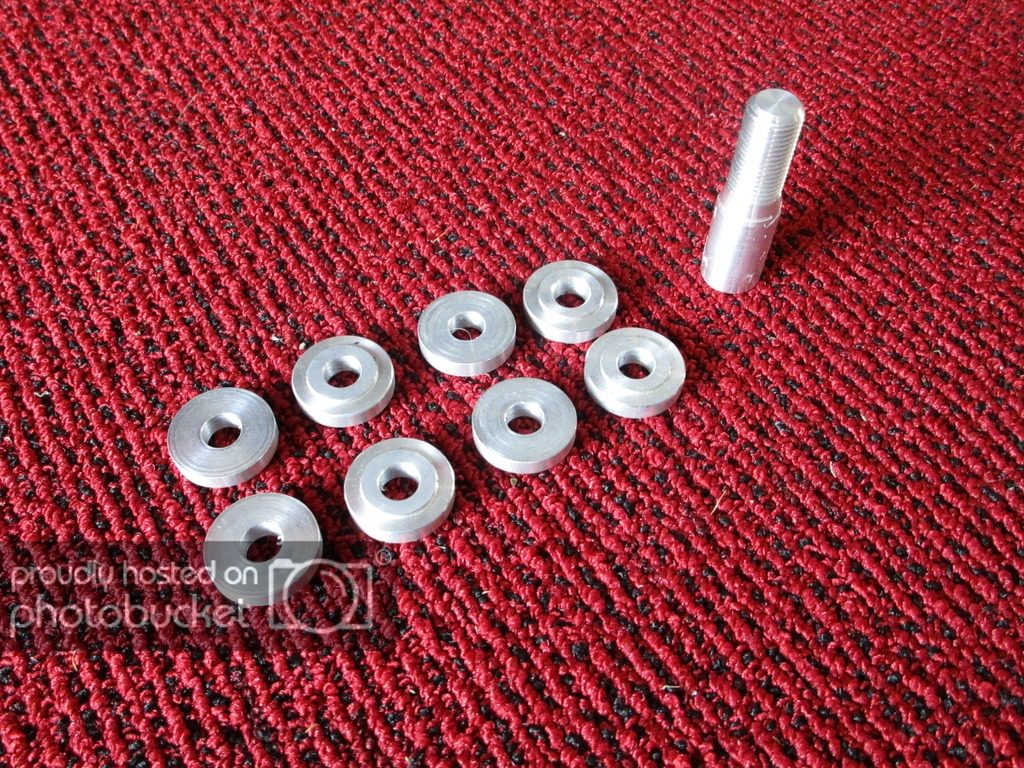


New bushes vs old rubber bushes. Nothing wrong with the rubber ones, they just allow the plate to move a bit when shifting. They are probably there for vibration and sound damping too.


New knob adapter. The 89-91 lever is about 20mm longer and the knob has a ring the holds the boot in place. The 92+ has a ring on the lever that supports the boot so the knob is separate from the boot. The 92+ knob is far shorter too so it all fits together fine. The TRD knob I have has a long thread deep inside so the 92+ lever won't even thread into it at all. So adding in the longer adapter allows the TRD knob to fit on the 92+ lever. This puts the knob back up at the 89-91 lever level but not a problem. I can switch out knobs depending on how I'm feeling.

I thought I would post up the process to change the shift lever and install the bushes. It doesn't cover pulling apart the lever mount because I just swapped over the whole plate and lever to the newer one. Most parts are the same but some have slightly different part numbers so I thought I'd go with the newer one.

Preparing the shift plate for new bushes


Use a 6mm socket to push out the steel centre


Use a flat head screw driver to force the rubber bushes out


Ready for installation. I removed the shift lever and mechanism to clean the base plate. Just 4 12mm bolts and a bit of fiddling to get it all out.


Cleaned up plate


Bottom half of the bush sitting in place.


Top half sitting over it.


Now onto removing the interior parts to get to the shift plate.
On each side of the centre arm rest there are 2 screw near the back. Remove these.


Then inside the CD/Tape box there are 4 screws. Remove these, leave them in the box, shut the lids and remove the box from the car. Keeps the screws safe and in the correct place for later.


Next is the knob, shifter boot and surround. Unscrew the knob, pull the boot up from the front and put aside.


In the 4 corners of the surround plate there are small push in clips. Reach under and push them up with your finger so not to break the plastic clip tabs.
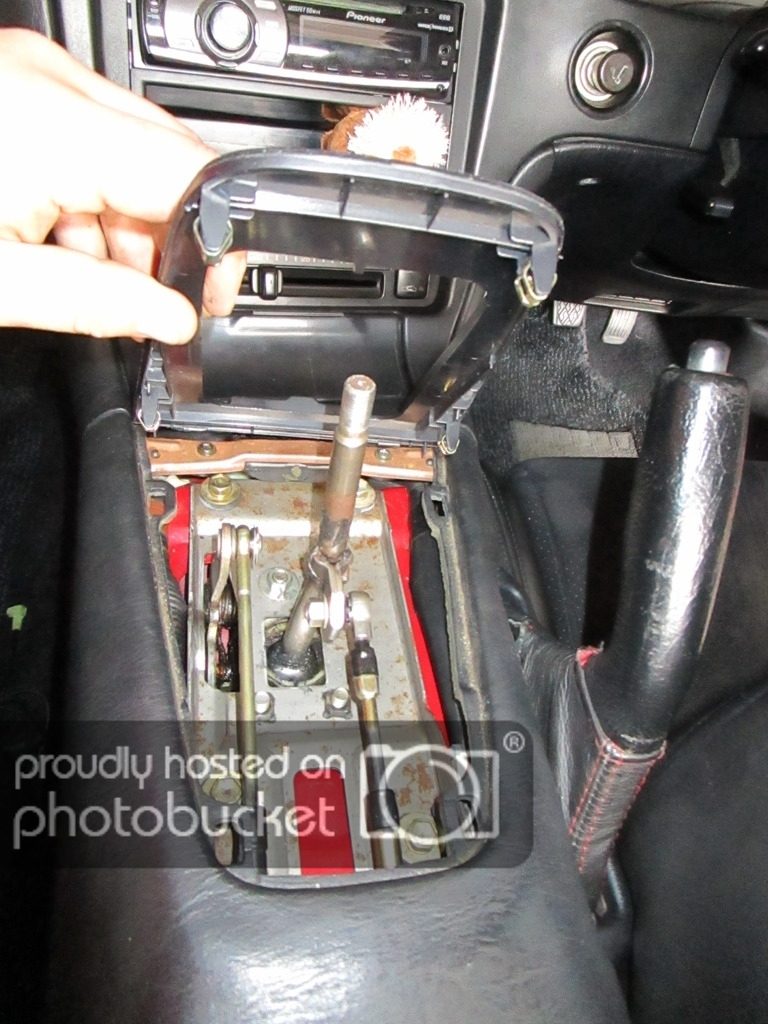


Remove the 2 front screws holding the arm rest to the centre console.


Then pull up the arm rest. It needs a bit of help around the hand brake lever. Then you are left with this.


Don't forget to remove this last screw and plastic bracket.


Then remove the clips holding the cables in.


Remove the plastic clips holding the wiring loom either side.


Pull off the clip holding one cable on and unbolt the other. 12mm nut.


Next unbolt the 4 12mm bolts holding the plate down.


Lift the plate up and forward slightly to get the cables out from the mount at the back.


Then you should be left with this. Make sure you don't lose the plastic bush inside the end of the left cable.


89-91 (left) vs 92+ (right) plate and lever.


Once the plates have been swapped over place the 4 bottom bushes under it and line them up with the holes.


Place the top halves on and bolt it down.


Once that is done reassemble in the reverse order.

This is the 92+ boot installed. My black leather with red stitching boot doesn't quite fit right yet.


With the TRD knob and adapter on.


I haven't gone for a drive yet but it feels a bit nicer in the way of the movement path between gears.

EDIT:Took it for a short drive. Going into 1st 3rd and 5th is a much shorter throw but 2nd and 4th is still long. It seems to click into gear nicely. I'll see what it's like driving properly because changing into 2nd and 3rd could sometimes be harder due to the gearbox being worn out.

The bushes can be bought from TwosRus if anyone wanted to know. These are custom bushes but essentiality the same thing just not anodised.
 
Last edited:
There have been a few little bits on the interior that have been missing, broken or just the completely wrong part.

The 2 little plastic cap screws holding the sill trim down at the front. Missing or the wrong part.


New parts from Toyota.


Next was to sort out my door cups. They never stayed in place well and I couldn't figure out why. I tried lots of plastic plugs and none worked. Then I figured out none of the normal ones would work. They are special 2 piece plugs. White bottom half that fits in the door and black top half that fits in the cup base.

These are what I had in the car when I got it.


These are what are meant to be in there.


To install, slot the black half with the white half into the cup, then press into the door. Once they are located you can pull the cup out and the black part will separate from the white half leaving the white half in the car. Needs lots of force but at least they won't come out with normal use.


Bonus fun fact that some people might not know, the 2 slots down on the left kick panel shown below are for clips to hold a flare. In Japan you legally need to car one so JDM cars have this mount for them usually down by the passenger kick panel.


New Narva Plus 100 H4 55/60 headlight bulbs. Still haven't driven at night with them but they seem brighter and whiter than the old ones.

I bought the car with some unknown bulbs, turns out they were half Narva, half Repco. I bought some better brighter bulbs and kept the originals. The brighter bulbs blew out after about 4 years so I put the originals back in, they lasted another 4 years until this week. One broke the low beam filament when removing it from the car, the other looked a bit worn but still works. Not bad bulb life but I did notice the package says brighter ones don't last as long.


The car already has semi sealed H4 lenses so easy swap. Just remove the plastic surrounds and the steel retainer around the lens.


Carbon vinyl still holding up very well.


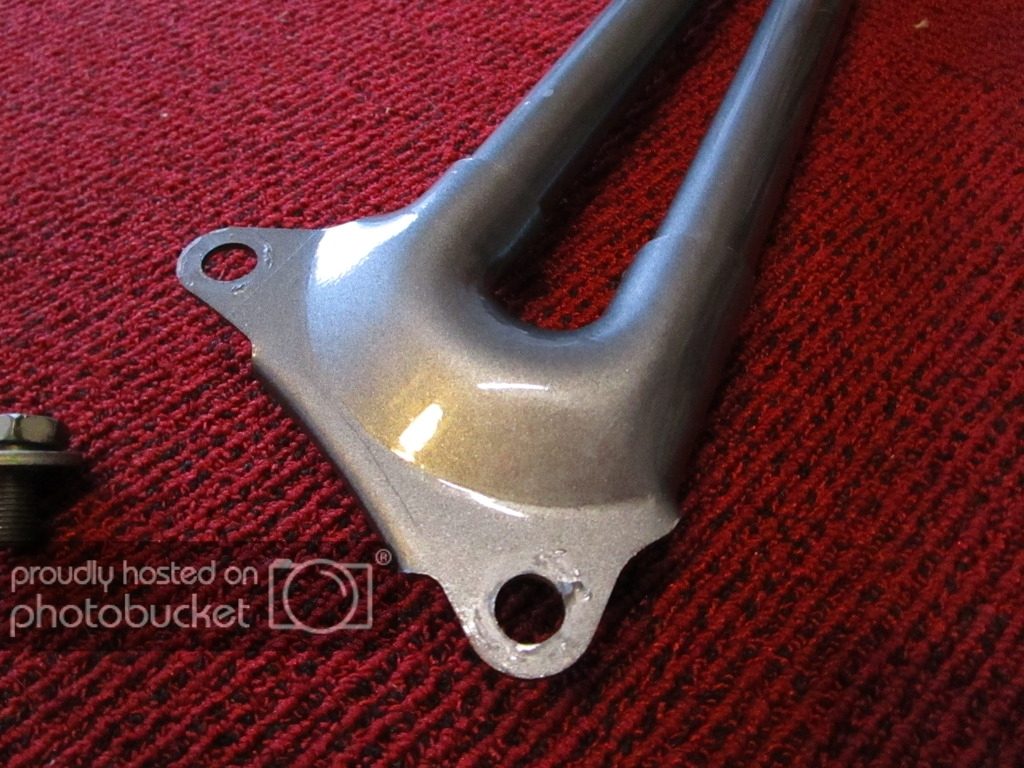
The next addition the MR2 is a pair of TRD strut bars. Usually the rear one is the only one up for sale but this time their was a pair. I took the opportunity to purchase these from an MR2OCNZ club member. They are not in mint condition but as I see it they have been well used looking at the typical damage to the surface from the hole in the engine lid. Nothing a sand and repaint can't fix. Just need to get the metallic matched up. The front bar came with the original longer centre bolts too which is a bonus. I think the bars came with a few more bolts for front bar but they are not really required. Just use the short centre bolt(s) in the extra hole that doesn't have a bolt on the right strut tower.


Damage from the hole in the engine lid.


TRD supplied long centre bolts


Fitted the front bar.


Fitted the rear bar.


When I first got the braces the TRD badge looked pretty worn out but most of the 'damage' was the protective sticker going yellow and flaking off. Once I had removed it the only damage was the missing red and black paint which I can fix up easily.

Before


After
 
Last edited:
I took them off the car to grab some better photos and drove the car out of the garage. The doors creaked more than usual when going over the kerb crossing so a brace definitely does help, especially with it being a T-Top. They do stiffen up the chassis more than the stock bars and they aren't much heavier either.

As you can probably tell from a lot of the recent photos, I have carpeted half the garage with red and black carpet tiles. We were re-carpeting the meeting room at work so these came up to be taken or thrown out.
Excuse the dirt, it is usually quite windy where I live and stuff gets blown in all the time. Good thing is you can sweep or vacuum the carpet and it cleans up well.
 
Carpet is good until you drop any fluids on it then it's manky. Loving my epoxy coat. Have been dropping oil, coolant and brake fluid on the floor during this process and it just wipes up with a handy towel and brake cleaner. I use squares of carpet under the jacks and stands to try and limit the damage but it's working well so far.
 
My car has stopped dropping fluids so it's all good. The great thing about tiles is you can just yank out the tiles you need to while working on the car. I put down some 9mm MDF under my axle stands to stop it damaging the tiles. The tiles are really only there for looks. It's completely laughable but it was free, and RED. I LOVE RED!!

Epoxy is awesome but I don't own this place so can't do it. Need to protect the surface too so tiles work. My dad has epoxy in his garage and it's great. Can just hose it out if needed. He's a bee keeper/bee researcher so makes a bit of a mess with honey and sugar syrup.
 
Tiles look really nice. Glad you went red, I've always thought it was cool to have the tile matching the color of the car.

Can't wait when I get my own place and garage =(. I'm probably going to do epoxy but I would love tile similar to this.
image.jpeg
 
Tiles look really nice. Glad you went red, I've always thought it was cool to have the tile matching the color of the car.

Can't wait when I get my own place and garage =(. I'm probably going to do epoxy but I would love tile similar to this.
View attachment 575990
That looks like a nice tiled floor. I wonder what it's made from as the axle stands and trolley jack are being used on them. I can't do that on mine but the ones I have are made for foot traffic only and not for a garage. The backing is bitumen so any point loads permanently deform or puncture it.
 
Back roads + TRD springs with Bilstein OEMS = :eek: :eek: :eek: :drool: :drool: :drool: :dopey: :dopey: :dopey: :D :D :D
Such a smooth ride once you get up to speed. The car hugs the road so well.

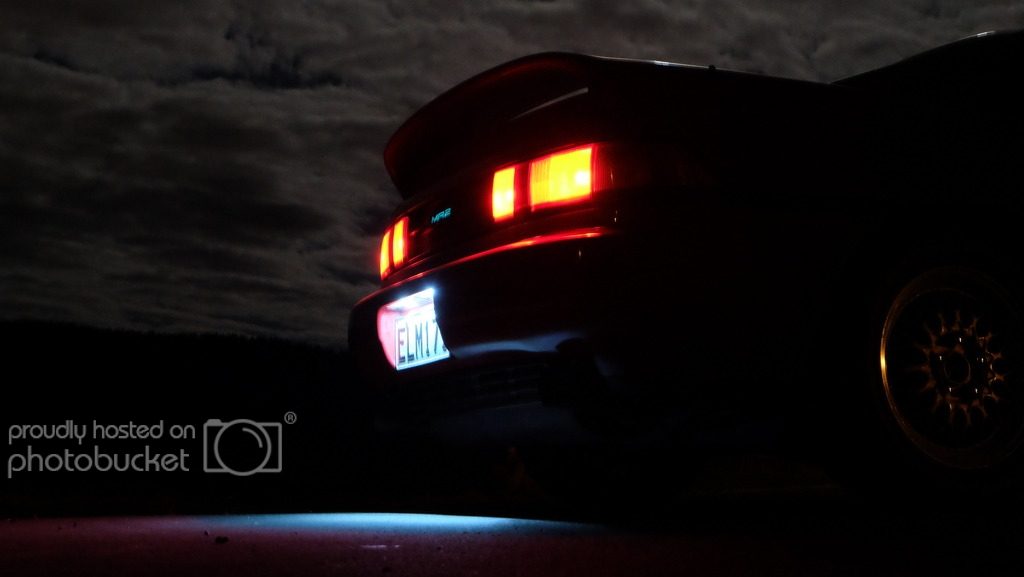
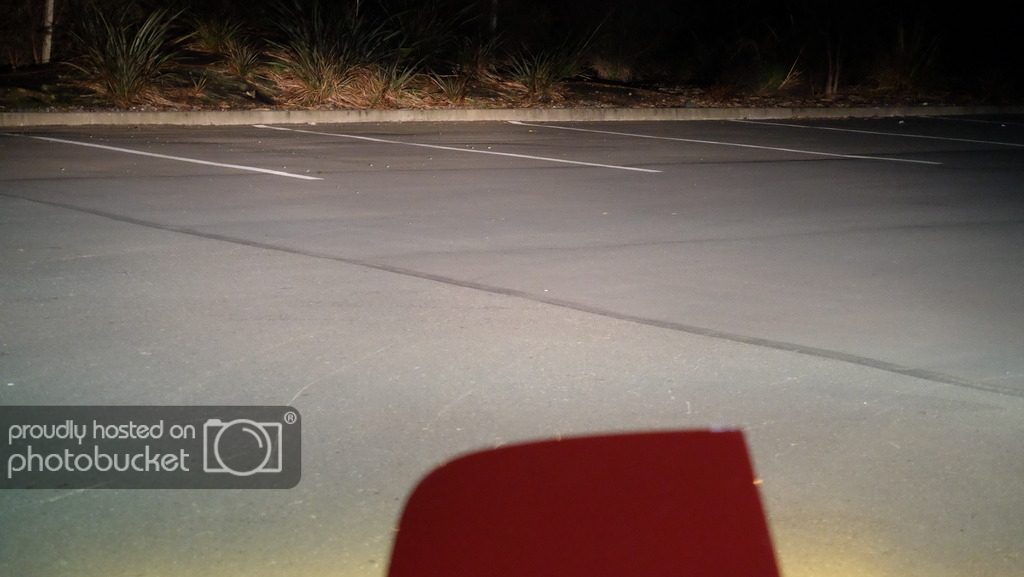
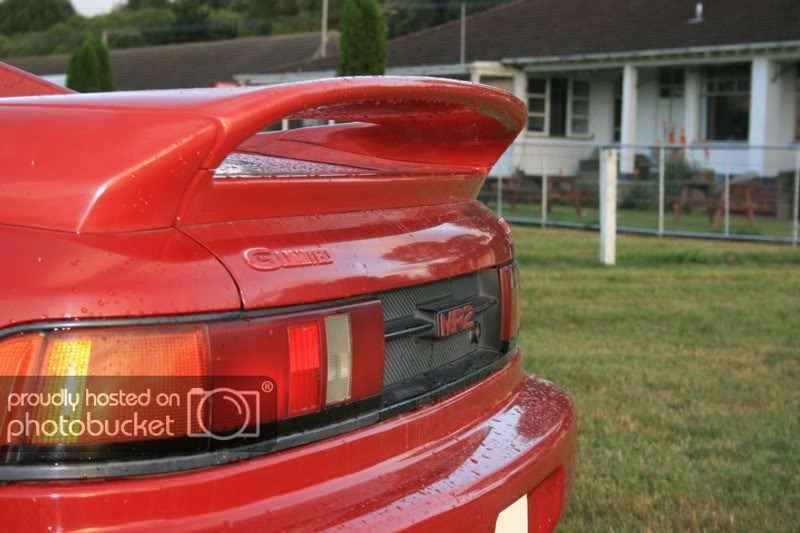
I took some more photos of the car last night while the moon was out at it's brightest.
Silly me forgot the tripod so there are lots of low angle shots :roll:


Plate illumination overkill!


Trying a few different exposure levels


Focused on the road just in front of the camera but I kind of like it.


Low beam lights. I'm impressed with the spread of light on the road. High beam is great too, it covers most of the road in front of the car where the old bulbs would miss it. Far easier to see now. The brightness levels for cars coming the other way is no different to most modern lights that can be blinding sometimes. Especially when you are in an MR2 vs an SUV with the lights up higher.
 
Last weekend I took a trip to Pick A Part to raid the red 1990 SW20 that is there. Found a few useful parts on it that were either broken or missing from mine.

One of the parts I grabbed was the B pipe exhaust hanger. Very easy to remove with the CAT already chopped out and the car up higher than normal. I just recall it being very difficult to remove when doing a mates engine swap.

It's in good condition apart from a bit of surface rust. Nothing a wire brush and some paint couldn't fix. It's nice to find more parts to make the car feel more complete.

Before


After


Installed


Ahhhh Pick A Part. I miss that place. I used to frequent a few of their locations when I had my AE101 Levin!
It's quite a good way of getting parts but most of the time they are in bad condition. Good to hear you had an AE101. Fun little cars.

Nice photos. Love the tutorials. Always an interesting read 👍
Thanks. I try to keep it interesting and informative.
 
It's quite a good way of getting parts but most of the time they are in bad condition. Good to hear you had an AE101. Fun little cars.

Was a great car. Took such a punishing without ever really having any problems. I did manage to blow the radiator on a thrash from Auckland to Whangarei when I was over an hour late for something rather important! Other than that, she was a bulletproof little beast!
 
A new found 'wonder' product for exterior trim! Still in testing on the car but from the years it has been around on the market it seems to work very well and even seeing examples first hand of being applied years prior I think it's pretty good.

The product is called CarPro C.Quartz DLUX.


This is a semi permanent clear ceramic coating designed for trim and wheels that is hydrophobic and UV resistant. This means dirt and water struggle to stick to it keeping everything cleaner. The local guys at Detail Depot suggested I try it and even brought around some for me to test out. I liked it so much I bought some. This is not for paint but more for trim and wheels where as other products in the C.Quartz range are for paint. If I was to go down this route I'd pay someone as applying this stuff takes practice and knowledge. I still haven't quite got it right on the trim but I'm learning.

Anyway, now to the actual photos of what it can do for 26 year old faded black plastics.

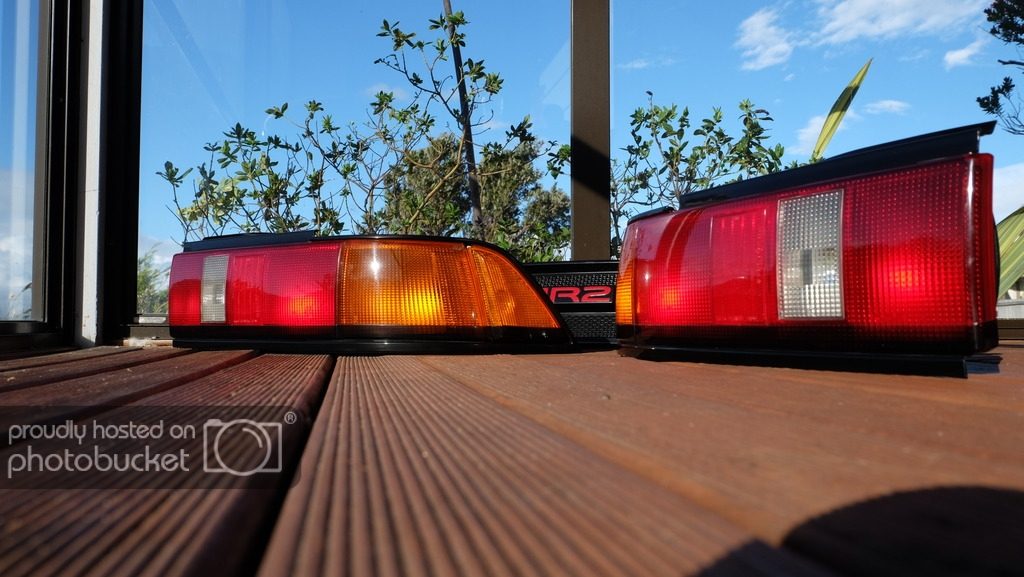
This is a before shot of the rear grille and lights not long after I bought the car back in 2008. This was after a wash too. It shows the biggest contrast in the rear trim. I've tried lots of things to bring the black back so I have made it better since then but nothing comes close to this stuff. Spray on tire shine works for 1 day but then collects dust and gets washed off.


After shots of the lights of which I only put the coating on the black parts.


Starting on the centre grille with a brush. Normally you would apply it with the suede applicator pads but this doesn't work with stuff like this.


Half and half


Finished


Then on to the window cowl. This was one of the most annoying panels on the whole car that I could never fix except for maybe buying a new one. Not sure on price but I expect it to be quite high. Over $250 I suspect.

Before shots


Not as bad as some I've seen but not good enough for what I want.


Preping with masking tape to prevent it getting on the glass or paint.


After

Half and half


Finished.


What you see there is what you get and it stays like this for years rather than days or weeks. This is a semi permanent product so you need to choose where it goes but once you put it on you don't want it to come off. It's that good!
 
I also did the rubber strip at the bottom of the rear window. I forgot to post these with the rest.

Before


Half and half


I'll post some proper finished photos later when I get around to actually taking them.
 
More 'new' stuff. This time it's only a small fix but a very important fix visually for the engine bay. Well, to me anyway. :embarrassed: :lol:

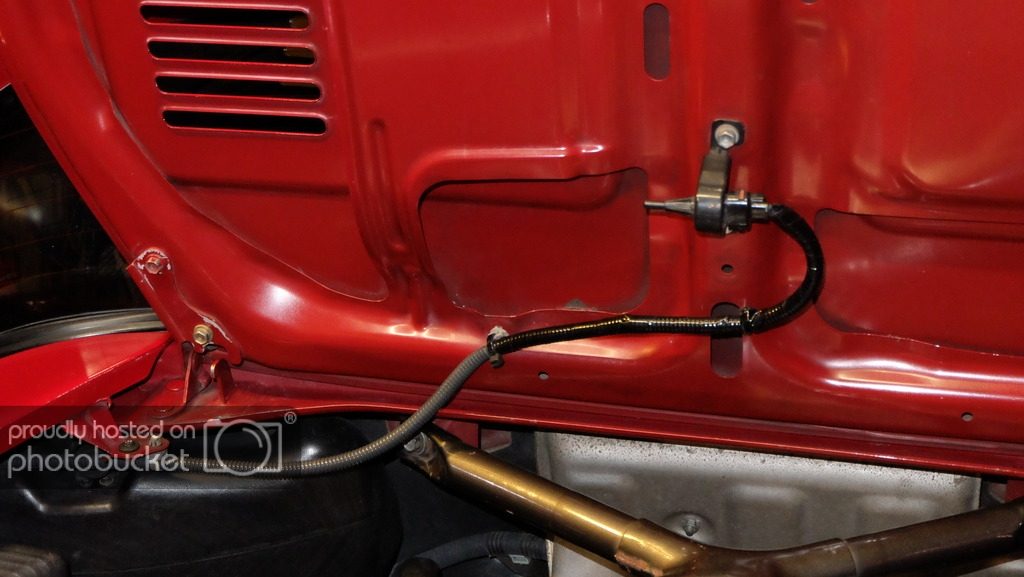
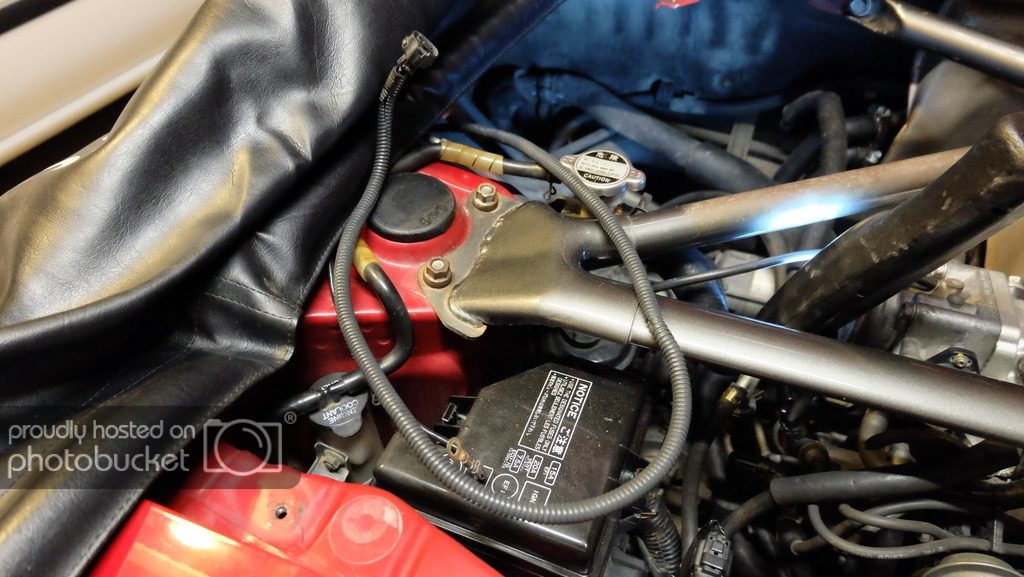
The plastic loom tube covering the 2 wires for the engine bay temperature sensor was broken and so were the clips holding it to the engine lid. This like most things annoyed me so it had to be fixed. So a quick trip to pick a part to raid the MR2 there for bits. This one had the front cut off just in front of the suspension towers and didn't have much left in it worth taking. Luckily it still had a perfect condition loom tube for this wire on it. I had previously taken the clips off the other MR2 while I was there last time but forgot to take the loom tube at the same time.

Before. I had taped it up but it looked horrible. The clips were also broken so not holding the wires in place. I even had a cable tie threaded through one clip.


Loom tube removed. Full of dust so wiped that off before putting the new stuff on.


This little guy caused me a bit of trouble. I had to remove the air box and the large induction box to get access to it. I didn't want to break this one and trying to remove it from the car is almost impossible without doing that. So I had to pull the old loom tube out of the cable tie but this isn't easy as I'll show later on. Once I had the tube out I could insert a small flat head screw driver into the locking tab and then pull the clip open.


Old loom tube in many pieces with new one. The new one came with the wires and the plug. It will come in use later on I suspect.


Installing the new loom tube over the wires. As per factory, wrap the wire and loom tube in one piece of tape. First wrap the wires then put the loom tube over the top then wrap the tape over that to stop it from moving.


New loom tube installed. Looks much nicer.


Taping the other end where the wires head into the main body loom.


Here are the 'new' and old cable ties. You can see in the middle of the tie there are teeth. This stops the loom tube from sliding inside the cable tie. This is why I had trouble getting the old tube off. I knew about this from when I grabbed the ones from the other MR2 but it's in a difficult place to get at. Easiest way is to squeeze the tube to make it smaller than the cable tie teeth and slide it out bit by bit. I wanted to buy new ones but I haven't been able to find the part number for them and Toyota also weren't able to find what they are. The parts diagrams doesn't show them on the car or even show this type of cable tie in the images of clips and brackets.


And final install. Very happy with this. :P
 
Last edited:
Back