- 3,264

- Hong Kong
- Hybrid_Tifoso
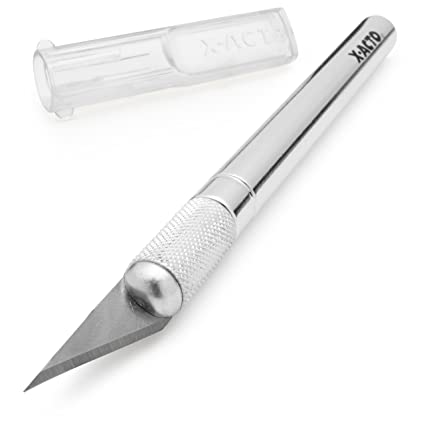
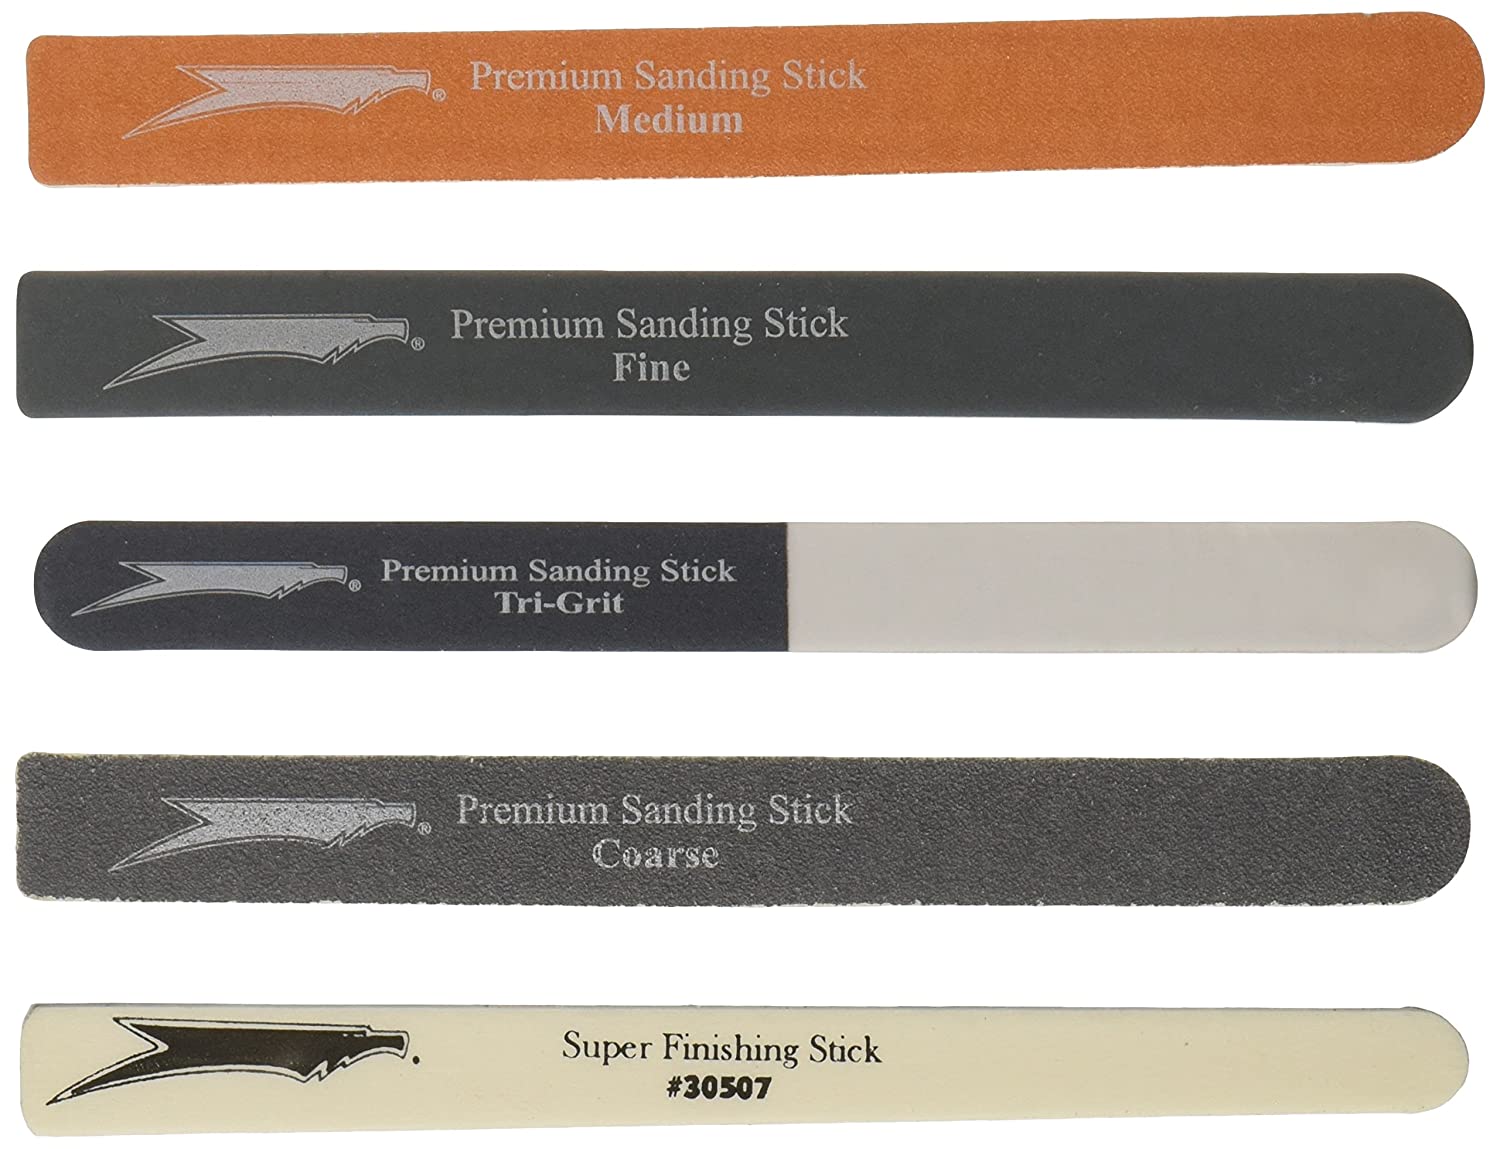
But is the tip of a blade pointy and sharp enough to penetrate plastic? The hole that I’m trying to make could be as small as 1 cm x 0.5 cm, so would the blade be small enough to make such fine movements as well?Is the surface already painted? If not, I just use a sharp #11 Exacto Blade and cut sideways very carefully or use a sanding stick to remove the material. If I do mess up (because we all make mistakes) I just use some filler to fill the mistakes.
Also, sweet undercarriage detail! 👍
Thanks for the answer and conpliment as well. 👍


")
